Google Assistant Interactive Canvas using Angular — Part 1
 nidhinkumar
Overview
There are many interesting blogs/videos on how to create Interactive Canvas action in Google Assistant with HTML, CSS, and Javascript. However, in the documentation, it has been mentioned that it is possible to create an Interactive Canvas action using Angular or React. But can’t find a single blog/video on how to create an interactive canvas action using Angular or React.
So I thought of creating an action using Angular and giving it back to the community on how to create an Interactive Canvas action using Angular.
What we are going to build on
We will create a simple musical quiz action in which a song will be played for 20 seconds and the user should answer the questions asked. The more they answer the more they can listen to music.
The action which we are going to create would look like the below video. You can play with this action from Google Assistant. Click here to play with the action.
We will split our Musical Mojo action into 2 parts
Part 1
Creating a new action in Google Assistant
Initializing Cloud Functions and Hosting using Firebase CLI
Creating a new project in Angular
Create the necessary intents and entities for the action in Dialogflow
Create an audio splash screen for the action
Part 2
Create the Category page in Angular and link it with Cloud functions
Create the Questions page in Angular and link it with Cloud functions
Create the Score page in Angular and link it with Cloud functions
Handle the help and about intents for the action
Handle the Default Fallback intent
So Let’s begin with Part 1
Part 1 Objectives
What is Google Assistant
What is Cloud Function
What is Angular
Create a Google Action and integrate with Dialogflow
Initializing Cloud Functions and Hosting the website using Firebase CLI from your machine
Create a new Angular project
Create Intents and Entities in Dialogflow
Create an audio splash screen for the action
Add the logics for DefaultWelcome Intent
Test the action
Don’t worry about the huge list. Will take baby steps to understand everything and create the action with fun :)
1. What is Google Assistant
Google Assistant is a personal voice assistant that offers a host of actions and integrations. From sending texts and setting reminders to ordering coffee and playing music, the 1 million+ actions available suit a wide range of voice command needs.
2. What is Cloud Function
Google Cloud Functions is a lightweight computing solution for developers to create single-purpose, stand-alone functions that respond to cloud events without the need to manage a server or runtime environment.
Make sure you have a GCP account and billing enabled for the account. Because to make the Cloud Function work you have to enable billing for the project (If you are new to GCP don’t worry they provide you $300 free credits for a year. All you need is to add your card details they won’t take any money from your account :)
3. What is Angular
Angular is a platform and framework for building single-page client applications using HTML and TypeScript.
It implements core and optional functionality as a set of TypeScript libraries that you import into your apps.
The architecture of an Angular application relies on certain fundamental concepts. The basic building blocks are NgModules, which provide a compilation context for components. NgModules collect related code into functional sets; an Angular app is defined by a set of NgModules.
An app always has at least a root module that enables bootstrapping and typically has many more feature modules.
Components define views, which are sets of screen elements that Angular can choose among and modify according to your program logic and data.
Components use services, which provide specific functionality not directly related to views. Service providers can be injected into components as dependencies, making your code modular, reusable, and efficient.
4.Create a Google Action and integrate with Dialogflow
Now we will create a Google Action and integrate Dialogflow for the application
Regardless of the Assistant application, you’re building, you will always have to create an Actions project so your app has an underlying organizational unit.
Open the Actions on Google Developer Console in a new tab. You should be looking at a clean Actions console that resembles the following (If you are a new user :)
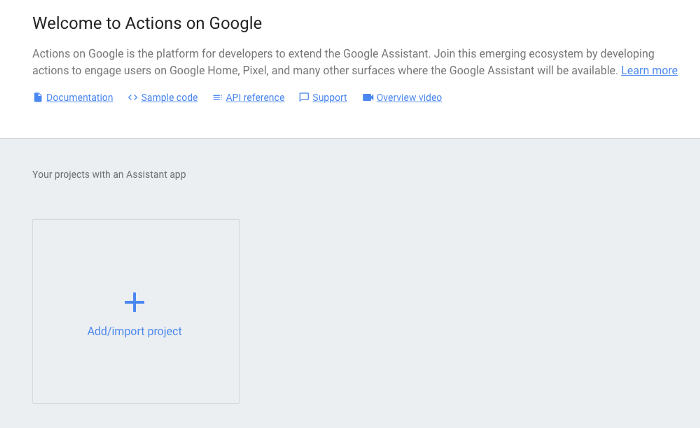
Click Add/import project and agree to Actions on Google’s terms of service when prompted.
Click into the Project Name field and add the project name Musical Mojo
Once the project is created you will see a welcome screen like below

Select Games & fun category and then select Conversational like below
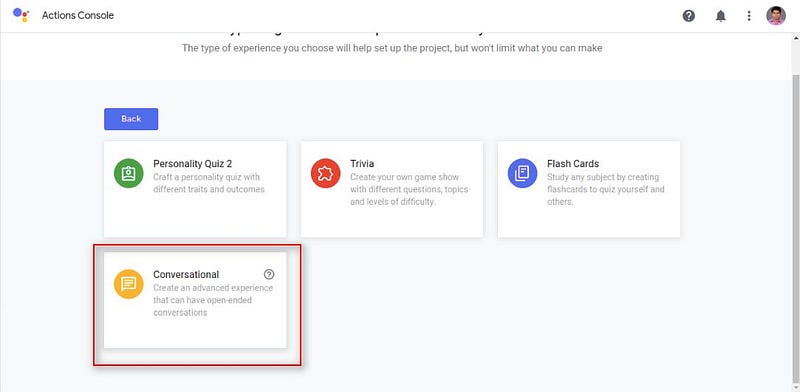

Click Save and click Actions on Google in the top left corner to return to the homepage. Then click on the project you just created
Build an Action
From the left-hand menu, select Build > Actions > Add your first action. Then select Custom Intent > BUILD
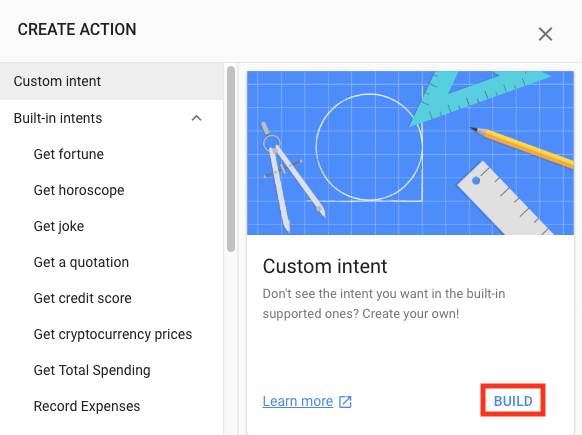
This will take you to the Dialogflow console.
Click Allow when Dialogflow prompts you for permission to access your Google Account.
Integrating Dialogflow
When you land on the Dialogflow account settings page, check the box next to Yes, I have read and accept the agreement and click Accept. You will now be brought to a Dialogflow agent creation page. Click CREATE
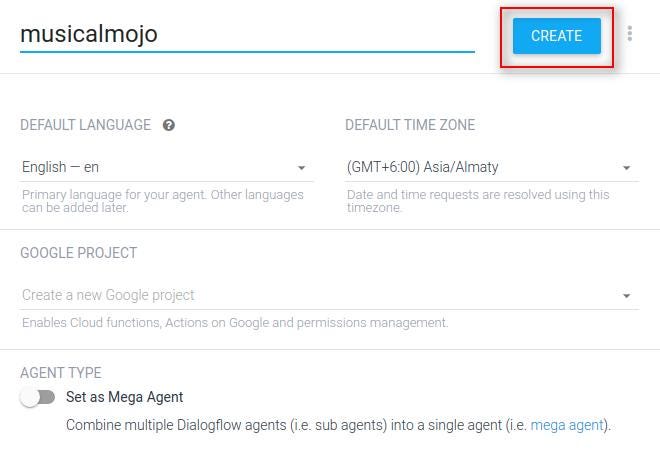
An agent is an organizational unit that collects information needed to complete a user’s request, which it then forwards to a service that provides fulfillment logic.
You can now minimize the Dialogflow Console. Later we will add the Intents and Entities needed for the action.
5.Initializing Cloud Functions and Hosting the website using Firebase CLI from your machine
Now We will create the HTML, Cloud Functions in our local machine. Create a directory named musicalmojo and navigate to the directory.
If you are new to Cloud Functions read this blog on how setup Firebase CLI
Initialize Firebase for the musical mojo project using Firebase-CLI using the command firebase init
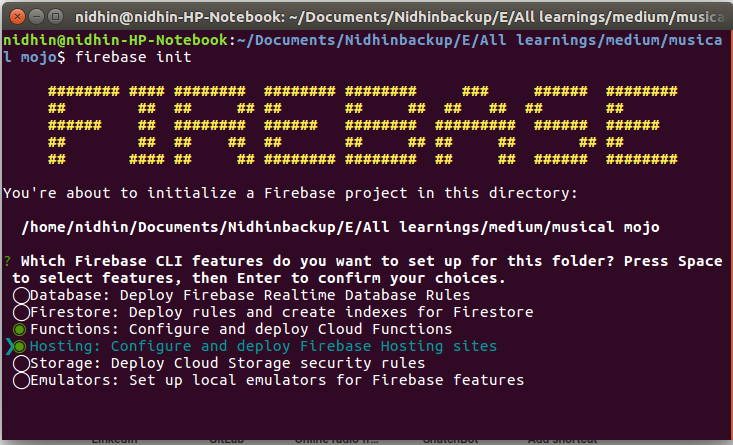
Now select Functions and Hosting by pressing the spacebar and then click Enter
Now select the project and click Enter
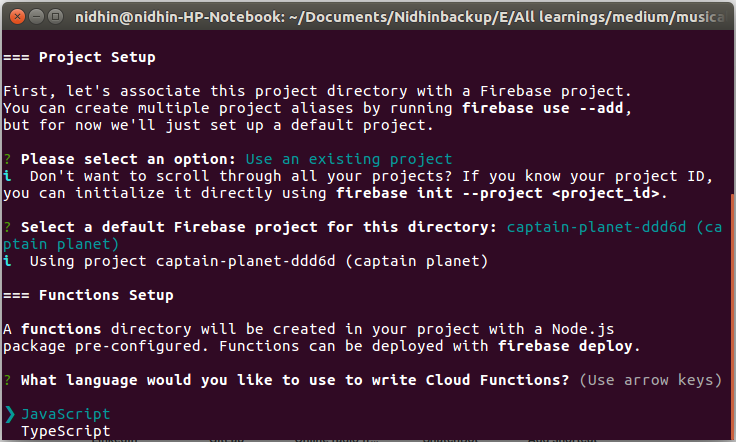
Once it is selected it will install the node packages. Once the packages are installed it will create a public directory for hosting the build file from Angular
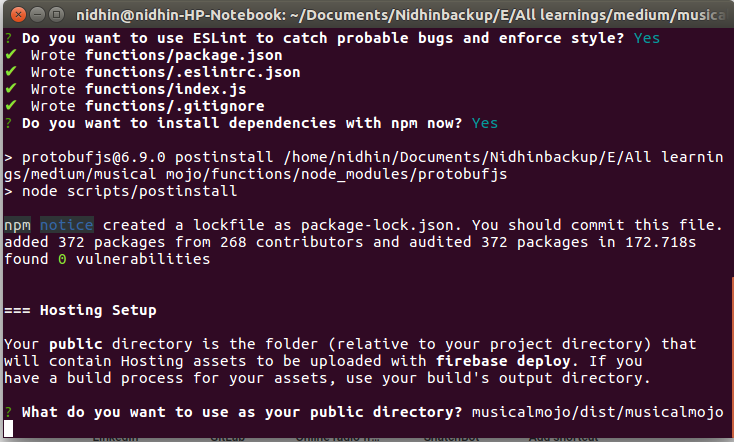
Firebase CLI asks for the public directory (Build files path). We can give the public directory path like below
musicalmojo/dist/musicalmojo
Don’t get confused with the musical mojo directory which we have created earlier.
Once the path is provided it will ask to rewrite all index.html Click No
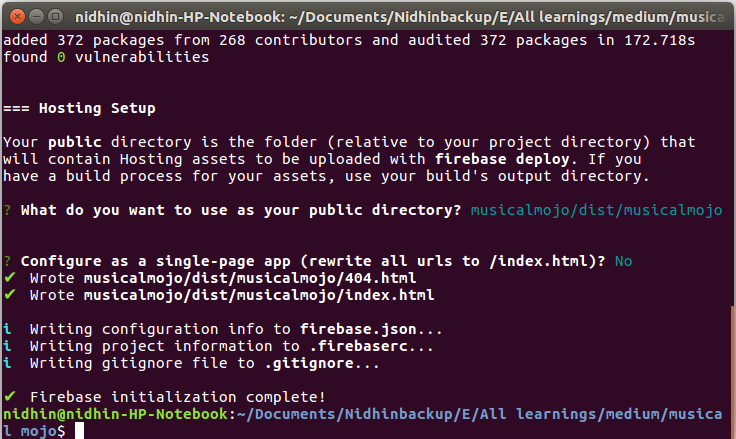
Now the initialization is completed now we will create the Angular project
6. Create a new Angular project
In the earlier step inside musicalmojo directory, there would be 2 directories like below
functions
musicalmojo
Delete the sub-directory musicalmojo first and then follow the below steps
If you already know how to create an angular project you can skip this step.
Make sure your development environment includes Node.js and an npm package manager
Node.js
Angular requires Node.js version of 10.0.0 or higher
To check your version type
node -vin a terminalIf the node is not installed check the installation steps from the link
NPM Package Manager
Angular, Angular CLI, and Angular apps depend on features and functionality provided by libraries that are available as npm packages.
To download and install npm packages, you must have an npm package manager.
To install npm client click the link to know more
To check whether npm client installed run the command
npm -vin a terminal
Install Angular CLI
Once the Node and npm installation are complete, we will install the Angular CLI.
Why you need Angular CLI
You use the Angular CLI to create projects, generate application and library code, and perform a variety of development tasks such as testing, bundling, and deployment
To install Angular CLI globally in your machine open the terminal and use the below command:
npm install -g @angular/cli
Now we will create an angular project, create a workspace. Open the terminal and use the below command:
ng new project-name //syntax for creating an new angular project
ng new musicalmojo
The ng new command prompts you for information about features to include in the initial app like below
Select No for routing
Select SCSS for styling
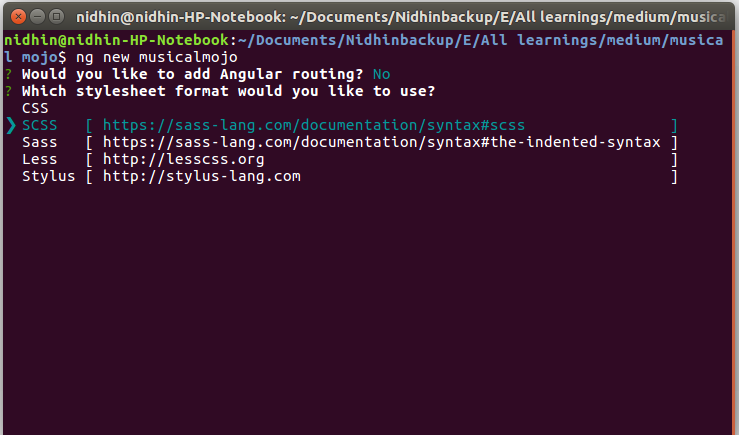
The Angular CLI installs the necessary Angular npm packages and other dependencies. This can take a few minutes.
The CLI creates a new workspace and a simple app, ready to run.
Run the application
Navigate to the project with the below command in the terminal:
cd project-name //in our case cd musicalmojo
ng serve -o
If your default browser is not Chrome means there might be some issues in the default launch of the angular application in the browser.
In that case you can give the command
ng servealone and once you see theCompiled sucessfully messageopen Chrome and paste the local url[http://localhost:4200/](http://localhost:4200/)
Now you could see your angular application running like the below image
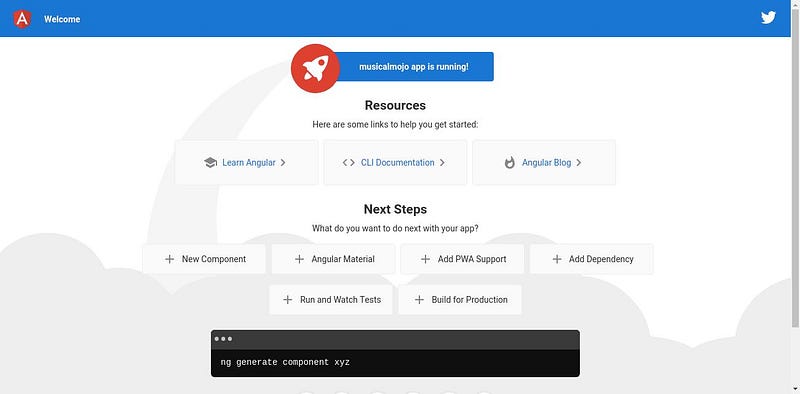
We have completed the installation and creation of a new angular project.
8. Create Intents and Entities in Dialogflow
For the musical mojo action, we have used the below intents
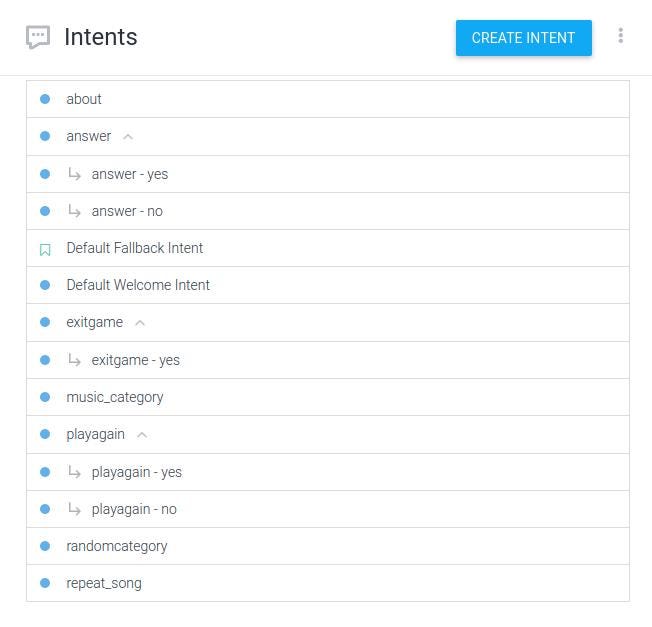
Entities used for the musical mojo action
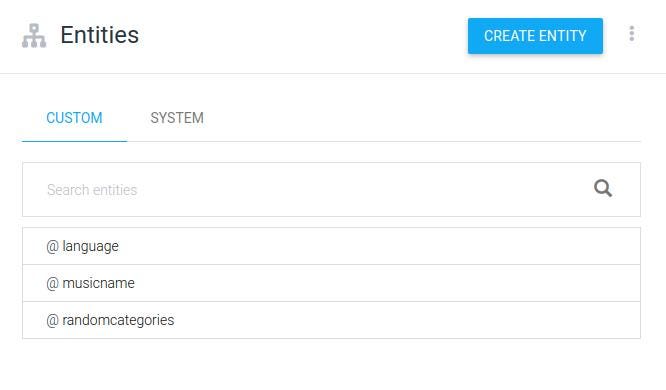
To make the development faster i have zipped the musical mojo agent which you can download from here.
Once the zip file is downloaded open Dialogflow and click on the gear icon
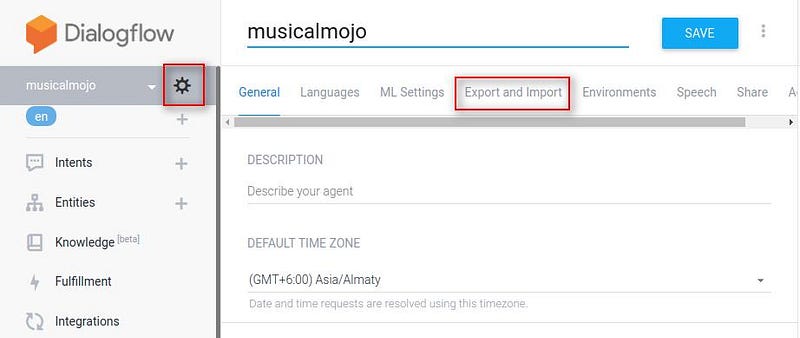
Once the gear icon is clicked you can see the Export and Import tab click on it you could see a screen like below
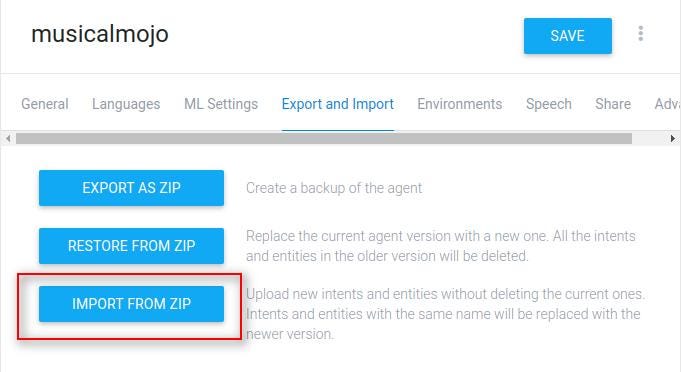
Click IMPORT FROM ZIP and upload the zip file which you have downloaded earlier and type the IMPORT command like below and then click import
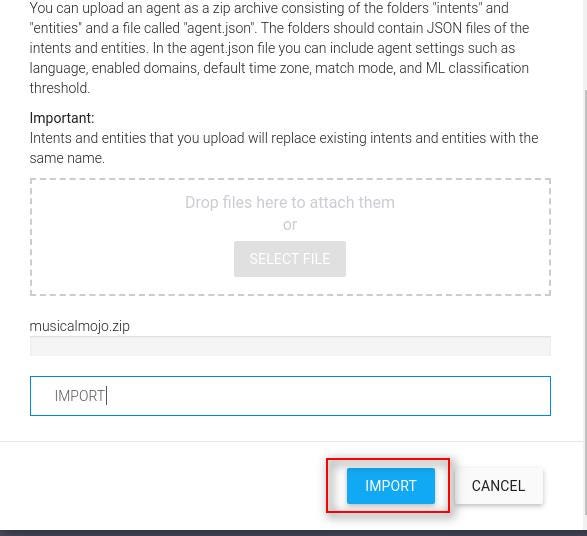
Once the import is successful you could see the intents and entities created
Now we have completed the Dialogflow part by creating all the necessary Intents and Entities.
8. Create an audio splash screen for the action
Now we will create an audio splash screen for the action in Angular. Before that, we should install bootstrap for our Angular application
we will install Bootstrap4 and jQuery using the below command
npm install --save bootstrap jquery
Once the installation is completed open, angular.json file and add the file paths of the Bootstrap CSS and JS files as well as jQuery to the styles and scripts arrays under the build target:
"architect": {
  "build": {
    [...],
    "styles": [
      "src/styles.css",
        "node_modules/bootstrap/dist/css/bootstrap.min.css"
      ],
      "scripts": [
        "node_modules/jquery/dist/jquery.min.js",
        "node_modules/bootstrap/dist/js/bootstrap.min.js"
      ]
    },
Once the styles are added in angular.json file go to app.component.html file and remove all the codes and just add the below code to check whether the bootstrap is installed correctly or not.
Hello
Once the above code is added run the project using the command
ng serve -o
You will see an output like the below image
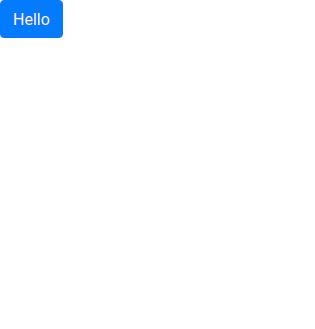
The reason for adding Bootstrap is we don’t want to write much of CSS codes especially the responsive screen which will be taken care of by the Bootstrap itself.
Now open index.html and add the below tags inside <head> </head> tag
Now inside src->app folder and create a component named **canvas** (You can create a component by opening the terminal to src->app directory and give the below command)
ng g c canvas
where g stands for generate, c stands for component i.e. ng generate component canvas
Generating Angular Component
Once the component is created go to app.component.html file and remove all the existing codes. Now add the below tag in app.component.html
If you run your Angular application you could see a screen like below
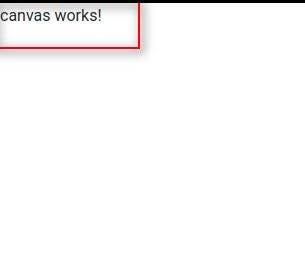
What we have done above is we have routed the canvas component from app.component.html to canvas.component.html using the selector(tag)
If you have a doubt from where this app-canvas name came means just open canvas.component.ts file you could see some codes like below in which there is a selector. From there we have taken the app-canvas name
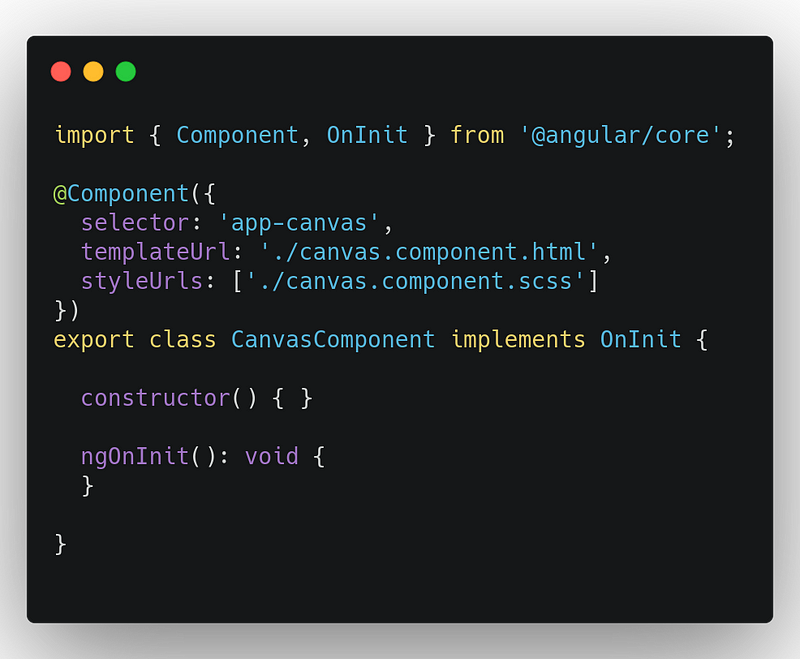
Canvas component skeleton
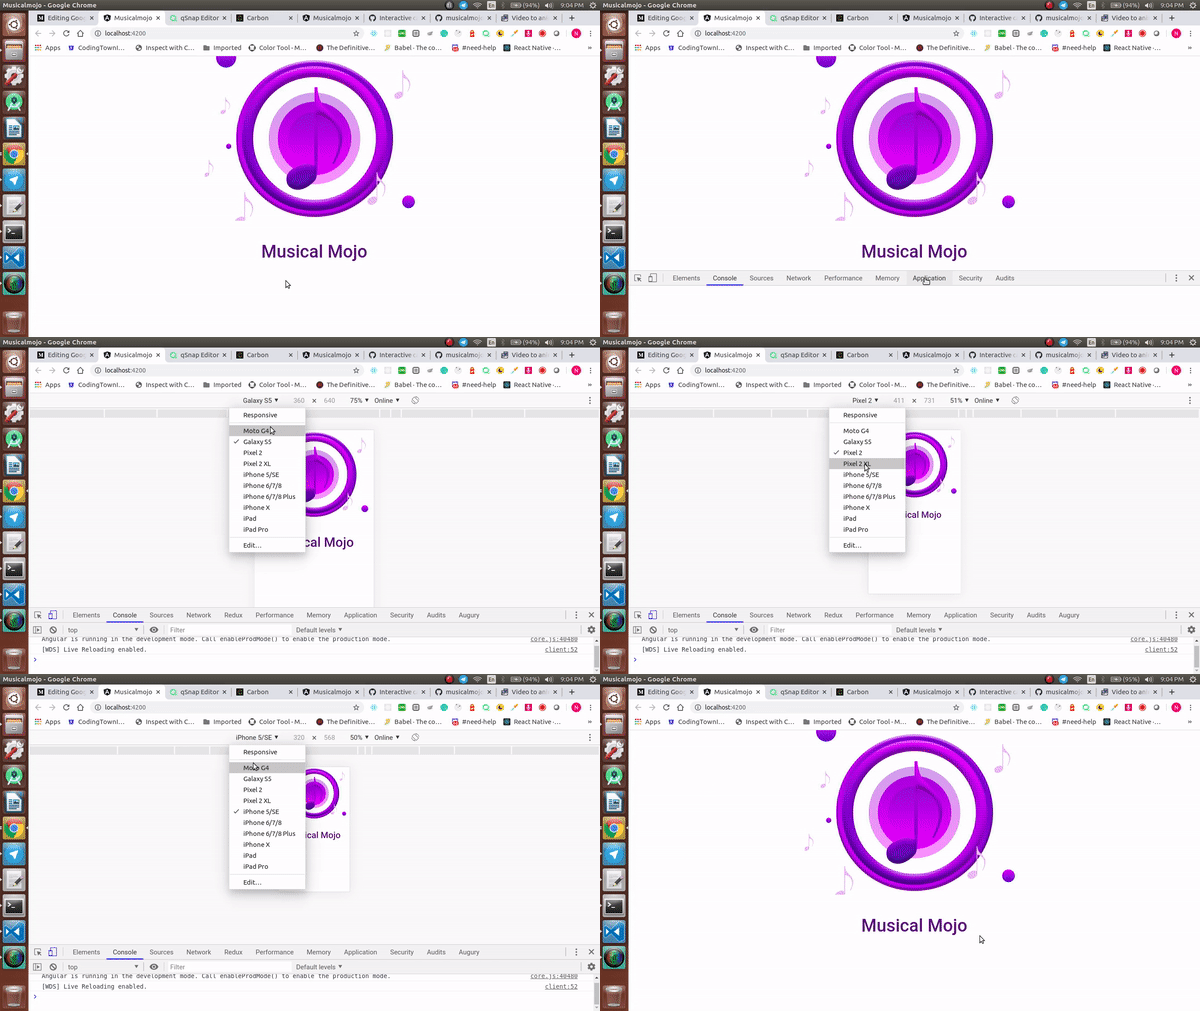
Now we will create the splash screen, Open canvas.component.html file and add the below code
Once you have added the code open canvas.component.scss file and add the below styles
Once the styles are added download the image and add it in src->assets folder
Once the image is added run the application and you could see the output like below
Now we will add a shimmer effect for the image during loading as well as loader using bootstrap.
Open canvas.component.html file and replace the existing codes with the new one like below
Now open canvas.component.scss file and replace the existing styles with the new styles from below
Now open canvas.component.ts file and replace the existing codes with the new one
Now if you run the application you could see the output like below
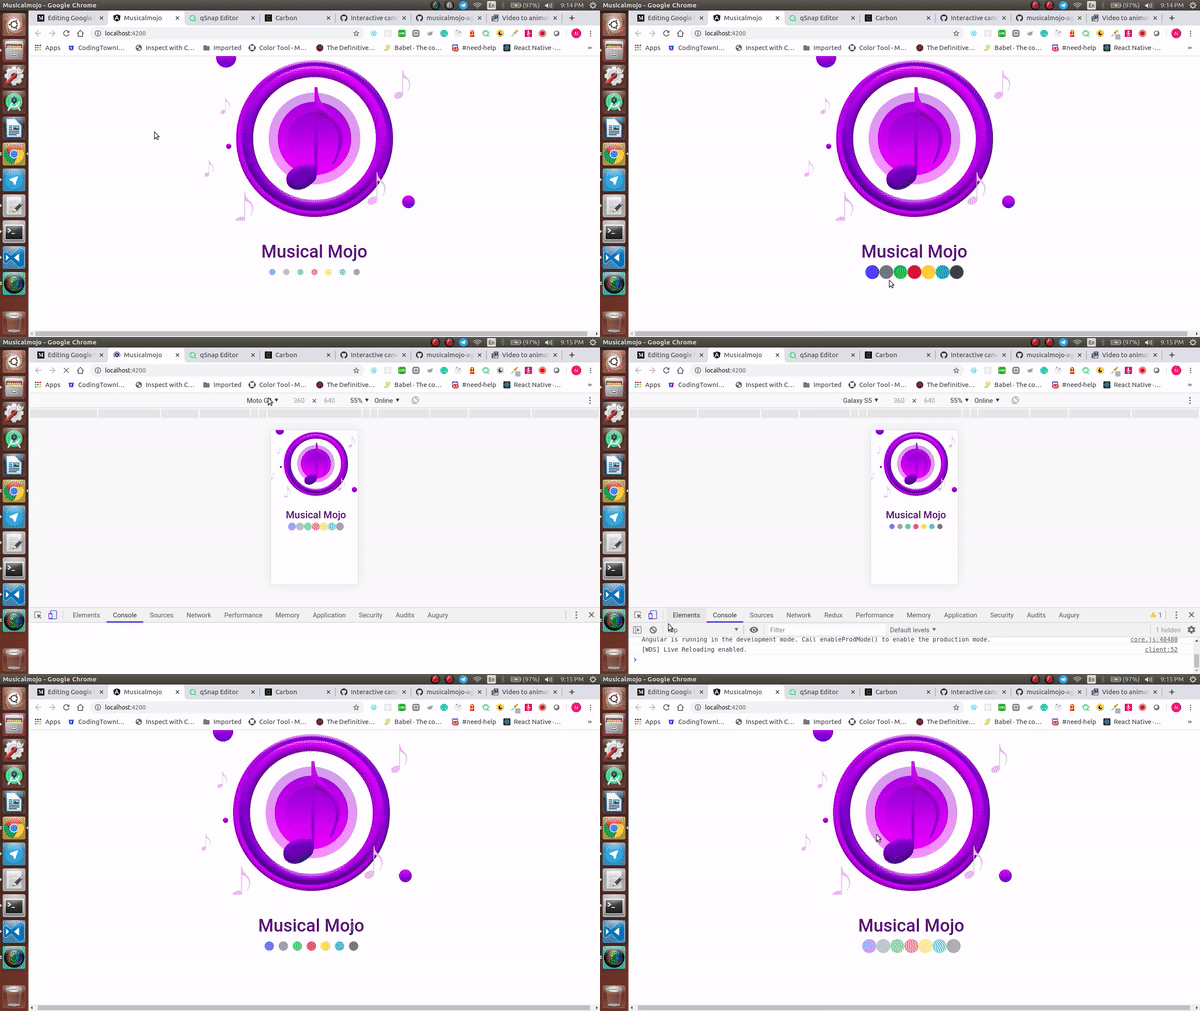
Now we have the splash screen running in Angular. Next, we will integrate this interactive canvas.
Now open canvas.component.ts file and replace the existing codes with the new one
What we have done in the above code is we have used interactiveCanvas and get the interactiveCanvas from the window object
In the ngOnInit() we have initialized the scenes by setting the header for the action using getHeaderHeightPx() .
We have created the splash screen in Angular next we will add audio for the splash screen using Cloud functions for the DefaultWelcome Intent
9.Create the logics for the DefaultWelcome Intent
Now we will create the logics for the DefaultWelcome Intent. Open functions directory and install the below plugins using npm command
npm i actions-on-google npm i lodash
Once the plugins are added create a new directory named prompts and then create a new file named audio.js and add the below code
make sure the audio format is of type .ogg and then the audio length of fewer than 15 seconds.
Once the audio URL is added go to index.js file and remove the existing codes and add the below code
index.js
Now we are all set for the deployment but to allow the images and to avoid Cross-origin Resource Error replace the code in firebase.json and add the below code
Now we will do the production build for the angular application which we have created earlier. Navigate to the Angular project and open terminal and type the below code in the terminal for the production build
ng build --prod
Once the build is successful navigate to the root directory. Now we will deploy the application using the below command
firebase deploy
Once the code is deployed successfully we can start testing the action
10. Test the action
Now if you test your action you will see the output like below
Congratulations!
You have learned how to create an Audio Splash screen in Google Interactive Canvas using Angular. In the next part, we will see how to add categories and questions for the musical mojo action. till then Happy Learning :)
Subscribe to my newsletter
Read articles from nidhinkumar directly inside your inbox. Subscribe to the newsletter, and don't miss out.
Written by
