Downloading and Installing TeamViewer on Linux: Step-by-Step Guide
 Pratik M
Remote access tools like TeamViewer are essential for managing computers and servers remotely. TeamViewer is popular on Linux for its cross-platform support and intuitive interface.
In this guide, we will cover how to download and install TeamViewer on major Linux distributions like Ubuntu, Debian, Fedora, CentOS, Arch and openSUSE.
Overview of TeamViewer
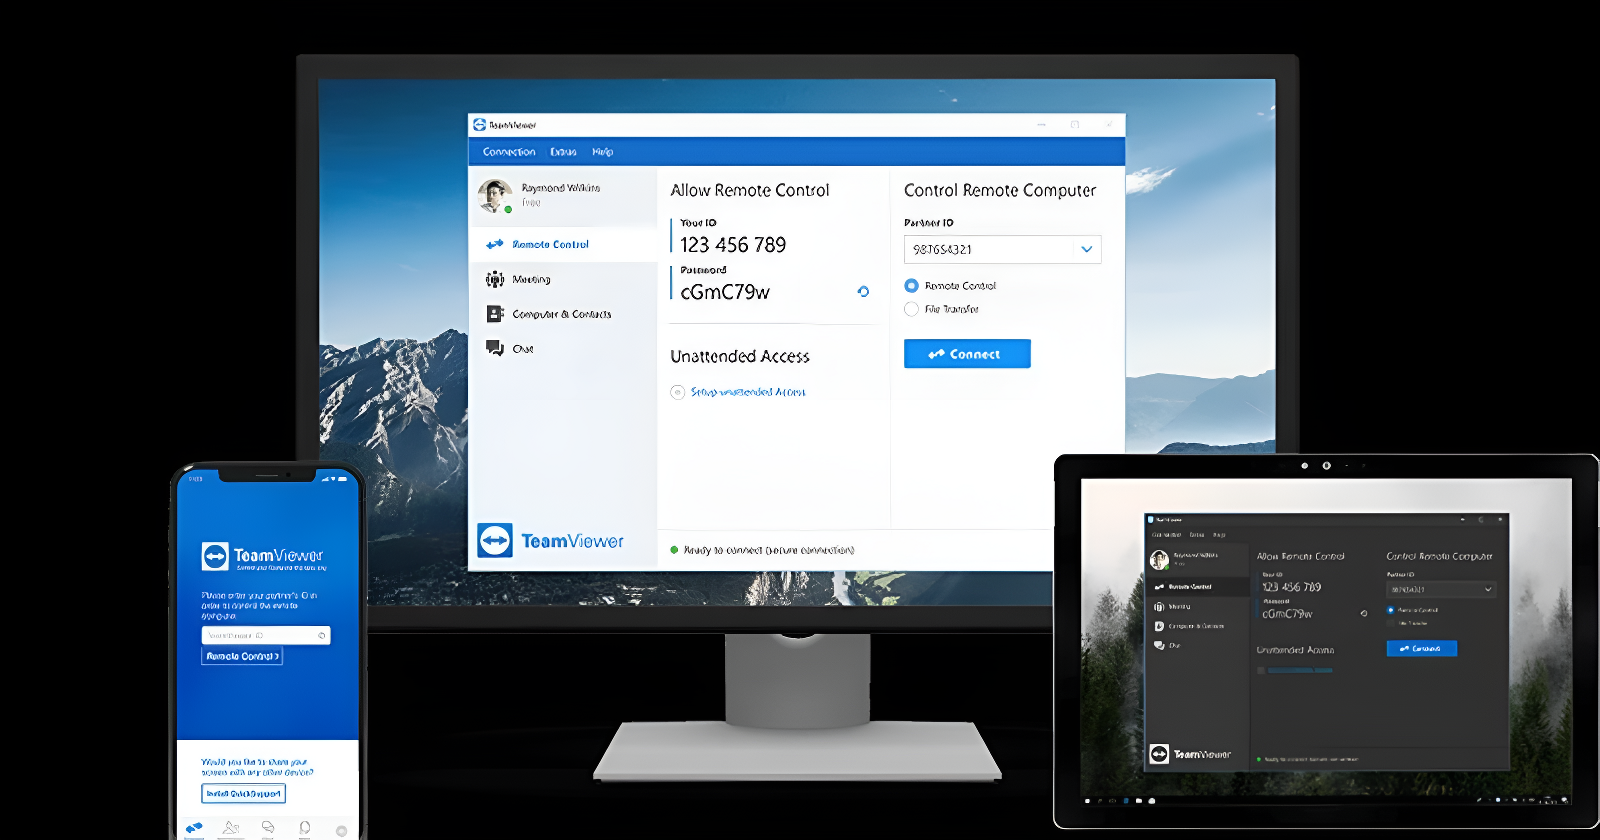
TeamViewer is a proprietary remote access and control software. It uses a client-server architecture to connect different devices and computers over the internet.
Some key features of TeamViewer:
Remote Control - Remotely access and control other desktops like you are sitting in front of them.
File Transfer - Securely transfer files between devices.
Screen Sharing - Share your screen with others for online meetings and tech support.
Remote Access - Access unattended computers and servers remotely.
VPN Alternative - Establish secure connections between networks.
Mobile Support - Native clients for Android and iOS devices.
Multiplatform - Works across Windows, Mac, Linux, iOS and Android operating systems.
TeamViewer offers a freemium model with a full-features free version for personal use and paid versions with additional tools for businesses.
Downloading TeamViewer on Linux
TeamViewer provides native Linux packages tailored for popular distros like Debian, Ubuntu, CentOS, Fedora and Arch.
Navigate to the TeamViewer Linux download page.
You will see packages for the following Linux distributions:
Debian/Ubuntu -
.debpackageRPM Distros -
.rpmpackage for Fedora, CentOS, RHEL, openSUSE etc.Arch Linux -
.tar.xztarball
Select the appropriate package for your Linux distro. You can also grab the tarball if your specific distro is not listed.
Alternatively, you can use wget or curl to directly download the package on the command line:
# Debian/Ubuntu
wget https://download.teamviewer.com/download/linux/teamviewer_amd64.deb

# RPM Distros
wget https://download.teamviewer.com/download/linux/teamviewer.x86_64.rpm

# Arch Linux
wget https://download.teamviewer.com/download/linux/teamviewer_amd64.tar.xz
Save the package to a convenient location like the Downloads folder.
Installing TeamViewer on Debian/Ubuntu
For Debian-based distros like Ubuntu and Linux Mint, use the .deb package to install TeamViewer.
Open a terminal window and change directory to where the .deb file is downloaded.
Use the apt command to install the package:
sudo apt install ./teamviewer_15.17.6_amd64.deb
Replace the filename as necessary. apt will automatically resolve dependencies and configure TeamViewer.
You can also double-click the .deb file in your file manager. The Software Center will launch to complete the installation.
After installation, you can launch TeamViewer from the applications menu or run teamviewer in the terminal.
Installing TeamViewer on RPM-Based Distros
For RPM-based distros like CentOS, Fedora, RHEL and openSUSE, the .rpm package can be used.
Go to the downloads directory containing the .rpm file in the terminal.
Use dnf or yum to install the package:
sudo dnf install ./teamviewer-15.17.5-x86_64.rpm

sudo yum install ./teamviewer-15.17.5-x86_64.rpm
Like with Debian, double-clicking the .rpm file will also initiate the installation via the GUI package manager.
Launch TeamViewer after installation by searching from the app menu.
Installing TeamViewer on Arch Linux
For Arch-based distros, the tarball offers the most compatibility. Extract the .tar.xz file to a directory:
tar -xf teamviewer_15.17.5.tar.xz
This will extract TeamViewer to a teamviewer subdirectory.
Change directory into it and mark the setup script as executable:
cd teamviewer
chmod +x tv-setup
Run the setup script to install TeamViewer:
sudo ./tv-setup install
If dependencies are missing, install the required packages from the Arch repos first.
The setup script will automatically integrate TeamViewer into the system. You can then launch it using the application menu.
Setting up TeamViewer on Linux
When you first launch TeamViewer, you will be greeted with a setup prompt to configure a secure password and account.
It is recommended to supply a strong password here to prevent unauthorized remote access.
Make a note of the randomly generated TeamViewer ID displayed here. You will need to provide this to clients to allow incoming connections.
Under Extra, enable "Start TeamViewer with system" to automatically launch the app on login.
Leave the other options unchanged and hit Finish to complete the setup.
The main TeamViewer window will now load. You are ready to establish remote connections to other devices.
Tips for Using TeamViewer on Linux
Here are some tips for getting the most out of TeamViewer on your Linux machine:
Set up unattended access to allow connections while you are away.
Adjust the security settings like password protection and whitelist.
Review the Connection Report after a session to monitor activity.
Use Comprehensive Mode for maximum quality and speed.
Install the Host Module for added management capabilities.
Integrate TeamViewer API into your own scripts and tools.
Conclusion
TeamViewer offers an excellent remote access solution for Linux systems. Its cross-platform nature simplifies managing different kinds of devices and operating systems.
The TeamViewer website provides straightforward downloads for all major Linux distros. Native packages integrate tightly with package managers like APT, YUM/DNF, and pacman.
Configuring unattended access and security settings help prevent misuse while allowing anytime connections. With its user-friendly interface and extensive feature set, TeamViewer is a must-have remote desktop tool for Linux.
Subscribe to my newsletter
Read articles from Pratik M directly inside your inbox. Subscribe to the newsletter, and don't miss out.
Written by

Pratik M
Pratik M
As an experienced Linux user and no-code app developer, I enjoy using the latest tools to create efficient and innovative small apps. Although coding is my hobby, I still love using AI tools and no-code platforms.