Deploy Jupyter Lite on Vercel / Netlify
 Diego Cornejo
Introduction:
Jupyter Notebook is an incredibly versatile tool for working with code and data interactively and collaboratively. In this article, I'll guide you through an exciting journey that begins with an introduction to Jupyter and its Notebooks, moves on to using a GitHub template or forking, and finally, reaches the setup and deployment on Vercel.
What Jupyter and Notebooks Are
Jupyter Notebook is an open-source tool that allows you to create and share interactive documents that combine code, visualizations, and explanatory text all in one place. It's widely used in fields like data science, programming, scientific research, and education.
Note: The Jupyter Lite team offers excellent documentation for deploying Notebooks on GitHub Pages https://jupyterlite.readthedocs.io/en/latest/quickstart/deploy.html. However, in this post, we'll show you how to achieve the same process on Vercel.
Using the GitHub Template or Forking
You can kickstart your Jupyter Lite Notebook project by using this Github template Vercel / Netlify Jupyter Lite Template.
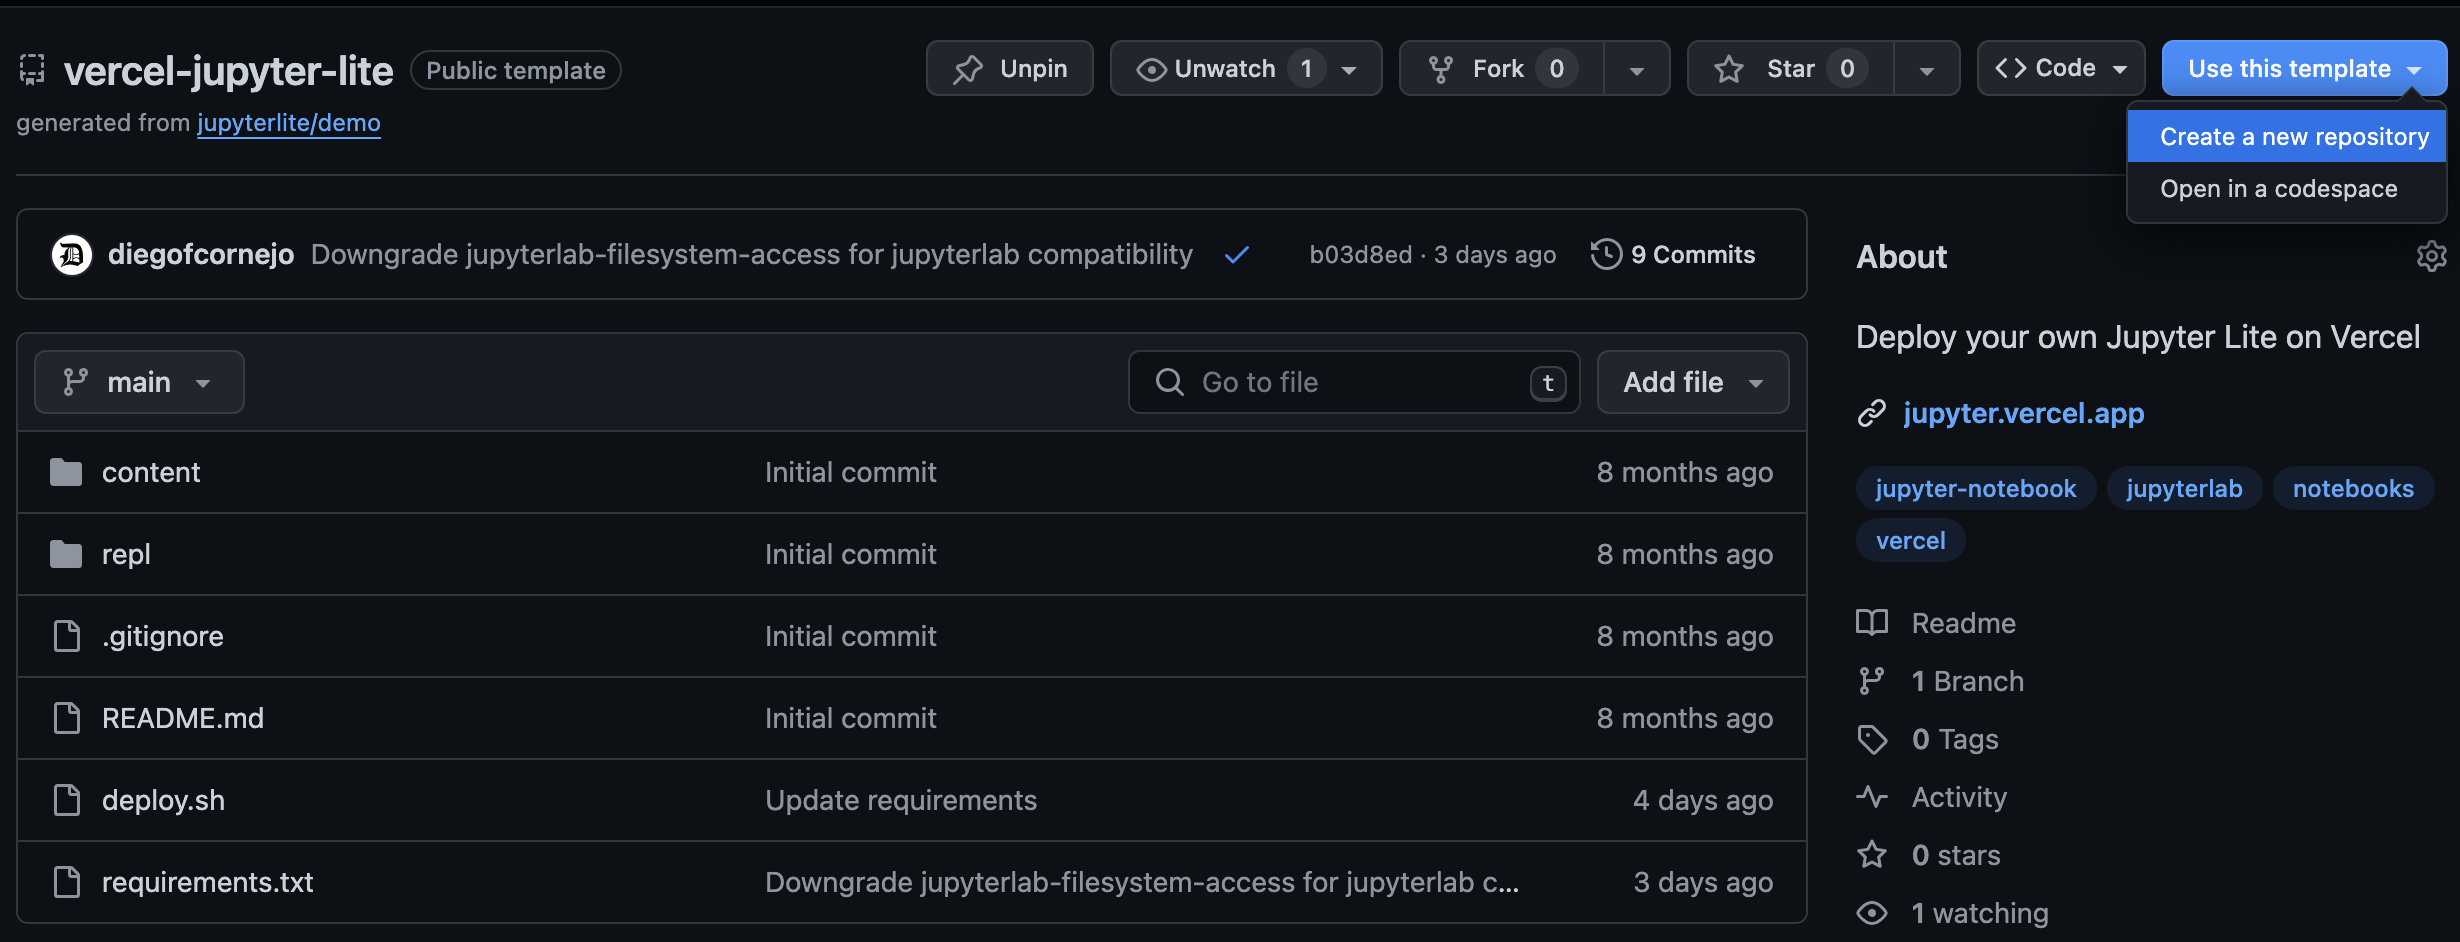
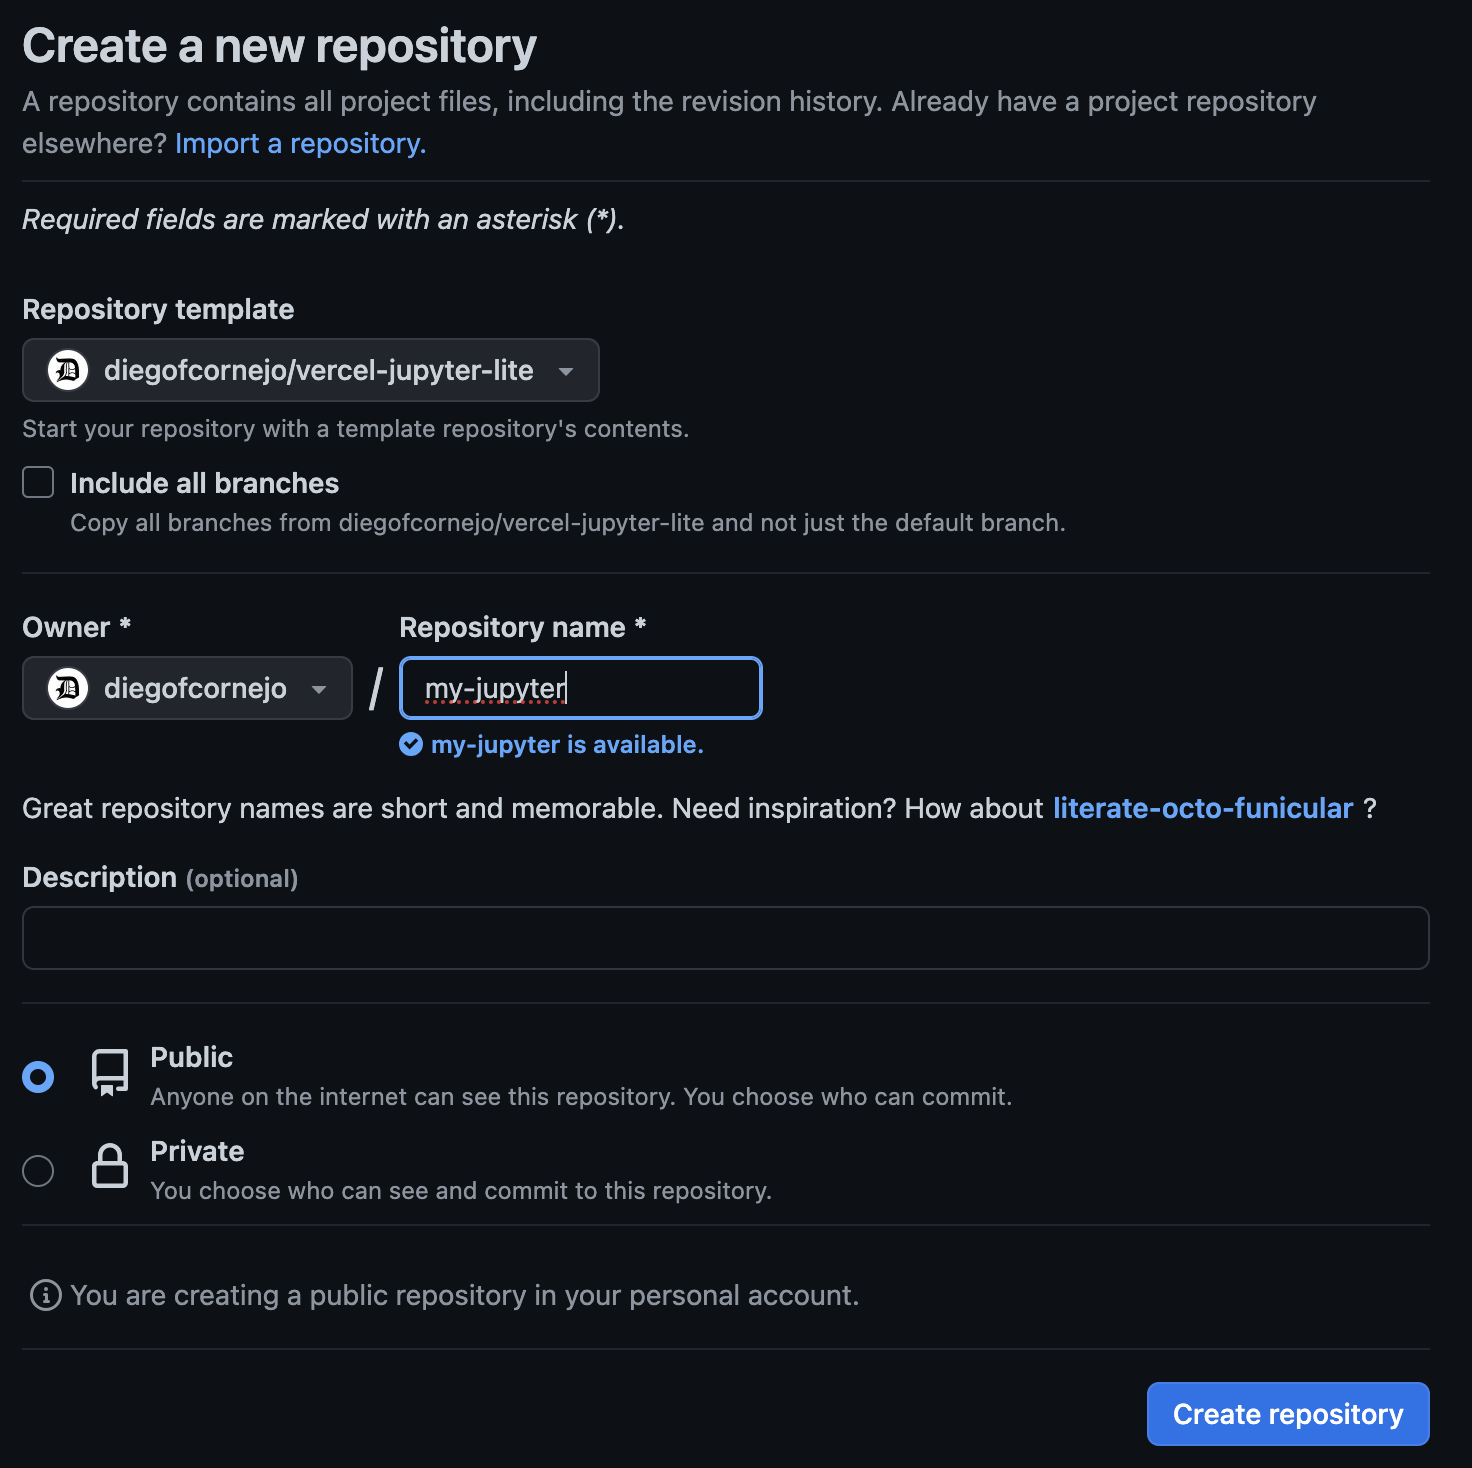
Setting Up on Vercel
Sign up for Vercel (if you haven't already).
Create a new project on Vercel and follow the instructions to connect your GitHub repository with Vercel.
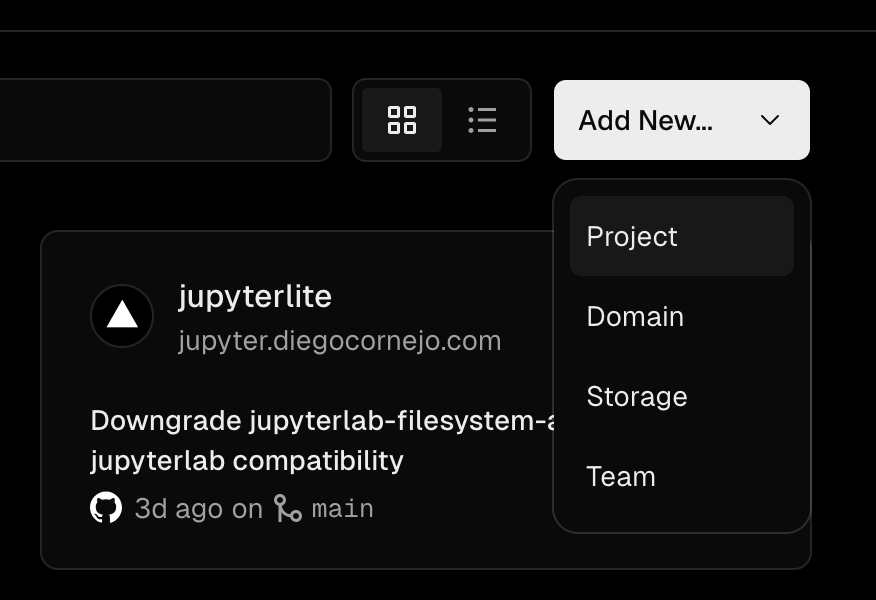
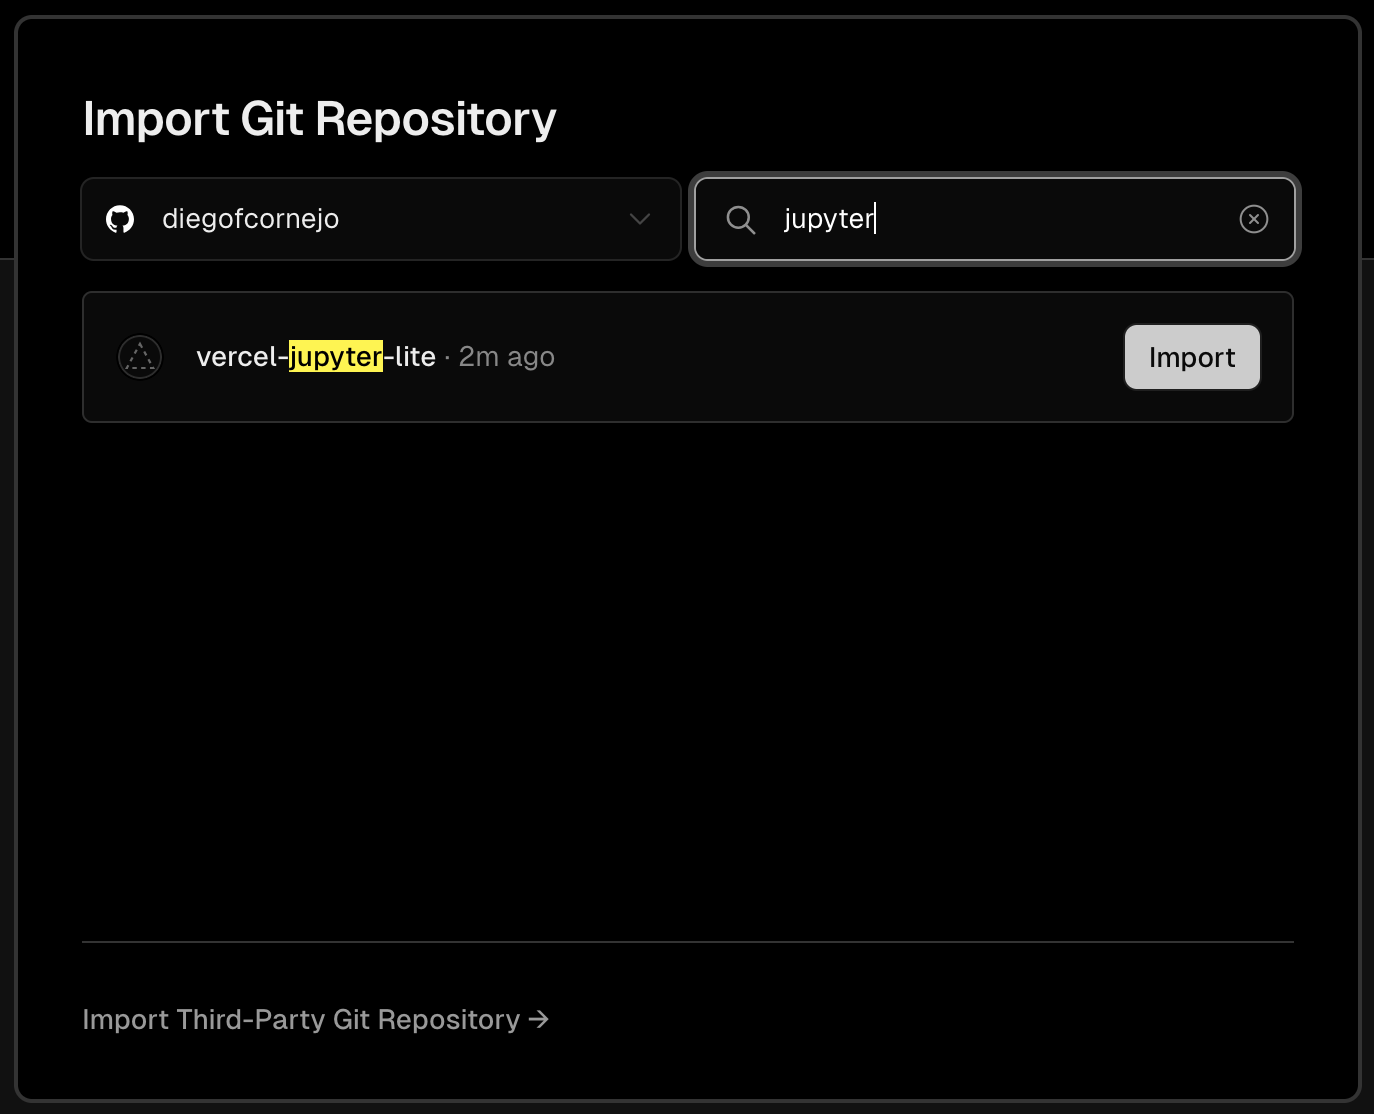
Configure deployment options and follow the steps to guide you through the deployment process.
Set a name for your project
Open "Build and Outputs Settings"
Enable "Build Command" and add this text:
bash ./deploy.shEnable "Output Directory" and add this text:
distClick on "Deploy"
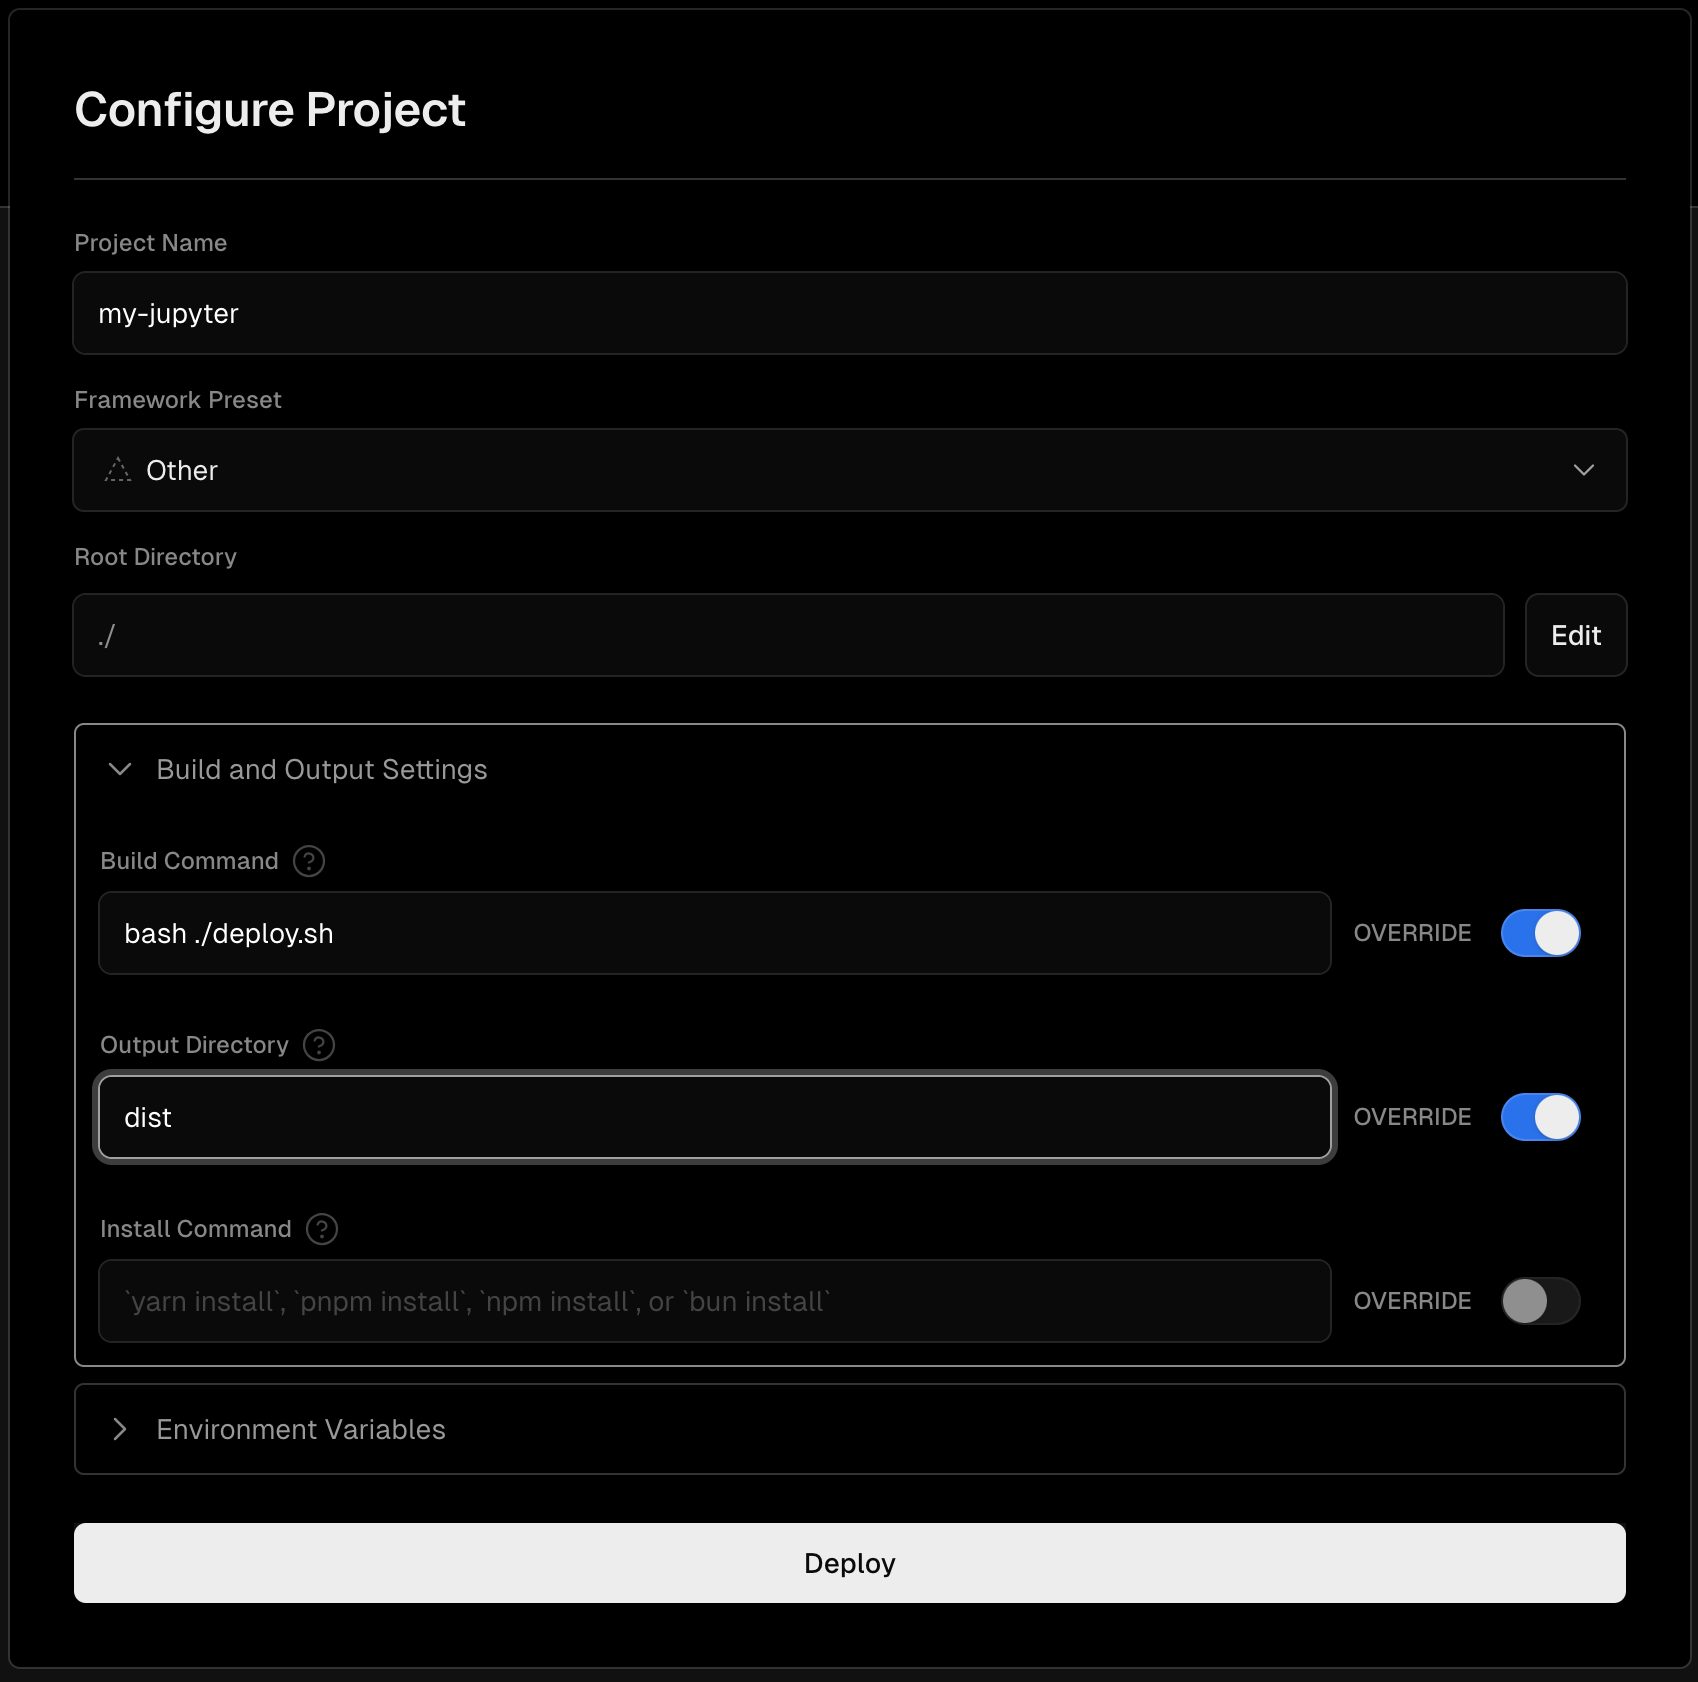
- Once deployment is complete, your Jupyter Notebook project will be online and accessible.
Setting Up on Netlify
Sign up for Netlify (if you haven't already).
Create a new project on Netlify and follow the instructions to connect your GitHub repository with Netlify.
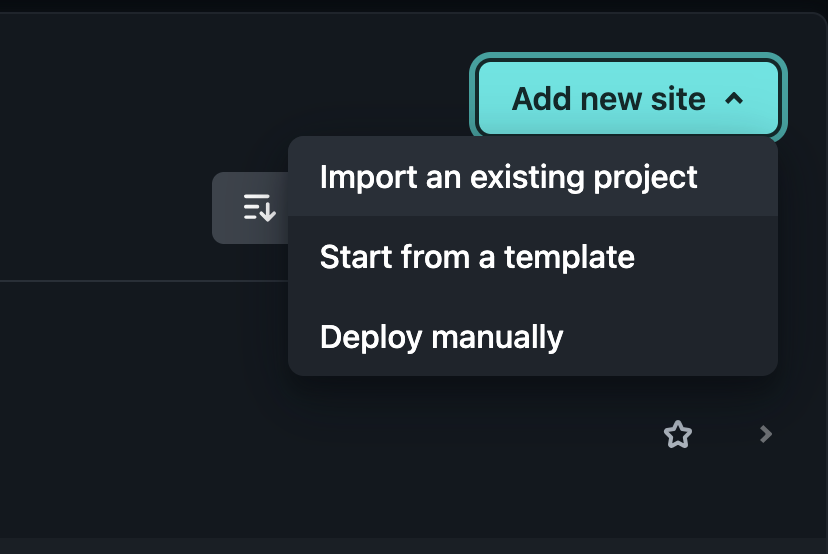
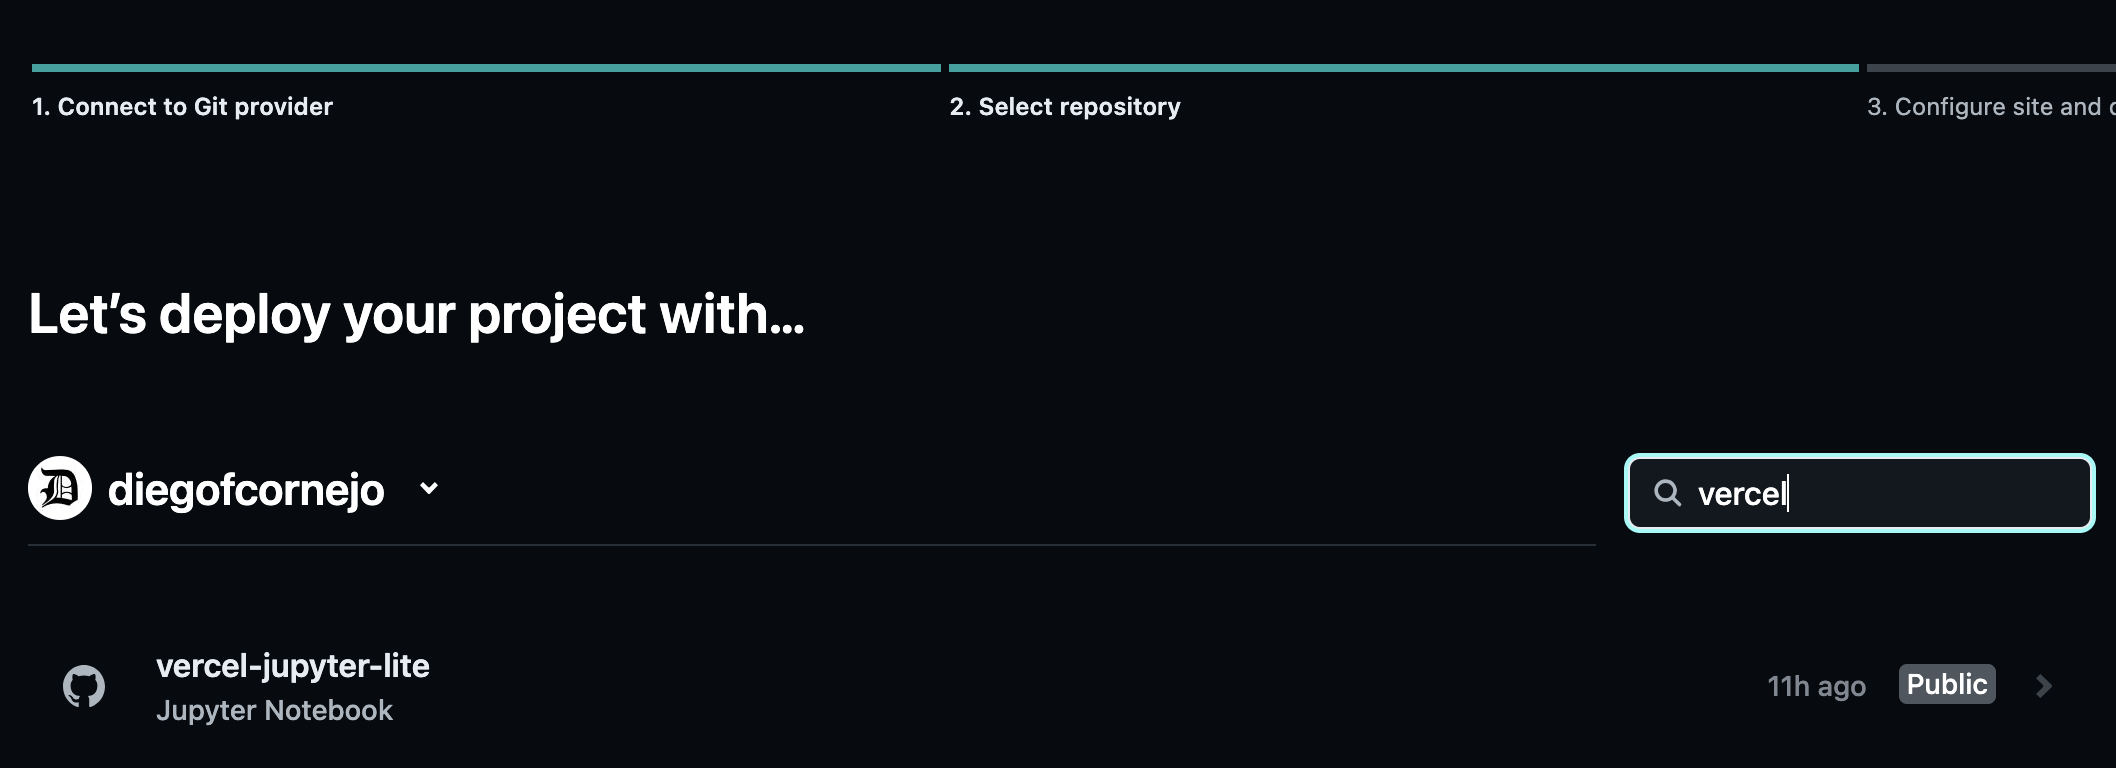
Configure deployment options and follow the steps to guide you through the deployment process.
Set a name for your project
Set "Build command" with this text:
bash ./deploy.shSet "Publish directory" with this text:
distClick on "Deploy {projectname}"
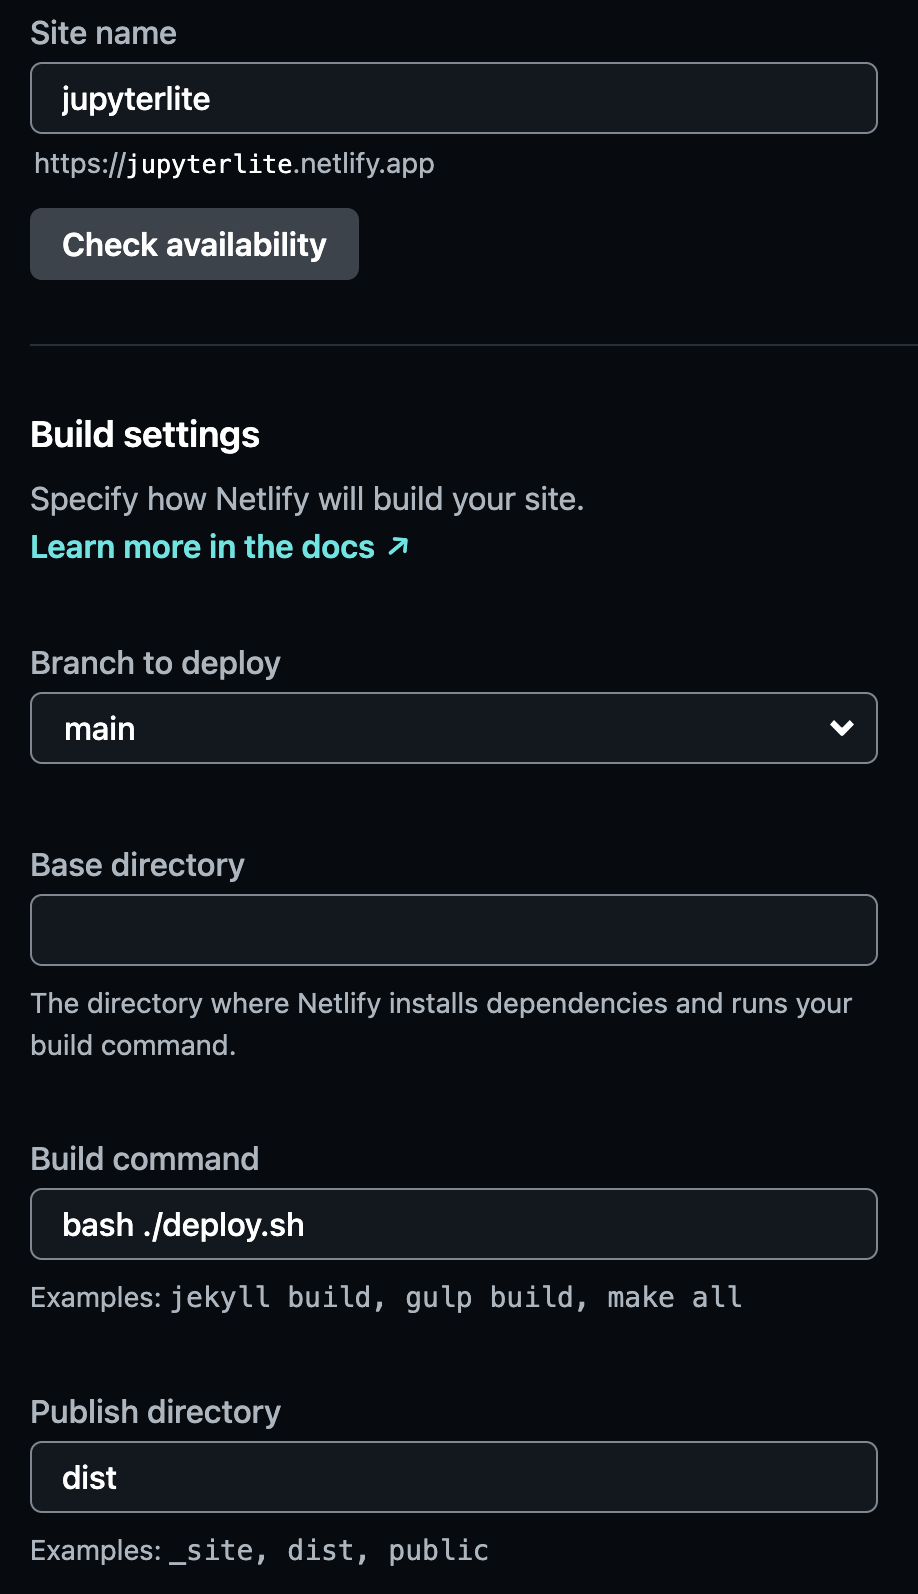
Once deployment is complete, your Jupyter Notebook project will be online and accessible.
Demo
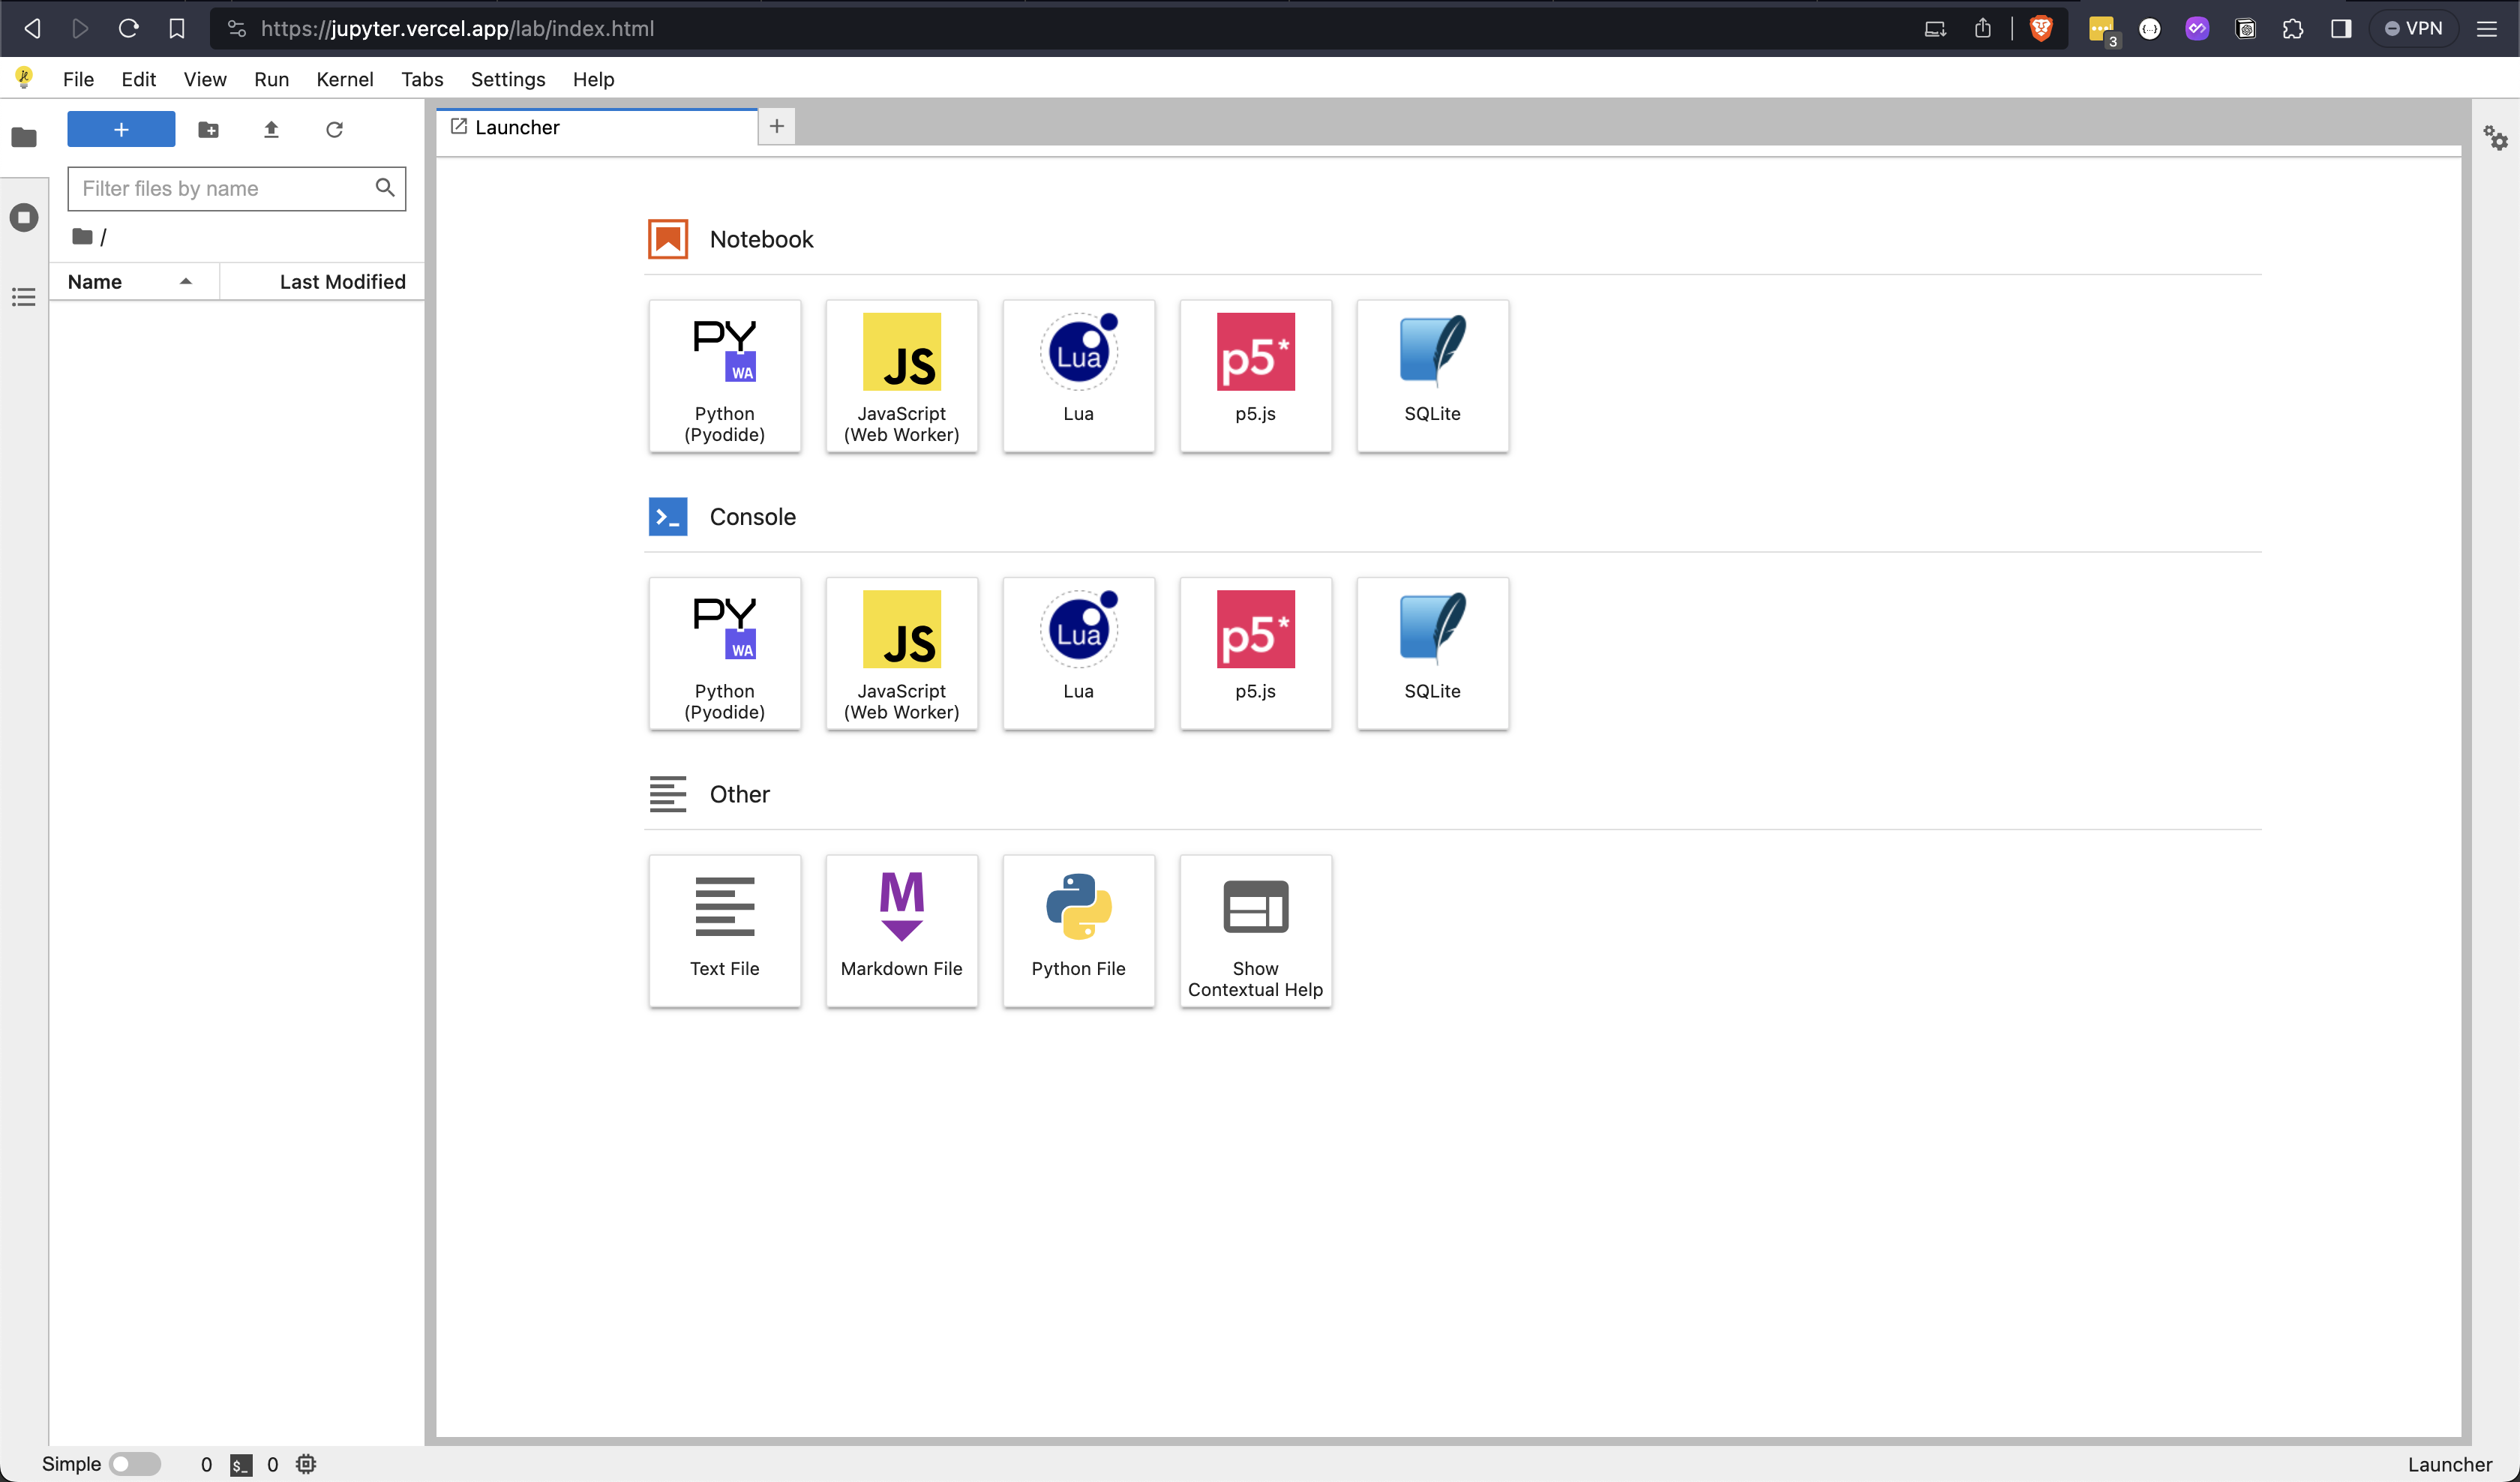
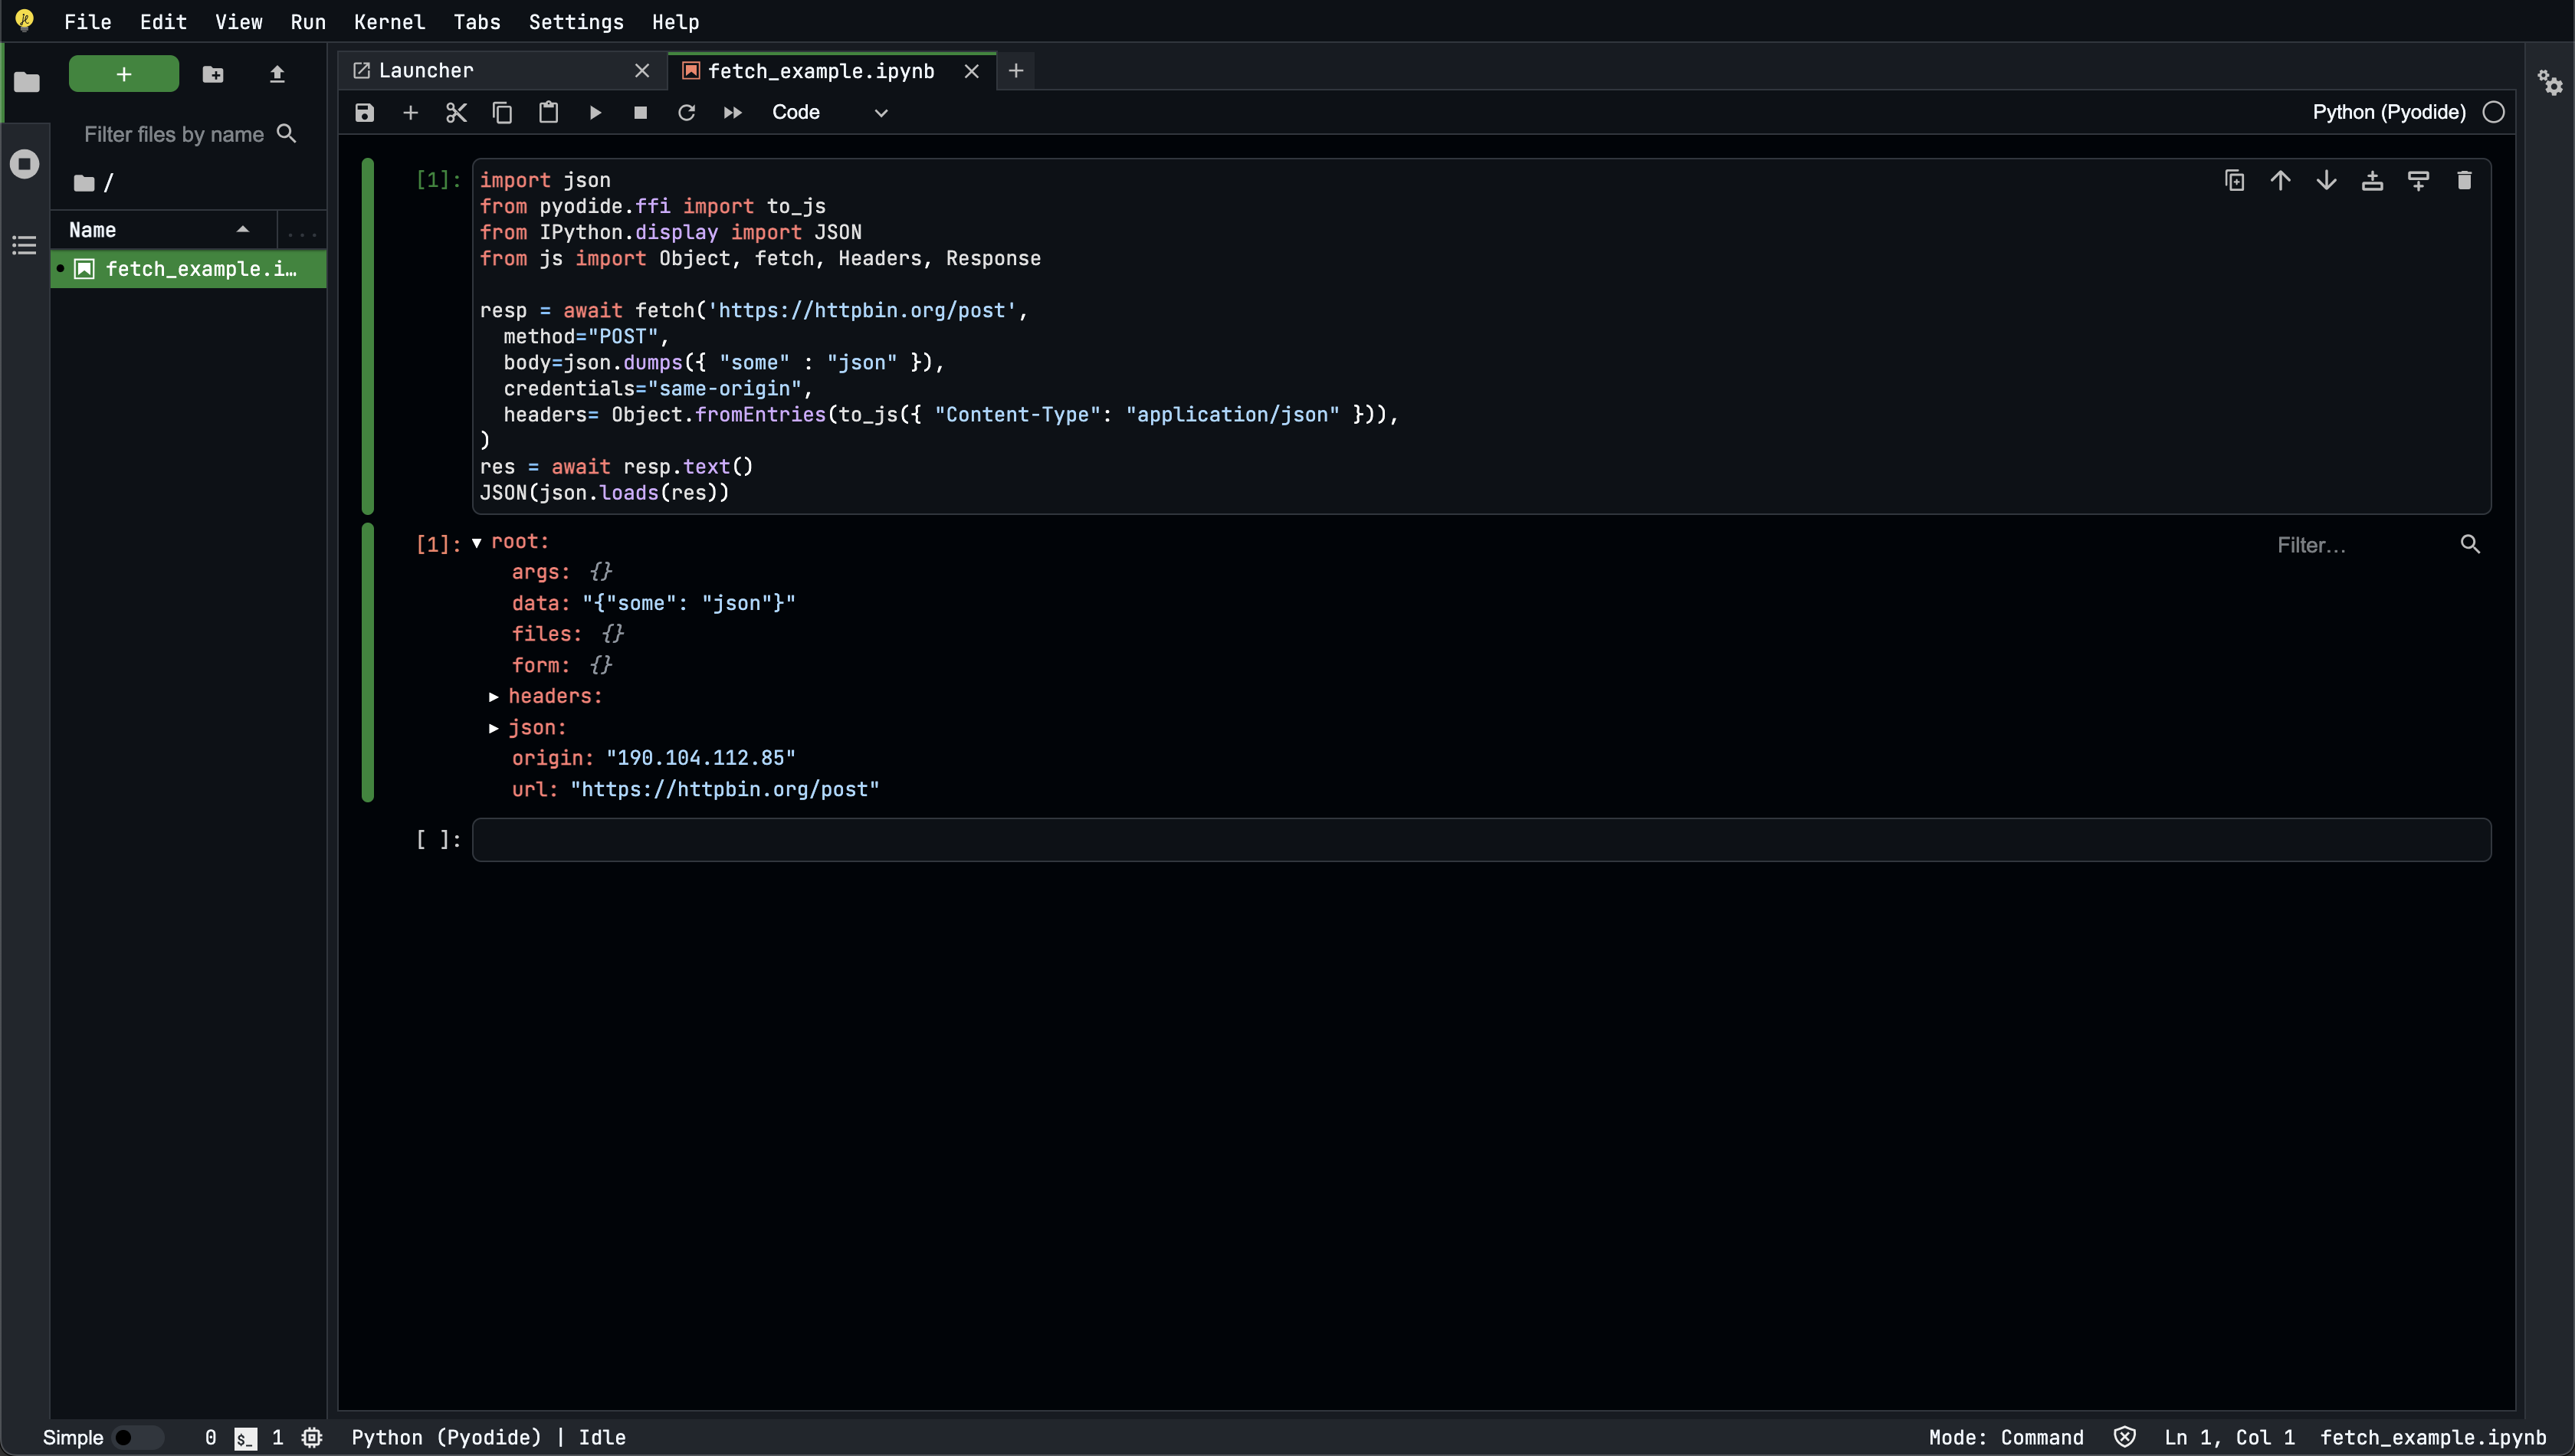
Before starting your own project, we invite you to explore a demo of what you'll accomplish with Jupyter Lite Notebook on Vercel / Netlify.
You can see the demo in action at:
https://jupyterlite.netlify.app/
Subscribe to my newsletter
Read articles from Diego Cornejo directly inside your inbox. Subscribe to the newsletter, and don't miss out.
Written by
