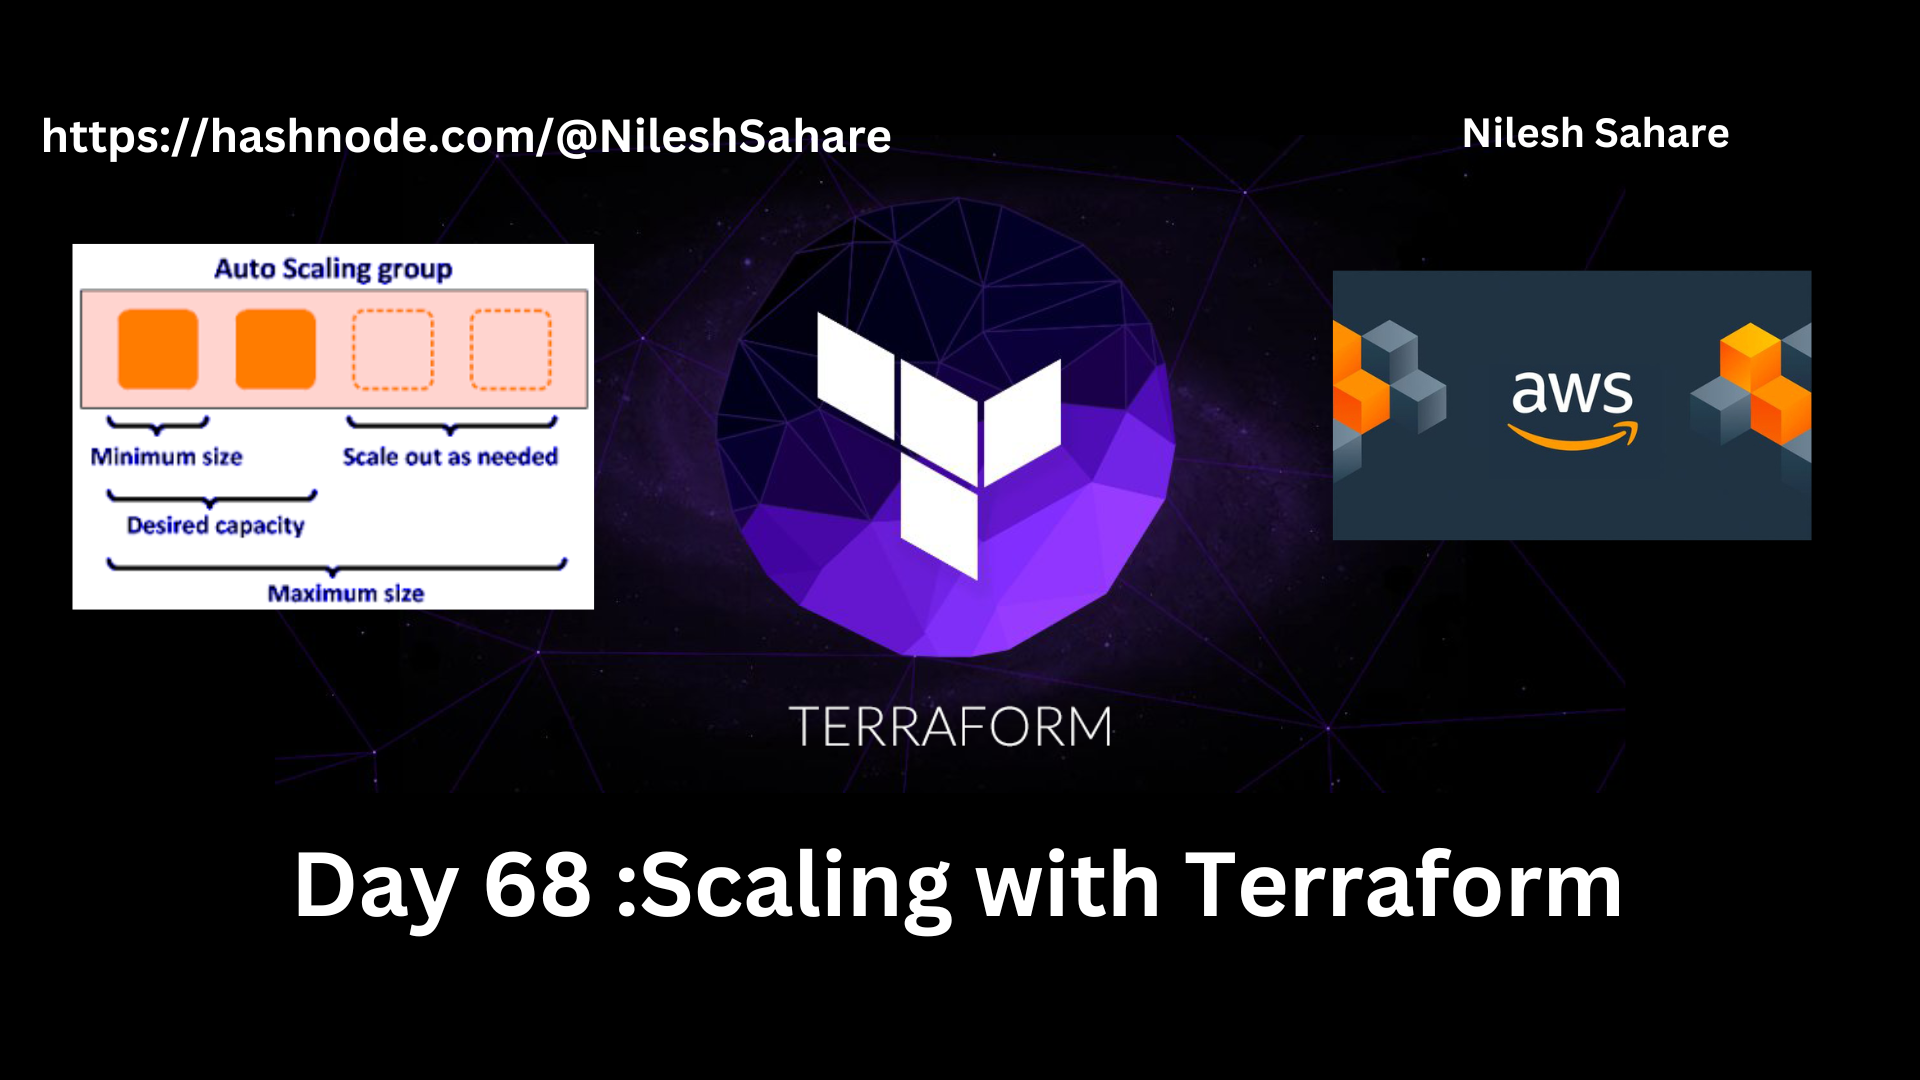
Day 68 Task: Scaling with Terraform
 Nilesh Sahare
Yesterday, we learned how to AWS S3 Bucket with Terraform. Today, we will see how to scale our infrastructure with Terraform.
🔶 Understanding Scaling
Scaling is the process of adding or removing resources to match the changing demands of your application. As your application grows, you will need to add more resources to handle the increased load. And as the load decreases, you can remove the extra resources to save costs.
Terraform makes it easy to scale your infrastructure by providing a declarative way to define your resources. You can define the number of resources you need and Terraform will automatically create or destroy the resources as needed.
🔶 Task 1: Create an Auto Scaling Group
Auto Scaling Groups are used to automatically add or remove EC2 instances based on the current demand. Follow these steps to create an Auto Scaling Group:
In your main.tf file, add the following code to create an Auto Scaling Group:
     provider "aws" {
       region = "us-east-1"
     }

     resource "aws_vpc" "day68_vpc" {
       cidr_block = "10.0.0.0/16"

       tags = {
         Name = "day68_vpc"
       }
     }

     resource "aws_subnet" "day68_public_subnet" {
       vpc_id     = aws_vpc.day68_vpc.id
       cidr_block = "10.0.1.0/24"

       tags = {
         Name = "day68_public_subnet"
       }
     }

     resource "aws_subnet" "day68_private_subnet" {
       vpc_id     = aws_vpc.day68_vpc.id
       cidr_block = "10.0.2.0/24"

       tags = {
         Name = "day68_private_subnet"
       }
     }

     resource "aws_internet_gateway" "day68_igw" {
       vpc_id = aws_vpc.day68_vpc.id

       tags = {
         Name = "day68_igw"
       }
     }

     resource "aws_route_table" "day68_routetable" {
       vpc_id = aws_vpc.day68_vpc.id

       route {
         cidr_block = "0.0.0.0/0"
         gateway_id = aws_internet_gateway.day68_igw.id
       }

       tags = {
         Name = "day68_routetable"
       }
     }

     resource "aws_route_table_association" "public_subnet_association" {
       subnet_id      = aws_subnet.day68_public_subnet.id
       route_table_id = aws_route_table.day68_routetable.id
     }

     resource "aws_security_group" "day68_sg" {
       name_prefix = "day68_sg"
       vpc_id      = aws_vpc.day68_vpc.id

       ingress {
         from_port   = 80
         to_port     = 80
         protocol    = "tcp"
         cidr_blocks = ["0.0.0.0/0"]
       }

       ingress {
         from_port   = 443
         to_port     = 443
         protocol    = "tcp"
         cidr_blocks = ["0.0.0.0/0"]
       }

       ingress {
         from_port   = 22
         to_port     = 22
         protocol    = "tcp"
         cidr_blocks = ["0.0.0.0/0"]
       }

       egress {
         from_port        = 0
         to_port          = 0
         protocol         = "-1"
         cidr_blocks      = ["0.0.0.0/0"]
         ipv6_cidr_blocks = ["::/0"]
       }
     }

     resource "aws_launch_configuration" "web_server_asg" {
       name_prefix      = "web-server-asg"
       image_id         = "ami-053b0d53c279acc90"
       instance_type    = "t2.micro"
       security_groups  = [aws_security_group.day68_sg.id]
       associate_public_ip_address = true

       user_data = <<-EOF
                     #!/bin/bash
                     sudo apt update
                     sudo apt install -y apache2
                     sudo systemctl start apache2
                     sudo systemctl enable apache2
                     echo "<html><body><h1>Welcome to my website Nilesh Sahare!</h1></body></html>" > /var/www/html/index.html
                     sudo systemctl restart apache2
                     EOF
     }

     resource "aws_autoscaling_group" "web_server_asg" {
       name                 = "web-server-asg"
       launch_configuration = aws_launch_configuration.web_server_asg.name
       min_size             = 1
       max_size             = 3
       desired_capacity     = 2
       health_check_type    = "EC2"
       vpc_zone_identifier  = [aws_subnet.day68_public_subnet.id]
     }
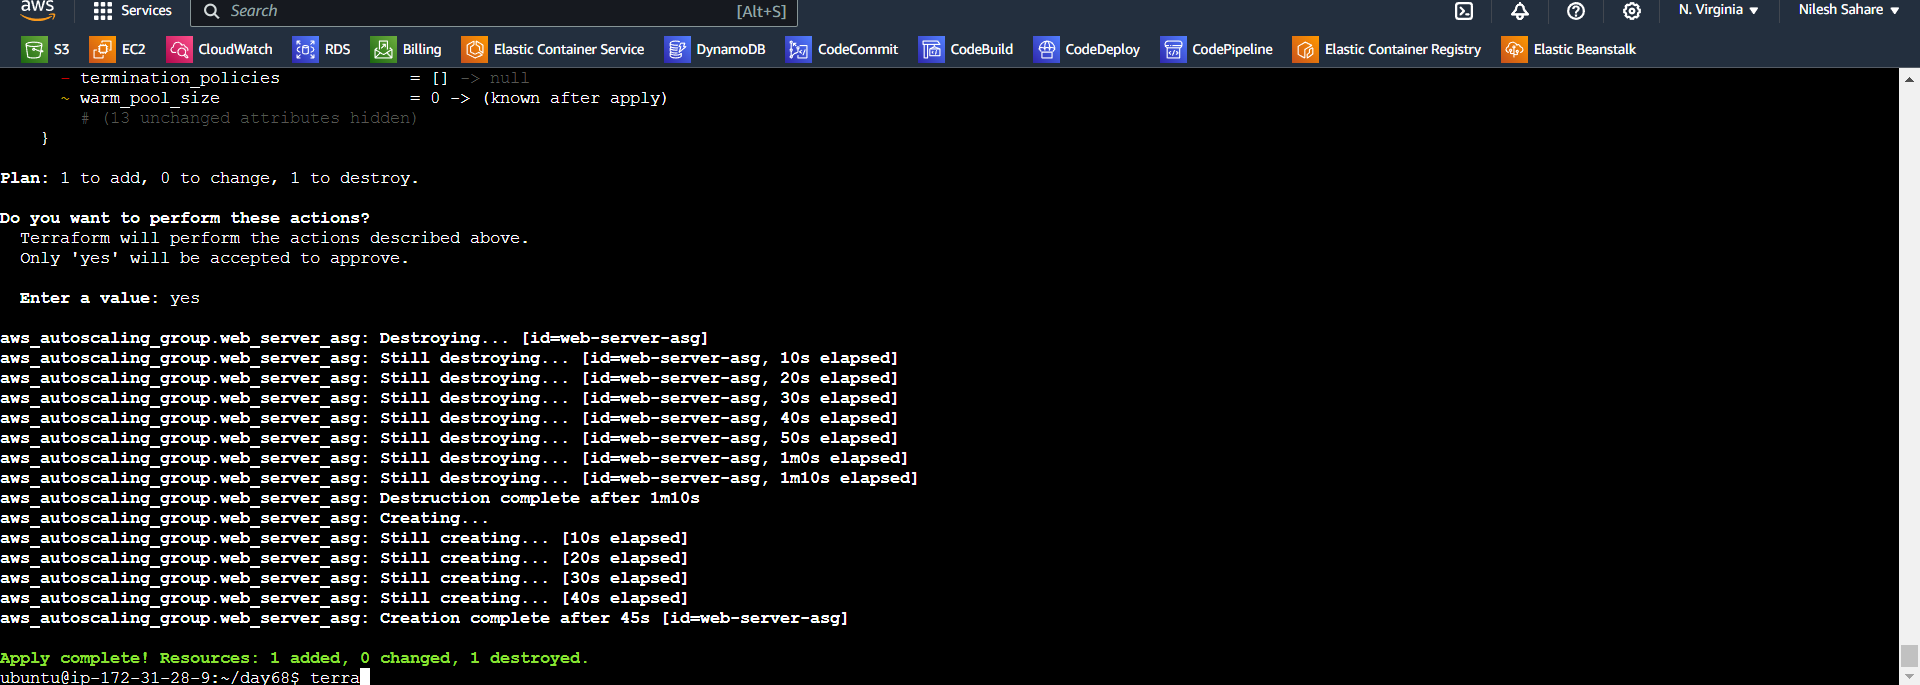
Run terraform apply to create the Auto Scaling Group.


🔶 Task 2: Test Scaling
Go to the AWS Management Console and select the Auto Scaling Groups service.

Select the Auto Scaling Group you just created and click on the "Edit" button.

Increase the "Desired Capacity" to 3 and click on the "Save" button.

Wait a few minutes for the new instances to be launched.
Go to the EC2 Instances service and verify that the new instances have been launched.

Decrease the "Desired Capacity" to 1 and wait a few minutes for the extra instances to be terminated.

Go to the EC2 Instances service and verify that the extra instances have been terminated.

Congratulations🎊🎉 We have successfully scaled your infrastructure with Terraform
Happy Learning :)
If you find my blog valuable, I invite you to like, share, and join the discussion. Your feedback is immensely cherished as it fuels continuous improvement. Let's embark on this transformative DevOps adventure together! 🚀 #devops #90daysofdevop #AWS

Subscribe to my newsletter
Read articles from Nilesh Sahare directly inside your inbox. Subscribe to the newsletter, and don't miss out.
Written by

Nilesh Sahare
Nilesh Sahare
🎓 I hold a Post Graduate Diploma in Advanced Computing, which has equipped me with a strong foundation in cutting-edge computing technologies like MySQL Database (MySQL 8 on both Command Line client and Workbench), Data Structures and Algorithms using Java (Eclipse IDE), HTML 5, CSS 3, JavaScript, MERN, Software Development Methodologies (SDLC, STLC, JIRA, POSTMAN), JDBC , Servlet, Hibernate, Spring Boot, JSP (J2EE, STS IDE) LINUX Operating system and shell scripting. 📊 Current Role: Quality Assurance Engineer| 2 Year 3 Months and Counting 🧪 In my current role as a Quality Assurance Engineer, Automation and Manual Testing Tools: Selenium, Jira, TestRail, Postman, JUnit, . 🛠️ Learning the DevOps Way: Building Bridges 🌐 I'm on a continuous learning path, actively acquiring knowledge and hands-on experience with DevOps tools streamline collaboration between development and operations teams, encompassing popular solutions like Jenkins for continuous integration, Docker for containerization, Kubernetes for orchestration, Terraform for infrastructure as code, and Git for version control. 🤝 Let's Connect and Collaborate! 🌐