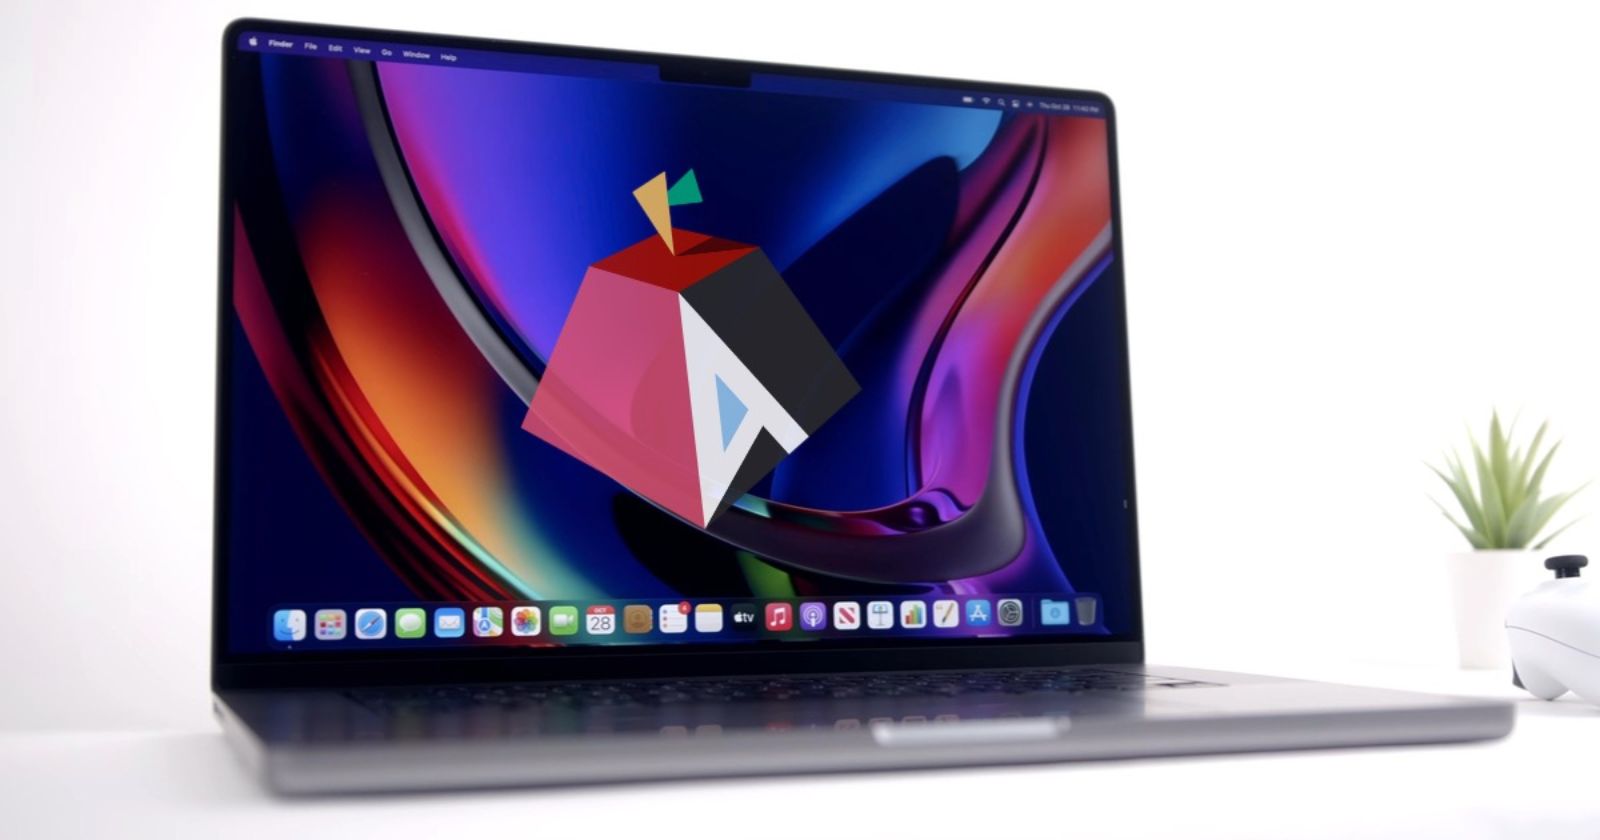
Installing Asahi Linux on Apple M1 and M2 Macs
 Pratik M
Asahi Linux is an exciting open-source project working to port the Linux kernel and ecosystem to Apple silicon Macs powered by M1 and M2 chips. With Asahi Linux, you can run a performant and compatible Linux distro natively on your MacBook, iMac or Mac mini.
In this guide, we'll walk through the entire process of installing Asahi Linux alongside macOS in a dual-boot configuration. Follow along to get Linux up and running on your M1 or M2 Mac!
An Introduction to Asahi Linux
Launched in 2020 shortly after Apple's transition to homegrown silicon, Asahi Linux aims to bring full Linux support to Apple's custom ARM-based processors.
Since the Linux kernel and most distros are developed for x86 PCs, significant work is required to port everything over to Apple's new architecture. The volunteer Asahi developers have made rapid progress reverse-engineering hardware and booting Linux on these devices.
Asahi Linux currently works on all M1 and M2 powered Macs including:
MacBook Air
MacBook Pro 13" and 14"
Mac mini
iMac 24"
Mac Studio
While still a work in progress, it can be installed today as a daily driver OS on your Apple silicon Mac. Let's look at how.
Supported Features in Asahi Linux
Asahi Linux already delivers core functionality like:
Wi-Fi and Bluetooth
Suspend and hibernate
Audio and video playback
Touchpad and keyboard
USB device support
Accelerated graphics with Mesa drivers
But some components remain unsupported or experimental:
No Thunderbolt device support
Limited accelerated video decoding
Touch Bar and Touch ID untested
DisplayPort and HDMI video output
Check the Asahi Linux GitHub page for an up-to-date compatibility list before proceeding. Dual booting with macOS is recommended to retain access to missing features.
Step 1 — Download Asahi Linux Installer
Asahi provides an automated installer script that handles partitioning your SSD, installing packages, and configuring the bootloader.
To download it directly on your Mac, open the Terminal app and run:
curl https://alx.sh | sh
This will fetch the latest installer build and launch it. Follow the on-screen instructions to proceed.
Alternatively, you can manually download the script from GitHub, make it executable with chmod +x alx-installer and then run it.
Step 2 — Partition Your Mac's SSD
The installer will first prompt you to repartition your Mac's SSD to make space for Asahi Linux.
It is strongly recommended you have backups before partitioning, as any mistakes can result in data loss.
When asked, choose R to resize your macOS volume. Enter the partition size you want to allocate for Asahi Linux, either as a percentage (e.g. 40%) or specific capacity (e.g. 200GB).
The script will shrink your macOS volume and create free space for Asahi Linux.
Step 3 — Install Asahi Linux
With partitions set up, you can proceed to install Asahi Linux in the free space:
When asked what to do next, choose
Fto install Asahi Linux.Pick your preferred flavor - currently only
linux-asahi-edgeis available.Allocate disk space for Linux, e.g.
maxto use all free space.Give your OS a name like
asahi-linux.Wait for the script to automatically download packages and set up your system. Supply your macOS user password if requested.
The entire installation process can take 15-30 minutes based on your Mac's disk speed and internet connection.
Step 4 — Boot Into Asahi Linux
Once installation completes, follow the on-screen instructions to safely reboot and boot into Asahi Linux:
Hold power button on reboot to enter macOS Startup Manager.
Select the "EFI Boot" option to boot Asahi Linux.
At login prompt, enter username and password set during installation.
You'll be greeted by a console-based initial setup process to configure language, locale, timezone etc.
Finally, you'll reach the graphical Linux desktop!
Step 5 (Optional) — Install GPU Drivers
Asahi Linux offers experimental open-source graphics drivers that unlock full GPU acceleration for much better performance:
sudo pacman -Syu linux-asahi-edge mesa-asahi-edge
Then reboot into the plasma-wayland session. Enjoy buttery smooth Linux desktop experience on your Mac!
Dual Booting macOS and Asahi Linux
With Asahi Linux installed, you'll be able to dual boot seamlessly between macOS and Linux when restarting your Mac.
Hold Power button → Select macOS or Asahi Linux → Login normally
Keep Time Machine backups of macOS before experiments. Some suggestions when dual booting:
Don't hibernate, only shutdown or reboot fully when switching OS.
Disable Fast User Switching in macOS Security settings.
Update GRUB config if you resize partitions later.
Check the Asahi Linux dual boot guide for more tips.
Getting Support and Contributing
As an early-stage open source project, you may face bugs and missing functionality when evaluating Asahi Linux.
The Discord community is very helpful for getting assistance when stuck. Developers also welcome technical contributions.
Make sure to periodically check for Updater app notifications to download the latest updates and improvements for your Asahi Linux install.
Closing Thoughts on Asahi Linux
Asahi Linux unlocks the ability for Apple silicon Mac owners to enjoy the benefits of Linux alongside macOS. This gives you far more choice in how you use your Mac.
While still incomplete as project, Asahi has progressed remarkably considering it's been just over two years since the M1 chip launched. Testers can already enjoy a usable Linux desktop experience on Macs with full hardware integration.
If you're technologically adventurous, have good backups, and are comfortable troubleshooting early-stage software, giving Asahi Linux a try on your M1 or M2 Mac is certainly rewarding!
Subscribe to my newsletter
Read articles from Pratik M directly inside your inbox. Subscribe to the newsletter, and don't miss out.
Written by

Pratik M
Pratik M
As an experienced Linux user and no-code app developer, I enjoy using the latest tools to create efficient and innovative small apps. Although coding is my hobby, I still love using AI tools and no-code platforms.