How To Create A Data Disk On A Virtual Machine
 Victor Ogundipe
Table of contents
INTRODUCTION: In Azure, a data disk is a type of storage device that can be attached to an Azure virtual machine (VM) to provide additional storage capacity. It is a separate disk from the OS disk, which contains the operating system and the VM's system files.
Data disks are used to store data files, applications, databases, or any other files that your VM requires. They offer persistent storage that is independent of the lifecycle of the VM. This means you can attach and detach data disks from a VM without affecting the data stored on them.
Here are some key points about data disks in Azure:
Disk Types: Azure provides different types of data disks, including Standard HDD (Hard Disk Drive), Standard SSD (Solid-State Drive), and Premium SSD. These disk types differ in terms of performance, durability, and cost. Premium SSDs offer the highest performance and are suitable for I/O-intensive workloads, while Standard HDDs offer lower performance but are more cost-effective.
Disk Sizes: Azure data disks come in various sizes, ranging from a few gigabytes to several terabytes. You can choose the appropriate disk size based on your storage requirements.
Disk Attachments: You can attach multiple data disks to a VM, depending on the VM series and size. The number of data disks you can attach varies across VM sizes. For example, a smaller VM size might support one or two data disks, while larger VM sizes can support many more.
Disk Management: Azure provides different options for managing data disks. You can create, delete, resize, and manage data disks using the Azure portal, Azure PowerShell, Azure CLI, or Azure Resource Manager templates.
Disk Performance: In Azure, you can optimize the performance of data disks by leveraging features such as disk striping (RAID 0) or disk caching. Disk striping enhances performance by spreading data across multiple disks, while disk caching improves read and write performance by caching data in memory.
Disk Snapshots: Azure allows you to take snapshots of data disks, which are point-in-time copies of the disk. Snapshots provide a backup mechanism and can be used to create new disks or restore disks to a previous state.
By leveraging data disks in Azure virtual machines, you can scale your storage capacity, separate data from the OS disk, and achieve better performance and flexibility in managing your virtual machine storage.
To create a data disk on a virtual machine, you can follow this step-by-step instruction
step 1: Log in to your virtual machine portal or management console. This could be Azure Portal, AWS Console, Google Cloud Console, or any other cloud provider's management interface.
Step 1: Log in to the Azure Portal (portal.azure.com) using your Azure account credentials.
Step 2: In the Azure Portal, click on the "Create a resource" button (+) located in the upper left corner of the portal.
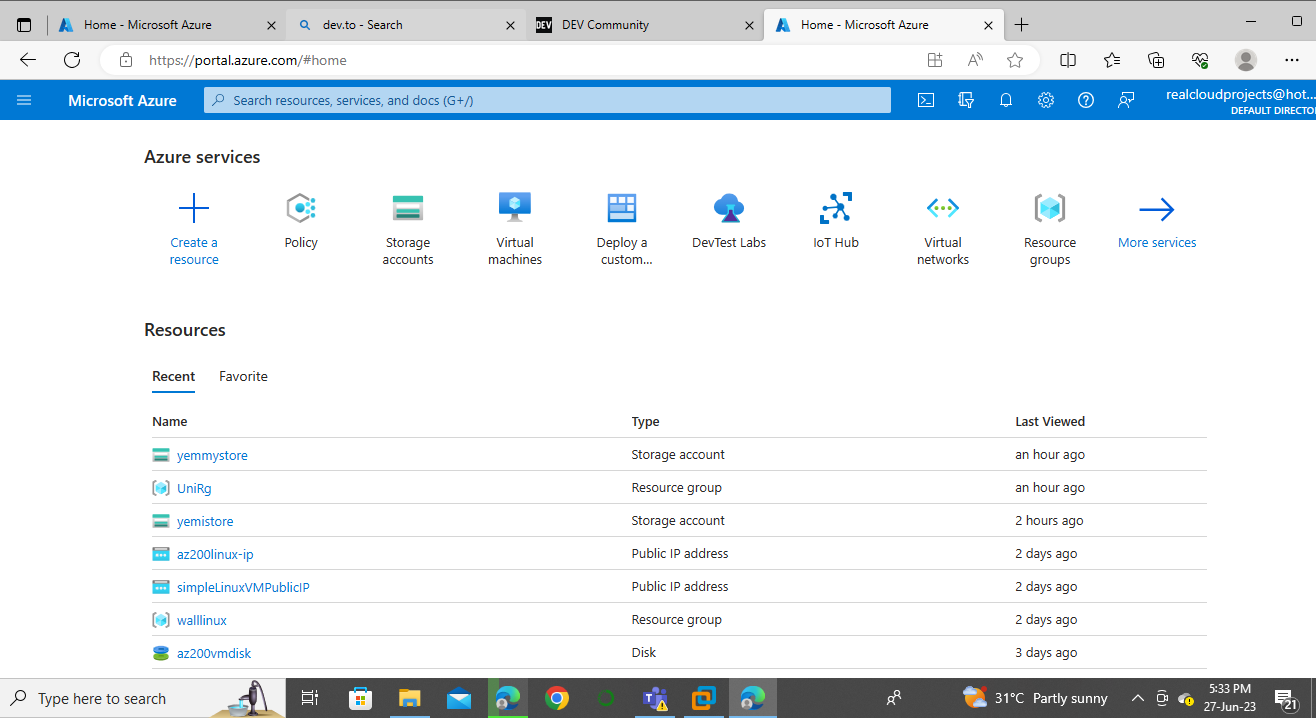
Step 3: Navigate to the "Disks" or "Storage" section of the virtual machine settings
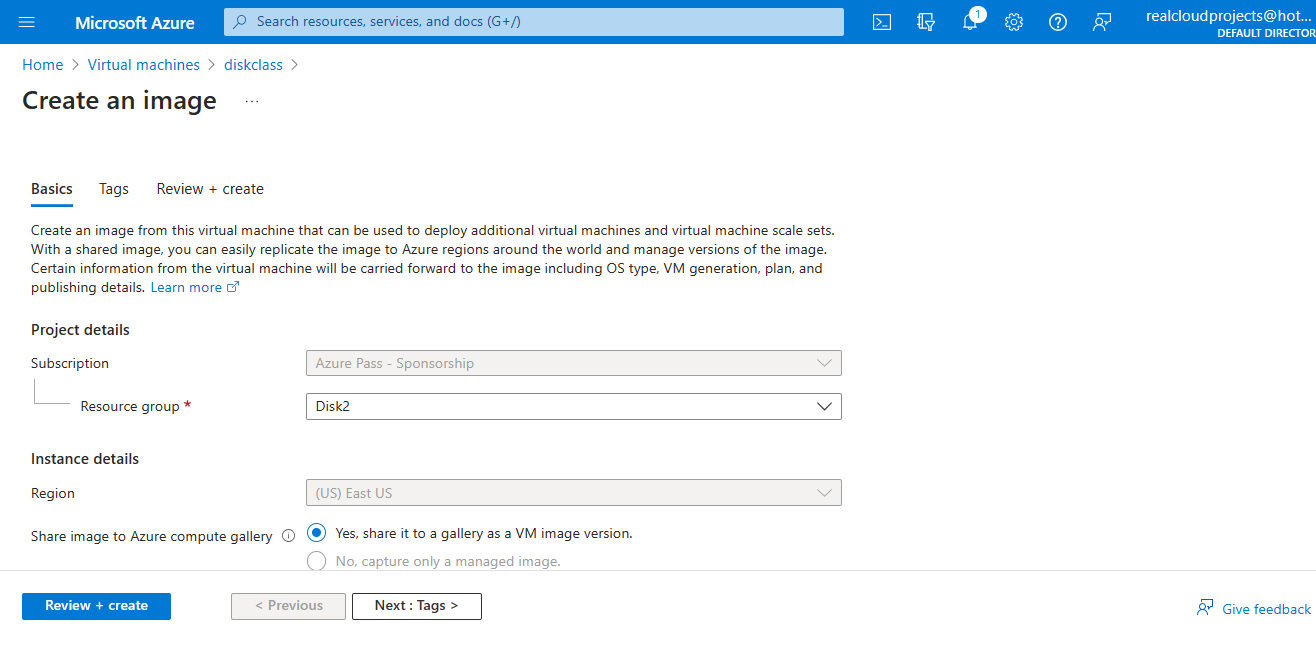
Step 4: Look for an option to add a new disk or storage.
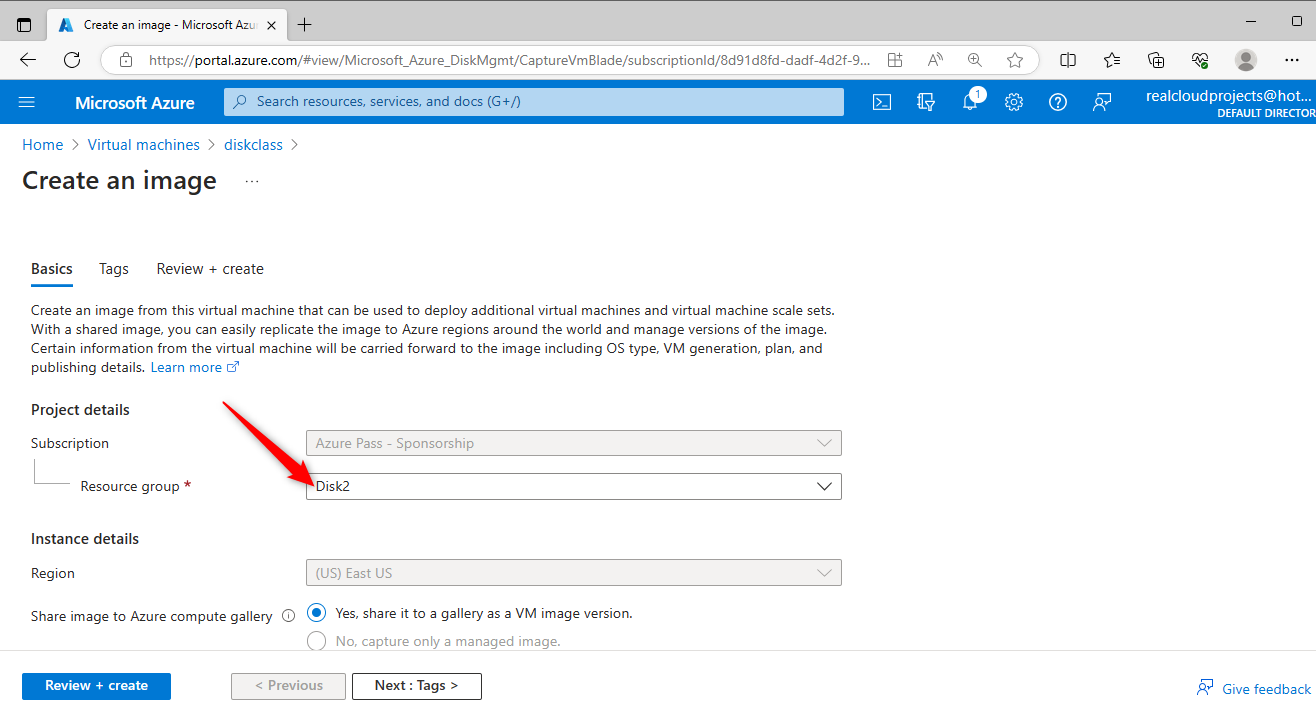
Step 5: Add region and user name and Password
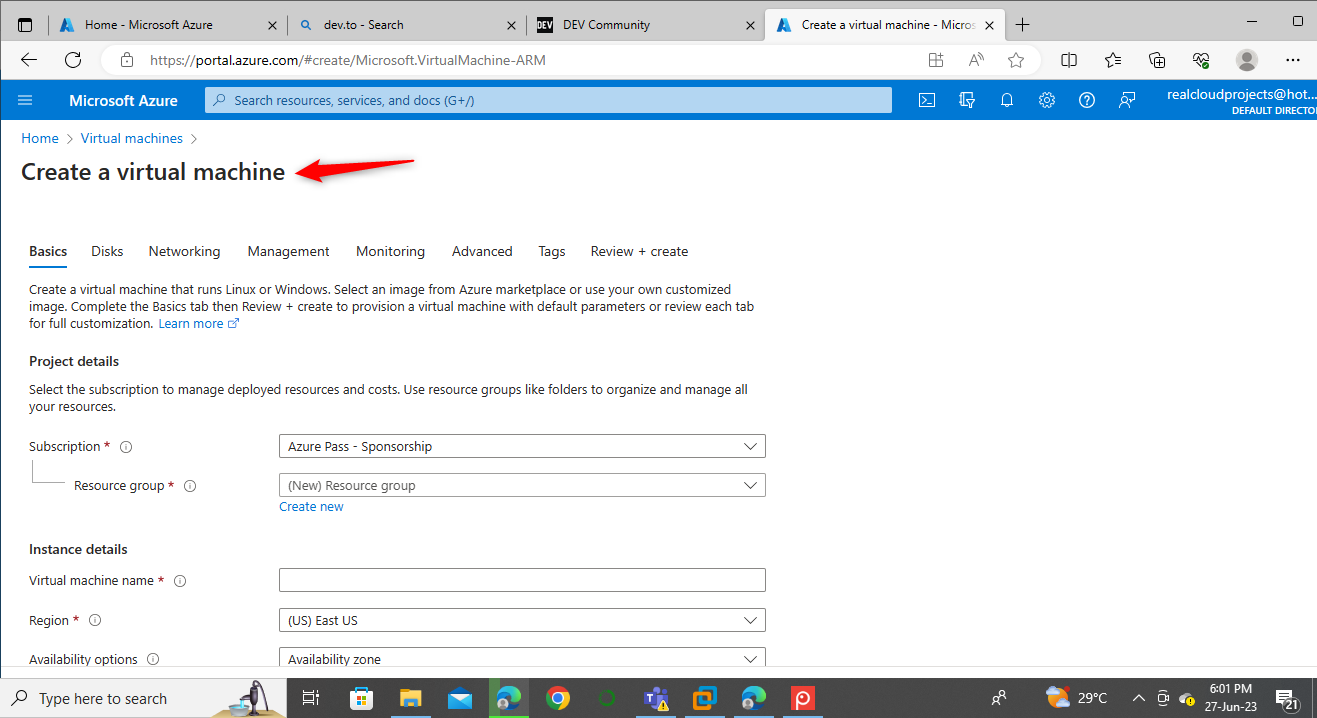
step 6 ;Click on the "Add Disk" or similar button to initiate the disk creation process.
Step 7: Specify the disk type, size, and other relevant configuration options. You may need to provide a name for the disk and select the storage account or region where it should be created.
Step 8: Review the configuration settings and click on the "Create" or "Finish" button to start creating the data disk
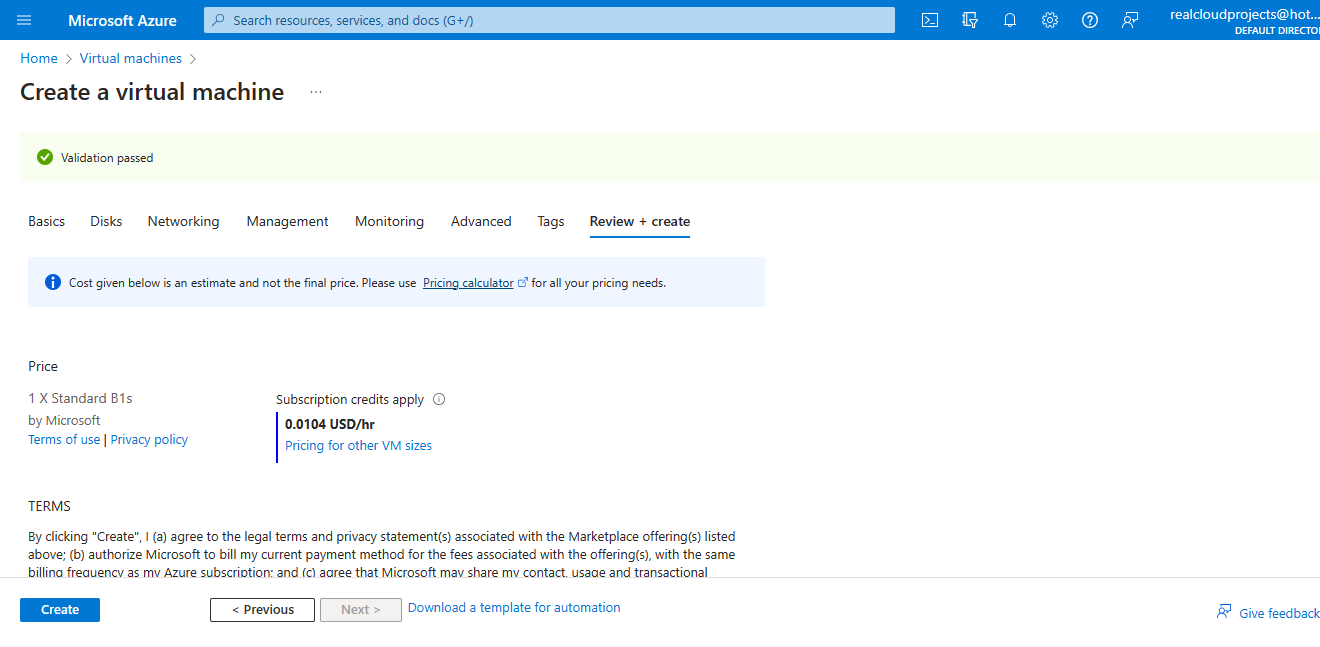
Step 9: Wait for the disk creation process to complete. The time required may vary depending on the disk size and the cloud provider's infrastructure
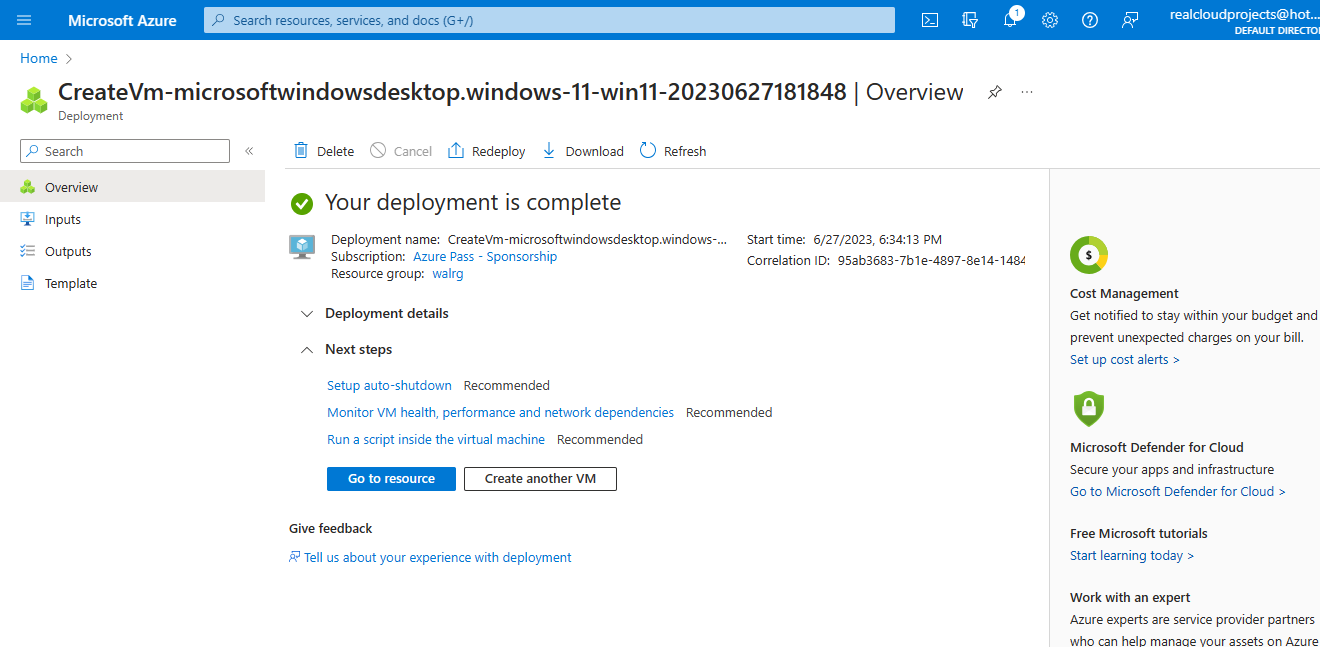
Step 10: Once the data disk creation is finished, go back to the virtual machine settings and attach the newly created disk to the virtual machine. There should be an option to attach the disk or associate it with the virtual machine.
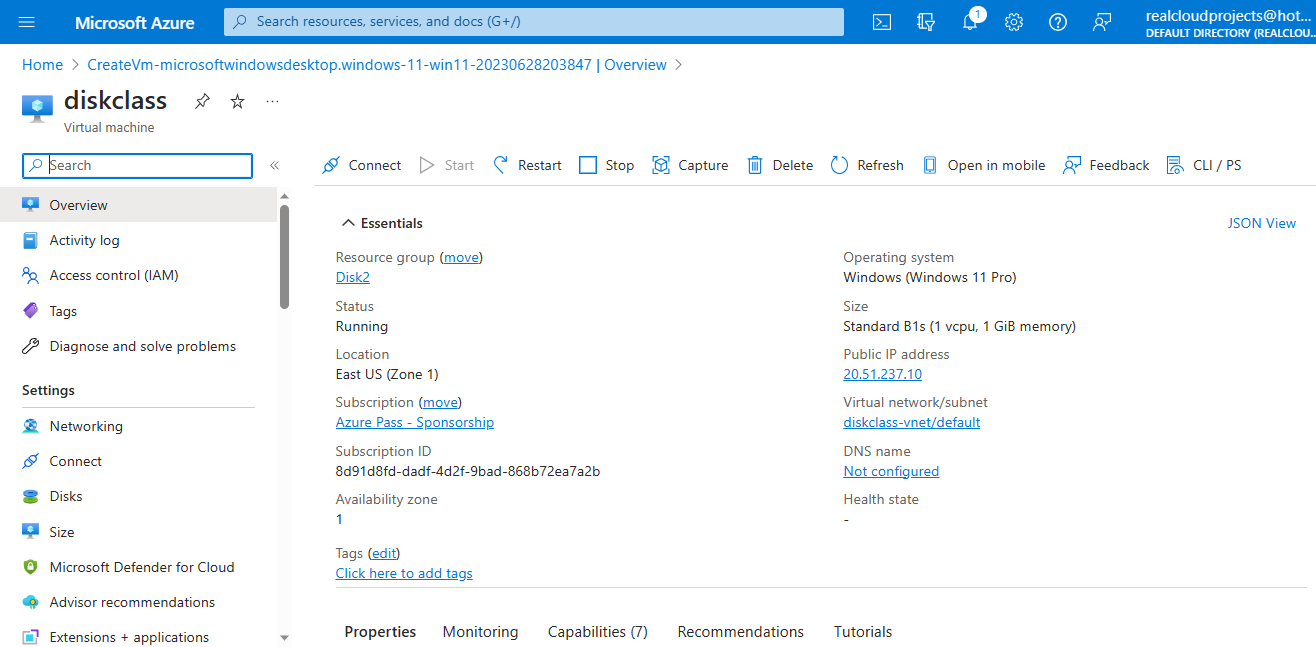
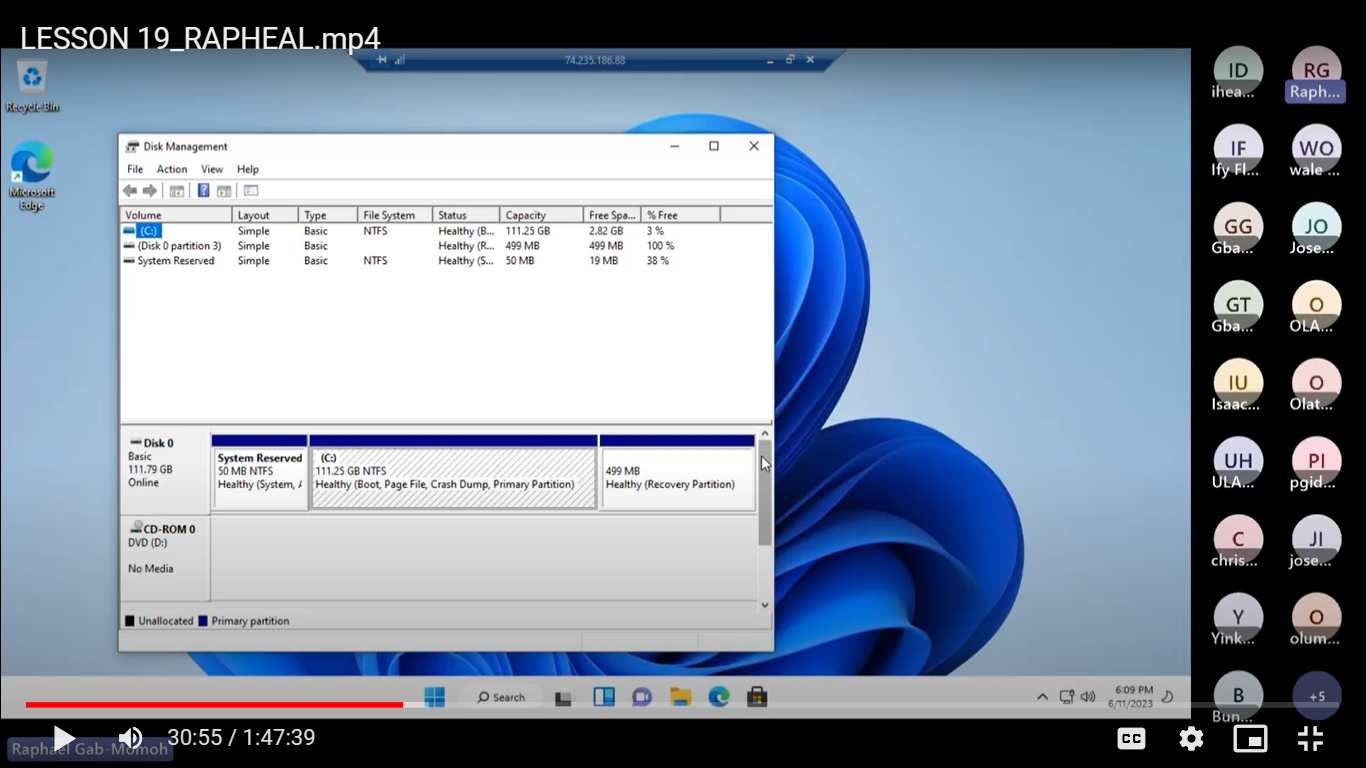
Step 11: Configure the operating system or applications running on the virtual machine to recognize and use the newly attached data disk. This may involve formatting the disk, assigning a drive letter, and mounting it as a file system.
That's it! You have now successfully created a data disk and attached it to your virtual machine. You can use this additional storage for storing data or running applications, depending on your requirements.
Gallery name: Enter a unique name for your gallery.
Region: Choose the Azure region where you want to create the gallery.
Step 7: In the "Image definitions" tab, click on the "Add an image definition" button to add an image definition
.
Step 12: Wait for the deployment to complete. The time required may vary depending on the size and complexity of the gallery
.
Step 13: Once the deployment is finished, you can access and manage your Compute Gallery from the Azure Portal
Type Disk Management on your search Bar to generate your data disk 2
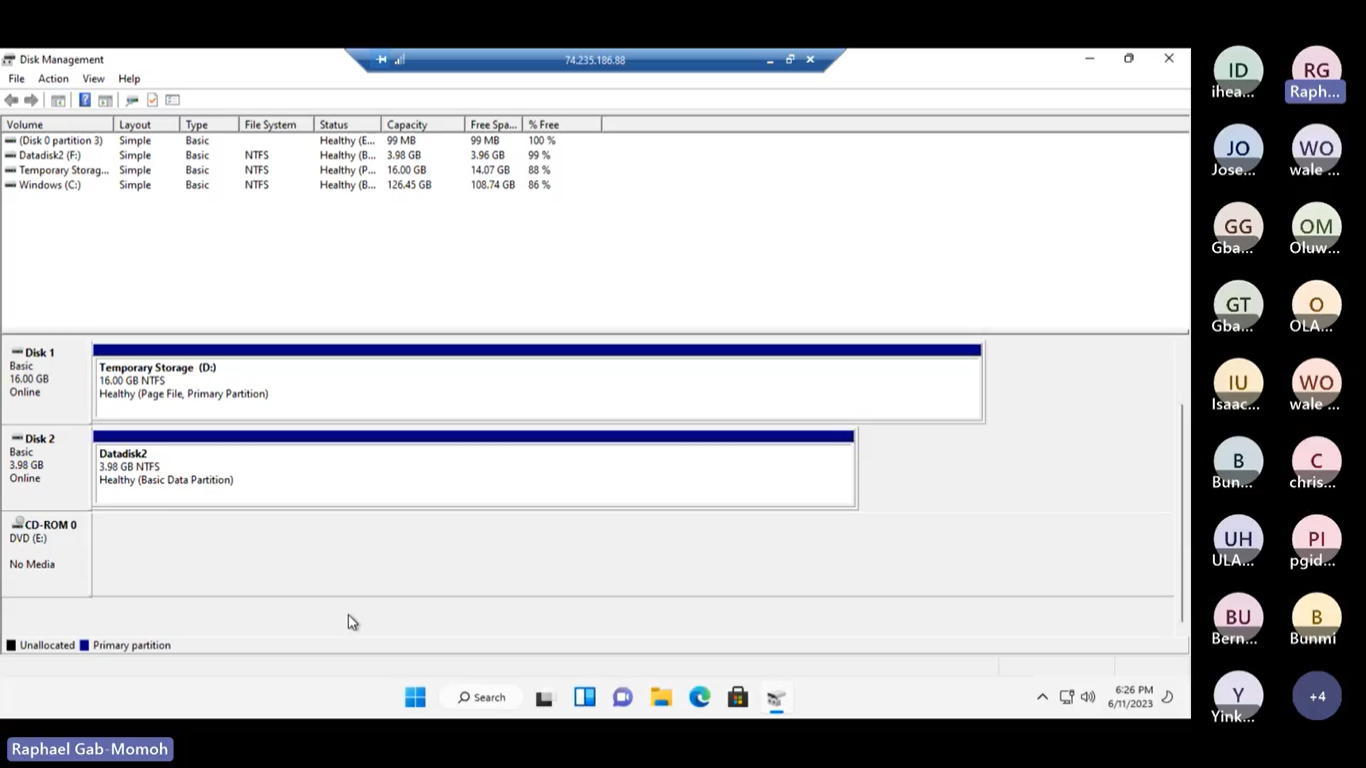
.
That's it! You have now successfully created an Azure Compute Gallery. You can use the gallery to store and manage custom images that can be deployed on virtual machines in Azure. Make sure to consult the Azure documentation or reach out to Azure support for any specific guidance or troubleshooting related to Compute Galleries
.
Subscribe to my newsletter
Read articles from Victor Ogundipe directly inside your inbox. Subscribe to the newsletter, and don't miss out.
Written by
