Integrating Shell Script with Cron Job for Reporting AWS Resource Usage
 Visakha Sandhya Griddaluru
Table of contents

In this project, we will create a shell script to list EC2 Instances, S3 buckets, and IAM users and automatically output them into a log file at certain timely intervals by setting up a Cron Job.
Prerequisites
Create an EC2 Instance, SSH into it, and install AWS CLI using
 sudo apt update
 sudo apt install awscli
Using the "aws configure" command, set up the AWS Command Line Interface (CLI) with the necessary configuration details such as AWS access key, secret key, region, and output format.
 $ aws configure
 AWS Access Key ID [None]: YOUR_ACCESS_KEY
 AWS Secret Access Key [None]: YOUR_SECRET_KEY
 Default region name [None]: us-east-1
 Default output format [None]: json
Note: For a detailed explanation of how to configure AWS CLI, refer to this article.
Steps to Create Shell Script & Run a Cron Job
Step 1: Create a File
First, create a file to write the shell script using vim editor.
vim aws_resource_tracker.sh

Step 2: Write a Shell Script
Write a shell script that will list EC2 instances, S3 buckets, and IAM users in the log file.
#!/bin/bash

########################
# Author: Sandhya
# Date: 18th-Nov
#
# Version: v1
#
# This script will report the AWS resource usage
#######################

set -x

# Log file path
LOG_FILE="/home/ubuntu/logfile.log"

# list EC2 instances
echo "Print list of ec2 instances"
aws ec2 describe-instances | jq '.Reservations[].Instances[].InstanceId' >> "$LOG_FILE" 2>&1 || { echo "Error getting EC2 instances"; echo "Error getting EC2 instances" | mail -s "Error in AWS Resource Tracker Script" your-email@gmail.com; exit 1; }

# list S3 buckets
echo "Print list of s3 buckets"
aws s3 ls >> "$LOG_FILE" 2>&1 || { echo "Error getting S3 buckets"; echo "Error getting S3 buckets" | mail -s "Error in AWS Resource Tracker Script" your-email@gmail.com; exit 1; }

# list IAM users
echo "Print list of iam users"
aws iam list-users >> "$LOG_FILE" 2>&1 || { echo "Error getting IAM users"; echo "Error getting IAM users" | mail -s "Error in AWS Resource Tracker Script" your-email@gmail.com; exit 1; }
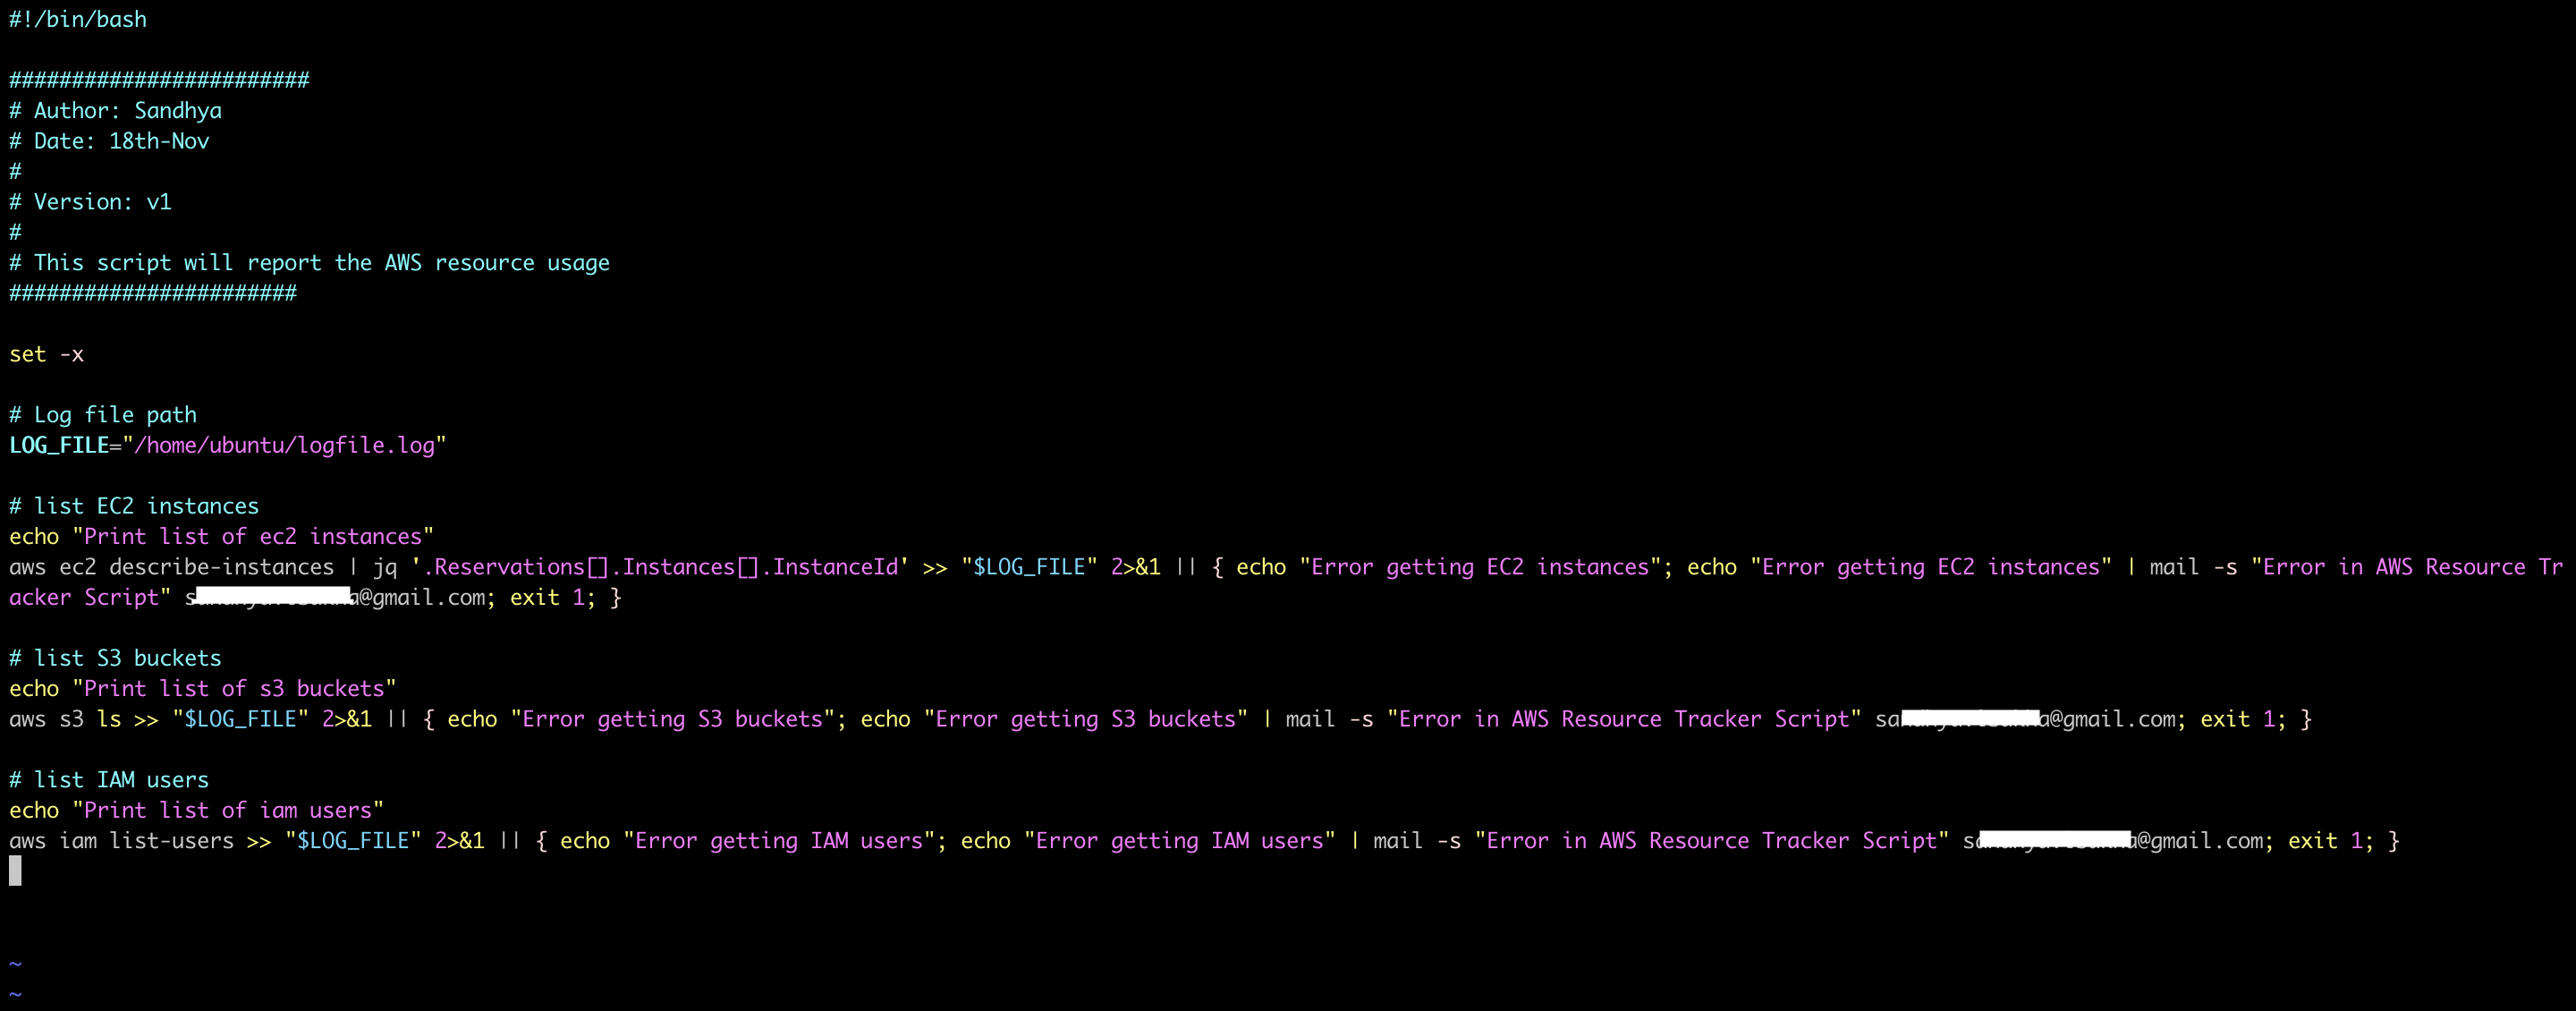
Some best practices one must follow when writing a shell script
(i) Script Header: It's a good practice to include a header at the beginning of your script to provide information about the script, such as the author, date, and purpose.
(ii) Error-Handling: Including error handling in your script is a good practice. For example, the script will keep running even if one of the AWS CLI commands fails. It might be a good idea to include some logic to determine whether each command has exited and to handle errors properly.
(iii) Logging: If you want to keep track of script executions and errors, redirect your script's output to a log file.
(iv) Email Notifications: Set up email alerts for critical errors. This is especially helpful if you use cron to run the script. The mail command can be used in addition to error handling.
Step 3: Create a Log File
Create a log file that will later show the results of Cron Job.

Step 4: Execute the Script:
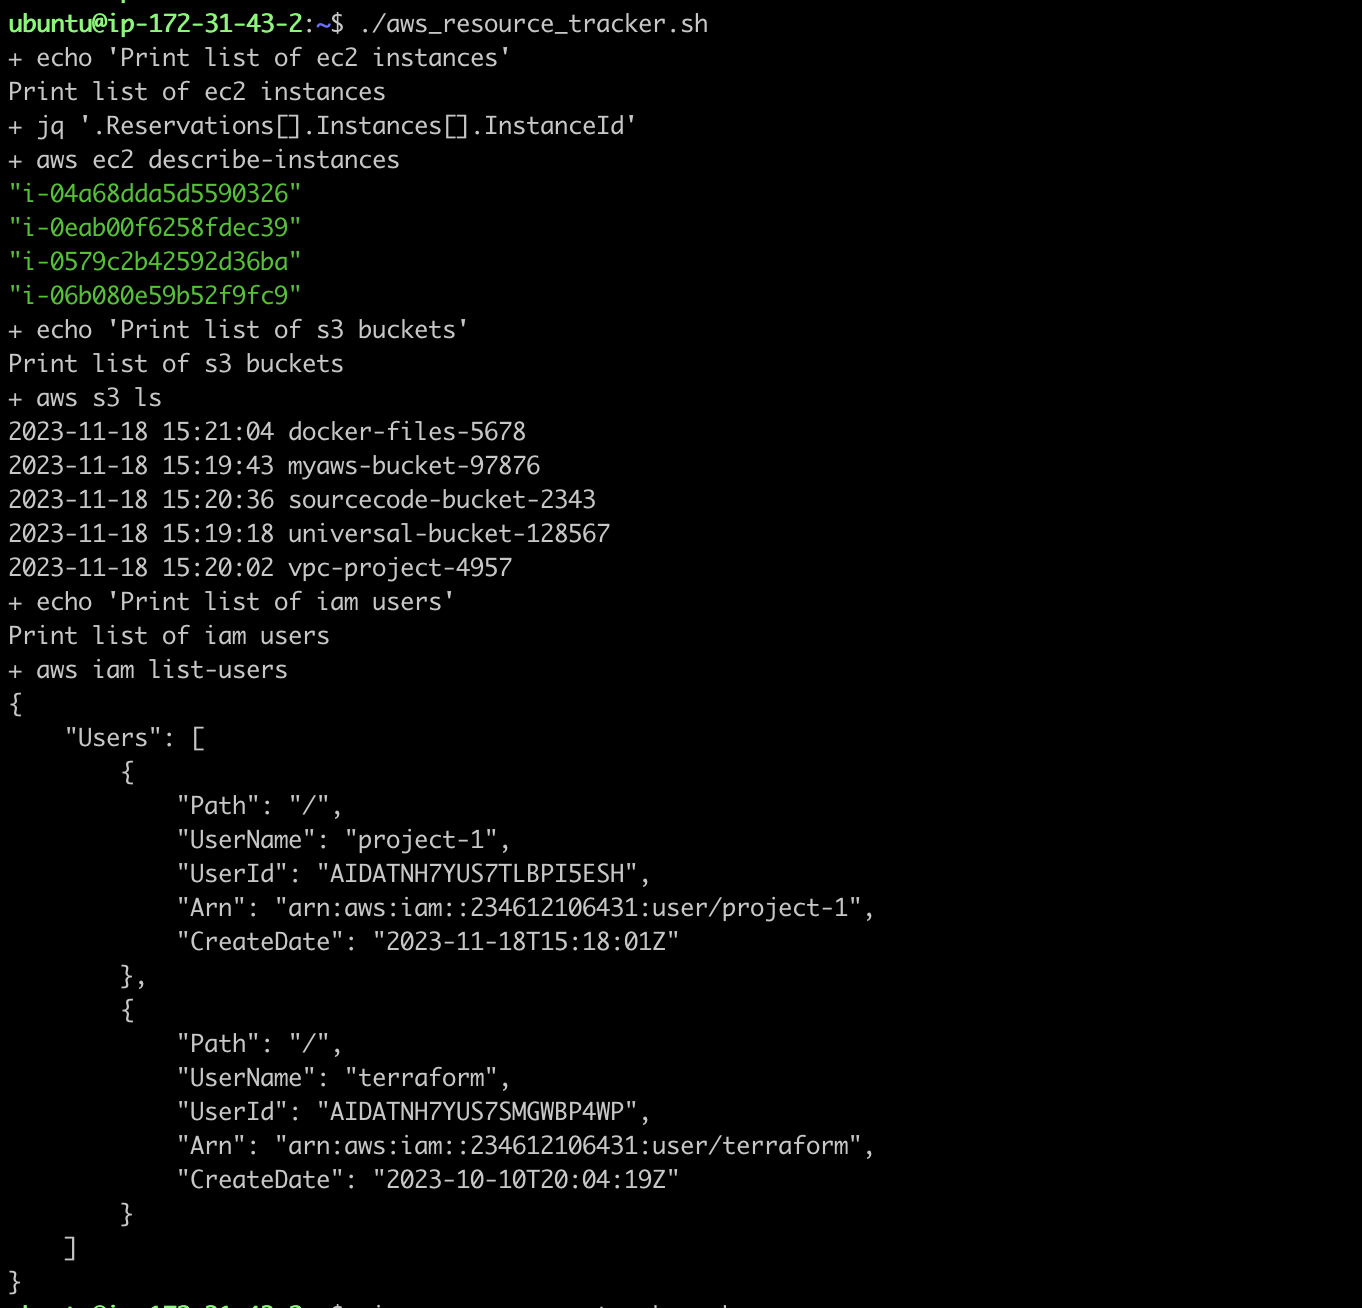
Change the permissions of the shell script file and execute it to see the results.
chmod +x aws_resource_tracker.sh
./aws_resource_tracker.sh
Step 5: Edit Crontab
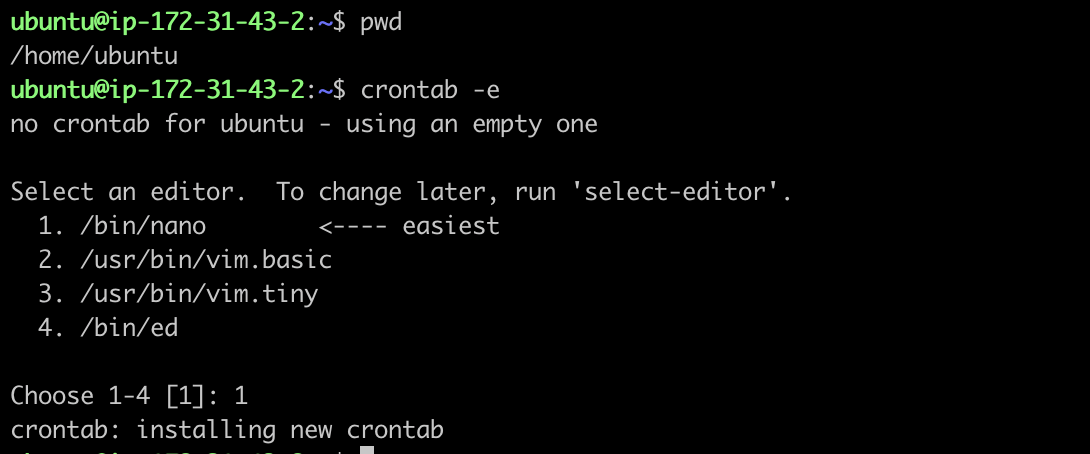
To integrate the shell script with a cron job for automating AWS resource tracking, open the crontab file for editing using the "crontab -e" command.
crontab -e
Step 6: Schedule the Cron Job
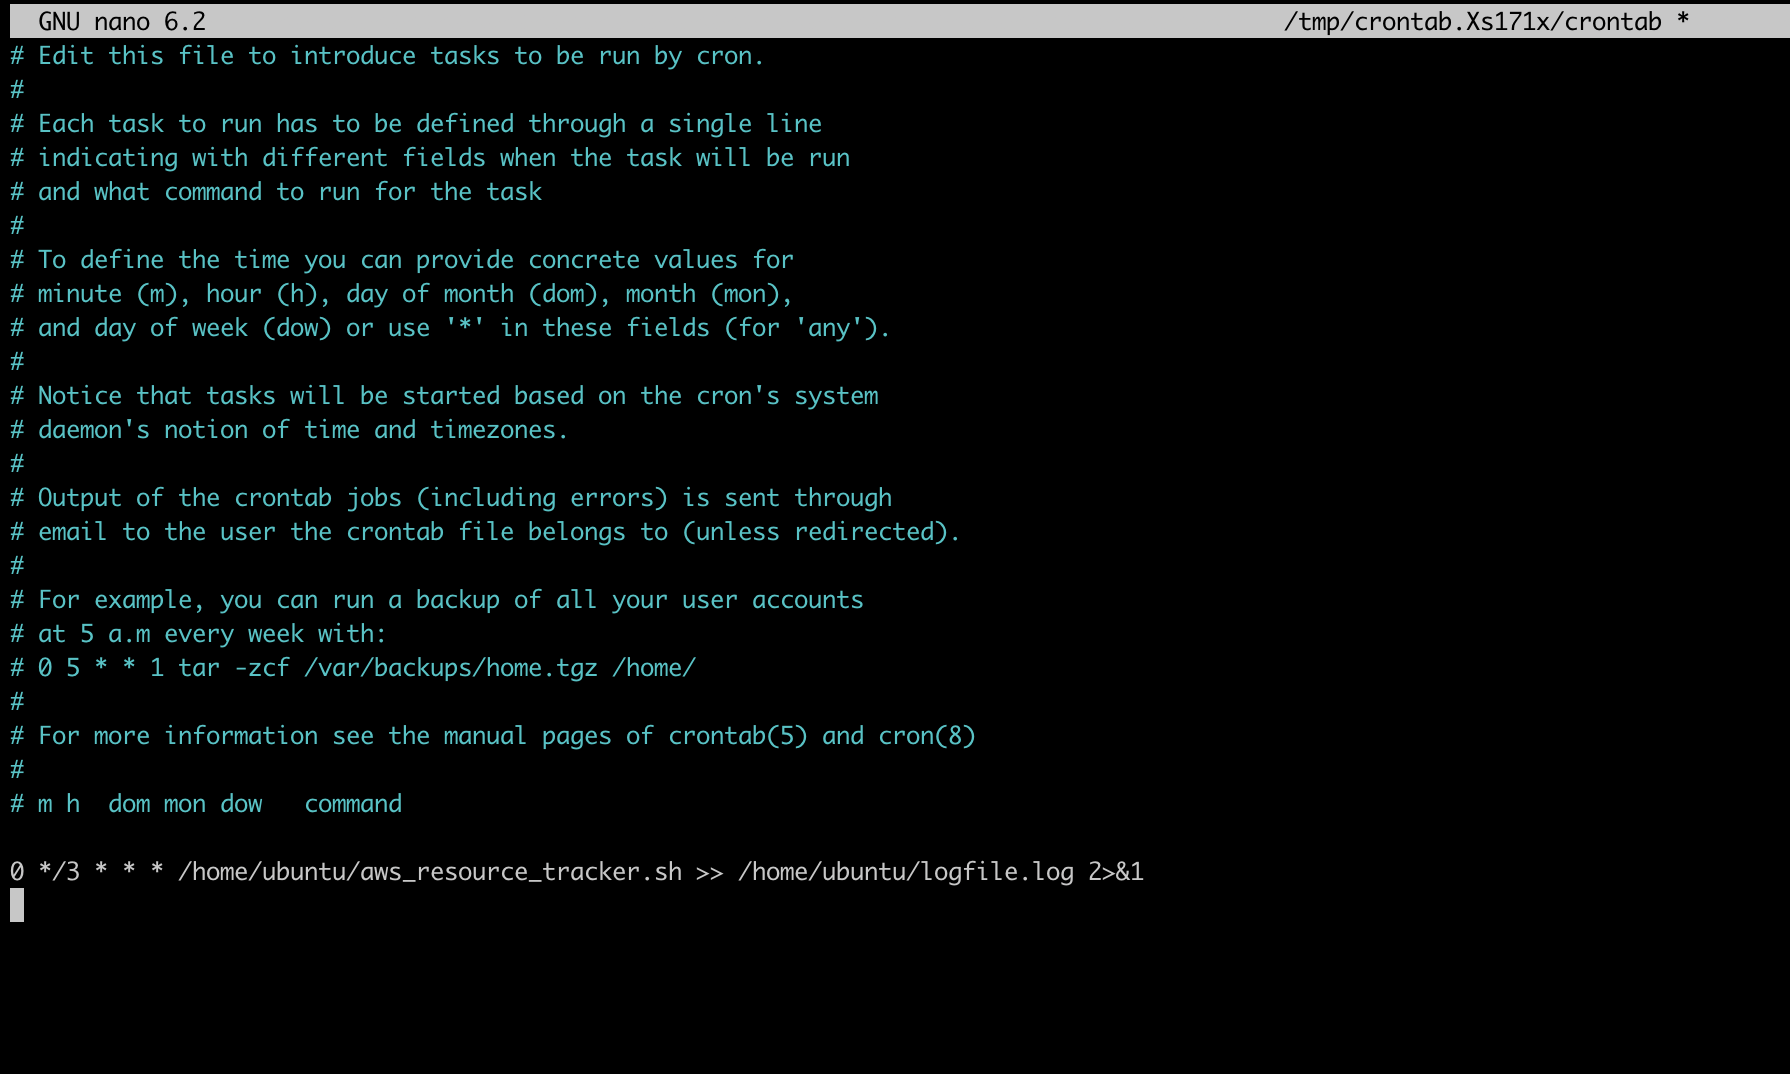
To schedule the shell script, add an entry. For instance, add the next line to run your script every 3 hours as shown below (Replace your file name and path). Save and exit the editor, and the shell script will now be executed by the cron job at the designated intervals.
0 */3 * * * /home/ubuntu/aws_resource-tracker.sh>>/home/ubuntu/logfile.log2>81
Step 7: Verify the Log File
Check the log file after a few hours to see what your script produced and if there are any errors.
cat logfile.log
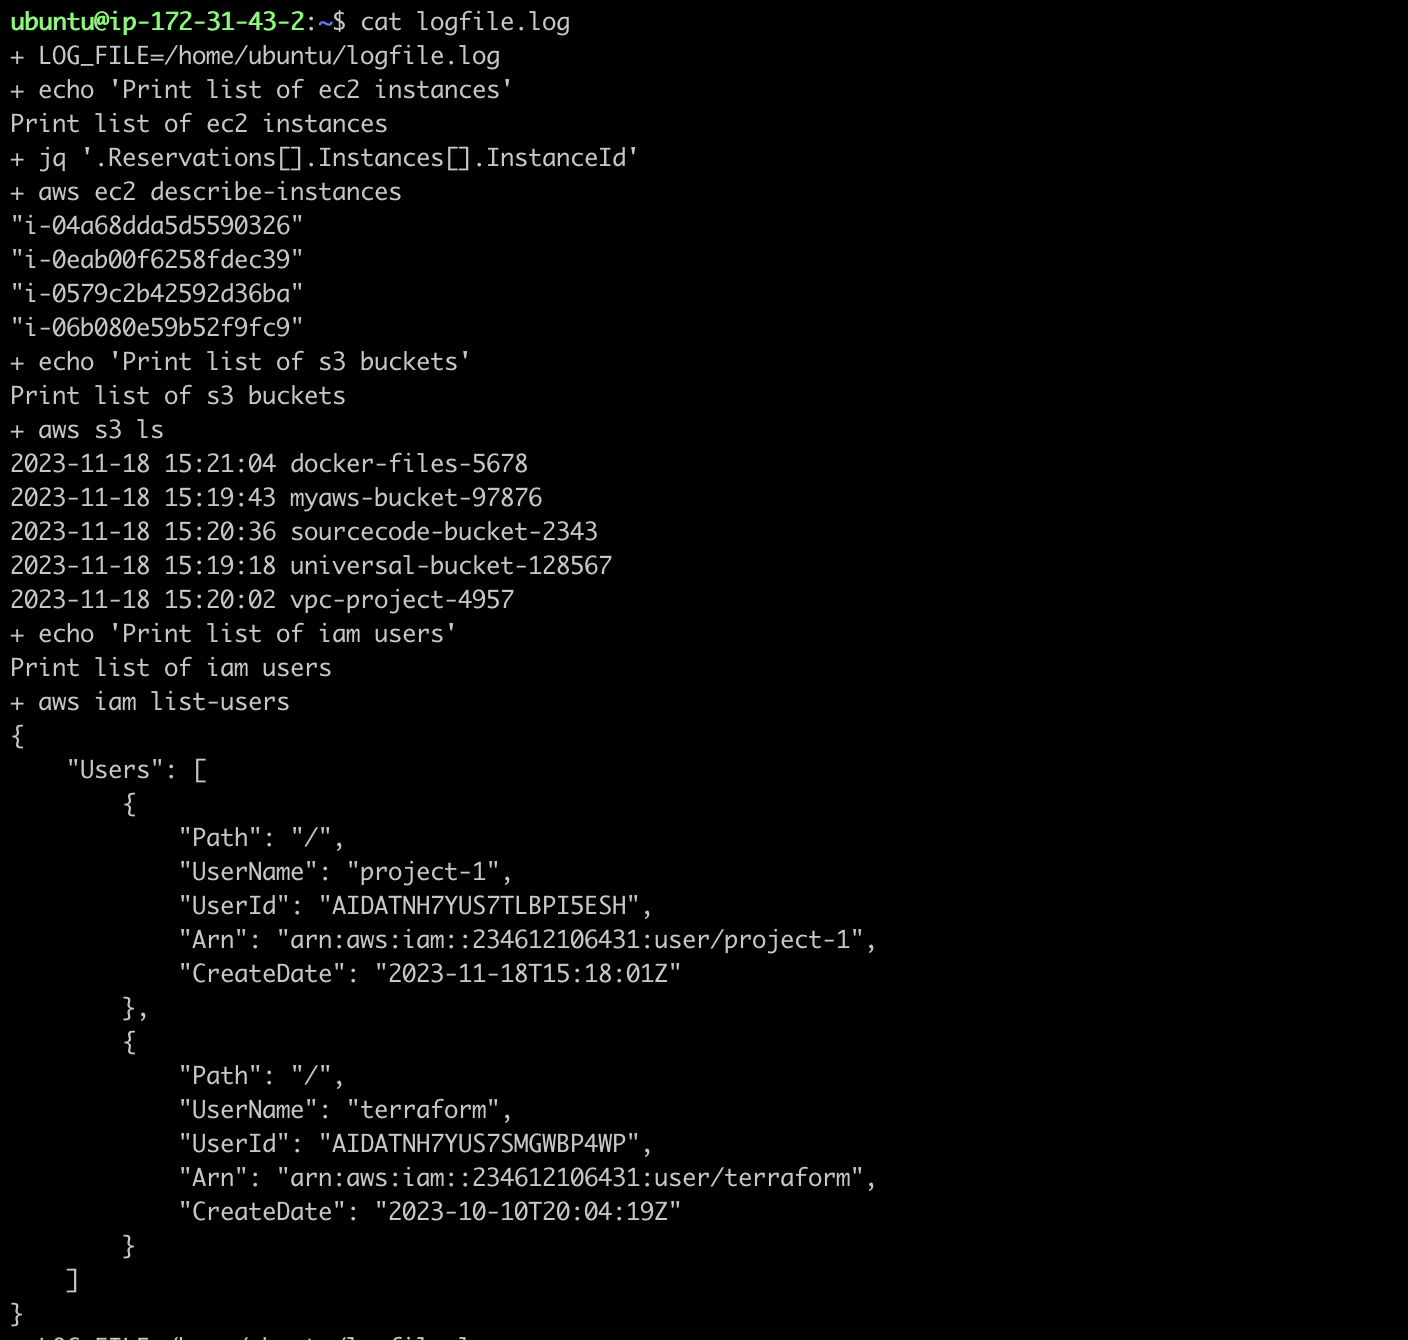
Now that the shell script is linked with a cron job, AWS resource tracking will operate automatically according to the timetable specified in the crontab entry. Verify that the cron schedule is set up correctly and that you have the required credentials in your Amazon CLI, and modify it to meet your needs.
Subscribe to my newsletter
Read articles from Visakha Sandhya Griddaluru directly inside your inbox. Subscribe to the newsletter, and don't miss out.
Written by

Visakha Sandhya Griddaluru
Visakha Sandhya Griddaluru
I am an AWS Cloud Engineer and a DevOps enthusiast, passionate about learning and implementing cloud solutions. With a strong foundation in AWS services, I strive to continuously expand my knowledge and skills to deliver efficient and scalable solutions. Let's connect and explore the possibilities together!