Step-by-step guide for installation of Linux
 Chandana Mahapatra
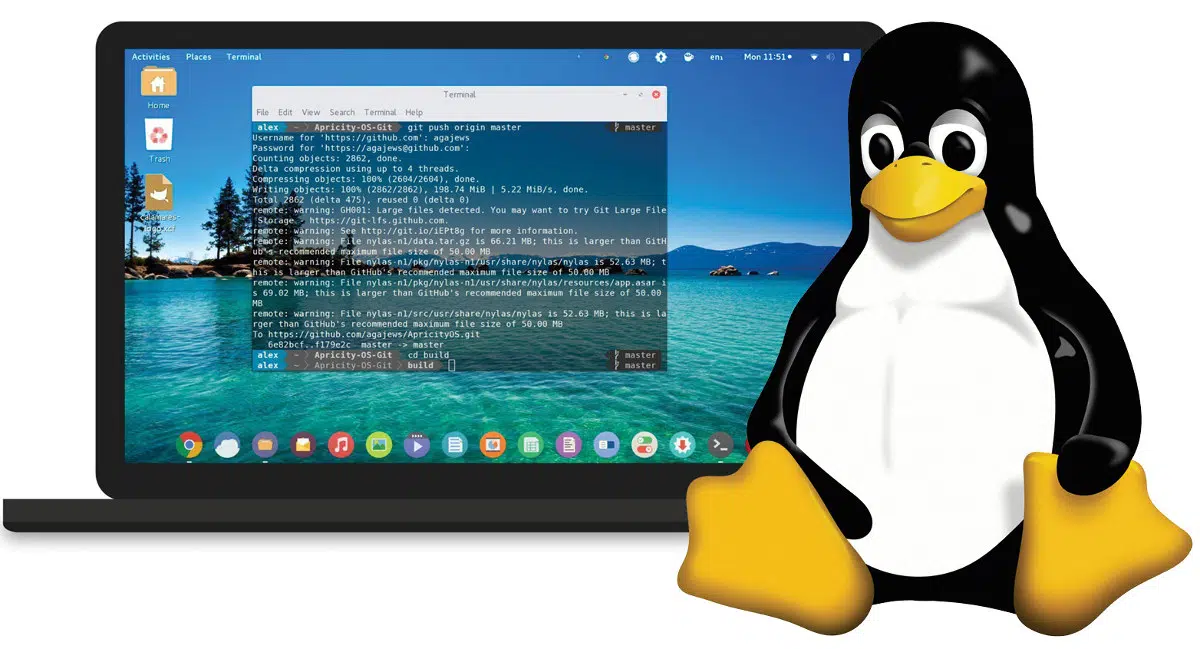
"Unlocking the World of Linux: Your Ultimate Installation Guide"
Linux is a sophisticated operating system that might be difficult to install at times. In this article, I'll go over many techniques for installing Linux on computers. I'll go over the benefits, drawbacks, and criteria for each option so you can determine which one is ideal for you.
Linux can be installed in four ways, depending on whether you intend to use it as your primary operating system or as a test platform. Let's take a quick look at these approaches.
Step 1: Choose Your Linux Adventure 🚀
Linux offers a variety of entry points. Are you a Windows fan? Try Windows Subsystem for Linux (WSL).
WSL: Bringing Linux to Your Windows World, Simple and Sweet
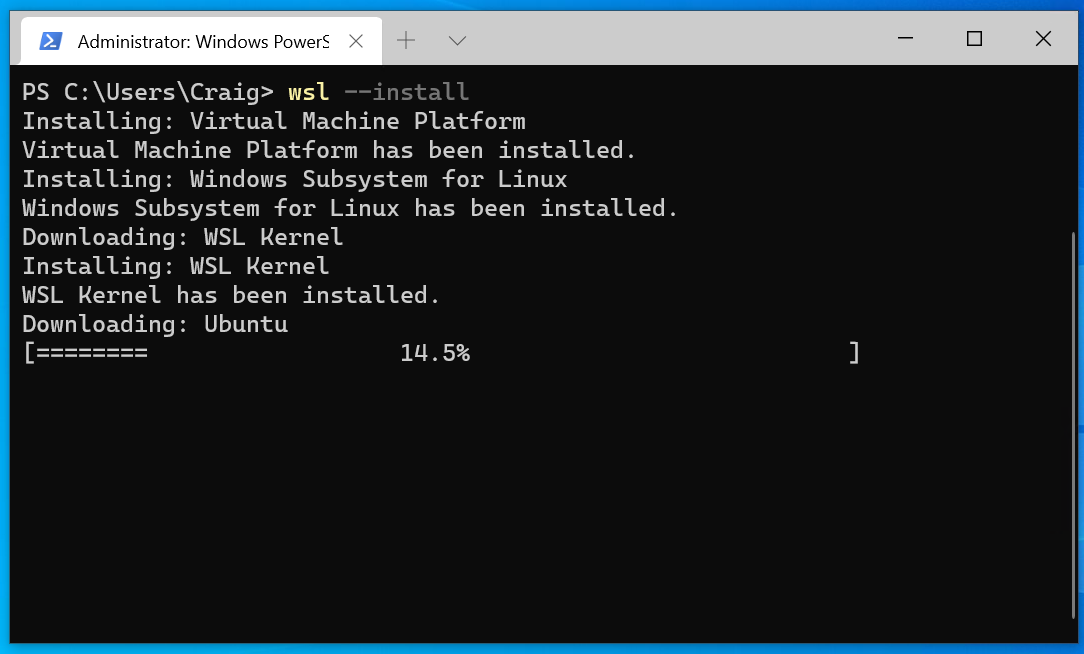
Ever heard of WSL? It stands for Windows Subsystem for Linux. Imagine it as a magical window that adds a touch of Linux to your Windows playground, making things extra interesting.
Let's break it down in easy terms:
WSL 1: Picture a window that looks like Linux, but all the heavy lifting is done by your Windows computer. You can use Linux commands, but it's not the full Linux experience.
WSL 2: Now, there's an upgrade called WSL 2. It's like getting a real slice of Linux added to your Windows. It's not exactly like having a whole computer just for Linux, but it's way better than the first version.
Benefits of WSL (Windows Subsystem for Linux):
Perfect for Beginners:
- Ideal for those stepping into the Linux world for the first time. WSL provides a friendly introduction.
Hands-On Linux Experience:
- Great for gaining practical knowledge of Linux commands. Perfect for learning by doing.
Integrated with VS Code:
- Seamlessly integrates with Visual Studio Code. Compile directly from a Linux terminal, enhancing development flexibility.
Limitations of WSL:
Hardware Resource Limitations:
- Linux within WSL cannot access all hardware resources. It's not a solution for high-resource computing needs.
Restricted Instructions:
- Some instructions may be restricted due to Windows limitations, limiting the full Linux experience.
Not Suitable for High-Resource Computing:
- WSL is not designed for heavy-duty, resource-intensive computing tasks.
GUI App Limitations:
- Some graphical user interface (GUI) applications may not be installable with WSL. This may require additional installation of a Windows X server.
Curious to know more? Microsoft has a guide that explains the differences between WSL 1 and WSL 2 in a friendly way. So, with WSL, your Windows and Linux become buddies, making your computer a bit of both worlds. Simple, right? 🚀💻🐧
Feeling bold? Go for Bare Metal Linux.
Bare Metal Linux: Infusing Your Device with Pure Linux Power
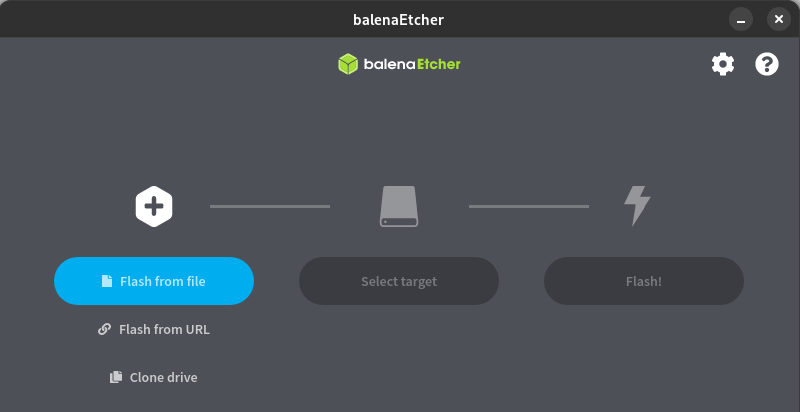
Ever wondered about Bare Metal Linux? It's like giving your computer a direct dose of Linux magic, making it the sole player on the stage. Let's unwrap the mystery:
Bare Metal Linux: Imagine Linux running directly on your device's hardware, with no intermediary players. It's like having a whole Linux world dedicated to your machine, no sharing.
Benefits of Bare Metal Linux:
Complete Control:
- Gain absolute control as Linux takes the spotlight on your device, without sharing resources with other operating systems.
Raw Performance:
- Experience the raw power of Linux on dedicated hardware, potentially boosting performance compared to virtualized environments.
Ideal for Exploration:
- Perfect for enthusiasts wanting to dive deep into Linux, offering an immersive learning experience.
No Virtualization Overhead:
- Unlike virtual machines, no overhead from virtualization, providing a streamlined and efficient Linux environment.
Limitations of Bare Metal Linux:
Installation Challenges:
- Requires creating a bootable USB with a Linux distribution's ISO file, necessitating a bit of technical know-how.
Exclusive to One OS:
- Your device becomes a dedicated Linux machine, limiting access to other operating systems without additional setup.
Potential Hardware Compatibility Issues:
- Depending on your device, you might encounter driver or hardware compatibility challenges specific to Linux.
For a variety of popular Linux distributions to kickstart your Bare Metal Linux journey, check out Linux.org. Once you've chosen, follow their instructions for creating a bootable USB and enjoy the pure Linux experience on your device. Ready to make your computer a Linux haven? 🚀🐧✨
Want flexibility? Opt for a Virtual Machine (VM) for local or cloud play.
Virtual Voyages: Elevating Linux Exploration with Virtual Machines(VM)
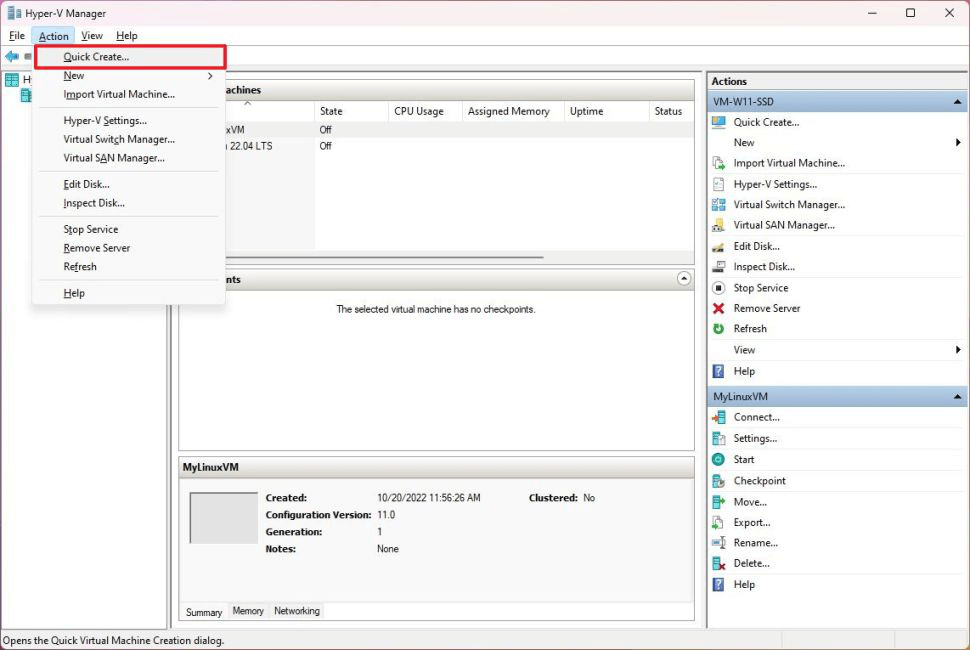
Create a Linux Virtual Machine locally using a hypervisor
To create a Linux VM that is hosted on your local machine using a hypervisor, you can use:
You should look into the hardware requirements for your selected hypervisor. Once the hypervisor is activated or installed, you must select the type of operating system and the installation source (usually a.iso or.vhdx file). You must name the VM, specify the directory where files will be housed, the amount of memory to allot to the VM, and the size of the virtual hard drive where files will be kept (you may usually choose between a fixed or dynamically allocated amount of disk space). Because of display drivers and other hardware dependencies, integrations with a Linux virtual machine might be difficult at times, although most hypervisors have an active user community.
Create a Linux Virtual Machine on the Cloud (AWS, Azure, GCP etc)
Creating a Linux VM in Amazon Web Services (AWS):
Sign In:
EC2 Dashboard:
- Navigate to EC2 Dashboard.
Launch Instance:
- Click "Launch Instance."
Choose AMI:
- Select a Linux AMI.
Configure Instance:
- Set instance type, details, network, and storage.
Security Group:
- Configure security rules.
Review and Launch:
- Review and click "Launch."
Key Pair:
- Create or use an existing key pair.
Launch Instance:
- Confirm and launch your Linux VM.
Creating a Linux VM in Microsoft Azure:
Sign In:
Create VM:
- Click "Create a resource" > "Virtual Machine."
Basics Configuration:
- Provide VM details.
Configure Networking:
- Set up networking and security.
Configure Management:
- Define monitoring settings.
Advanced Settings:
- Additional configurations if needed.
Review + Create:
- Review and click "Create."
Connect to VM:
- Connect using SSH.
Creating a Linux VM in Google Cloud Platform (GCP):
Sign In:
Create VM Instance:
- Go to "Compute Engine" > "VM instances."
Instance Details:
- Provide details.
Boot Disk:
- Choose OS image and disk size.
Firewall:
- Configure firewall settings.
Create VM:
- Click "Create."
Connect to VM:
- Connect using SSH.
Review each cloud provider's documentation for specific details during VM creation. Once the VM is created, connect to it using SSH.
VM, short for Virtual Machine, functions similarly to WSL but provides users with more control and insight into Linux. While WSL operates directly on Windows, a VM acts as an independent virtual PC, offering its own set of components such as EFI, Bluetooth, filesystem, CPU cores, and RAM, all shared with the Windows environment. VMs are commonly employed for testing new Linux distributions before committing to a full installation on real hardware.
Advantages of VM:
Beginner-Friendly:
- VMs are user-friendly, making them suitable for beginners.
Full GUI Support:
- Unlike WSL, VMs provide full graphical user interface (GUI) support, offering a comprehensive understanding of Linux operations.
Multi-Distro Exploration:
- VMs enable the simultaneous testing of different Linux distributions.
Safe Testing Environment:
- Ideal for testing unstable software or viruses without impacting the main OS.
Disadvantages of VM:
Limited Hardware Usage:
- Full utilization of hardware resources is not possible with VMs.
Resource Intensive:
- Running multiple VM instances concurrently can impact the host system's performance.
Less Efficient Than Physical Hardware:
- VMs are generally less efficient compared to Linux running on dedicated hardware.
Potential for Host Weaknesses:
- Vulnerabilities in the host machine may affect the VM.
For those interested in exploring VMs, various virtualization software options are available, such as VMware, Virtualbox, and QEMU.
Dual Boot Linux Installation: Bridging the Best of Two Operating Systems
Ever envisioned having the perks of both your operating system and Linux at your fingertips? Dual boot Linux installation makes it possible, offering the convenience of toggling between operating systems based on your needs. Let's delve into the process and uncover the advantages and disadvantages:
For example, you can set up a dual boot system with:
Windows and Linux: This is a common scenario, allowing users to choose between Windows and a Linux distribution during startup.
Windows and macOS: On a Mac computer, you can set up a dual boot configuration with both Windows and macOS.
Linux and macOS: Depending on your hardware, you can also dual boot a Linux distribution alongside macOS on a Mac computer.
Linux and another Linux distribution: If you want to experiment with different Linux distributions, you can set up a dual boot system to switch between them.
Preparation:
Back up your important data before initiating the installation.
Choose the Linux distribution that suits your preferences.
Create Bootable Media:
Download the ISO file of your chosen Linux distribution.
Utilize tools like Rufus or balenaEtcher to create a bootable USB or DVD.
Partition Your Hard Drive:
Allocate space for Linux on your hard drive, facilitating a harmonious dual boot setup.
Employ the built-in disk management tools on your current operating system to create a new partition.
Initiate Linux Installation:
Insert the bootable USB or DVD into your computer.
Restart your computer and boot from the installation media.
Follow the Linux installation wizard, selecting the designated partition.
Install the Boot Loader:
- Integrate the GRUB (Grand Unified Bootloader) or a similar boot loader during installation. This empowers you to choose the operating system during startup.
Complete the Installation:
Allow the installation process to conclude.
Upon completion, restart your computer.
Advantages of Dual Boot Linux Installation:
Flexibility:
- Easily switch between Windows and Linux based on your current requirements.
Access to Both Ecosystems:
- Enjoy software and applications exclusive to each operating system.
Learning Opportunities:
- Explore and familiarize yourself with the functionalities of both Windows and Linux.
Disadvantages of Dual Boot Linux Installation:
Potential Data Risks:
- Accidents happen; there's a risk of data loss during partitioning or installation.
Complex Setup Process:
- The setup process might be challenging for beginners, involving partitioning and configuring boot loaders.
Possible Compatibility Issues:
- Certain hardware or software may not work optimally on both operating systems.
By following this guide, you've successfully set up a dual boot system, offering a versatile computing experience. Enjoy the best of both your operating system and Linux in one device. 🚀💻🐧
Step 2: Spice Up Your Linux Flavor 🌶️
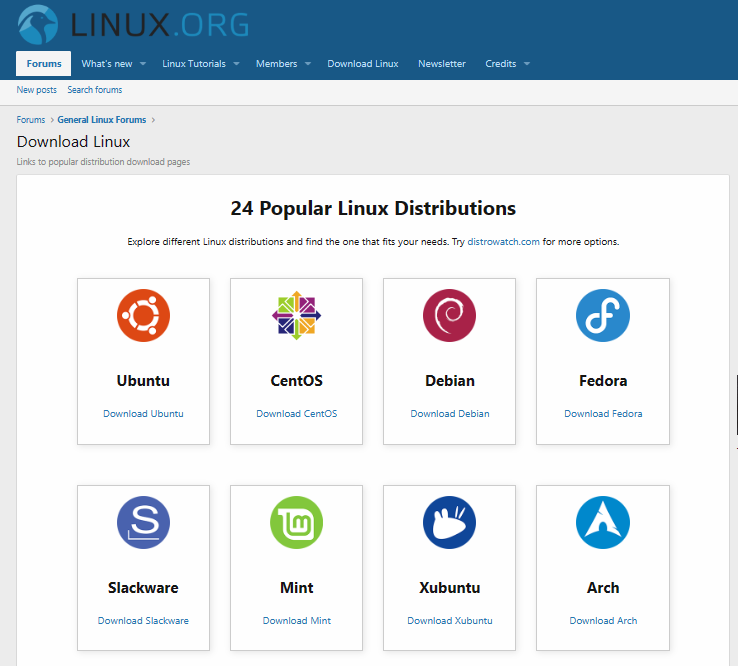
The Linux world is like a spice bazaar – Ubuntu, Debian, Kali Linux, openSUSE – take your pick and savor the flavor.
Choosing a Linux Version: What You Need to Know
When you decide to use Linux, you'll hear about different "versions" called distributions or distros. Think of these as flavors of Linux. Here's what you need to know:
Choose Your Flavor:
Linux comes in many flavors like Ubuntu, Debian, Kali Linux, and more.
Pick one based on what you want to do with your computer.
User-Friendly or Advanced:
If you're new, go for user-friendly ones like Ubuntu.
If you're experienced, you might like more hands-on distros like Arch Linux.
Special Needs:
- Some distros are made for specific tasks. Need cybersecurity tools? Try Kali Linux. Running a server? Check out CentOS.
How They Look and Feel:
Different distros come with different desktop looks. GNOME, KDE, and Xfce are examples.
Choose one that feels right for you.
Support and Help:
Some distros have big communities (like Ubuntu), so it's easy to find help online.
Smaller distros might have specialized communities.
Hardware Requirements:
- Check if the distro works well with your computer. Some are lighter on resources, great for older machines.
Stability or Latest Features:
- Some distros focus on stability (Debian), while others always bring the latest features (like Arch Linux).
Security Focus:
- If you're big on security and privacy, look into distros like Qubes OS.
Remember, there's no one-size-fits-all. It's like choosing a phone – what matters is what works best for you. Try a few in a safe, virtual environment, and you'll find your perfect match! 🐧✨
Step 3: Let's Get Techy 🤓
Your chosen installation path awaits:
Quick 'n' easy with 'install Linux' using WSL.
Soar into the cloud with a cloud-based Linux VM.
Keep it local with a VM on your machine.
Kick it old school with a bootable USB for a bare-metal Linux adventure.
Step 4: Post-Installation Shenanigans 🎉
You did it! Now, let's play:
Dive into your distribution's package manager – it's like the app store, but cooler.
Update and upgrade – keep that tech arsenal sharp.
Check out Microsoft's Linux playground – courses, tools, news, and Open Source events.
Happy Learning 😊
Subscribe to my newsletter
Read articles from Chandana Mahapatra directly inside your inbox. Subscribe to the newsletter, and don't miss out.
Written by

Chandana Mahapatra
Chandana Mahapatra
🚀 Java Microservices Developer | AWS Cloud & DevOps Enthusiast 🚀 Passionate about crafting scalable Java microservices solutions. Expertise in AWS, Terraform, and DevOps practices. Let's build the future together!