AWS - VPC: Building Your Cloud Home: A Simple Guide to Creating a VPC in AWS 🏠☁️
 Saurabh Adhau
Hey there, fellow cloud enthusiasts! Ready to explore the magical realm of Amazon Web Services (AWS)? Today, we're going to create something special—a Virtual Private Cloud (VPC), your very own cloud home where your digital adventures can unfold. 🚀✨ So, buckle up, and let's take a stroll through the AWS universe to build your cloud abode!
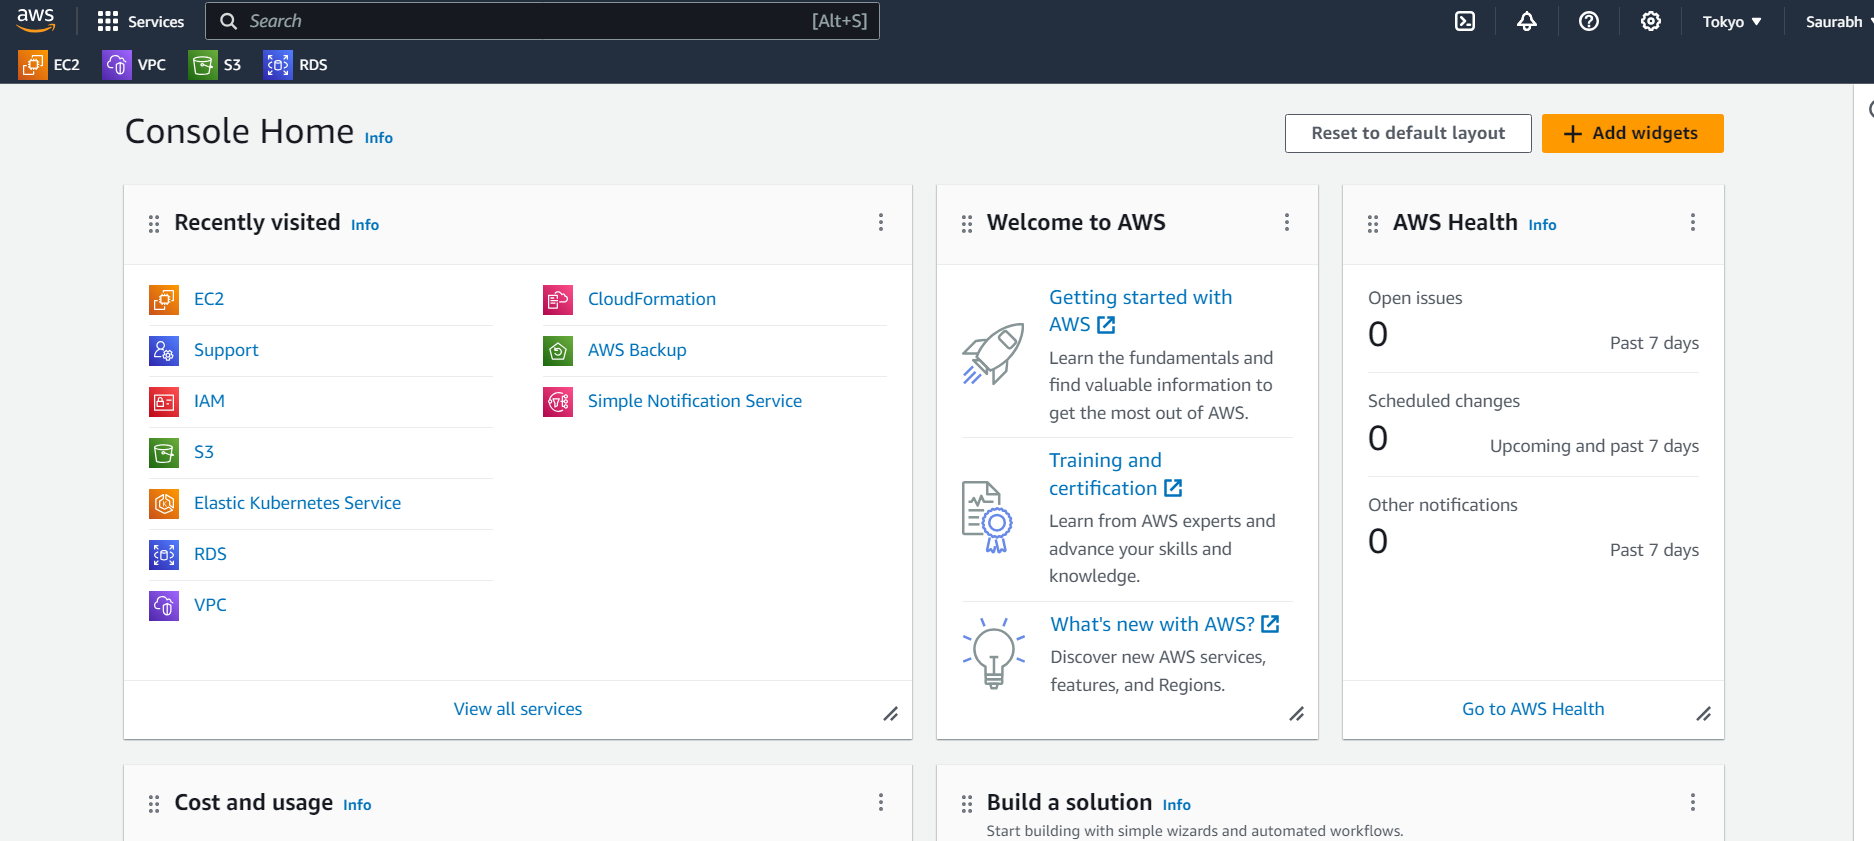
Step 1: Launch into the AWS Cosmos
The adventure begins as you log into the AWS Management Console, the command centre for your cloud escapades. It's time to explore the Networking & Content Delivery section, where the gateway to your cosmic journey awaits.
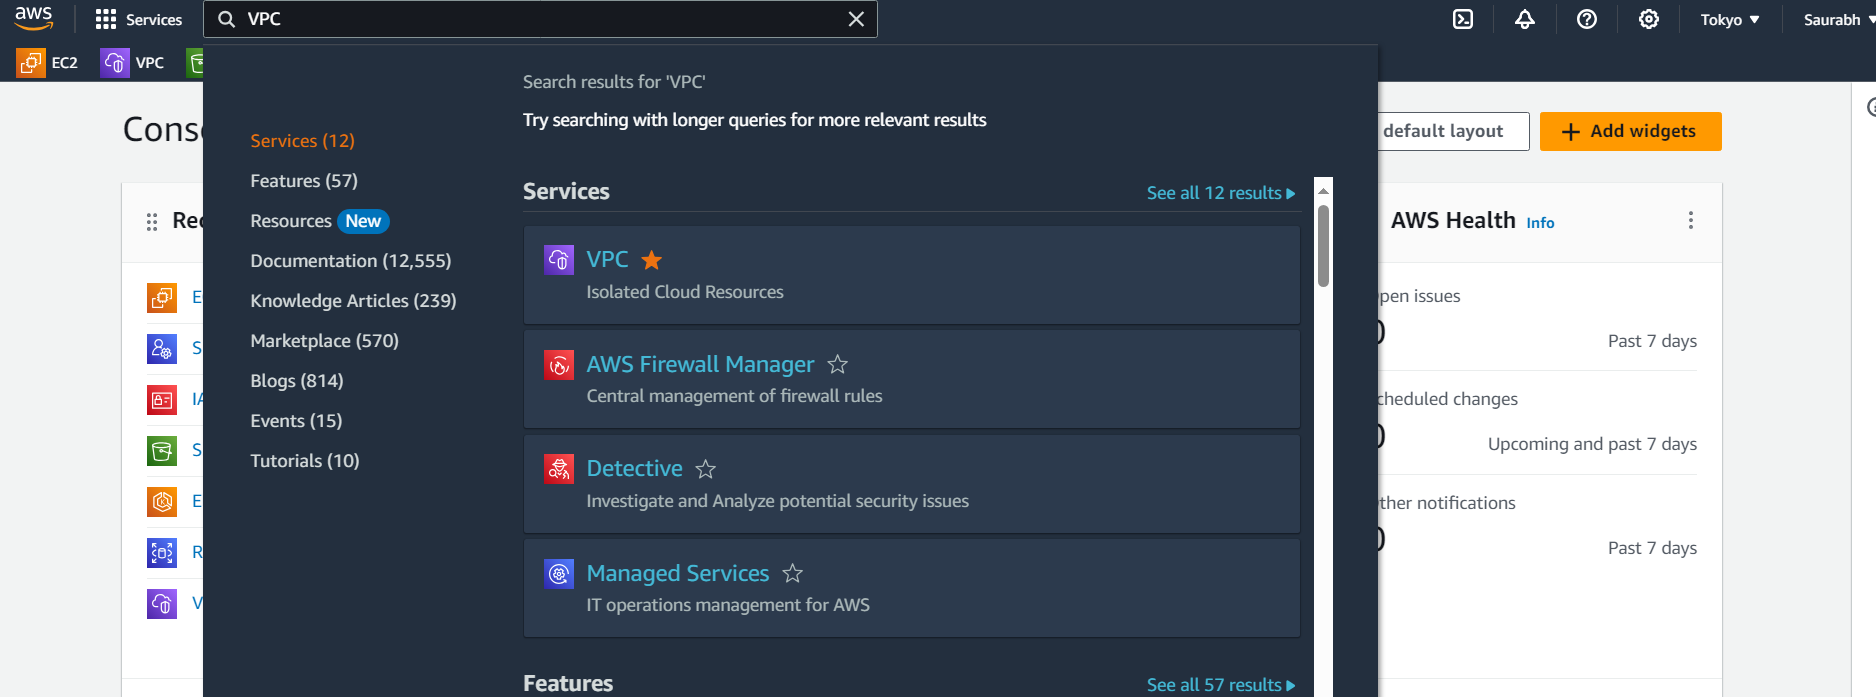
Step 2: Find the VPC Dashboard
Once you're in, head to the search bar and search "VPC" Click on it, and you'll find yourself on the VPC dashboard.
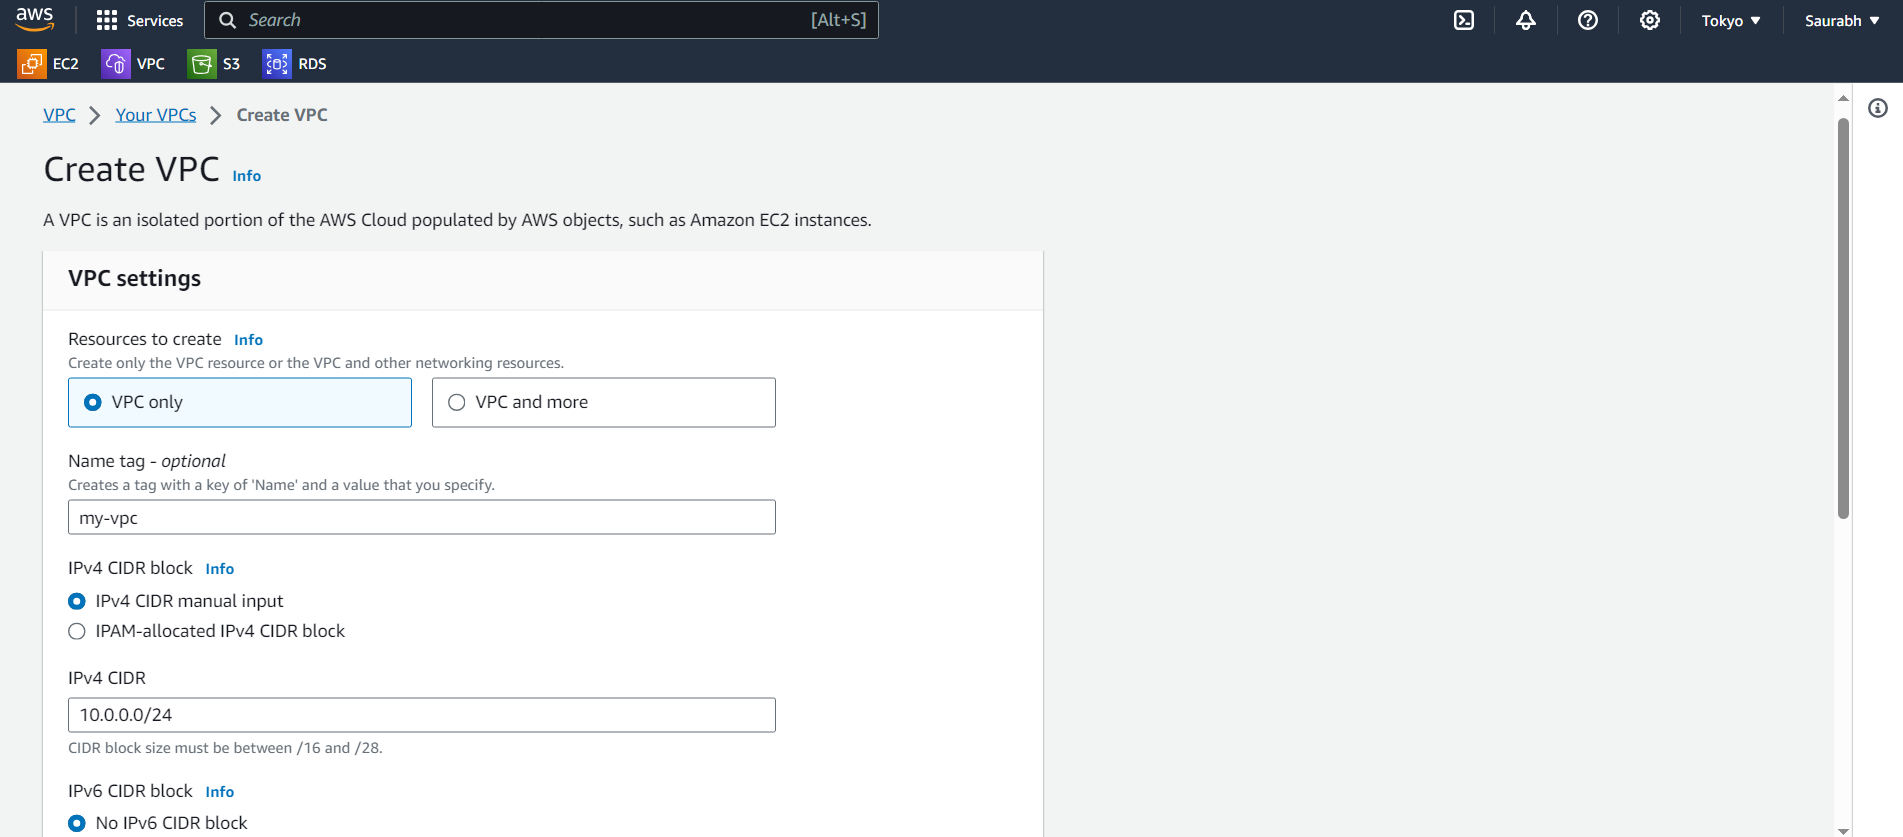
Step 3: Start Creating Your VPC
See that big "Create VPC" button? Click on it to kick off the process of building your cloud space.

Give Your Cloud Home a Name & IPv4 CIDR
After the Successful creation of VPC, you can see the below screen
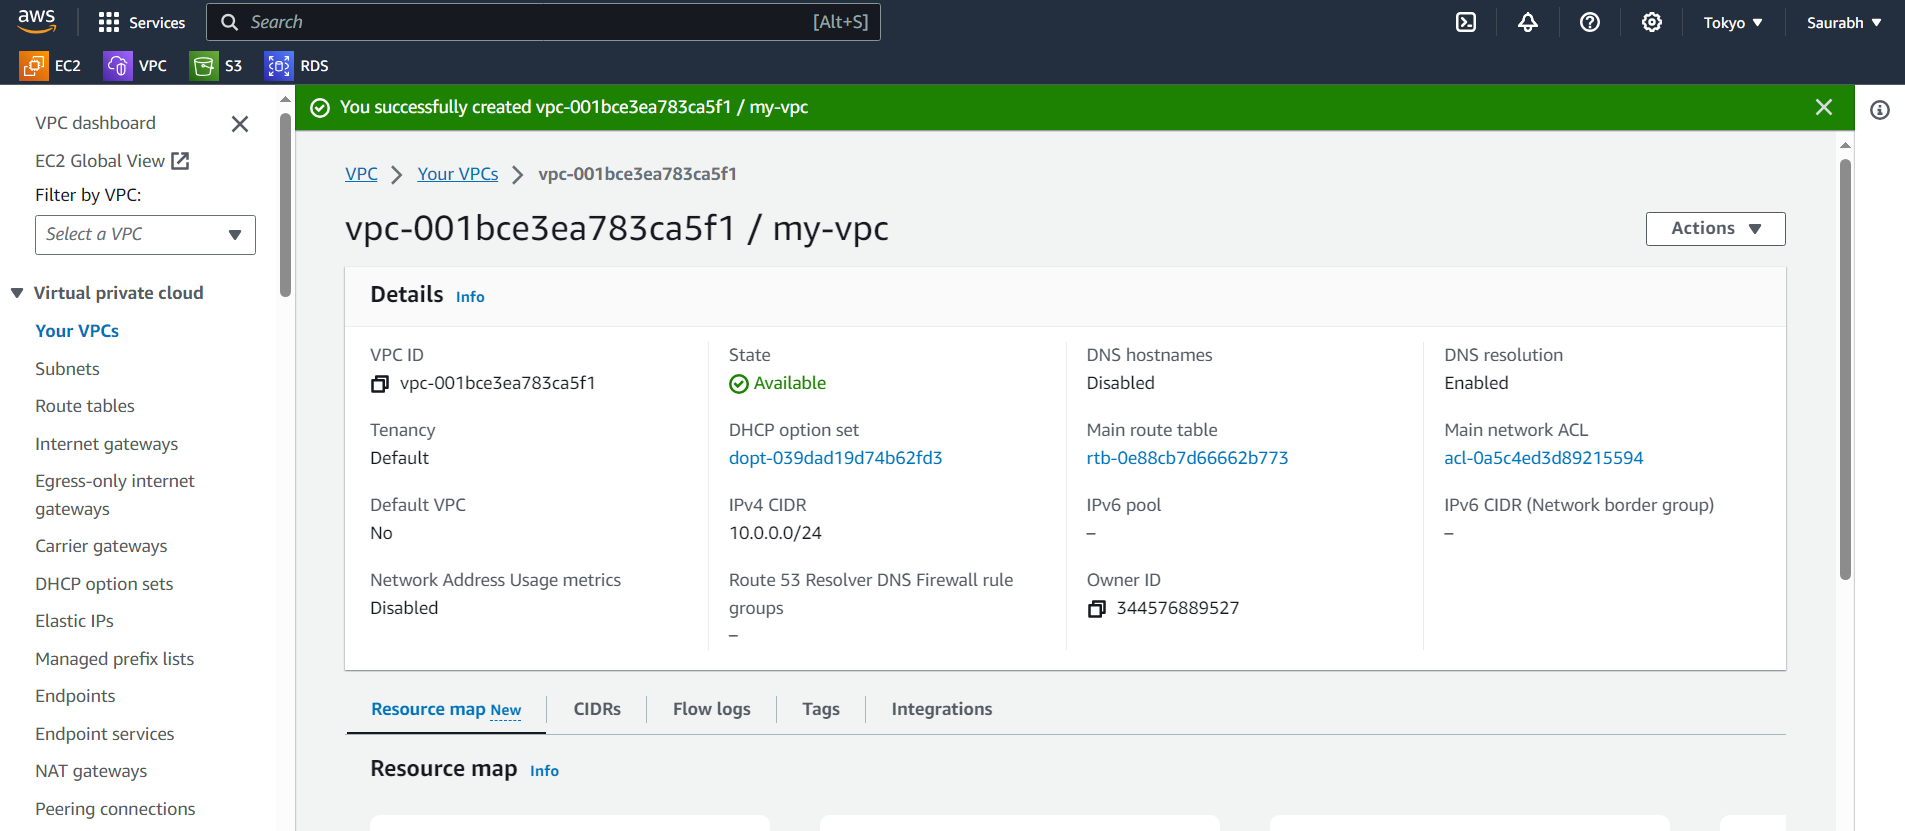
Step 4: Create Sub-Areas in Your Cloud Home (Subnets)
Now, let's create different areas in your cloud home, Click on the subnets section on the same dashboard

See that big "Create subnet" button? Click on it to kick off the process of building your cloud home.
🌠 a. Give Each Area a Name: Label each subnet so you can remember what happens in each of these spaces.
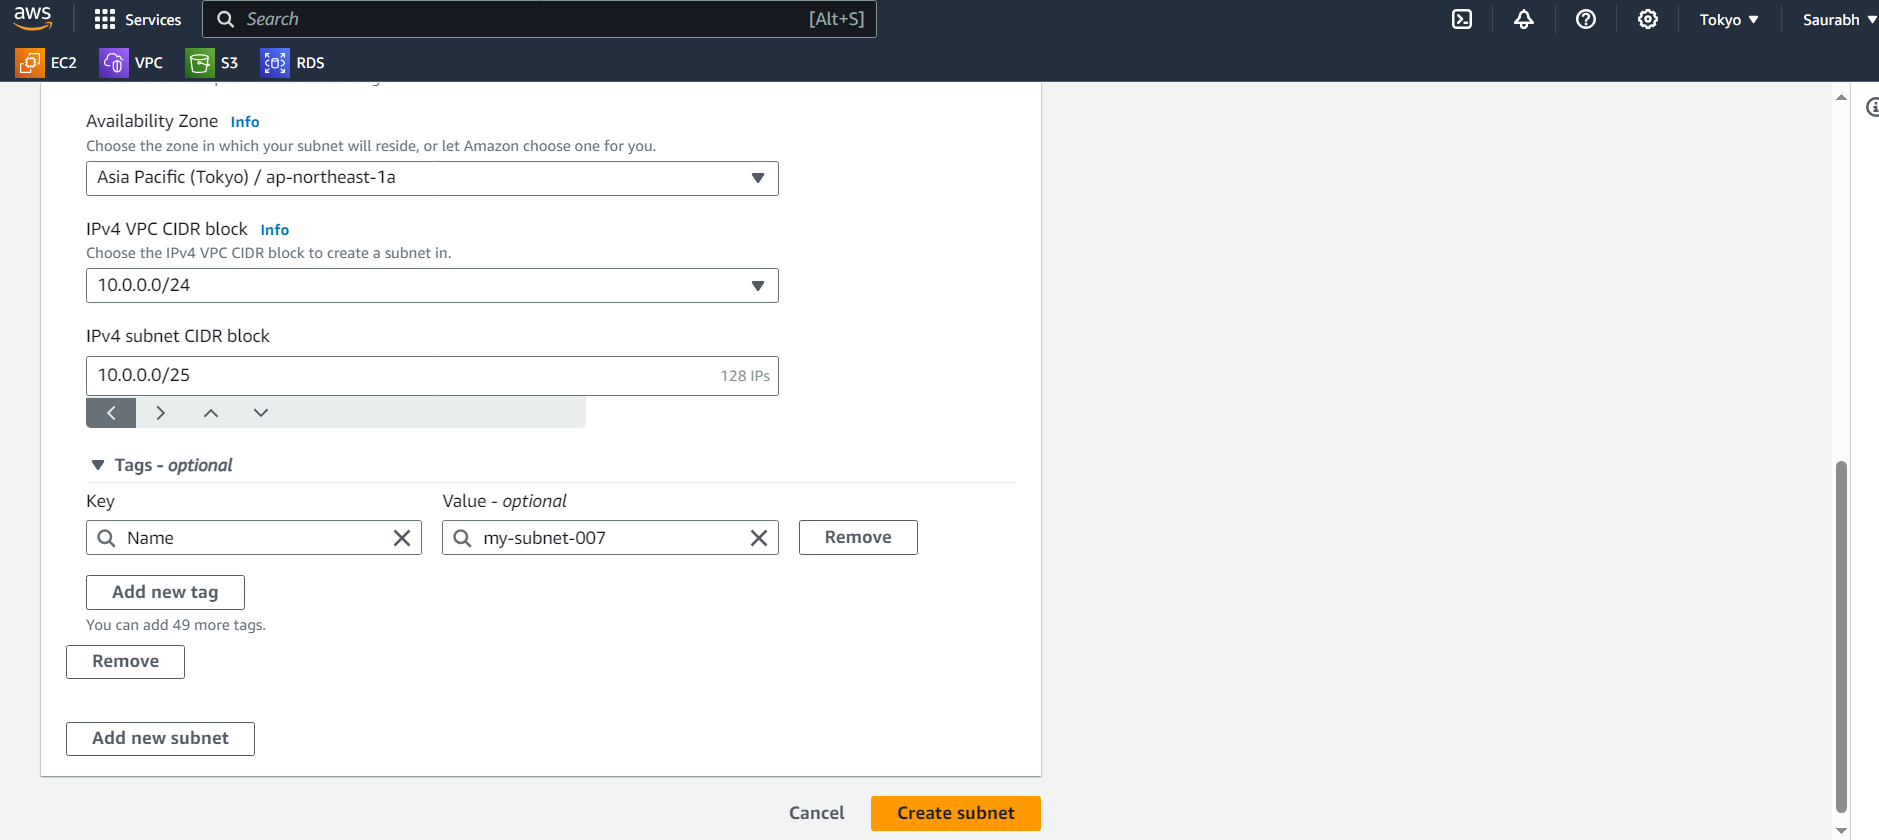
🌠 b. Specify the Space Location: Connect each subnet to your cloud home, pick an area (availability zone), and set its own address range.
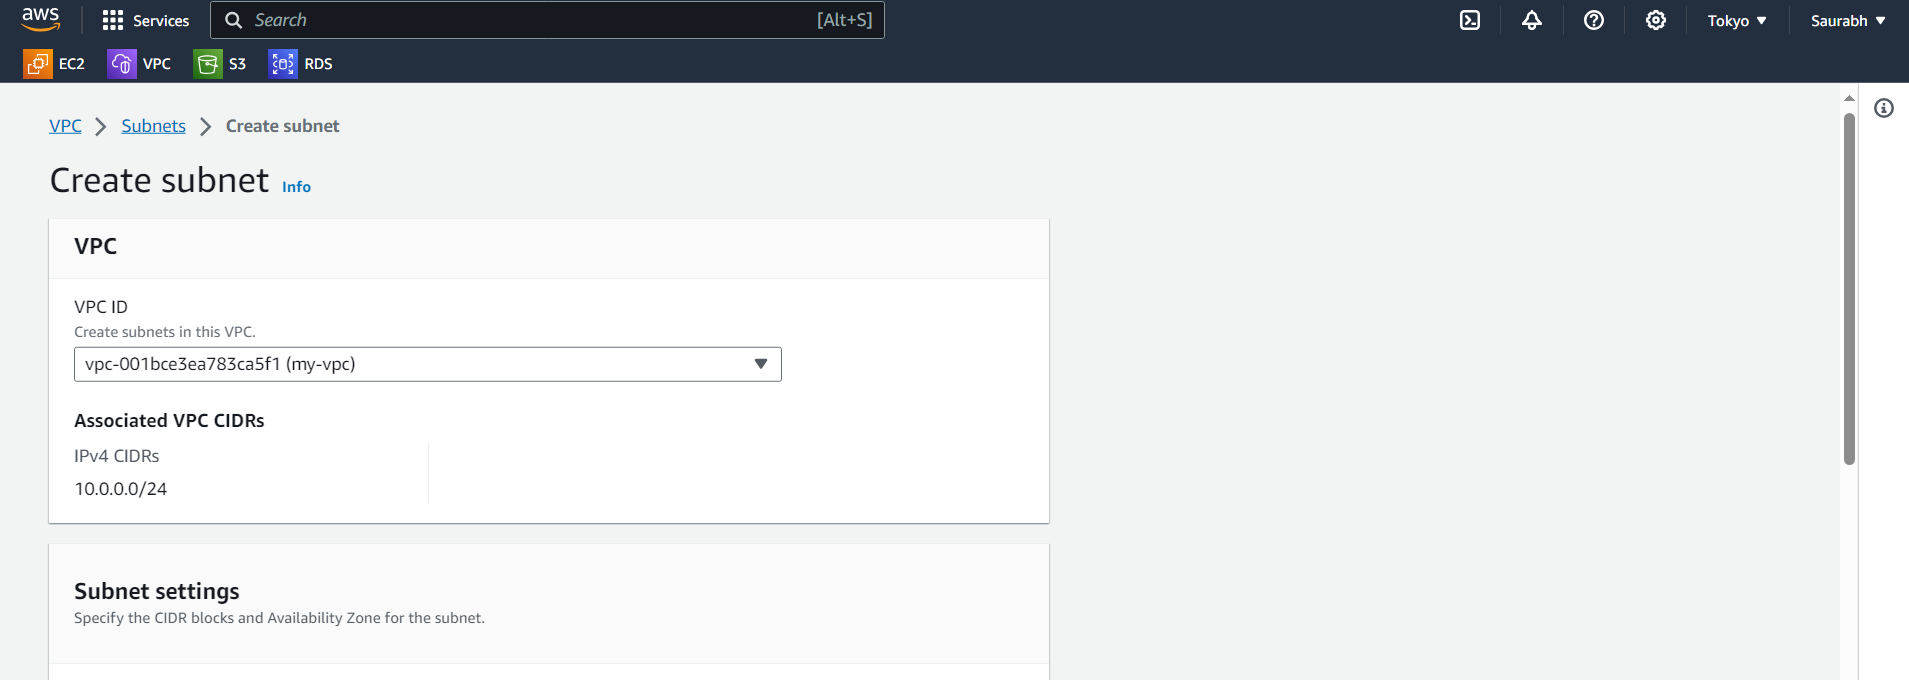
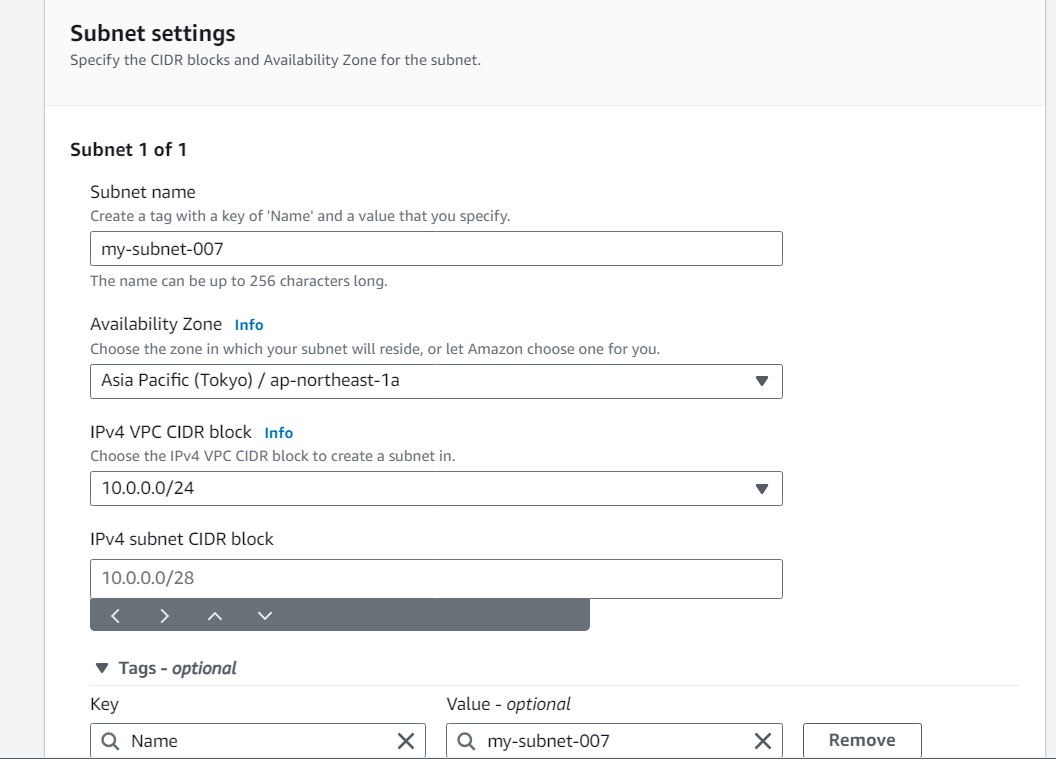
You can create Multiple subnets, but Here we're creating only one. Let's create one subnet by pressing the "Create subnet" button.
Step 5: Plan Your Digital Roads (Route Tables)
Head to "Route Tables" and plan how your data will travel:
🔗 a. Design Route Tables - Your Digital Maps: Think of route tables as maps for your data, showing the paths it can take within your cloud home.
🔗 b. Connect Areas to Maps: Link your subnets to these route tables to create pathways for your digital voyages.
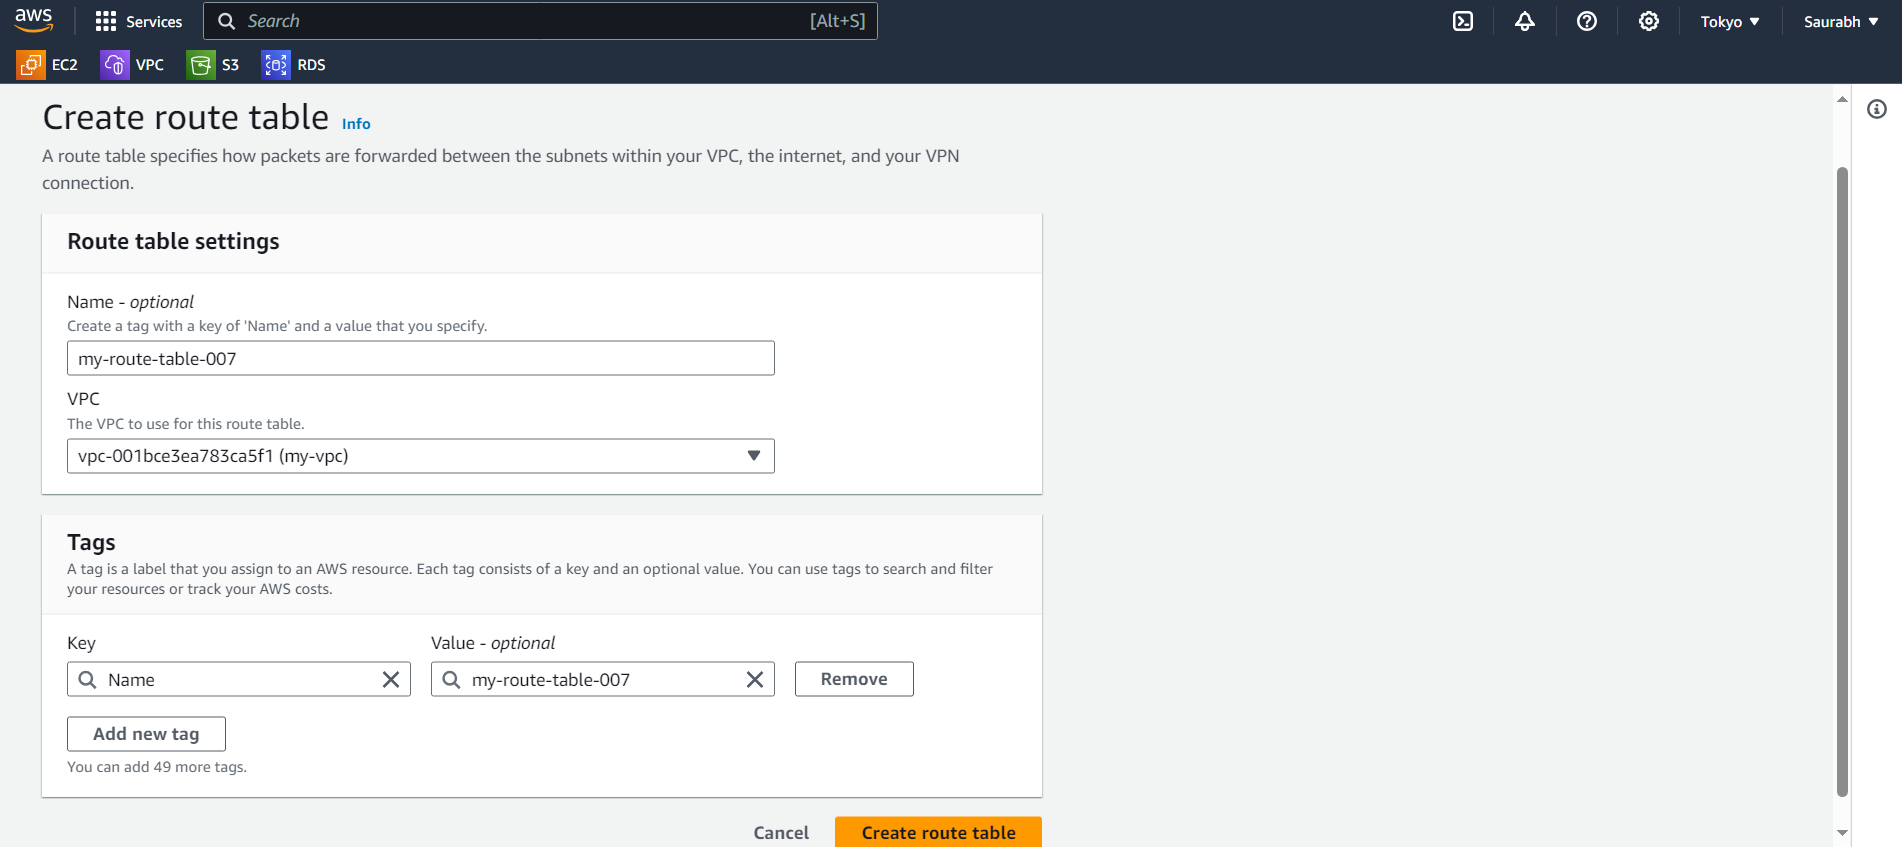
Find the Route tables on the same Dashboard, then Click on "Create route table".

Give a name to it, Select your VPC and Create a route table
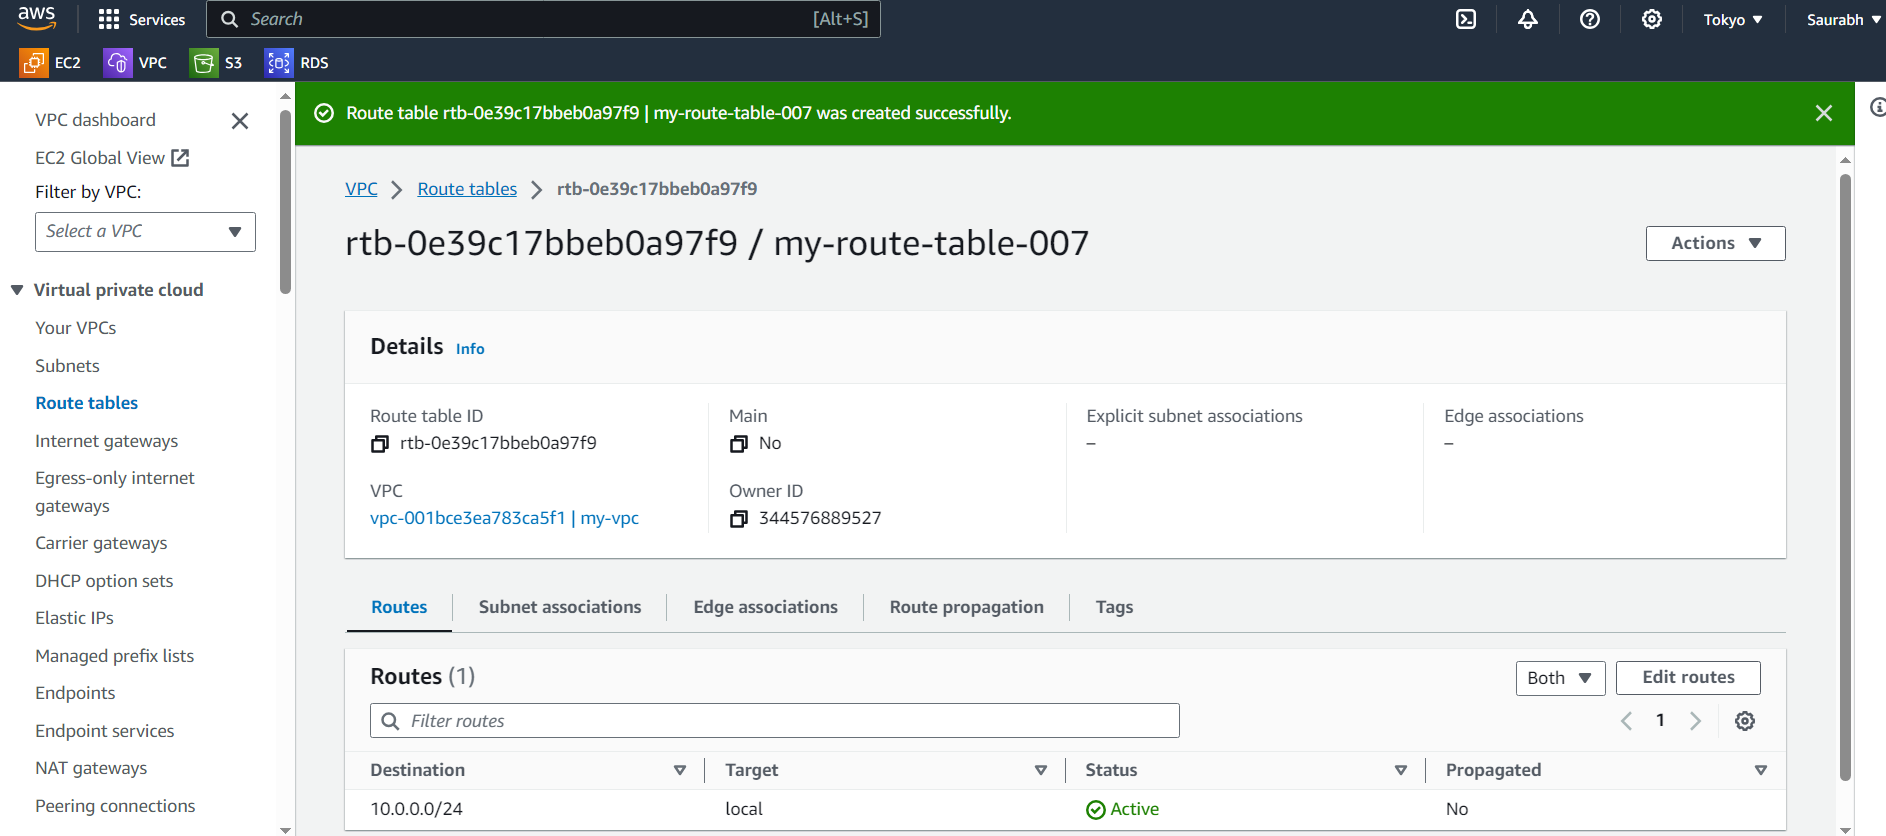
You can see the route tables are created.
Step 6: Internet Gateway - Your Cosmic Connection
If you want your cloud devices to access the internet:
🌐 a. Build Your Cosmic Gateway: Create an Internet Gateway, like a magical portal connecting your cloud home to the Internet.
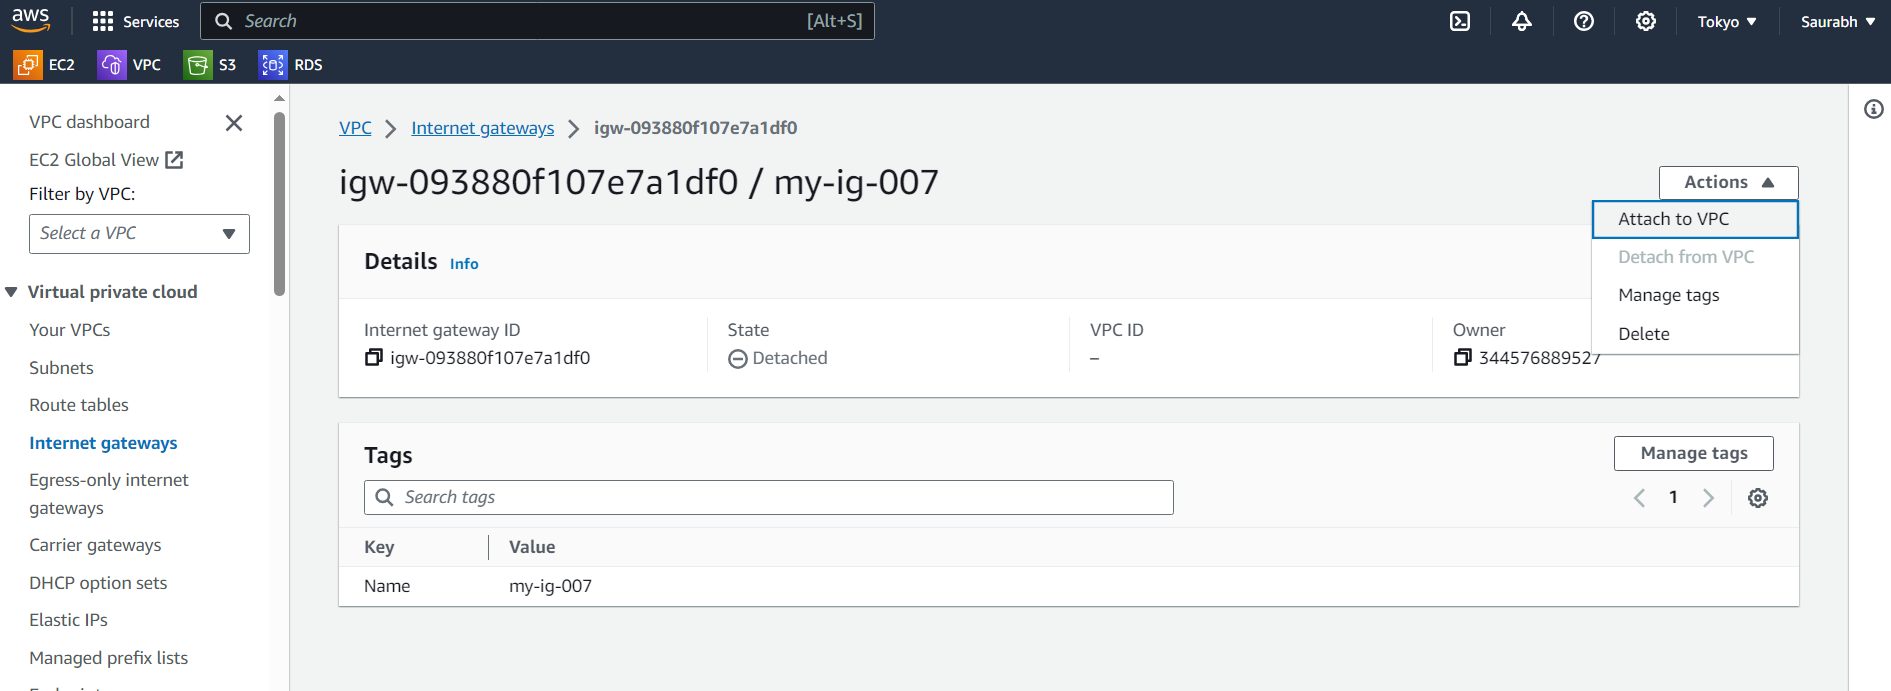
🌐 b. Connect the Gateway to Your Home: Attach this gateway to your cloud home, and your devices can now explore beyond your cloud space.
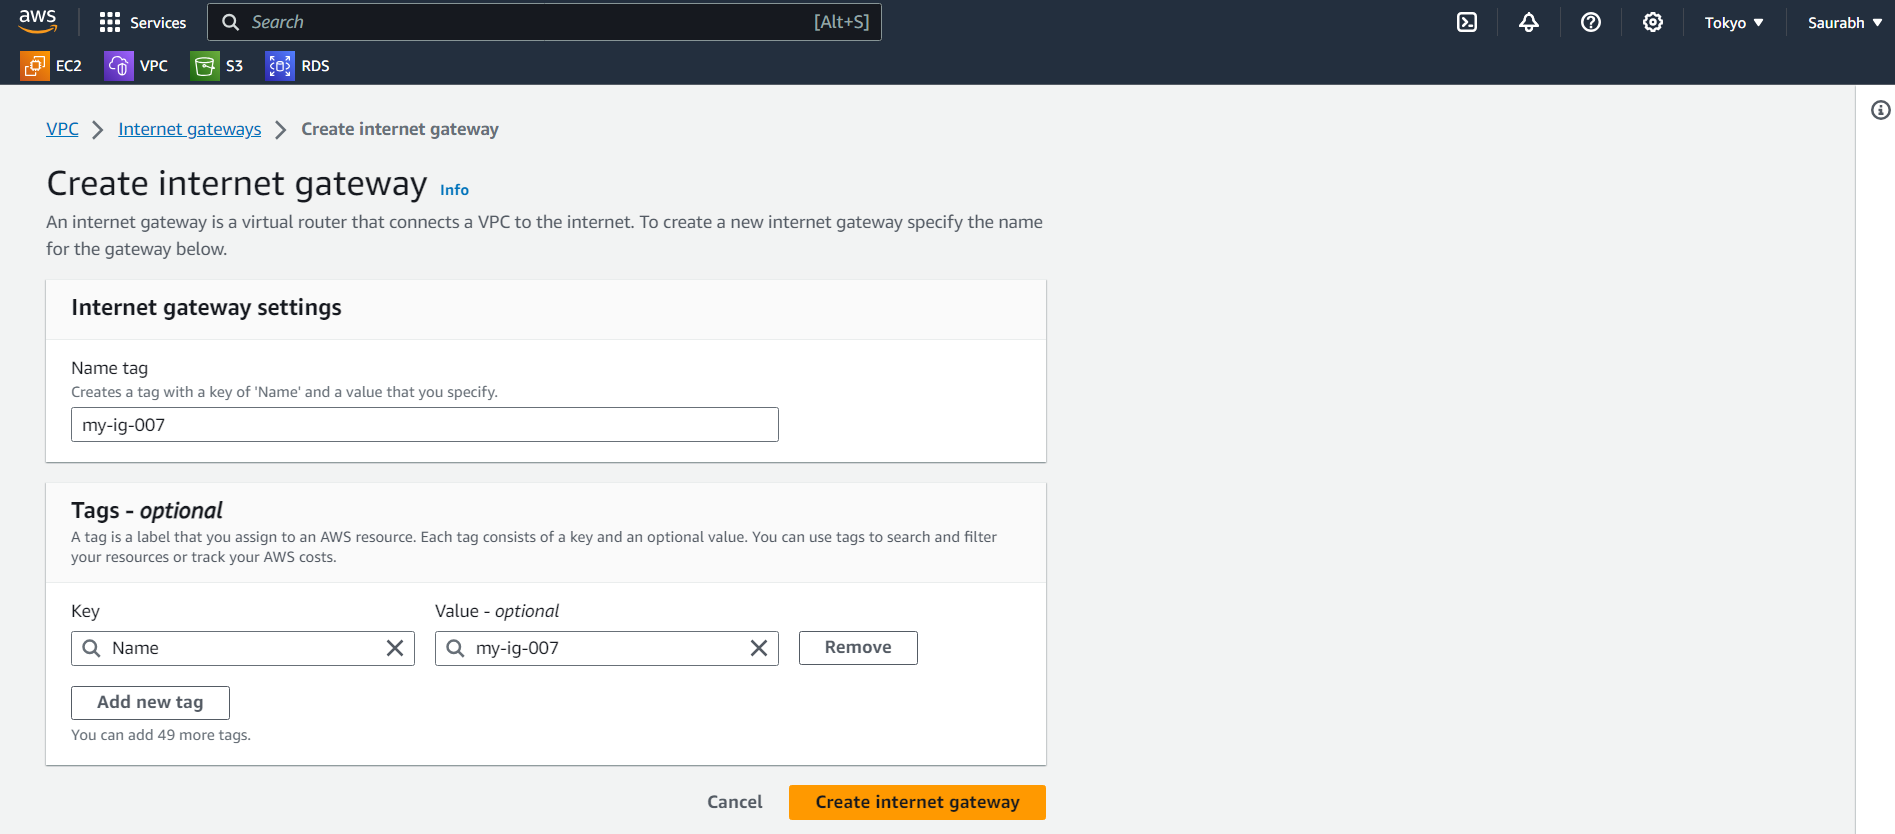
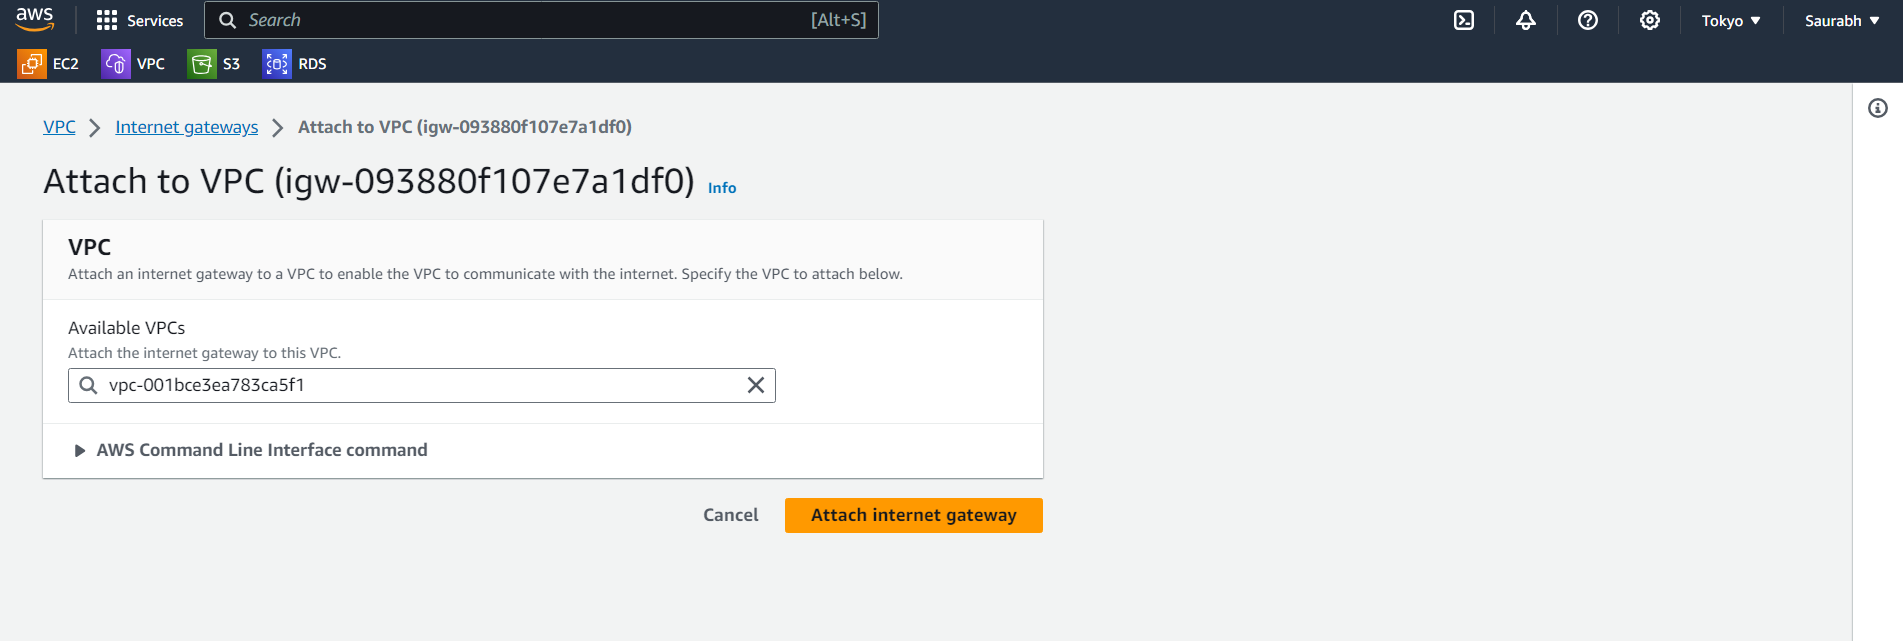
Internet Gateway is created, Now attach it to the VPC which you have created above.
Step 7: Set Up Guards for Your Cloud Realm (Security Groups and Network ACLs)
Time to add security measures to your cloud home:
🛡️ a. Create Security Guards - Your Virtual Protectors: Craft security groups, acting like digital guards controlling what comes in and goes out.
Go to the security section and click on Security Groups:
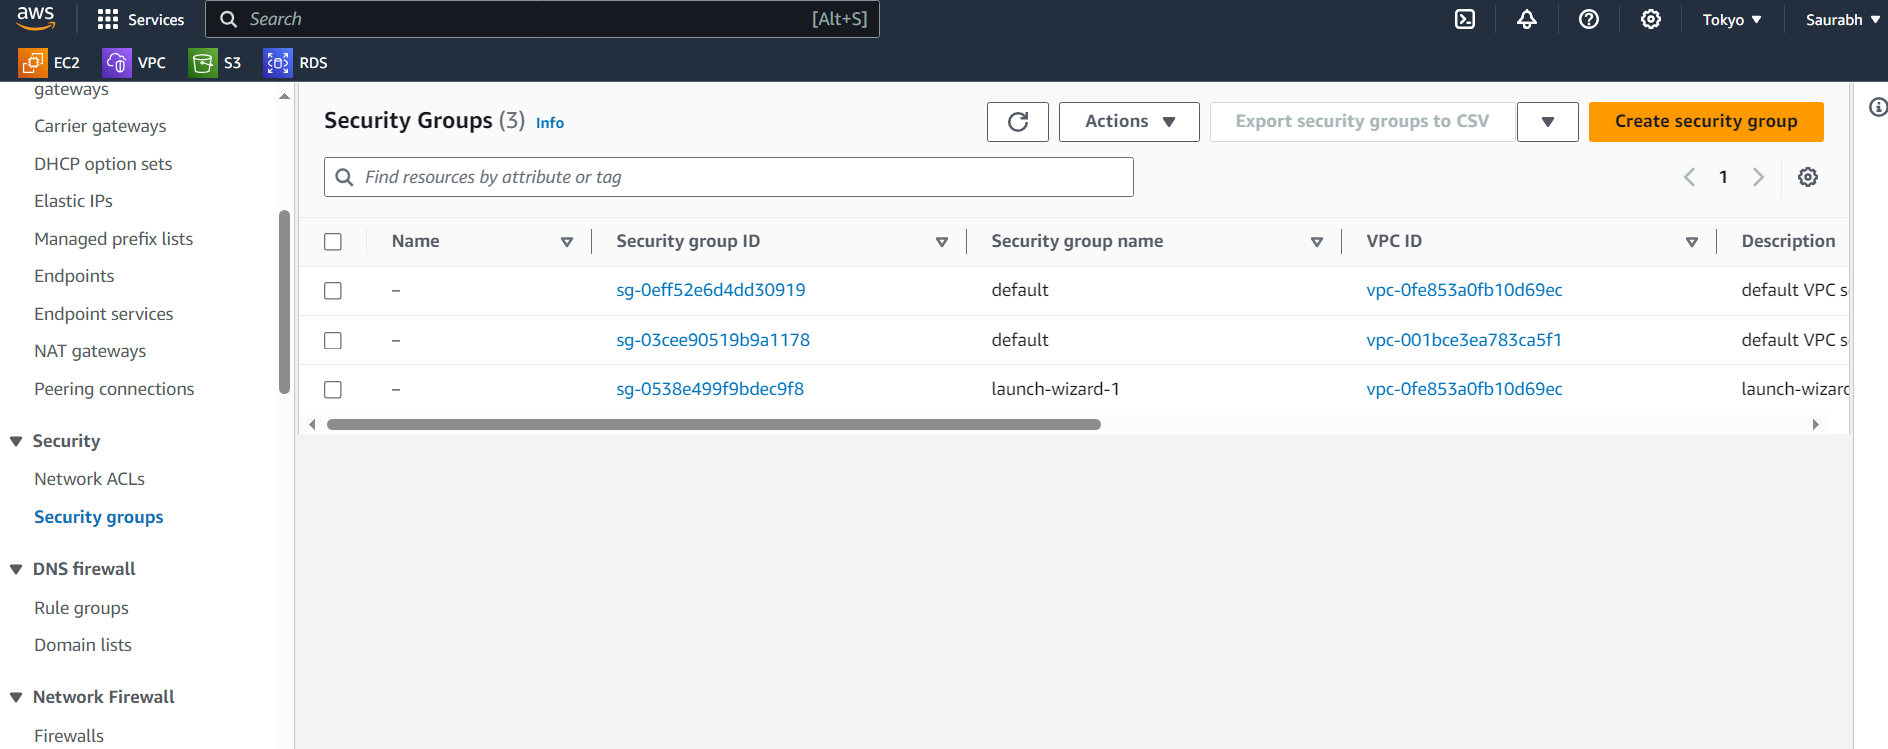
Click on "Create security group"
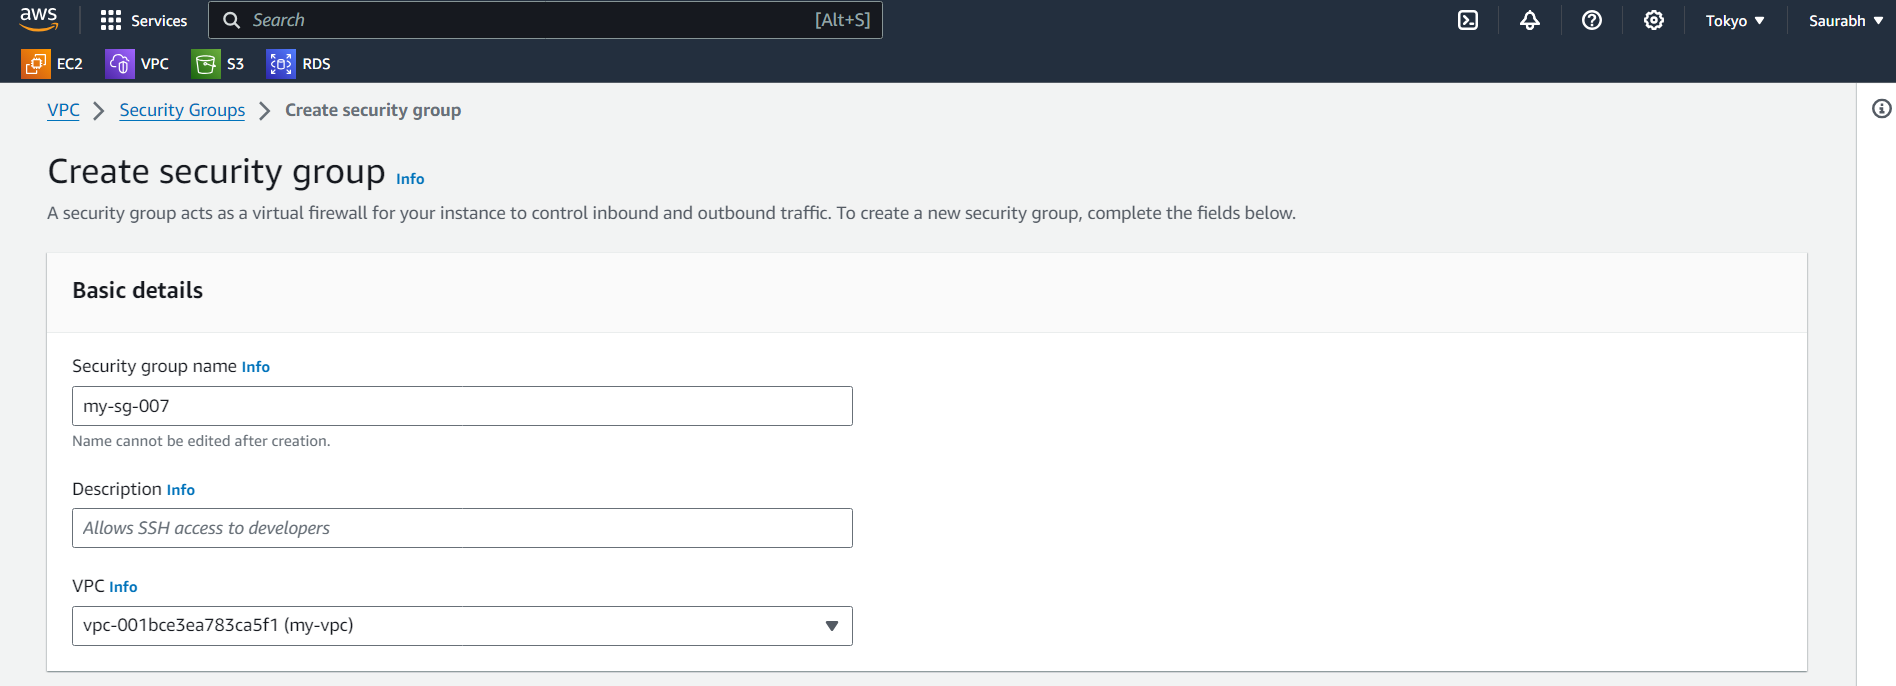
Give it a nice name and description to it and select your VPC.
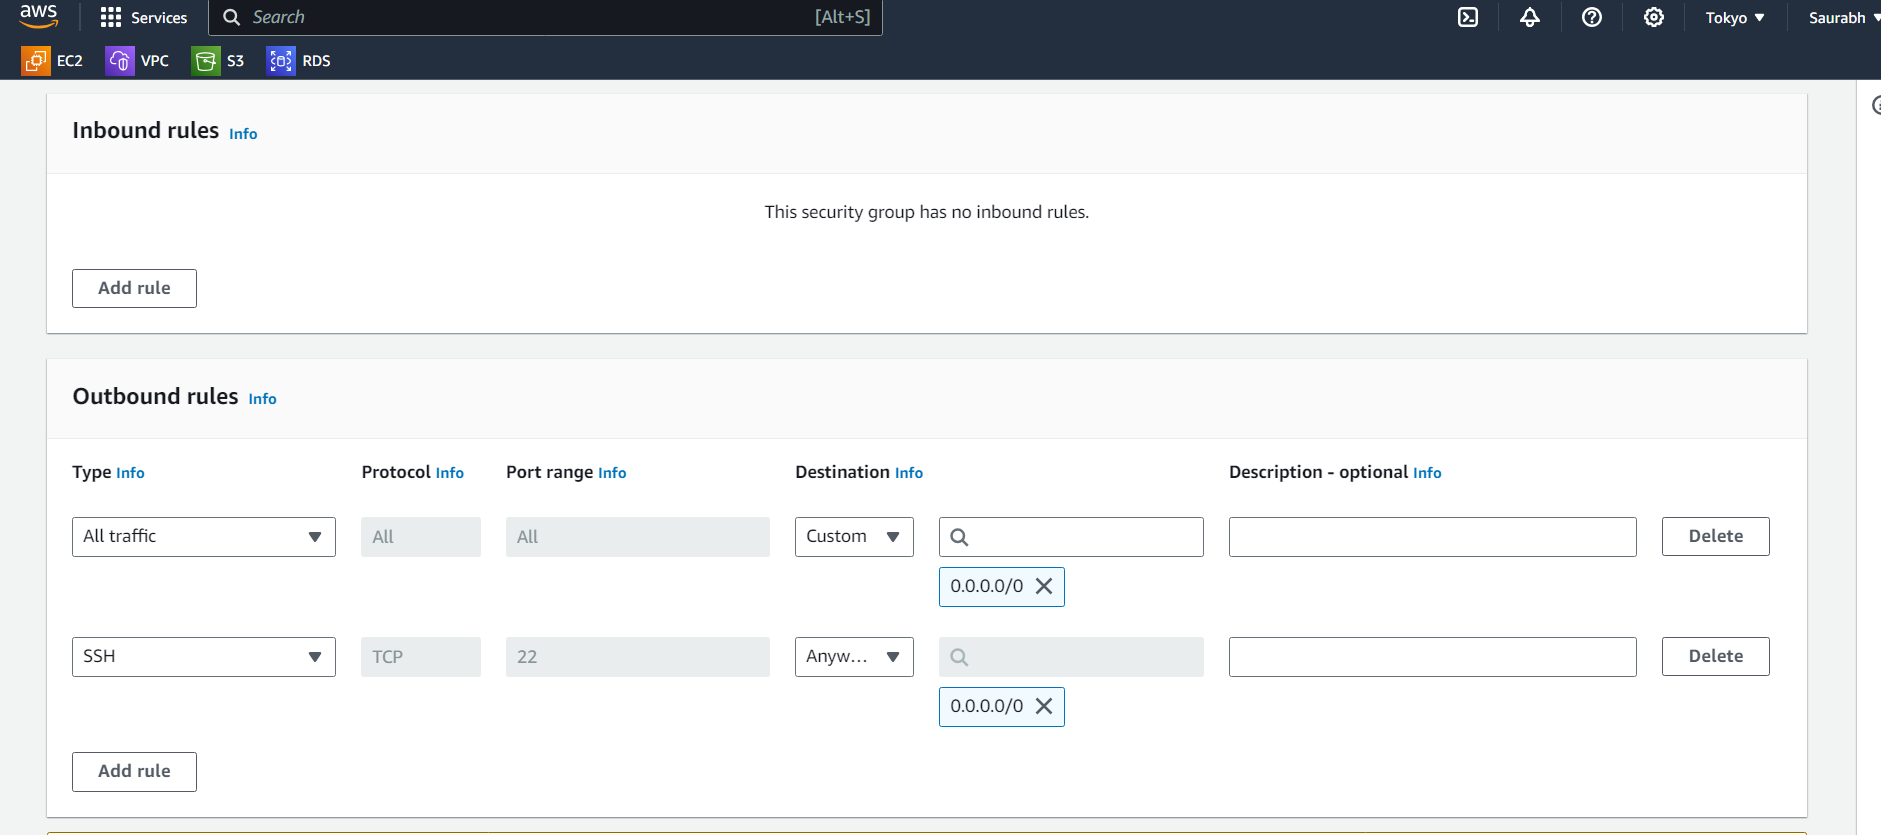
Put Inbound and Outbound Rules as per your requirement:
Then click on "Create security group"
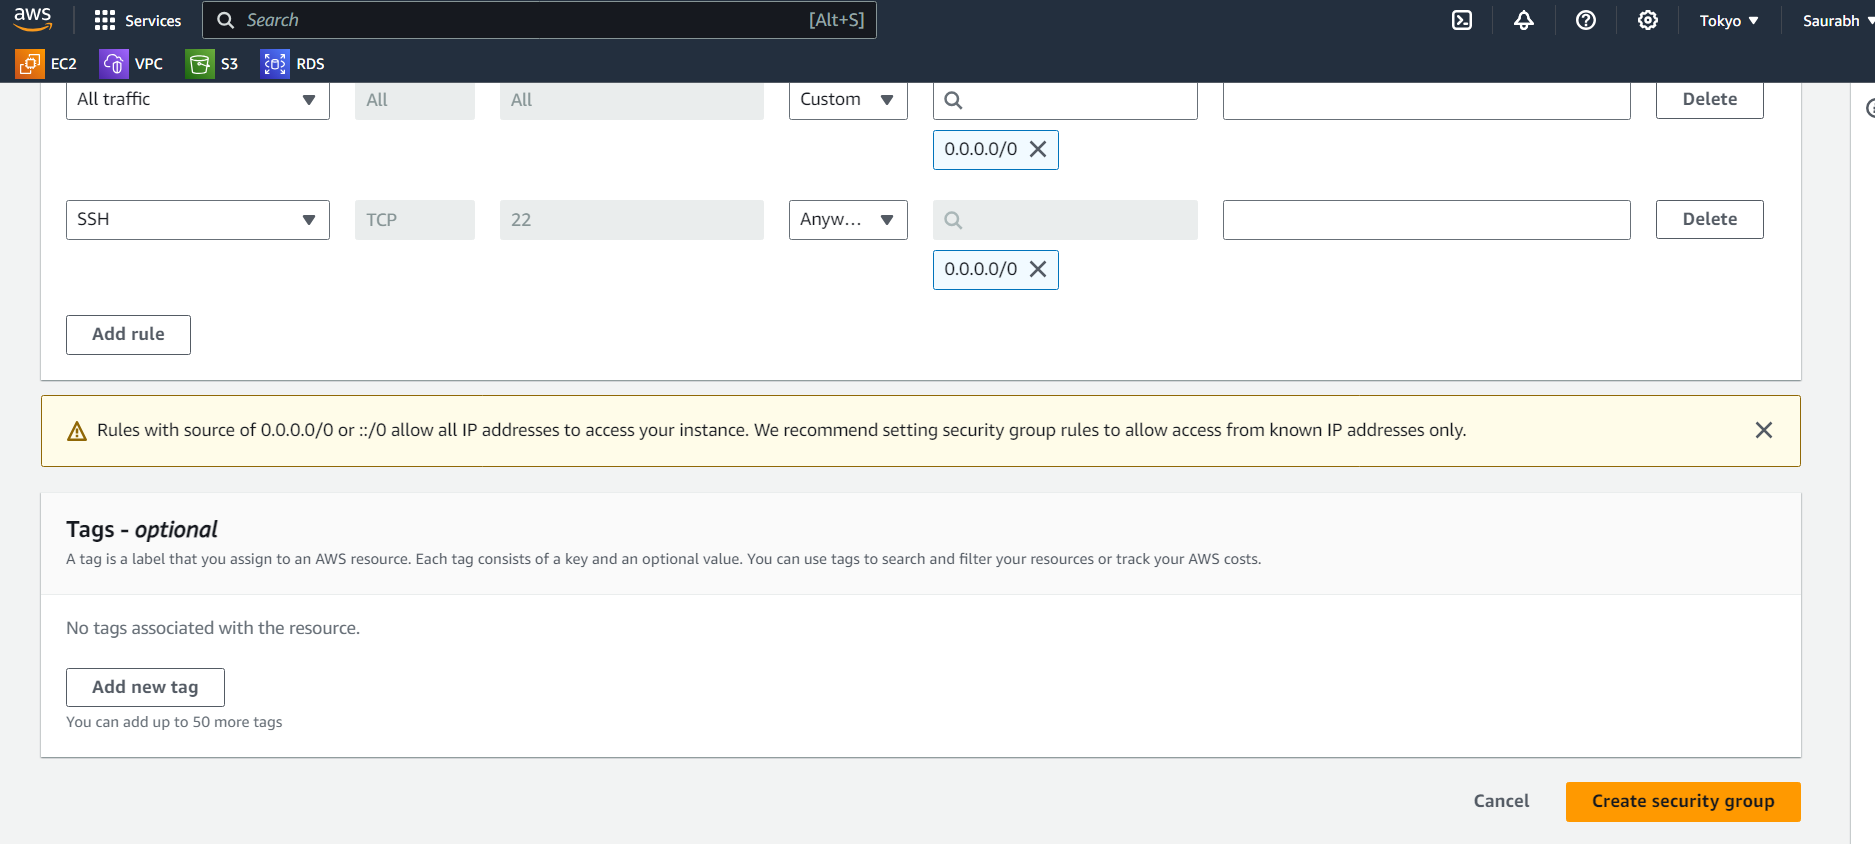
🛡️ b. Add Extra Shields (Network ACLs): Design network ACLs for an extra layer of protection, especially for different areas of your cloud home.
Go to the security section and click on Network ACLs:
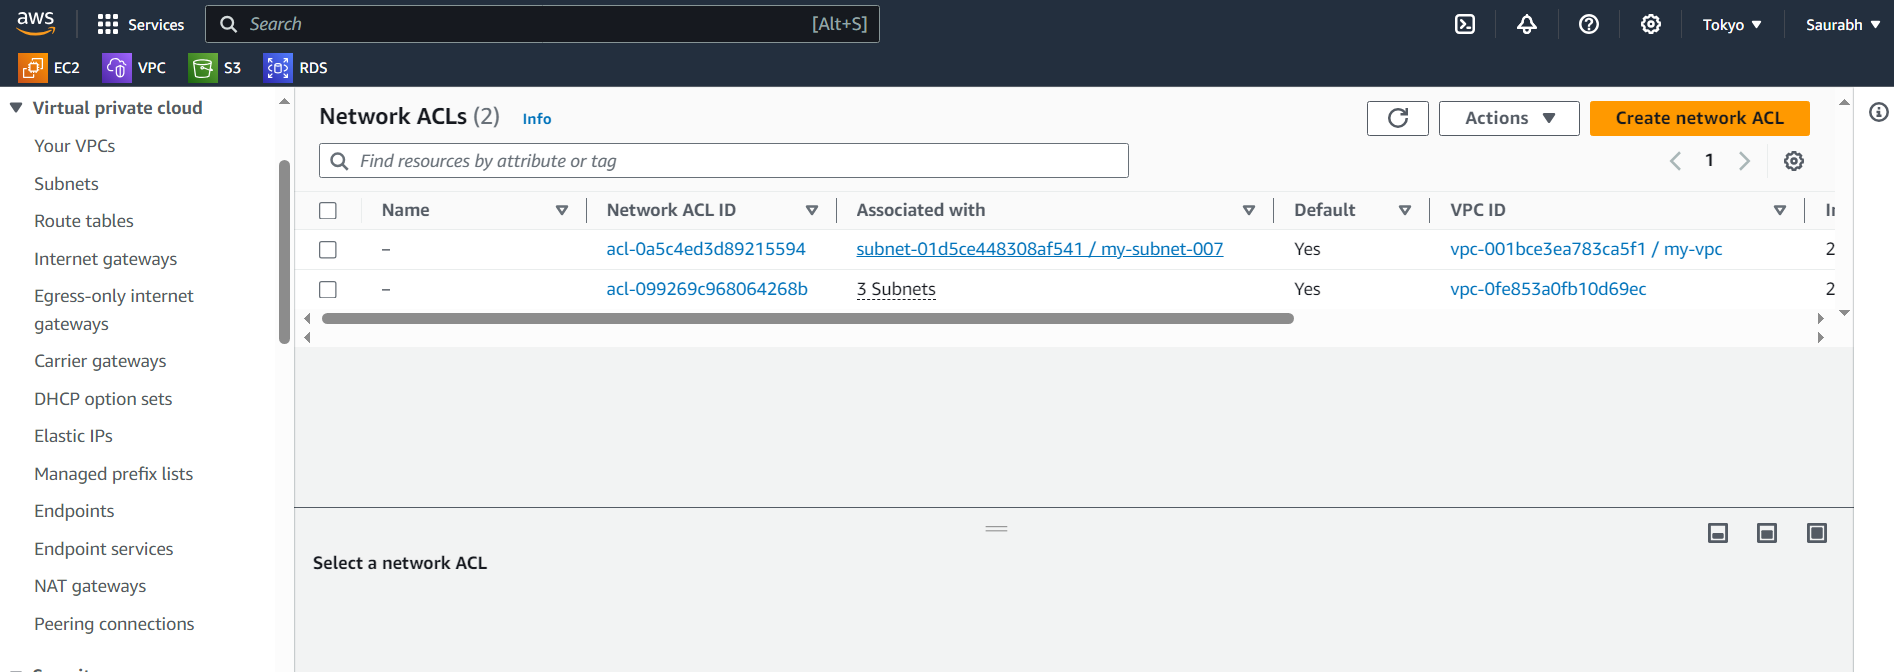
Click on "Create network ACL"
Give a Name to your NACL, Select your VPC. and then click on "Create network ACL".
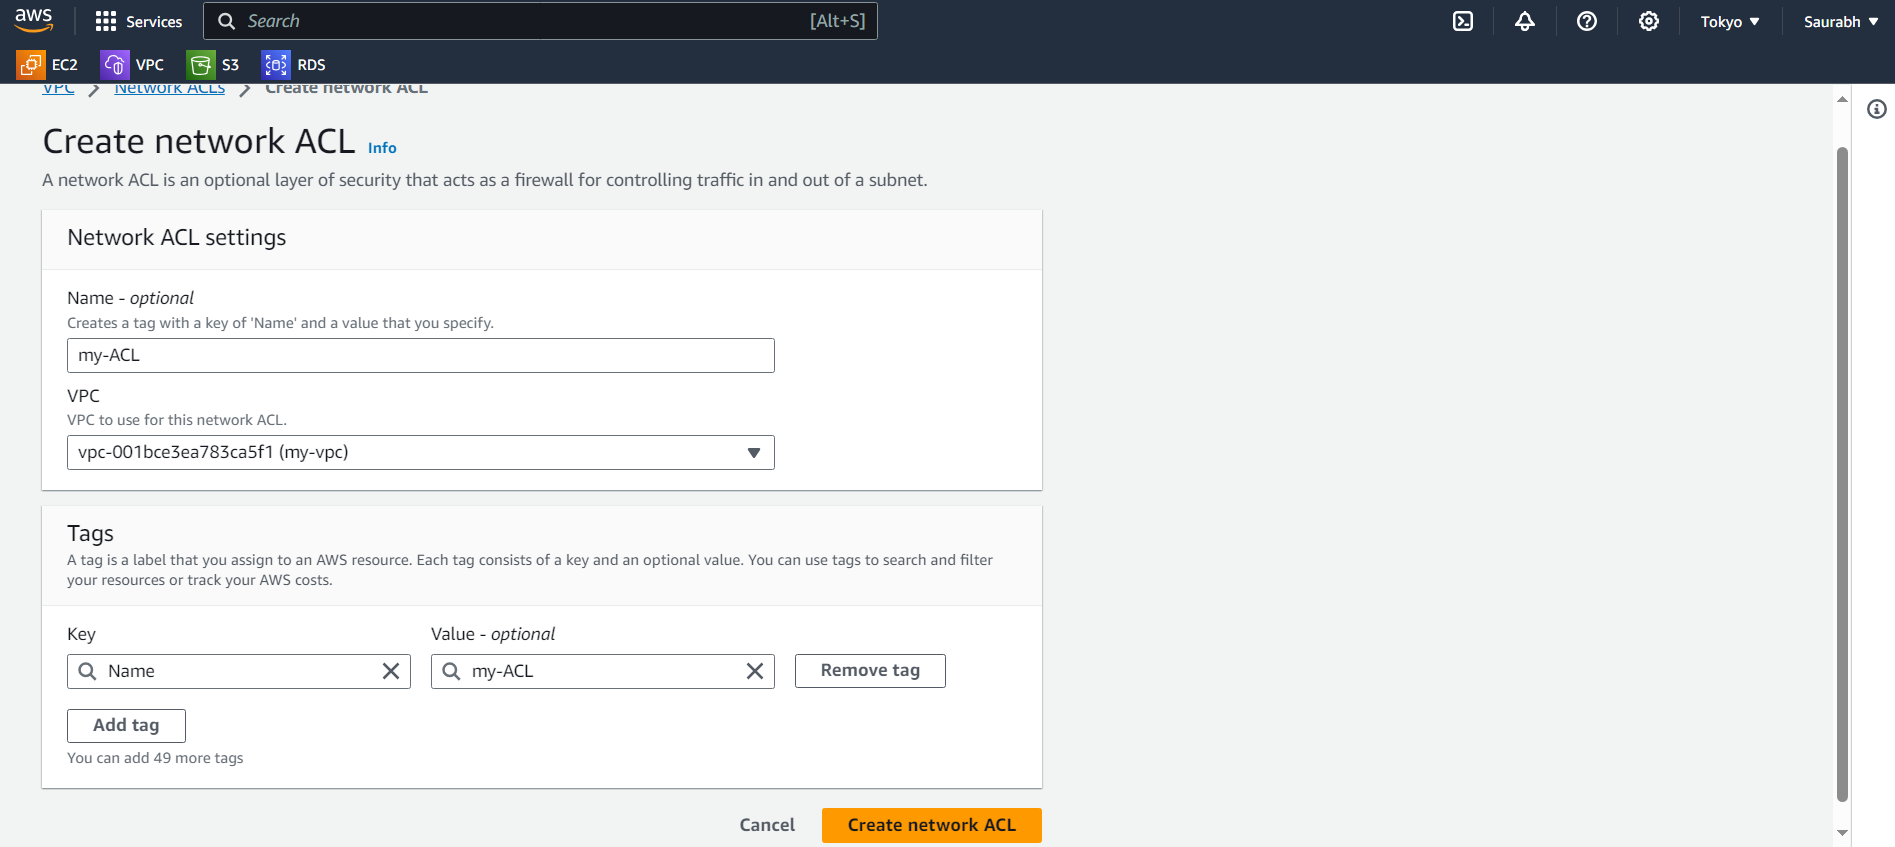
Then you can see your NACL is created.

Embark on a cosmic review of your creation. Survey the celestial landscape of your VPC, subnets, route tables, Internet Gateway, security groups, and NACL. Ensure that your cosmic orchestra is harmonizing in preparation for the grand debut.
Congratulations, fellow adventurer! You've crafted your very own Virtual Private Cloud celestial haven for your cloud resources.
In the spirit of AWS exploration, may your cosmic odyssey be filled with innovation, scalability, and the thrilling unknowns of the cloud universe. 🚀✨ The stars are now yours to navigate!
Subscribe to my newsletter
Read articles from Saurabh Adhau directly inside your inbox. Subscribe to the newsletter, and don't miss out.
Written by

Saurabh Adhau
Saurabh Adhau
As a DevOps Engineer, I thrive in the cloud and command a vast arsenal of tools and technologies: ☁️ AWS and Azure Cloud: Where the sky is the limit, I ensure applications soar. 🔨 DevOps Toolbelt: Git, GitHub, GitLab – I master them all for smooth development workflows. 🧱 Infrastructure as Code: Terraform and Ansible sculpt infrastructure like a masterpiece. 🐳 Containerization: With Docker, I package applications for effortless deployment. 🚀 Orchestration: Kubernetes conducts my application symphonies. 🌐 Web Servers: Nginx and Apache, my trusted gatekeepers of the web.