Beginner Guide: Learn Web5 by Building a Decentralized Todo App
 Rotense
By the end of this Article, you will understand so many things about Web5, decentralized identifiers, Verifiable Credentials, Control over data, and some other Benefits of Web5 with solid practical step-by-step guides.
What is Web5?
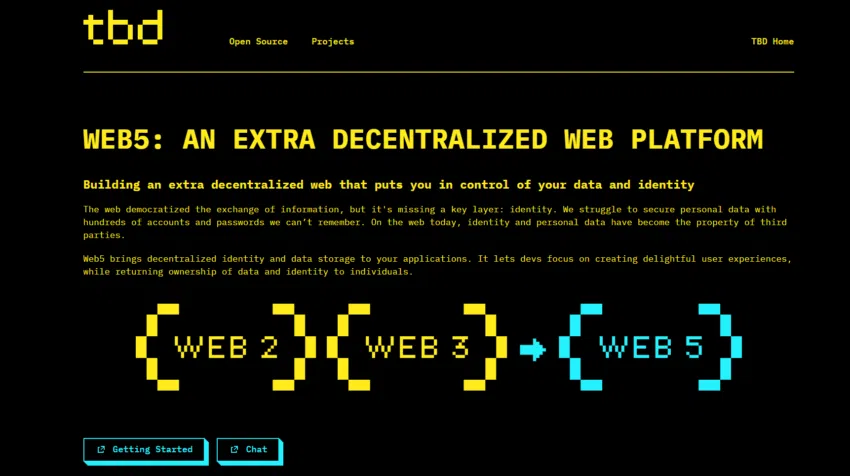
Block Inc. subsidiary Jack Dorsey's TBD business unit declared on June 10th, 2022, that it has started the process of creating "Web5."
It seems only fitting that the Bitcoin-focused entrepreneur attempts to create a fully decentralized web in light of Dorsey's vocal criticism of Web3 and its failures.
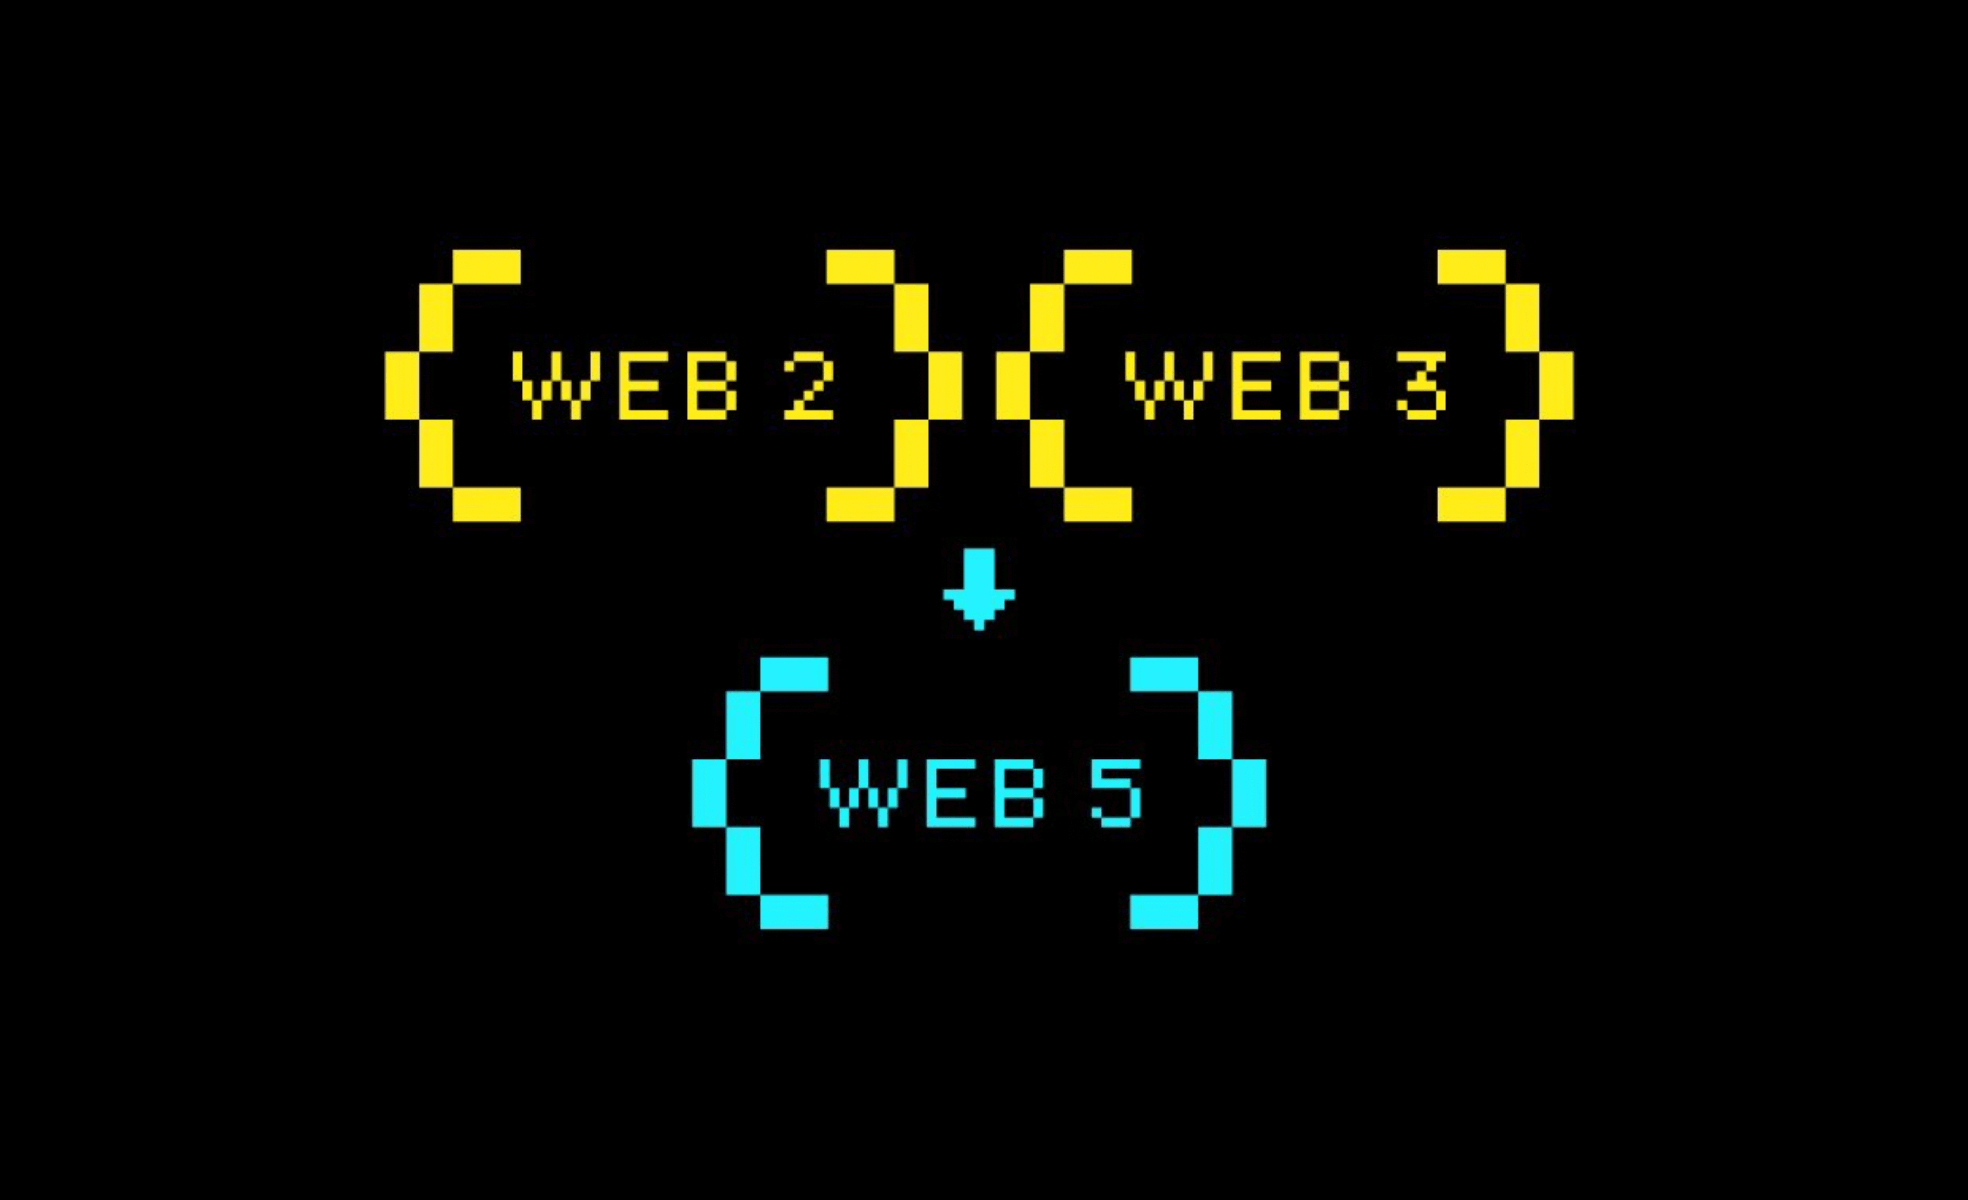
How did the moniker "this new version of the web" come about? The moniker, as presented in a Google Doc presentation by Dorsey, is derived from Web 2 + Web 3 = Web 5.
Therefore, Web 5 is a decentralized platform that offers the web a new identity layer to enable decentralized apps and protocols.
Users do not control their data or identities in the current web model. Companies offer them accounts, and their data is locked away in app silos. To build a new class of decentralized apps and protocols that put people first, we must provide them with self-owned identities and restore control over their data.

The issues pertaining to Web3.
I know many people will say what about web3, Yes we are going to discuss the major problems with web3.
The current version of Web3 has several issues. At the moment, Web3 serves as a tokenomics presentation for a centralized business looking to raise money through an initial coin offering (ICO).
The teams then utilize these monies to build a dispersed network system that purports to belong to no one single entity, but this is nearly always shown to be untrue.
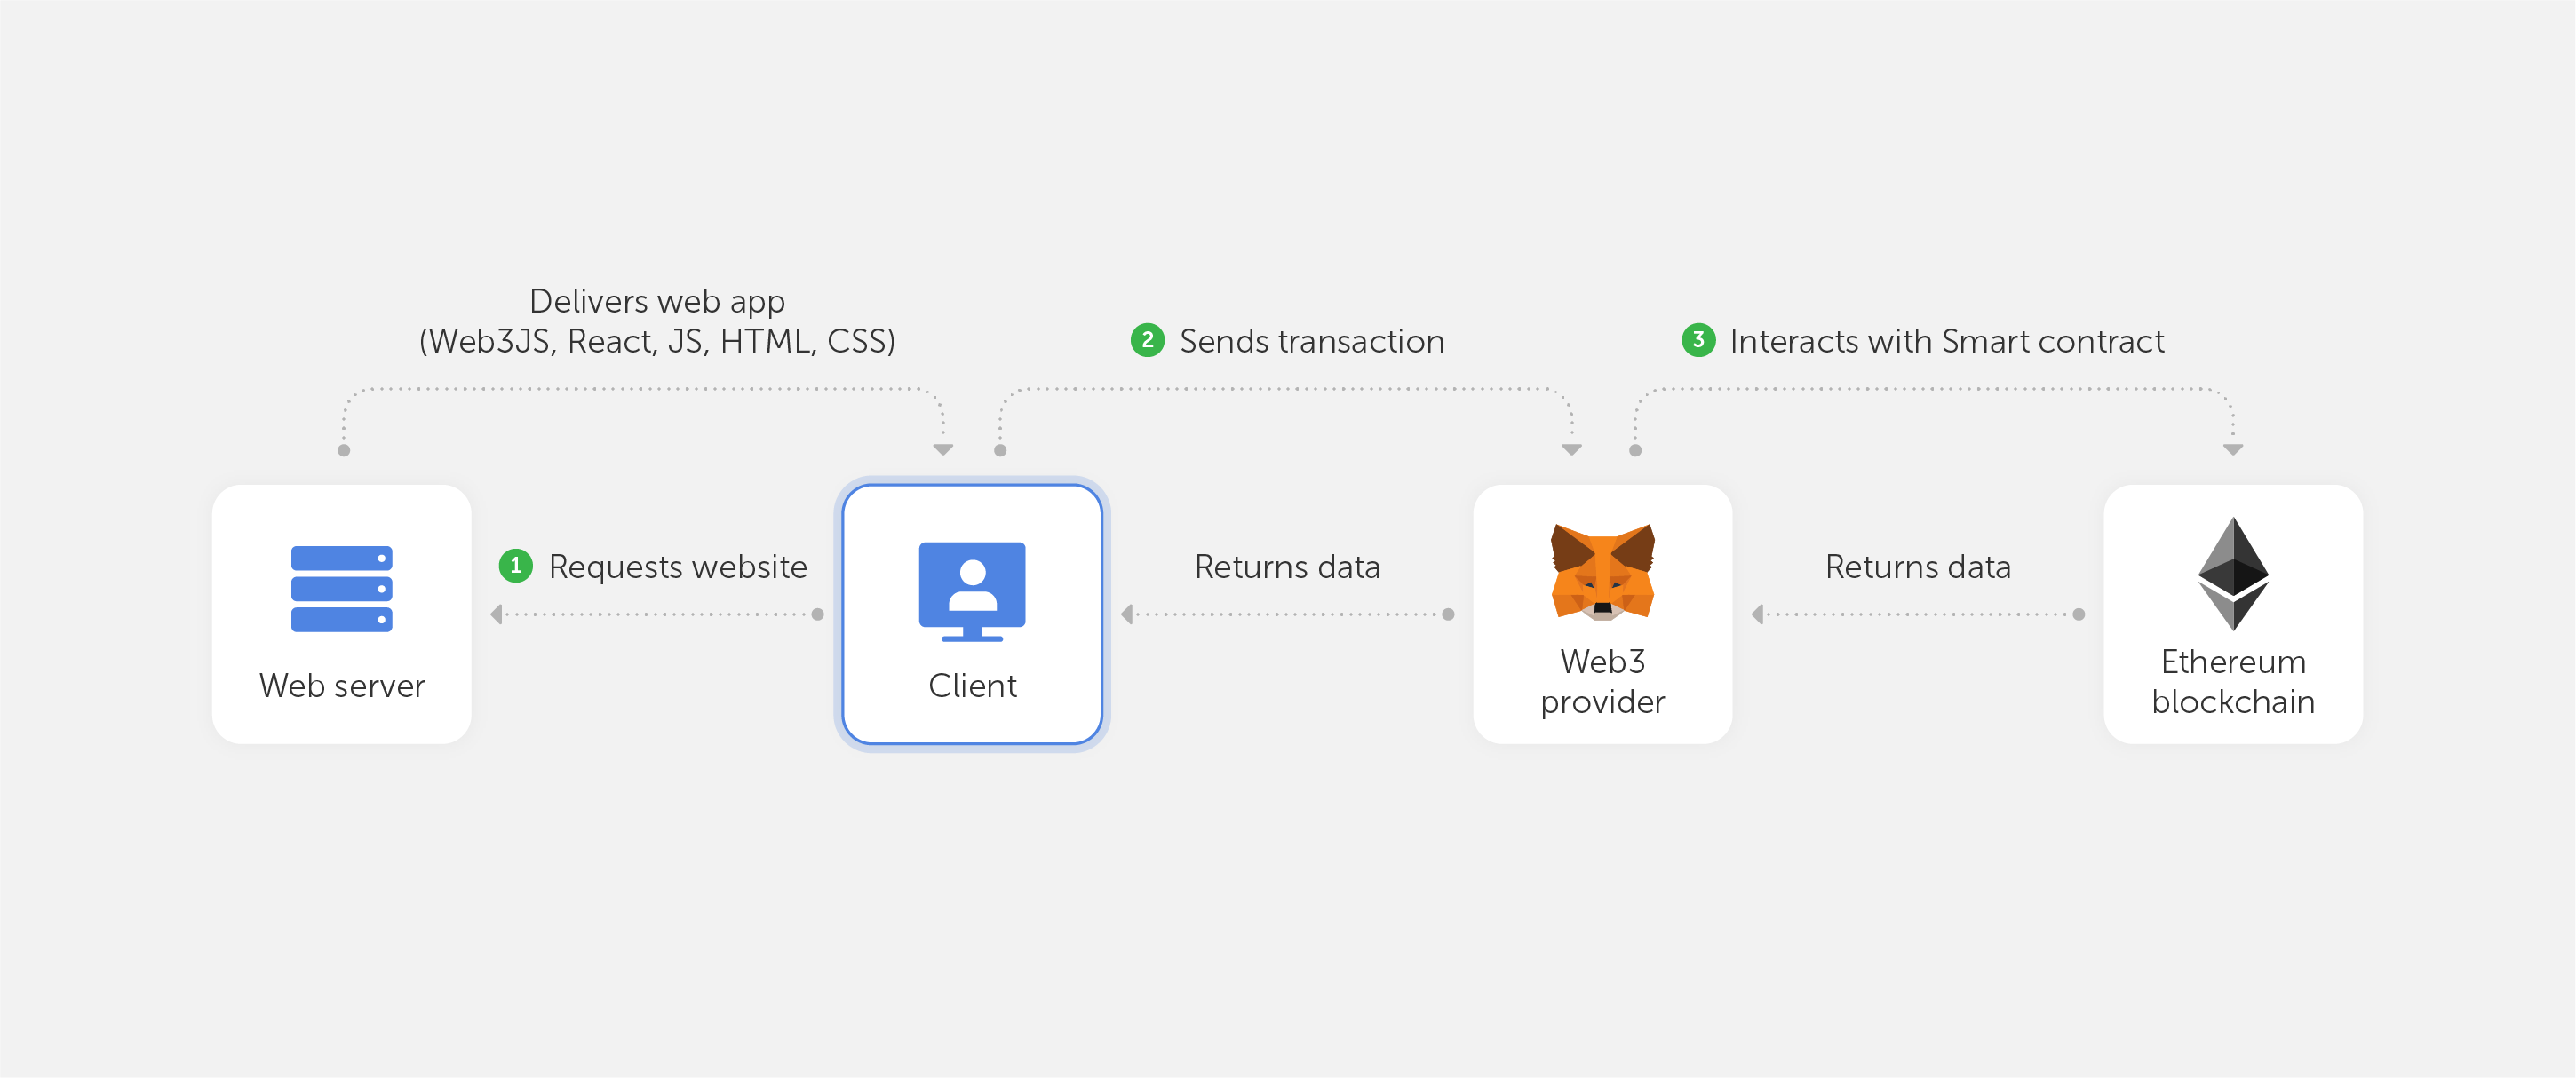
Nearly all decentralized apps, or dApps, utilize centralized infrastructure like Alchemy or Infura.

Web3 is not truly decentralized in this sense. In actuality, it's a blockchain-based rebirth of Web2, which was a dynamic, centralized website where users could post, modify, and re-share material. Examples of these sites include Facebook, YouTube, Reddit, and Wikipedia.
It promises to be owned by users, but in reality, centralized API infrastructures, private sale beneficiaries, and a variety of venture investors own and manage it.
So, how does Web5 intend to fix this?
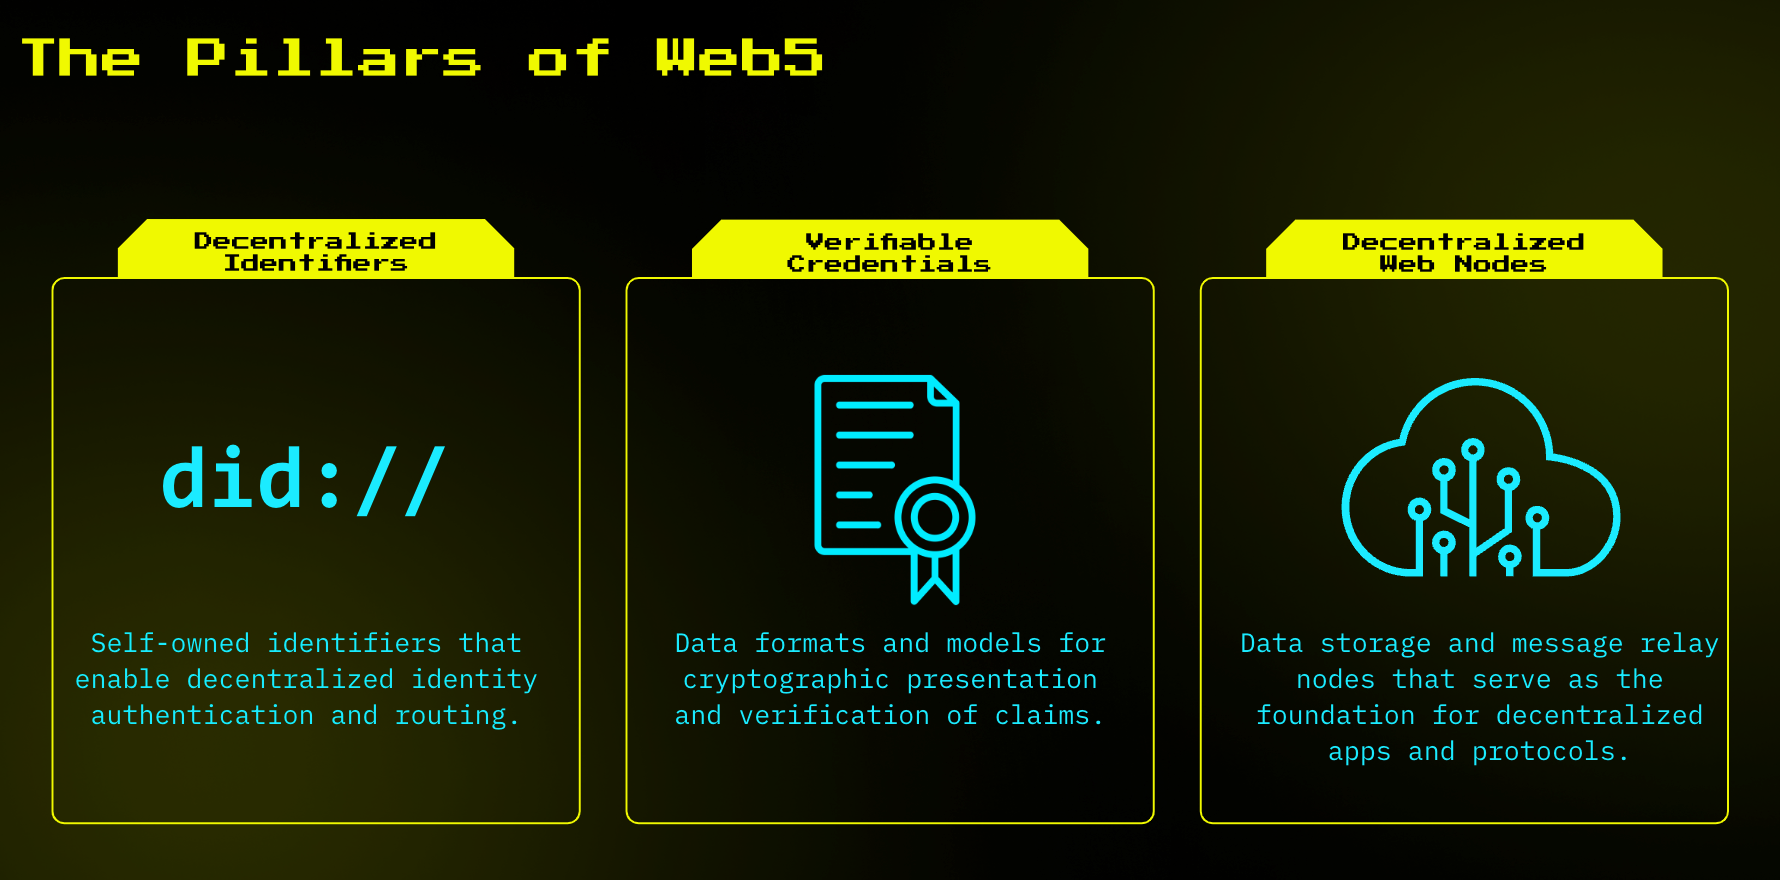
Data sovereignty and complete control over this data are the only two use cases that a Web5 application will provide using decentralized IDs, verifiable credentials, decentralized web nodes (DWNs), and decentralized web apps (DWAs).
TBD stated in their release that "Web5 brings decentralized identity and data storage to your applications." "It restores ownership of data and identity while allowing people to concentrate on crafting delightful user experiences."
Major Components of Web 5
TBD's Web5 vision is made up of a series of software components that, when integrated, allow developers to focus on developing immersive user experiences while also allowing for decentralized identification and data storage in apps.
The decentralized web platform is built on three major pillars, all of which are open standards.

It's entirely built on the Sidetree protocol and ION, which don't need tokens, trusted validators, or other consensus mechanisms to work.
Link To Supplemental Docs:
Now, Let's get our hands busy by building a Web5 Decentralized Todo Web App.
This guide will teach you how to create a simple single-party decentralized ToDo app using web5.js. It is made up of a Vue.js app powered by web5.js that provides data storage and is supported by a Decentralized Web Node (DWN).
The ToDo app is a simple, local, single-user program that uses web5.js just for storage, but it's a crucial step towards creating more complex decentralized applications.
After completing this guide, you will have a firm grasp of the fundamentals involved in building, reading, and writing to a DWN and be well on your way to developing serverless, decentralized apps.
Requirements:
Terminal.
Nodejs Installed on your PC.
Check Out Live Demo Here: https://unrivaled-crumble-56ce70.netlify.app/
Obtaining the Sample Application
Now, we're going to clone the sample of the ToDo App by running the following:
NOTE: You may run npm install -g pnpm to install pnpm if it's not already installed.
git clone https://github.com/TBD54566975/developer.tbd.website.git
cd developer.tbd.website
pnpm install
pnpm start:tutorial-todo-starter
In this guide, you will complete the src/App.vue file within /examples/tutorials/todo-starter in order to use web5.js.
Make sure you are inside the /examples/tutorials/todo-starter on your terminal, You can confirm by running pwd
Setup:
Add Web5 to package.json in the dependencies section:
{
  "dependencies": {
    "@web5/api": "0.8.2"
  },
  "type": "module"
}
Run the following commands to download the required packages:
pnpm install
pnpm run dev
The application should now be open at https://localhost:5173; it will launch as a beginning program with a largely blank page. We'll create the remainder in this lesson.
App Structure:
Your ToDo app consists of three primary parts: Javascript, CSS, and HTML. Web5.js replaces the RESTful calls you would typically make with calls to the DWN, which alters the appearance of your ToDo app in comparison to a standard web app.
NOTE: Consider
web5.jsas the backend data store, your RESTful API service, and your storage.
The App.vue file contains both the JS logic and the HTML structure of the sample application because it was constructed with Vue.js. There will be a few primary duties for your ToDo app to carry out:
Create a new DWN for the user or load their saved DWN for storage
Display ToDos
Create ToDos
Delete ToDos
Toggle ToDo status
Initialize Constants and Variables:
Open src/App.vue in your editor and add this next to the other imports:
import { Web5 } from "@web5/api";
Initially, we will create instances to store the data that will be used by your application.
Copy the following block and paste it under all import statements in src/App.vue:
let web5;
let myDid;
const todos = ref([]);
The web5 object is the single entry point for all Web5 operations. You've also set up a todos array to hold your ToDos, and a variable to remember the app user's decentralized identifier (DID) as myDid.
Create DID and Web5 Instance:
When a user opens your ToDo app for the first time, you'll need to take care of setting up an "account" for them. This entails making sure they have access to their app data via a DID and DWN. You should retrieve and load that data for them when they return for more sessions.
Add to src/App.vue:
onBeforeMount(async () => {
  ({ web5, did: myDid } = await Web5.connect());
});
Displaying Todos:
You can now make calls to the DWN to fetch, write, and delete data. To load your user’s existing ToDos, call:
onBeforeMount(async () => {
  ...
  // Populate ToDos from DWN
  const { records } = await web5.dwn.records.query({
    message: {
      filter: {
        schema: 'http://some-schema-registry.org/todo'
      },
      dateSort: 'createdAscending'
    }
  });
});
Once you’ve loaded the query data, you can map this data from the DWN into an object for your app to use:
onBeforeMount(async () => {
  ...
  // Add entry to ToDos array
  for (let record of records) {
    const data = await record.data.json();
    const todo = { record, data, id: record.id };
    todos.value.push(todo);
  }
});
Your app user's ToDos are now saved in their DWN, and you can utilize the todos object to display them. In this example, you may accomplish so by adding the following HTML code to the Vue app below the JS, exactly as you would in any non-Web5 project.
Add this to the template where <!-- ToDos --> is located:
<div v-if="(todos.length > 0)" class="border-gray-200 border-t border-x mt-16 rounded-lg shadow-md sm:max-w-xl sm:mx-auto sm:w-full">
  <div v-for="todo in todos" :key="todo" class="border-b border-gray-200 flex items-center p-4">
    <div @click="toggleTodoComplete(todo)" class="cursor-pointer">
      <CheckCircleIcon class="h-8 text-gray-200 w-8" :class="{ 'text-green-500': todo.data.completed }" />
    </div>
    <div class="font-light ml-3 text-gray-500 text-xl">
      {{ todo.data.description }}
    </div>
    <!-- Delete ToDo goes here later -->
  </div>
</div>
INFO: It should be noted that this UI code does more than simply load the tasks; it also allows us to delete tasks and toggle the completion state, which we'll discuss in a moment.
Adding ToDos:
First, create the UI required for adding ToDos in order to enable additional functionality.
In the template add this code block to <!-- Add ToDos Form -->:
<div class="mt-16">
  <form class="flex space-x-4" @submit.prevent="addTodo">
    <div class="border-b border-gray-200 sm:w-full">
      <label for="add-todo" class="sr-only">Add a todo</label>
      <textarea
        rows="1" name="add-todo" id="add-todo" v-model="newTodoDescription"
        @keydown.enter.exact.prevent="addTodo"
        class="block border-0 border-transparent focus:ring-0 p-0 pb-2 resize-none sm:text-sm w-96"
        placeholder="Add a Todo" />
    </div>
    <button type="submit" class="bg-indigo-600 border border-transparent focus:outline-none focus:ring-2 focus:ring-indigo-500 focus:ring-offset-2 hover:bg-indigo-700 inline-flex items-center p-1 rounded-full shadow-sm text-white">
      <PlusIconMini class="h-5 w-5" aria-hidden="true" />
    </button>
  </form>
</div>
Next, you can add a Todo to storage by binding a addTodo() method to the UI and leveraging the newTodoDescription model referenced in the textarea to call the web5 method dwn.records.create:
// Adding ToDos
const newTodoDescription = ref('');

async function addTodo() {
  const todoData = {
    completed   : false,
    description : newTodoDescription.value
  };

  newTodoDescription.value = '';

  // Create the record in DWN
  const { record } = await web5.dwn.records.create({
    data    : todoData,
    message : {
      schema     : 'http://some-schema-registry.org/todo',
      dataFormat : 'application/json'
    }
  });
}
This code uses the myDid object we loaded or created in the onBeforeMount function and uses it to write into the DWN that web5 is used to store your app user's data.
Once we’ve written the data to storage, we’ll use the returned record to create your app's todo object, passing along the record.id :
async function addTodo() {
...
  // add DWeb message recordId as a way to reference the message for further operations
  // e.g. updating it or overwriting it
  const data = await record.data.json();
  const todo = { record, data, id: record.id };
  todos.value.push(todo);
}
Deleting ToDos:
Deleting ToDos can be done by using the deleteTodo method, passing the todoItem:
// Delete ToDo
async function deleteTodo(todoItem) {
  let deletedTodo;
  let index = 0;

  for (let todo of todos.value) {
    if (todoItem.id === todo.id) {
      deletedTodo = todo;
      break;
    }
    index ++;
  }

  todos.value.splice(index, 1);

  // Delete the record in DWN
  await web5.dwn.records.delete({
    message: {
      recordId: deletedTodo.id
    }
  });
}
We’ll connect that to the UI with the following code. This replaces the <!-- Delete ToDo goes here later --> comment we added earlier:
<div class="ml-auto">
  <div @click="deleteTodo(todo)" class="cursor-pointer">
    <TrashIcon class="h-8 text-gray-200 w-8" :class="'text-red-500'" />
  </div>
</div>
Toggling ToDo Status:
To toggle a ToDo’s status, you’ll need to change its status both in your local todos object and in your web5-managed DWN. You can do so by modifying the todos object and then using a record.update call to update the ToDo in your data store:
// Toggling ToDo Status
async function toggleTodoComplete(todoItem) {
  let toggledTodo;
  let updatedTodoData;

  for (let todo of todos.value) {
    if (todoItem.id === todo.id) {
      toggledTodo = todo;
      todo.data.completed = !todo.data.completed;
      updatedTodoData = { ...toRaw(todo.data) };
      break;
    }
  }

  // Get record in DWN
  const { record } = await web5.dwn.records.read({
    message: {
      filter: {
        recordId: toggledTodo.id
      }
    }
  });

  // Update the record in DWN
  await record.update({ data: updatedTodoData });
}
Woo!, You've just created a decentralized web application, Congratulations!
Learn More About Web5 by going through the official documentation HERE.
Check Out Live Demo Here: https://unrivaled-crumble-56ce70.netlify.app/
References:
Subscribe to my newsletter
Read articles from Rotense directly inside your inbox. Subscribe to the newsletter, and don't miss out.
Written by

Rotense
Rotense
Software Engineer && Certified Software Tester