Complete GitLab CI/CD
 Shreyash Bhise
GitLab is a web-based platform that provides a set of tools for software development, including version control, continuous integration, issue tracking, and more. It is built on top of Git, which is a distributed version control system. GitLab is often used for collaborative software development and DevOps practices.
Step 1: Create first ci/cd pipeline click on create new project and after that click on create blank project.
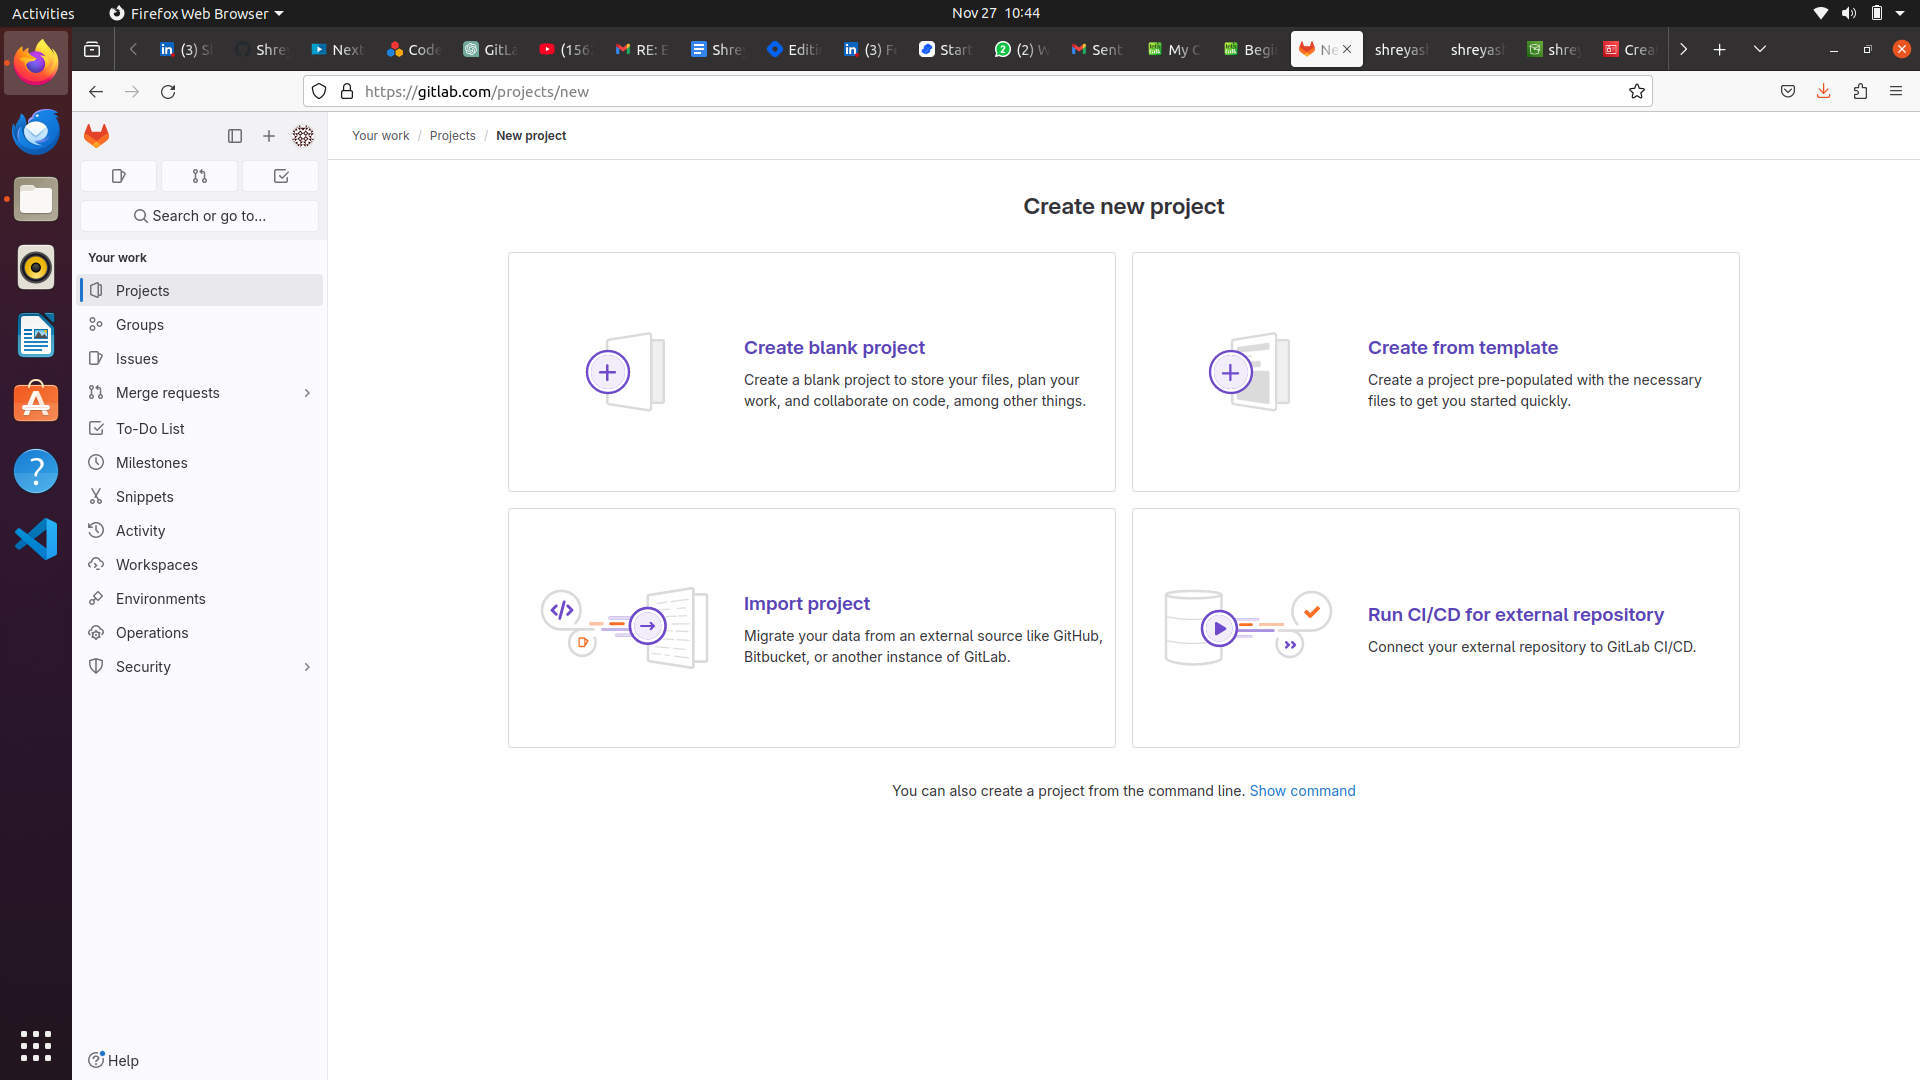
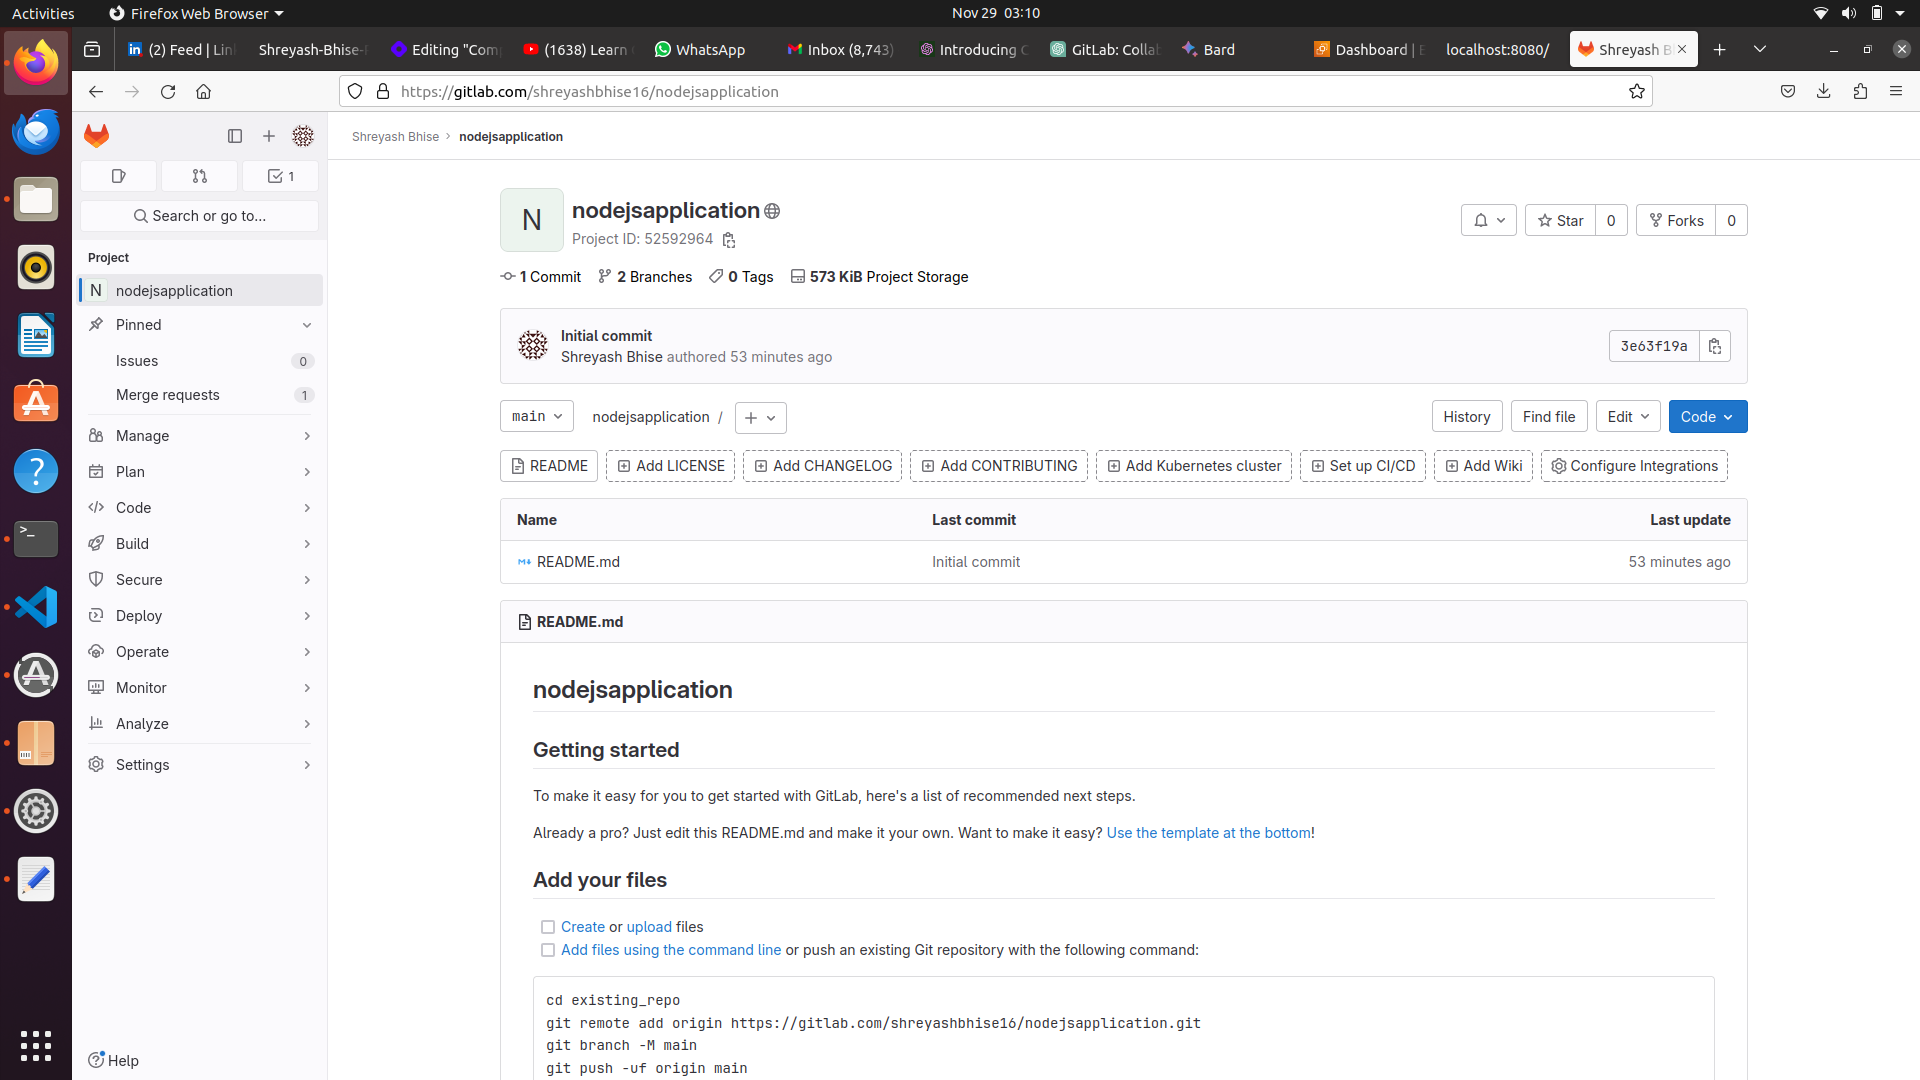
Step 2: cicd for node js application and create app.js file
const express  = require('express')
const app = express()
const port = 8080

app.get('/',(req, res) => {
    res.send('This is my node application for cicd demo')

})

app.listen(port,() => {
   console.log(`Application is listening at http://localhost:${port}`)

})
Step 3: Then create .gitlab-ci.yml file
build:
   script:
     - apt update -y
     - apt install npm -y
     - npm install

deploy:
   script:
      - apt update -y
      - apt install nodejs -y
      - node app.js
Step 4: Then create package.json file
{
    "dependencies": {
        "express": "^4.16.1"
    }
}
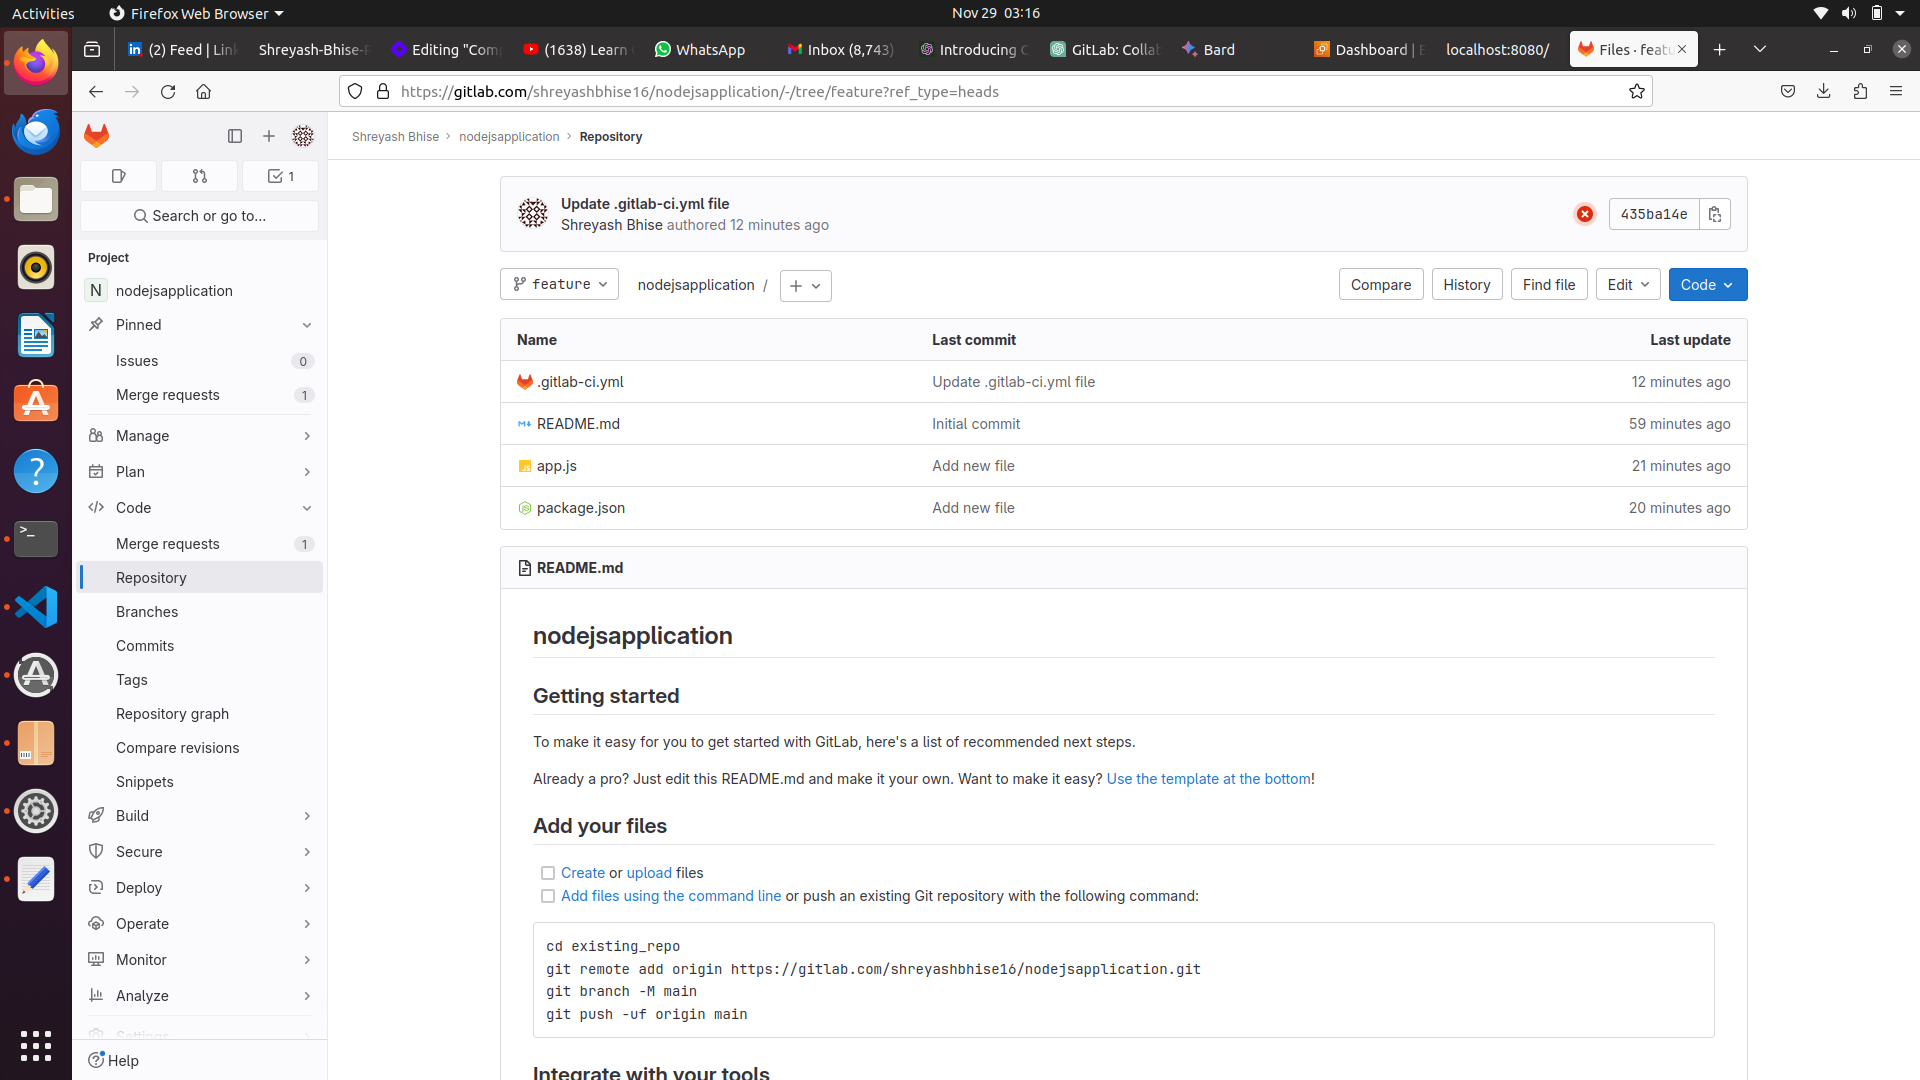
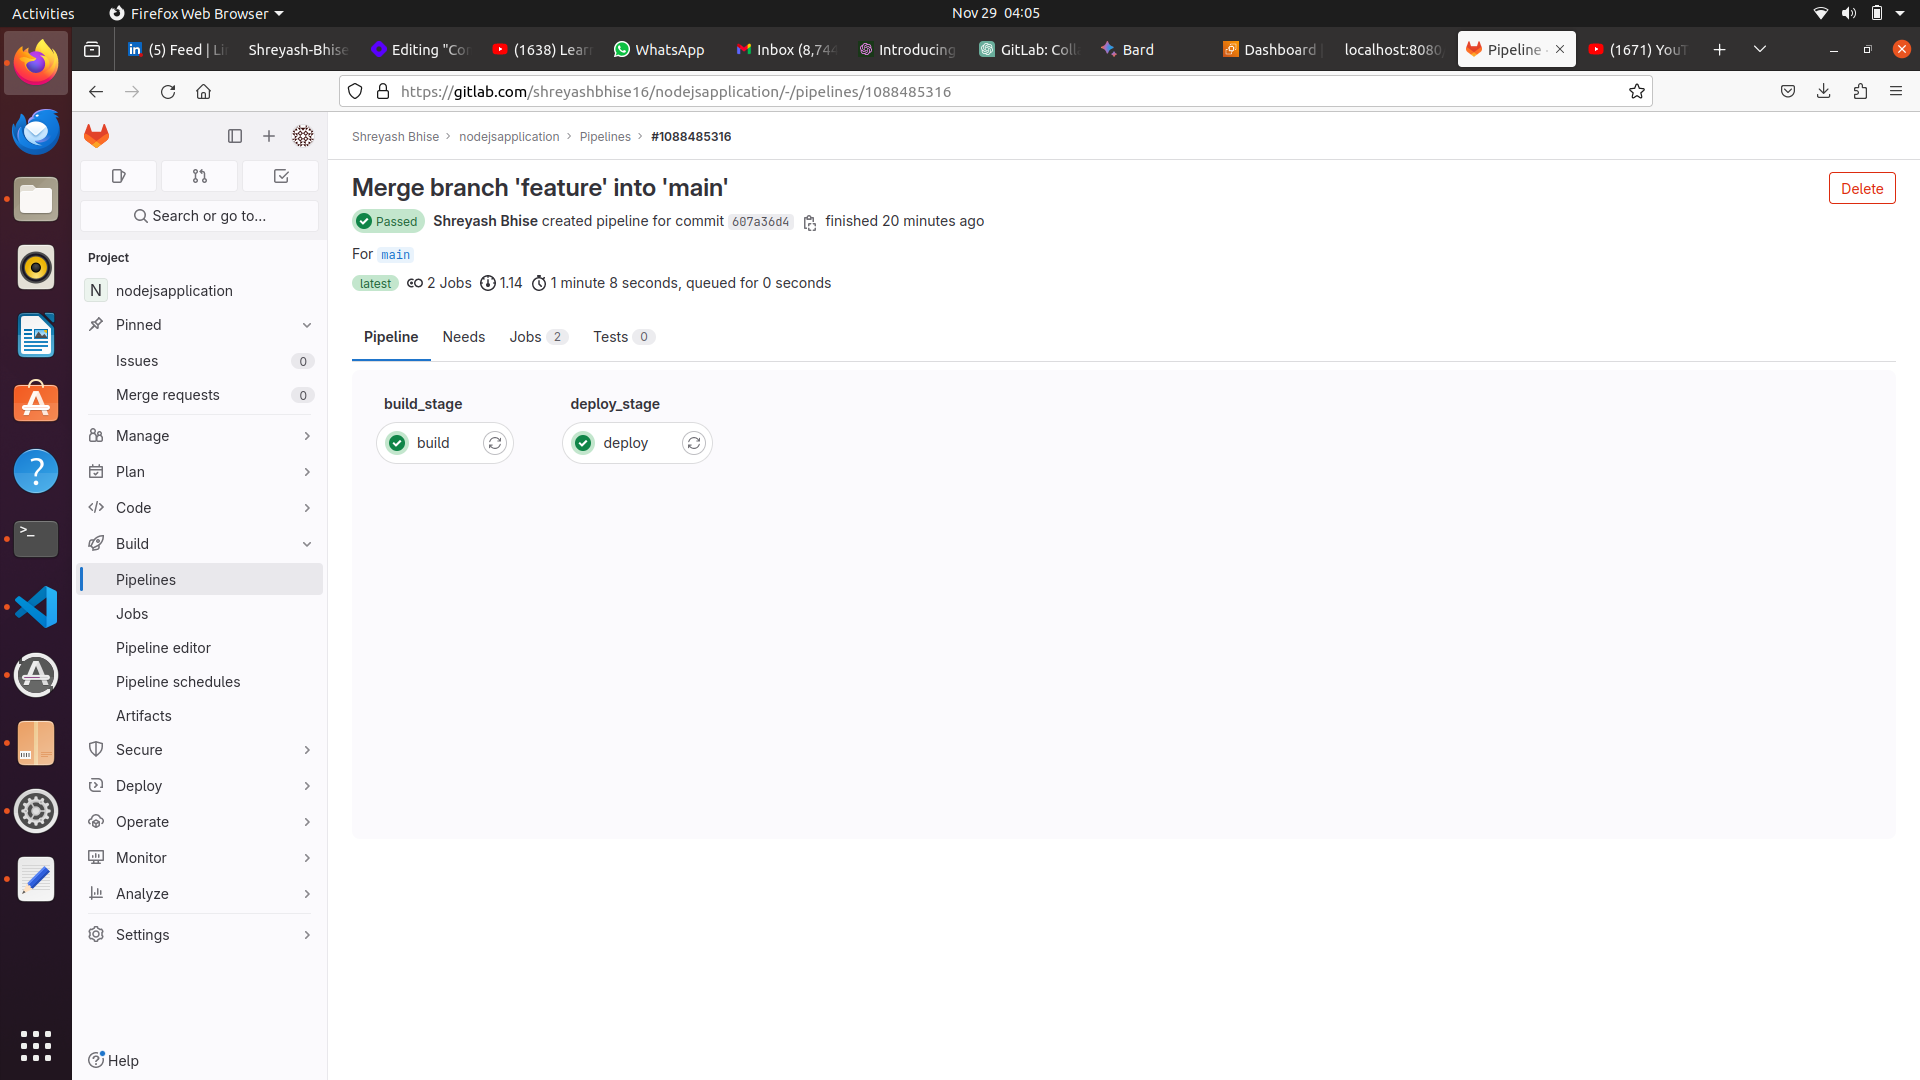
Stages Overview:
Stages are defined in the
.gitlab-ci.ymlfile and represent different phases or steps in your CI/CD pipeline.Each stage can contain one or more jobs.
Jobs within the same stage run in parallel, while stages run sequentially.
Default Stages:
GitLab CI/CD typically includes some default stages such as
build,test, anddeploy.These stages align with common stages in the software development lifecycle.
stages:
   - build_stage
   - deploy_stage
build:
   stage: build_stage
   script:
     - apt update -y
     - apt install npm -y
     - npm install

deploy:
   stage: deploy_stage
   script:
      - apt update -y
      - apt install nodejs -y
      - node app.js
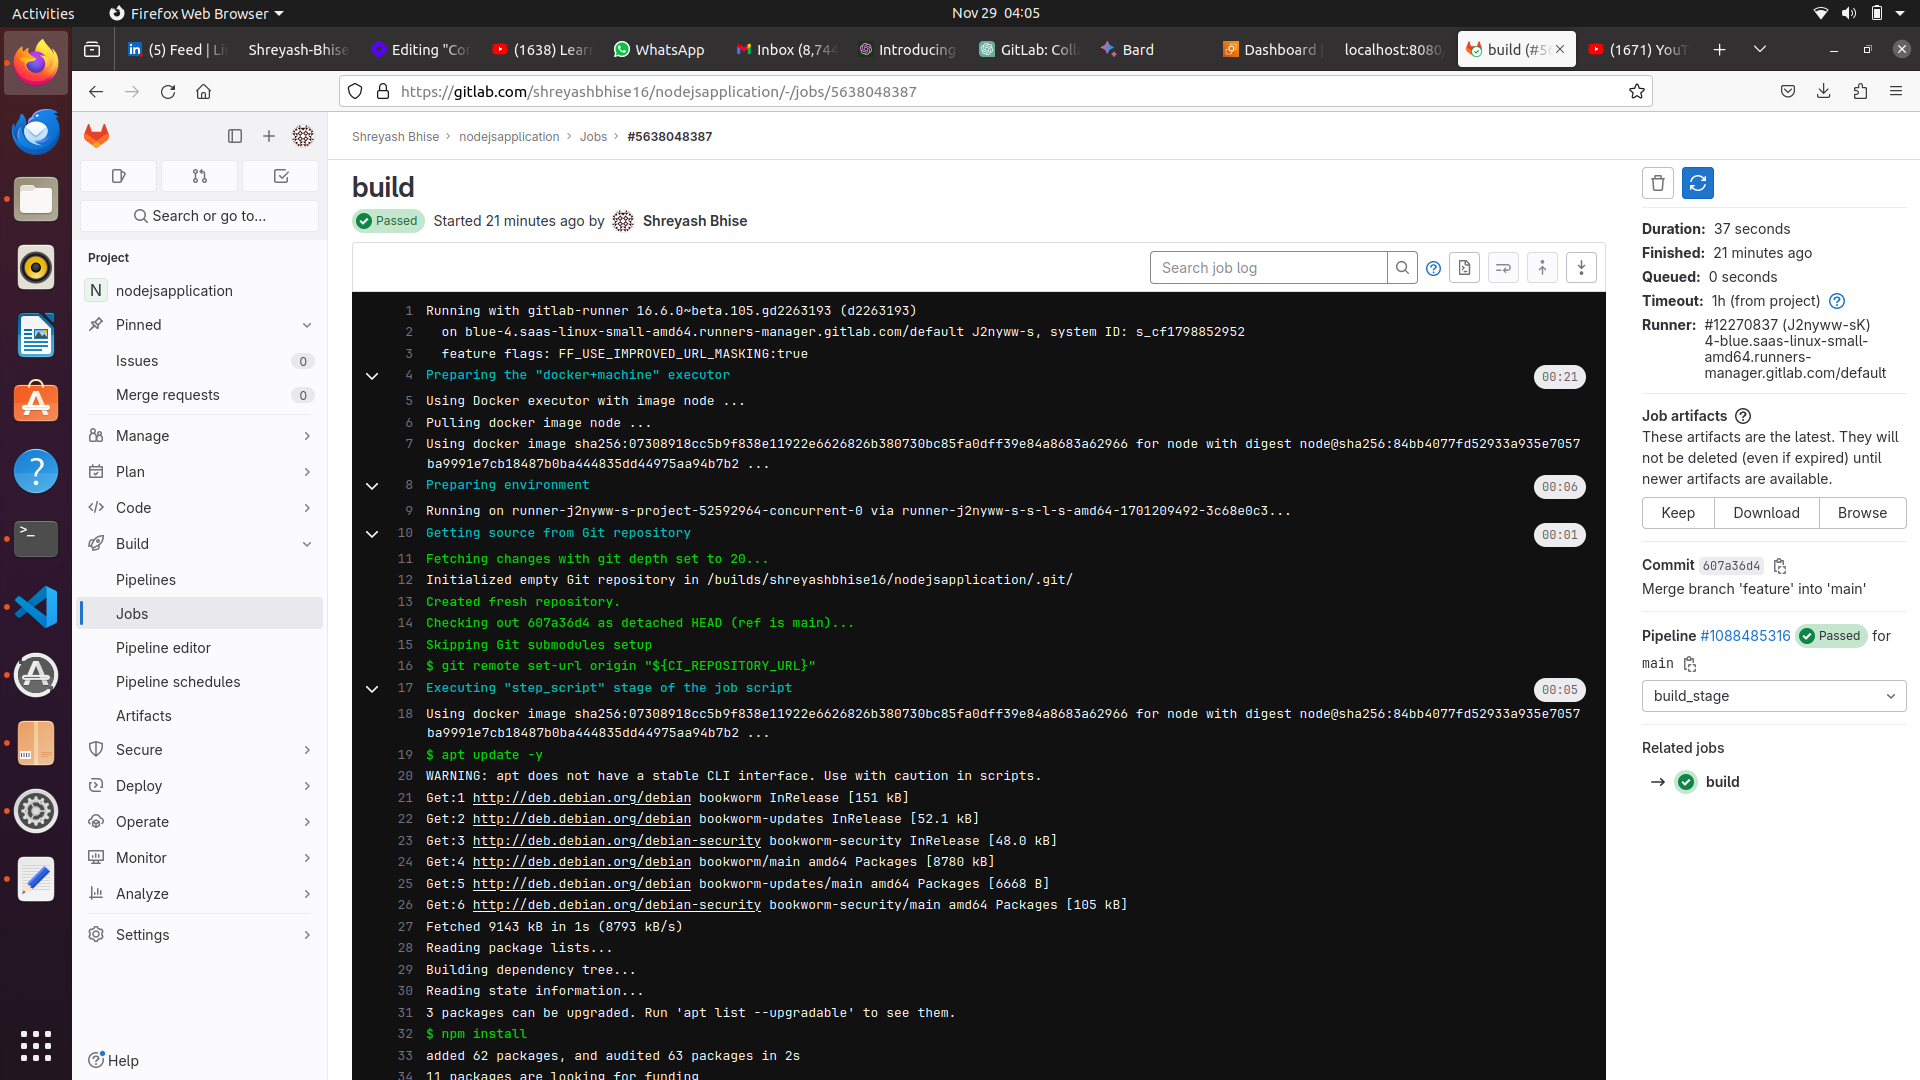
Artifact in GitLab CI/CD:
GitLab CI/CD, for example, allows you to define and manage artifacts within the
.gitlab-ci.ymlfile.You can specify which files or directories should be considered artifacts, and GitLab will automatically store and manage them.
Purpose of Artifacts:
Artifacts are used to deploy the application to different environments, such as development, testing, staging, and production.
They capture the result of the build process and provide a consistent and reproducible way to deploy applications.
stages:
   - build_stage
   - deploy_stage
build:
   stage: build_stage
   image: node
   script:
     - apt update -y
     #- apt install npm -y
     - npm install
   artifacts:
      paths:
         - node_modules
         - package-lock.json
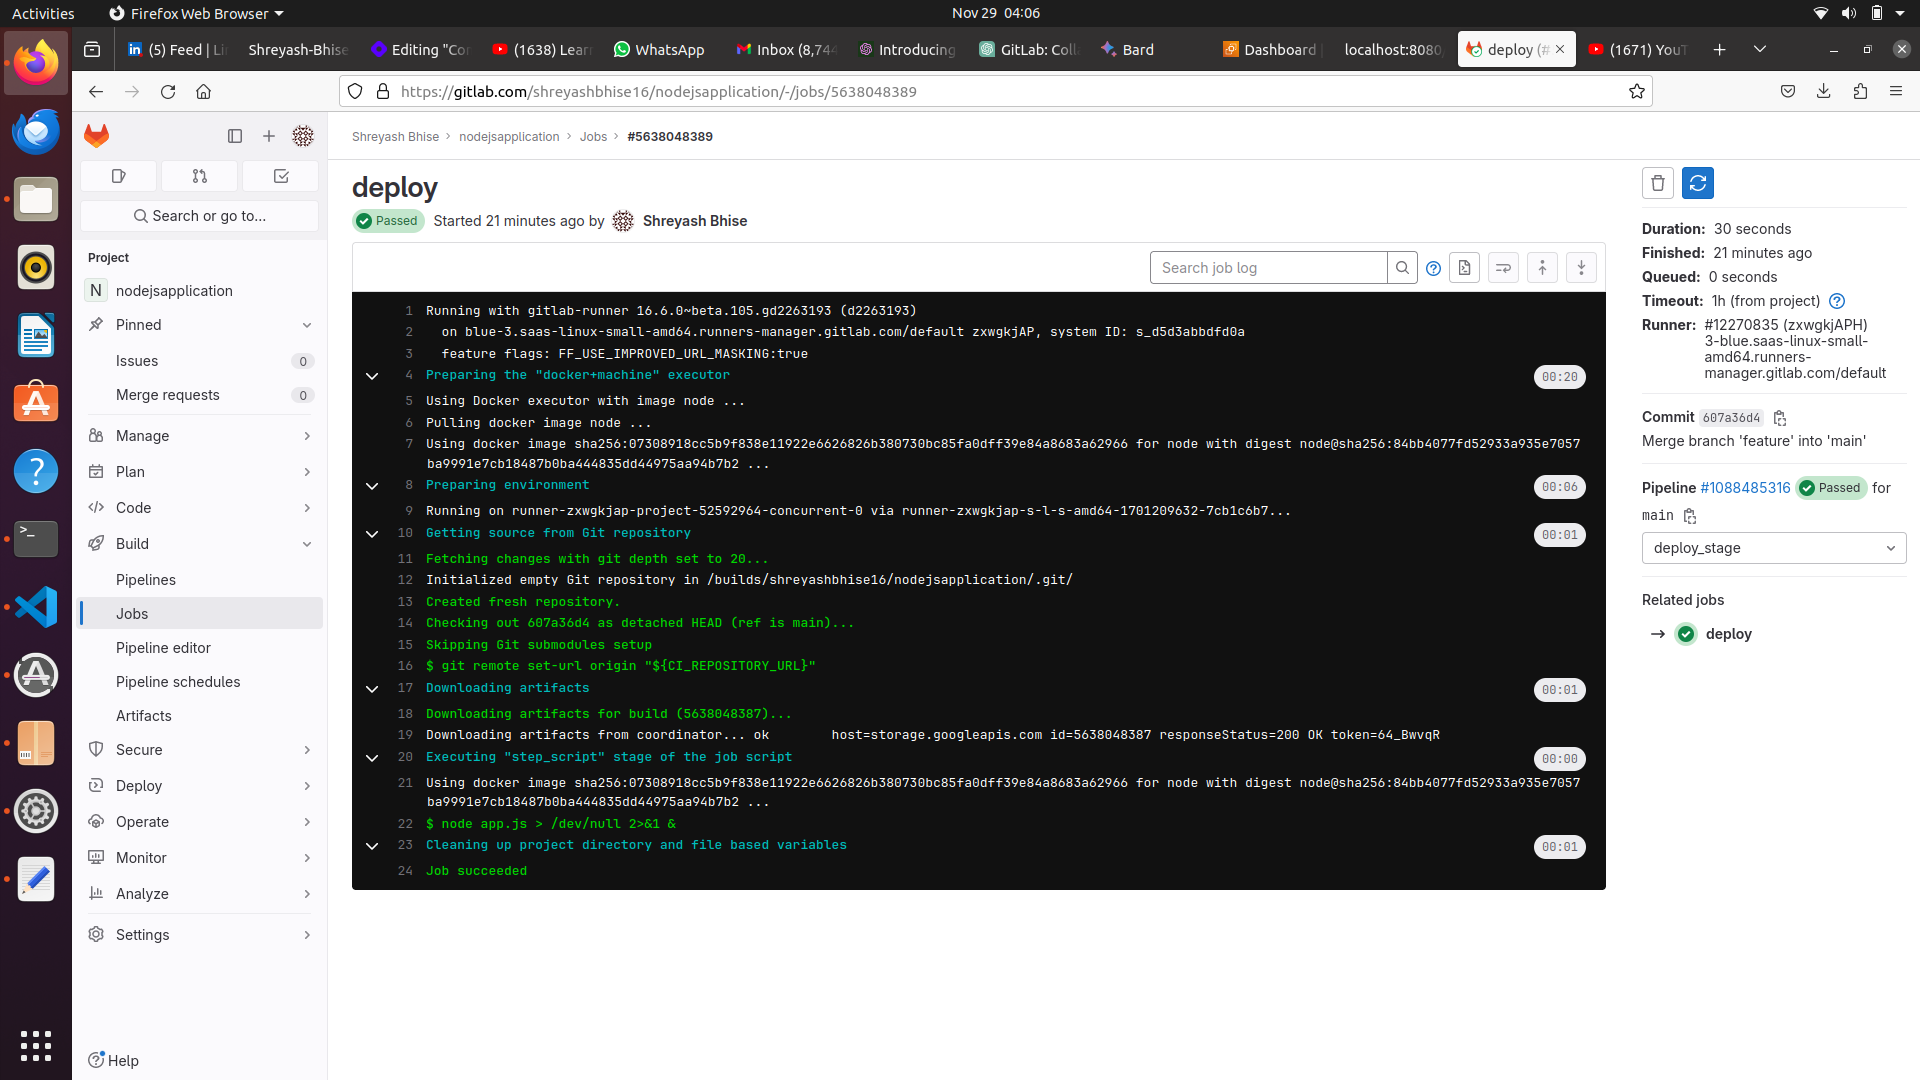
deploy:
   stage: deploy_stage
   image: node
   script:
     # - apt update -y
     # - apt install nodejs -y
      - node app.js > /dev/null 2>&1 &
GitLab Runner is a lightweight, open-source application that works with GitLab CI/CD to run jobs and send the results back to GitLab. It serves as an agent that runs tasks defined in your CI/CD pipelines. GitLab Runner can be installed on different operating systems, including Linux, Windows, and macOS, allowing you to create a distributed CI/CD infrastructure.
Security:
GitLab Runner ensures security by using tokens and secure communication with the GitLab instance.
Communication is established over HTTPS, and tokens are used to authenticate and authorize runners.
Scalability:
- GitLab Runner provides scalability by allowing you to install multiple runners on different machines, enabling parallel execution of jobs.
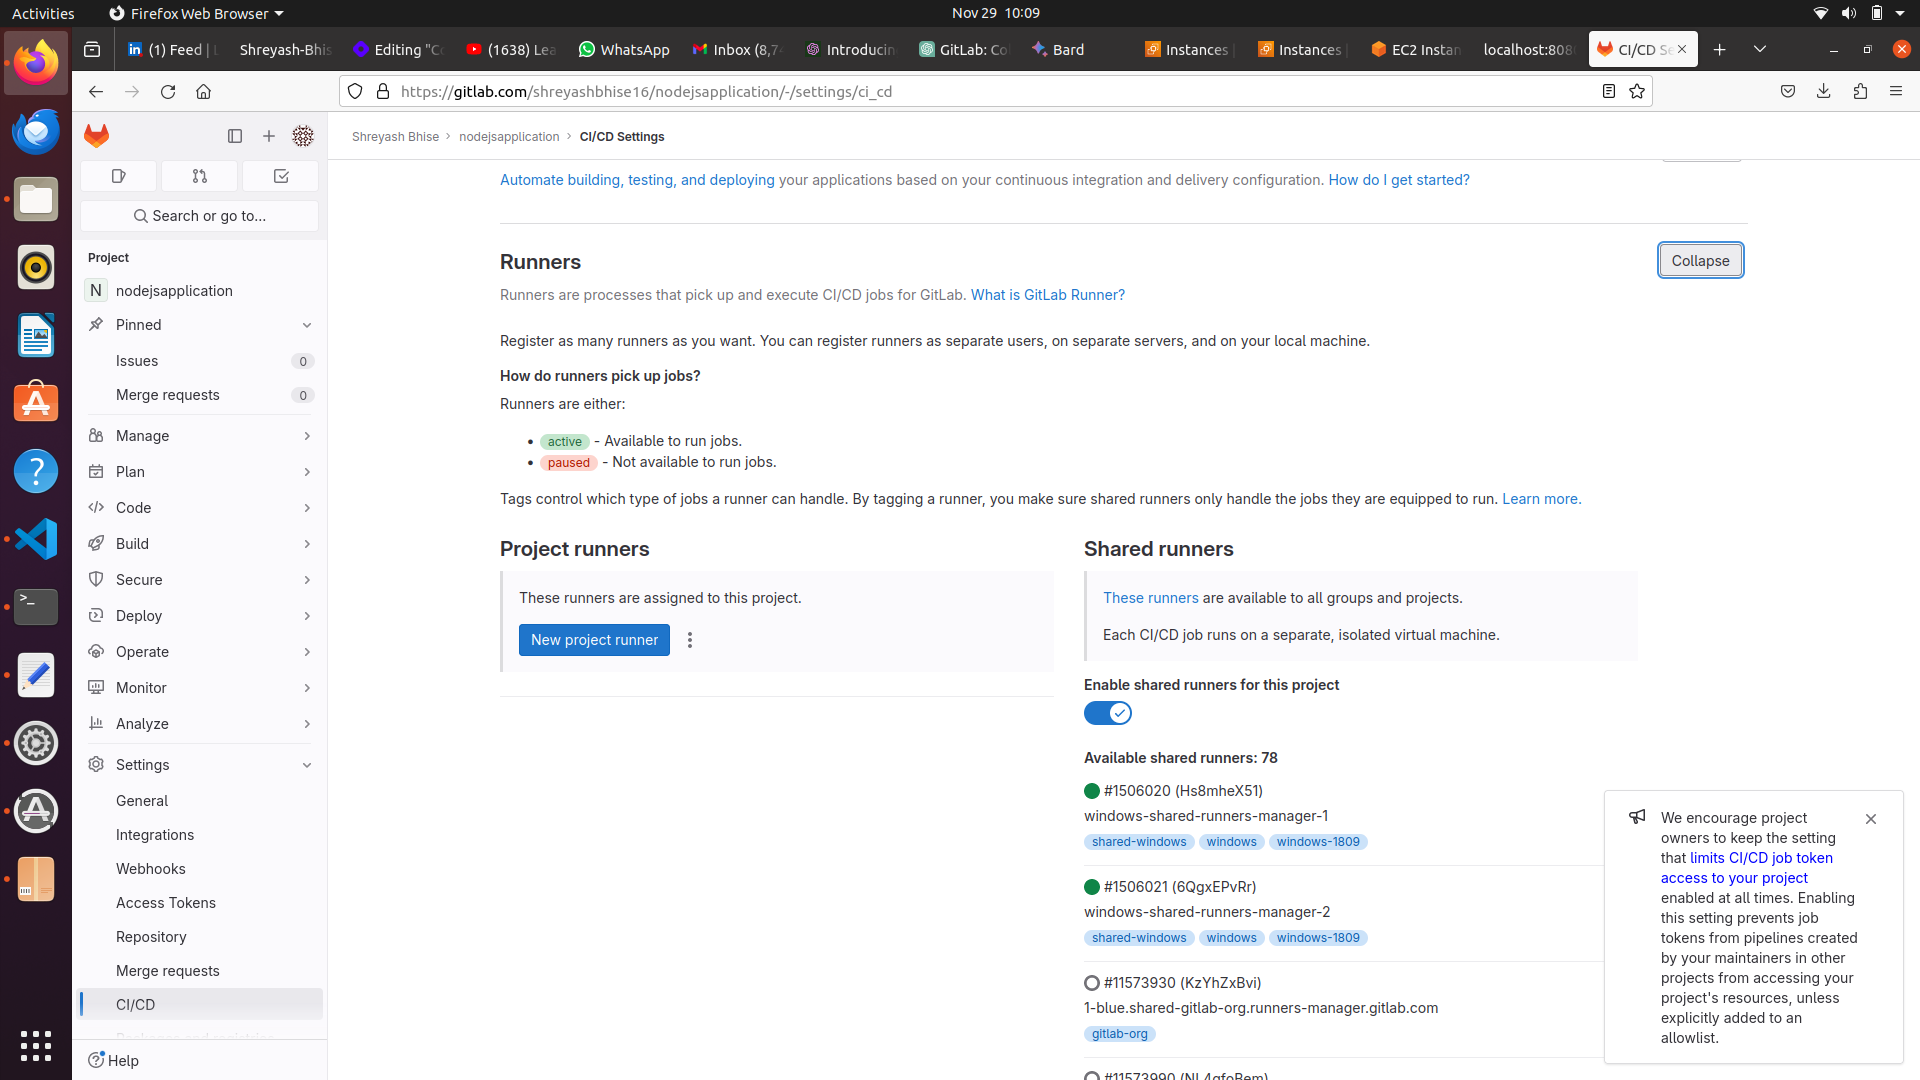
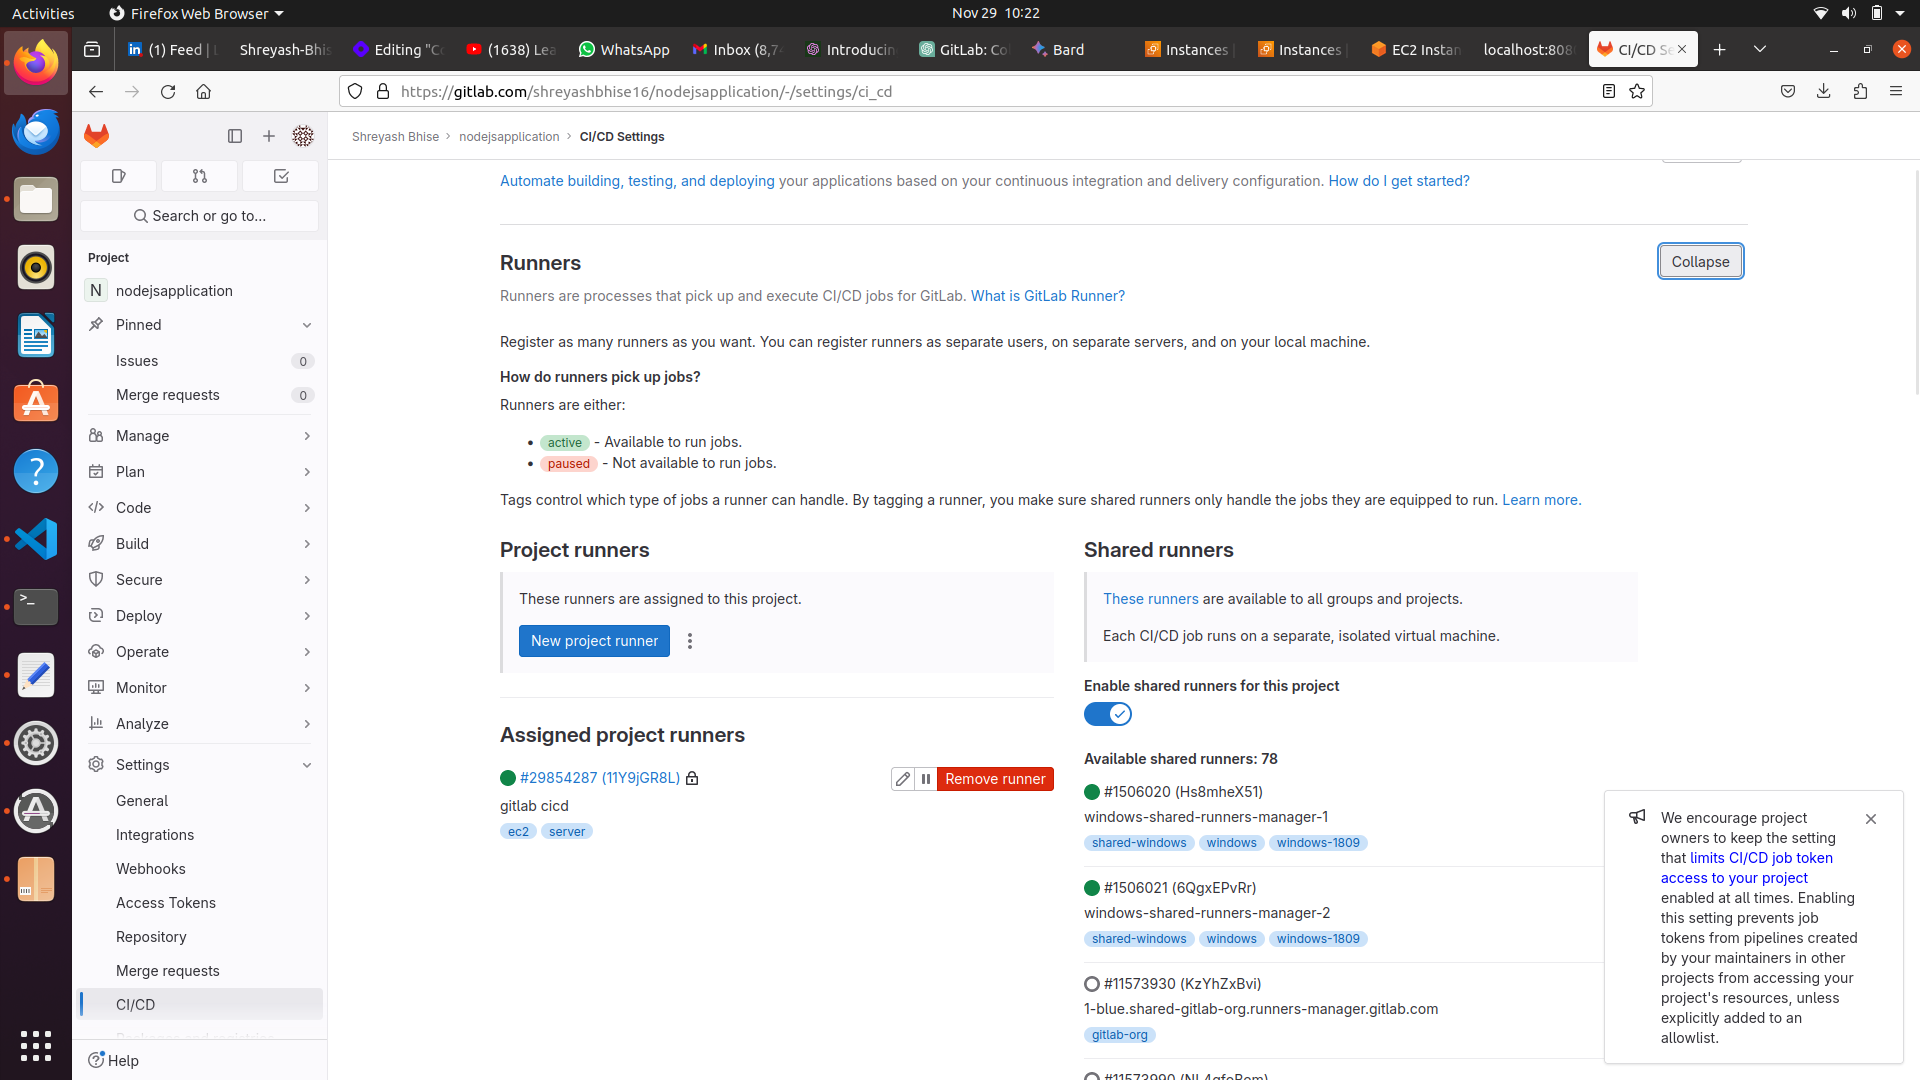
Step 5: How to register gitlab runner on ec2
Step 6: Write a file script-runner.sh
# Download the binary for your system
sudo curl -L --output /usr/local/bin/gitlab-runner https://gitlab-runner-downloads.s3.amazonaws.com/latest/binaries/gitlab-runner-linux-amd64

# Give it permission to execute
sudo chmod +x /usr/local/bin/gitlab-runner

# Create a GitLab Runner user
sudo useradd --comment 'GitLab Runner' --create-home gitlab-runner --shell /bin/bash

# Install and run as a service
sudo gitlab-runner install --user=gitlab-runner --working-directory=/home/gitlab-runner
sudo gitlab-runner start
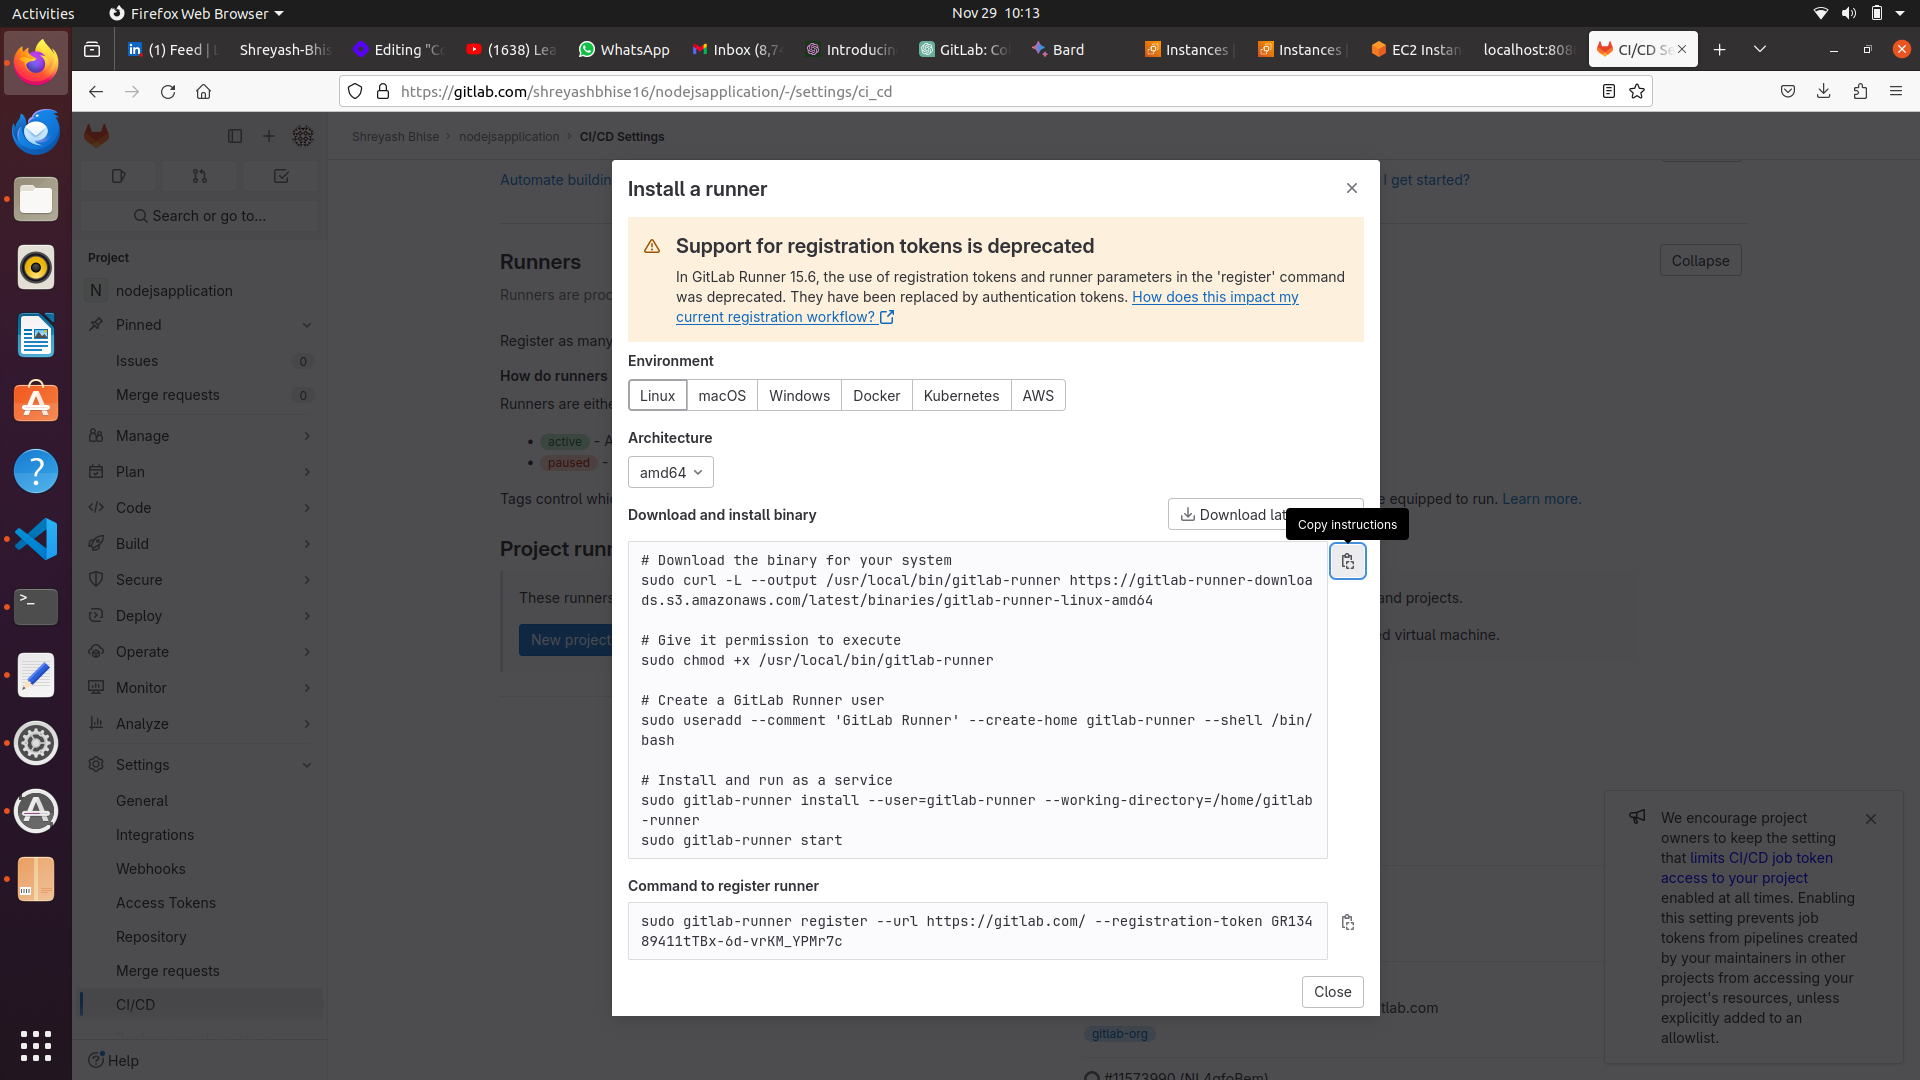
Command to register runner:
sudo gitlab-runner register --url https://gitlab.com/ --registration-token GR13489411tTBx-6d-vrKM_YPMr7c
Command to check runner is running or not
sudo gitlab-runner status
Step 7: CI/CD for python app on our runner app.py
from flask import Flask
import os

app = Flask(__name__)

@app.route("/")
def skill():
    message = "{name} is a gitlab pro"
    return message.format(name=os.getenv("NAME","john"))

if __name__ == "__main__":
    app.run(host='0.0.0.0', port=8080)
Dockerfile:
FROM python:3.8.0-slim
WORKDIR /app
ADD . /app
RUN pip install --trusted-host pypi.python.org Flask
ENV NAME Mark
CMD ["python", "app.py"]
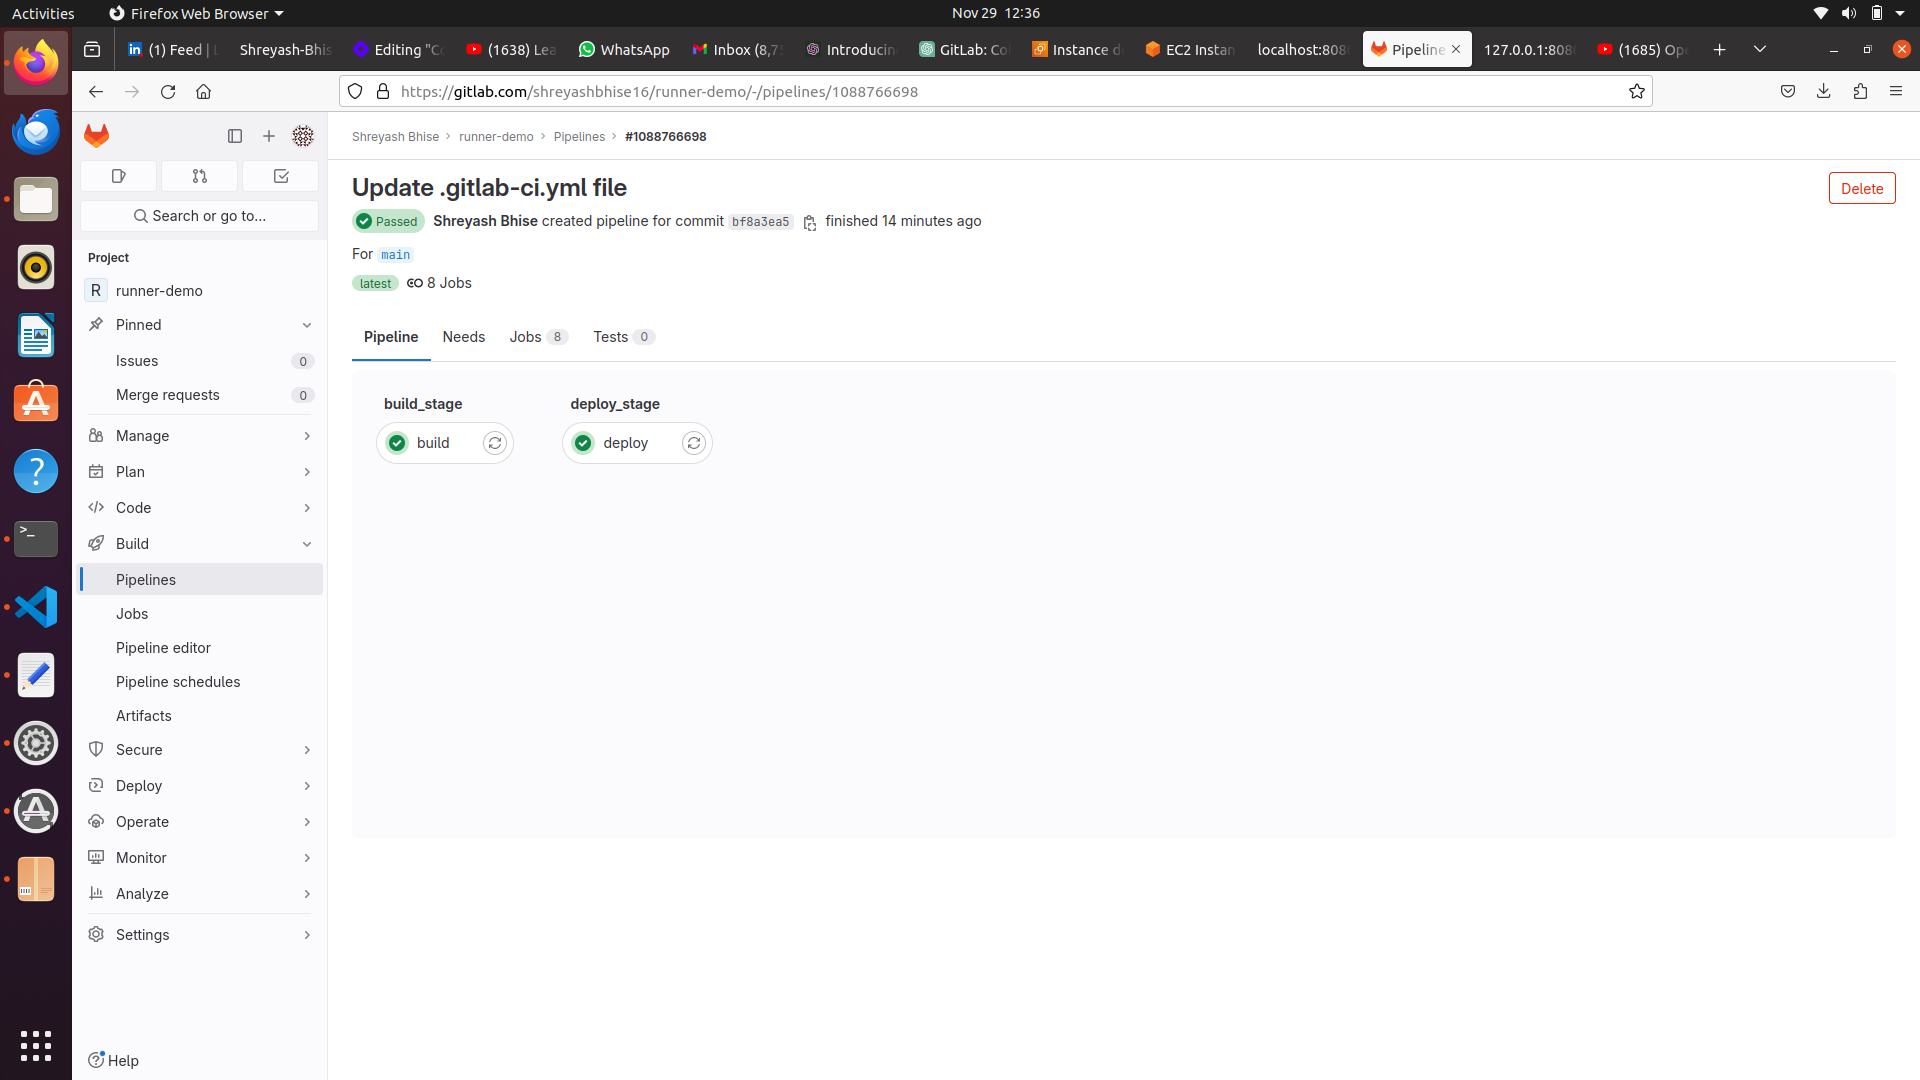
.gitlab-ci.yml file:
stages:
    - build_stage
    - deploy_stage

build:
    stage: build_stage
    script:
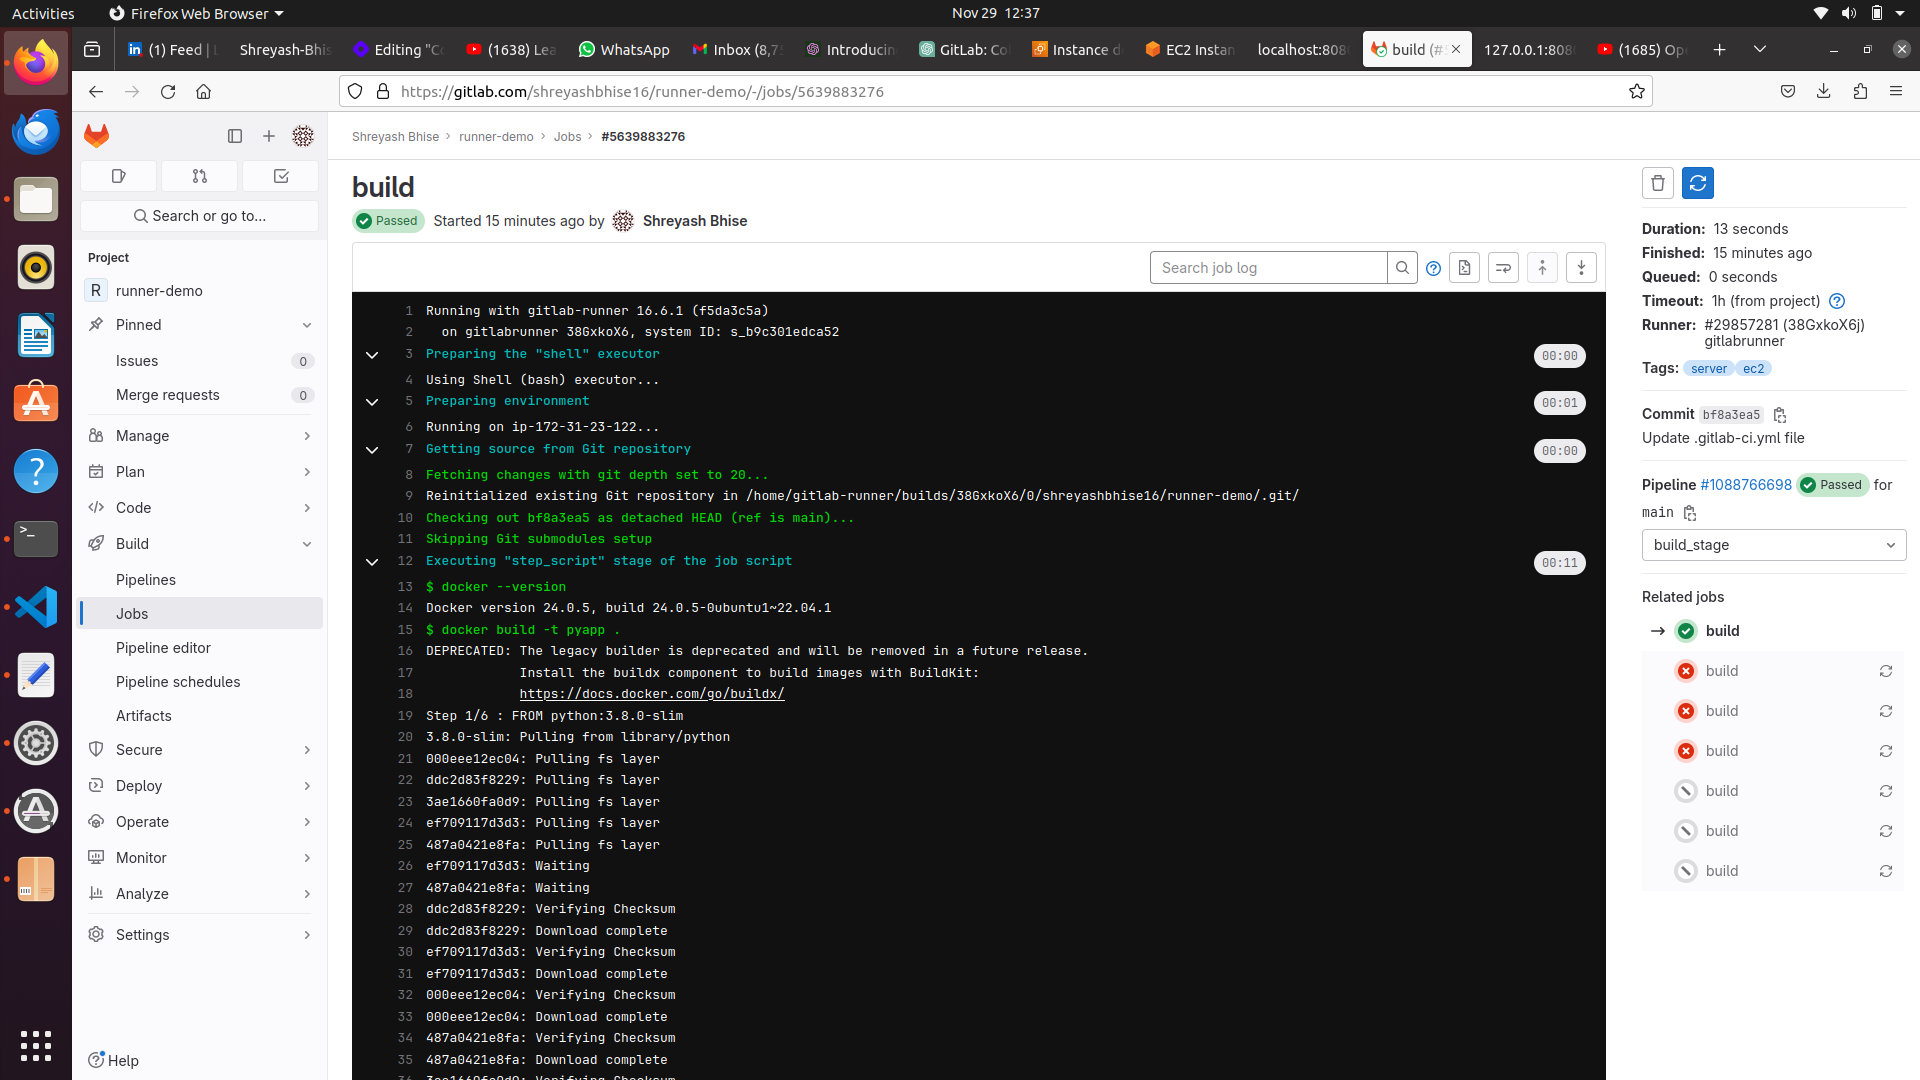
        - docker --version
        - docker build -t pyapp .
    tags:
        - ec2
        - server

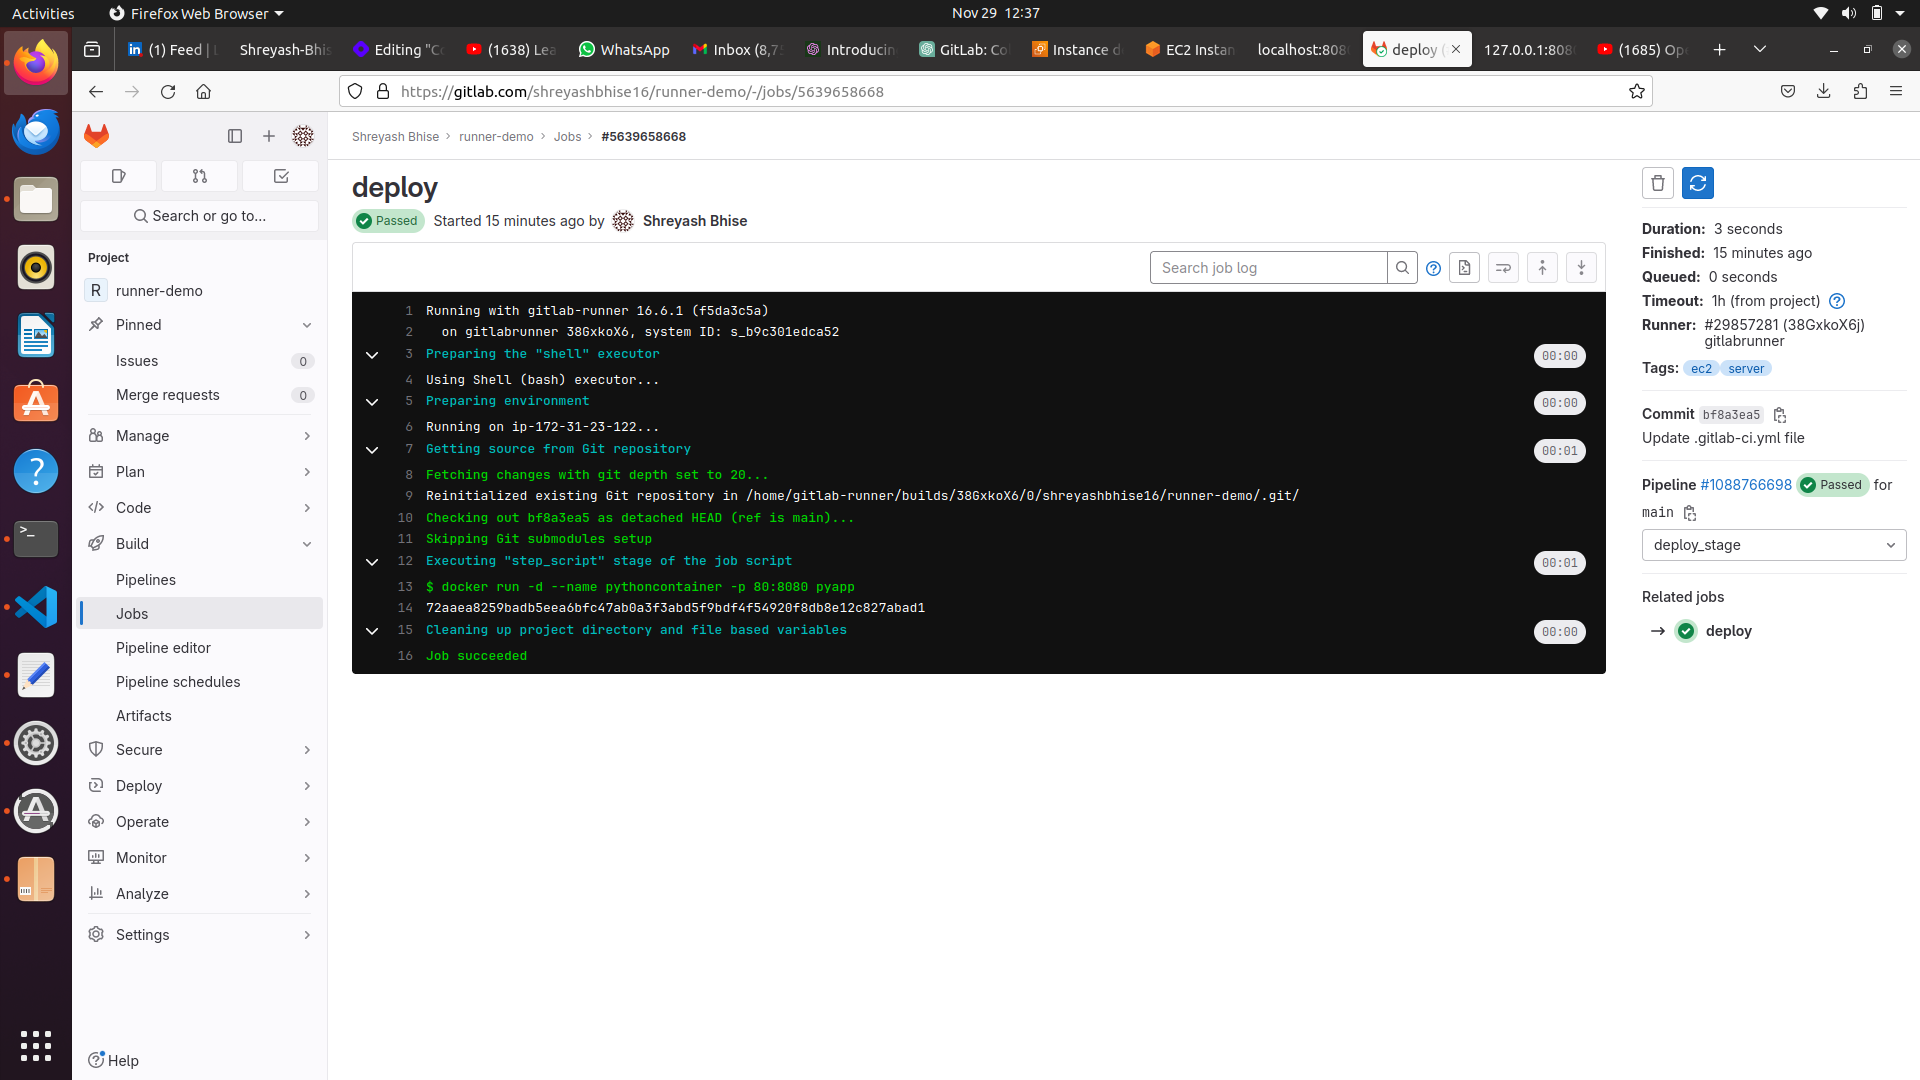
deploy:
    stage: deploy_stage
    script:
        - docker run -d --name pythoncontainer -p 80:8080 pyapp
    tags:
        - ec2
        - server
In GitLab CI/CD, there are several types of variables that you can use to configure and customize your CI/CD pipelines. These variables are defined in the GitLab project settings or in the .gitlab-ci.yml file, and they are used to control various aspects of the CI/CD process. Here are the main types of variables in GitLab:
Predefined CI/CD Variables: GitLab provides a set of predefined variables that are automatically available to your CI/CD pipelines. Some examples include:
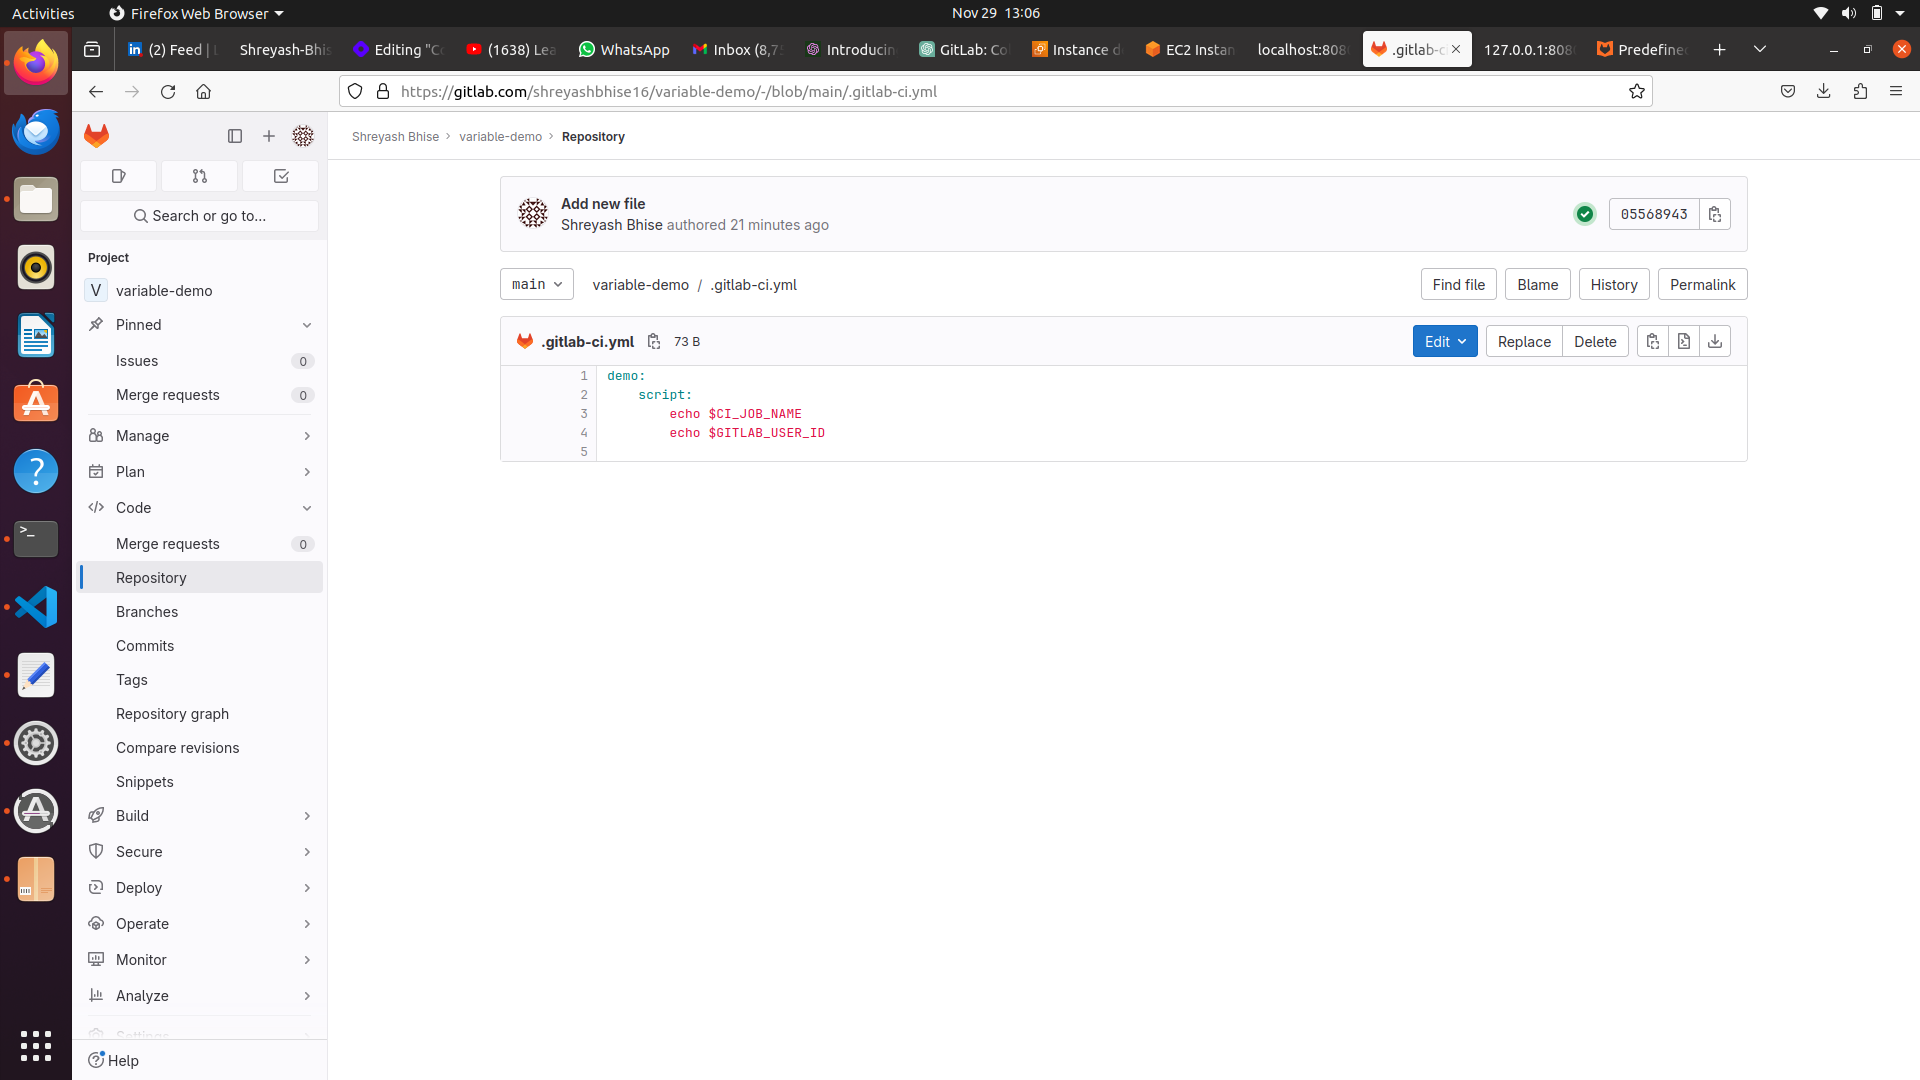
$CI_COMMIT_REF_NAME: The branch or tag name being built.$CI_COMMIT_SHA: The commit hash.$CI_PIPELINE_ID: The unique ID of the pipeline.$CI_JOB_NAME: The name of the job.... and more. You can find a comprehensive list in the GitLab documentation.
Secret Variables:
Secret variables are a type of CI/CD variable designed to store sensitive information, such as API tokens or passwords.
Secret variables are encrypted and can be used in CI/CD jobs without exposing their values in the pipeline logs.
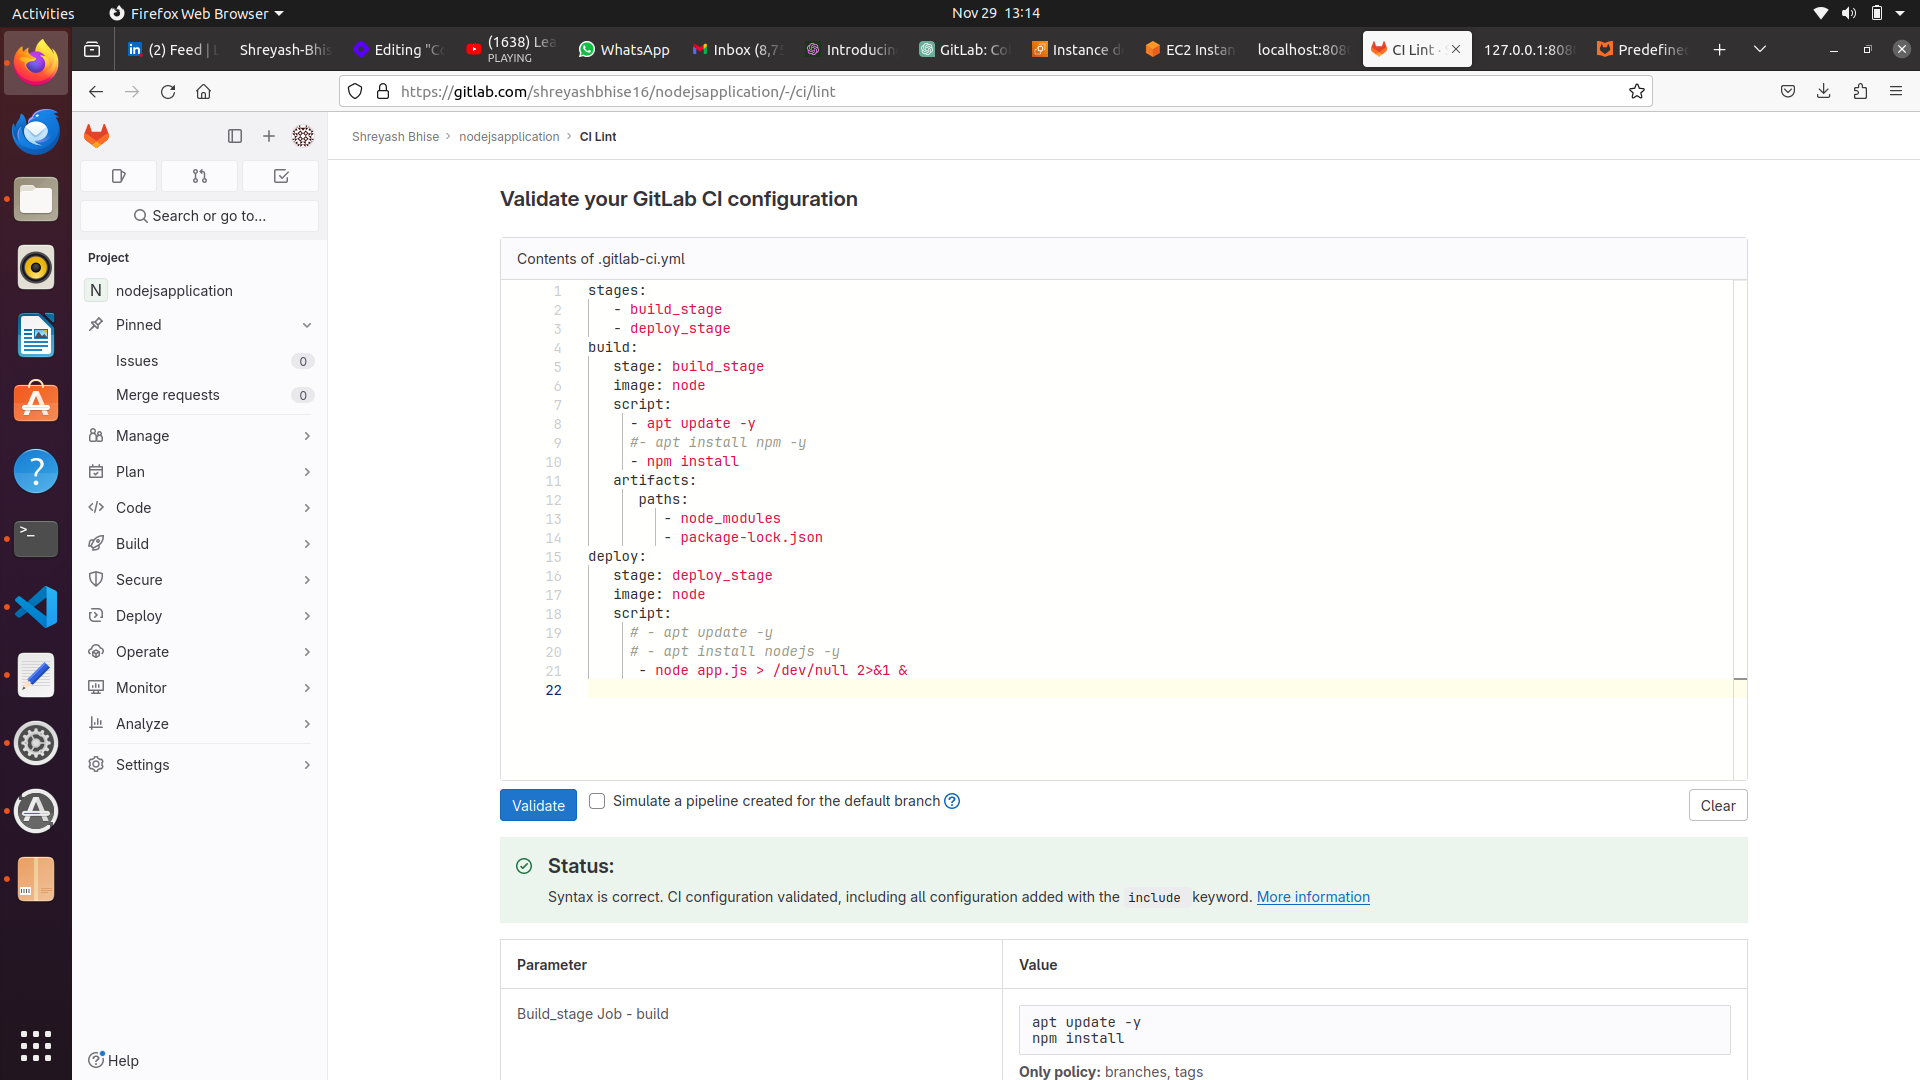
The CI lint command allows you to validate and lint your GitLab CI/CD configuration (.gitlab-ci.yml) to ensure that it is properly formatted and follows the correct syntax. This helps catch errors and issues in your CI/CD configuration before you push changes or trigger a pipeline.
Subscribe to my newsletter
Read articles from Shreyash Bhise directly inside your inbox. Subscribe to the newsletter, and don't miss out.
Written by

Shreyash Bhise
Shreyash Bhise
*Shreyash Bhise | Aspiring Mern Stack Developer and DevOps enthusiast,