Tip for controlling AI generated art
 Jeff Schomay
I am making a prototype of a game that I designed that has close to 90 unique cards. Generative AI is great for this task, but sometimes I just can't get the right image. I learned a trick that gives me very tight control over the generated image and I want to share it.
I use Leonardo for the image generation which offers some nice power tools. After playing around with different models and prompts to discover a general look that I like, I focus on the part of the prompt that is specific to the card I am working on. One particular card featured an "Angry skunk." This is the prompt that I used:
Design for a Tarot card: Angry Skunk, forest theme, muted colors
The first and last parts are for the overall theme and look, and the middle part is for the subject. This is what it made:
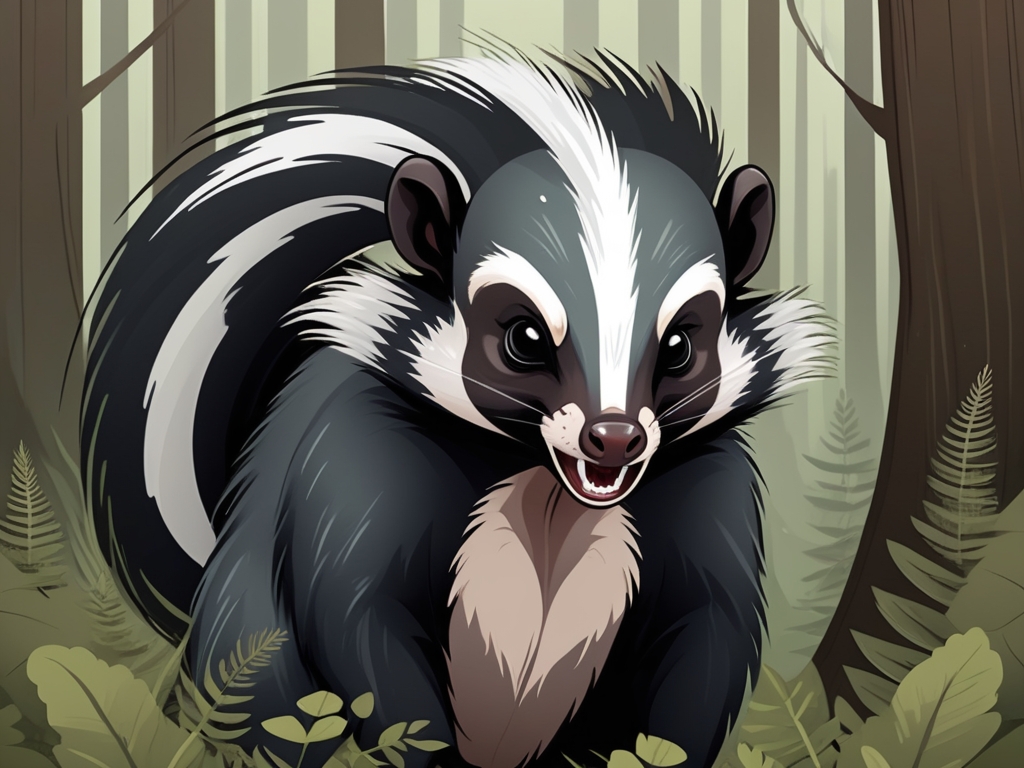
The prompt is very short and simple. I usually start there, then add to it to flesh out the details or composition. In this case, the skunk is way too cutesy and cartoony and also too large in the frame.
I tried to adjust it by changing the prompt to say "behind a bush," "in the distance" or "long shot." I also added "cartoon" as a negative prompt. But for whatever reason, the model really thinks that skunks ought to look cutesy, cartoony, and in your face. So I had to get more advanced.
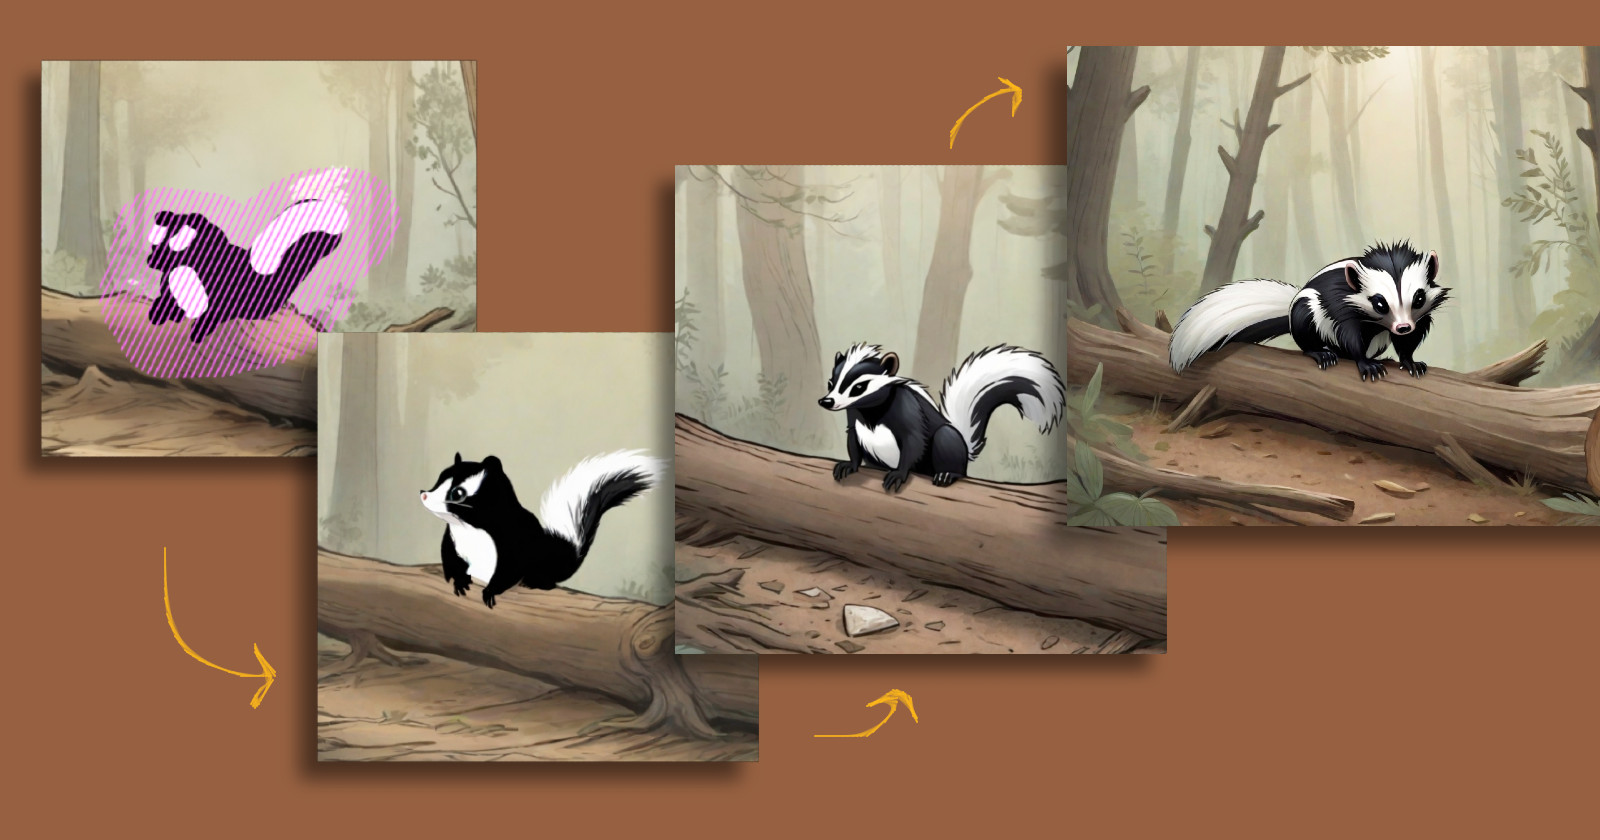
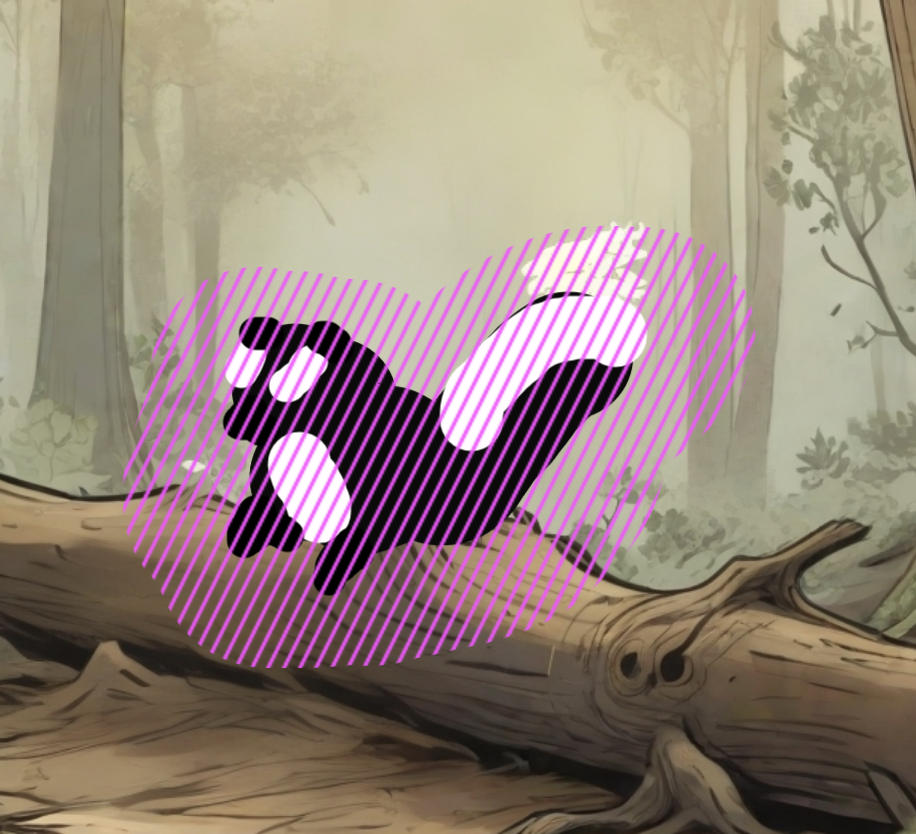
The model was great at making general forest scenes, so I made a fallen tree trunk, then opened that image in Leonardo's Canvas Editor and started drawing where I thought the skunk belonged. Now I'm not great at illustration, especially on my laptop's trackpad, and skunks are very confusing to draw from memory. But I figured a few black and white blobs would give the model the general idea. The purple bars show the masked area for the inpainting model to focus on:
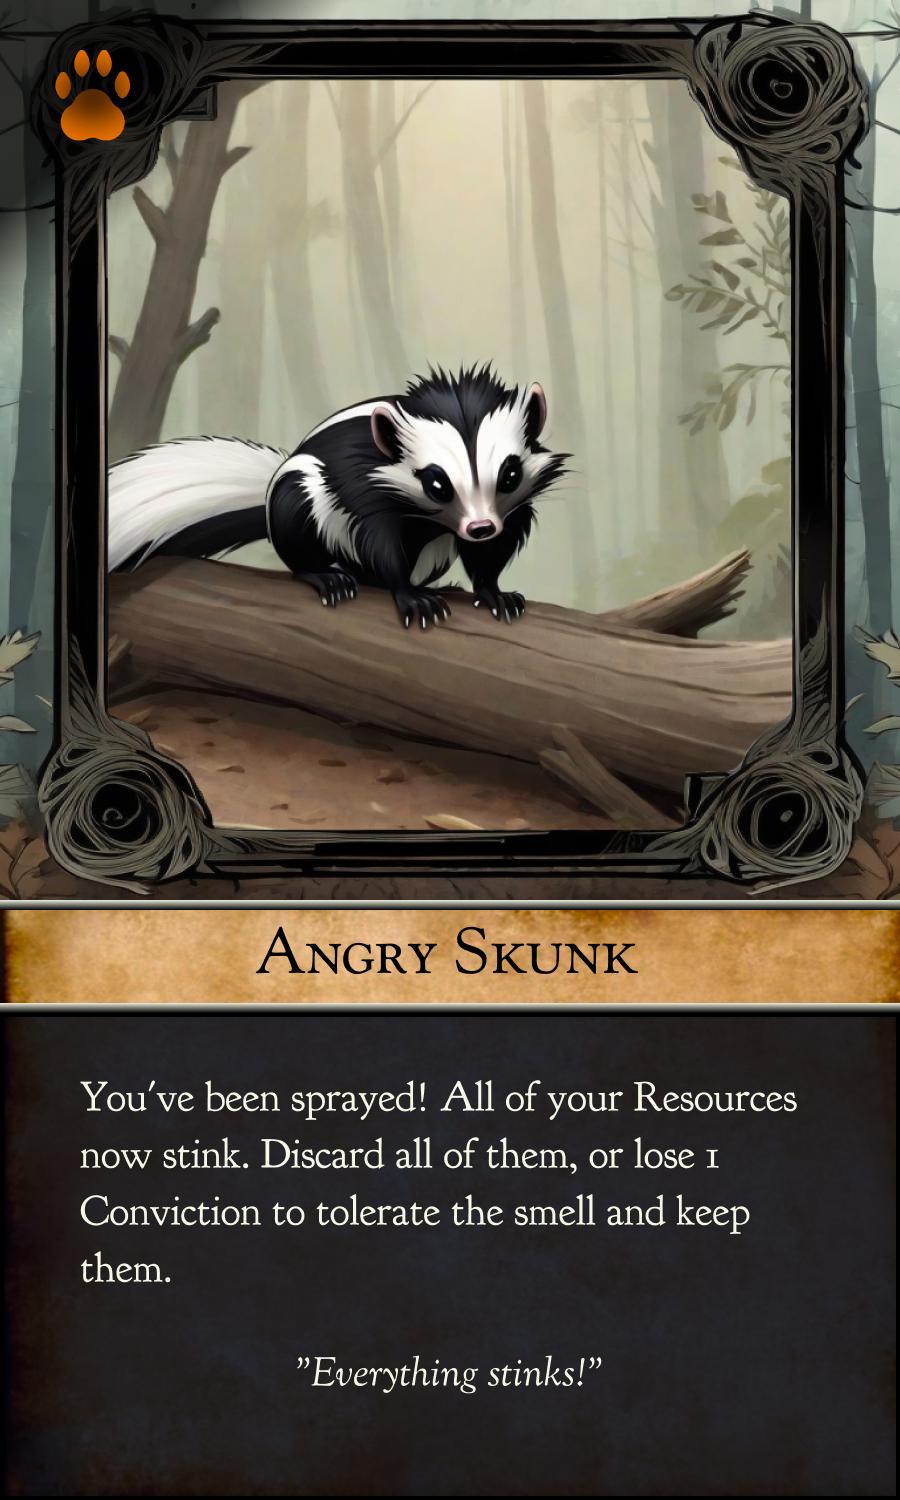
You can see from the header image of this post how the model progressed through a couple of iterations of making my blobs actually look like a skunk. By changing the inpainting parameters and approach I was able to go from "sketch2image" and then "image2image" to get the final version. It has the right look and feel and most importantly, it is positioned properly in the frame. Here is the final card:
Raccoons were another small rodent that the model had trouble with. Like the skunk, it wanted very cute in-your-face raccoons despite my best efforts. I tried to get creative by changing the concept to "raccoons with glowing eyes hiding in the trees," but it just didn't work out right. So I did a similar process and was very happy with the results:
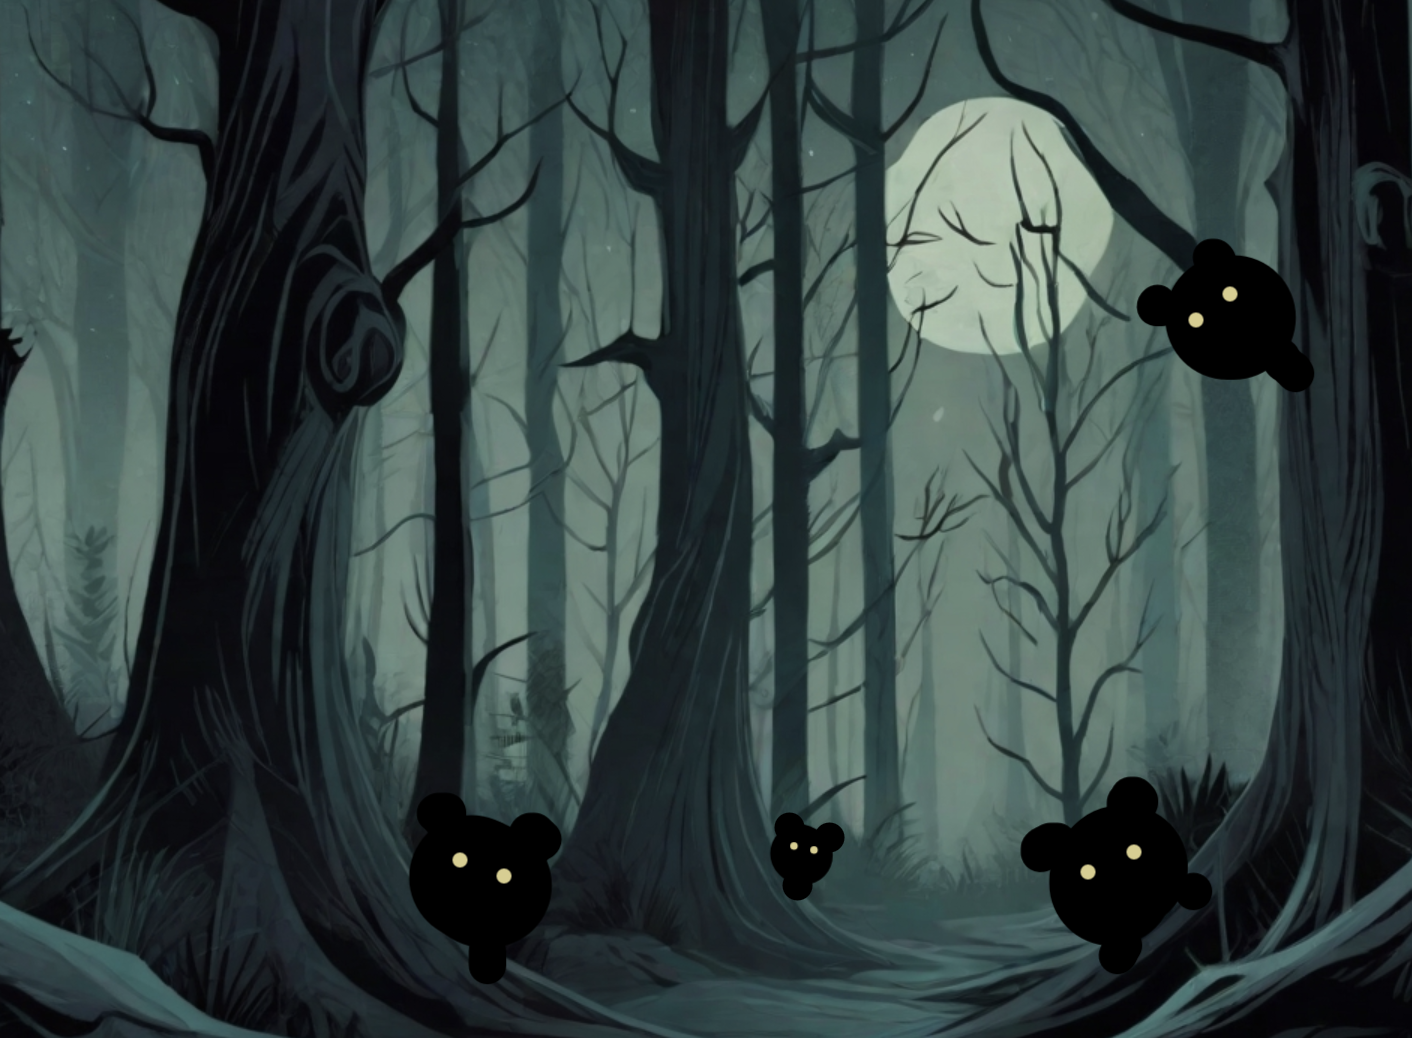
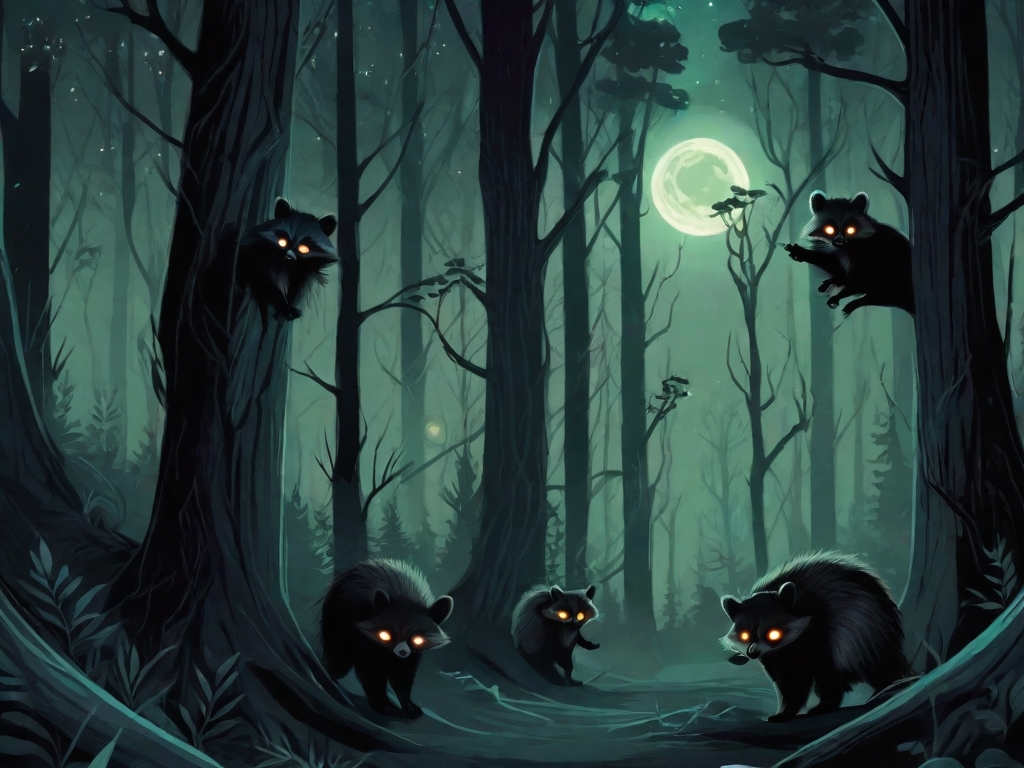
This technique works great any time you want to control or modify a specific element in an image. It elevates the AI image generation experience from a prompt to a paintbrush and makes me feel more involved in the process and more enabled to express what is in my mind. I've also used it for practical tasks like cutting out a frame or constraining an ink drawing to a specific area.
This type of interaction will only get better. I saw a demo just the other day of a new AI technology called real-time image generation with low latency models. You can paint a canvas on the left, and an AI-generated rendition of your sketch renders in real time on the right. Try it yourself on fal.ai.
AI art is not perfect, but for prototypes like this where volume and expediency are key, this technique can be very helpful.
Subscribe to my newsletter
Read articles from Jeff Schomay directly inside your inbox. Subscribe to the newsletter, and don't miss out.
Written by

Jeff Schomay
Jeff Schomay
Software engineer with a decade of experience and an undying passion for creating at the intersection of games, narrative and AI.