Step-by-Step Guide to Your First Jenkins Project
 Sagar Shah
Introduction
Jenkins, the stalwart of continuous integration and deployment, is here to simplify your development life! In this blog post, we'll embark on a journey to create a basic Jenkins project using a Freestyle job. Buckle up, and let's dive into the world of automation.
Get ready as we break down each section of the Freestyle project configuration to empower your Jenkins journey! 🛠️
Before we dive into the details, ensure you have Jenkins installed on your AWS Ubuntu EC2 instance. If not, check out this step-by-step Jenkins setup tutorial to get started.
Setting the Stage
General Section 🌐
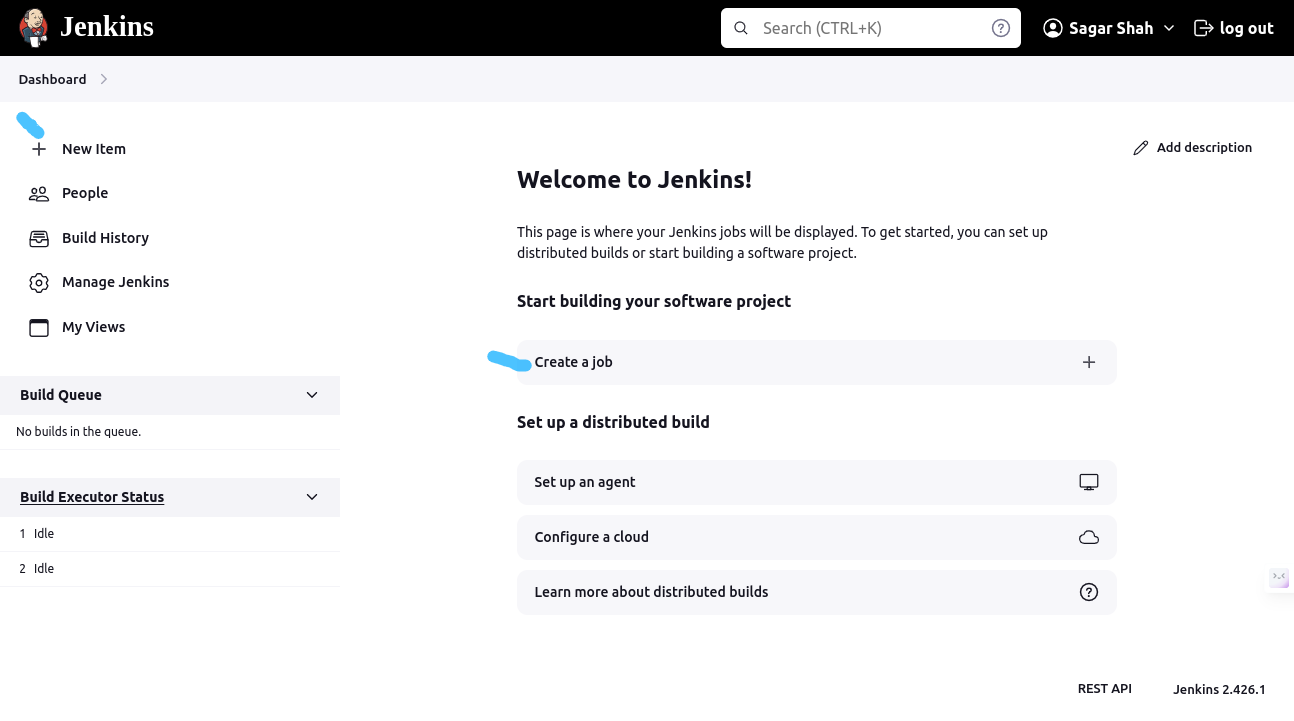
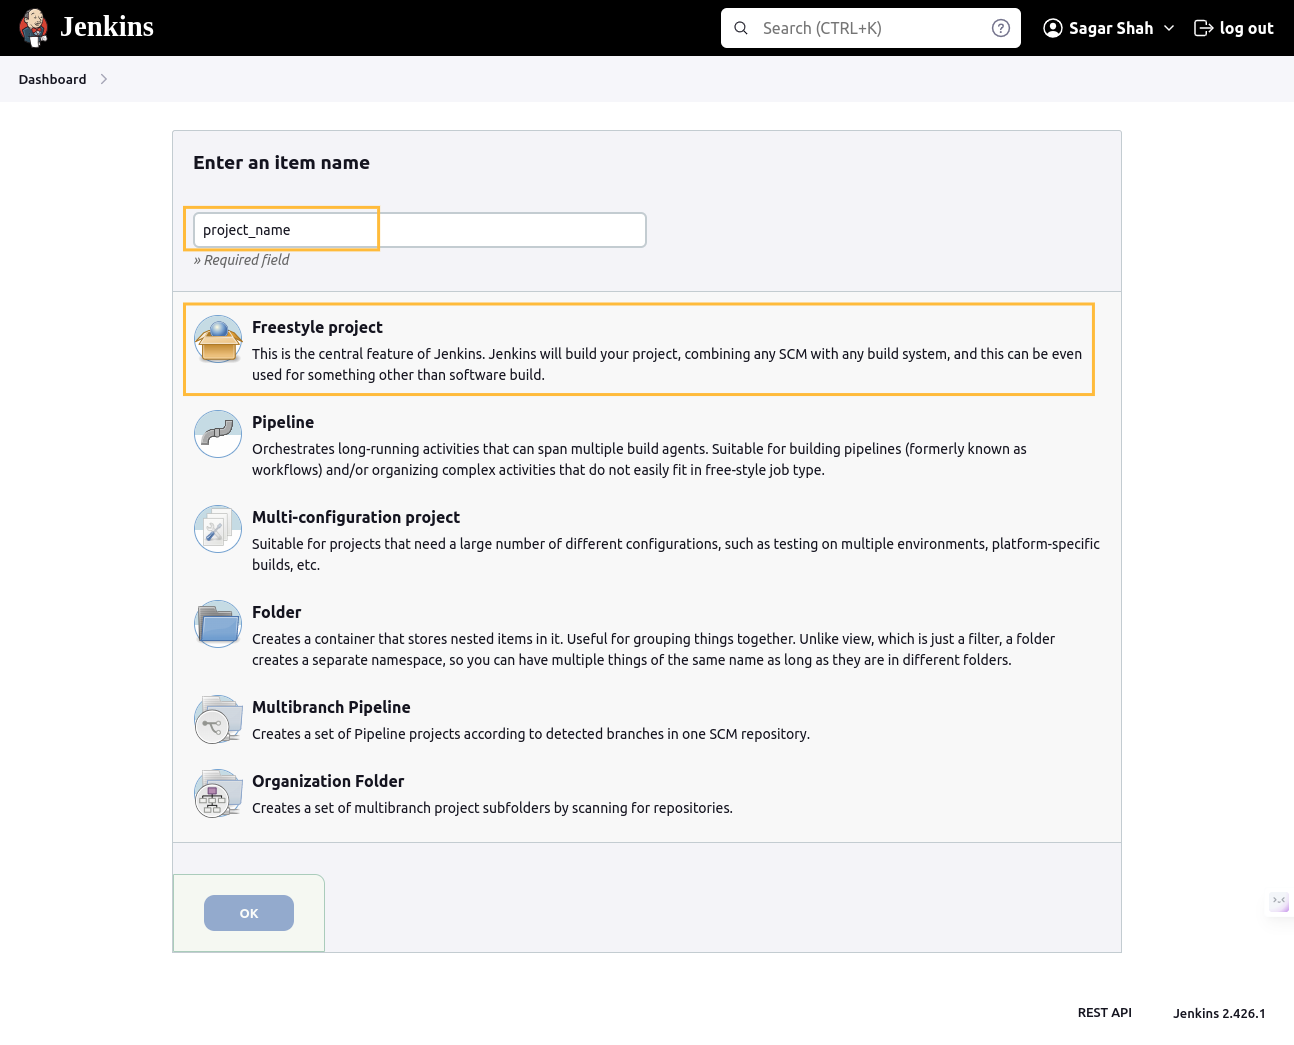
In the Jenkins job configuration, start by clicking on New Item or New Job. Choose the Freestyle project and give your project a name. This is the first step in laying the foundation for your CI/CD pipeline.
Description 📝: Provide a brief description of your project, setting the stage for what it's all about.
Discard Old Builds 🗑️: Keep things tidy by automatically discarding old builds after a set number, ensuring your workspace stays clutter-free.
GitHub Project 🐙: If your code resides on GitHub, link your project to its GitHub counterpart for seamless integration.
This Project is Parameterized 🎛️: Add flexibility by enabling parameterization, allowing users to input values during the build process.
Throttle Builds ⚙️: Control the number of concurrent builds, preventing resource overload.
Execute Concurrent Builds if Necessary 🚦: Allow multiple builds of the project to run simultaneously if needed.
Source Code Management 🛠️
None 📁: If you're not using any version control system, select "None." Otherwise, choose your preferred SCM, such as Git.
Git 🔄: If you're using Git, provide the repository URL and specify the branches to build.
Build Triggers 🚀
Trigger Builds Remotely 📟: Enable remote triggering of builds for automation purposes.
Build After Other Projects Are Built 🚧: Specify projects that should trigger a build upon successful completion.
Build Periodically ⏰: Set up scheduled builds for regular, automated releases.
GitHub Hook Trigger for GITScm Polling 🎣: Integrate with GitHub to trigger builds on code changes.
Poll SCM 🔄: Periodically poll the source code repository for changes and trigger builds when necessary.
Build Environment ⚙️
Delete Workspace Before Build Starts 🧹: Ensure a clean slate by deleting the workspace before initiating a new build.
Use Secret Text(s) or File(s) 🔐: Securely pass sensitive information to the build process.
Add Timestamps to the Console Output 🕒: Keep track of when things happen by adding timestamps to the console output.
Inspect Build Log for Published Build Scans 🕵️: If using Gradle, inspect the build log for published build scans.
Terminate a Build if It's Stuck 🚨: Prevent Jenkins from hanging indefinitely if a build gets stuck.
Build Steps 💻
Execute Shell 🐚: The moment of truth! Define shell commands to be executed during the build process. For practice, try a simple
mkdircommand to create a directory.Command 📜: Enter the shell commands you want Jenkins to execute, like:
mkdir my_workspaceAdvanced Settings ⚙️
The Advanced section houses additional settings for customizing your build environment further. Explore these options as you become more comfortable with Jenkins.
Post-build Actions 🚀
Congratulations on reaching the finale! The Post-build Actions section is where the magic happens after the build completes:
Archive the Artifacts 🗃️: Preserve essential files after a successful build.
Publish JUnit Test Result Report 📊: Share detailed test reports.
Email Notification 📧: Keep your team in the loop by configuring email notifications.
Publish HTML Reports 🌐: Showcase HTML reports generated during the build.
Deploy to Container 🚢: If applicable, deploy your artifacts to a web container.
Trigger Parameterized Build on Other Projects 🎛️: Orchestrate a series of related builds.
Git Publisher 📤: Push changes back to the repository or update Git tags.
Join Trigger 🔄: If using the "Join" plugin, specify conditions for joining multiple builds.
Conditional Actions Based on Build Status 🎭: Execute actions based on the build result, ensuring flexibility in your CI/CD pipeline.
Conclusion
You've just taken the first steps in setting up your Jenkins project! 🎉 The road ahead holds endless possibilities for automation and streamlining your development workflow. Stay tuned for more Jenkins adventures as you explore advanced features and build robust pipelines.
Happy building! 🚀🛠️👩💻👨💻
Subscribe to my newsletter
Read articles from Sagar Shah directly inside your inbox. Subscribe to the newsletter, and don't miss out.
Written by

Sagar Shah
Sagar Shah
🚀 Sagar Shah 🚀 💻 DevOps Engineer 💡 🌐 Automating the digital universe, one script at a time ⚙️ 📚 Passionate learner and tech enthusiast 🤓 ☁️ Cloud explorer, making servers dance in the cloud 🌥️ 🛠️ Building bridges between development and operations 🌉 📖 Sharing insights and knowledge on all things DevOps 📢 🌟 Let's transform the world of IT together! ✨

