Understanding the Essentials of AWS WAF: A Comprehensive Guide
 Malik Liaqat
Table of contents
- Strengthening Your Web Application's Armor: A Guide to Securing AWS-hosted Web Apps with AWS WAF
- Set Up a Web Application:
- Creating an EC2 Instance Template (AMI) in AWS:
- Create Auto scaling Group
- Creating an Auto Scaling Group in AWS:
- Creating an Application Load Balancer in AWS:
- Creating a Target Group in AWS:
- Configure AWS WAF:
- Configuring AWS WAF:
- Test AWS WAF:
- Testing AWS WAF:
- Important Considerations:
Introduction:
In an era dominated by digital advancements, the importance of cybersecurity cannot be overstated. As organizations strive to protect their web applications from various online threats, services like AWS WAF (Web Application Firewall) play a crucial role. AWS WAF is a powerful tool provided by Amazon Web Services (AWS) to safeguard web applications from malicious activities and ensure a secure online environment.
What is AWS WAF?
AWS WAF is a web application firewall service that helps protect web applications from common web exploits and attacks. It allows organizations to set up rules and policies to filter and monitor HTTP and HTTPS traffic that reaches their web applications. This proactive approach helps in identifying and mitigating potential security threats before they can impact the applications.
Key Features of AWS WAF:
Rule Creation and Management:
AWS WAF enables users to create custom rules to filter and control web traffic based on specific criteria.
Rules can be defined to block requests that match predefined conditions, such as IP addresses, SQL injection attempts, cross-site scripting (XSS), and more.
Managed Rules:
- AWS WAF provides a set of managed rules that are designed to address common threats. These rules are regularly updated by AWS security experts to ensure protection against emerging risks.
Integration with Other AWS Services:
- Seamless integration with other AWS services, such as Amazon CloudFront (Content Delivery Network) and Application Load Balancer, allows users to deploy AWS WAF easily within their existing infrastructure.
Logging and Monitoring:
- AWS WAF provides detailed logs of web requests and allows for real-time monitoring of traffic patterns. This information is valuable for identifying potential security incidents and fine-tuning security policies.
Rate Limiting:
- Organizations can use AWS WAF to implement rate limiting, preventing malicious actors from overwhelming their web applications with a high volume of requests.
Customizable Actions:
- Users have the flexibility to define custom actions when a rule is triggered. Actions can include blocking the request, allowing it with a count of the violation, or simply monitoring without taking any immediate action.
Benefits of Using AWS WAF:
Enhanced Security:
- AWS WAF provides a robust layer of defense against a wide range of web-based threats, helping organizations safeguard their web applications and sensitive data.
Scalability:
- With AWS WAF seamlessly integrated into the AWS ecosystem, it scales with your application, ensuring consistent and reliable protection as your traffic grows.
Cost-Effective:
- AWS WAF follows a pay-as-you-go pricing model, allowing organizations to pay only for the resources they consume. This makes it a cost-effective solution for businesses of all sizes.
Easy Deployment:
- The user-friendly interface and integration with AWS services make it easy to deploy and configure AWS WAF, even for users with limited cybersecurity expertise.
Strengthening Your Web Application's Armor: A Guide to Securing AWS-hosted Web Apps with AWS WAF
Introduction:
As organizations increasingly embrace the digital landscape, securing web applications against potential threats becomes paramount. With the prevalence of cyberattacks, safeguarding your web assets is crucial. Amazon Web Services (AWS) provides a robust solution in the form of AWS WAF (Web Application Firewall), allowing you to fortify your web applications against common vulnerabilities. In this blog post, we'll explore the steps to secure your AWS-hosted web application using AWS WAF and defend against prevalent web-based threats.
Understanding Common Web Vulnerabilities:
Before delving into the specifics of AWS WAF, it's essential to grasp the common web vulnerabilities that threaten the security of web applications:
SQL Injection (SQLi): Attackers insert malicious SQL code into input fields, exploiting vulnerabilities in the application's database.
Cross-Site Scripting (XSS): Malicious scripts are injected into web pages, allowing attackers to steal sensitive information from users.
Cross-Site Request Forgery (CSRF): Unauthorized commands are transmitted from a user the web application trusts.
Security Misconfigurations: Improperly configured security settings, such as open permissions or default credentials, can lead to vulnerabilities.
Securing Your Web Application with AWS WAF:
Set Up AWS WAF:
Navigate to the AWS WAF console and create a new web ACL (Access Control List).
Associate the ACL with the AWS resource representing your web application.
Create Custom Rules:
Define rules tailored to your application's needs, blocking common attack patterns like SQL injection or XSS.
Utilize regular expressions and conditions to specify patterns indicative of malicious activity.
Deploy Managed Rules:
AWS WAF offers managed rulesets, continuously updated to address emerging threats.
Activate relevant managed rules to benefit from AWS's expertise in identifying and mitigating common vulnerabilities.
Implement Rate Limiting:
Guard against brute-force attacks and resource exhaustion by configuring rate limits.
Specify the maximum number of requests from a single IP address within a defined time frame.
Integrate AWS WAF with AWS Services:
Leverage AWS WAF in conjunction with other AWS services, such as Amazon CloudFront or Application Load Balancer, for comprehensive protection.
Ensure seamless integration to inspect and filter traffic before it reaches your application.
Logging and Monitoring:
Enable logging to capture detailed information about web requests and potential threats.
Set up CloudWatch Alarms to receive notifications for specific security events, allowing for proactive responses.
Custom Actions:
Define custom actions when a rule is triggered, such as blocking requests, allowing with a count, or logging for further analysis.
Tailor actions based on the severity and nature of the detected threat.
Set Up a Web Application:
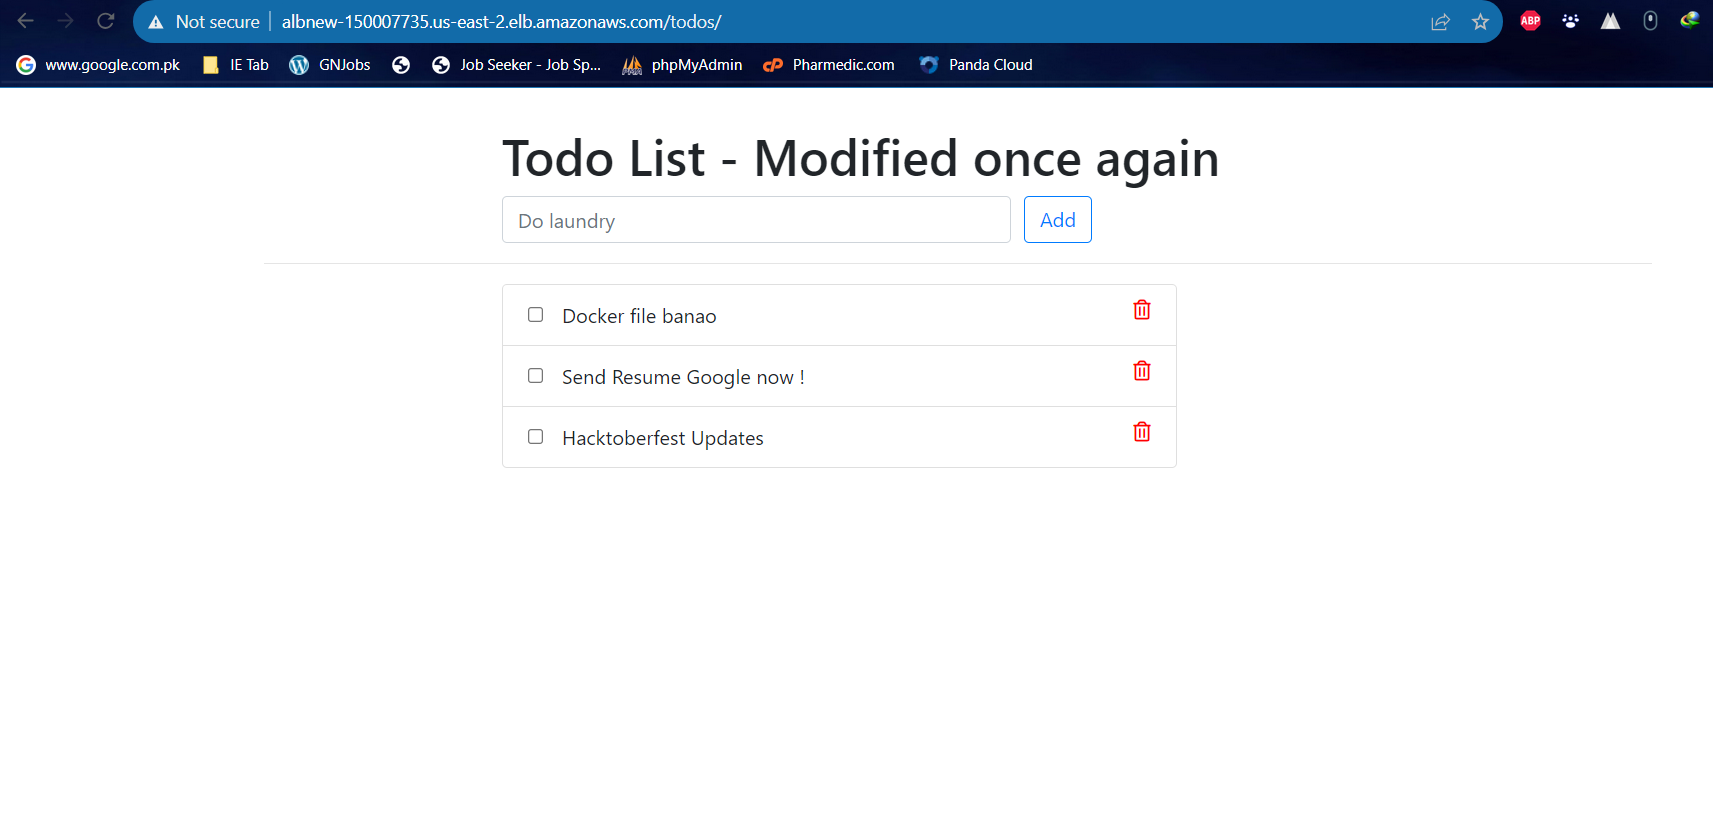
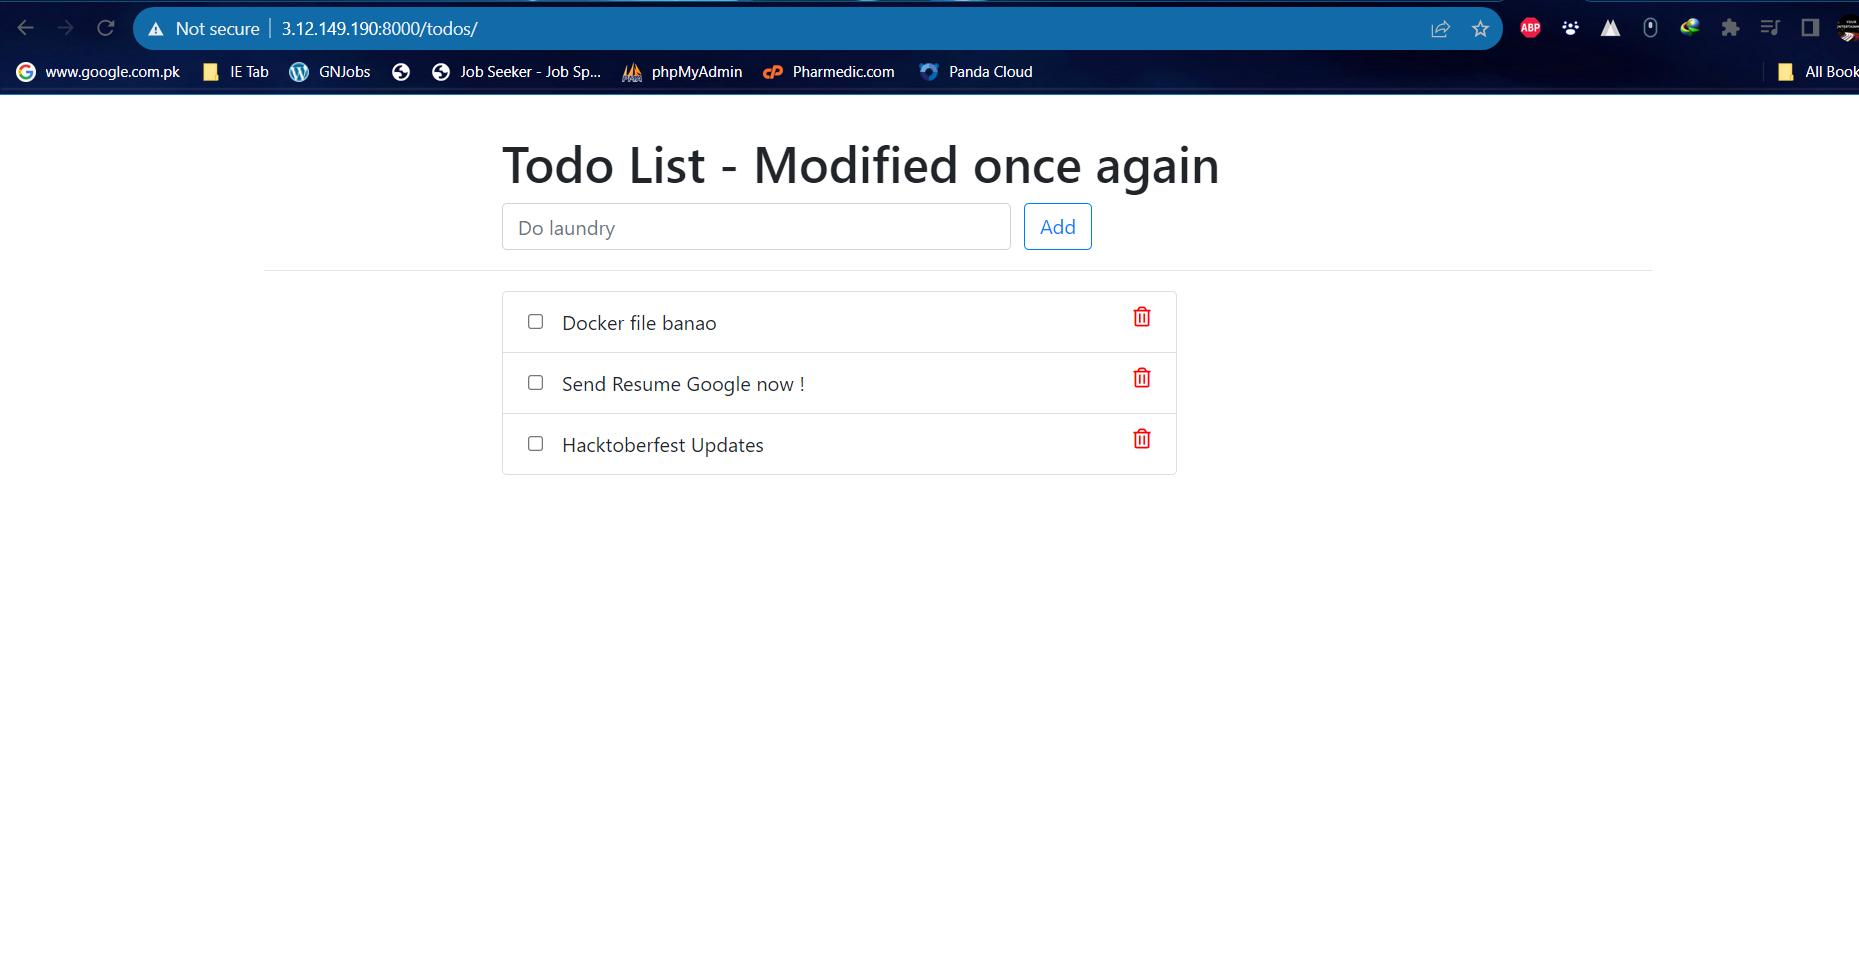
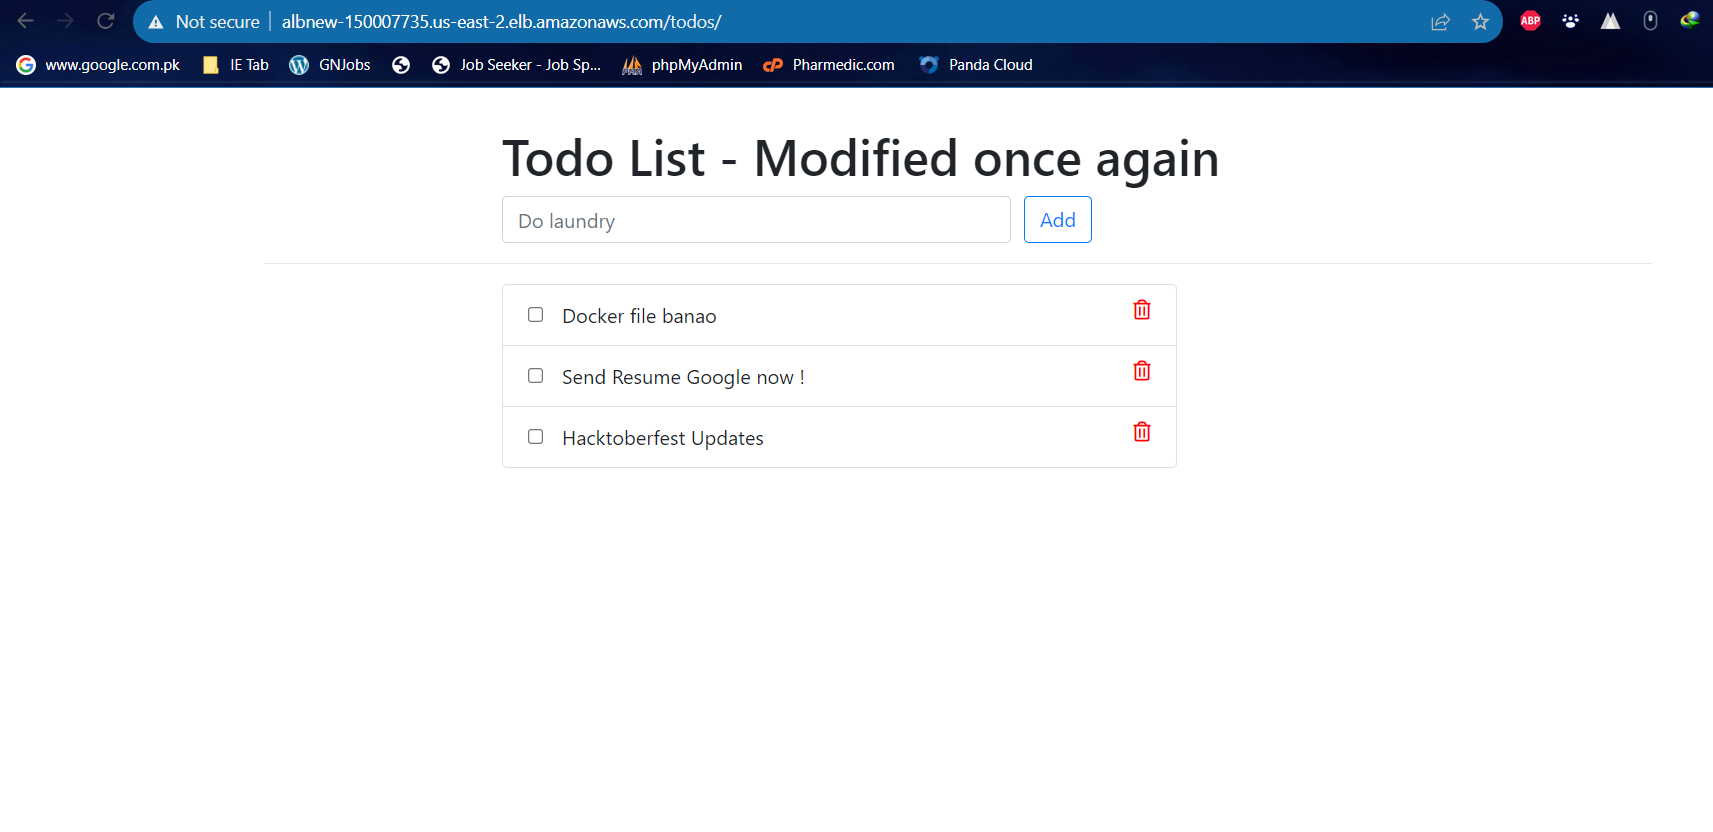
Deploy a sample web application on an EC2 instance in your AWS account.
Step1
Create Ec2Instance Template
Creating an EC2 Instance Template (AMI) in AWS:
Step 1: Access the AWS Management Console
Log in to the AWS Management Console with your AWS account credentials.
Step 2: Navigate to EC2 Service
- In the AWS Management Console, navigate to the "Services" dropdown and select "EC2" under the "Compute" section.
Step 3: Launch an EC2 Instance
Click on the "Launch Instance" button to start the process of creating a new EC2 instance.
Choose an Amazon Machine Image (AMI) from the list. You can either use the default Amazon Machine Images or select a custom one.
Select the instance type based on your application requirements. The instance type determines the computing capacity of your EC2 instance.
Configure the instance details, such as the number of instances, network settings, and IAM roles.
Add storage configurations based on your requirements. You can specify the size and type of the root volume.
Configure any additional tags to help identify your instances.
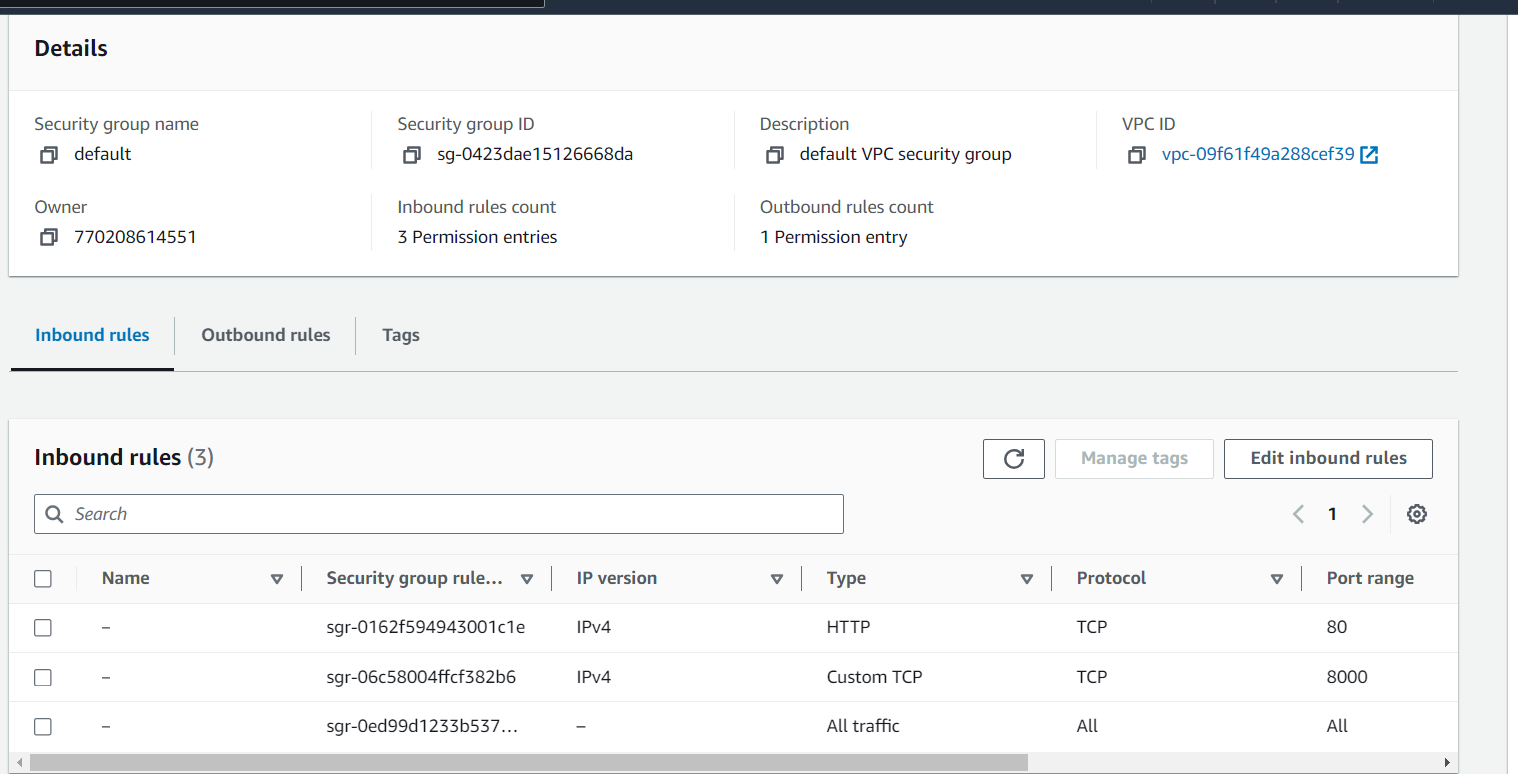
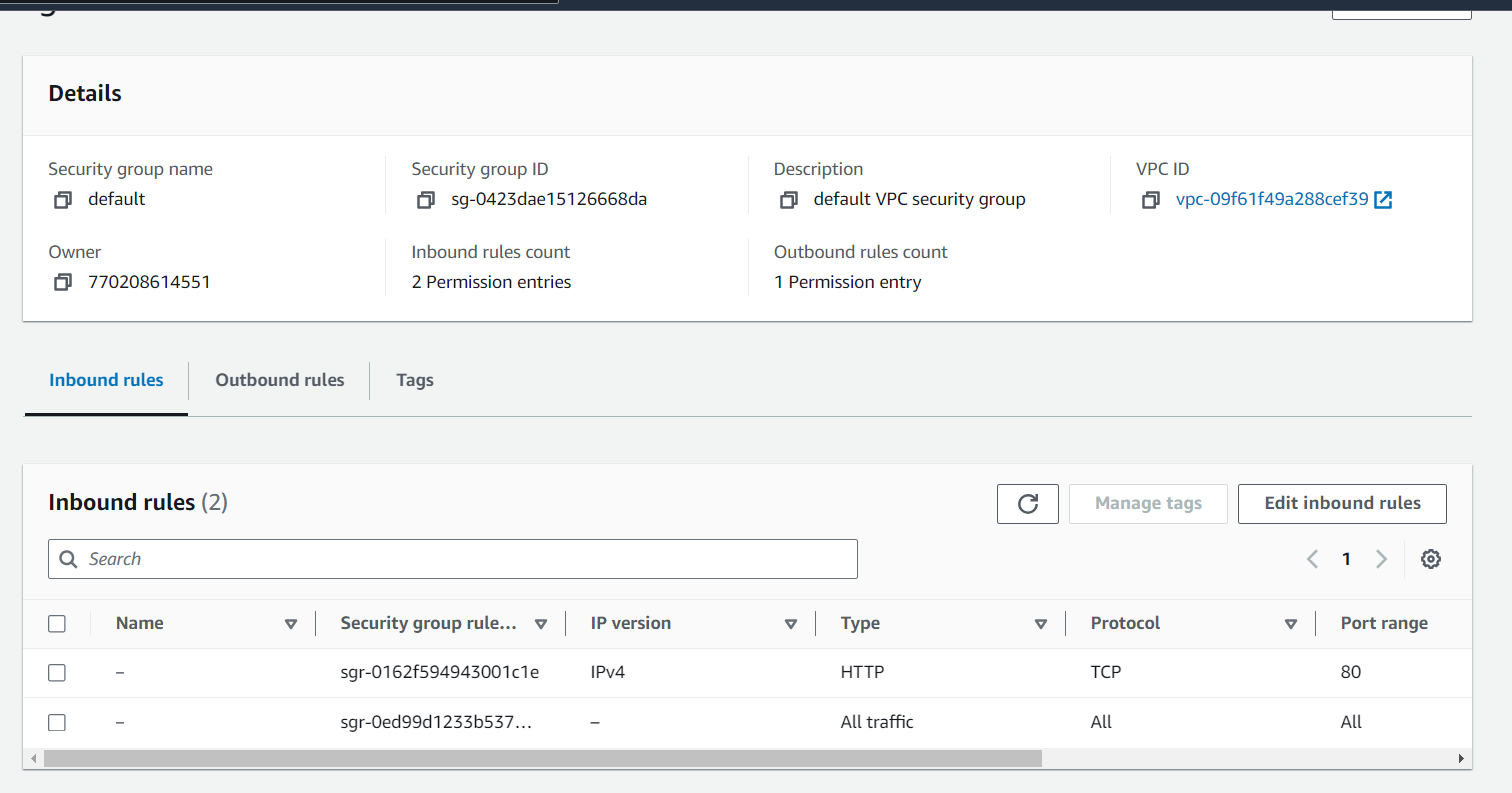
Configure security groups to control inbound and outbound traffic to your instance.
Review your configuration, and click on the "Launch" button.
Step 4: Create an AMI from the Running Instance
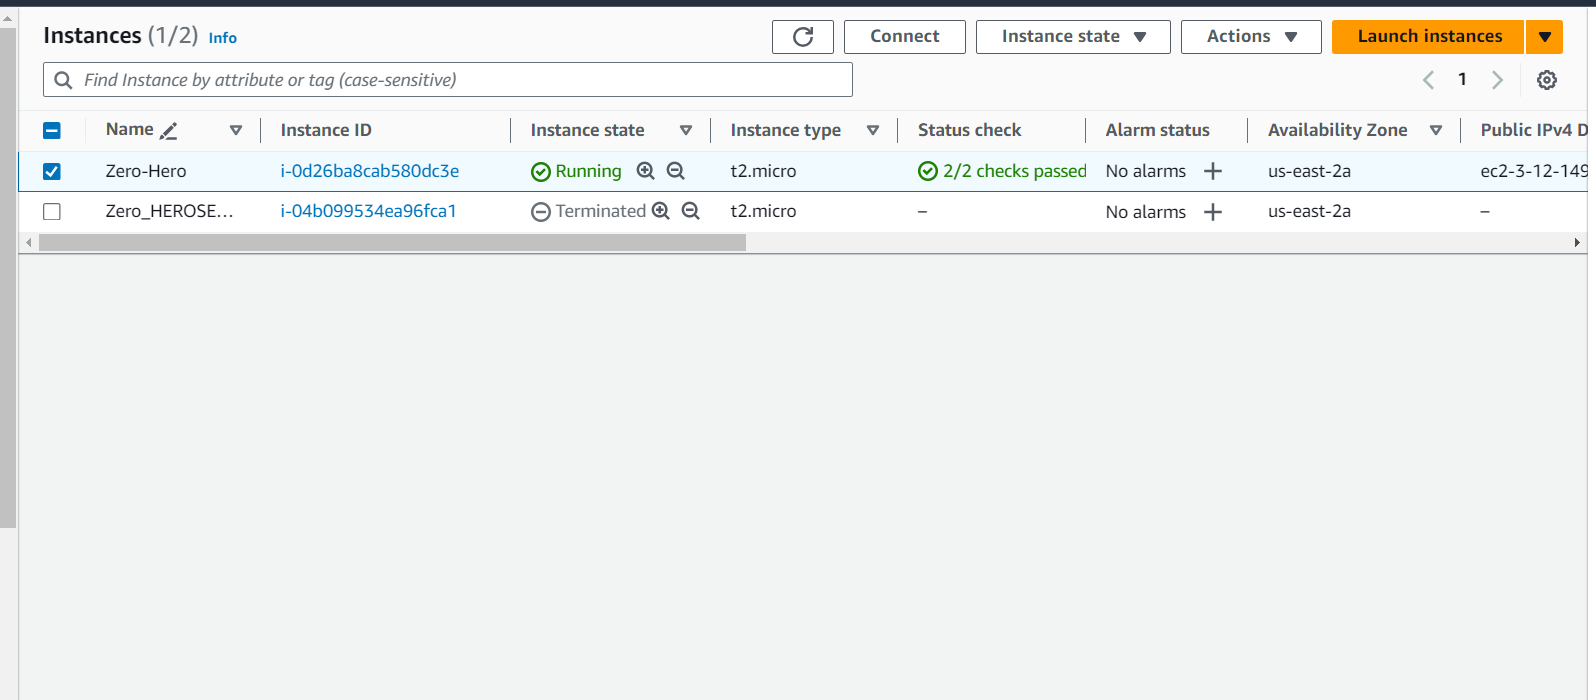
Once your instance is running, select the instance in the EC2 dashboard.
Click on the "Actions" dropdown, go to "Image and templates," and choose "Create Image."
Provide a unique name and description for your AMI.
Click on "Create Image."
Step 5: Launch Instances from the AMI
Once the AMI creation is complete, navigate to the "AMIs" section in the EC2 dashboard.
Select your newly created AMI.
Click on "Launch Instance from Image."
Step 6: Configure New Instances
Follow the steps in the launch wizard to configure the new instances using your AMI.
Customize instance types, instance details, storage, tags, security groups, etc.
Review your configuration and launch the instances
Create Auto scaling Group
Creating an Auto Scaling Group (ASG) in AWS involves defining a launch configuration, specifying the desired capacity, and configuring auto scaling policies. Below is a step-by-step guide on how to create an Auto Scaling Group using the AWS Management Console:
Creating an Auto Scaling Group in AWS:
Step 1: Access the AWS Management Console
Log in to the AWS Management Console with your AWS account credentials.
Step 2: Navigate to EC2 Auto Scaling
In the AWS Management Console, navigate to the "Services" dropdown and select "EC2 Auto Scaling" under the "Compute" section.
Step 3: Create a Launch Configuration
In the EC2 Auto Scaling console, click on "Launch Configurations" in the left navigation pane.
Click on the "Create launch configuration" button.
Choose an Amazon Machine Image (AMI) for your instances.
Select an instance type based on your application requirements.
Configure additional details such as storage, key pair, security groups, and user data.
Review your configuration and click on the "Create launch configuration" button.
Step 4: Create an Auto Scaling Group
After creating the launch configuration, click on "Auto Scaling Groups" in the left navigation pane.
Click on the "Create Auto Scaling group" button.
Choose the launch configuration you created in the previous step.
Set the group size, specifying the desired capacity, minimum, and maximum size.
Configure network settings, including VPC and subnets.
Set up scaling policies based on metrics such as CPU utilization or request count.
Review your configuration and click on the "Create Auto Scaling group" button.
Step 5: Test the Auto Scaling Group
Once the Auto Scaling group is created, you can test its functionality by simulating an increase in demand or by configuring scaling policies to respond to real-time metrics.
Observe how the Auto Scaling group automatically adjusts the number of instances based on the defined policies.
Step 6: View Auto Scaling Events and Metrics
Navigate to the "Activity" tab to view events and scaling activities related to your Auto Scaling group.
Explore the "Monitoring" tab to view metrics and gain insights into the performance of your Auto Scaling group.
Creating Load Balancer
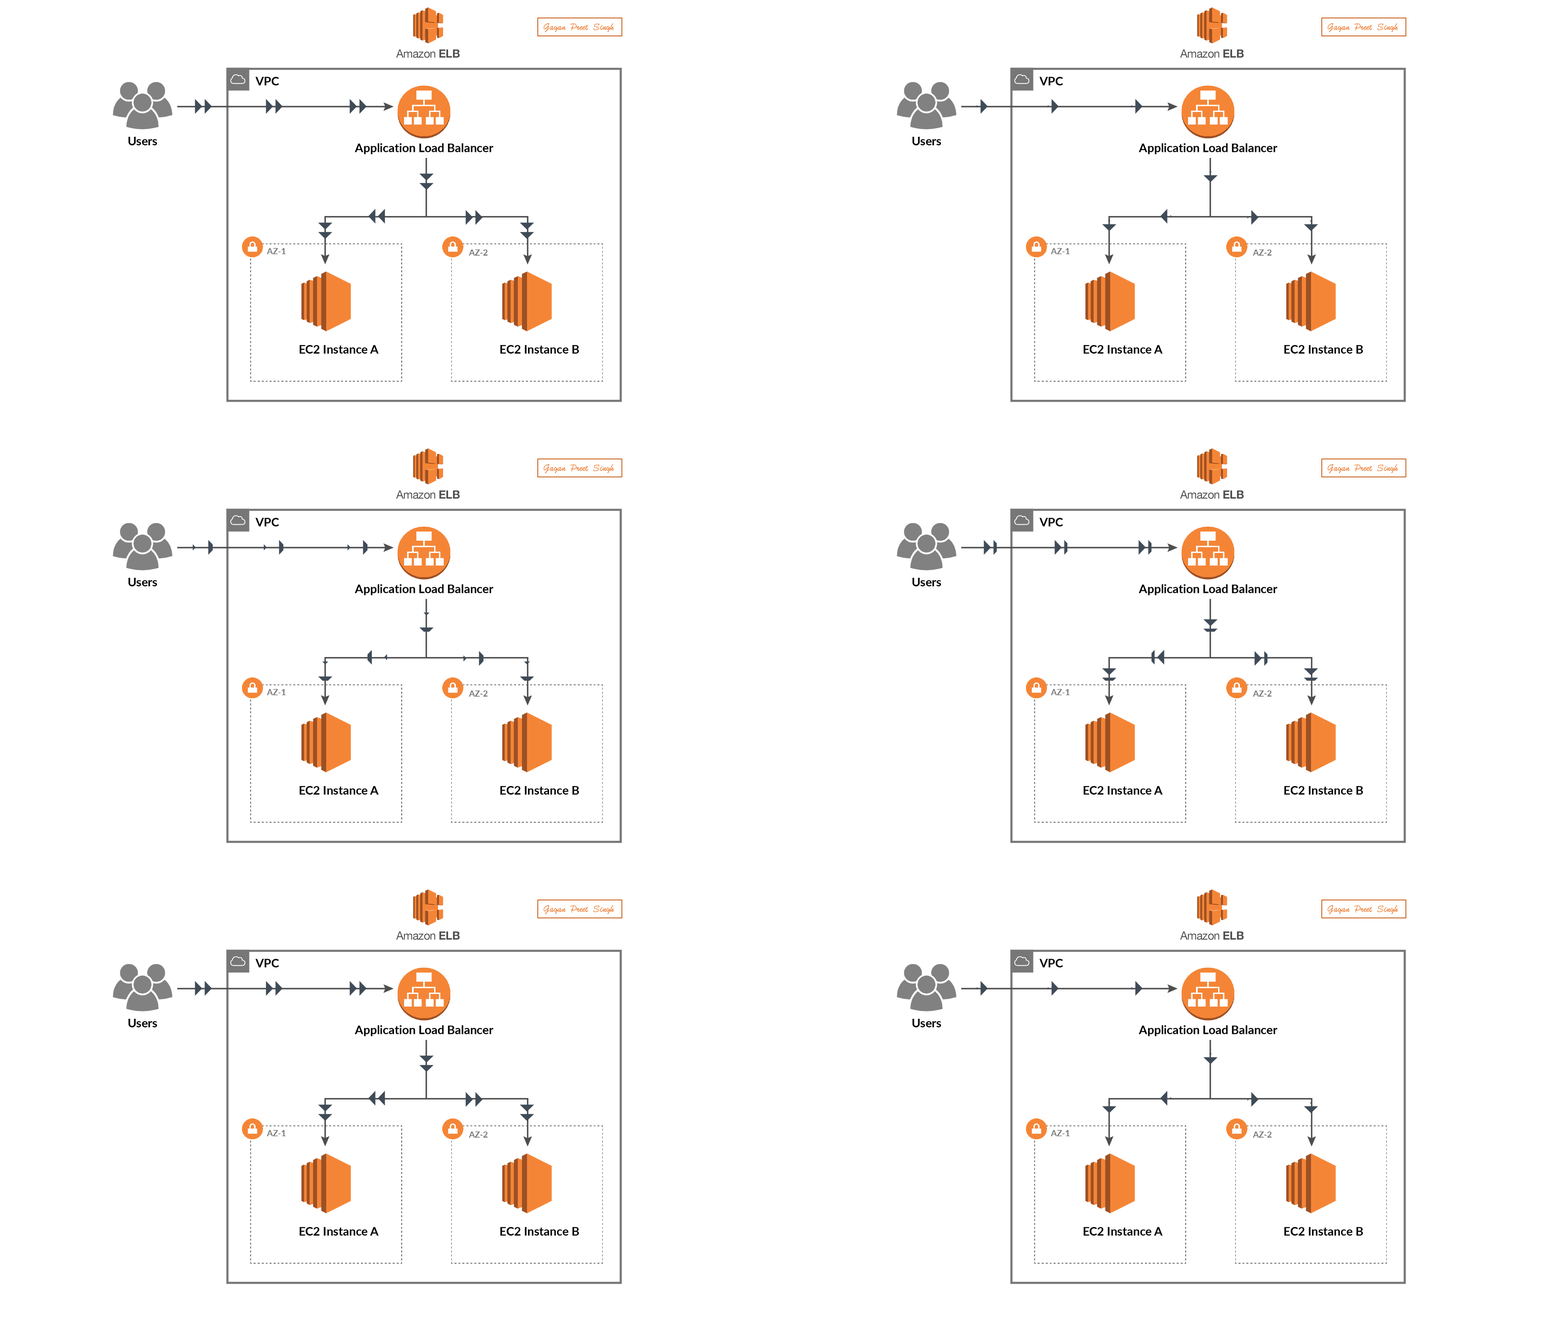
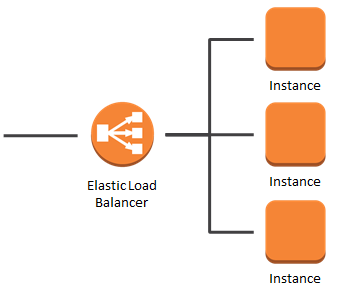
Creating a Load Balancer in AWS involves using the Elastic Load Balancing (ELB) service. Below is a step-by-step guide on how to create a basic Application Load Balancer (ALB) using the AWS Management Console:
Creating an Application Load Balancer in AWS:
Step 1: Access the AWS Management Console
Log in to the AWS Management Console with your AWS account credentials.
Step 2: Navigate to the EC2 Dashboard
In the AWS Management Console, navigate to the "Services" dropdown and select "EC2" under the "Compute" section.
Step 3: Create Load Balancer
In the EC2 dashboard, click on "Load Balancers" in the left navigation pane.
Click on the "Create Load Balancer" button.
Step 4: Choose a Load Balancer Type
- Select the "Application Load Balancer" option.
Step 5: Configure Load Balancer Settings
Basic Configuration:
Provide a name for your load balancer.
Select the appropriate VPC where you want to deploy the load balancer.
Choose at least two subnets in different availability zones.
Listeners Configuration:
- Define the listener settings (e.g., protocol and port) for your load balancer.
Availability Zones:
- Confirm the selected availability zones.
Security Settings:
- Configure security settings for your load balancer.
Configure Routing:
Create a new target group or choose an existing one.
Configure health checks for your target group.
Register Targets:
- Register instances or IP addresses with your target group.
Review Configuration:
- Review all the settings and click on the "Create" button.
Step 6: Wait for Load Balancer Creation
- AWS will create your load balancer, and it may take a few minutes to complete.
Step 7: Verify Load Balancer Configuration
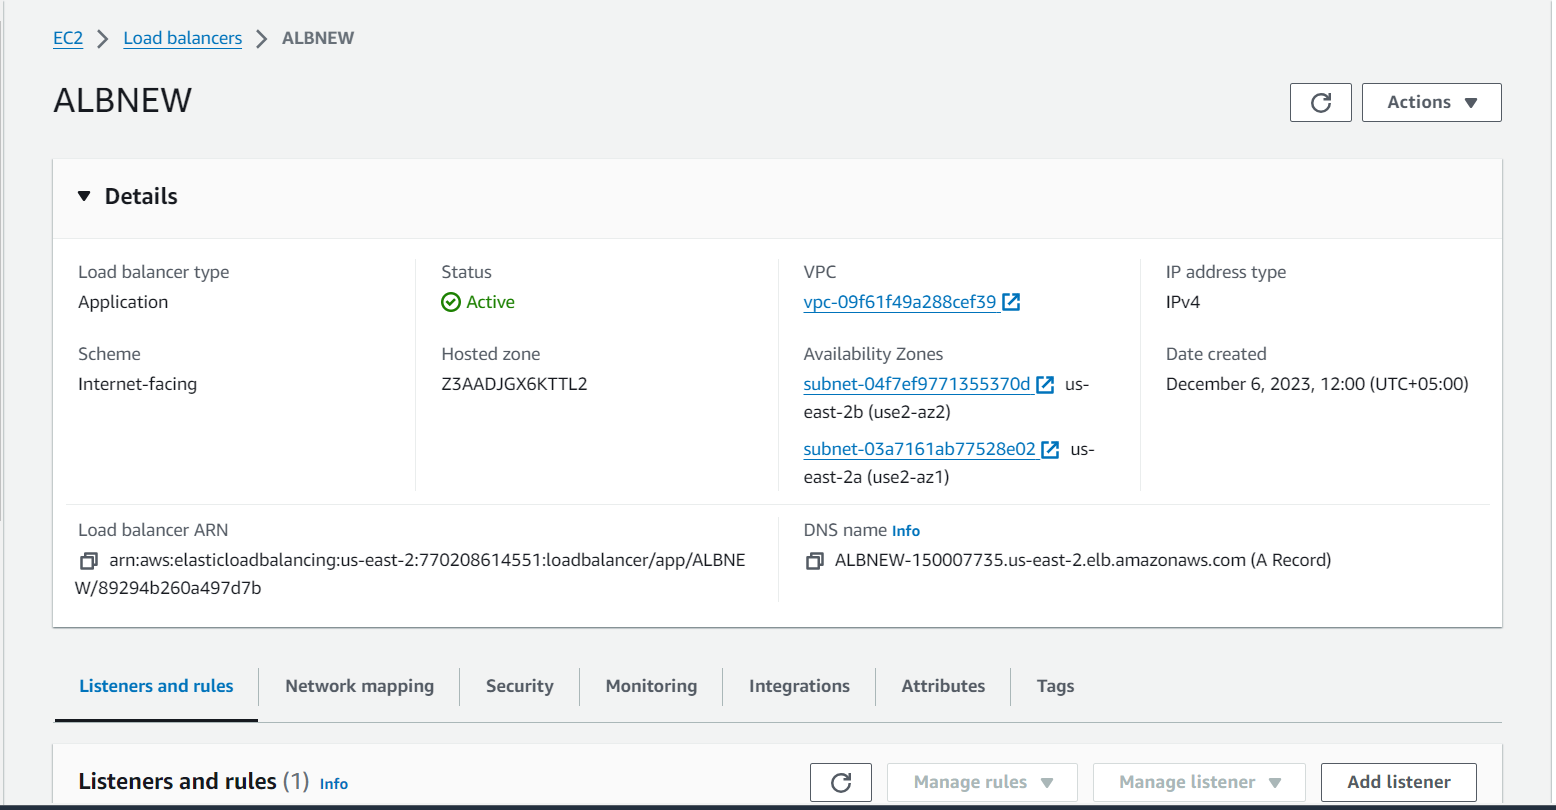
Once the load balancer is created, navigate to the "Description" tab to verify the configuration details.
Note the DNS name of your load balancer.
Creating Targeted Groups
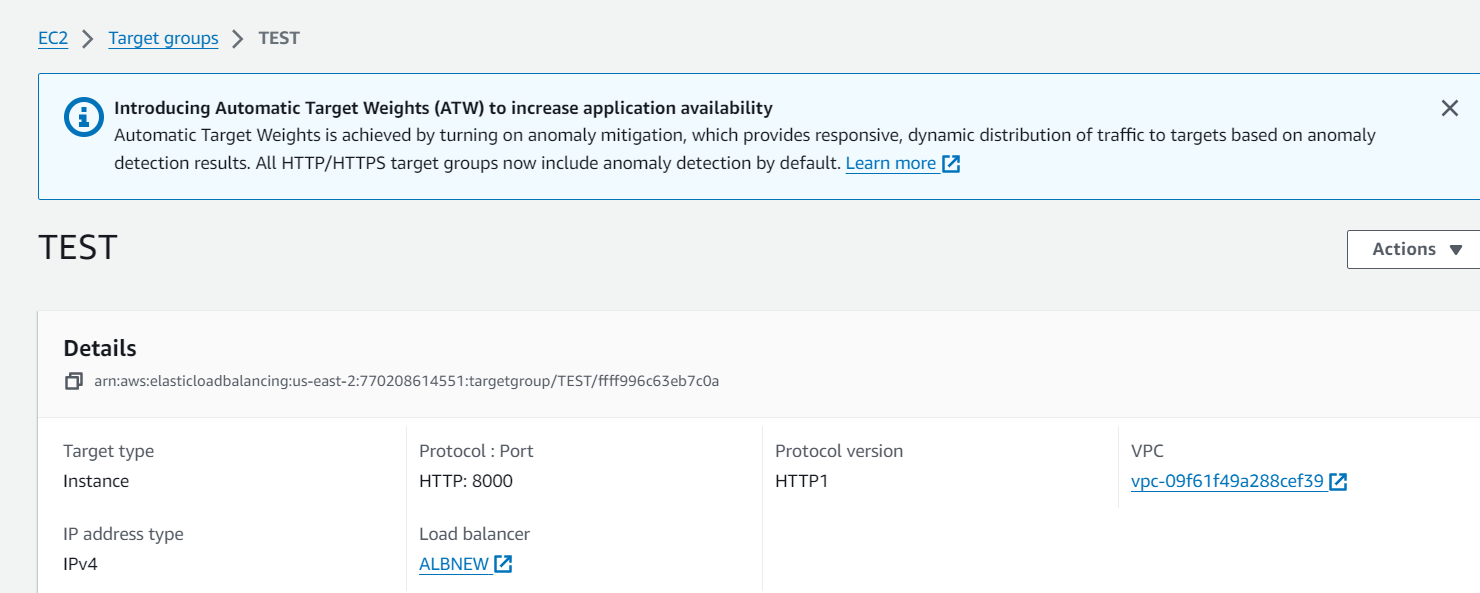
In AWS, a target group is a logical grouping of targets, such as instances, IP addresses, or Lambda functions, that you register with a load balancer. Target groups are used with services like Elastic Load Balancing (ELB) to route incoming traffic to the registered targets based on the configured rules. Here's a step-by-step guide on how to create a target group using the AWS Management Console:
Creating a Target Group in AWS:
Step 1: Access the AWS Management Console
Log in to the AWS Management Console with your AWS account credentials.
Step 2: Navigate to the EC2 Dashboard
In the AWS Management Console, navigate to the "Services" dropdown and select "EC2" under the "Compute" section.
Step 3: Create a Target Group
In the EC2 dashboard, click on "Target Groups" in the left navigation pane.
Click on the "Create Target Group" button.
Step 4: Configure Target Group Settings
Basic Configuration:
Provide a name for your target group.
Choose the protocol (HTTP, HTTPS, TCP, or UDP) for your target group.
Choose the port on which the targets receive traffic.
Target Type:
- Choose the type of targets you want to register with the target group (instances, IP addresses, or Lambda functions).
Health Checks:
Configure health checks to determine the health of the registered targets.
Set the health check protocol, port, and path.
Define the health check threshold and interval.
Advanced Health Check Settings (Optional):
- Configure advanced health check settings if needed.
Attributes:
- Configure target group attributes if needed.
Targets:
If you're creating an HTTP/HTTPS target group, you can register targets by instance ID, IP address, or Lambda function.
Skip this step if you plan to register targets later.
Review Configuration:
- Review all the settings, and click on the "Create" button.
Step 5: Register Targets (If not done during target group creation)
In the target group details page, click on the "Targets" tab.
Click on the "Edit" button to register targets.
Choose the instances or IP addresses you want to register with the target group.
Click on the "Save" button.
Step 6: Note the Target Group ARN
- After creating the target group, note the Amazon Resource Name (ARN) as it will be used when configuring load balancers.
Configure AWS WAF:
Create an AWS WAF WebACL to define rules for blocking malicious requests.
Configuring AWS WAF involves creating a WebACL (Web Access Control List), defining rules, and associating the WebACL with your AWS resources. Here's a step-by-step guide on how to configure AWS WAF using the AWS Management Console:
Configuring AWS WAF:
Step 1: Access the AWS Management Console
Log in to the AWS Management Console with your AWS account credentials.
Step 2: Navigate to AWS WAF
- In the AWS Management Console, navigate to the "Services" dropdown and select "WAF & Shield" under the "Security, Identity, & Compliance" section.
Step 3: Create a WebACL
In the AWS WAF & Shield console, click on "Web ACLs" in the left navigation pane.
Click on the "Create web ACL" button.
Step 4: Configure WebACL Settings
WebACL Name and Description:
- Provide a name and description for your WebACL.
Rules:
Click on the "Add rules" button to add rules to your WebACL.
You can create rules to block or allow traffic based on various conditions like IP addresses, SQL injection, cross-site scripting, etc.
Configure the rule conditions, actions (allow or block), and rule order.
Default Action:
Choose the default action for your WebACL, which is applied when no rules match.
Common choices are to allow all requests or block all requests.
Associations:
- Choose the AWS resources (e.g., CloudFront distributions, Application Load Balancers) to which you want to associate the WebACL.
Logging:
- Configure logging settings if you want to log web requests that match the rules in your WebACL.
Review and Create:
- Review all the settings, and click on the "Create web ACL" button.
Step 5: Deploy the WebACL
After creating the WebACL, you need to deploy it to apply the rules to the specified AWS resources.
Click on the WebACL you created, go to the "Deploy web ACL" tab, and click on the "Deploy web ACL" button.
Choose the AWS resources to deploy the WebACL to.
Step 6: Monitor and Update
Once deployed, you can monitor the performance of your WebACL in the "Metrics" and "Logging" tabs.
Update your WebACL as needed by modifying rules, associations, or other settings.
Test AWS WAF:
Generate test requests to the web application, including requests that match the defined WAF rules.
Testing AWS WAF involves simulating various types of web requests to see how the WAF rules respond. By performing these tests, you can ensure that your security policies are effectively protecting your web applications. Here's a general guide on how to test AWS WAF:
Testing AWS WAF:
Step 1: Understand WAF Rules and Policies
Before testing, make sure you understand the rules and policies you've configured in your AWS WAF WebACL. This includes rules for blocking or allowing specific types of requests based on conditions like IP addresses, SQL injection, cross-site scripting, and other common web vulnerabilities.
Step 2: Use WAF Sample Web Requests
AWS provides a set of sample web requests that you can use to test your AWS WAF setup. These requests are designed to simulate various types of malicious activities.
Step 3: Send Requests with AWS CLI or SDKs
You can use the AWS Command Line Interface (CLI) or one of the AWS Software Development Kits (SDKs) to send requests to your web application and observe how AWS WAF reacts. For example, you can use the
awsCLI to send HTTP requests to an API Gateway protected by AWS WAF.bashCopy code# Example AWS CLI command to send an HTTP request aws apigateway test-invoke-method --rest-api-id YOUR_API_ID --resource-id YOUR_RESOURCE_ID --http-method GETStep 4: Monitor AWS WAF Logs
Go to the AWS WAF & Shield console.
Select the WebACL you want to monitor.
In the "Logging" tab, review the logs to see how AWS WAF is processing the requests.
Check for any blocked requests or allowed requests based on your configured rules.
Step 5: Use Web Application Vulnerability Scanners
Consider using web application vulnerability scanners to simulate attacks on your web application. Tools like OWASP ZAP or Burp Suite can help you identify potential vulnerabilities and test how well AWS WAF mitigates these threats.
Step 6: Conduct Periodic Penetration Testing
Perform periodic penetration testing on your web application to identify potential security weaknesses. AWS WAF should be able to detect and block malicious activity during these tests.
Step 7: Review CloudWatch Metrics
AWS WAF integrates with Amazon CloudWatch to provide metrics related to your web ACL. Monitor CloudWatch metrics to gain insights into the performance and effectiveness of your WAF rules.
Important Considerations:
Testing in a Controlled Environment:
- It's crucial to conduct tests in a controlled environment to avoid impacting production systems.
Regular Updates and Testing:
Regularly update your WAF rules to address new threats and vulnerabilities.
Continuously test and validate the effectiveness of your AWS WAF setup.
Comprehensive Security Testing:
- Use a combination of manual testing, automated tools, and penetration testing to ensure comprehensive security coverage.
Subscribe to my newsletter
Read articles from Malik Liaqat directly inside your inbox. Subscribe to the newsletter, and don't miss out.
Written by
