How to Connecting RDS using ec2 and create read replica.how to work with read replica
 Sundar blog
Amazon Relational Database Service (Amazon RDS) is a web service that makes it easier to set up, operate, and scale a relational database in the AWS Cloud.
Create a subnet groups
Go to RDS and choose subnet groups and create DB subnet group


Subnet group name mydbgroup

Description mydbgroup

Choose default VPC

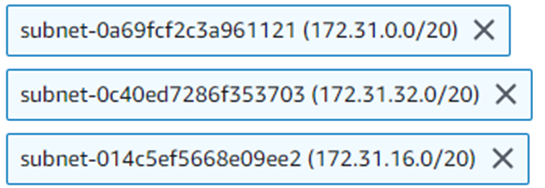
Add subnets
Choose three availability zones

See the three subnets

Create

Subnet group created

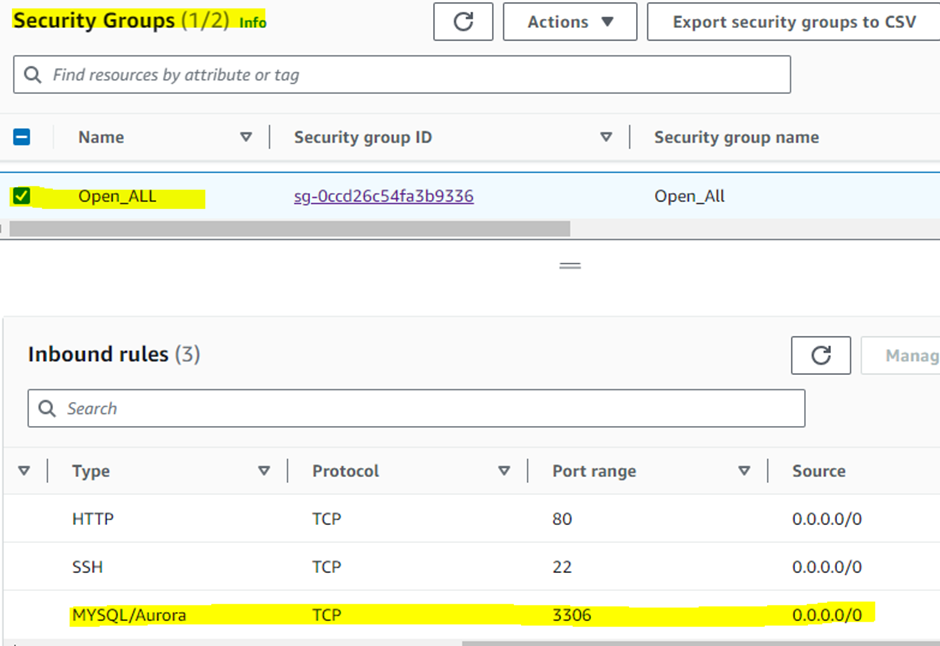
Open 3306 port on EC security group


Example Create database


Choose standard database

Choose MYSQL
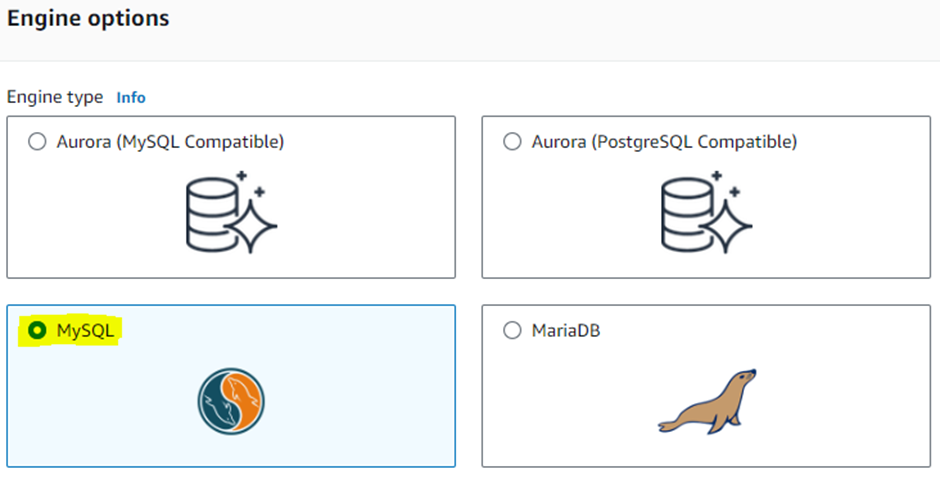
Engine version MYSQL 8.0.33

Choose templates free tier

DB instance identifier mysql-db

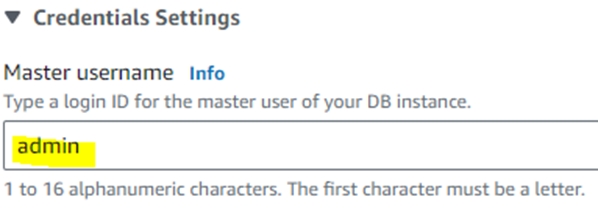
Username admin
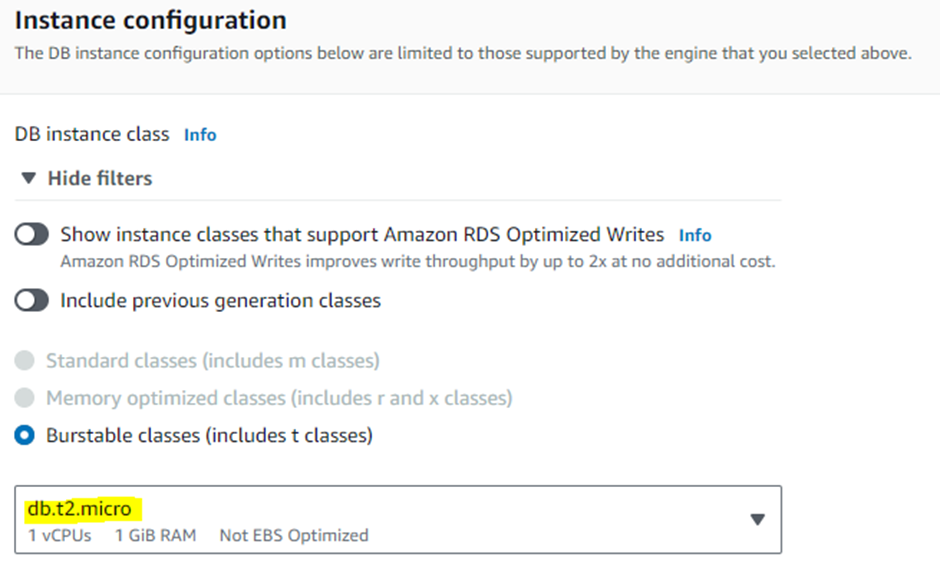
Instance configuration db.t3.micro
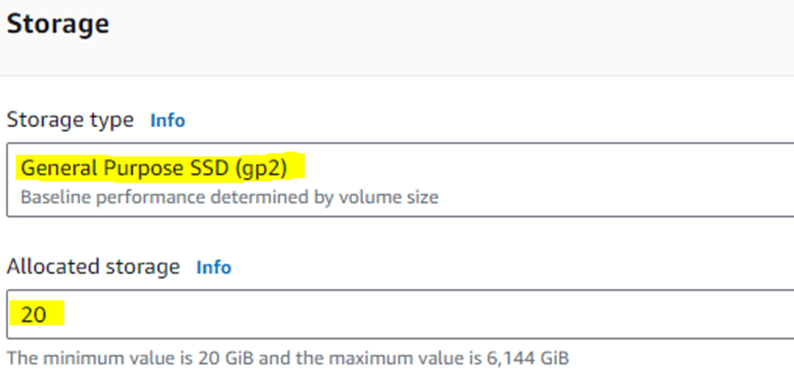
Storage type General purpose SSD (gp2)
Storage auto scaling disable

Connectivity don’t connect to an compute resource
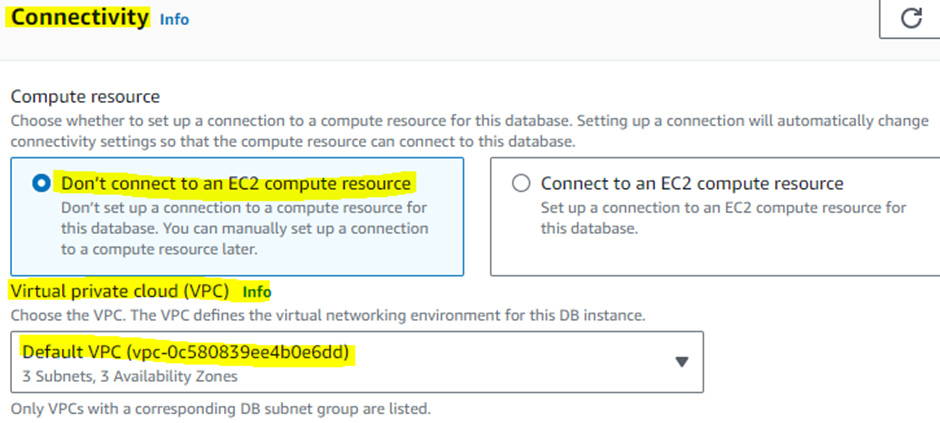
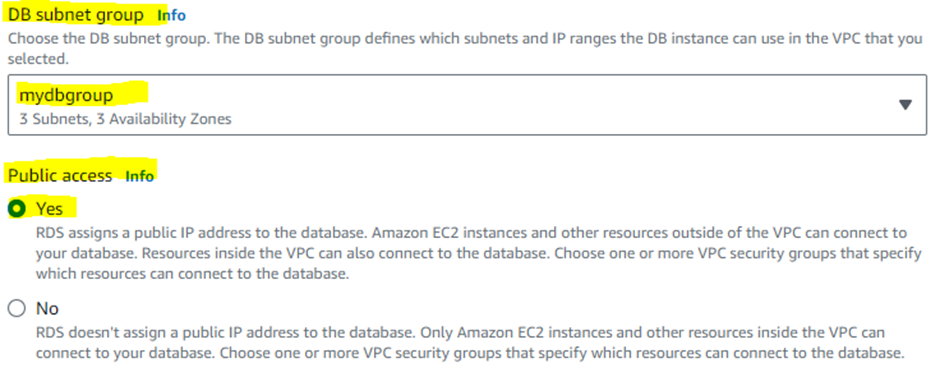
DB subnet group name mydbgroup and Public access yes
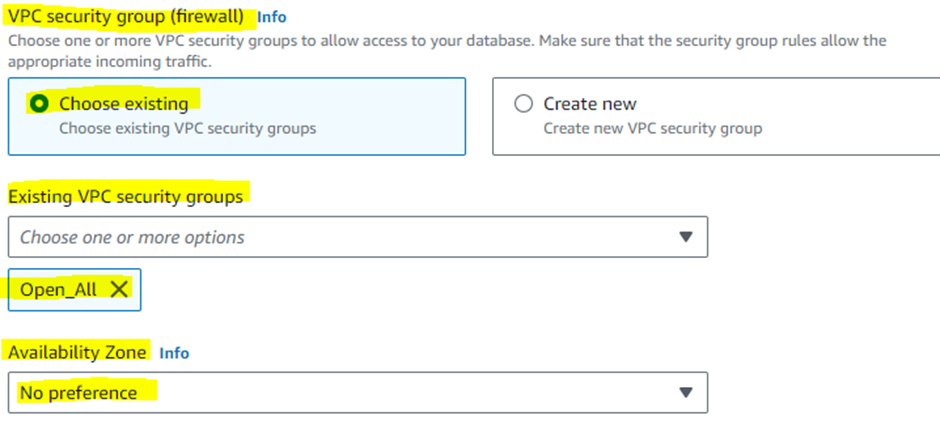
Choose existing security group Open_All and availability zone no preference
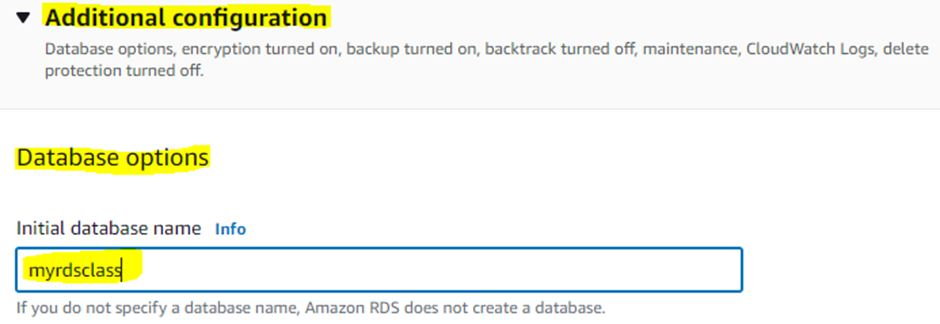
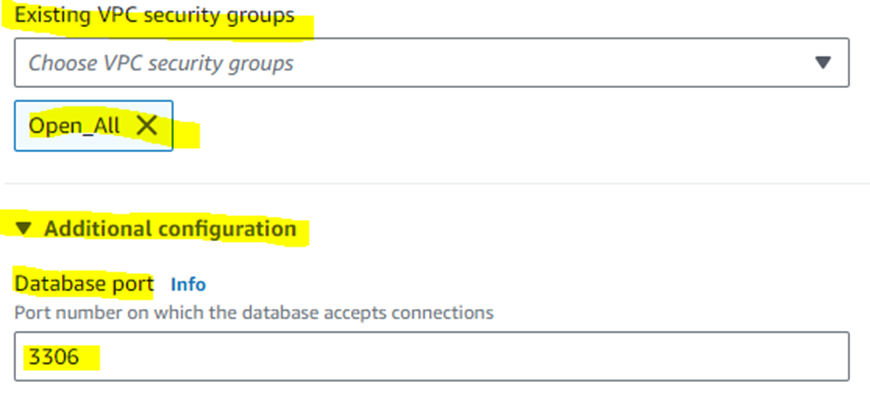
Additional configuration 3306

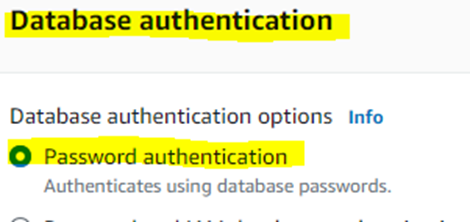
Password Authentication
Initial database name myrdsclass
Disable automated backups

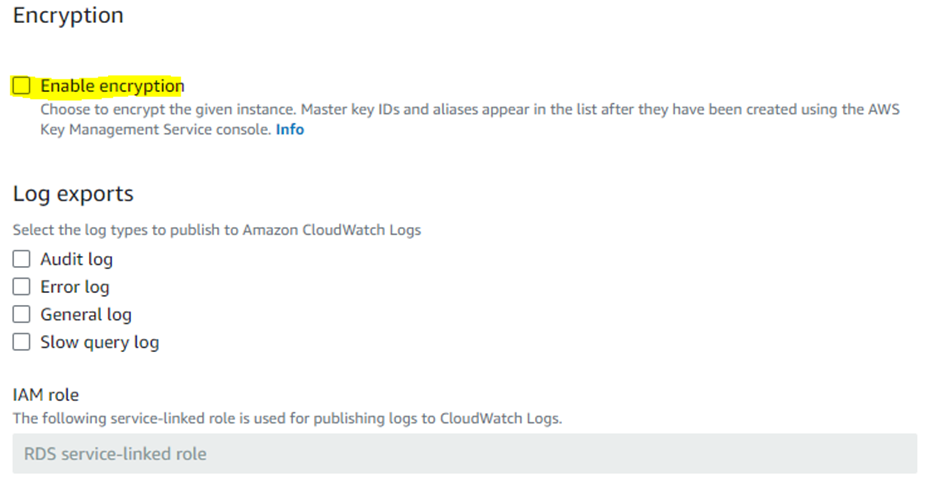
Disable encryption
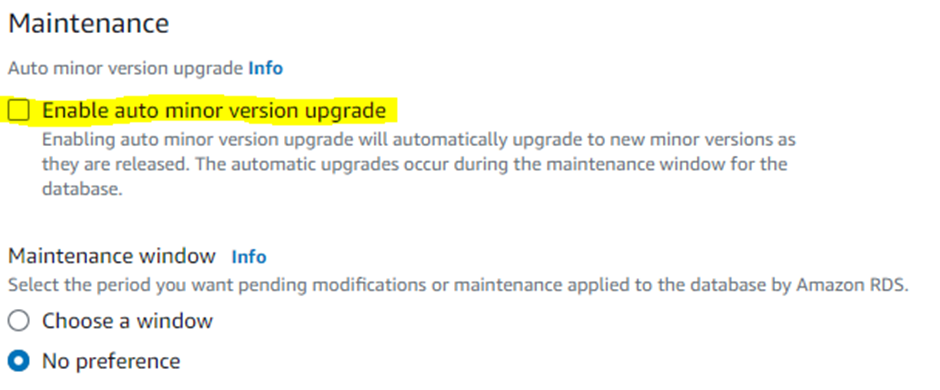
Disable auto minor version upgrade
Disable deletion protection

Create database

Here database created

Create one Amazon Linux instance open security group open 3306 port
Instance created Amazon Linux

Install MySQL on Amazon Linux 2023
Login instance as ec2-user
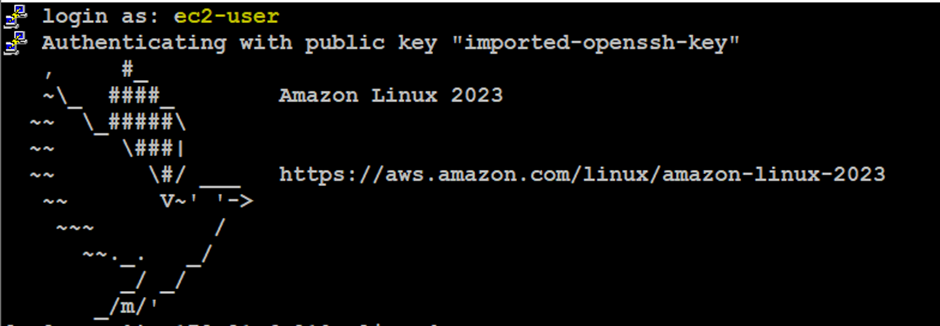
Root login sudo su -

Need to install mysql client
After connecting we will download the RPM file using this
sudo wget https://dev.mysql.com/get/mysql80-community-release-el9-1.noarch.rpm
Then confirm file download or not ls –lrt
sudo yum install mysql80-community-release-el9-1.noarch.rpm –y

install RPM file
sudo yum install mysql80-community-release-el9-1.noarch.rpm -y

You need the public key of mysql to install the software.
sudo rpm --import https://repo.mysql.com/RPM-GPG-KEY-mysql-2023
If you need to install mysql client:
sudo yum install mysql-community-client -y
If you need server:
sudo yum install mysql-community-server -y
sudo systemctl start mysqld

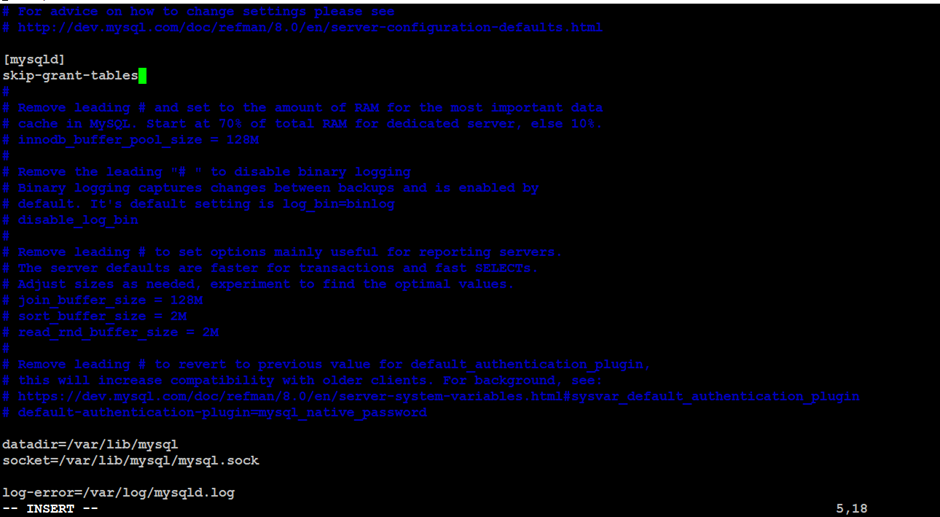
By default, we will not be able to connect, thus we need to modify the .cnf file to enable us log in without a password. We will do this by adding a line to the mysqld block
Edit my.cnf file

Skip-grant-tables
Restart mysql
Sudo systemctl restart mysqld

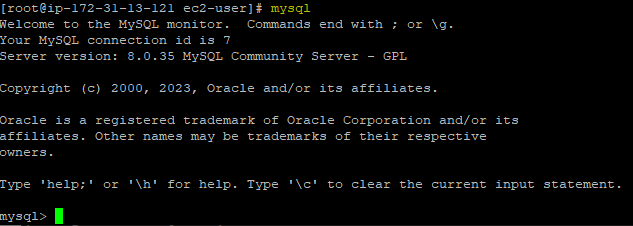
go to mysql type mysql, now logged mysql
and show databases;
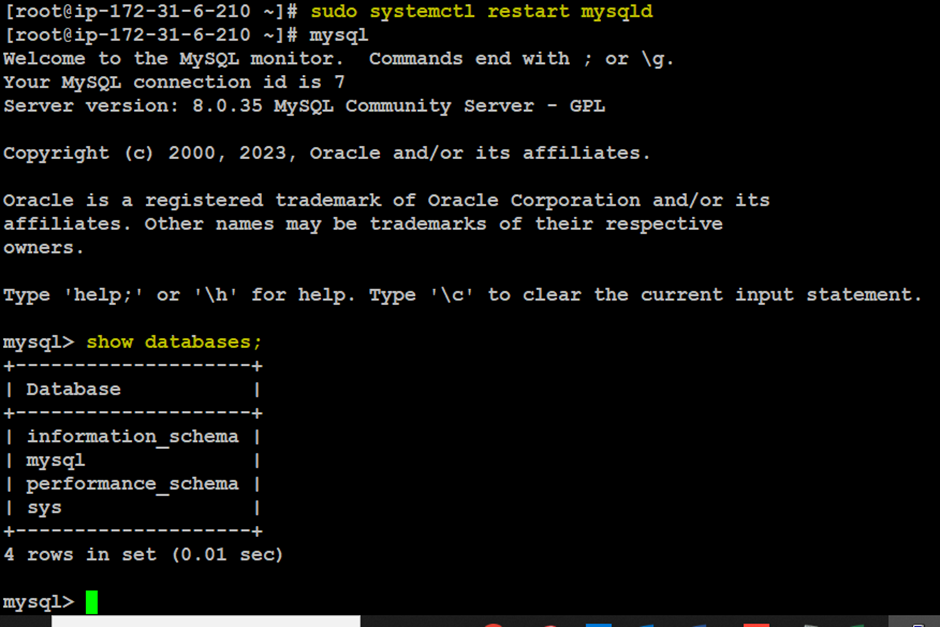
Now mysql has been Installed
exit

Go to database mysql-db copy endpoint & port

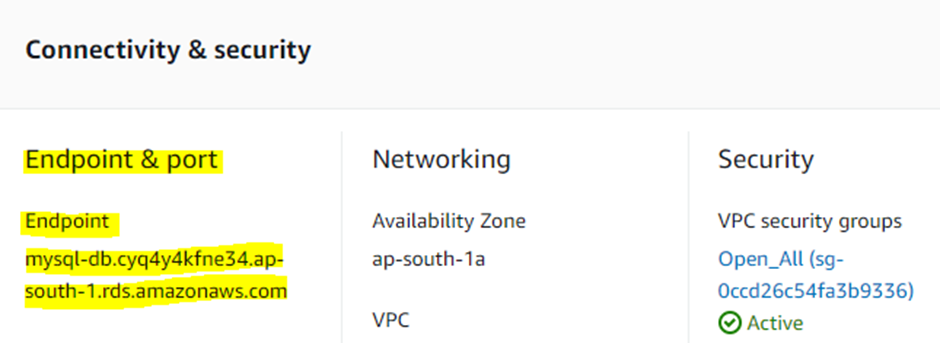
Conncet mysql-db in ec2 instance
mysql -h mysql-db.cyq4y4kfne34.ap-south-1.rds.amazonaws.com -P 3306 -u admin -p

See the show database, now we created myrdsclass found
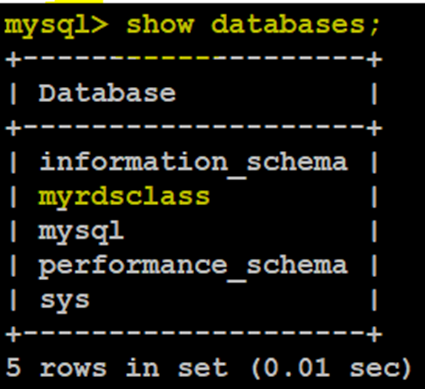
Use myrdsclass database

Now see the tables no tables found
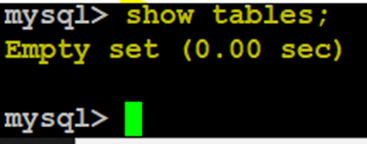
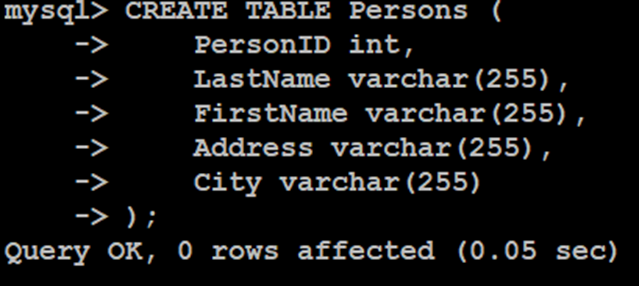
Now create person table use below query
CREATE TABLE Persons (
PersonID int,
LastName varchar(255),
FirstName varchar(255),
Address varchar(255),
City varchar(255)
);
Now see persons table created.
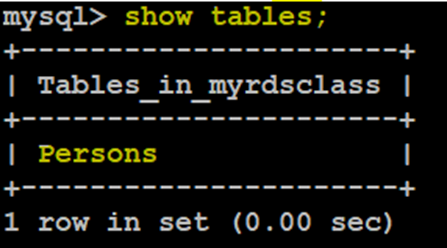
Exit

Example Create a reader replica
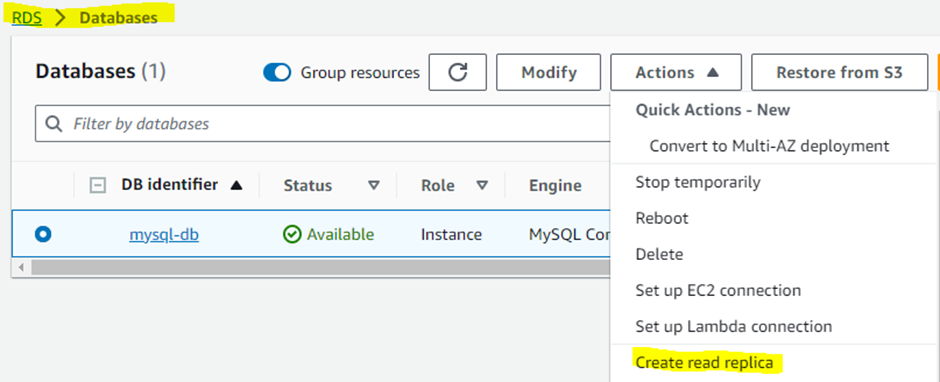
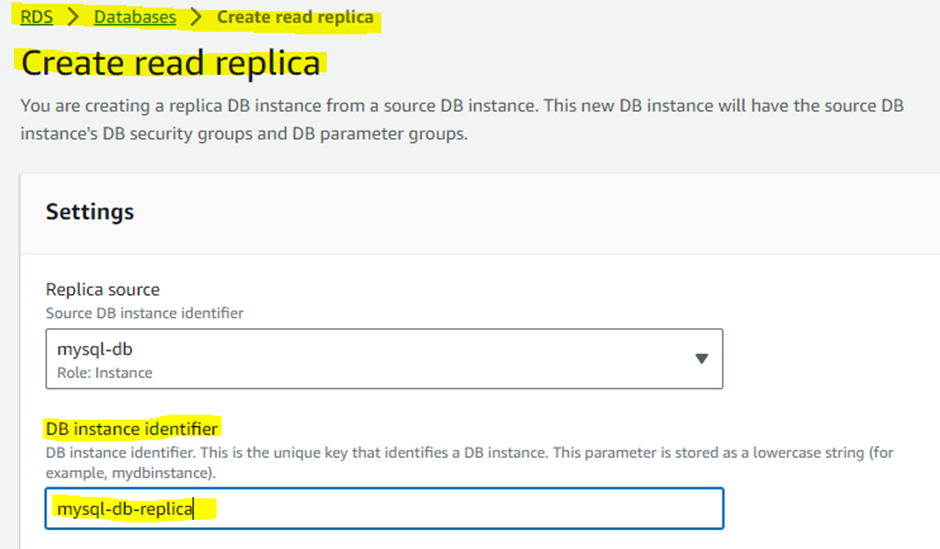
DB instance identifier name is mysql-db-replica
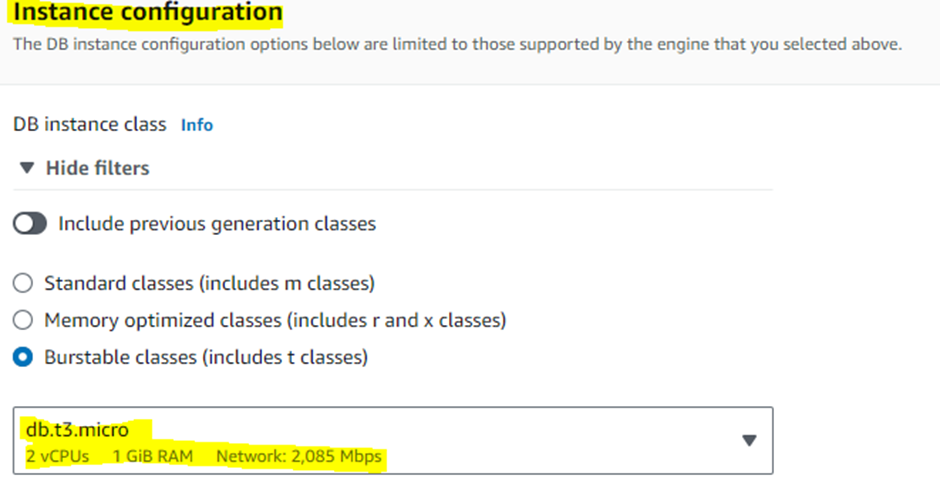
Select db.t3.micro
Asia pacific

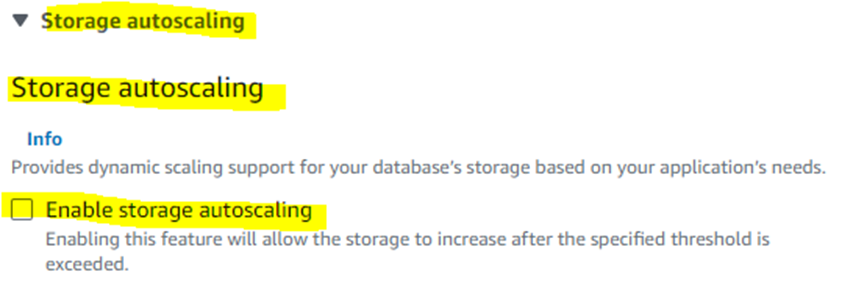
Storage
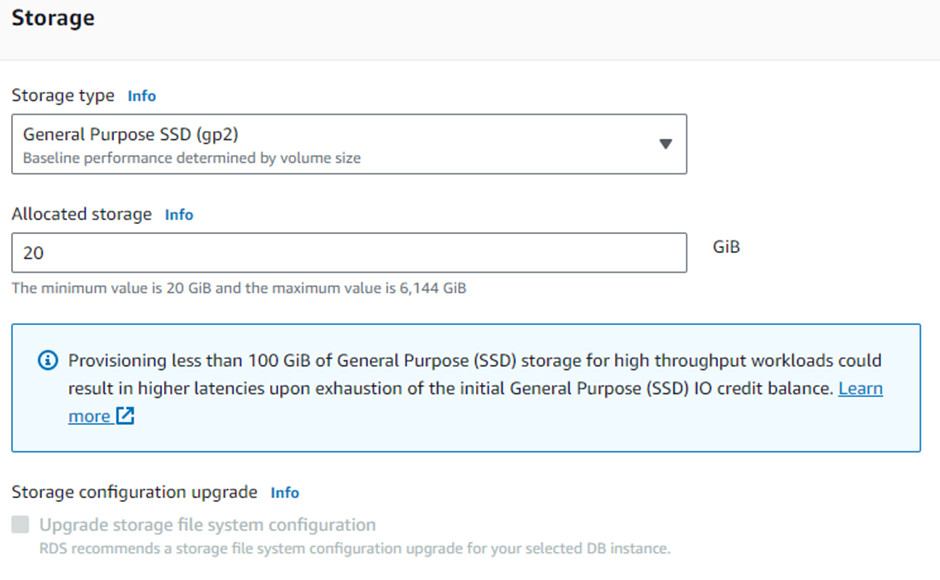
Disable autoscaling
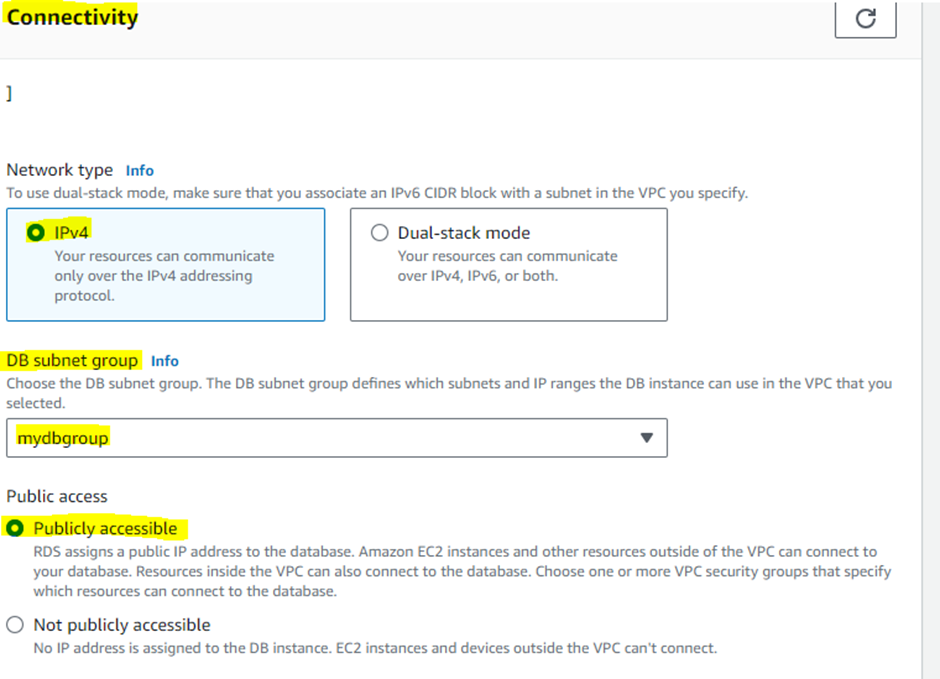
Network type IPV4 and public accessible
Choose existing VPC
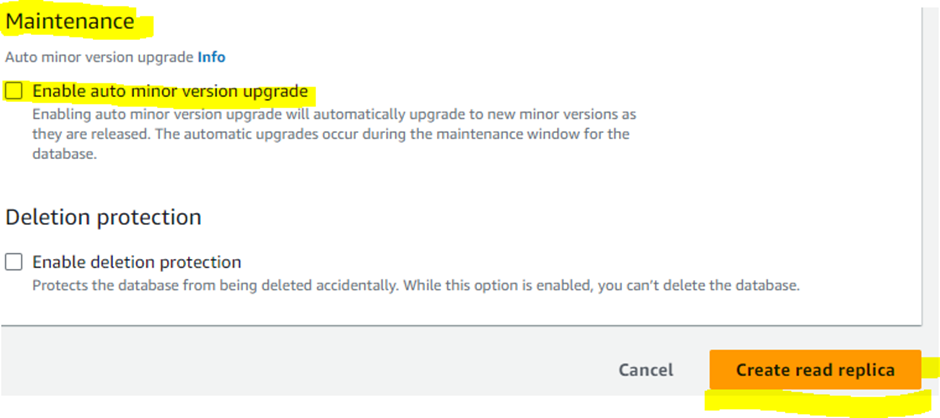
Disable auto minor version upgrade and create read replica
Now mysql-db-replica created

Again connect RDS database using ec2
mysql -h mysql-db.cyq4y4kfne34.ap-south-1.rds.amazonaws.com –P 3306 –u admin -p

Use myrdsclass and show tables one persons table found
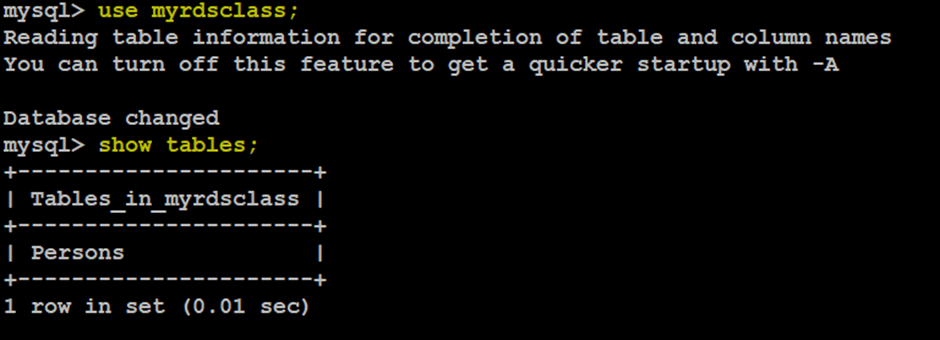
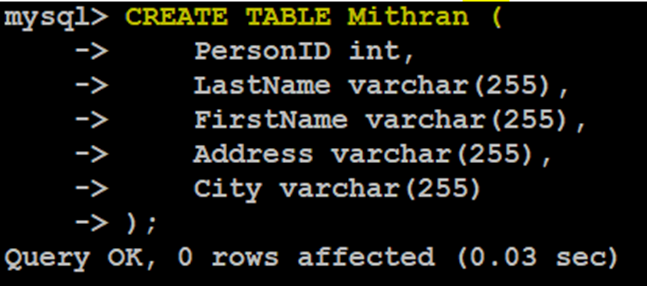
Now create a table mithran
CREATE TABLE Mithran (
PersonID int,
LastName varchar(255),
FirstName varchar(255),
Address varchar(255),
City varchar(255)
);
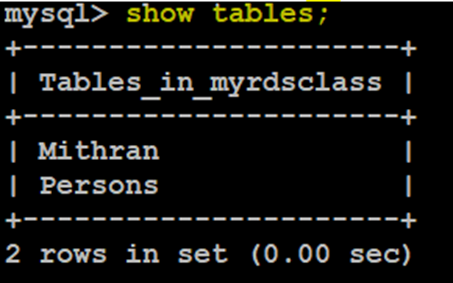
Now see the tables
Exit

See the databases

Delete primary database mysql-db

Delete it
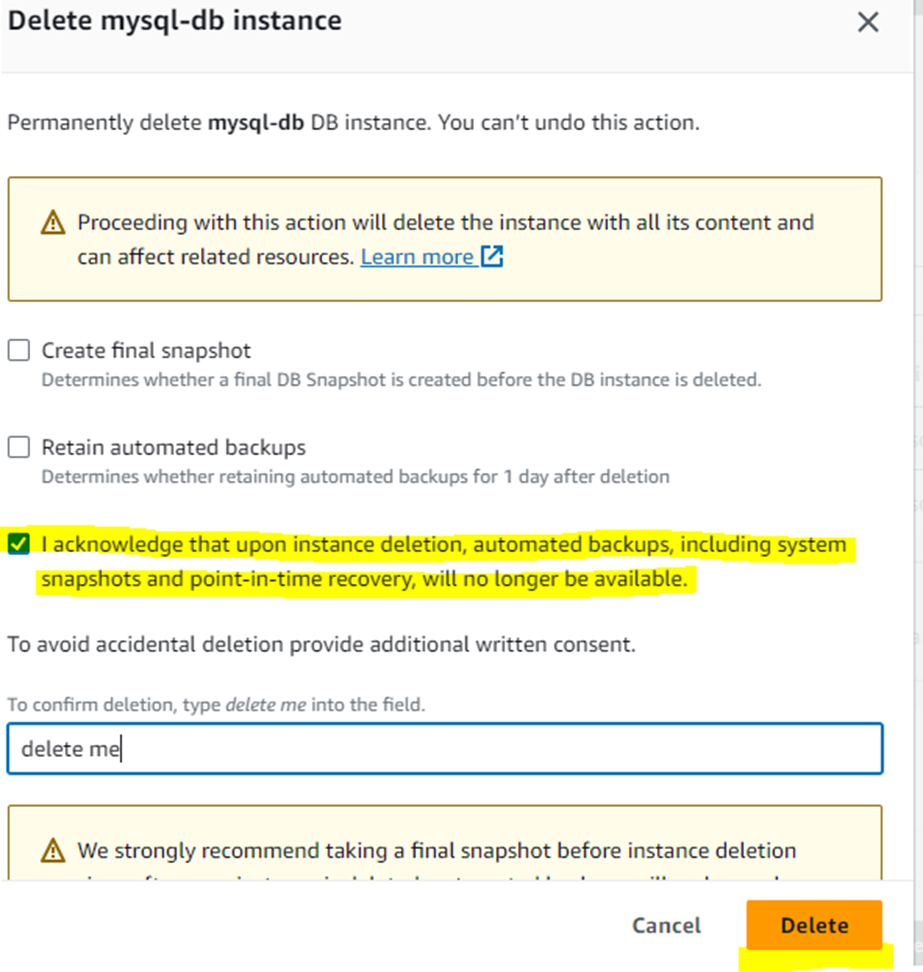
After deleted primary db then now connect replica
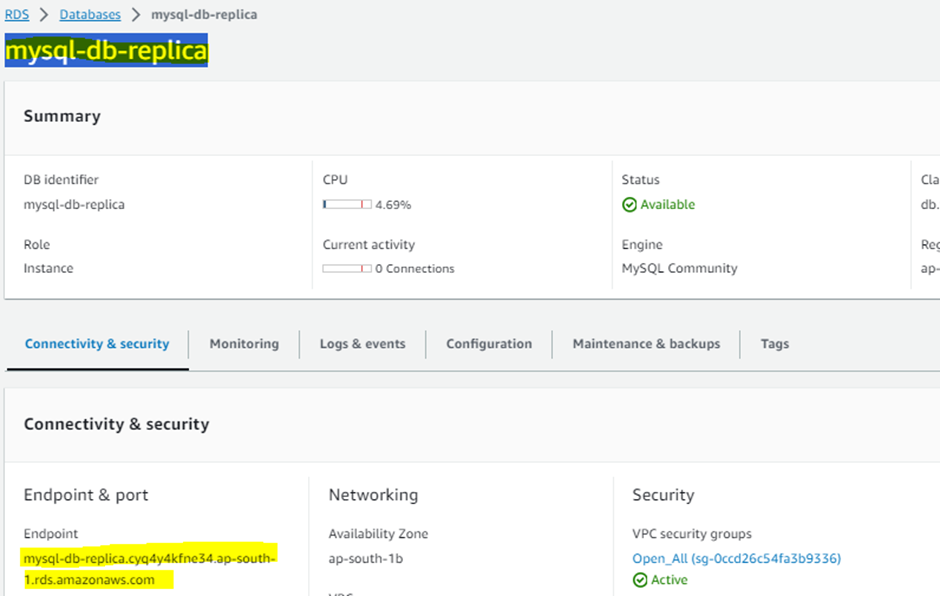
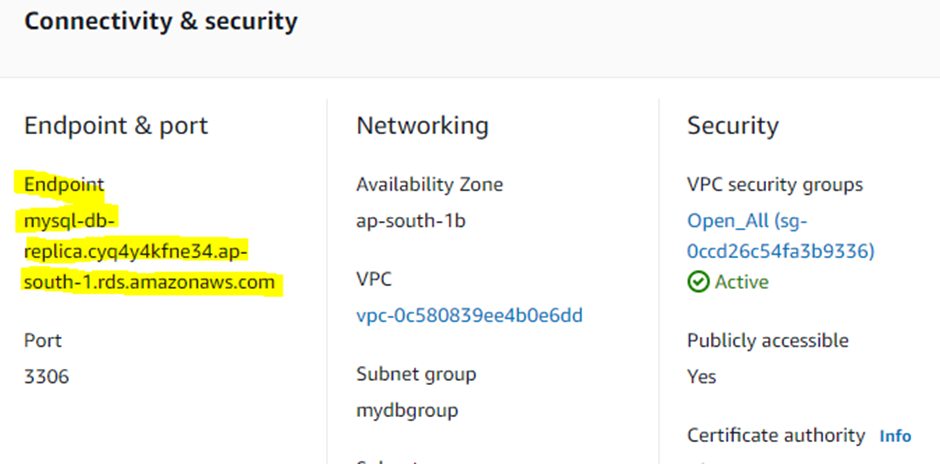
Now connect mysql-db-replica using Endpoint
mysql –h mysql-db-replica.cyq4y4kfne34.ap-south-1.rds.amazonaws.com –P 3306 –u admin -p

Now see the databases myrdsclass found
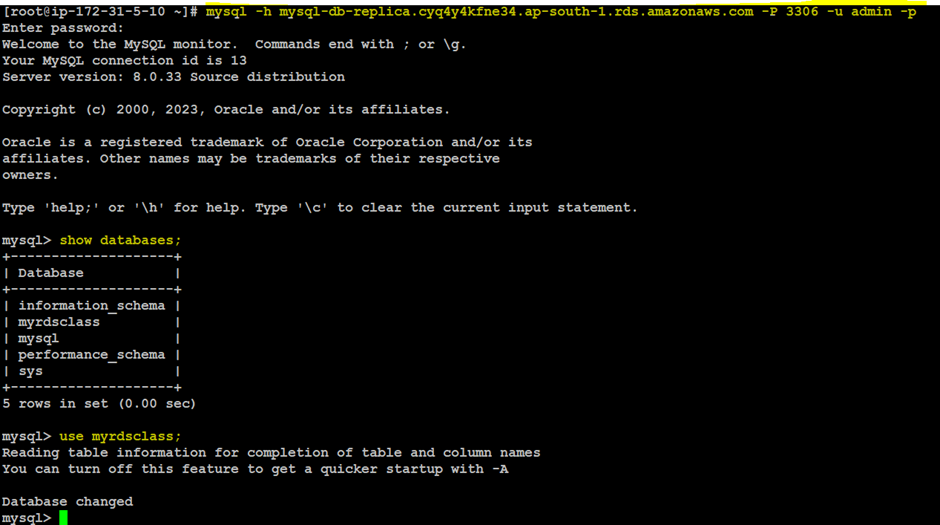
Same two tables found, so now working fine
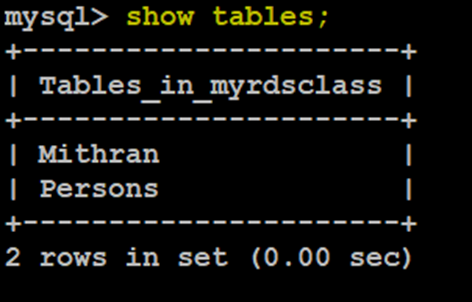
Same two tables found, so now working fine
Subscribe to my newsletter
Read articles from Sundar blog directly inside your inbox. Subscribe to the newsletter, and don't miss out.
Written by
