How to Host a Core PHP Website on Cpanel
 Modupe Ladele
Hosting a core PHP website on a server for the world to see, is actually an easier task than you'd think.
With desktop screenshots from a Lenovo ThinkPad, with a windows 10 operating system installed and clear explanations on what I did and why I did what I did, I will be teaching you how to host your PHP website on a shared hosting server.
Let's begin.
The first thing to do is to go to where the folder you want to upload is located, then you compress the folder to a zip file.
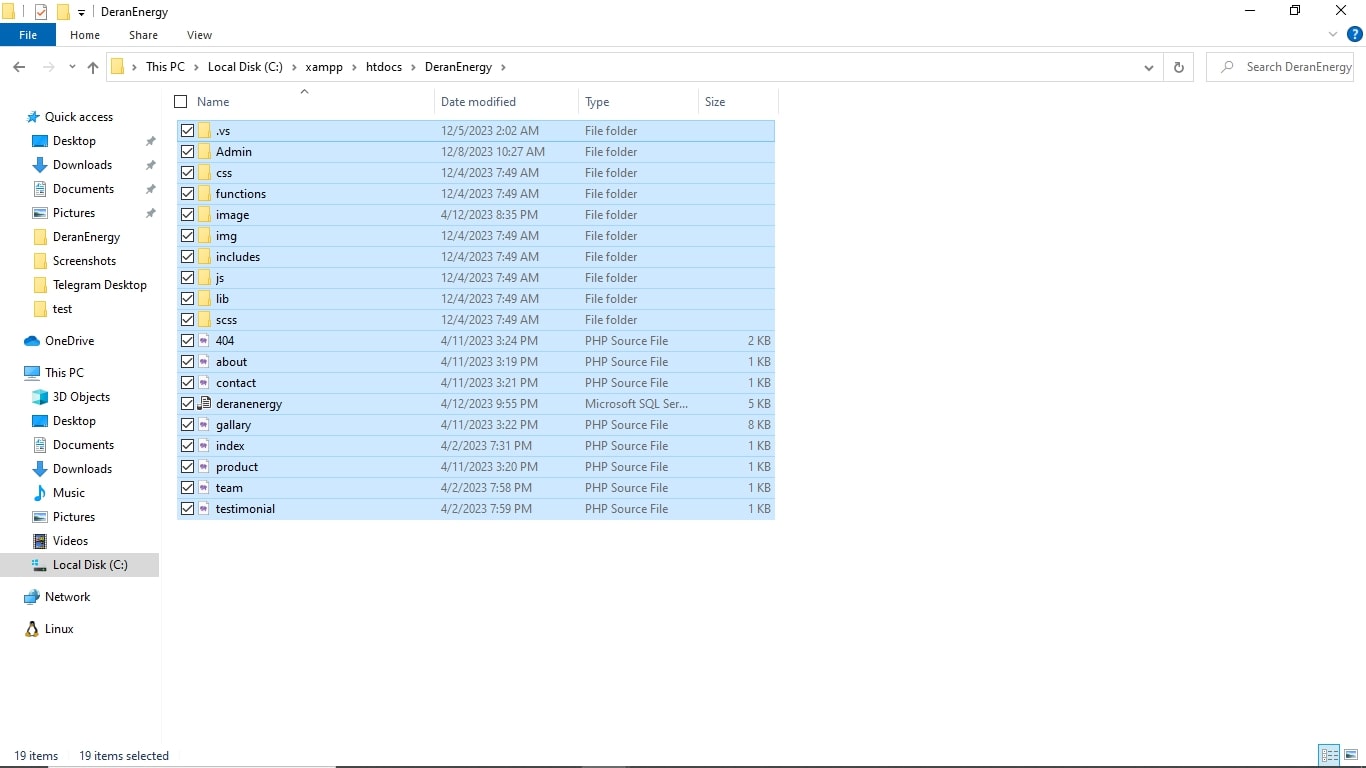
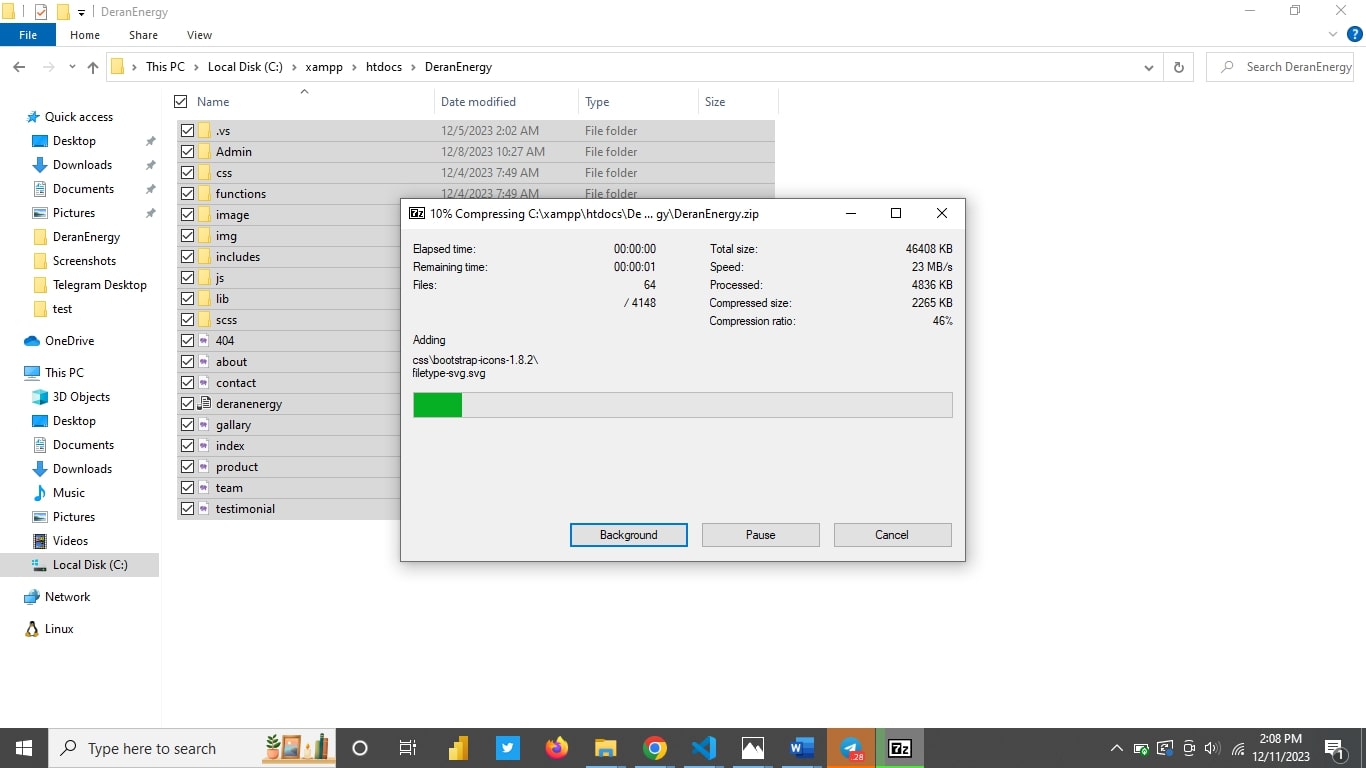
After compressing the file to a zip file you upload it to the cpanel hosting server
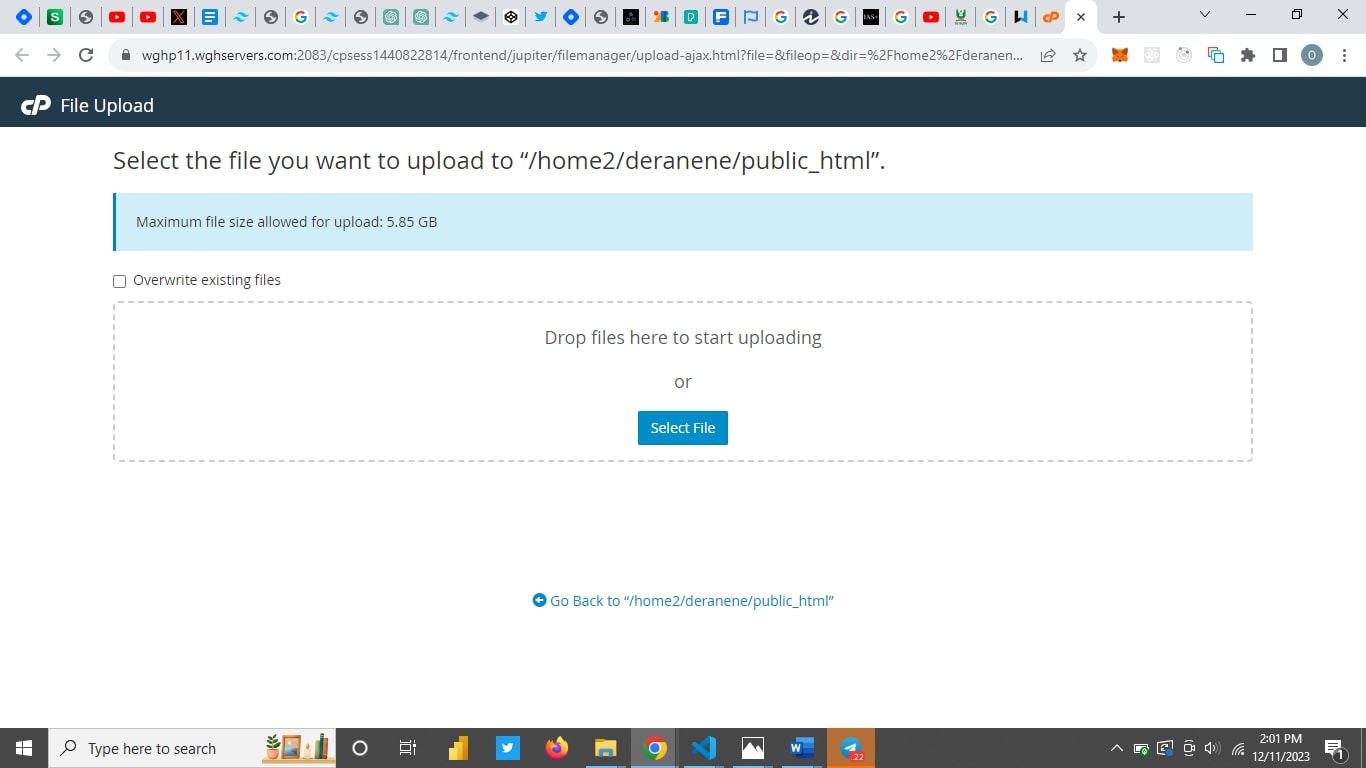
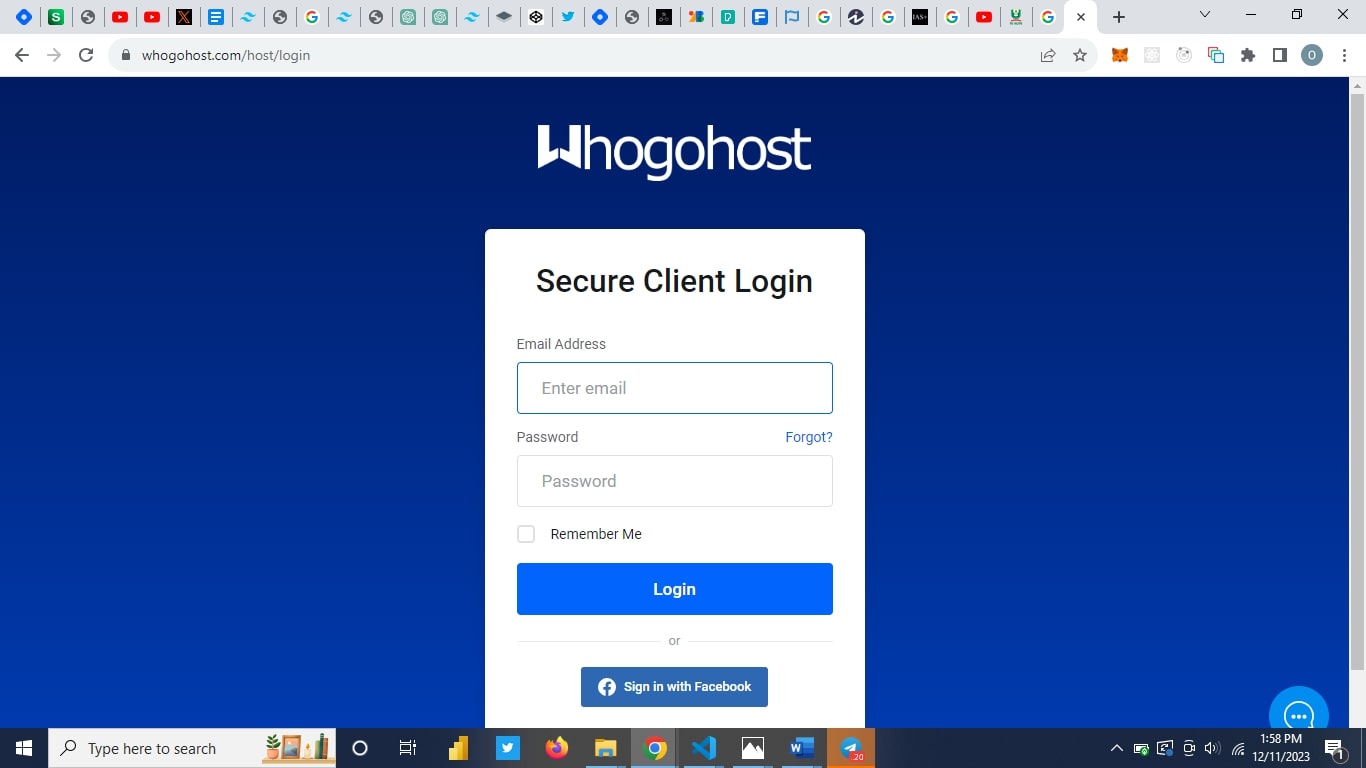
To login into the cpanel is easy, go to the login in page and enter your login details
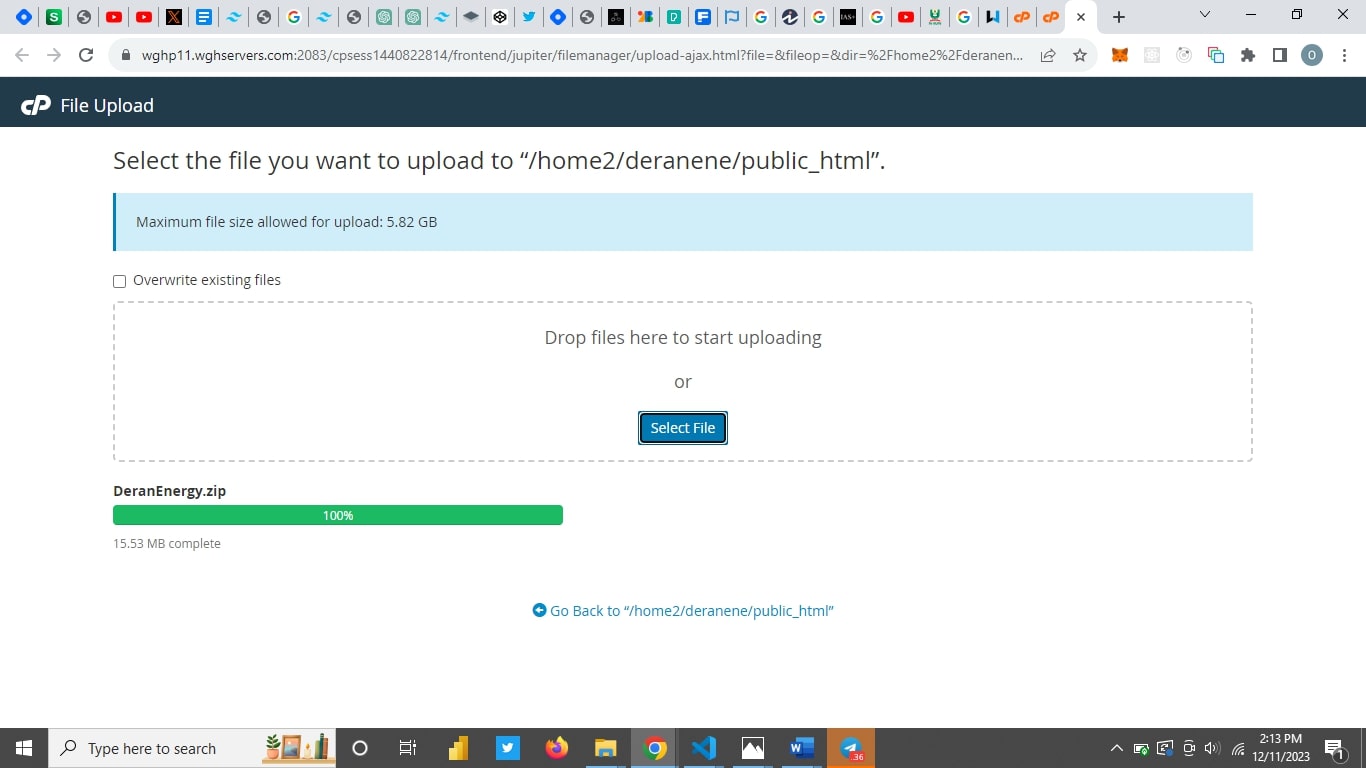
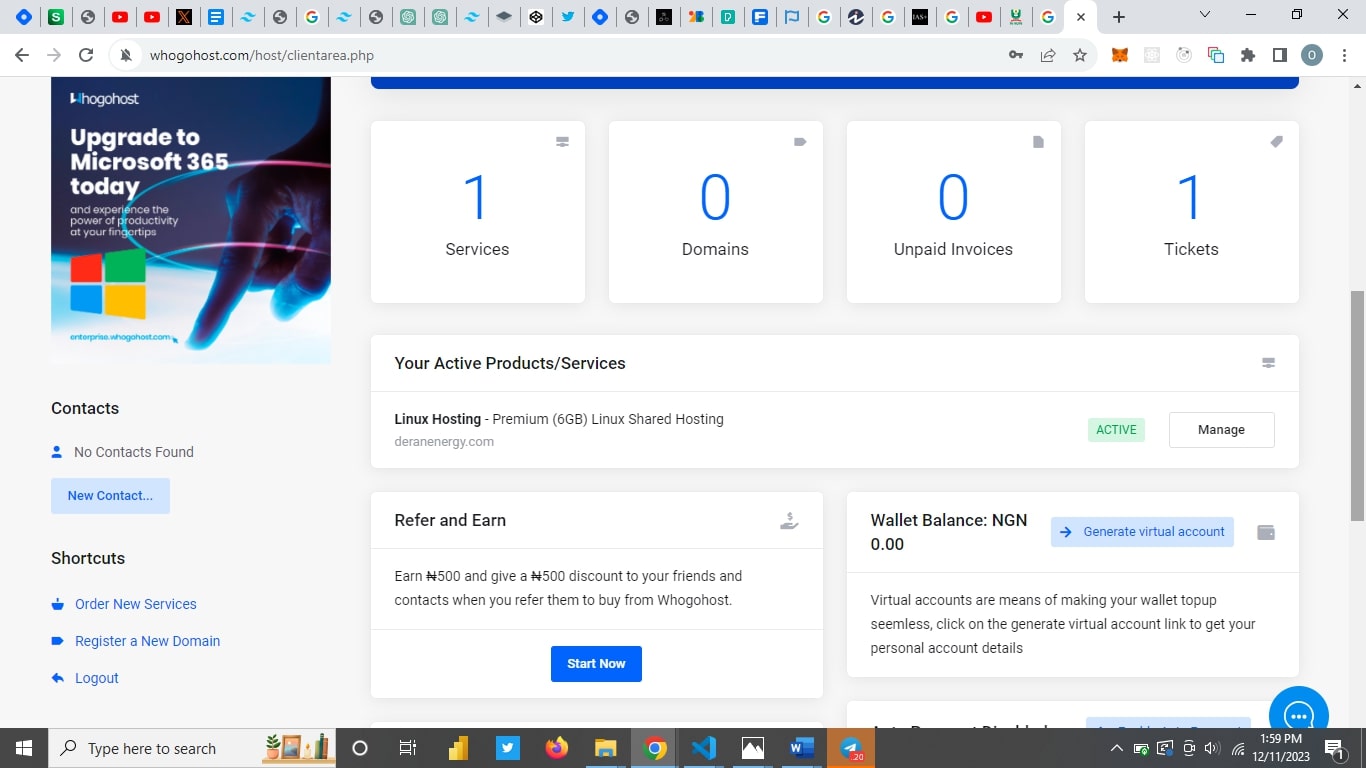
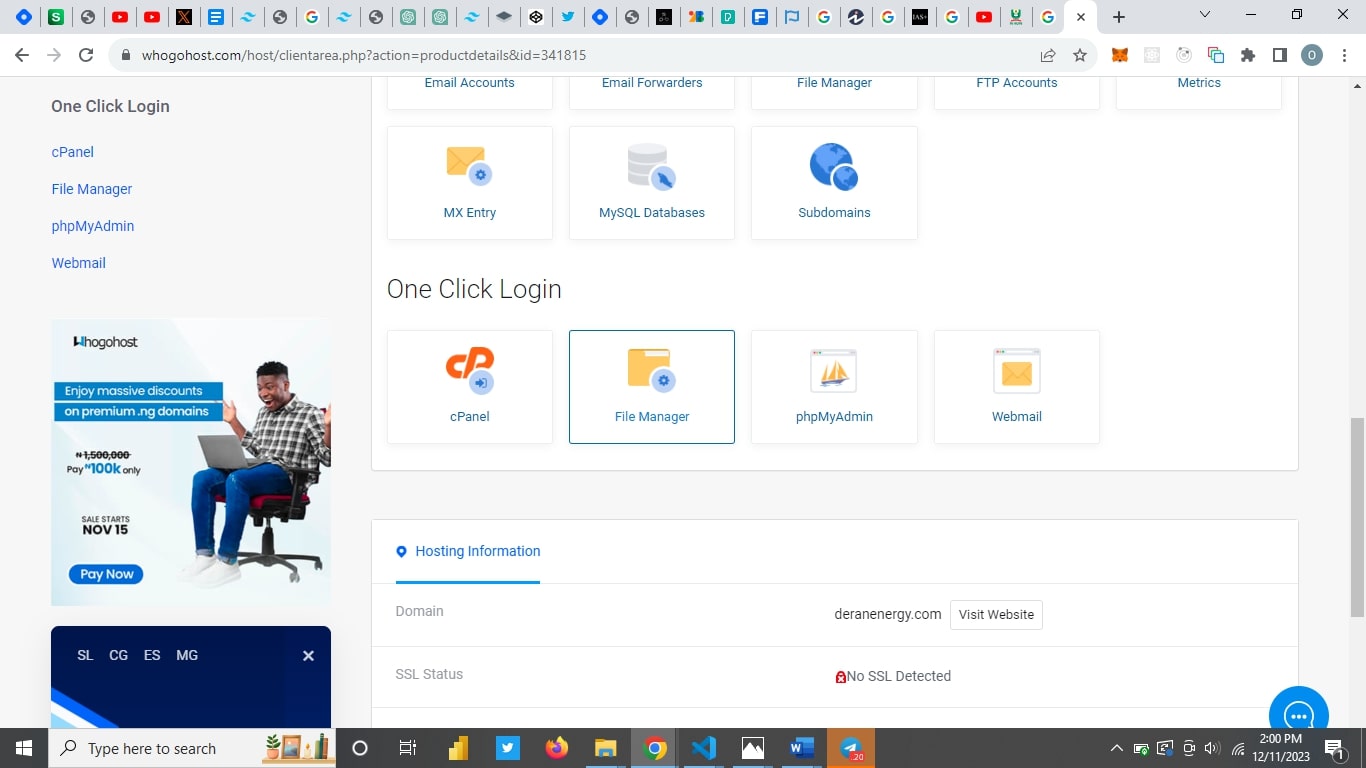
After logging in, navigate to the file manager, and open the public_html, then you upload
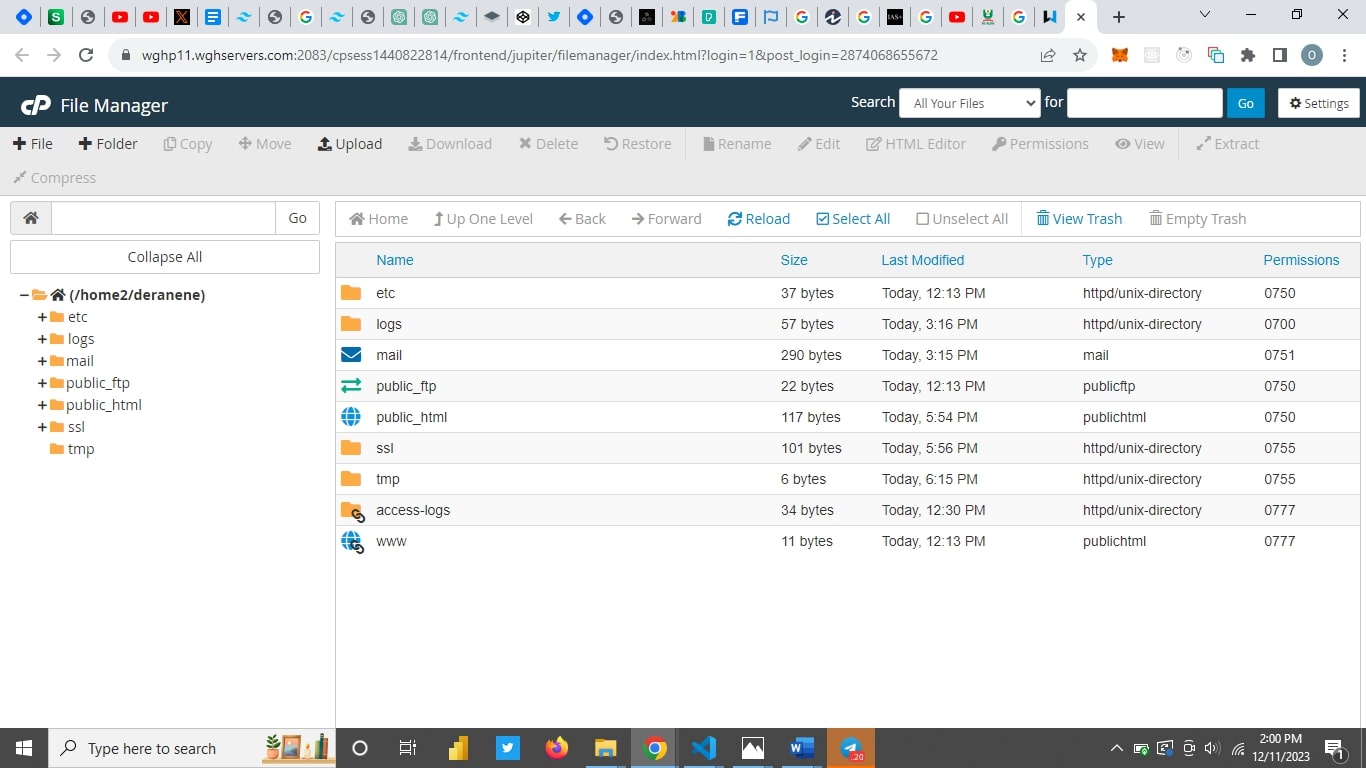
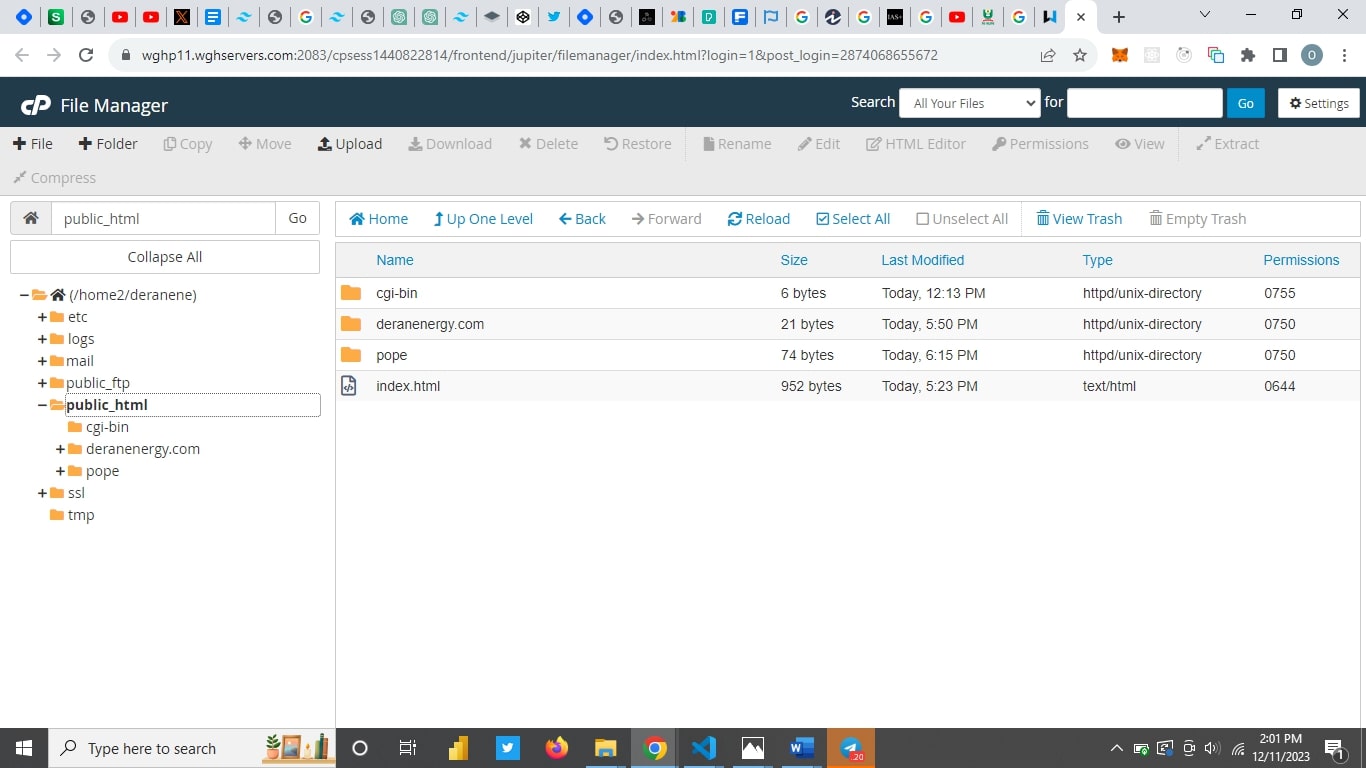
After uploading the file, you return back to the file manager of the shared hosting platform you are using so you can unzip it.
You should make sure the file is compressed in .zip format if not, you could get an error similar to what is below.
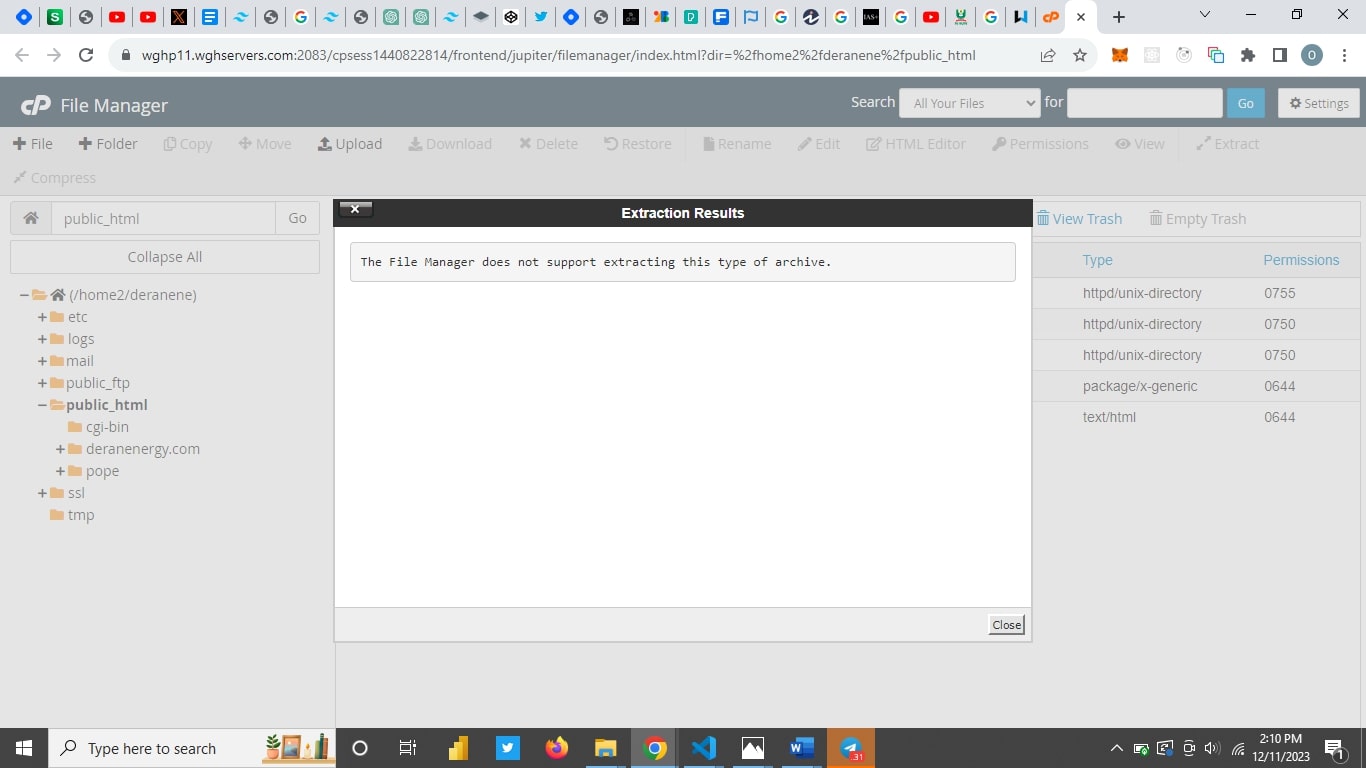
The error above is caused by uploading an unsupported type of compressed file (in this case, the file was a .rar file)
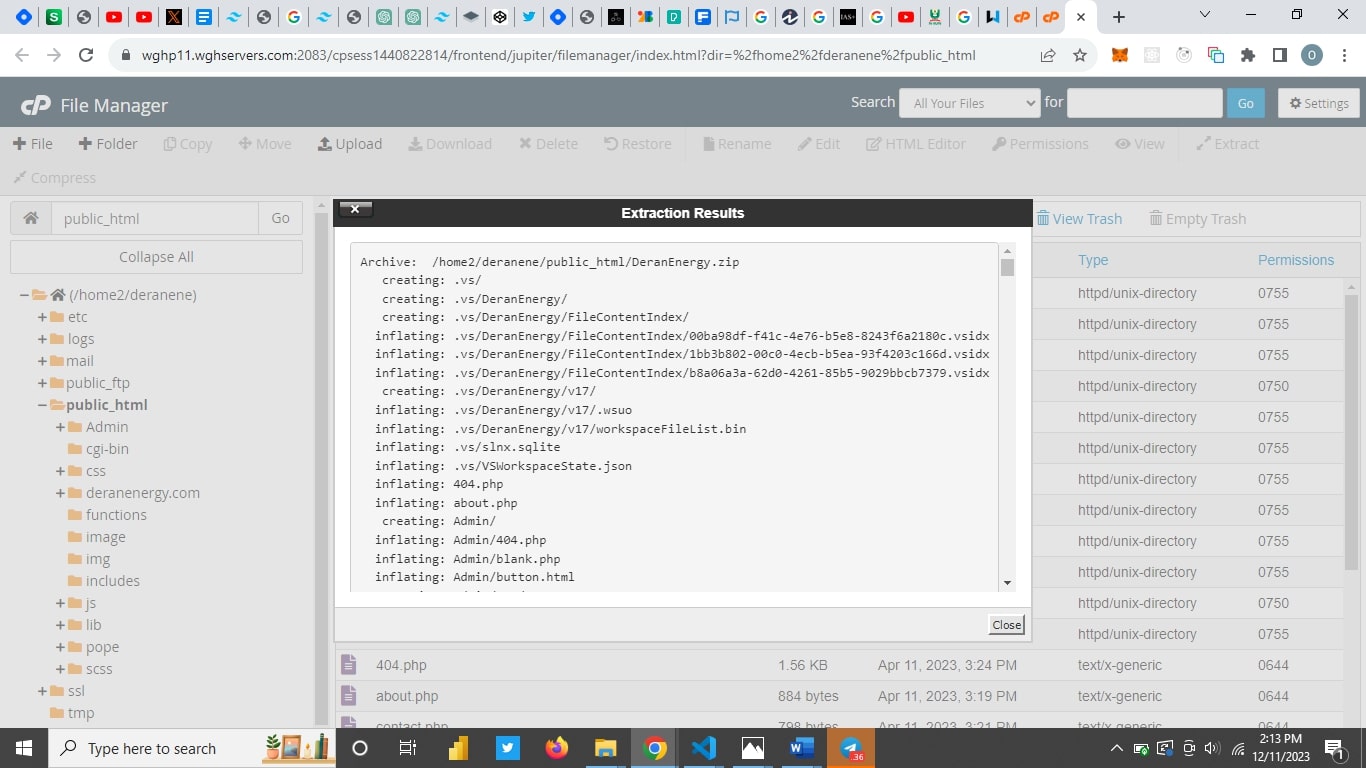
The next thing to do is to uncompress the zip file, which would give the result found in the image below.
Open your website link, to check for any errors
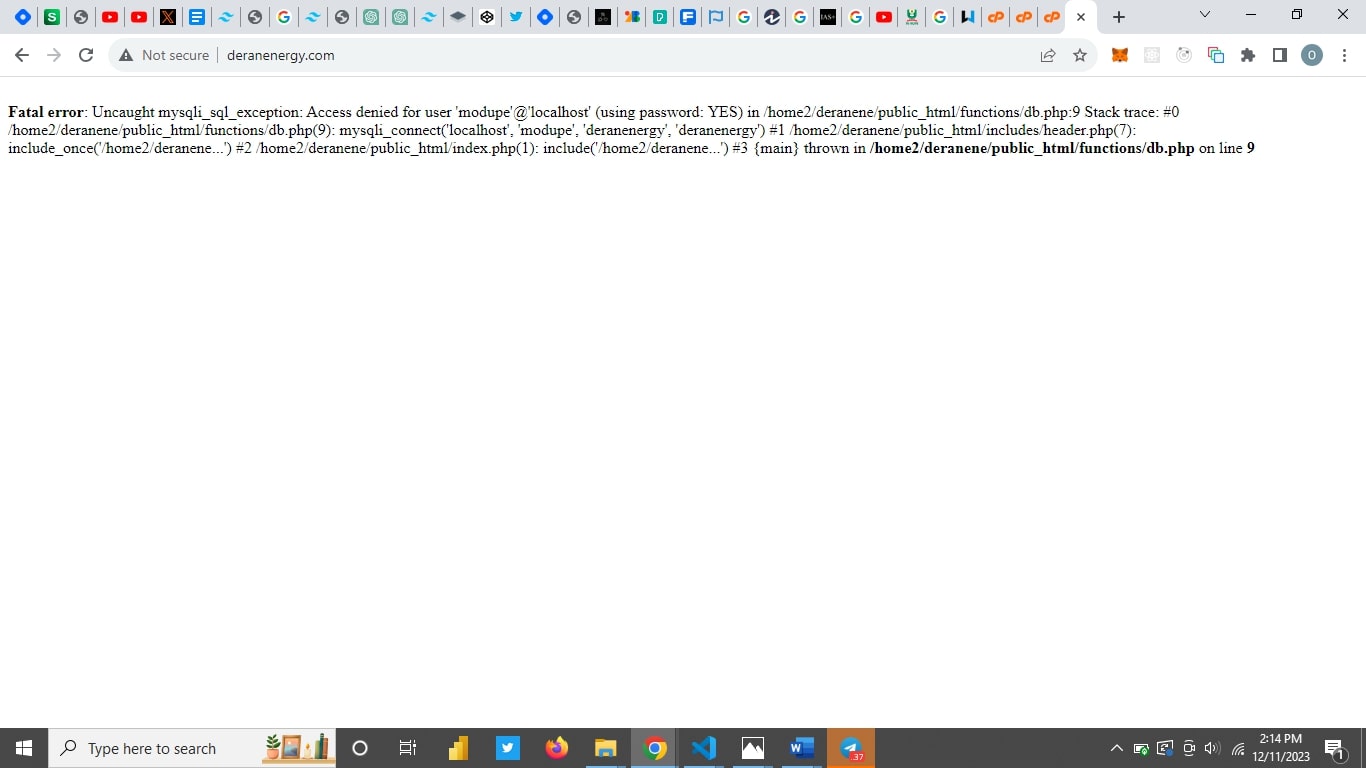
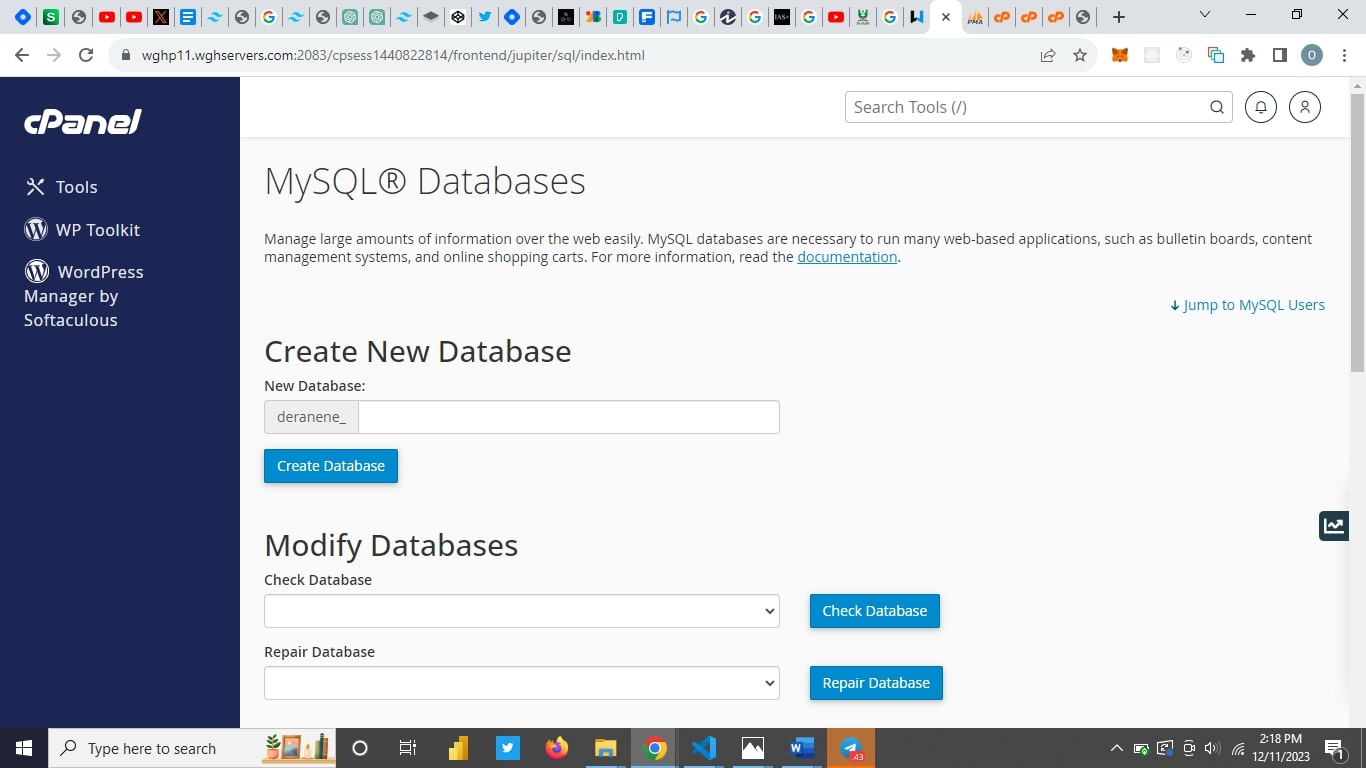
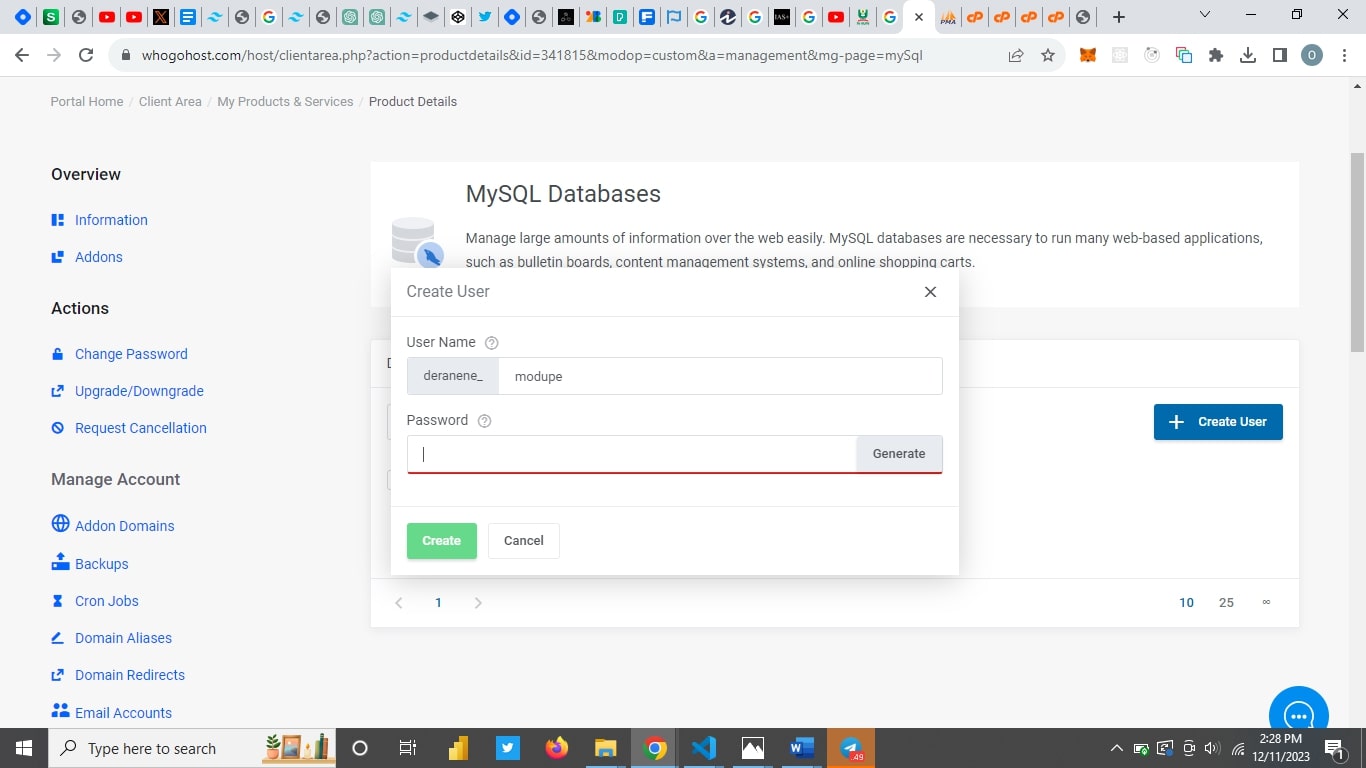
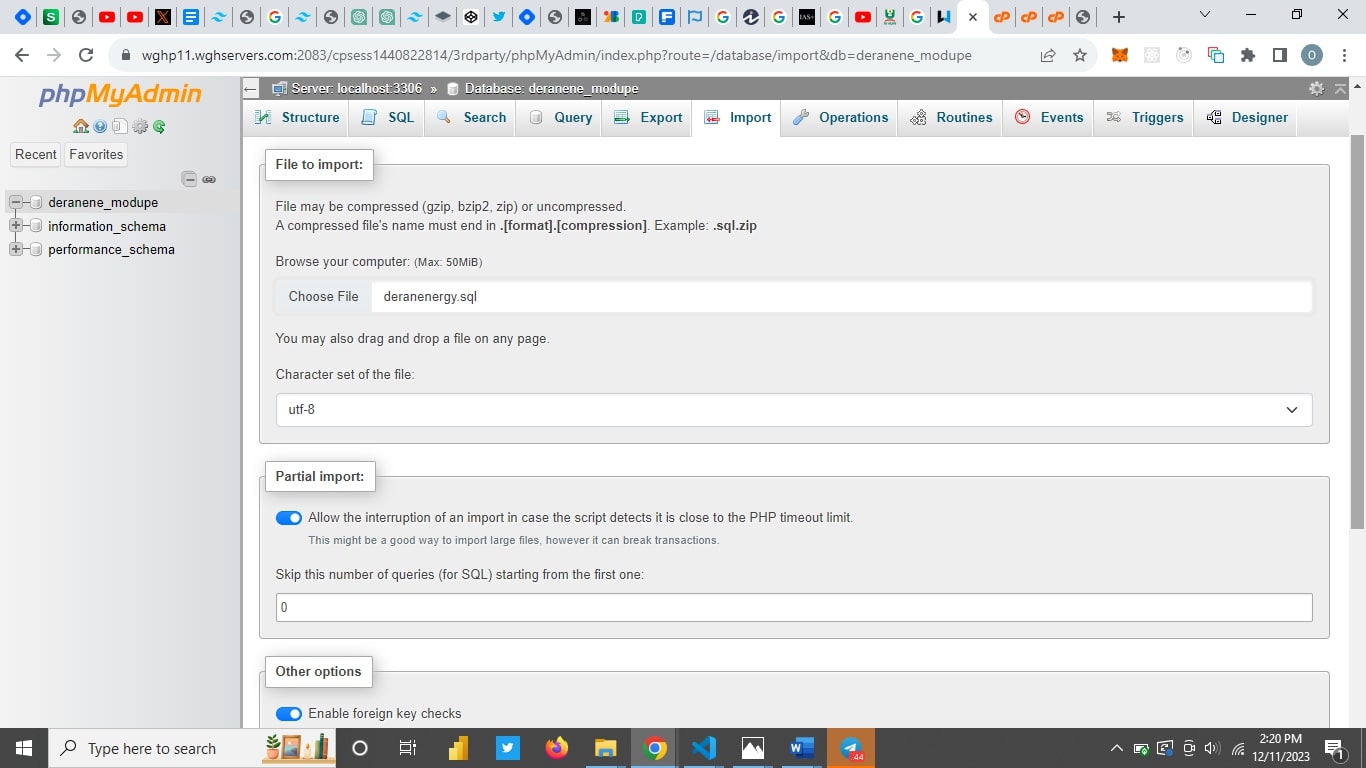
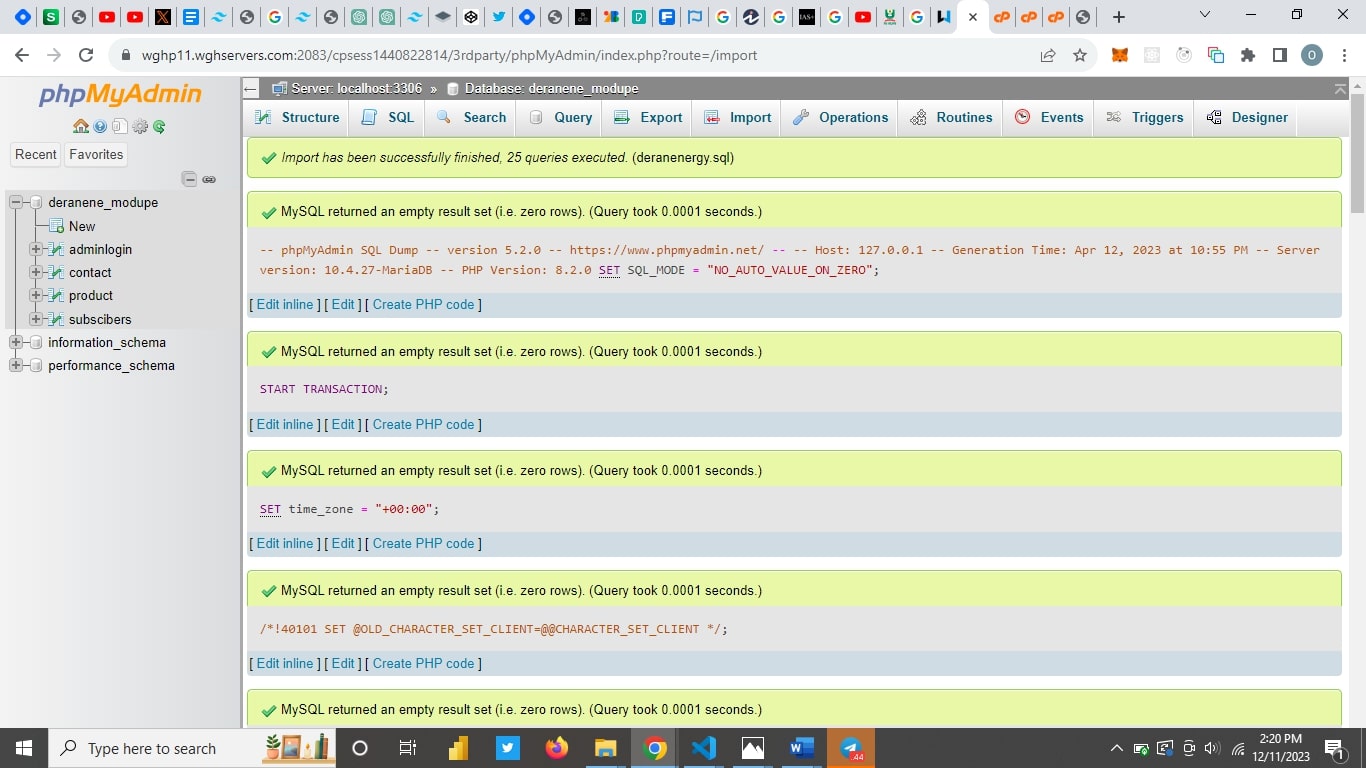
Debug any error you find. For example to debug this error, I will create a database name and a database user on my cpanel, upload my database to the database I created via PHPmyAdmin, then I will link my user to my database. I will then update the changes to my database.php settings file.
Images below illustrate in a better way how to smoothly do the process.create
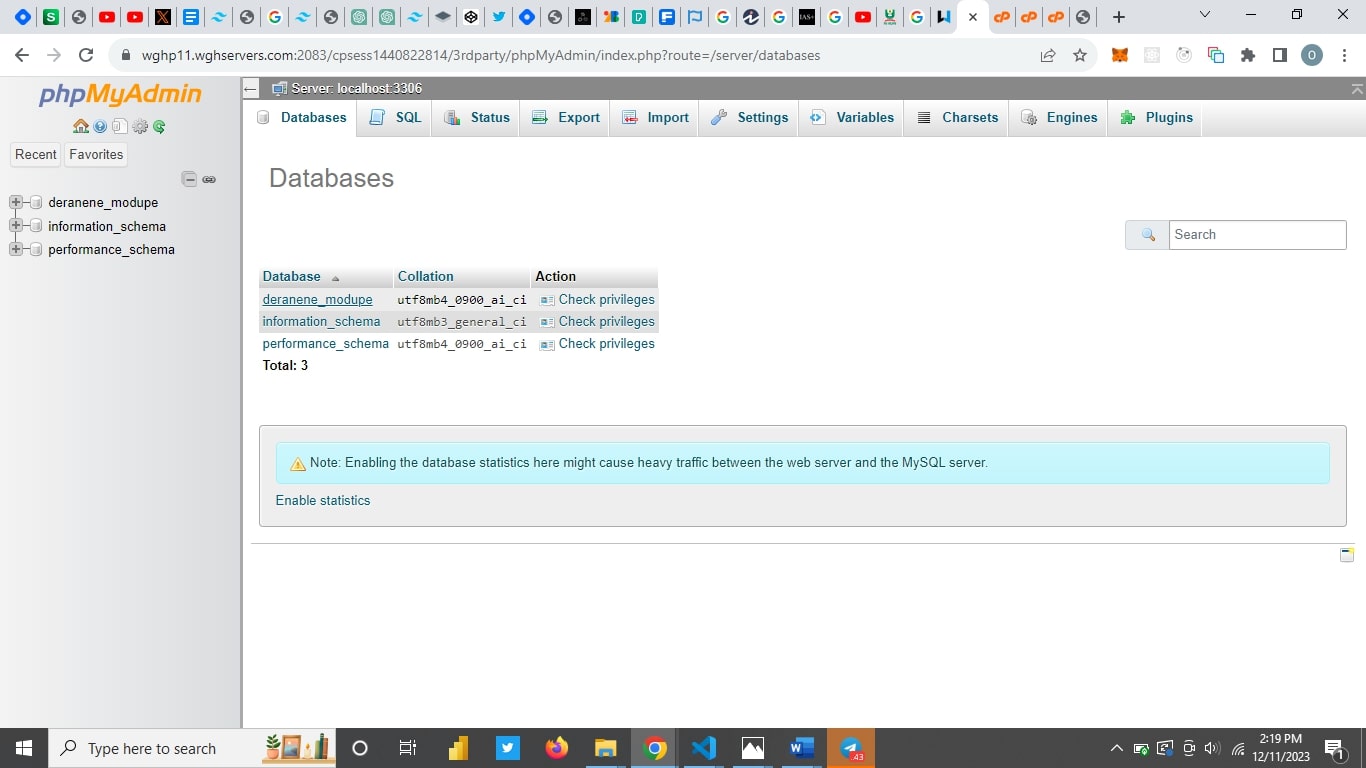
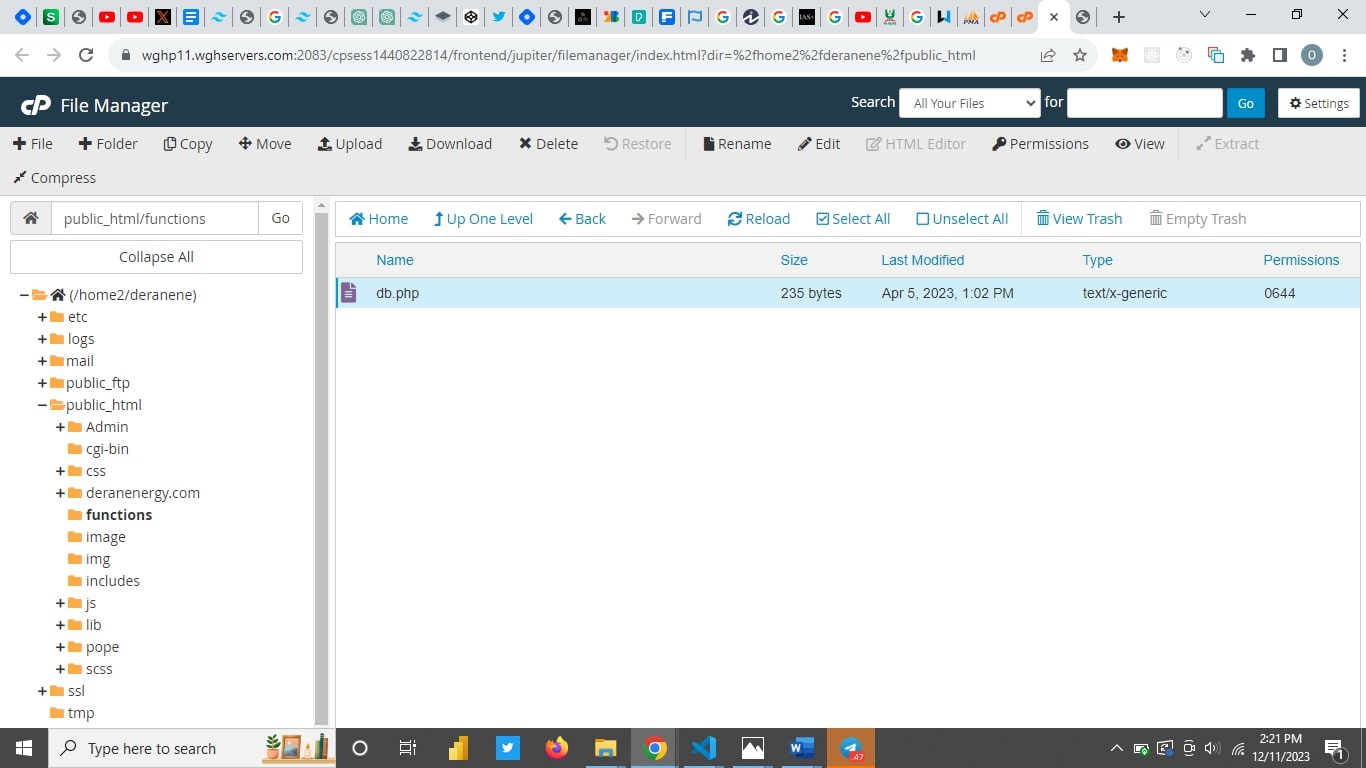
After editing the database configuration file which usually looks like this
<?php
$servername = "your_servername";
$username = "your_username";
$password = "your_password";
$dbname = "your_database";
// Create connection
$conn = new mysqli($servername, $username, $password, $dbname);
// Check connection
if ($conn->connect_error) {
die("Connection failed: " . $conn->connect_error);
}
echo "Connected successfully";
// Close connection
$conn->close();
?>
Or Like this
<?php
$servername = "your_server_name";
$username = "your_username";
$password = "your_password";
$database = "your_database_name";
// Create connection
$conn = mysql_connect($servername, $username, $password);
// Check connection
if (!$conn) {
die("Connection failed: " . mysql_error());
}
// Select the database
mysql_select_db($database, $conn);
// Now you can perform database operations using this connection
// Close connection
mysql_close($conn);
?>
After that your website should be fully ready
Subscribe to my newsletter
Read articles from Modupe Ladele directly inside your inbox. Subscribe to the newsletter, and don't miss out.
Written by

Modupe Ladele
Modupe Ladele
Dev + Writer = Devwriter
