Streamlining Static Website Deployment with GitHub Actions and S3
 Prachi Jukaria
In this exciting project, we'll be showcasing the seamless hosting of a static website on AWS S3, utilizing the robust capabilities of GitHub Actions as our CI/CD tool. GitHub Actions serves as a comprehensive continuous integration and continuous delivery (CI/CD) platform, empowering you to automate the entire build, test, and deployment pipeline. Through the creation of workflows, we'll demonstrate how to automate processes such as building and testing each pull request and deploying merged pull requests to production.
Tasks:
Creating a S3 Bucket
Creating an IAM role
Writing the GitHub action workflow
Step 1: Creating a S3 bucket
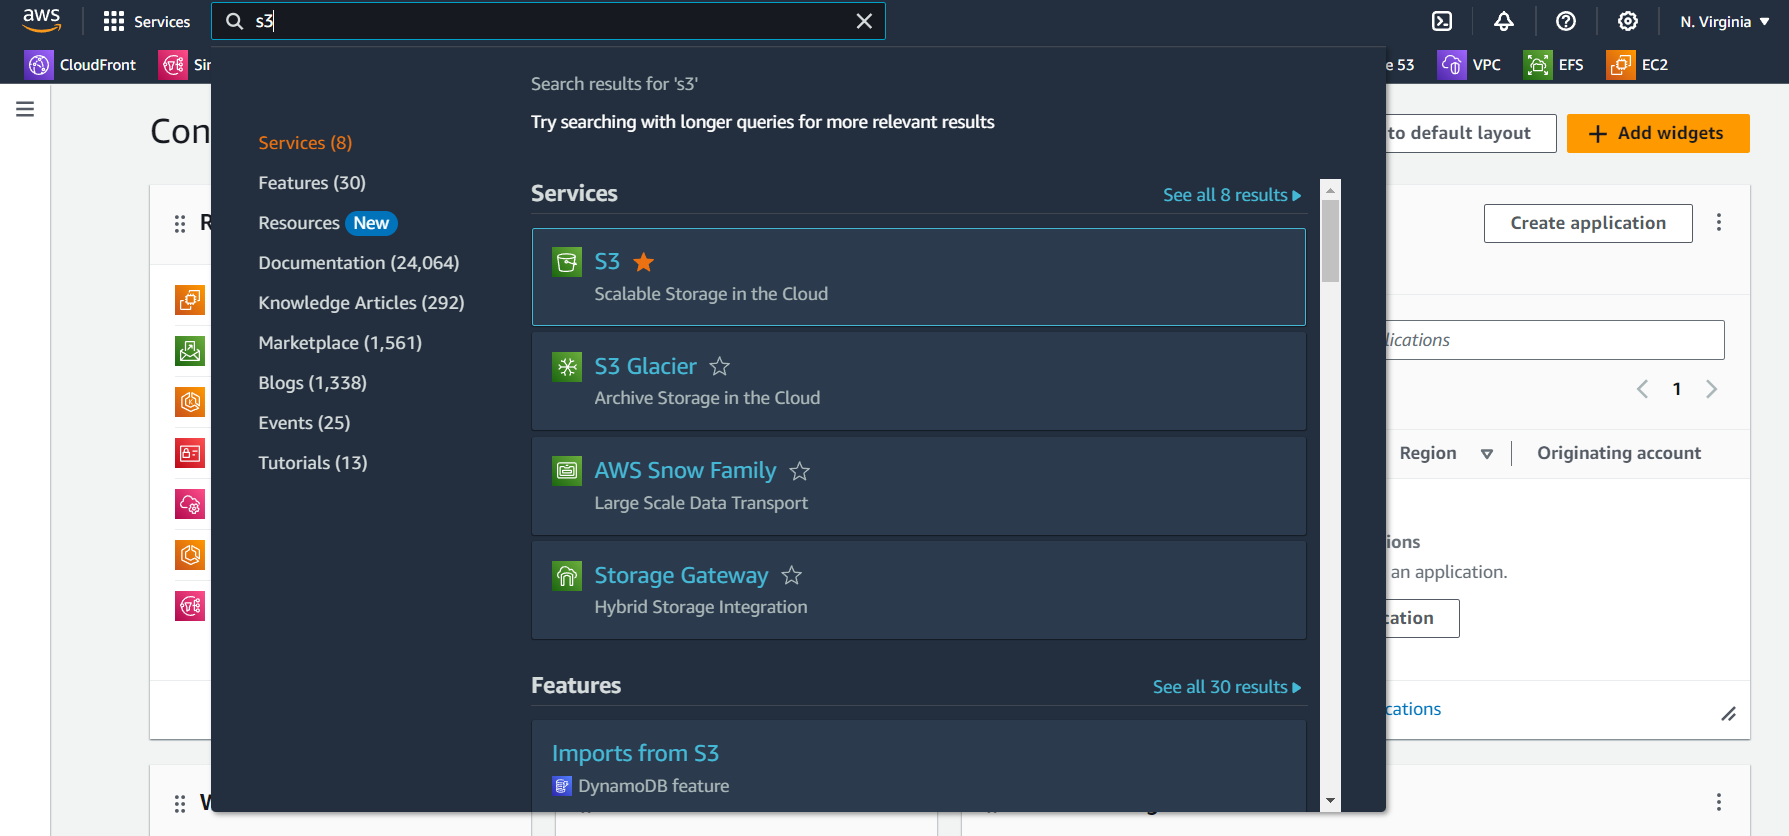
Open the AWS console page and search for the S3 service
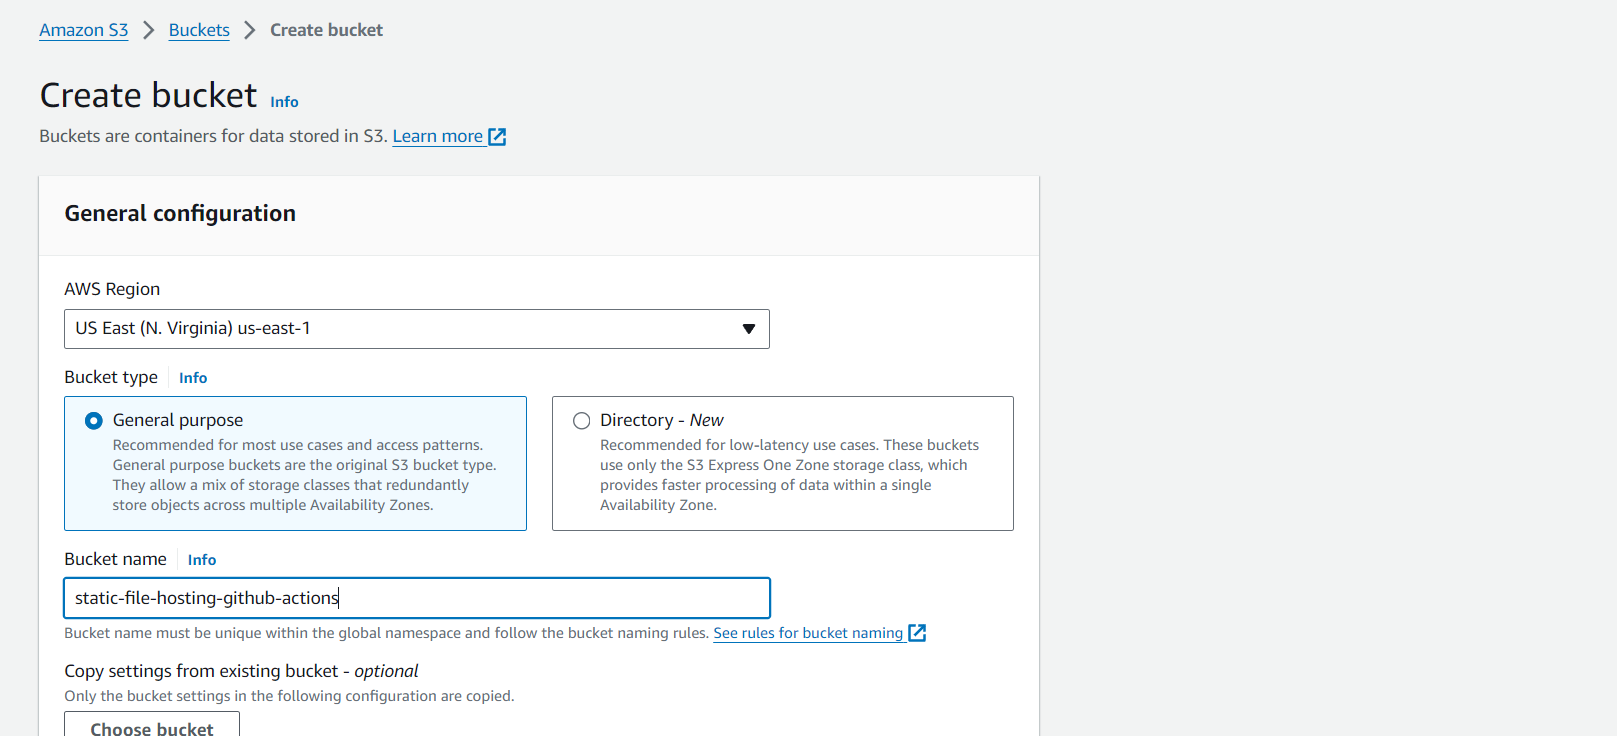
Click on Create Bucket to create a new bucket for your static website hosting

Give an appropriate name to your bucket
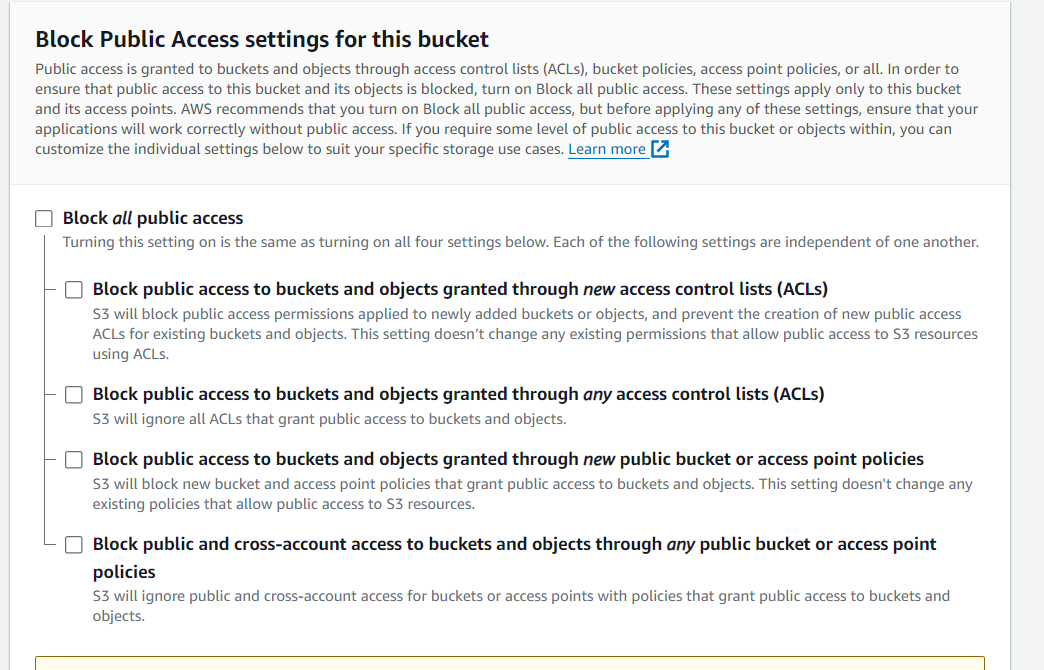
Unblock all public access
Scroll down and click on Create Bucket.
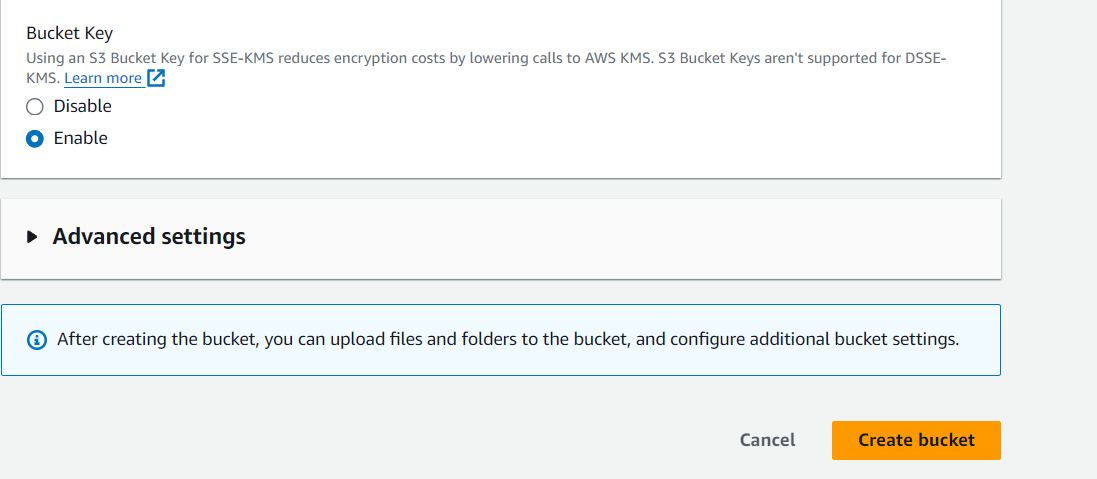
Once the bucket is created you have to modify it for website hosting. for this open your s3 bucket and move to the properties tab.
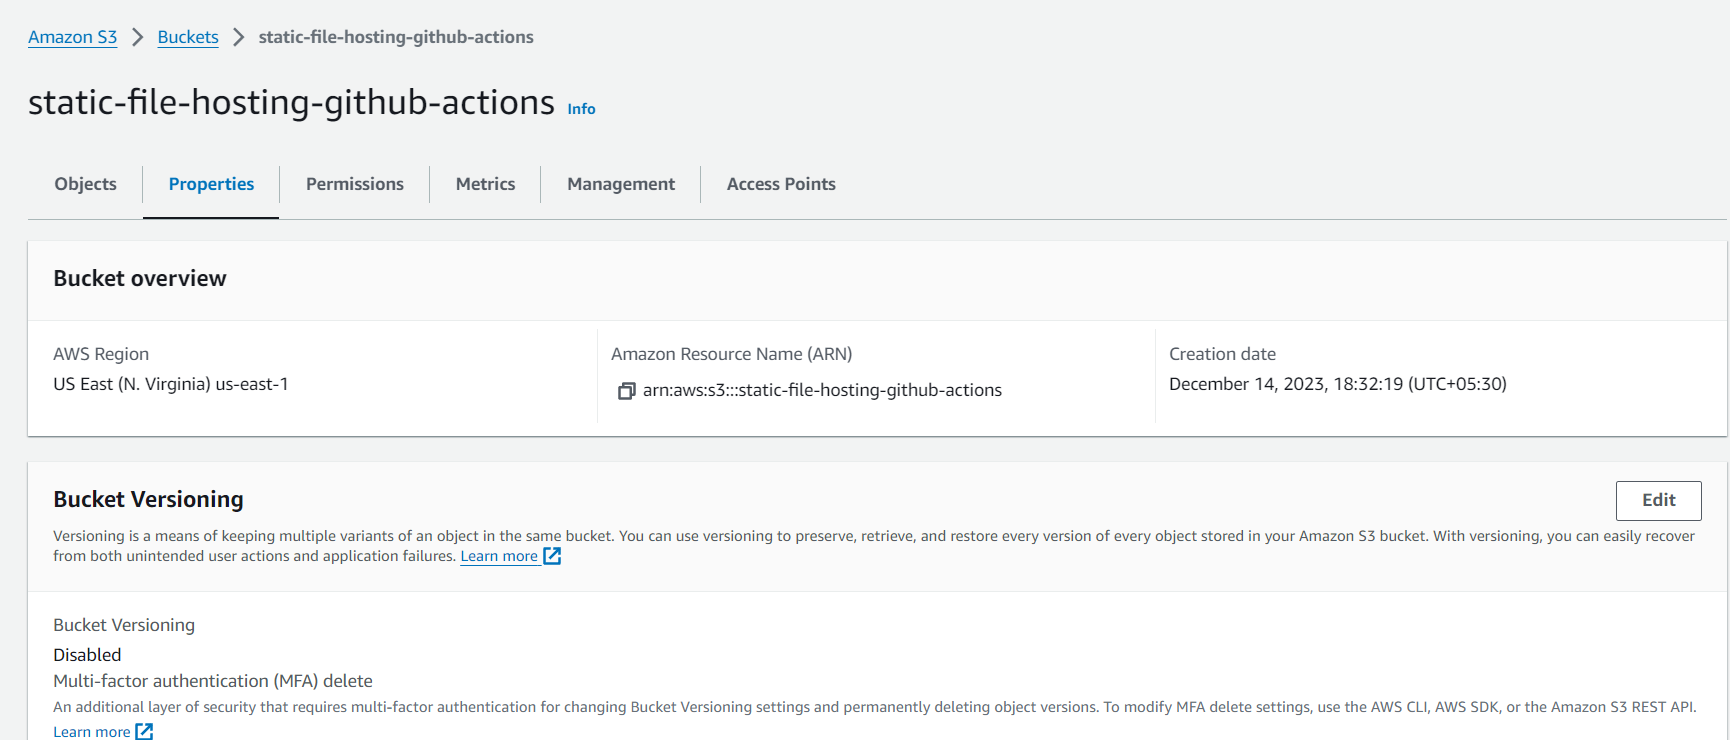
scroll down the Static Website hosting section and click on the edit tab

Click on the enable button and then you have to specify a file as an index document and another file as an error document.
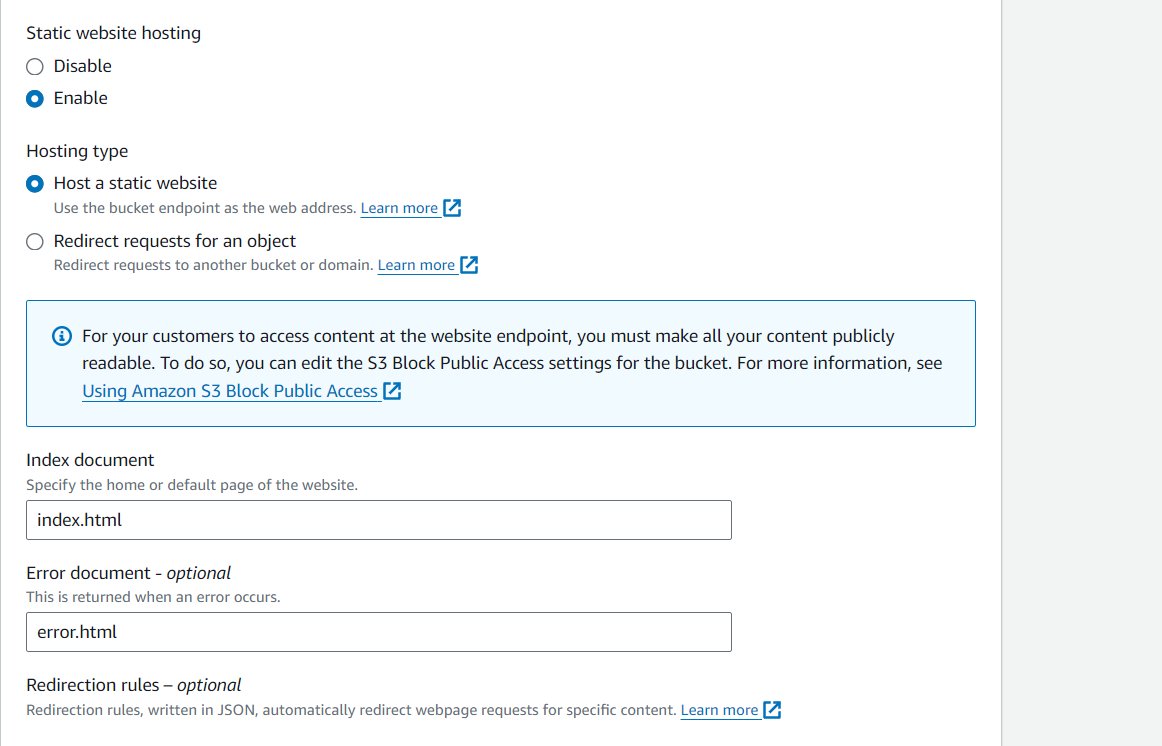
Scroll down and click on Save Changes.
Now move to the permissions tab and click on edit under the bucket policy section.

Now add the policy given below for your bucket and click on save changes.
{
    "Version": "2012-10-17",
    "Id": "Policy1702560685545",
    "Statement": [
        {
            "Sid": "Stmt1702560680458",
            "Effect": "Allow",
            "Principal": "*",
            "Action": "s3:GetObject",
            "Resource": "arn:aws:s3:::static-file-hosting-github-actions/*"
        }
    ]
}
Step 2: Create an IAM role
Search for IAM service in the AWS console.
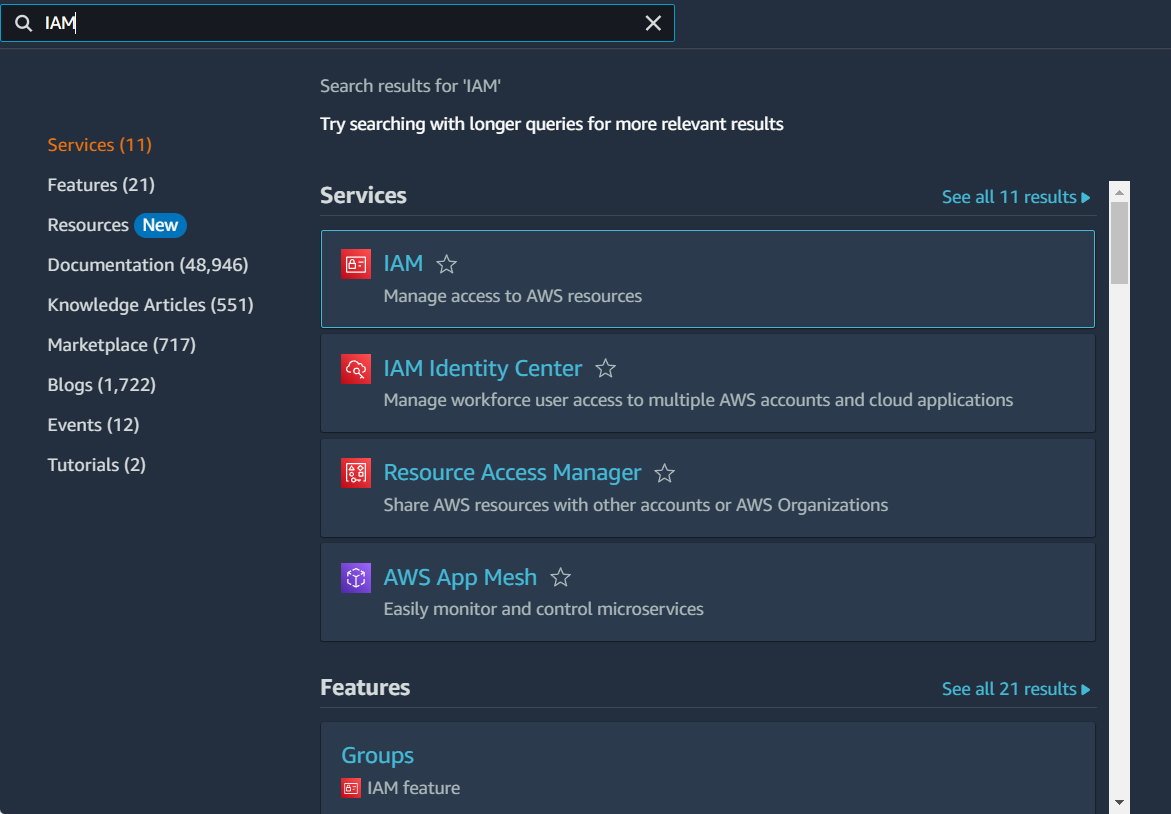
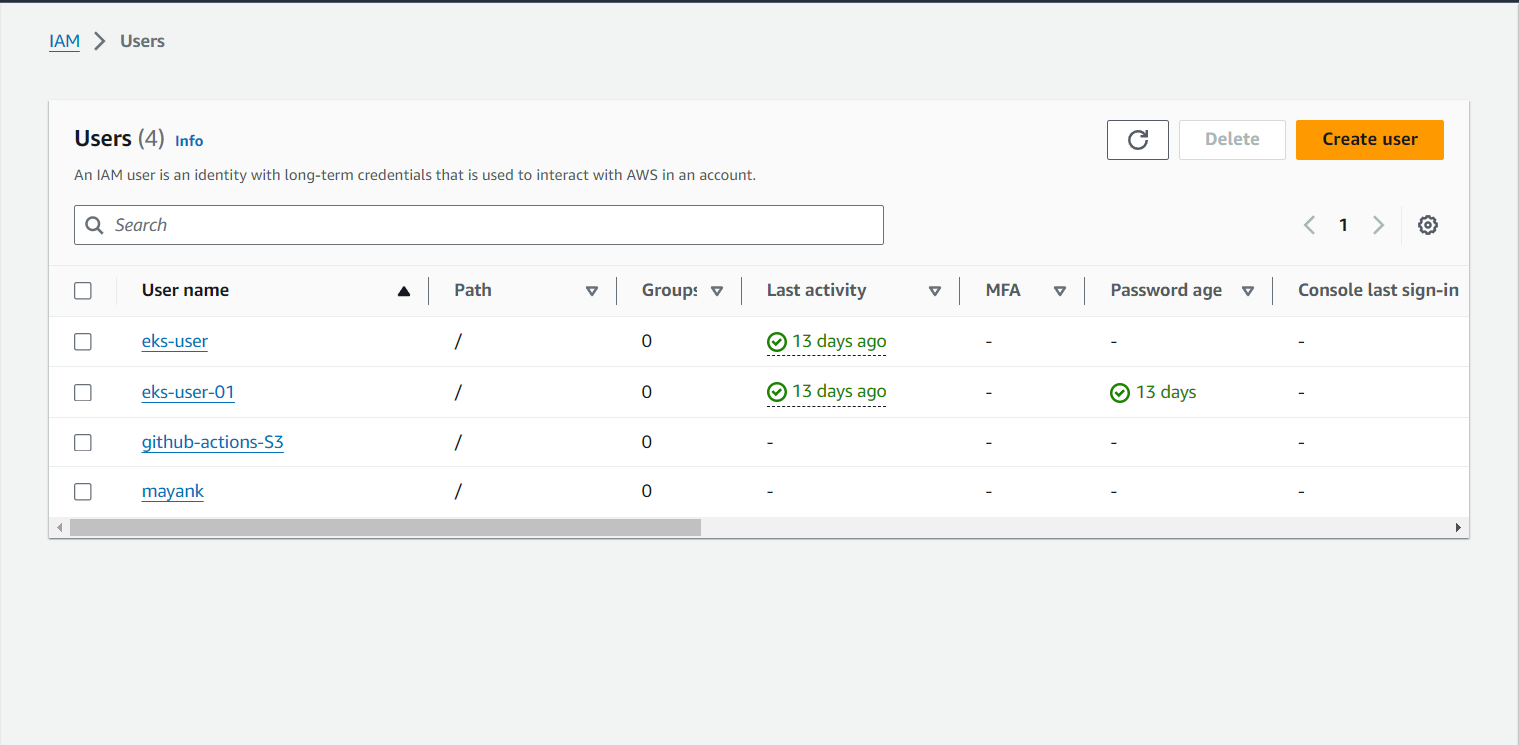
click on users from the left panel of the IAM dashboard.
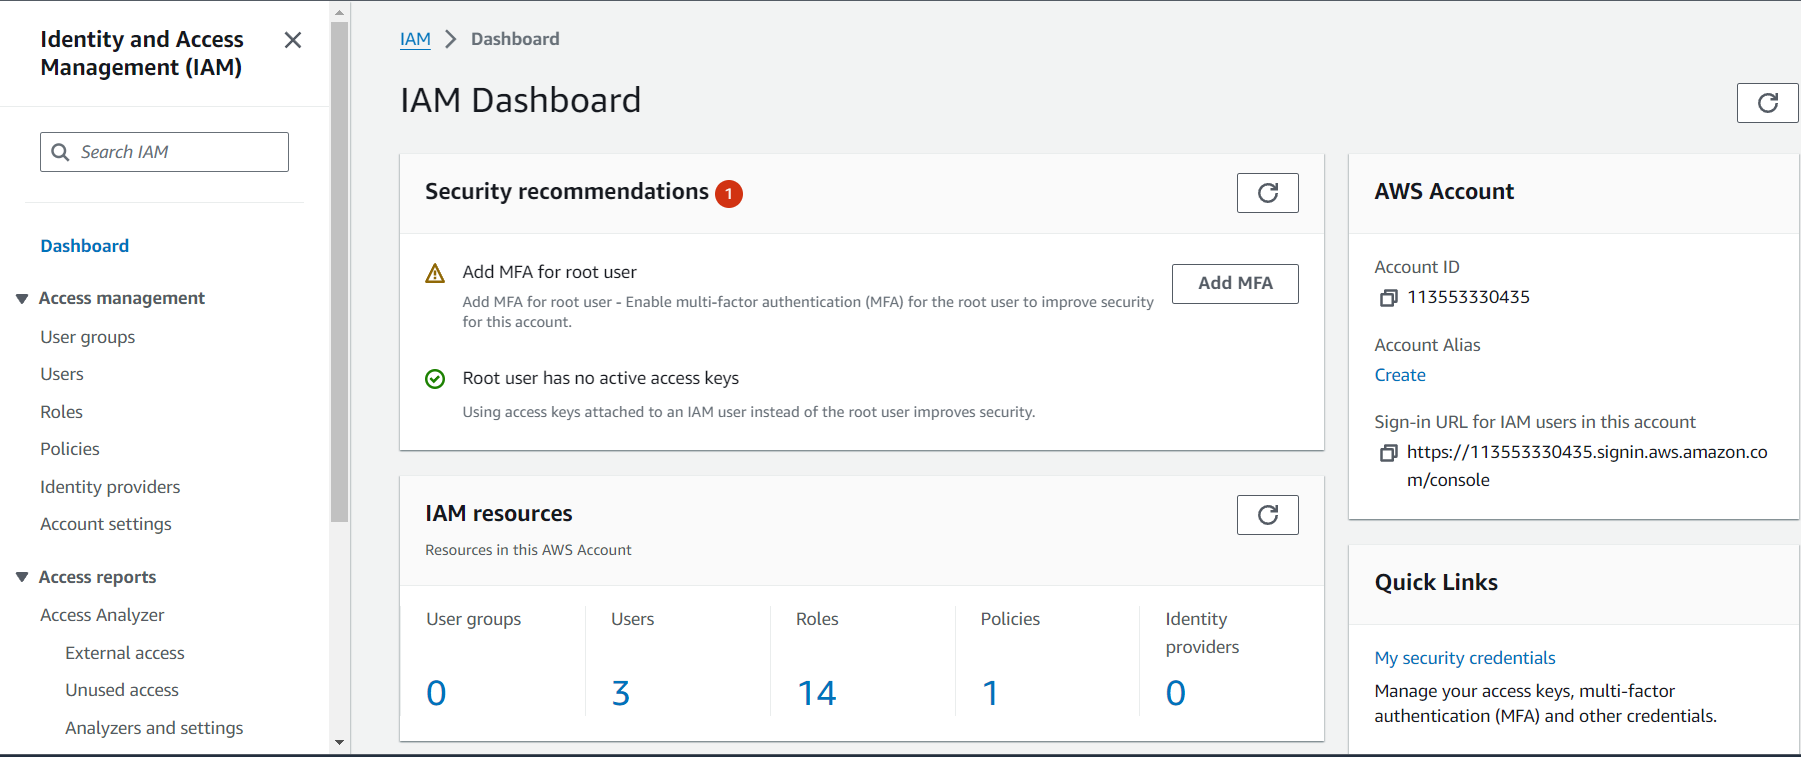
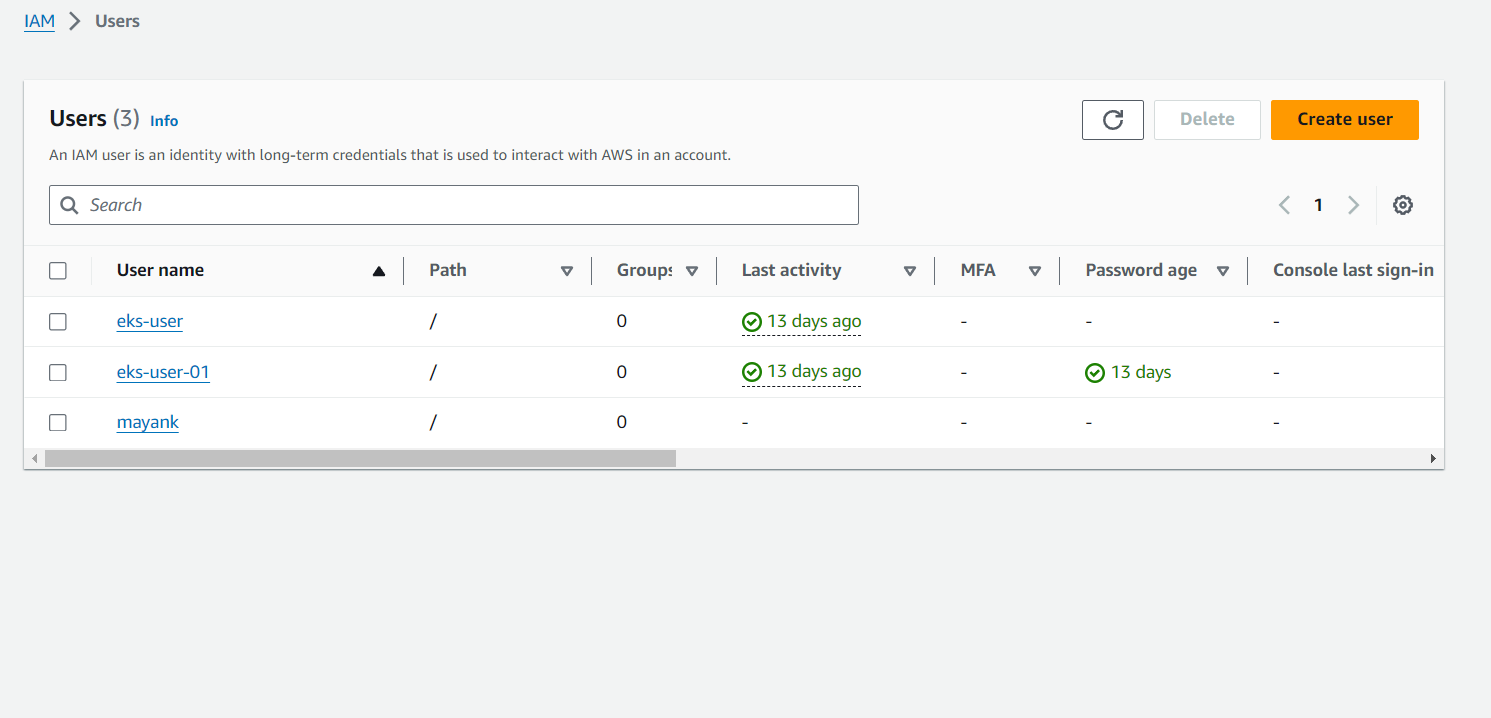
Click on Create User.
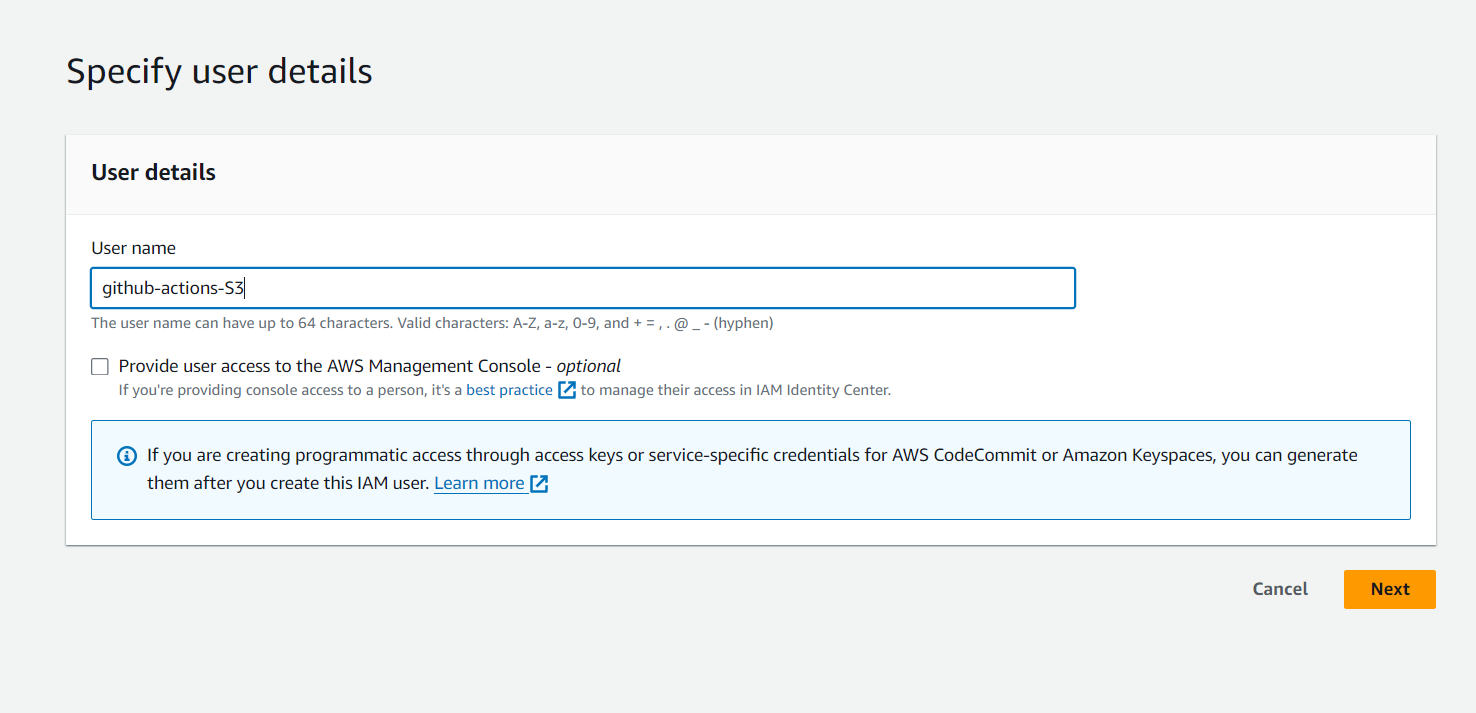
Give a name to the user and click on next.
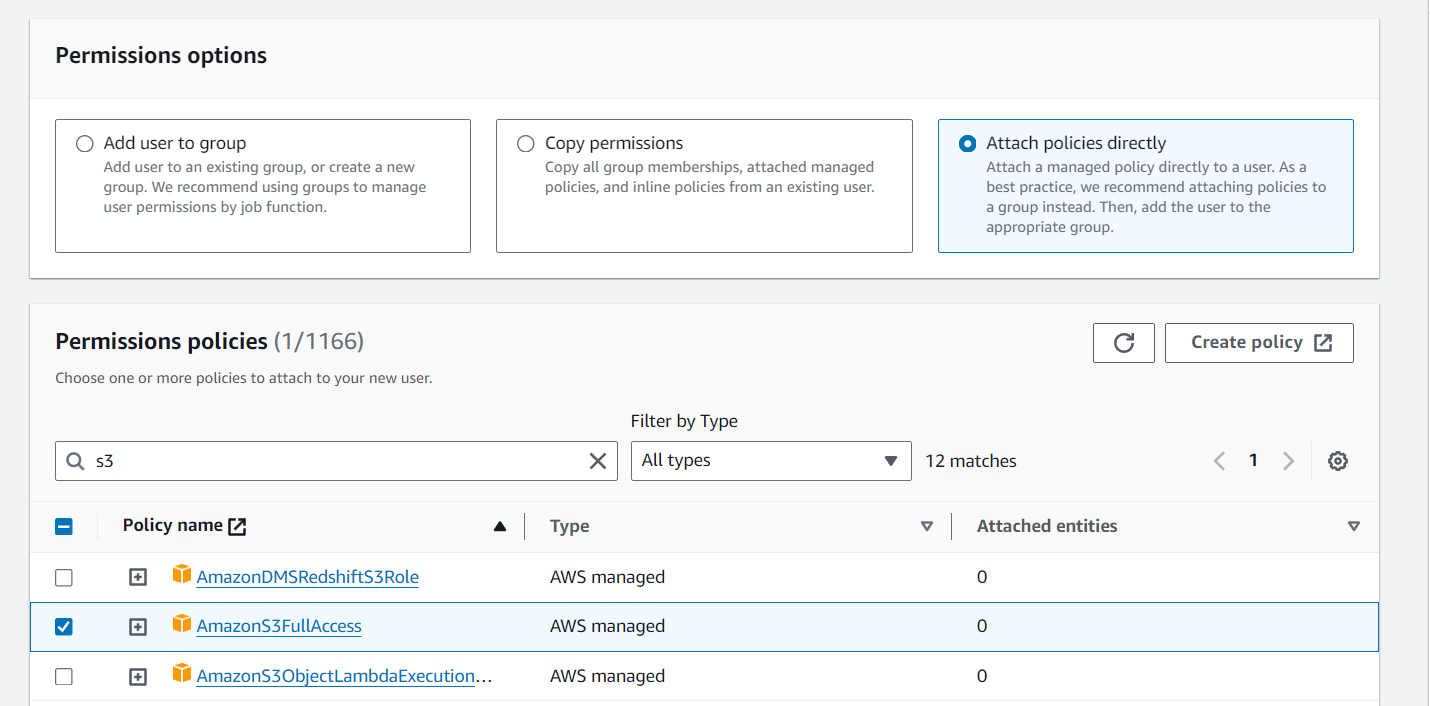
Now attach these policies to your user and click on next.
Now review your user and click on Create User.
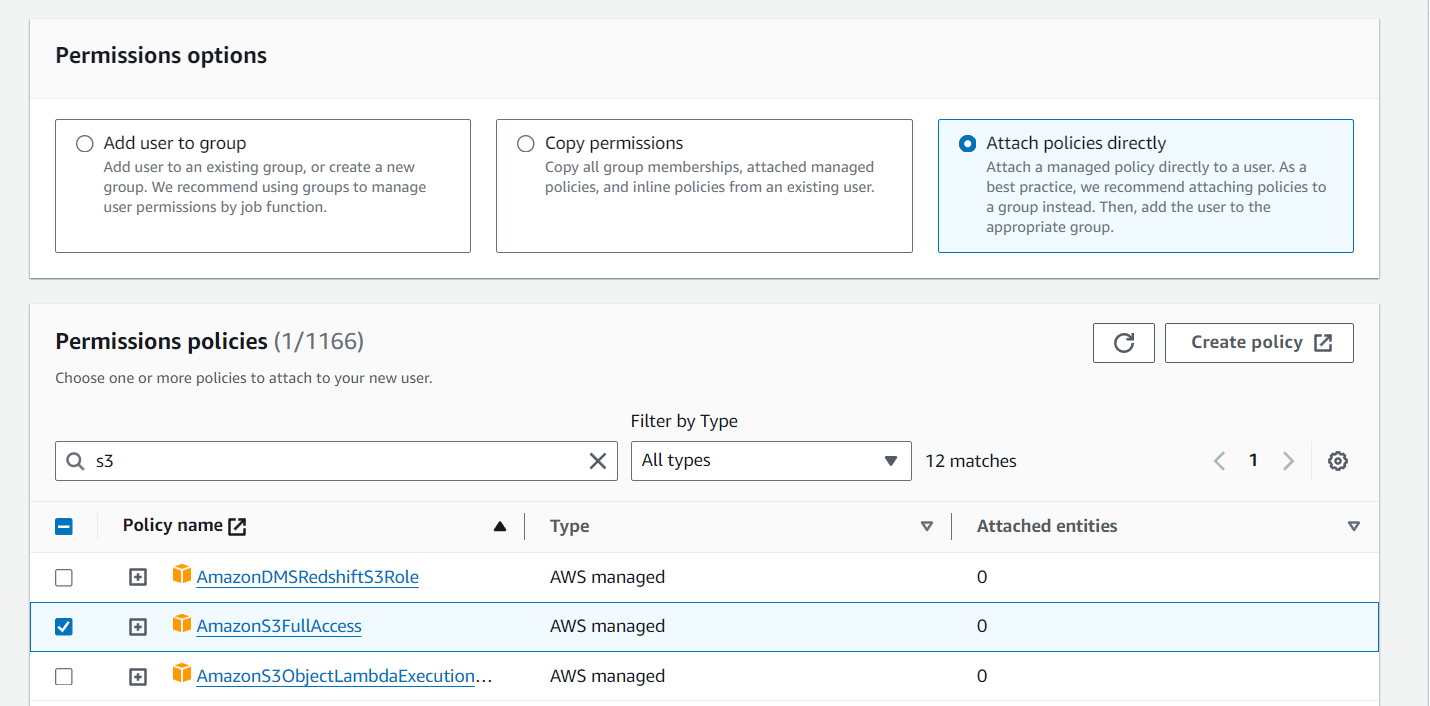
Your user has been created. Now click on the user.
Under the Security Credentials Tab, scroll down to the Access Keys section and then click on Create Access Key.

Select the use case and then click on next then on create access key.
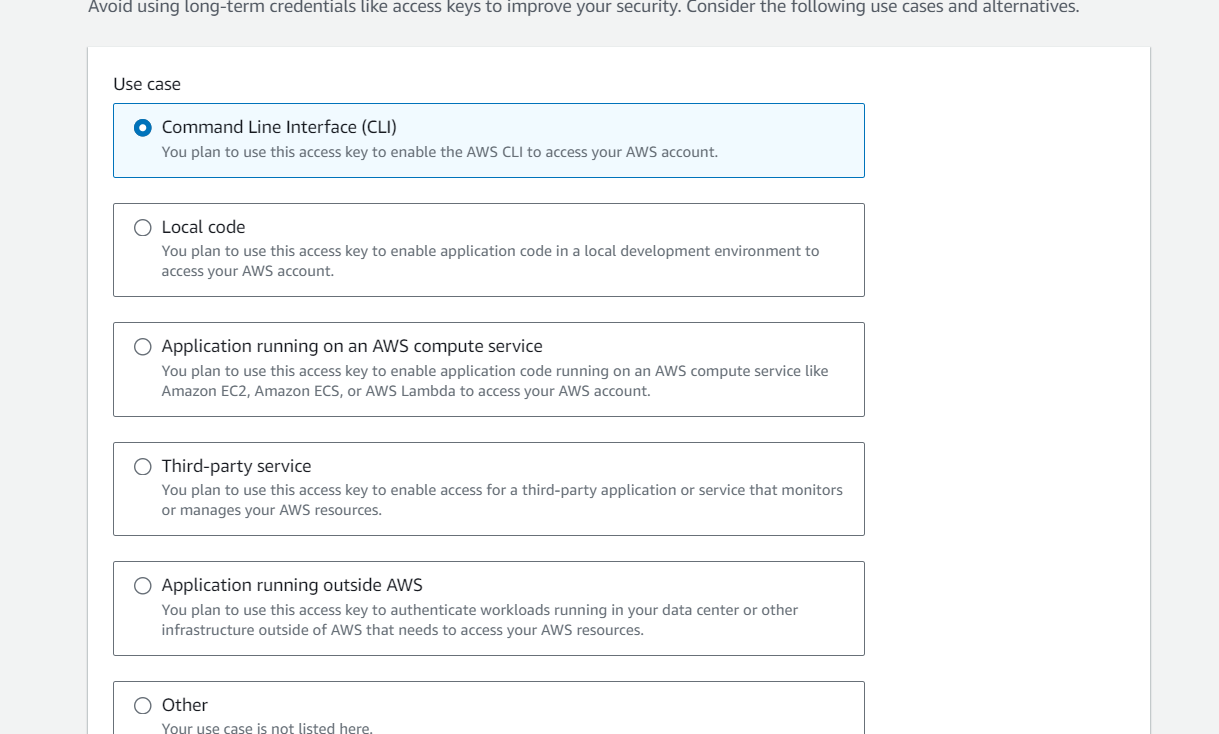
Download the .csv file to store your access key and secret access key.
Step 3: Writing the GitHub action workflow
Open the GitHub repository, where you have the code for your static website.
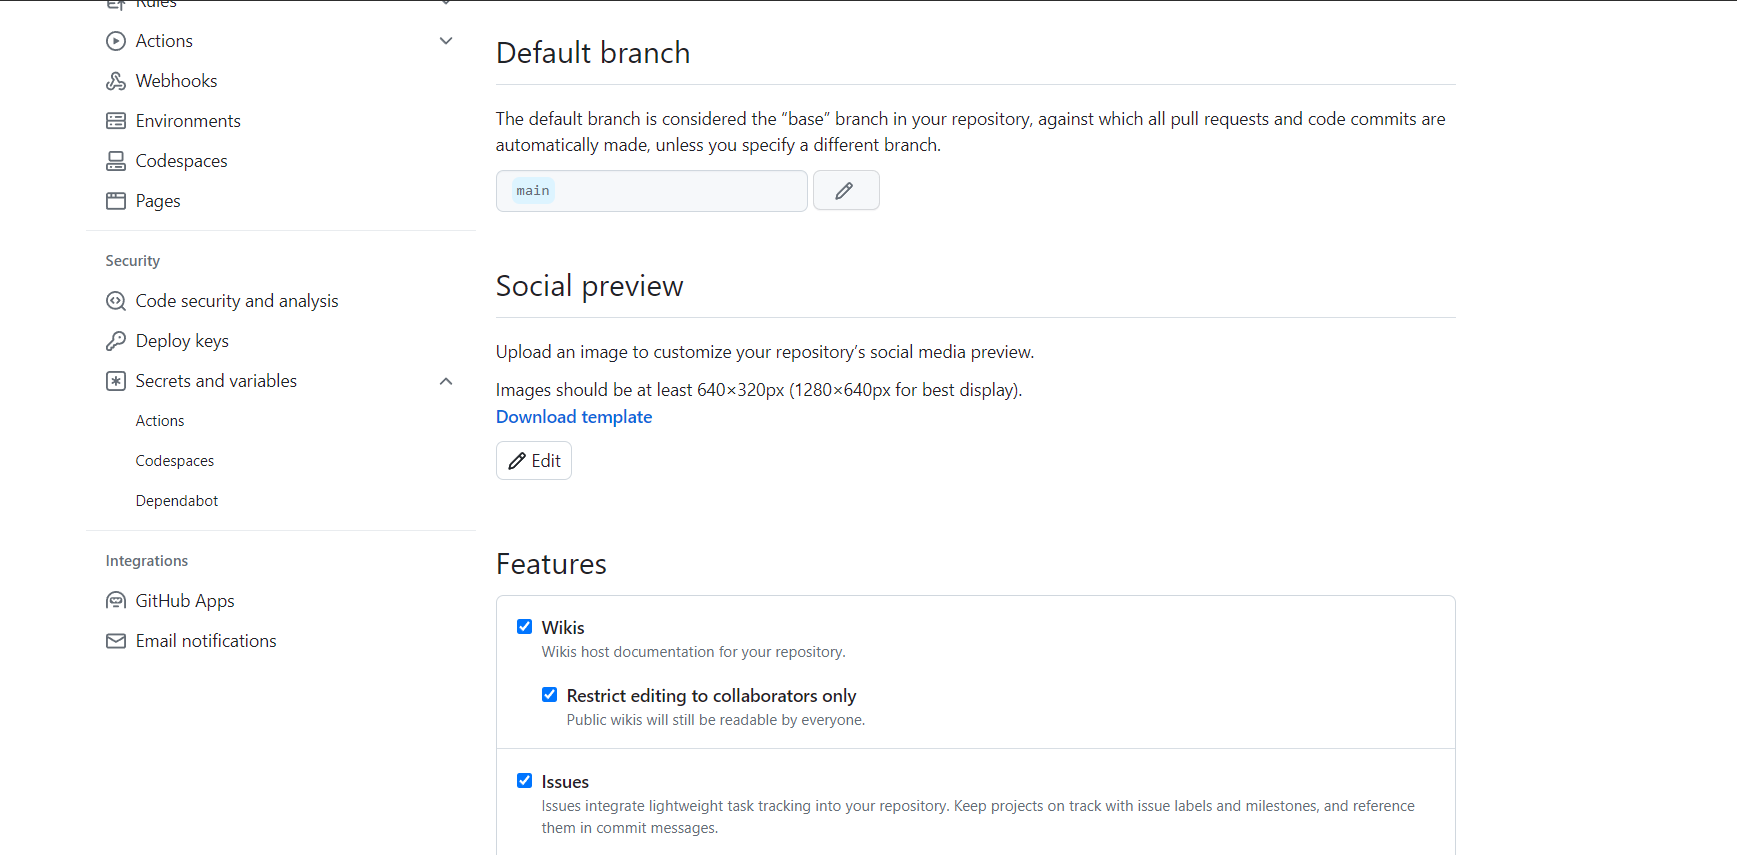
Note: In case you need the code for a static website, you can use the link below.https://github.com/PrachiJukaria/staticWebisiteS3.gitFirstly, we have to set secrets for our access key and secret access key. Click on the settings tab in your repository
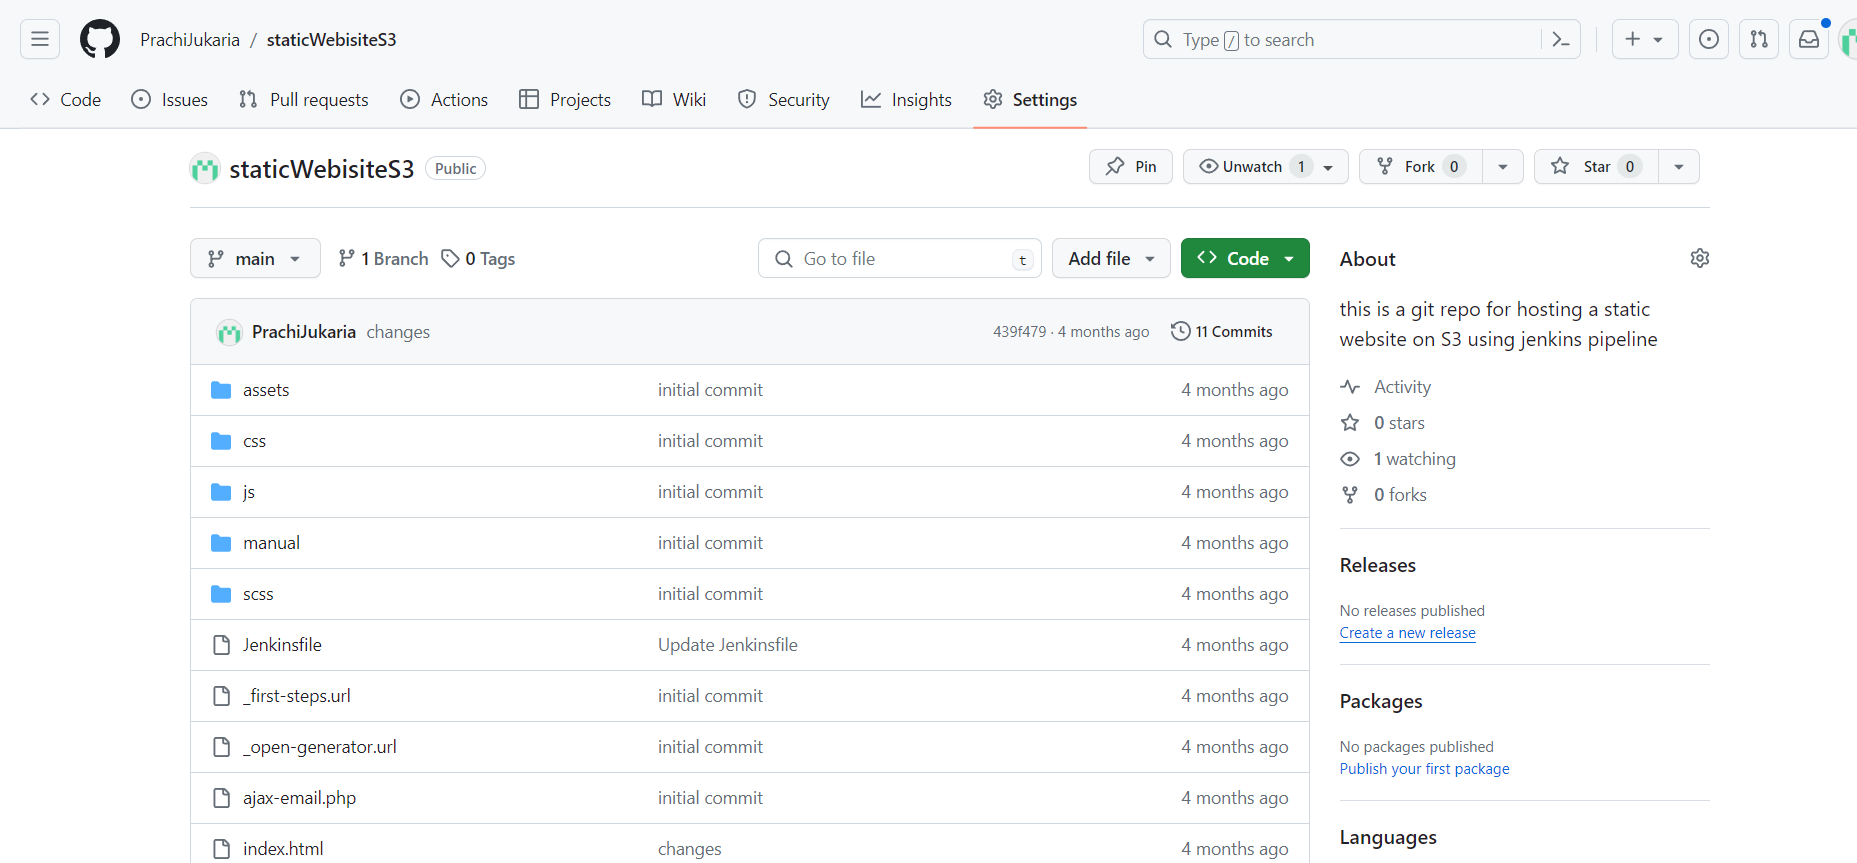
Now click on Secrets and Variables and then actions from the left panels.
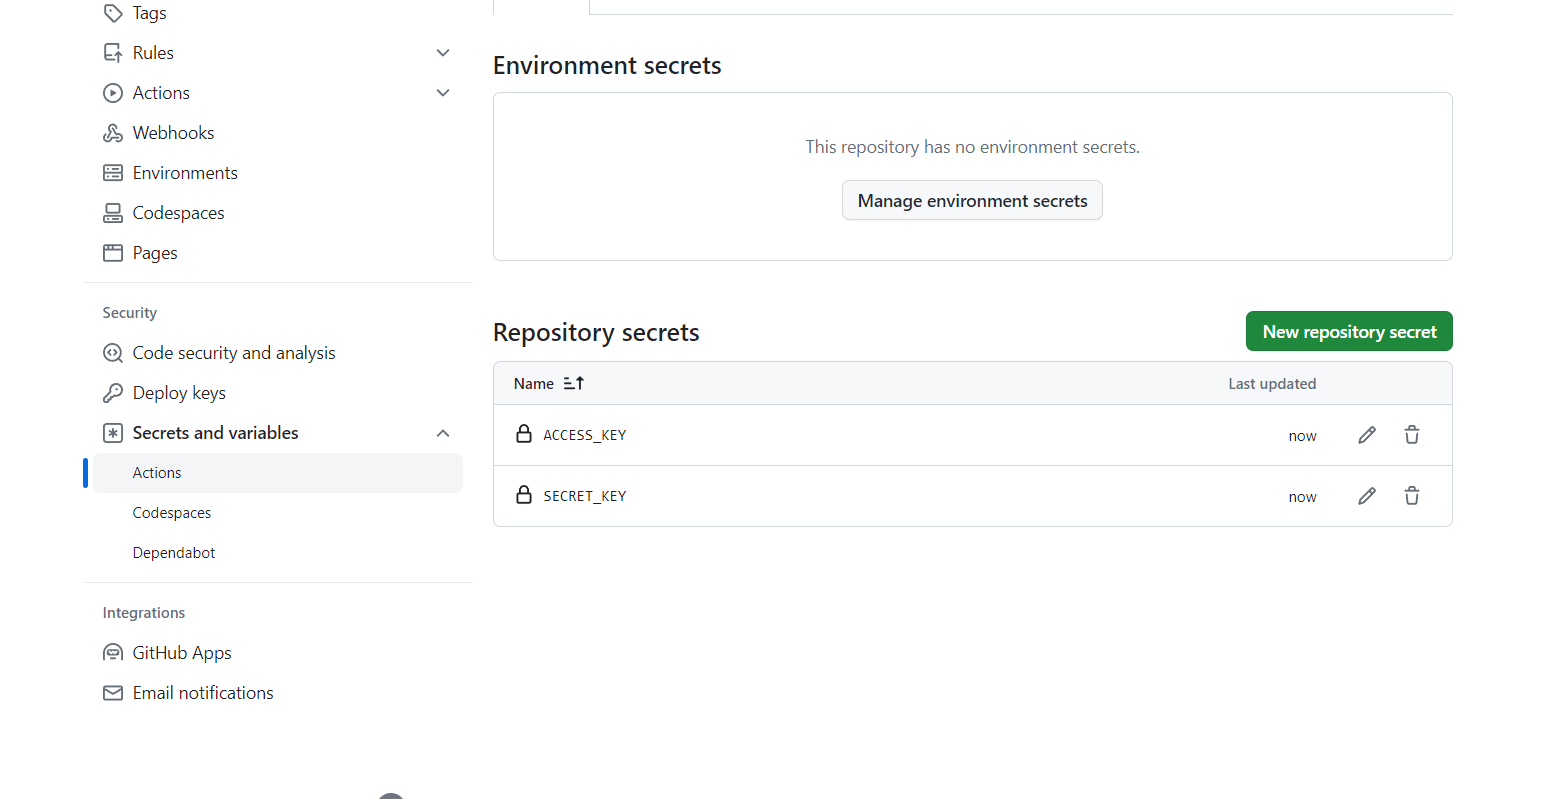
Now click on the new repository secret and add your access key and secret access key.
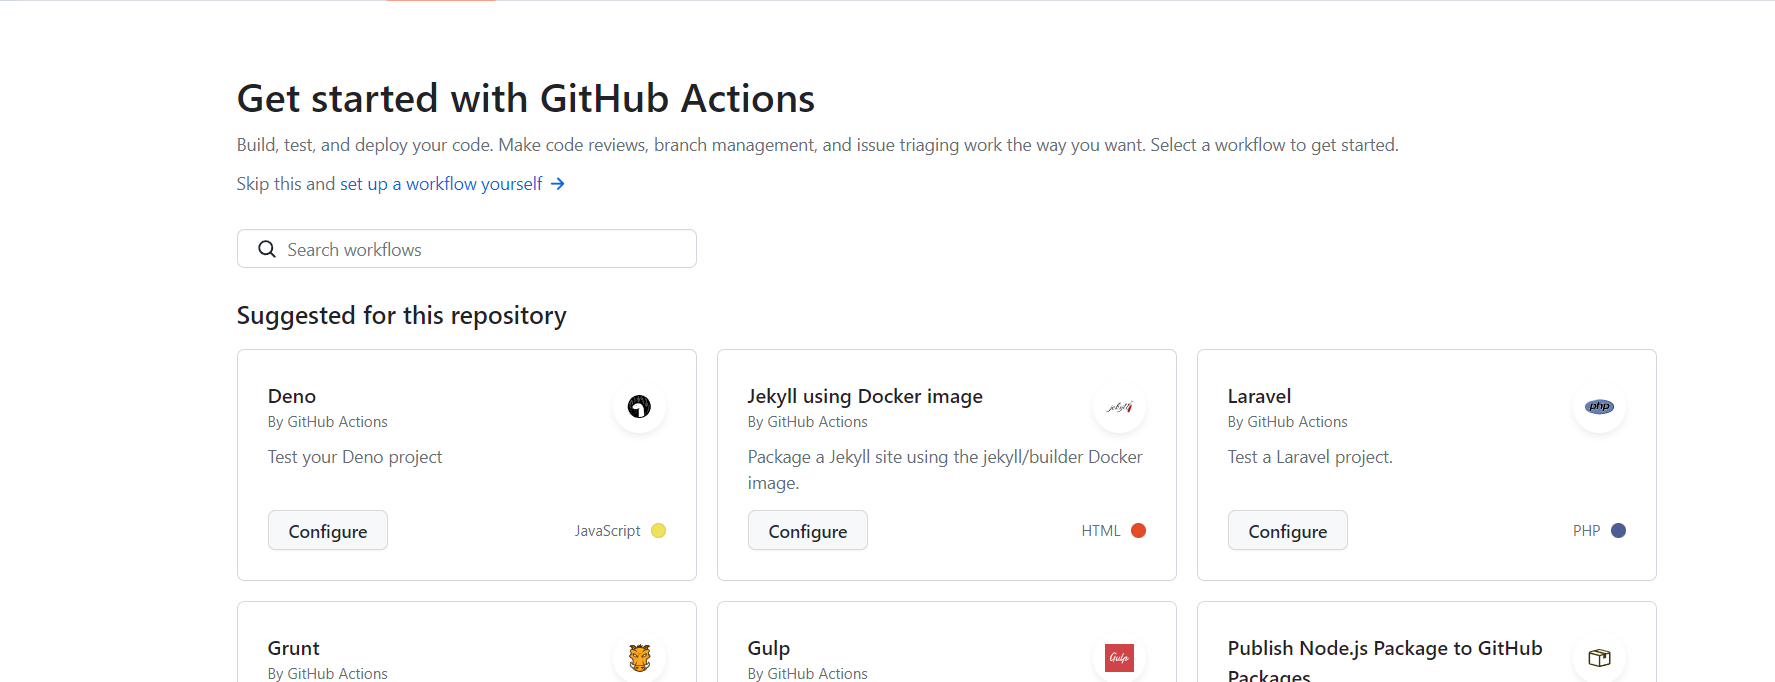
Now we will write a GitHub action workflow. For this move to the action tab in your repository and click on set up a workflow yourself.
Now start writing the GitHub action workflow.
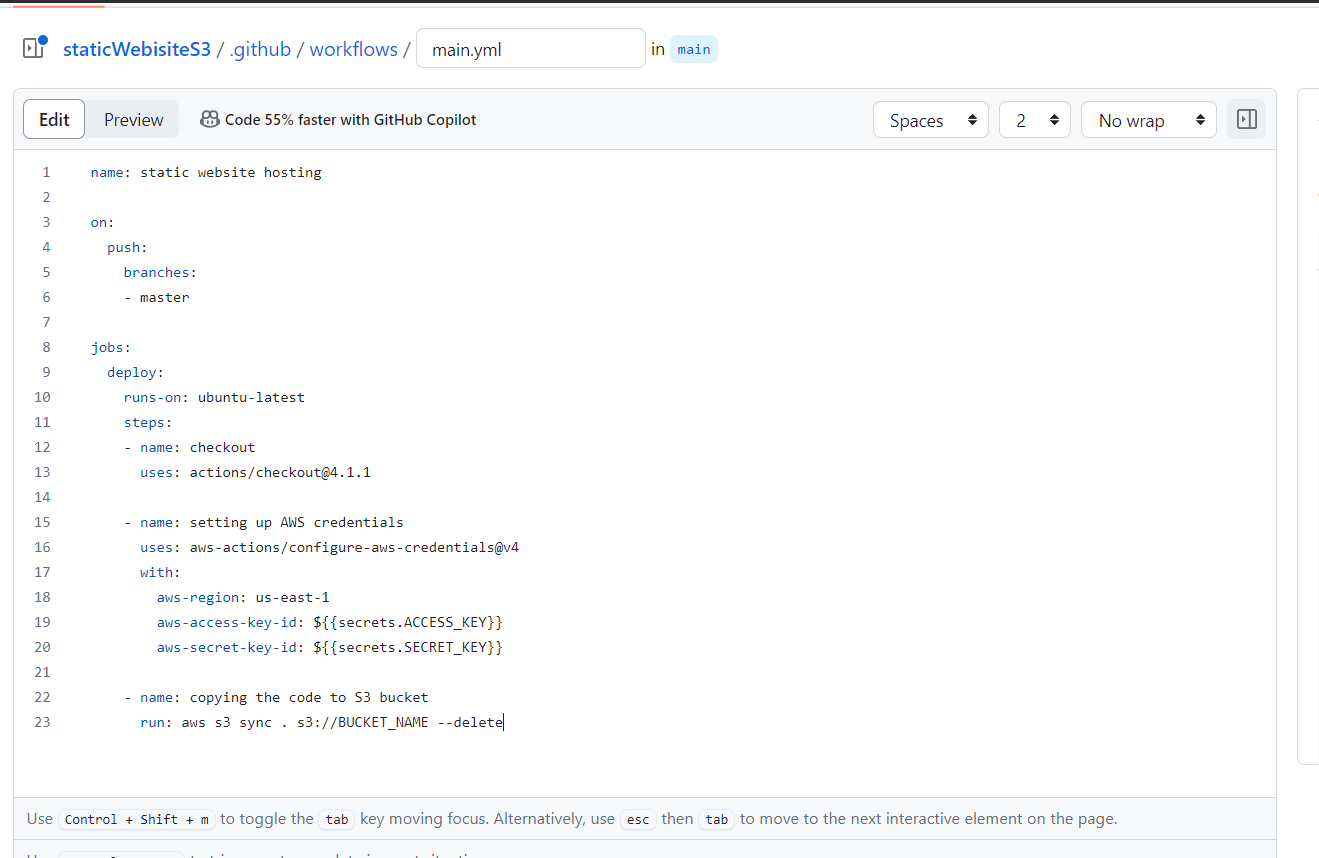
 name: static website hosting

 on:
   push:
     branches:
     - master

 jobs:
   deploy:
     runs-on: ubuntu-latest
     steps:
     - name: checkout
       uses: actions/checkout@v4.1.1

     - name: setting up AWS credentials
       uses: aws-actions/configure-aws-credentials@v4
       with:
         aws-region: us-east-1
         aws-access-key-id: ${{ secrets.ACCESS_KEY }}
         aws-secret-access-key: ${{ secrets.SECRET_KEY }}

     - name: copying the code to S3 bucket
       run: aws s3 sync . s3://BUCKET_NAME --delete
Once the workflow is written and built successfully, push any changes into your repository. After pushing the changes you can switch to the action tab in your repository.
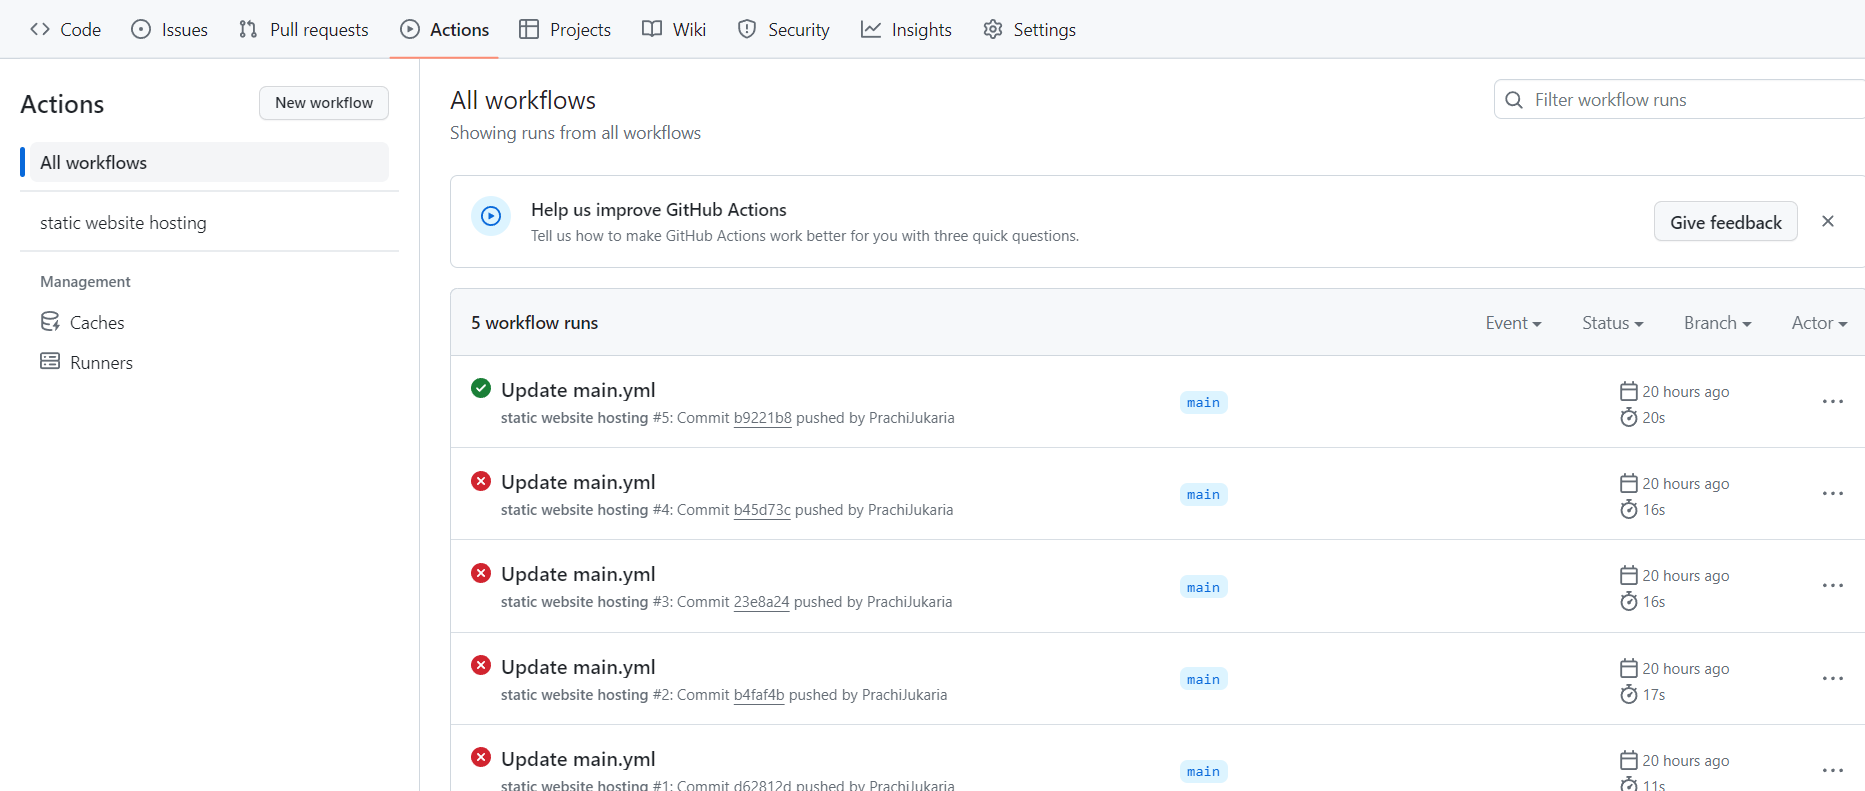
You can see that the pipeline ran successfully.
To see the website, move to your S3 bucket. In the properties tab, under the static website hosting section, you can see the link for your website.

Access the link, you will see that the website is live.

Conclusion
In conclusion, this project successfully demonstrated the seamless deployment of a static website using AWS S3 bucket, complemented by an efficient CI/CD workflow powered by GitHub Actions. The incorporation of IAM roles ensured secure management of secret keys, while the implementation of a meticulous bucket policy enhanced S3 bucket security. By seamlessly integrating these technologies, this project not only achieved a robust hosting solution but also exemplified best practices in cloud infrastructure management and continuous integration for web development projects.
Subscribe to my newsletter
Read articles from Prachi Jukaria directly inside your inbox. Subscribe to the newsletter, and don't miss out.
Written by
