Run your React Native App !!
 6D-Shrinidhi Rao
Preparing the Android device
You will need an Android device to run your React Native Android app. This can be either a physical Android device, or more commonly, you can use an Android Virtual Device which allows you to emulate an Android device on your computer.
Either way, you will need to prepare the device to run Android apps for development.
Using a physical device
If you have a physical Android device, you can use it for development in place of an AVD by plugging it in to your computer using a USB cable
Using a virtual device
If you use Android Studio to open ./AwesomeProject/android, you can see the list of available Android Virtual Devices (AVDs) by opening the "AVD Manager" from within Android Studio. Look for an icon that looks like this:

If you have recently installed Android Studio, you will likely need to create a new AVD. Select "Create Virtual Device...", then pick any Phone from the list and click "Next", then select the Tiramisu API Level 33 image.
Click "Next" then "Finish" to create your AVD. At this point you should be able to click on the green triangle button next to your AVD to launch it, then proceed to the next step.
So the SetUp is done let's Start The Application !!
Step 1: Start Metro
Metro is the JavaScript build tool for React Native. To start the Metro development server, run the following from your project folder:
npm start
Step 2: Start your application
Let Metro Bundler run in its own terminal. Open a new terminal inside your React Native project folder. Run the following:
npm run android
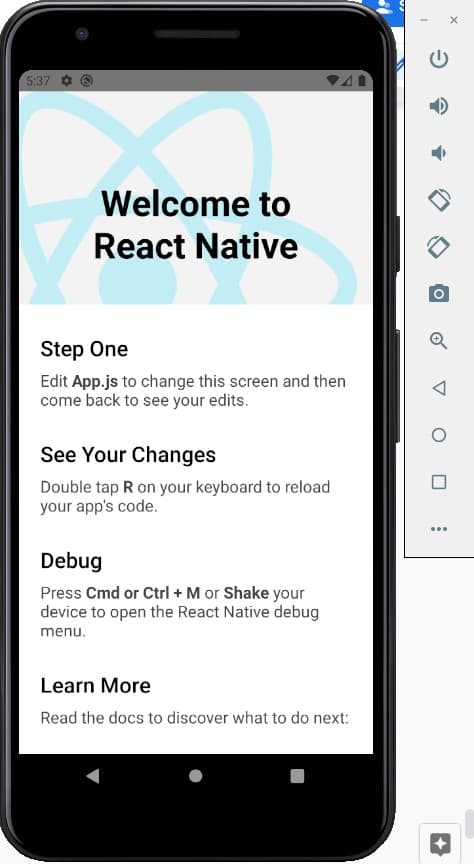
If everything is set up correctly, you should see your new app running in your Android emulator shortly.

This is one way to run your app - you can also run it directly from within Android Studio.
Subscribe to my newsletter
Read articles from 6D-Shrinidhi Rao directly inside your inbox. Subscribe to the newsletter, and don't miss out.
Written by
