A Beginner's Guide to AWS EC2 Snapshots and Restoration
 Siddhartha Gaurav
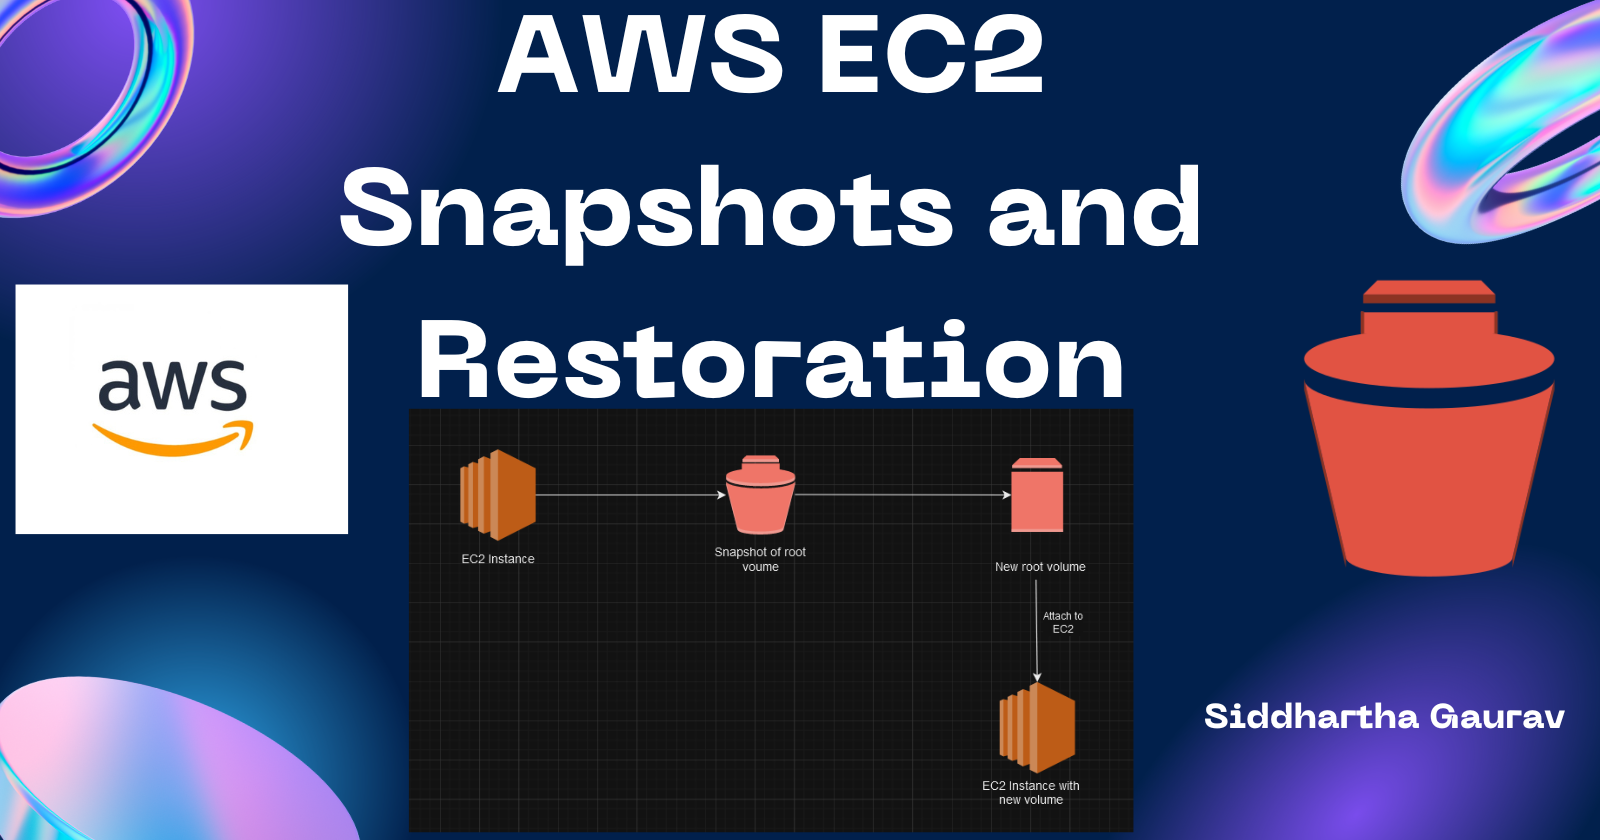
Amazon Elastic Compute Cloud (EC2) is a widely used cloud computing service that allows users to run virtual servers in the cloud. One of the key features of EC2 is the ability to create snapshots of your virtual machine's (instance) storage volumes. These snapshots serve as a point-in-time backup of your data and can be invaluable for data recovery, system updates, or creating duplicate instances. In this guide, we'll walk you through the process of creating EC2 snapshots and restoring instances from those snapshots.
Understanding AWS EC2 Snapshots:
An EC2 snapshot is a copy of your Amazon EBS (Elastic Block Store) volume at a specific point in time. EBS volumes are the block-level storage devices attached to your EC2 instances. Snapshots capture the entire volume, including the operating system, applications, and data. Here's how you can create an EC2 snapshot:
Access AWS Management Console: Log in to your AWS Management Console and navigate to the EC2 Dashboard.

Select your Instance: Identify the EC2 instance for which you want to create a snapshot and select it.

Create Snapshot: In the "Description" tab, locate the "Block devices" section. Identify the root volume (usually "/dev/xvda1") and click on the volume ID. From the volume details page, click the "Actions" button, and select "Create Snapshot."

Select the volume under the Volume ID section and click on it. It will redirect to the Volumes options.

Snapshot Configuration: Provide a meaningful name and description for the snapshot. Click "Create Snapshot" to initiate the process.


Monitoring Snapshot Progress:
Once the snapshot creation process begins, you can monitor its progress in the AWS Management Console. Snapshots are incremental, meaning only the data that has changed since the last snapshot is copied. This helps in optimizing storage usage and reducing costs.
Restoring an EC2 Instance from a Snapshot:
Now that you have a snapshot, you can use it to restore an EC2 instance or create a new one based on that snapshot. Follow these steps:

Navigate to Snapshots: In the EC2 Dashboard, go to the "Snapshots" section, and select the snapshot you want to use.

Create Volume from Snapshot: Click on "Actions" and choose "Create Volume." This will create a new EBS volume based on the selected snapshot.

Click on 'Create volume from snapshot'.

Here the most important option is the Availability Zone. We have to select the same AZ where our EC2 instance is configured.
In our case, it is us-east-2b.

Click on 'Create volume'.

Attach Volume to an Instance: Go to the "Volumes" section in the EC2 Dashboard.
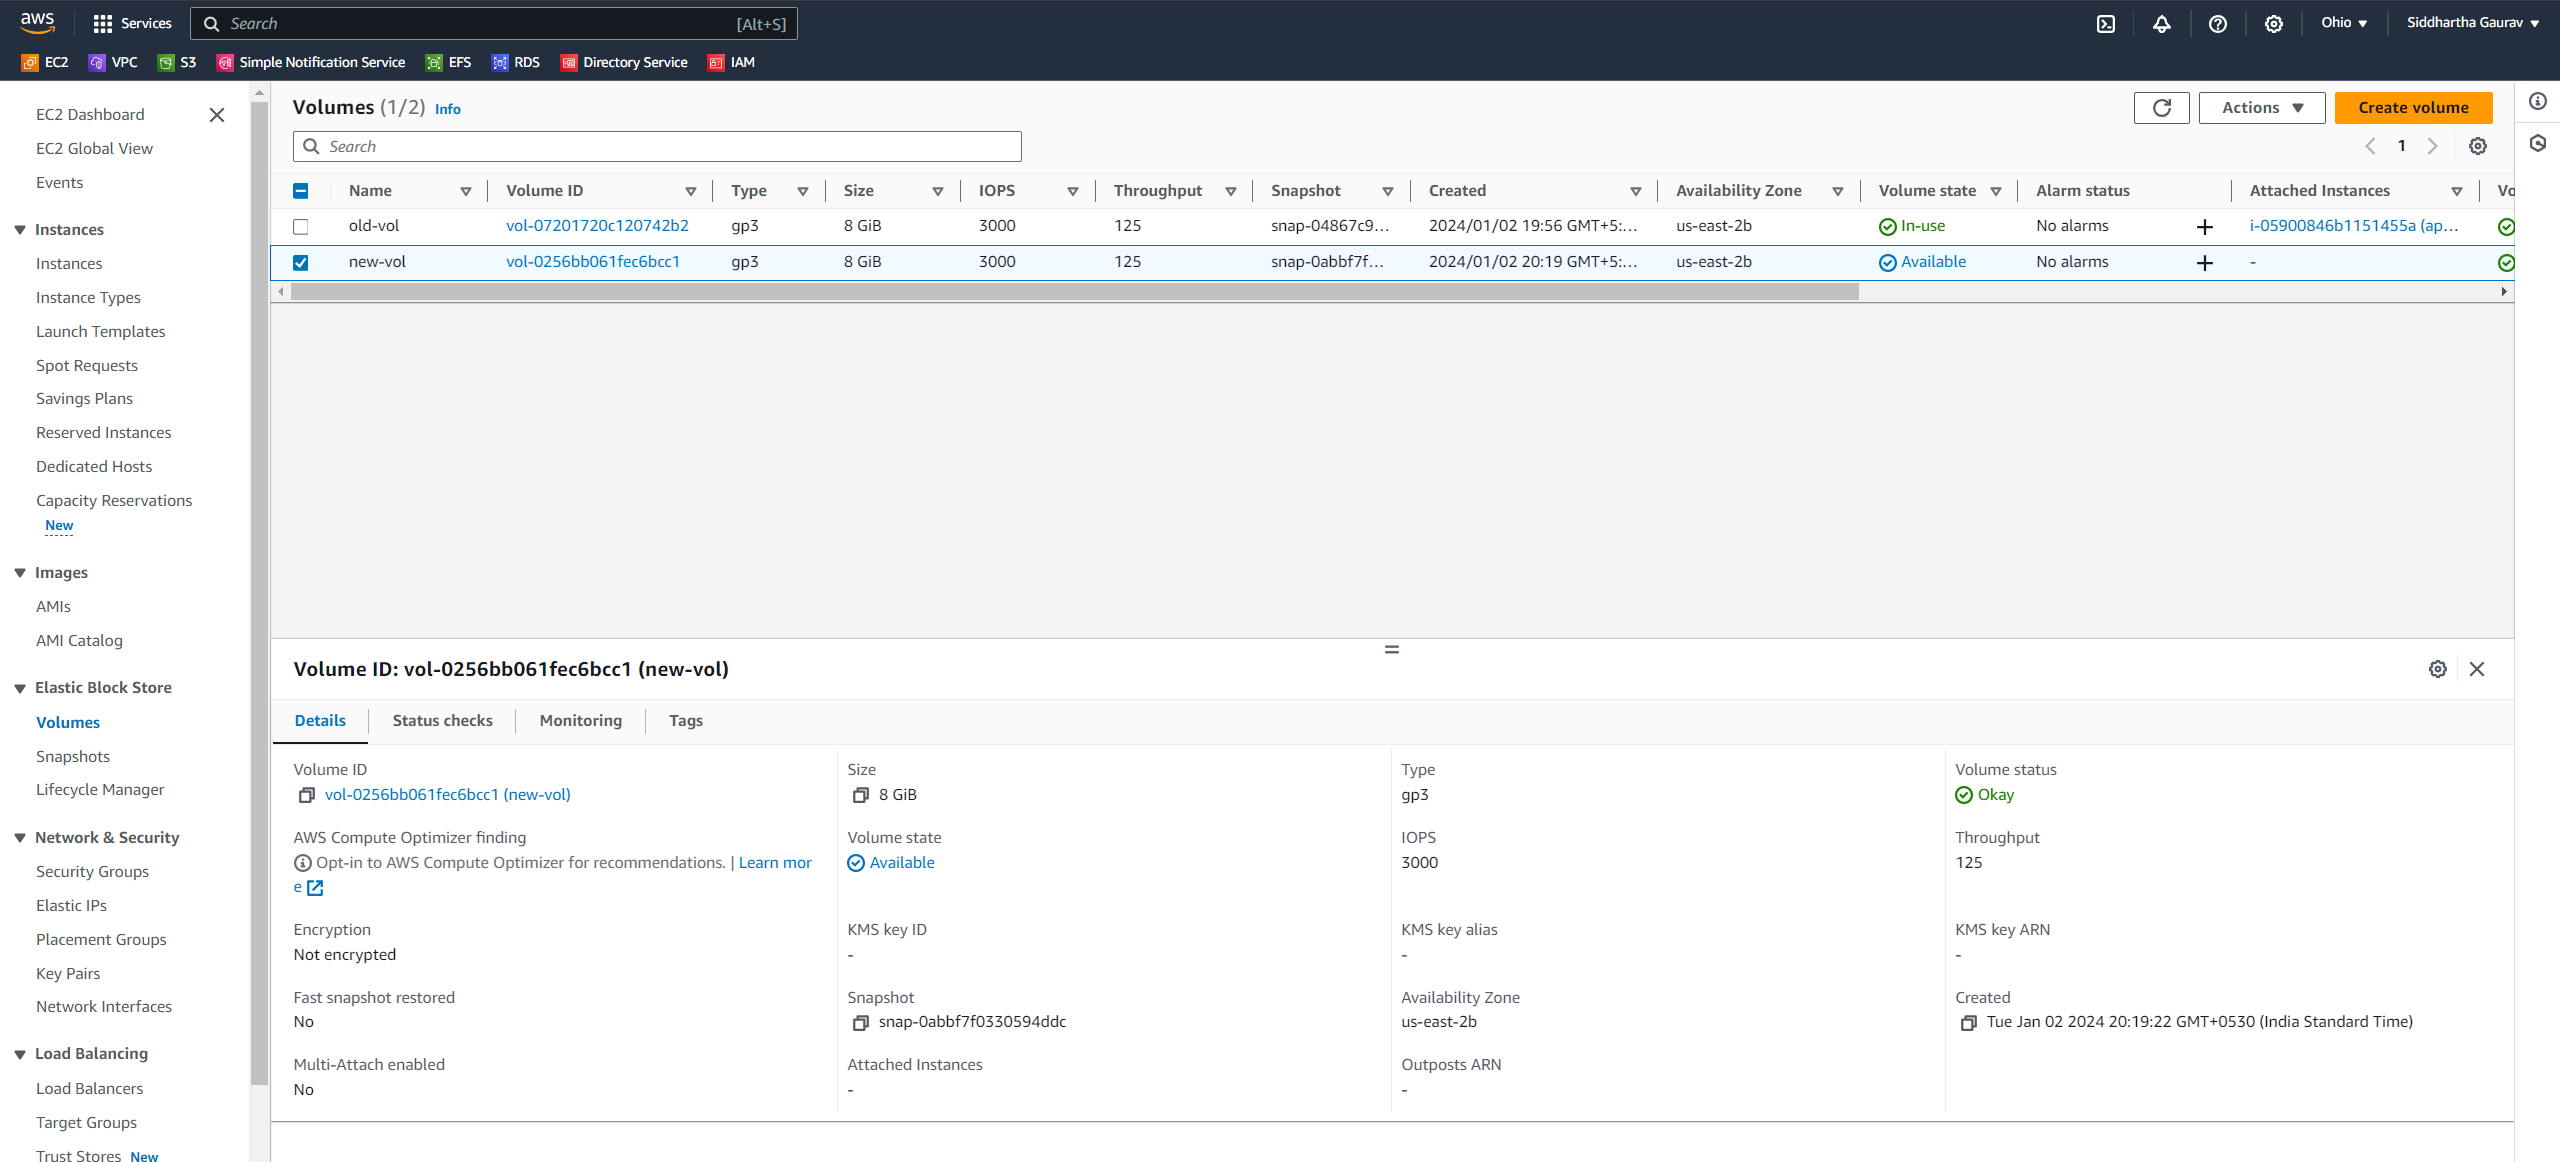
Now we have to detach the old root volume which we are imaging that it is corrupted and we will bring that server up with the new snapshot volume.
Before detaching the volume, the EC2 instance must be in stopped state.

Select the volume, Click on 'Actions' and then click on 'Detach volume'.
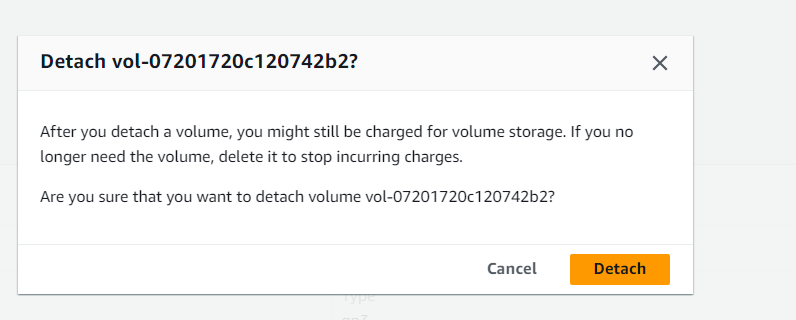
Click on 'Detach'.
We can see that both volumes are in the Available state.
I have given the name to both the volumes, 'old-vol 'the primary volume, and the new volume which we created from the snapshot as 'new-vol'.
Now we have to attach this new volume to our EC2 instance.
Select the new volume and click on 'Actions', then click on 'Attach volume'.

Give the correct device name in the 'Device name' section if you give an incorrect name, your EC2 will not come up.
In our case the root volume name of our EC2 instance is /dev/xvda so we have given that.

Now, our new-vol is attached to the EC2 instance.
Start the Instance: If the instance is not running, start it. Once the instance is running, the attached volume will be available.
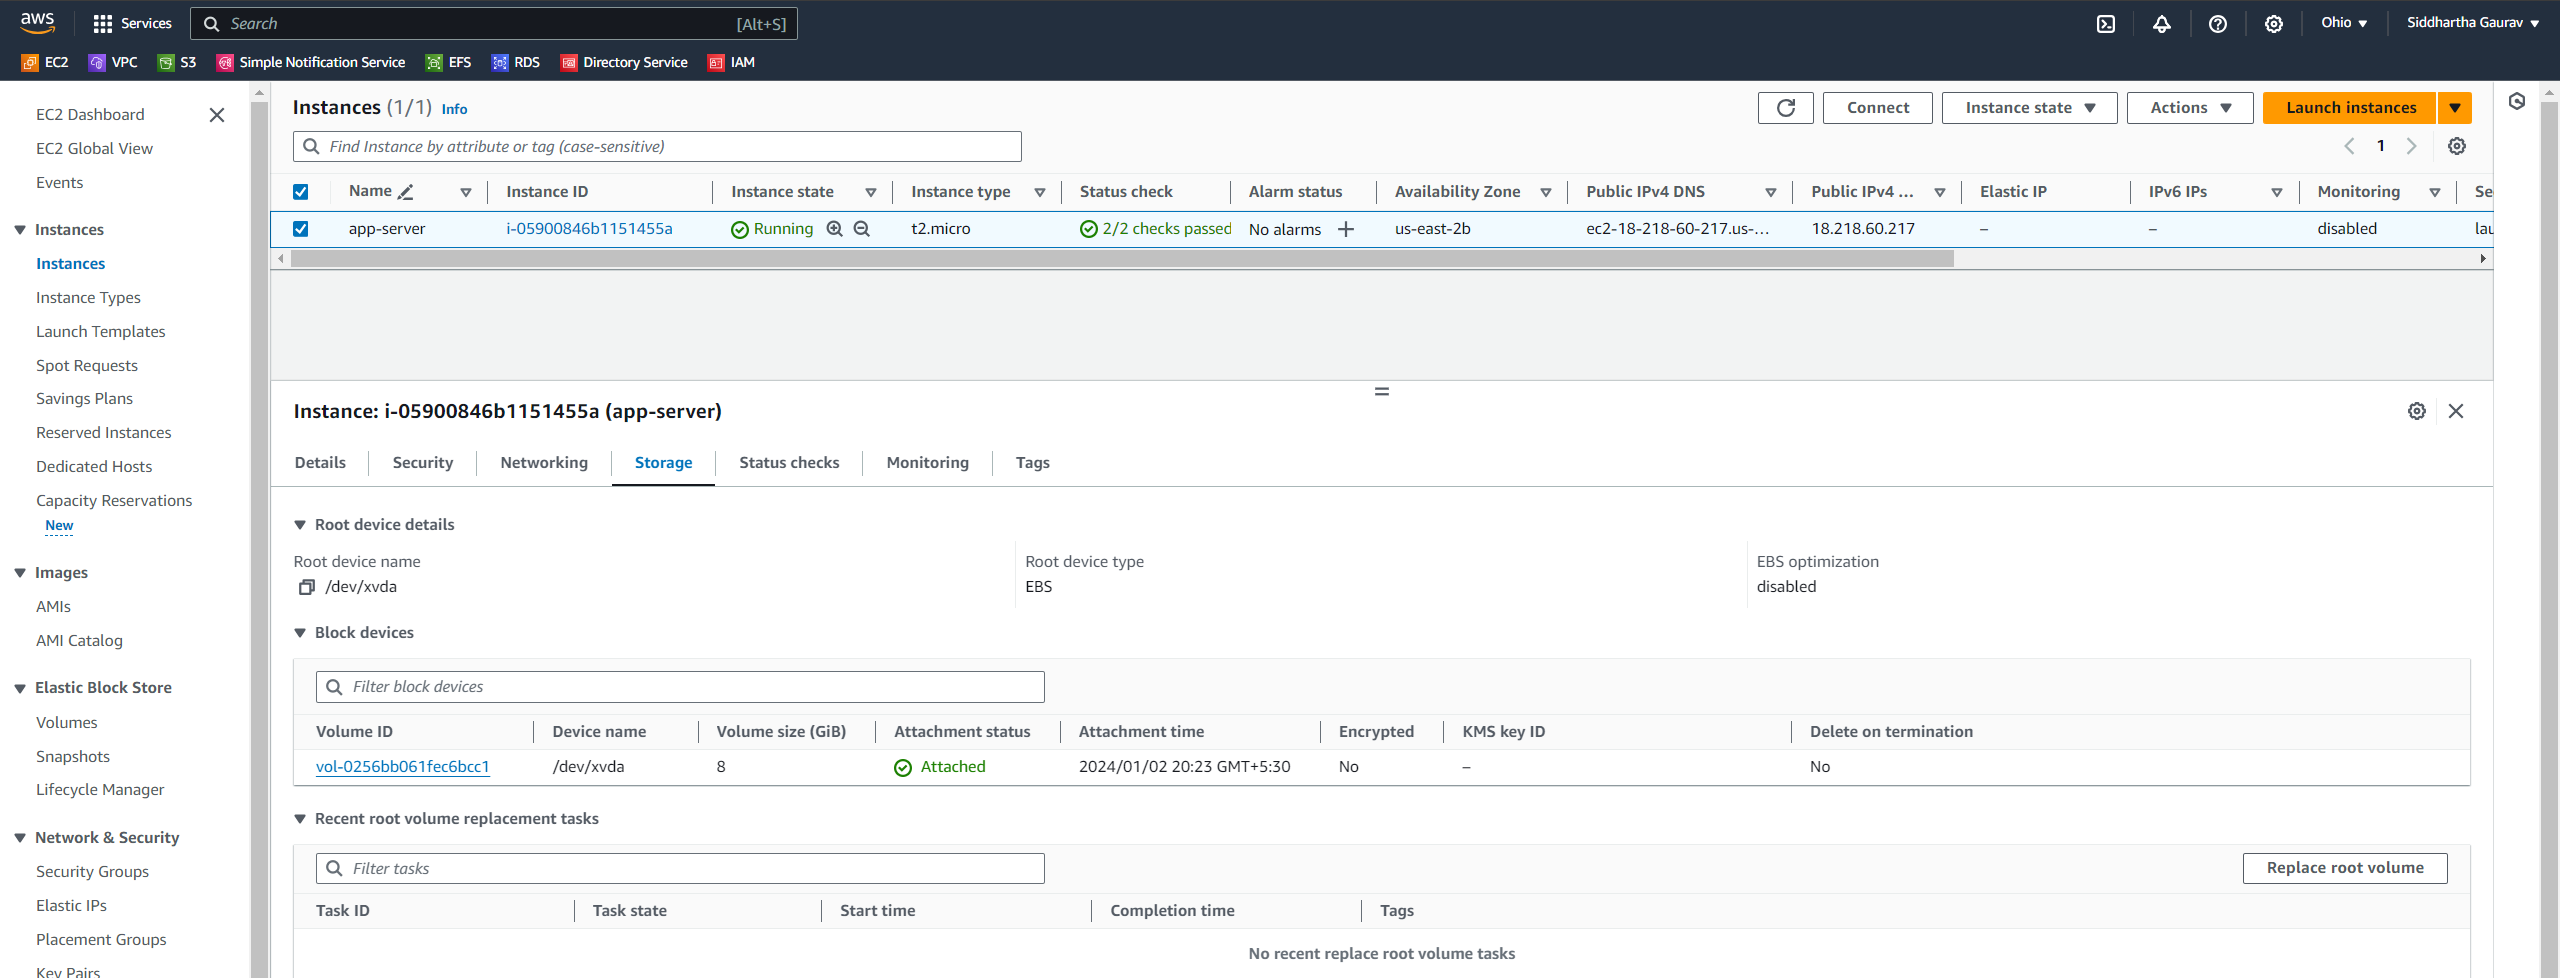
Verify the Restoration: Log in to the instance and ensure that the data and configurations are as expected. You've successfully restored an EC2 instance from a snapshot!
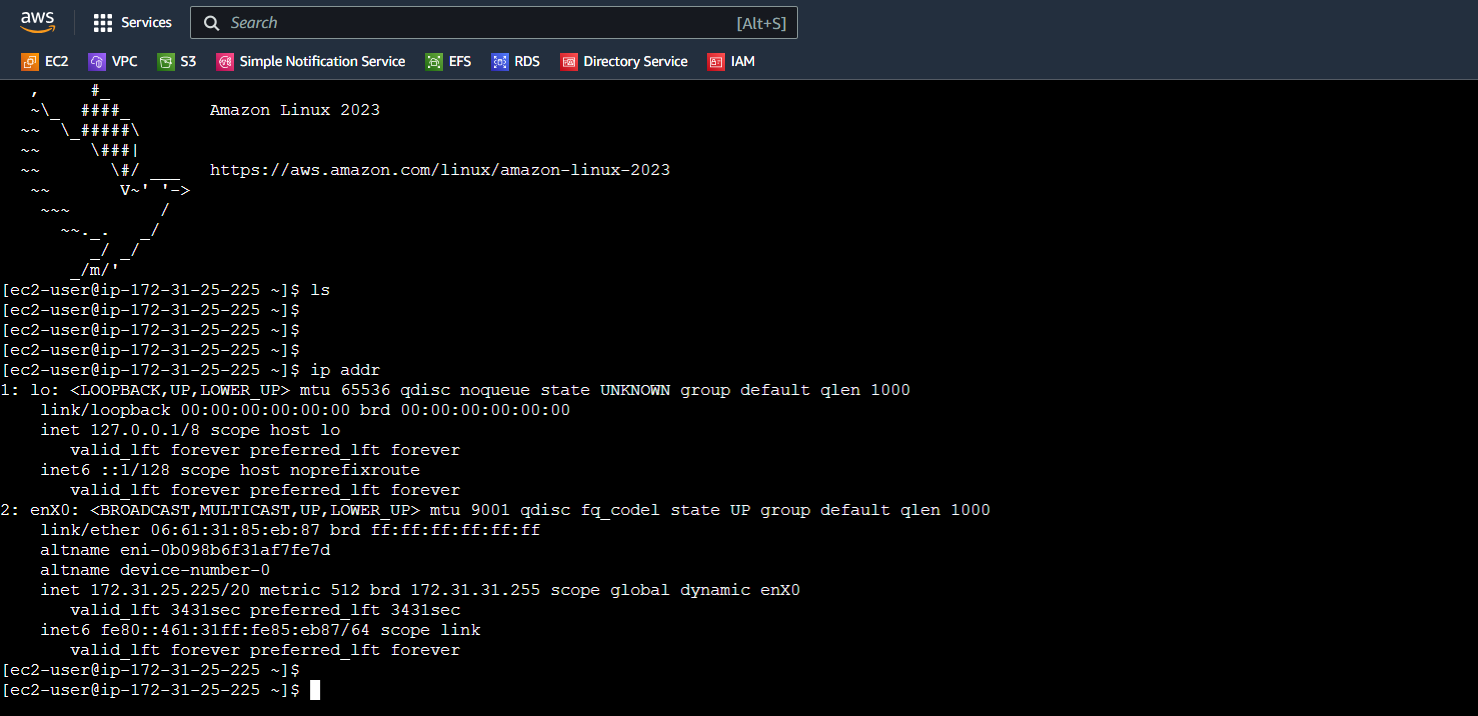
Hurray!!, We can see that the EC2 instance came up with the volume that we created from the snapshot with all the data.
Tips and Best Practices:
Regularly Create Snapshots: Schedule periodic snapshots to ensure you have recent backups in case of data loss or system failure.
Snapshot Retention: Establish a snapshot retention policy to manage and clean up older snapshots to control costs.
Test Restorations: Periodically test the restoration process to verify that your snapshots are functional and your recovery strategy is effective.
Conclusion:
AWS EC2 snapshots are a powerful tool for safeguarding your data and ensuring business continuity in the cloud. By understanding how to create snapshots and restore instances from them, you empower yourself with a robust backup and recovery strategy in your AWS environment. Regularly practicing these processes will help you navigate potential challenges with confidence and efficiency.
Subscribe to my newsletter
Read articles from Siddhartha Gaurav directly inside your inbox. Subscribe to the newsletter, and don't miss out.
Written by

Siddhartha Gaurav
Siddhartha Gaurav
I'm a passionate DevOps engineer with a knack for streamlining development workflows and ensuring seamless deployment pipelines. With experience in managing cloud infrastructure, implementing DevOps best practices, and leveraging automation tools, I thrive on tackling complex challenges and driving efficiency in software delivery. Let's connect and explore how I can contribute to your projects!