Deploying 3-Tier Microservice Architecture on Amazon EKS involving 8 services and 3 Databases
 Anil Kumar
Table of contents
- BackGround:
- Microservices and DataBases:
- Step 1: Create IAM User
- Step 2: Create an EC2 Instance
- Step 3: Connect to Instance and Install required packages:
- STEP 4: EKS Setup:
- STEP 5: Configure IAM OIDC Provider
- STEP 6: Adding ALB add-on:
- STEP 7: Deploying the ALB Controller
- STEP 8: EBS CSI Plugin configuration
- STEP 9: Helm Deployments
- STEP 10: DELETE CLUSTER
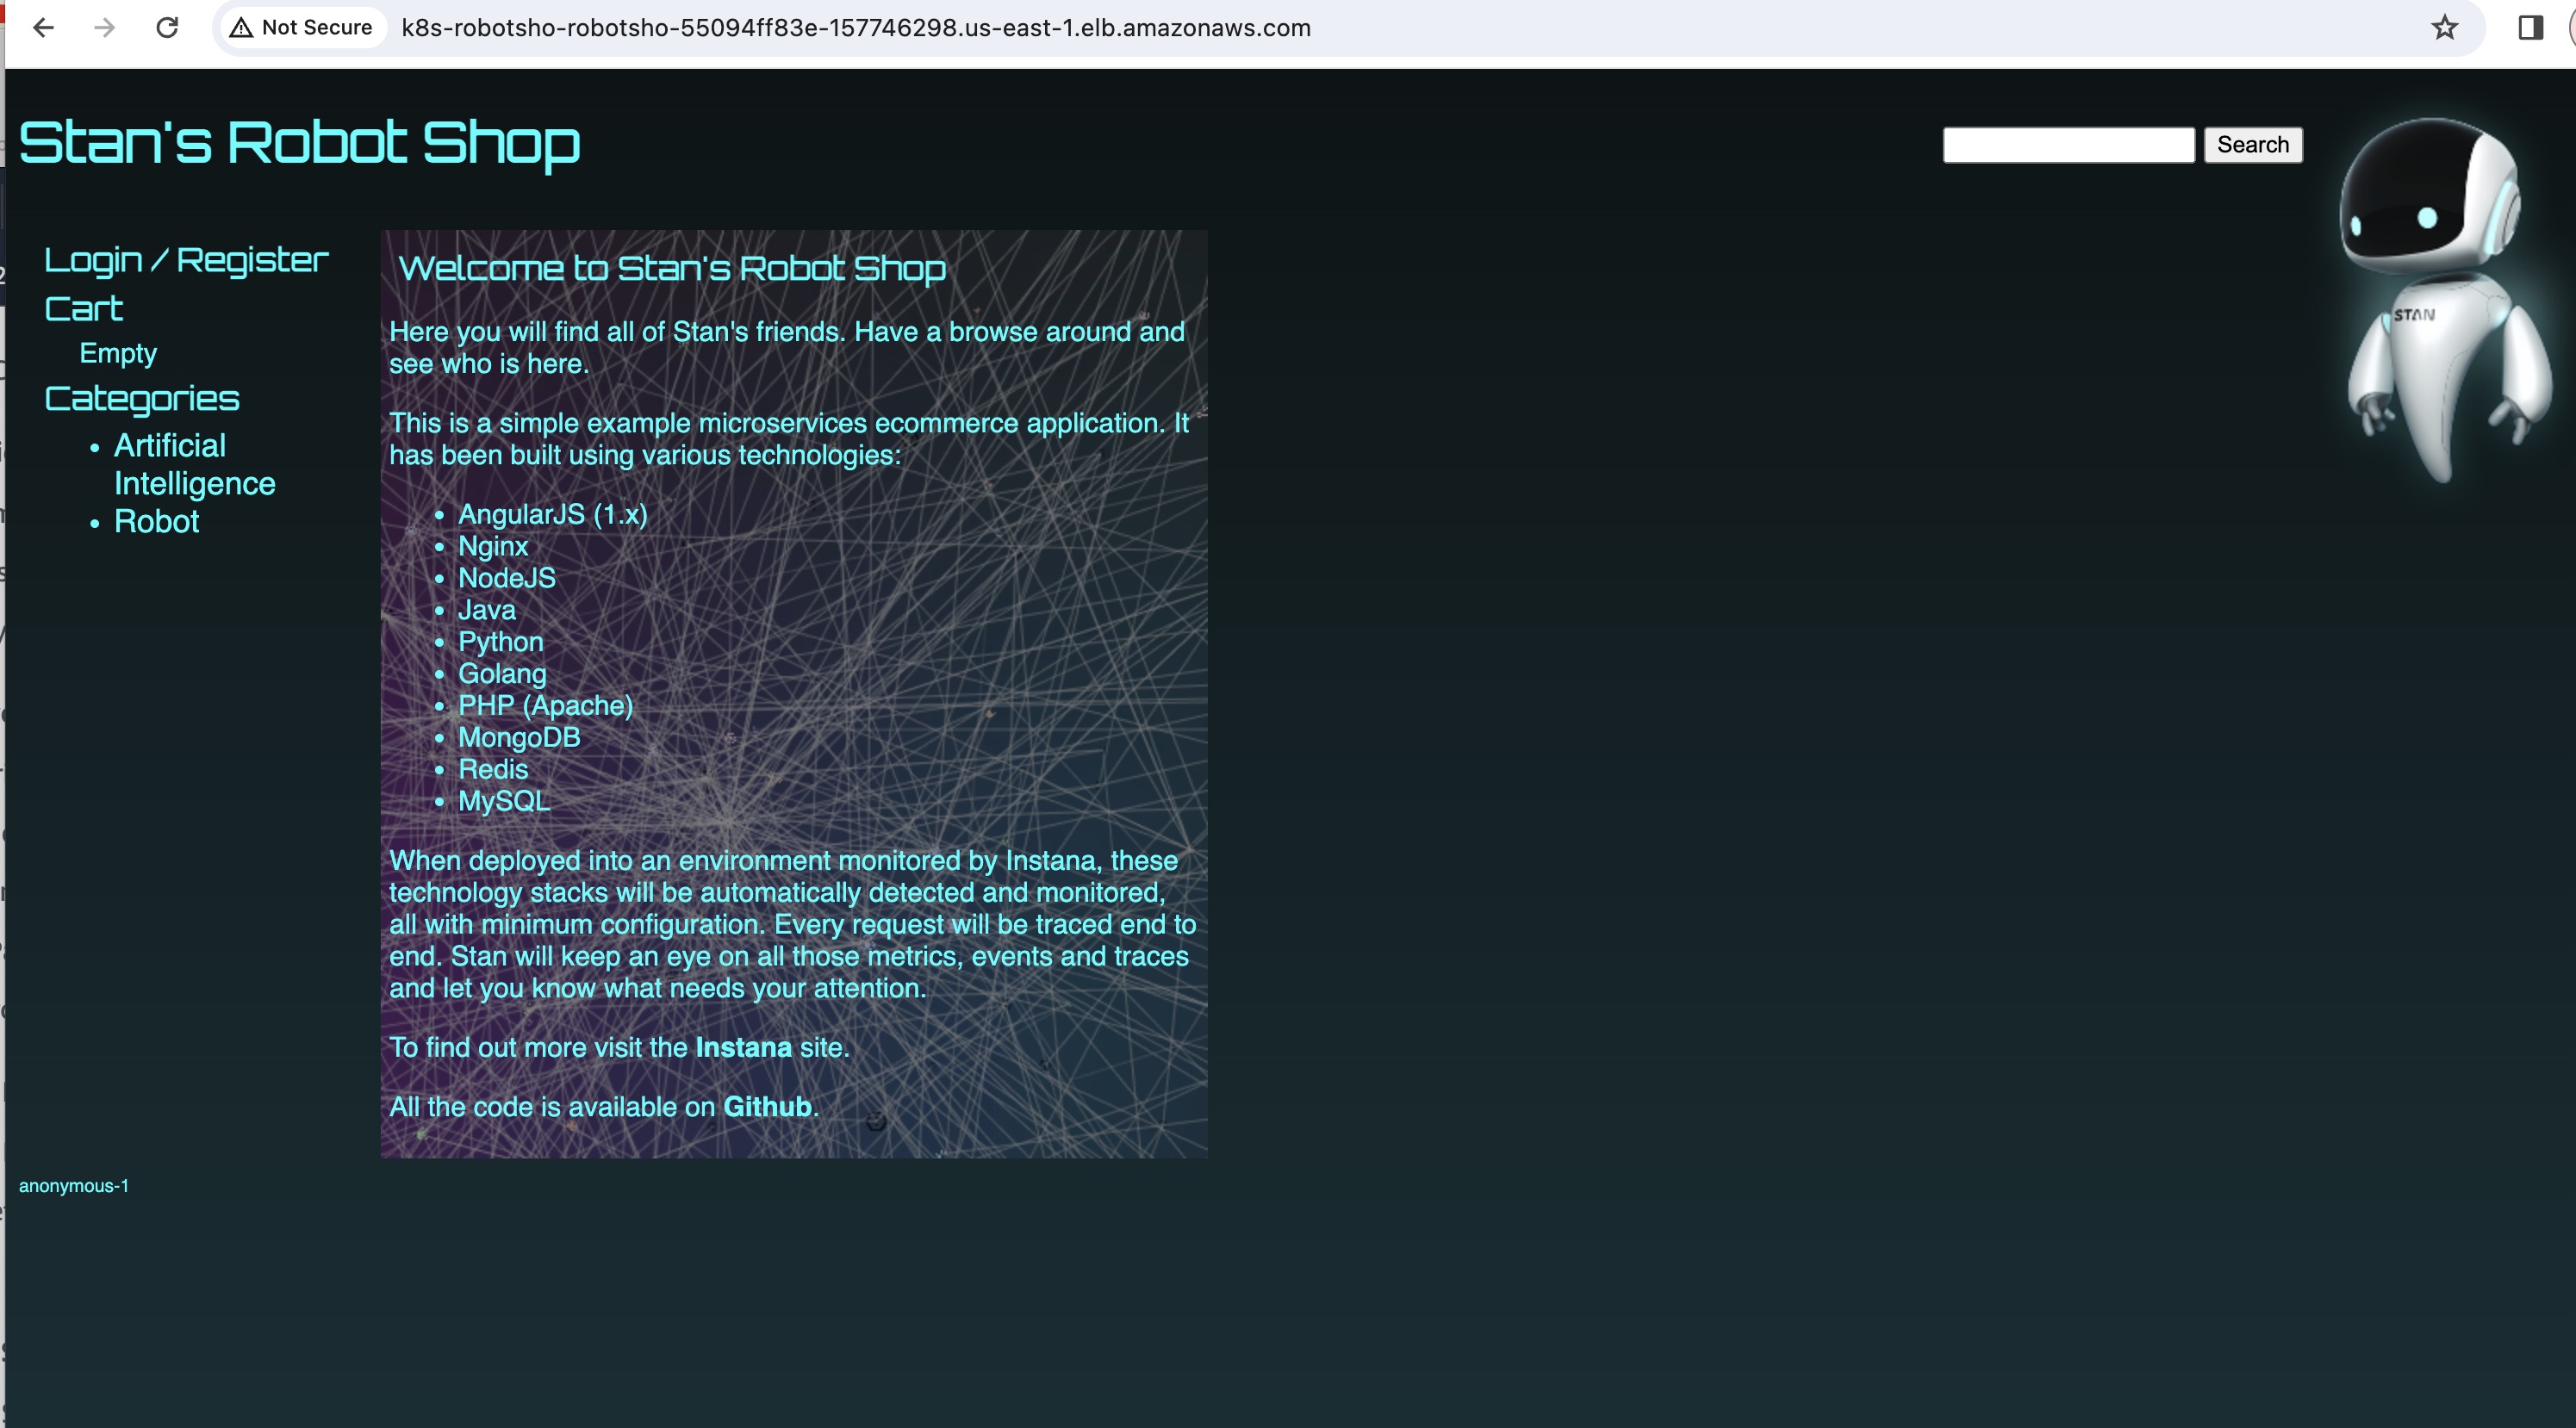
In this blog, we will be deploying a three-tier micro service architecture comprising 8 services and 2 Databases on Amazon Elastic Kubernetes Service(EKS).
Complete Credits to Abhishek Veeramalla for his contribution.
Full video here: https://youtu.be/8T0UnSgywzY?si=cZDDK09klAd-2vuI
BackGround:
Generally all the applications we use on a daily basis are of three tier architecture.
As the name indicates the application were mainly classified into 3 tiers namely Presentation Layer, Logic Layer and Data layer.
Presentation Layer is the Frontend we usually see on any website, It is the face of the application to the outside world.
Logic Layer is the backend layer where we will write the business logic or code, so that when any user interacts with the presentation layer, it automatically routes them to the click they have clicked or details they have asked. Logic layer is also the medium of interaction between frontend and database.
Data Layer is the Database layer where all the details with respect to the application were stored. For example: Take an example of Amazon, all of us will have an account on Amazon, So when will login/sign up How will Amazon identifies whether we already have an account or we need to create an new account, Database comes to the rescue here. It stores all the user data, business data and it connects to the backend and frontend when there is a need.
Microservices and DataBases:
In this deployment, we will be deploying 8 Micro-services and 3 Databases.
8 Micro-services include cart, catalogue, dispatch, payment, ratings, shipping, user and web.
3 Databases include Mongo DB, MySQL and Redis.
For every Micro-service, we will have their respective source code and DockerFile present in their folder. There are java, php, Node JS, go and other languages involved in writing the source code for the respective micro services.
For Users Micro-service, we are using Mongo DB as the user details needs to be stored.
For Catalogue and Ratings, we are using MySQL DB to store those details.
For Cart Micro-service, we will use a In Memory data Store i.e., Redis. There are options to use In memory cache but we will not use them as if application goes down, the entire data related to cart will go down. So we will use redis as a Stateful set in Kubernetes associating with a Persistent Volume.
Also in this experiment, we will be using EKS with EC2 Instances instead of margate, the reasons for using are:
i) The redistribution component doesn't support Fargate Instances.
ii)Also we are using Elastic Block Store as Persistent Volume, which fargate will not support.
Step 1: Create IAM User
Create a new user in AWS with administrative access or you can login via root user account as it also possess administrative access.
But for safety standards, Create a user and attach that user to administrative access policy. Generate access and secret keys id for that user as it helps us to configure was cli.
Step 2: Create an EC2 Instance
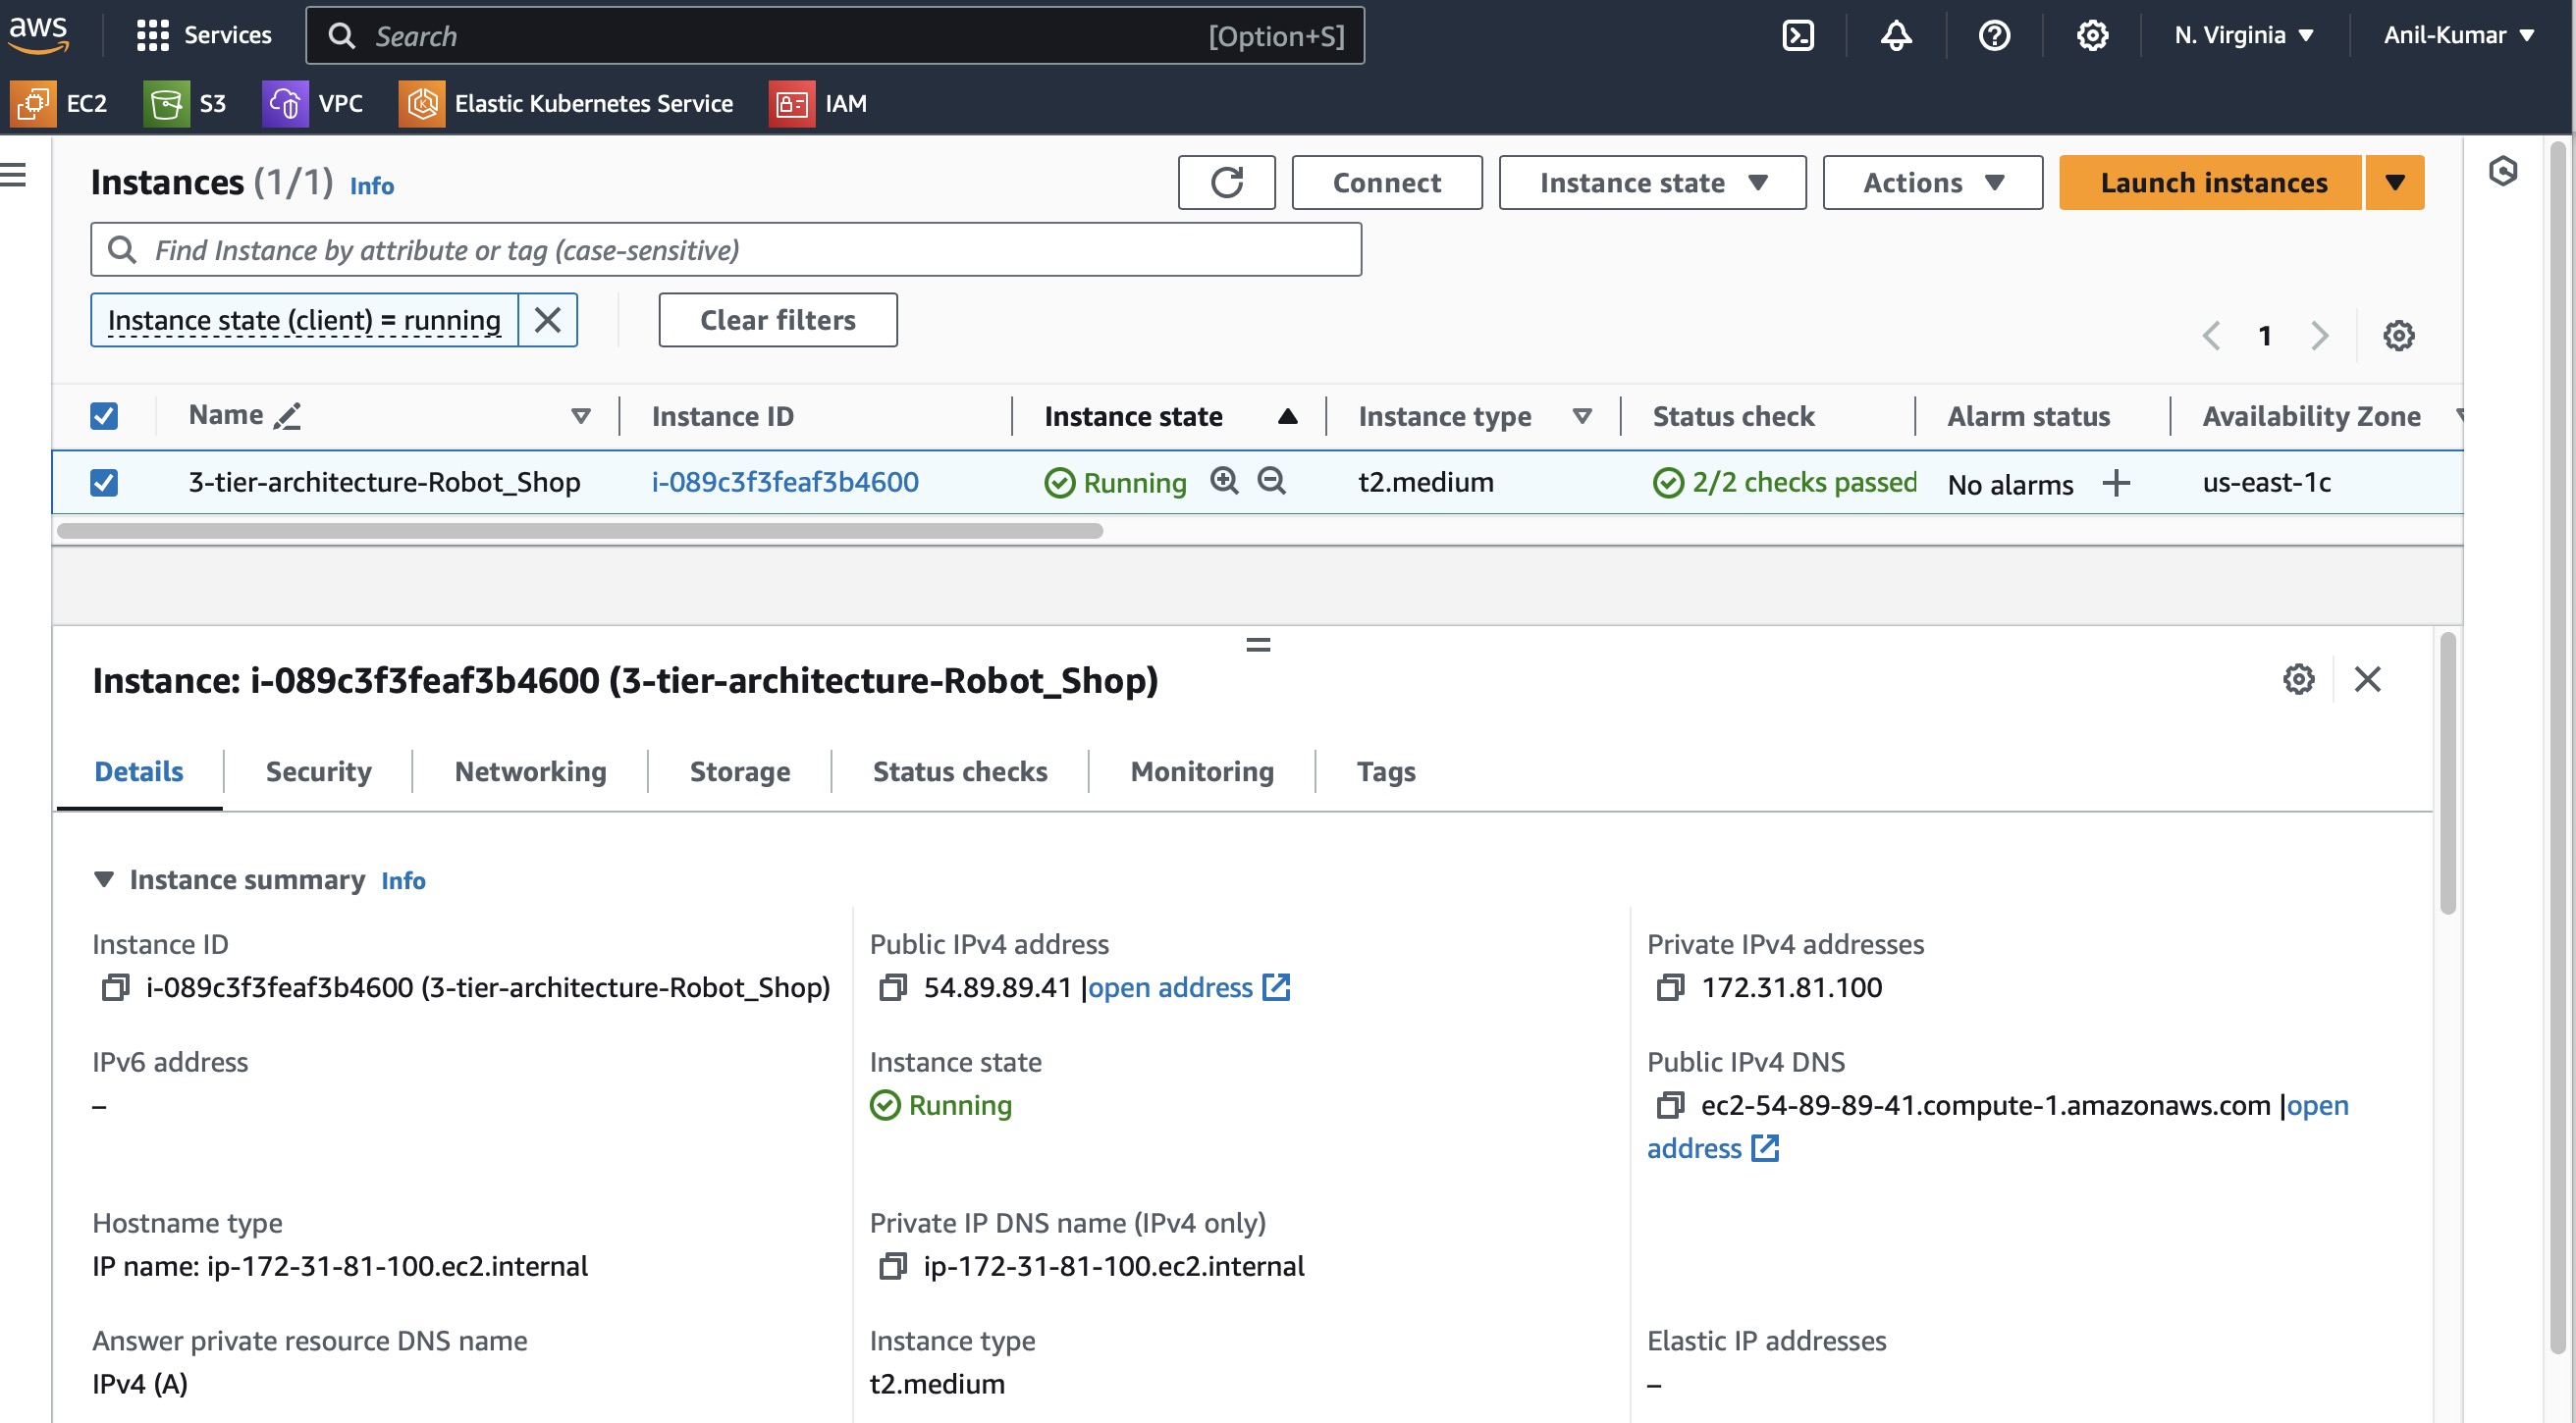
Now create a new instance with ami id of "Ubuntu" type and instance-type as "t2.medium" . Select the appropriate key-pair and Security groups with required inbound and outbound addresses open.
You can open ports 22 and 80 as of now.
Step 3: Connect to Instance and Install required packages:
Now connect to that instance using EC2 Instance Connect or SSH terminal as per your convenience.
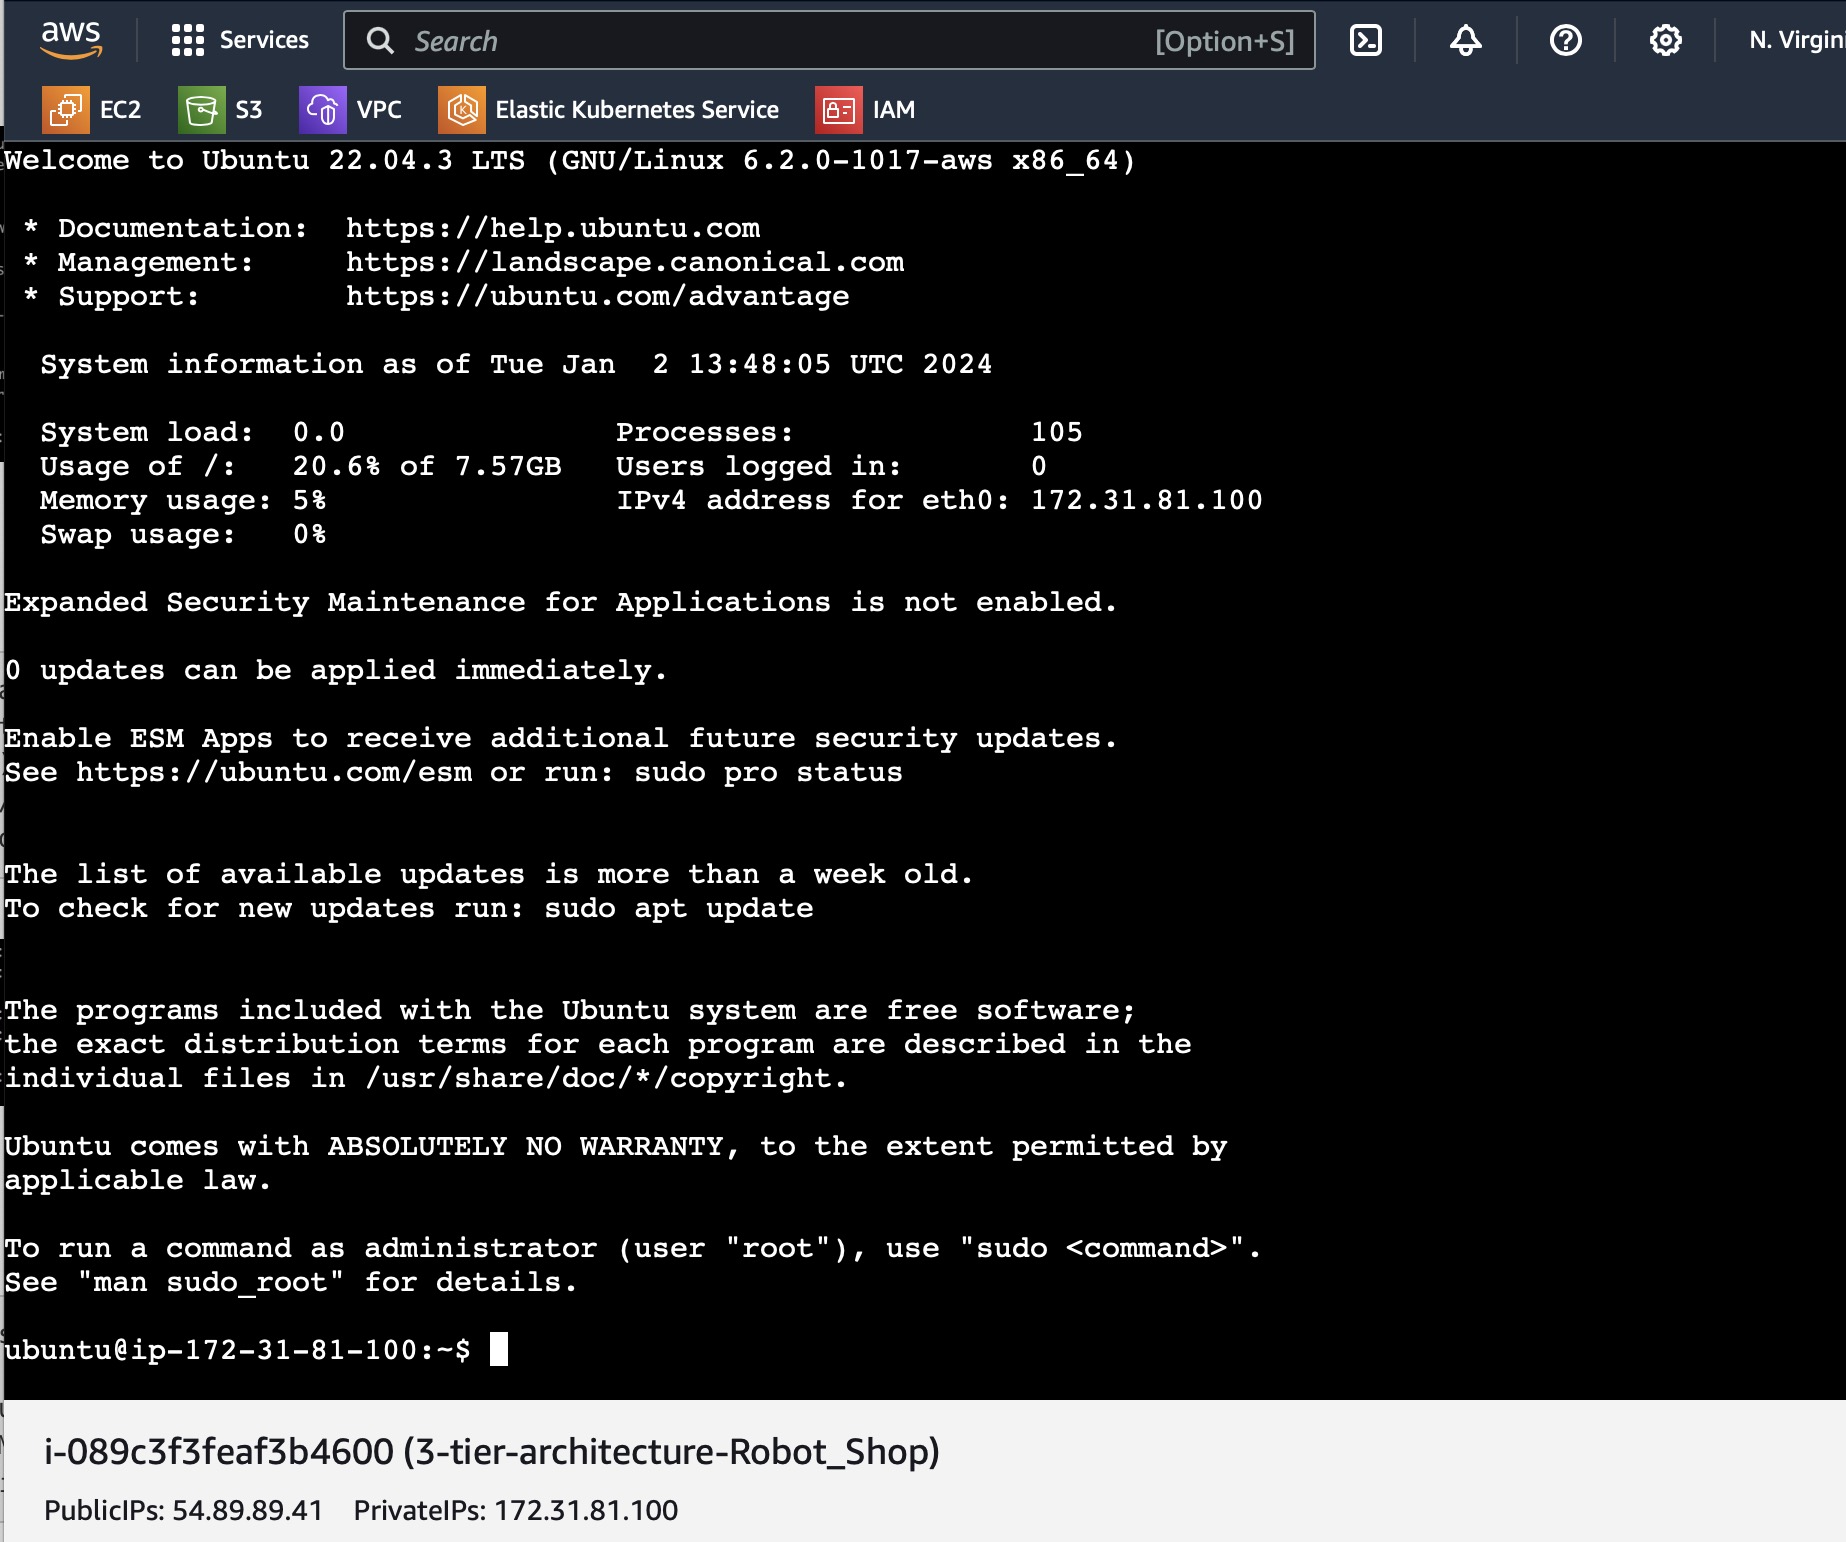
Once connected, now we need to install kubectl, eksctl, helm and awscli.
- AWSCLI:
sudo apt install unzip -y
curl "https://awscli.amazonaws.com/awscli-exe-linux-x86_64.zip" -o "awscliv2.zip"
unzip awscliv2.zip
sudo ./aws/install
KUBECTL
 curl -O https://s3.us-west-2.amazonaws.com/amazon-eks/1.28.3/2023-11-14/bin/linux/amd64/kubectl
 chmod +x ./kubectl
 mkdir -p $HOME/bin && cp ./kubectl $HOME/bin/kubectl && export PATH=$HOME/bin:$PATH
 kubectl version --client
EKSCTL
 sudo apt update
 curl --silent --location "https://github.com/weaveworks/eksctl/releases/latest/download/eksctl_$(uname -s)_amd64.tar.gz" | tar xz -C /tmp
 sudo mv /tmp/eksctl /usr/local/bin
 eksctl version
HELM
 curl -fsSL -o get_helm.sh https://raw.githubusercontent.com/helm/helm/main/scripts/get-helm-3
 chmod 700 get_helm.sh
 ./get_helm.sh
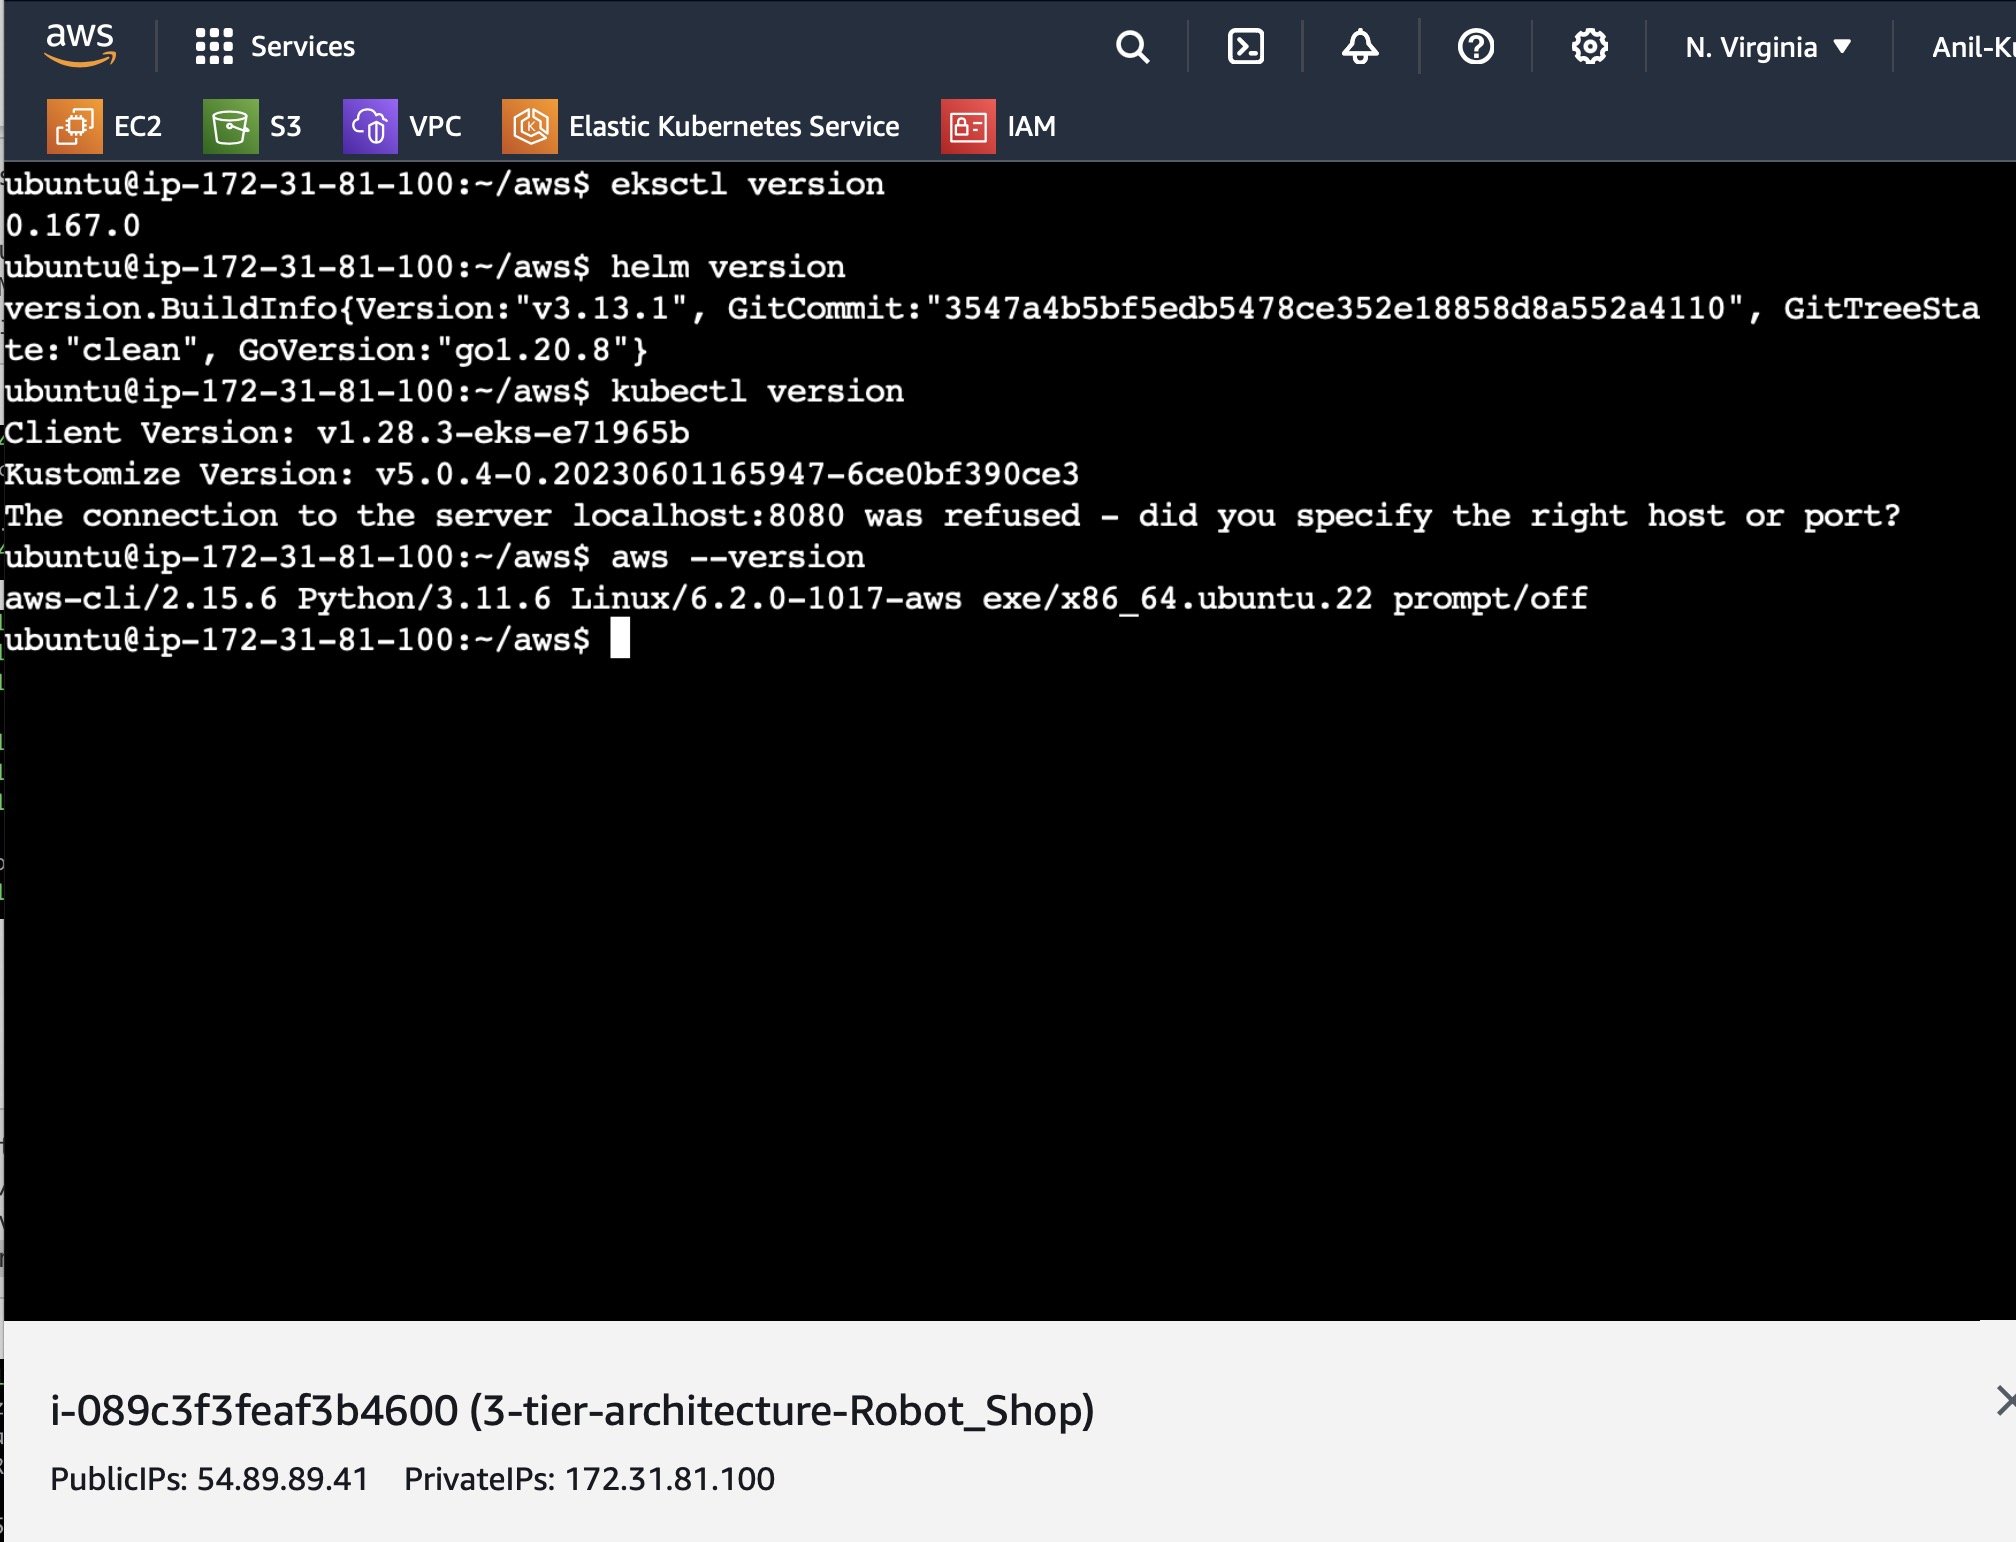
Once you have installed all the packages whether they are installed correctly using the below version commands:
STEP 4: EKS Setup:
Configure the aws details using aws access key id and secret access key and region details.
Configure the region as us-east-1.

Now fork the official GitHub repo of robot-shop and clone that repo.

Once the repo is cloned, you can see all the details in that repo, each micro service has a separate folder which contains that micro-service source code and Docker file to convert that micro-service to a Docker Container and run on any machines.
Create a EKS Cluster using below command:
eksctl create cluster --name demo-cluster-three-tier-1 --region us-east-1
Make sure you are creating this cluster in us-east-1 region as you have configured AWS in us-east-1 region only, If there is a mismatch you need to configure aws on that respective EKS region.
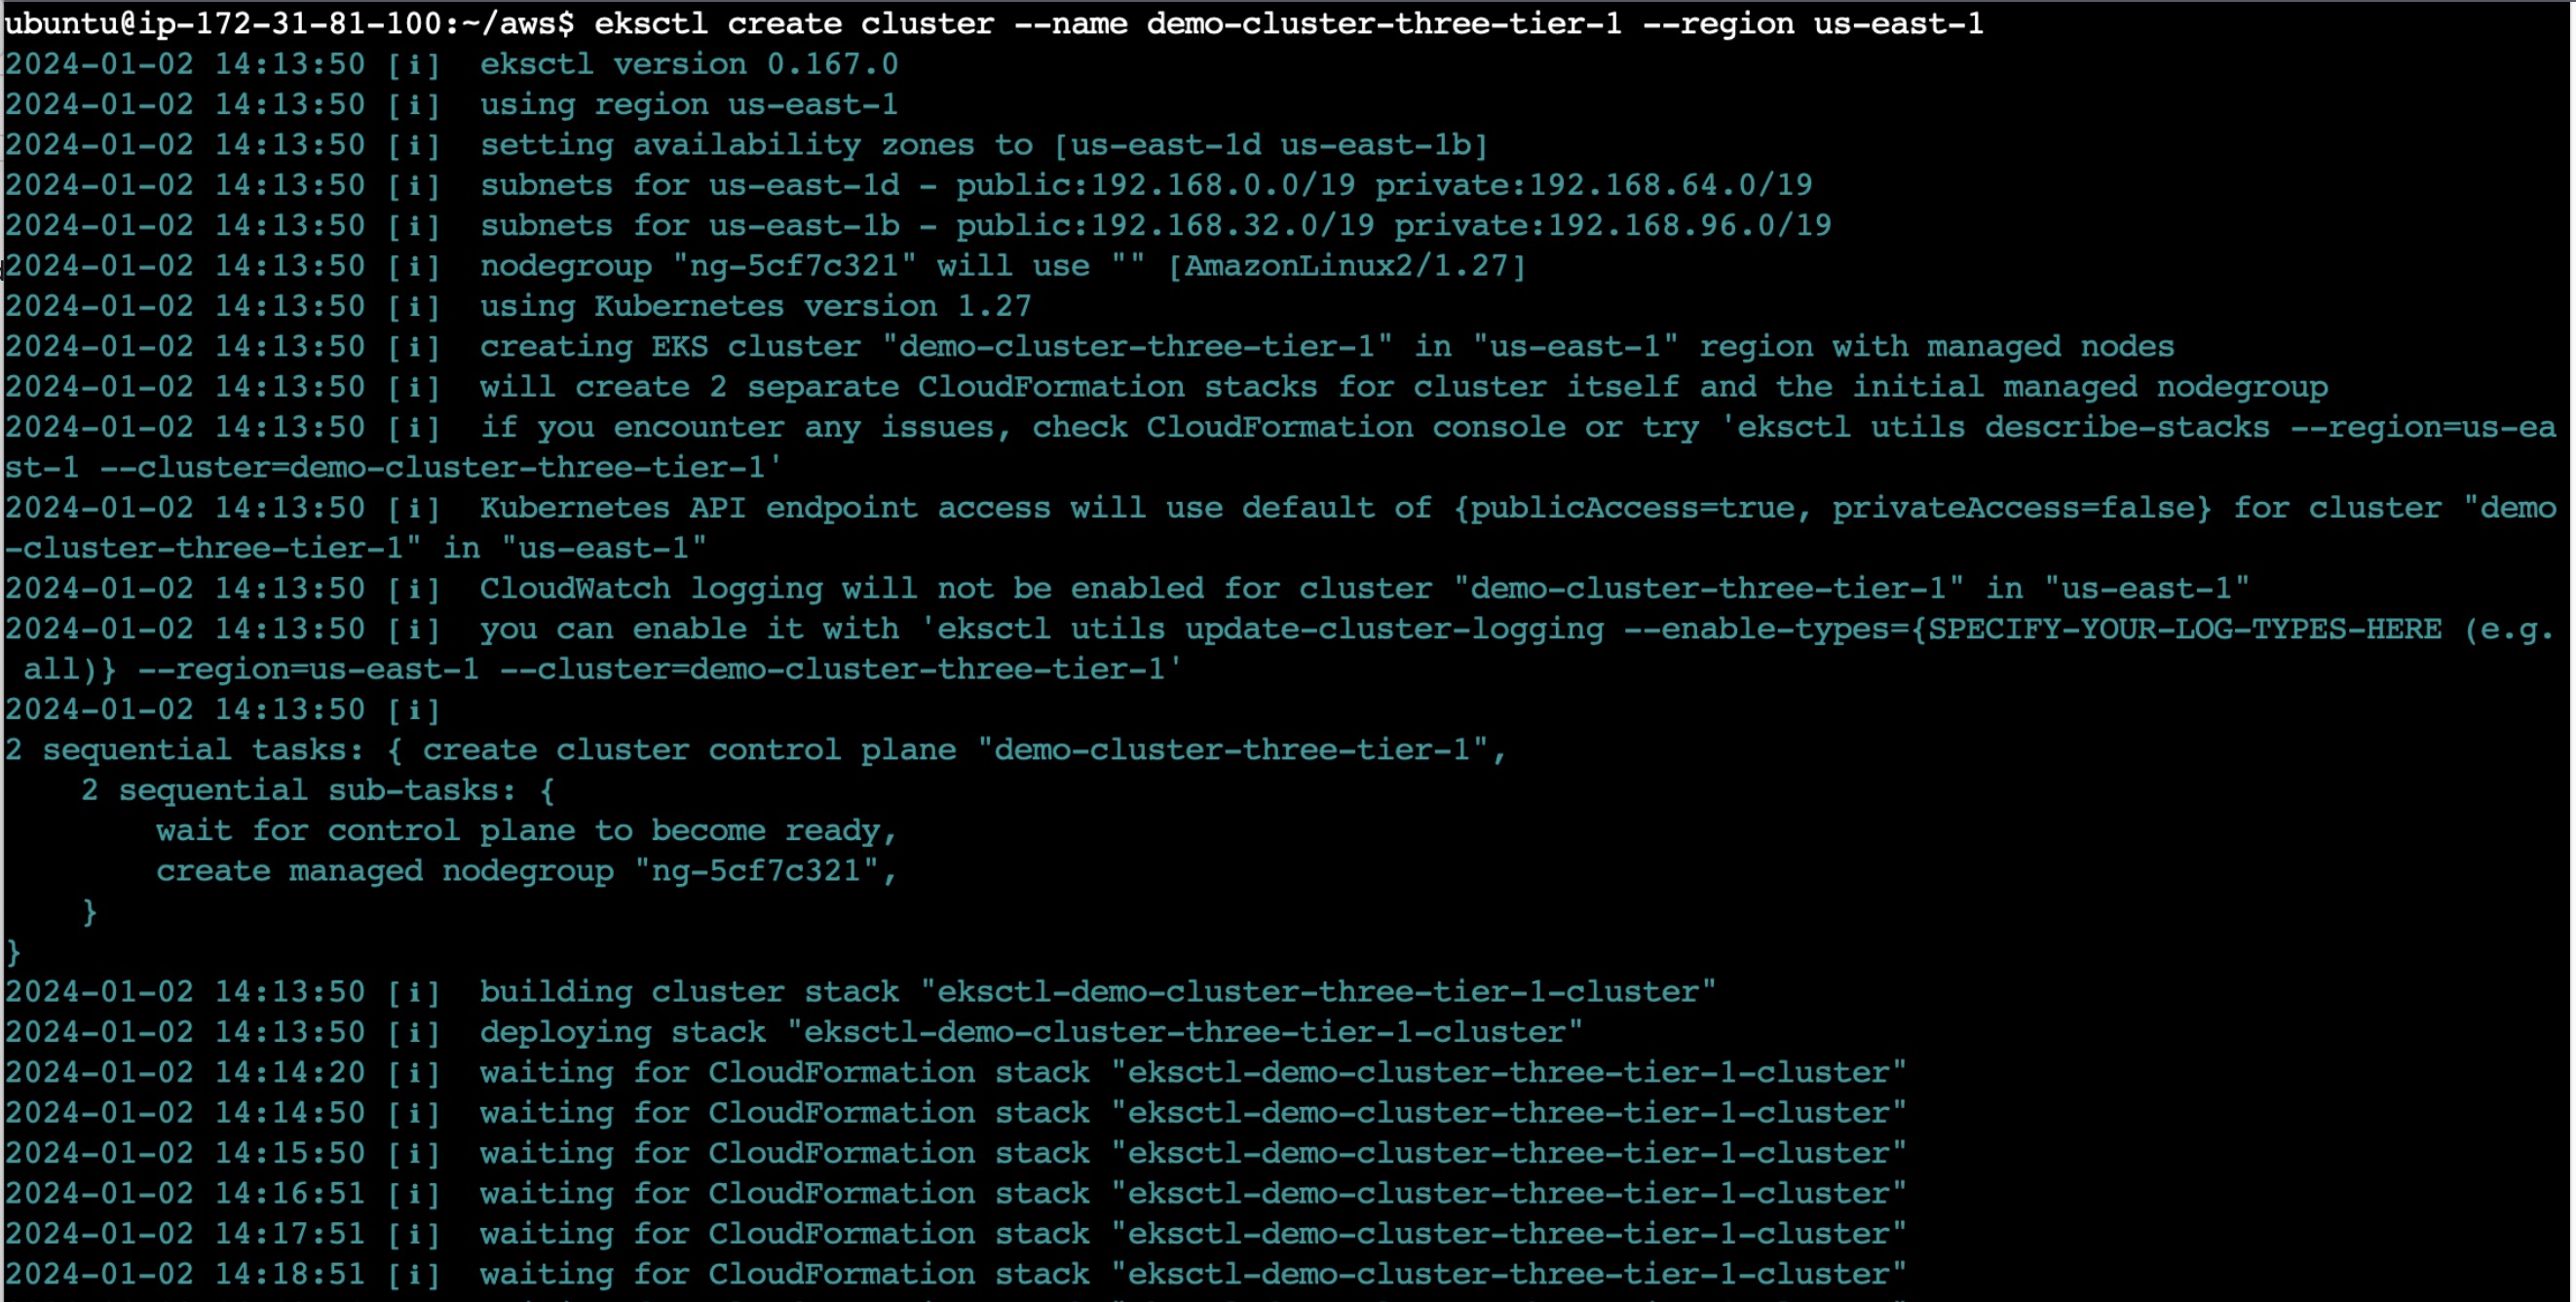

Wait for 10-15 minutes for the EKS Cluster to setup. Once it is done, we can go to the next step.
STEP 5: Configure IAM OIDC Provider
Export the cluster name as an environment variable as you don't need to enter cluster name again when u want to install anything. The variable "cluster_name" streamlines the process of holding and referencing CLUSTER-NAME.
export cluster_name=<CLUSTER-NAME>
As we will be deploying redis as a stateful set which using Persistent Volume which needs to access AWS EBS. So we will define IAM roles and attach it to Service Account so that Pods in EKS will be able to access EBS Volumes.

The last EKSCTL command is used to associate the IAM OIDC provider with an Amazon EKS (Elastic Kubernetes Service) cluster.
STEP 6: Adding ALB add-on:
To expose the robot-shop application to the outside world, we will need Ingress and Ingress Controller. So we will be deploying ALB Ingress Controller using below steps:
Download IAM Policy
curl -O https://raw.githubusercontent.com/kubernetes-sigs/aws-load-balancer-controller/v2.5.4/docs/install/iam_policy.json
Create IAM Policy
aws iam create-policy \
    --policy-name AWSLoadBalancerControllerIAMPolicy \
    --policy-document file://iam_policy.json
Create IAM Service Account
eksctl create iamserviceaccount \
  --cluster=<your-cluster-name> \
  --namespace=kube-system \
  --name=aws-load-balancer-controller \
  --role-name AmazonEKSLoadBalancerControllerRole \
  --attach-policy-arn=arn:aws:iam::<your-aws-account-id>:policy/AWSLoadBalancerControllerIAMPolicy \
  --approve

Change the AWS account-id and cluster name in above command while creating service account
Once the IAM role and policy were created, we need to deploy the ALB Controller.
STEP 7: Deploying the ALB Controller
Add Helm Repo:
helm repo add eks https://aws.github.io/eks-charts
Update the repo
helm repo update eks
Install ALB Controller
helm install aws-load-balancer-controller eks/aws-load-balancer-controller \
  -n kube-system \
  --set clusterName=<your-cluster-name> \
  --set serviceAccount.create=false \
  --set serviceAccount.name=aws-load-balancer-controller \
  --set region=<region> \
  --set vpcId=<your-vpc-id>
Replace the VPC-ID by looking at cluster inside details, cluster name and region in the above command

Once you have installed it, verify whether all the pods are running by using kubectl get pods command.
kubectl get deployment -n kube-system aws-load-balancer-controller

STEP 8: EBS CSI Plugin configuration
Here we will be using redis as a stateful set which requires EBS Volumes as PV. So Whenever a PVC is created, Storage Class needs to automatically create an EBS Volume.
So we will add EBS-CSI plugin which will help SC to create EBS Volume.
The Amazon EBS CSI plugin requires IAM permissions to make calls to AWS APIs on your behalf.
Create an IAM role and attach a policy. AWS maintains an AWS managed policy or you can create your own custom policy. You can create an IAM role and attach the AWS managed policy with the following command. Replace my-cluster with the name of your cluster. The command deploys an AWS CloudFormation stack that creates an IAM role and attaches the IAM policy to it.
eksctl create iamserviceaccount \
    --name ebs-csi-controller-sa \
    --namespace kube-system \
    --cluster <YOUR-CLUSTER-NAME> \
    --role-name AmazonEKS_EBS_CSI_DriverRole \
    --role-only \
    --attach-policy-arn arn:aws:iam::aws:policy/service-role/AmazonEBSCSIDriverPolicy \
    --approve
Run the following command Replace the Cluster name and was account ID.
eksctl create addon --name aws-ebs-csi-driver --cluster <YOUR-CLUSTER-NAME> --service-account-role-arn arn:aws:iam::<AWS-ACCOUNT-ID>:role/AmazonEKS_EBS_CSI_DriverRole --force

All the plugins configuration and other details of EKS Cluster were completed, Now we will be deploying this entire 3-tier architecture using Helm.
STEP 9: Helm Deployments
Navigate to the helm folder and create a new namespace robot-shop
cd 3-tier-architecture-Robot-shop/EKS/helm
kubectl create ns robot-shop
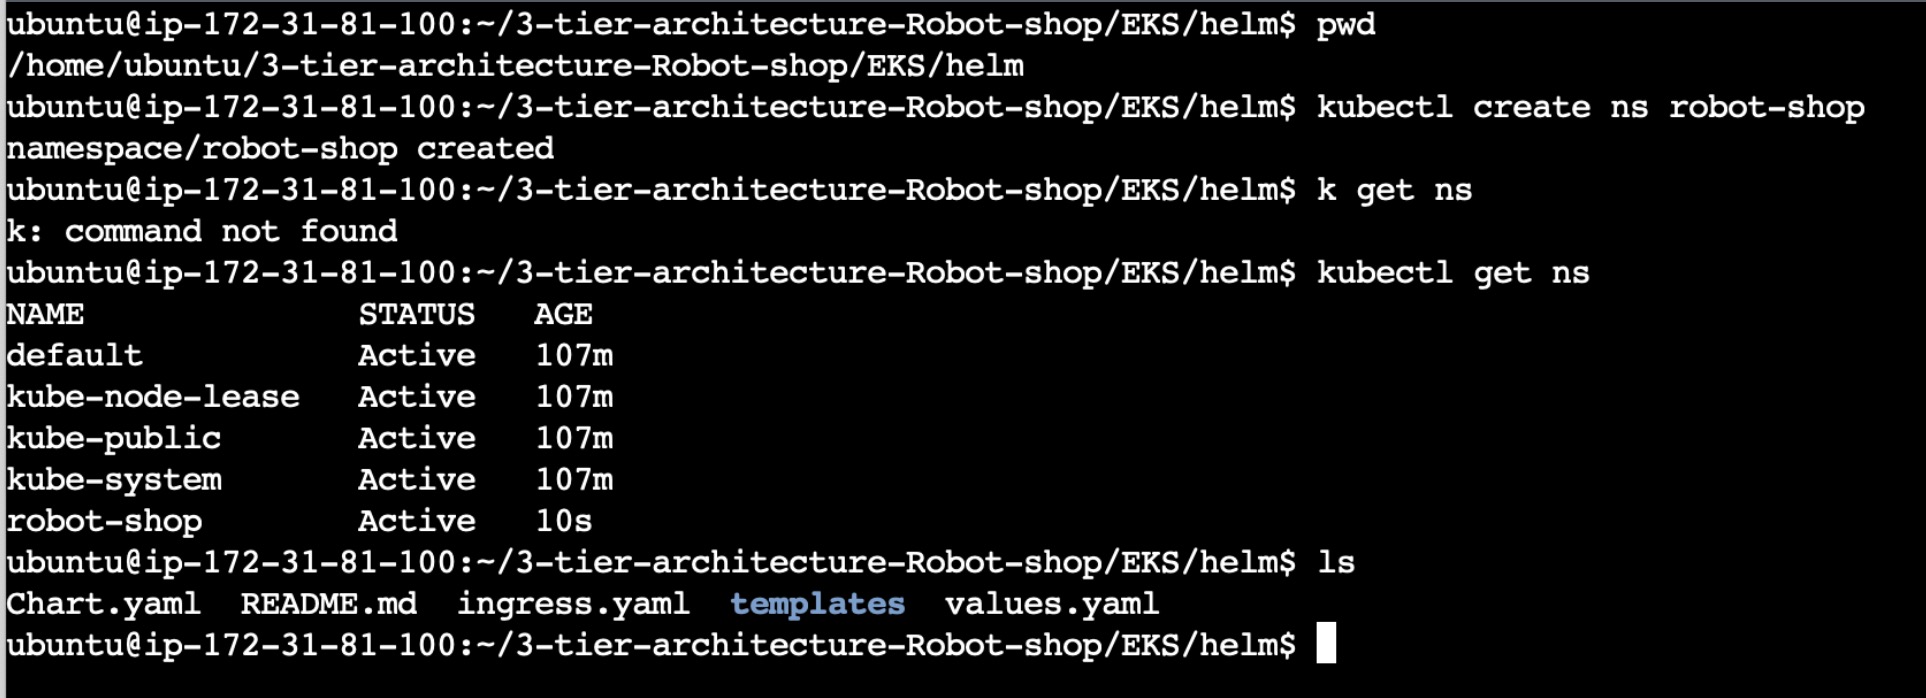
Now install the Helm components in the created Namespace.
helm install robot-shop --namespace robot-shop .
Verify whether all the micro service pods and services are coming or not using kubectl command.
kubectl get pods -n robot-shop
kubectl get svc -n robot-shop

Now we need to expose our robot-shop to the outside world, so we need Ingress for that.
Apply Ingress:
kubectl apply -f ingress.yaml
Now, navigate to AWS Console, Locate EC2, and Access Load Balancers — Copy DNS

Open a New tab and paste that DNS.

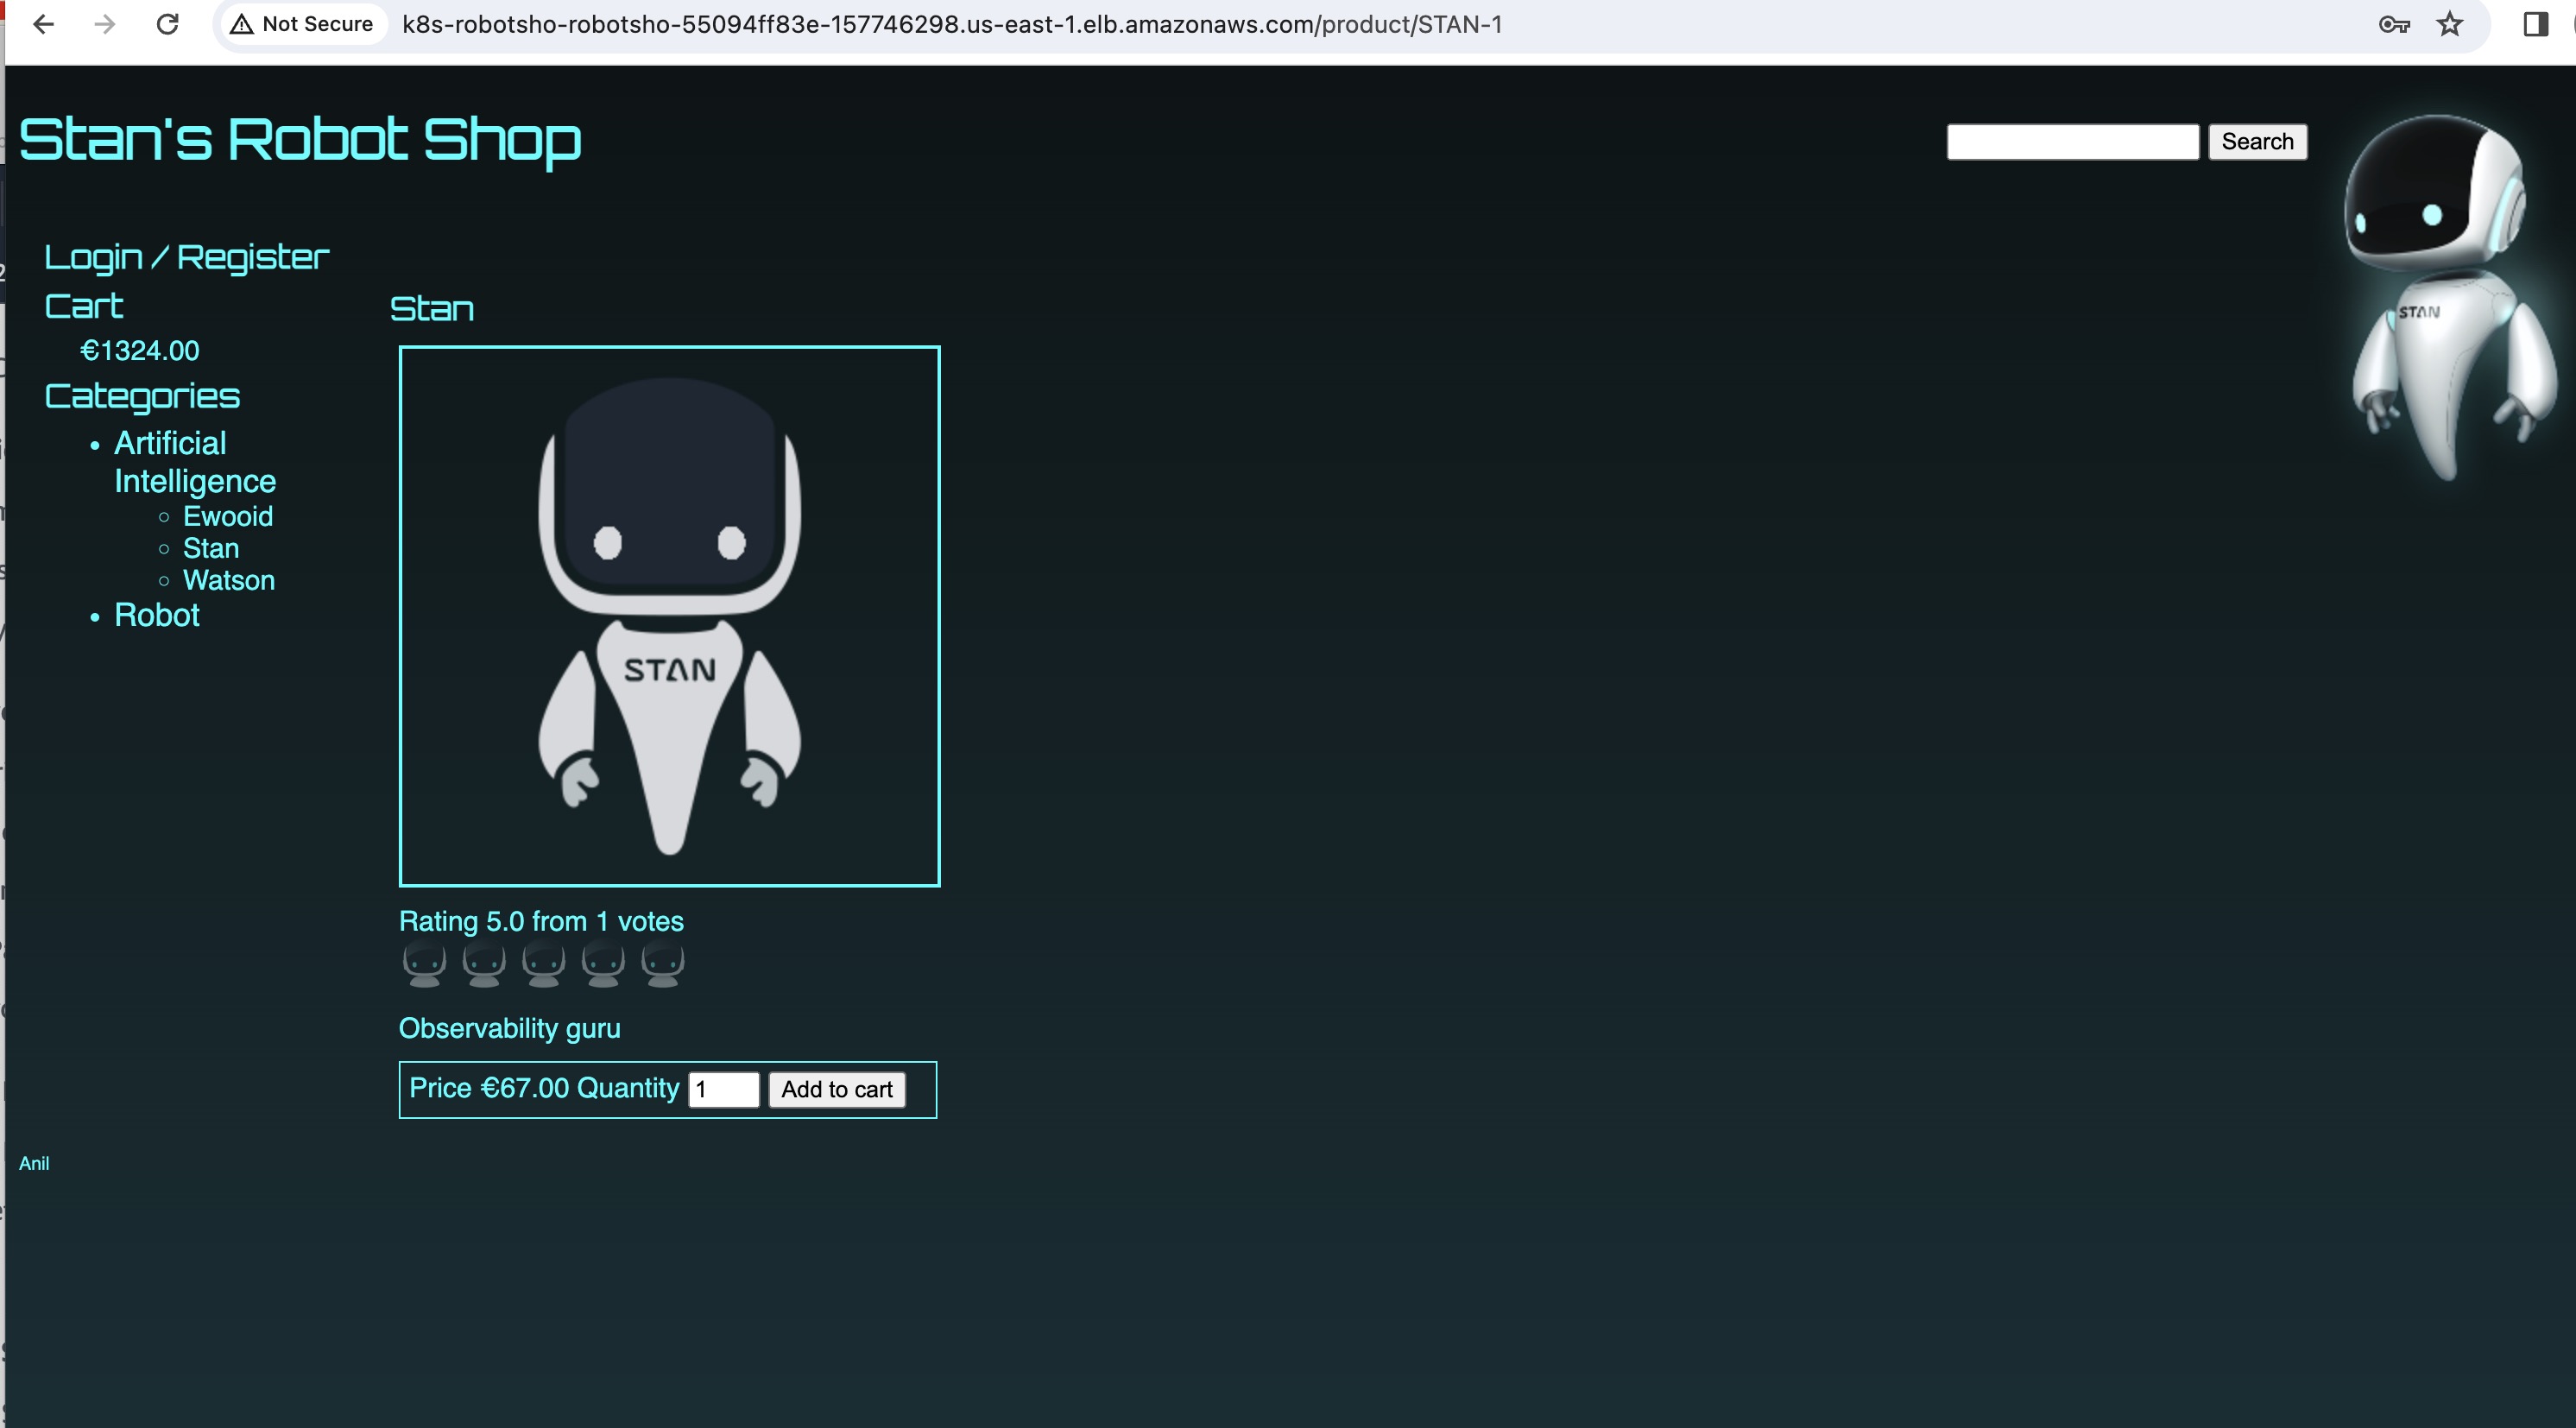
Now play around the robot-shop by logging, registering and going over all the available categories of Robots and Artificial intelligence.
STEP 10: DELETE CLUSTER
Don't forgot to delete the cluster as it will impact the billing in your AWS account.
eksctl delete cluster --name demo-cluster-three-tier-1 --region us-east-1
In this way, we can deploy our complete 3-tier architecture comprising 8 micro services and 3 databases on EKS Cluster using Helm.
I hope this blog has provided you some insights and practical guidance, empowering you to advance your knowledge and proficiency in containerized applications, 3-Tier-Microservice Architecture and Kubernetes.
Thanks for reading this Blog!!
Subscribe to my newsletter
Read articles from Anil Kumar directly inside your inbox. Subscribe to the newsletter, and don't miss out.
Written by
