How I created my (fake) profile photo (Workflow included)
 Peter Vo
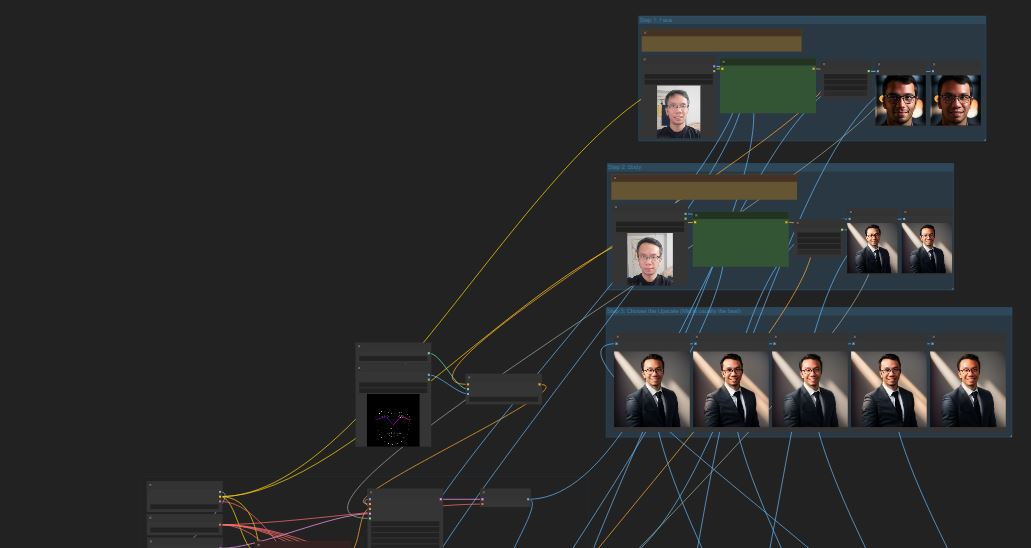
Workflow (if the rest of the post is too boring for you)
You can find and download the ComfyUI workflow (and the necessary OpenPose files if you don't want to create new ones) if you just want to try it out immediately:
xuanphuoc92/My-ComfyUI-Workflows (github.com)
How it was done
With Stable Diffusion, a studio profile photo of a person can be created with the prompt like this:
portrait photo of a man, 30 years old, wearing glasses, in suit, blank background, smiling

professional photography, highly detailed, high definition, diffuse light, cinematic, skin details
This prompt, for example, can produce photos of random people, mostly attractive (unless you have low self-esteem about your appearance that you put "big head" or "tiring eyes" in the prompt). For example, with Deliberate v5 checkpoint:
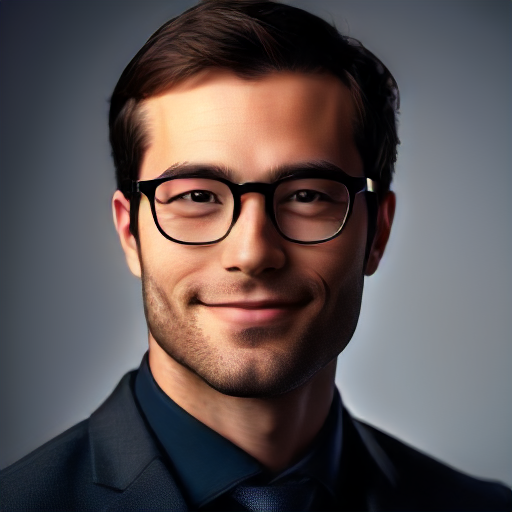
Of course, you can consider swapping your own face to this picture, but...
Any attempt to do your face swapped into that attractive man would result into an attractive nightmare, like this:

You may consider changing the prompt (like adding "almost bald head" or "giant nose") or praying the random seed to give you a photo that looks close to yourself.
But instead of doing that, you can make use of the IPAdapter or the IPAdapter FaceID (the latter is better, but the former seems good enough) to tell Stable Diffusion to put your face into the image created right away without any faceswap. For example, it can look like this:

Most of the time, due to the checkpoints are trained by a preset of mostly attractive faces, the face created would be influenced by such pre-trained faces. So, unless your face is among the typically attractive people used to train the models, the results of using IPAdapter are still mostly far from perfect (and sometimes lower in quality). Some twist here and there may help improve it (e.g. check out on Latent Vision's video), but how about this?
At least the resulting images would have similar bone structure that matches with your face. Hair may be similar or different, but I find the hair most of the time is compatible and can suggest that "this hair style may look good on me if I decide to have it." (maybe take one to the barber shop next time)
So how about doing the face swap this round on this photo?
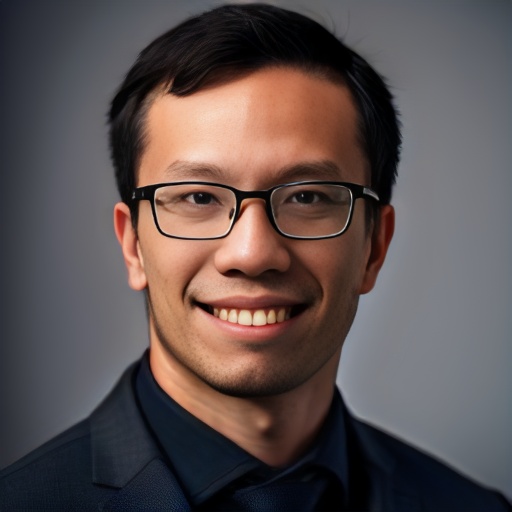
Now that's not so bad, though those perfect teeth can still give people nightmare. But that would act as the base principle of the workflow:
Use IPAdapter to create photo with head and body structure that is close to and compatible to with the face.
Then use Reactor face swap to fix the face.
I choose Reactor as the tool that is used to perform faceswap. From what I observe, it not only swap face, but also fixes the face to be clearer.
The result of how compatible the head photo created by IPAdapter is to your face depends on the input photo. Same for the faceswap by Reactor. Sometimes, one same input photo of your face can create compatible head but not good or accurate faceswap.
Therefore, I divide the process into 2 inputs, which I use 2 different face photos of myself, one to create the compatible head, and the other to swap face.

First, step 1, I make use both IPAdapter and Reactor to determine whether certain input photo would create a good faceswap. I don't bother in this case whether the head structure is compatible or not. Usually, input photo face of yourself with light smile that shows your teeth tends to work well:
The resulting image here is just for your own review. It is the input face photo that would be used for the faceswap in the final photo. However, if there is any unexpected influence in the input photo that you do not want in the final photo (e.g. color of background or your clothes blend into the final photo), consider taking the face swapped version here as the input face photo for the second step.
To create consistent close-up pose, I make use of the OpenPose ControlNet with the fixed close-up pose image.

Second, step 2, I continue using IPAdapter, but with a different input photo to create the final image. This input photo can be same or different from the input photo in step 1. The photo which captures your head and hair in certain angle tends to work well.
OpenPose ControlNet can also be used here. However, you can choose not to use it to explore different random poses.
Use the input photo in step 1 (or the result face swapped photo in step 1) to face swap it into the final photo.

Finally, let different schemes of Upscaling to upscale your photo, and see which would suit you best.
References + Bonus
All of how to create the workflows are mostly learned from Latent Vision's Youtube Channel. Check out the videos from this wonderful creator!
Bonus:
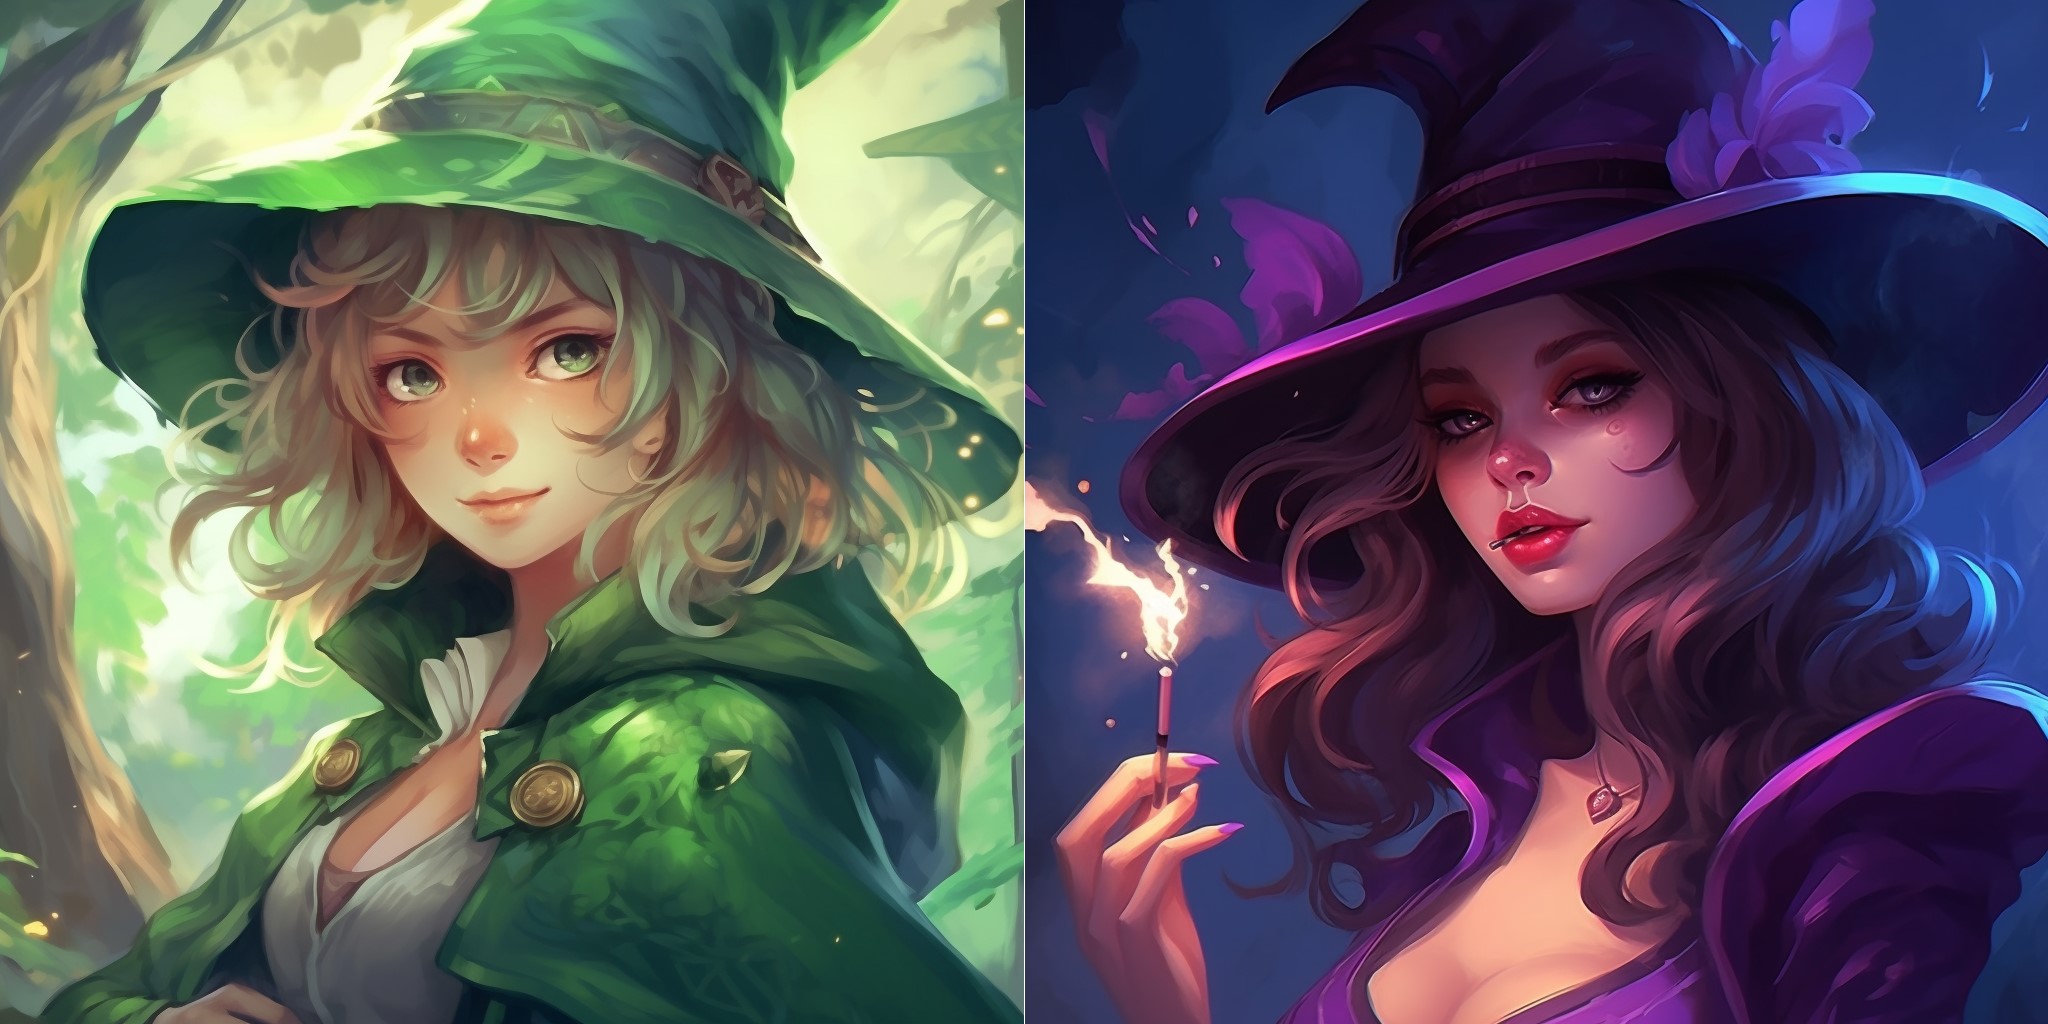
From one of Latent Vision workflows, these 2 images can be combined into this:

Subscribe to my newsletter
Read articles from Peter Vo directly inside your inbox. Subscribe to the newsletter, and don't miss out.
Written by

Peter Vo
Peter Vo
A (kinda) carefree blogger who likes to blog anything he finds interesting...