Step-by-Step Guide on Connecting to EC2 Instances through SSH Client
 Emmanuella Adeka
Introduction
Amazon EC2 instances are virtual servers in the cloud. Think of EC2 instances as renting books from the library, rather than buying books and storing them at home, you could just rent what you need, when you need it. Connecting to EC2 instances via Secure Shell (SSH) is one of the many ways you can access your instance. In this blog post, I'll guide you through sshing into EC2 instances using PuTTY on a windows machine.
Prerequisites
An active AWS account
Putty installed on the Windows machine. Download from the official website here!
Step 0: Launching the EC2 Instance
Before we dive into connecting through the SSH client, the first step is launching your instance. Here's a quick overview of what needs to be done:
Log in to the AWS Management Console
If you don't have an AWS account, sign up for one (guide to create one). Once you're in, navigate to the EC2 service.
Launch an EC2 Instance
Click the "Launch Instance" button to start the instance creation process. You'll need to choose an Amazon Machine Image (AMI) and instance type, configure instance details, and define security groups. You'll also need to create or select an existing key pair for SSH access.

Review and Launch
Review your instance's configuration, and when you're satisfied, click "Launch." You'll be prompted to choose an existing key pair or create a new one. Download your key pair, and keep it safe – you'll need it to connect to your instance.
Steps 1-4: Connecting to the Instance
1. Choose connection mode
Firstly, choose the connection mode for your instance, for this blog, we'll connect via SSH client. Note the following things:
- Public IP address

2. Convert .pem to .ppk using PuTTYgen
PuTTY does not support PEM file format, hence the need for its conversion to .ppk.
Convert .ppk to .pem file using the following steps:
Open PuTTYgen and click "Load" button to lead an existing private key file.
Set filetype to "All Files (*.*)" to make PEM file visible.
Select the PEM file and click "Open".
Acknowledge the PuTTYgen notice by clicking "OK"

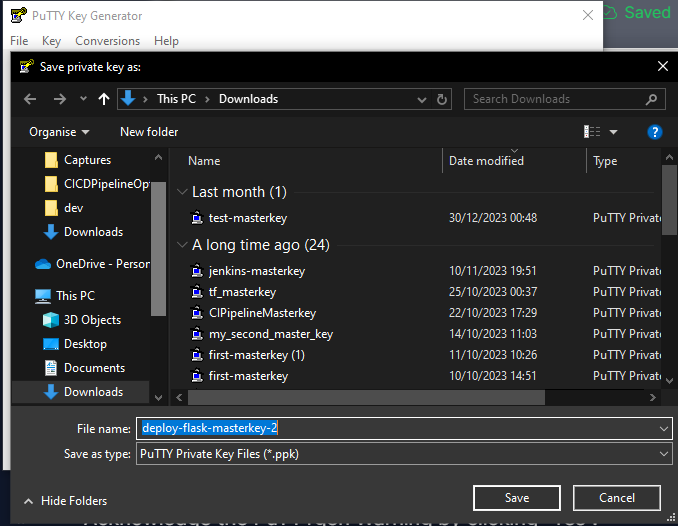
Click "Save private key" to download the .ppk file.

Acknowledge the PuTTYgen Warning by clicking "Yes".

Enter the file name and save the new .ppk file.
3. Connect to EC2 instance from PuTTY
Once the conversion step is complete, authenticate into the EC2 instance from PuTTY. To find the "Host Name" for connection, get the URL from the connection tab of the EC2 instance. Paste the URL as the "Host Name" on PuTTY. The url should look something like the following:
ec2-user@ec2-<public-dns>.<region>.compute.amazonaws.com

Under the Category menu, navigate to Connection > SSH > Auth > Credentials. Choose your private key file (.ppk) for "Private key file for authentication".

Click "Open".

Click "Accept"
4. Test your Instance
If all is configured correctly, you should be greeted by this terminal window

Test the instance by installing an Apache web server and running a simple HTML page. Run each of the following commands in the terminal:
# Update package list
sudo yum update -y

# install apache web server
sudo yum install httpd -y

# Start Apache web server
sudo systemctl start httpd

# Configure Apache to run on system boot
sudo systemctl enable httpd

# Create a simple HTML page
sudo chmod 777 /var/www/html

# Create a simple HTML page
sudo vim /var/www/html/index.html
Once in the html file, click "I" to insert and paste the following code in the file:
<!DOCTYPE html>
<html>
  <head>
    <title>Apache Web Server Modified</title>
  </head>
  <body>
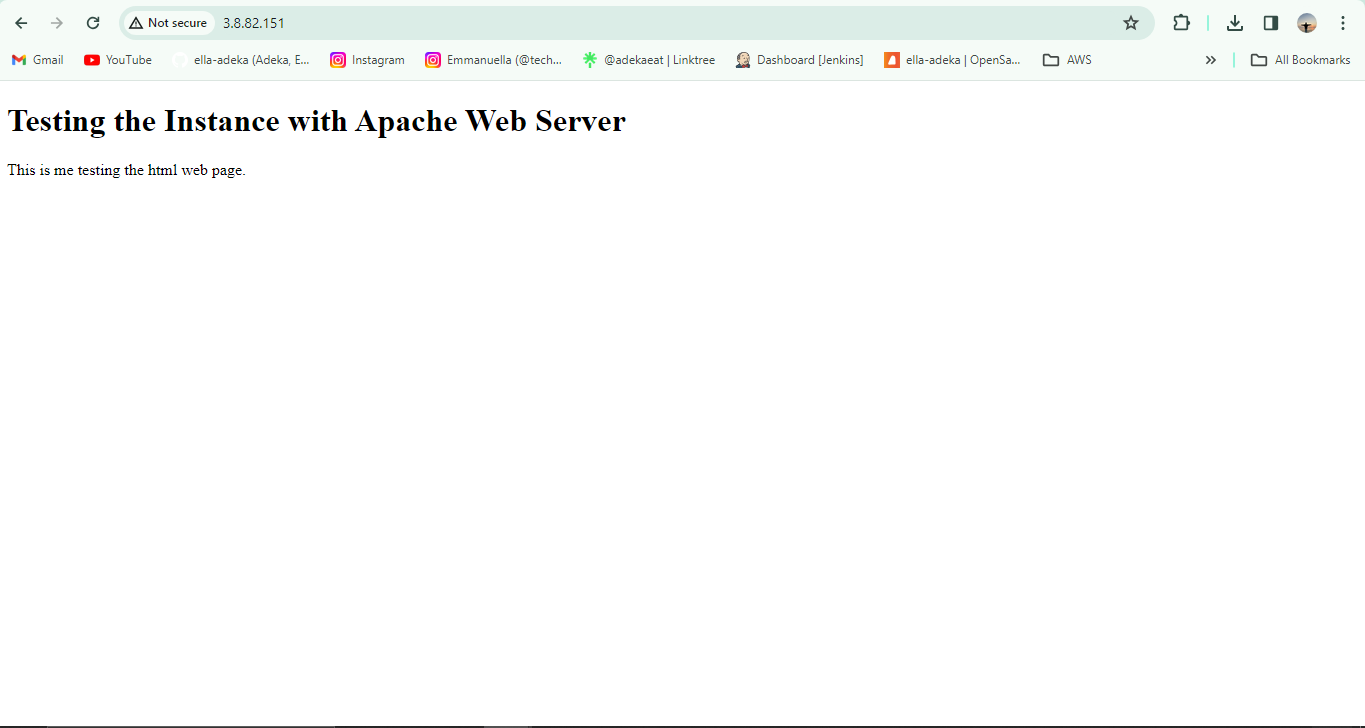
    <h1>Testing the Instance with Apache Web Server</h1>
    <p>This is me testing the html web page.</p>
  </body>
</html>

Click "Esc" key and type "wq" to save and close the file
Test Apache Web Server by pasting your instance's Public IP address in the address bar of a browser.

Conclusion
Connecting to EC2 instances with SSH is a pretty straightforward process with only 4 steps, including testing the connection. With a secure connection established, your EC2 instances could very easily be configured and managed.
Subscribe to my newsletter
Read articles from Emmanuella Adeka directly inside your inbox. Subscribe to the newsletter, and don't miss out.
Written by

Emmanuella Adeka
Emmanuella Adeka
I am a DevOps Engineer interested in gaining and sharing knowledge. Most interested in automation. Writing about DevOps tools and AWS.