Day 19 Task: Docker for DevOps Engineers
 Akash Dhengale
Explore Docker Volume and Network concepts. Learn to manage data persistently and enhance container communication. Simplifying Docker's powerful features.
Introduction:
Hey there! In this blog, we're diving into the basics of Docker Volume and Docker Network. These are key players in keeping data safe and helping containers talk to each other. Come along as we check out the cool and simple features that Docker has to offer.
Docker-Volume🗃️:
Safe Storage Outside Containers: Docker volumes are like external storage spaces. They keep data safe, even if the container is deleted.
Easy Data Sharing: Volumes make it simple to share and copy data between containers. Use the same volume to have the same data in different containers.
Docker-Network 🌐:
Spaces for Containers to Talk: Docker networks create virtual spaces for containers to chat with each other and the computer they're on.
Sharing Storage Secrets: Docker networks let containers share storage space, making Docker a cool place for data teamwork.
Task-1
Create a multi-container docker-compose file which will bring UP and bring DOWN containers in a single shot (Example - Create application and database container)
First, we will create a Docker Compose file.
vi docker-compose.ymlversion: "3.8" services: nginx: image: nginx:latest ports: - "80:80" volumes: - nginx-data:/usr/share/nginx/html database: image: mysql:latest environment: MYSQL_ROOT_PASSWORD: mypassword MYSQL_DATABASE: mydatabase MYSQL_USER: myuser MYSQL_PASSWORD: mypassword volumes: - db-data:/var/lib/mysql volumes: nginx-data: external: false db-data: external: falseSave and exit by using :wq.
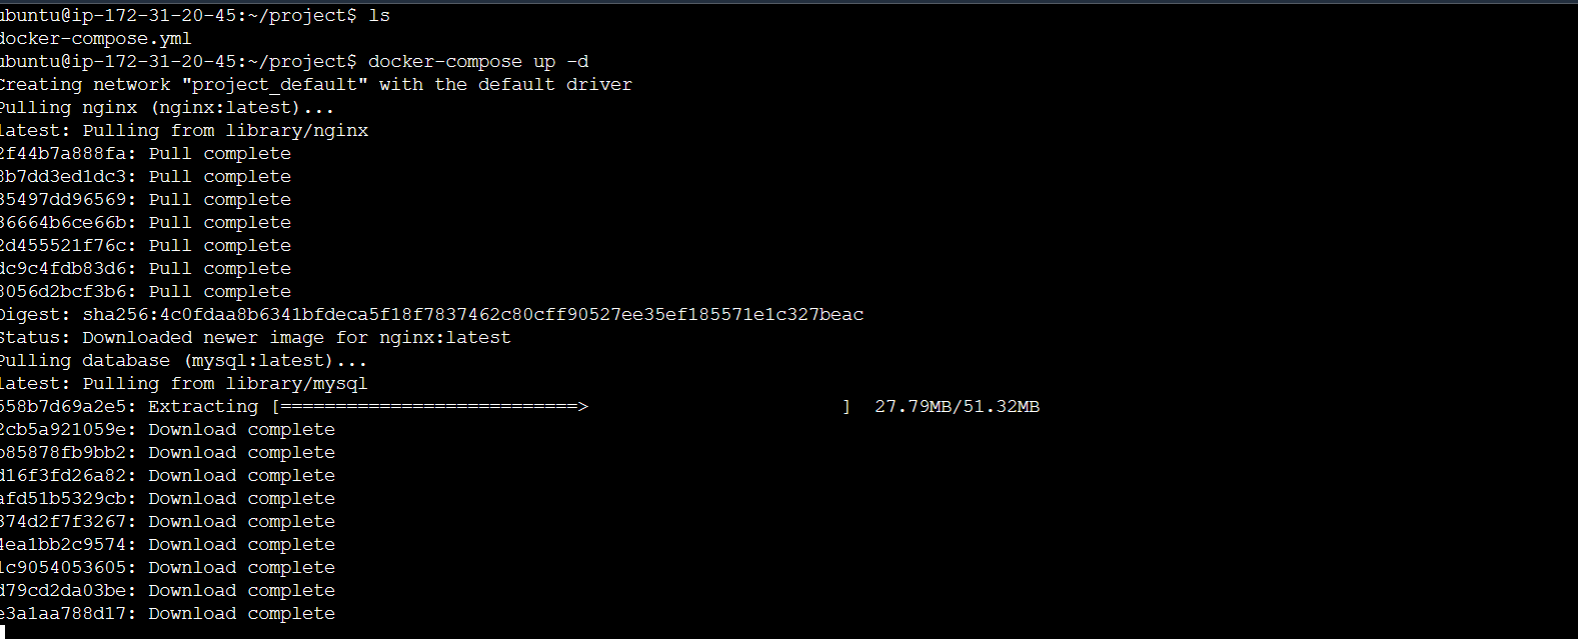
Next, use the docker-compose up -d command to launch the multi-container application in detached mode


Here is my updated docker-compose file:
  version: "3.8"

  services:
    app:
      image: node:latest
      ports:
        - "3000:3000"
      volumes:
        - app-data:/usr/src/app/data

    database:
      image: mysql:latest
      environment:
        MYSQL_ROOT_PASSWORD: mypassword
        MYSQL_DATABASE: mydatabase
        MYSQL_USER: myuser
        MYSQL_PASSWORD: mypassword
      volumes:
        - db-data:/var/lib/mysql

    nginx:
      image: nginx:latest
      ports:
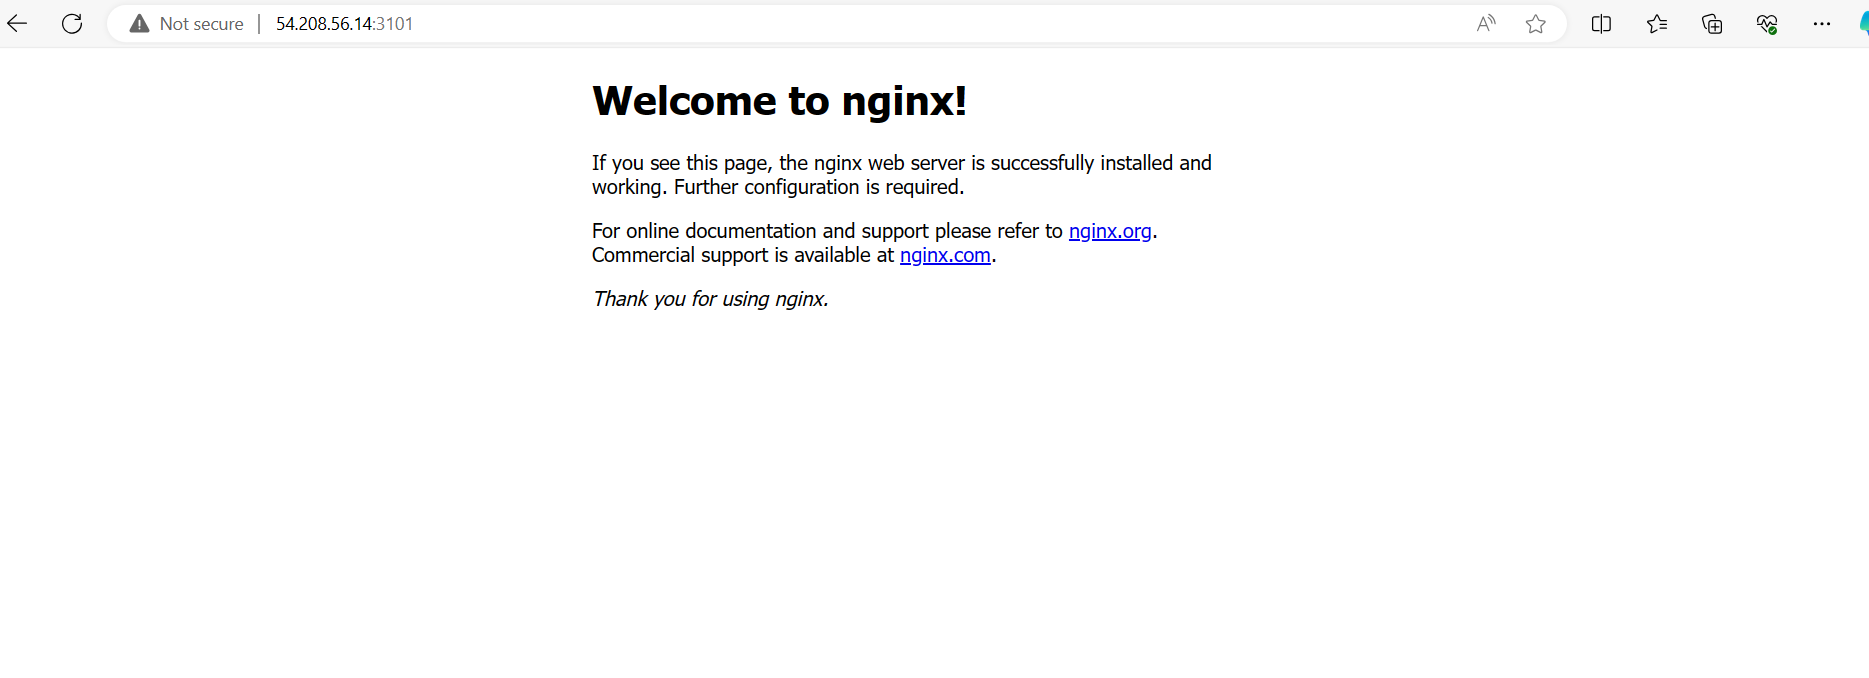
        - "3101:80"
      volumes:
        - nginx-data:/usr/share/nginx/html

    nginx2:
      image: nginx:latest
      ports:
        - "3102:80"
      volumes:
        - nginx-data:/usr/share/nginx/html

    nginx3:
      image: nginx:latest
      ports:
        - "3003:80"
      volumes:
        - nginx-data:/usr/share/nginx/html

  volumes:
    app-data:
    db-data:
    nginx-data:
Utilize docker-compose scale to increase or decrease the number of replicas for a specific service.

- Use
docker-compose psto view the status of all containers anddocker-compose logsto view the logs of a specific service.


- Use
docker-compose downto stop and remove all containers, networks, and volumes associated with the application.

Task-2
Step 1: Create Two or More Containers
Use the
docker run --mountcommand to create multiple containers that share the same volume. In your case, this would be thenginx-datavolume declared in yourdocker-compose.ymlfile.Example:
docker run -d --name container1 --mount source=nginx-data,target=/usr/share/nginx/html nginx:latest
docker run -d --name container2 --mount source=nginx-data,target=/usr/share/nginx/html nginx:latest


Step 2: Verify Data Consistency
- Enter the First Container:
docker exec -it container1 /bin/bash

Navigate to Volume Directory:
cd /usr/share/nginx/htmlCreate a File:
echo "Hello from Container 1" > test.txt
Exit the Container.

Enter the Second Container:
docker exec -it container2 /bin/bashNavigate to Volume Directory:
cd /usr/share/nginx/htmlVerify Data: Check if the file created in the first container is present.

Yes, the file created in the first container is present in the second container
Step 3: List Docker Volumes
Run the following command to list all volumes:
docker volume ls

Step 4: Remove Docker Volume
1. Stop the Containers:
docker stop container1 container2
- Remove the Containers:
docker rm container1 container2

- To remove the volume when done, use the following command:
docker volume rm nginx-data

Conclusion:
Docker empowers DevOps engineers with features like volumes and networks, ensuring data resilience and effective container communication. The provided tasks guide you through practical examples, showcasing the seamless integration of these powerful Docker capabilities.
Subscribe to my newsletter
Read articles from Akash Dhengale directly inside your inbox. Subscribe to the newsletter, and don't miss out.
Written by

Akash Dhengale
Akash Dhengale
DevOps Enthusiast || BCA Grad || MCA Pursuing | AWS, Docker, Kubernetes || Automation Specialist || Git & GitHub || Terraform || Seeking Entry-Level Opportunities.
