DeautherX Serial Interface
 BlackTechX
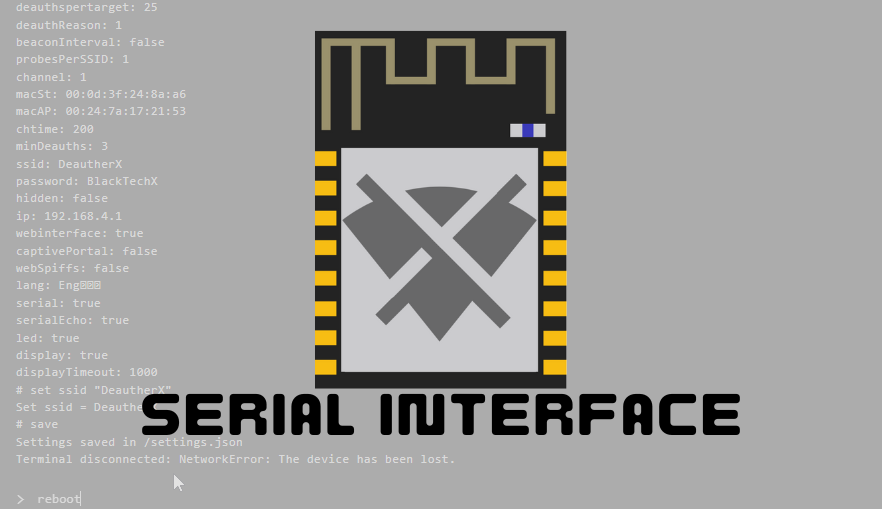
Table of contents
Usage(DeautherX Web Tools).
Usage (Arduino)
Command Reference
Escaping Spaces
Combine Serial Commands
SPIFFS
Here we will look at getting access to the DeautherX Serial Interface and some valuable tips and tricks.
Usage (DeautherX Web Tools)
We now have DeautherX Web Tools, an online serial terminal. A great alternative where you don't need to install anything. You just need a compatible browser.
Open DeautherX Web Tools with Chrome, Edge, or Opera for desktop. (Other browsers are not supported at the moment)
Click connect
Plugin your ESP8266 board
Select the port that pops up in the list and click connect
on Device Deskbound click on Logs & Console
Usage (Arduino)
Connect the ESP8266 board to your computer
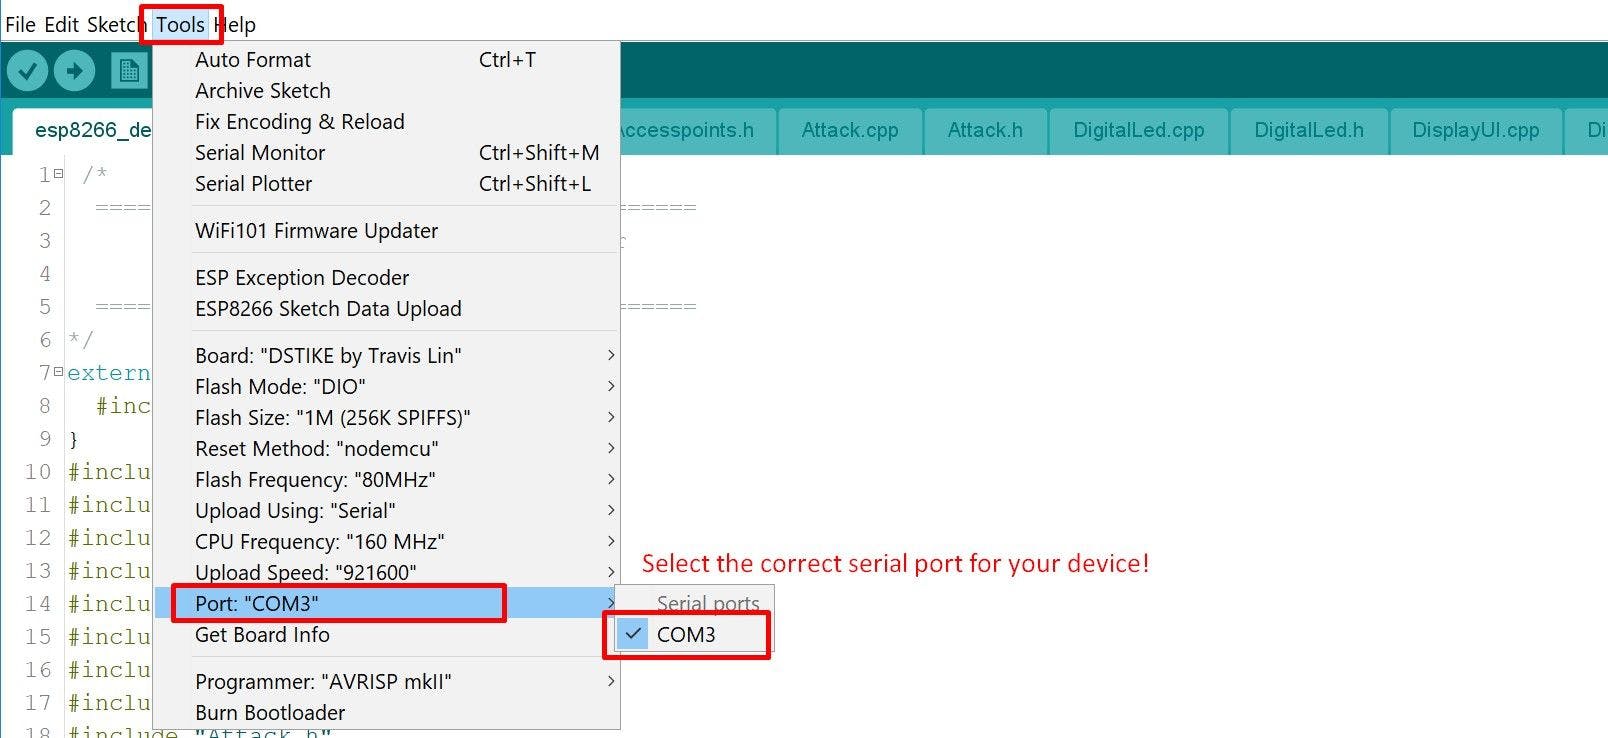
Open Arduino, go to Tools > Port, and select the corresponding serial (COM) port
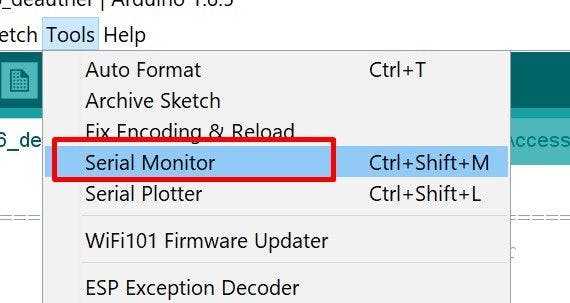
Go to Tools and click on Serial Monitor
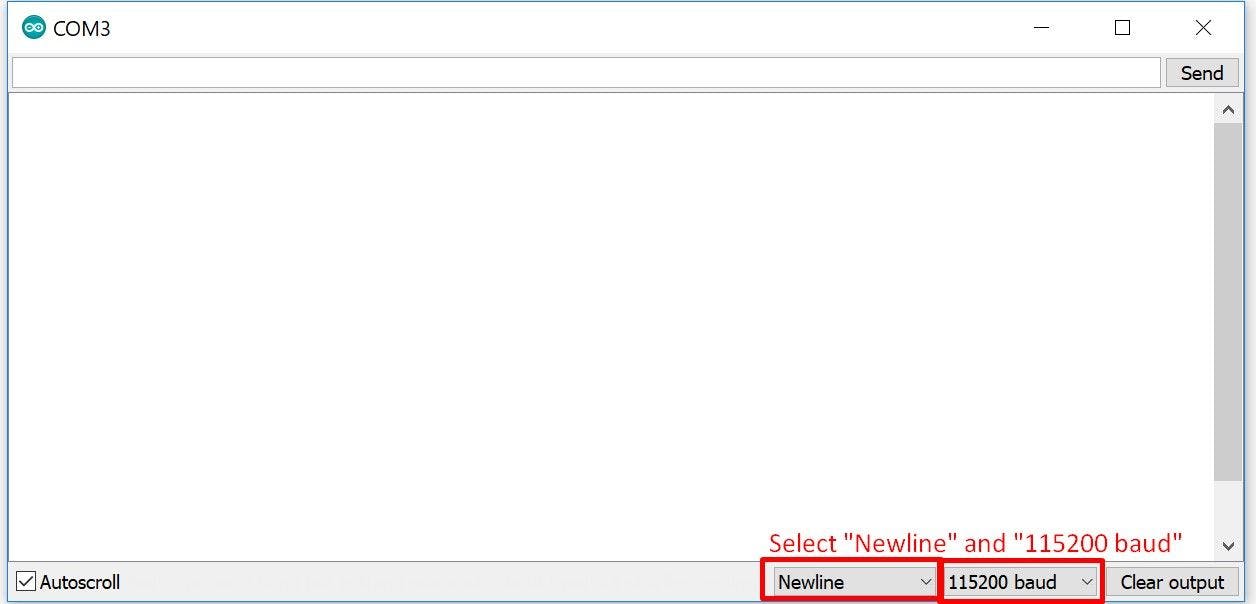
Select Newline and 115200 as baudrate
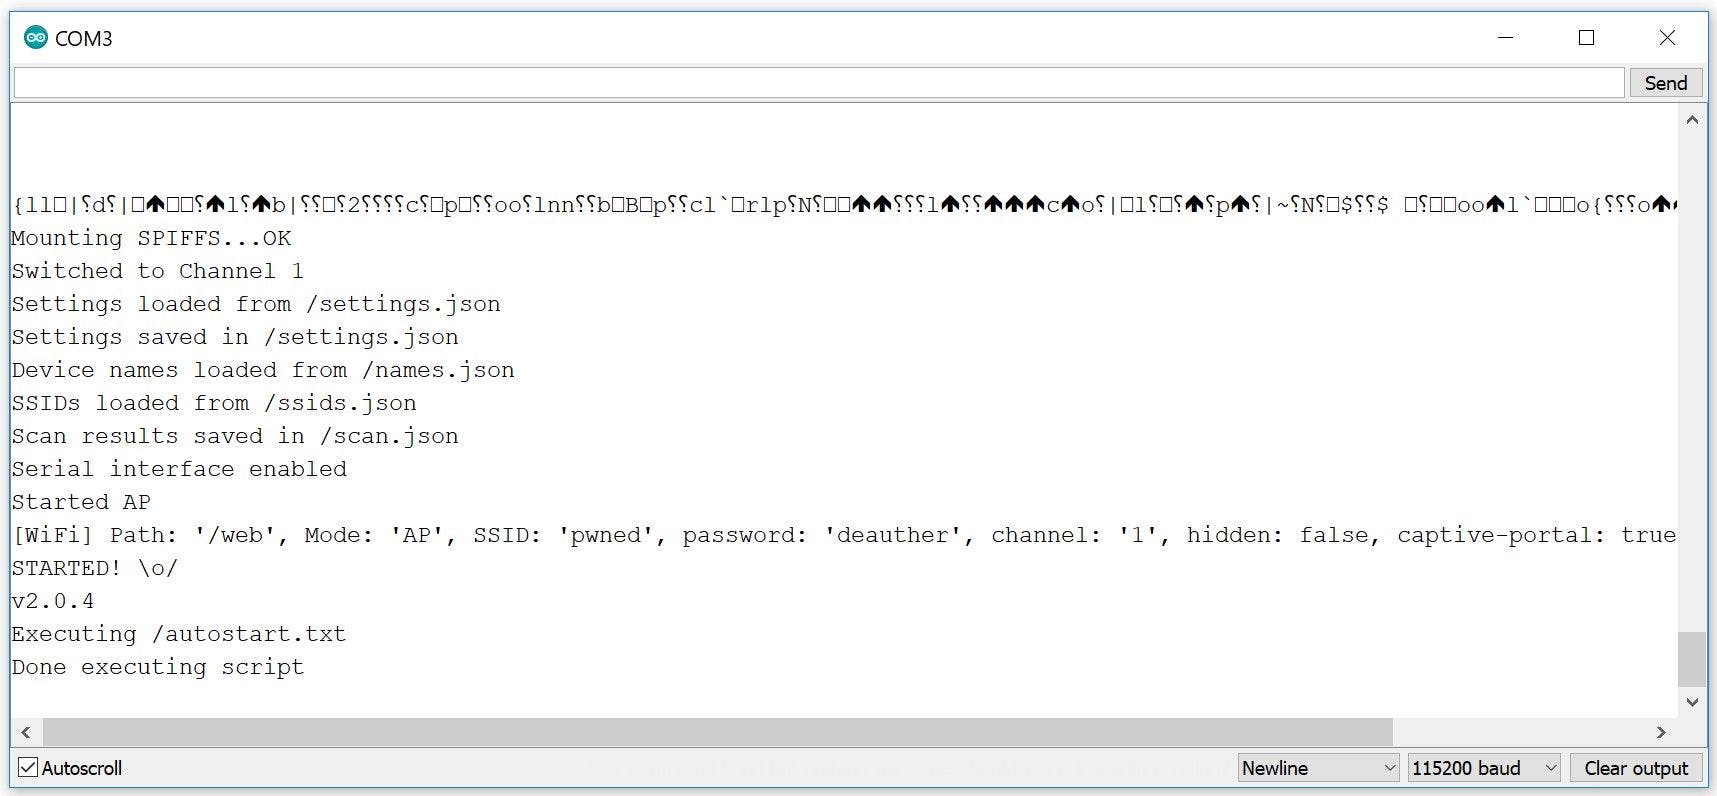
Command Reference
You can find a list with all serial commands here
Escaping Spaces
In the serial interface, commands and parameters are divided by spaces.
This command is OK:
add ssid test
This command isn't:
add ssid this is a test
To escape these spaces, you can use a backslash . For example:
add ssid this\ is\ a\ better\ test
But a better approach is to use double quotes ". For example:
add ssid "this is an even better test"
Combine Serial Commands
To chain multiple commands into one line, separate them with two semicolons
sysinfo;;deautherx
This example will first execute "sysinfo" and then "chicken".
There is no limit on the number of commands you can combine with this feature, but there is a limit of 512 characters per line!
Some commands like "scan" work asynchronous and don't block. To chain commands like this, you can make use of the "DELAY" command:
scan wifi -t 10s -ch 6;;DELAY 11s;;show stations
This example will scan for 10 seconds on channel 6 and wait 11 seconds before printing the results. Note that it's always better to use a higher delay than you expect the previous command to run, just to be on the safe side.
SPIFFS
The ESP8266 has a memory chip of usually 1,2 or 4 MB of storage - depending on the model, it could be up to 16 MB or as low as 512 KB. The firmware itself is saved there together with some other configuration settings.
SPIFFS (SPI Flash File System) is a small simplistic file system to easily access the internal memory. It's particularly useful to store and access data that doesn't fit into the RAM.
You can see how much of the SPIFFS is free and what files are stored there with the sysinfo command:
sysinfo
You can see the contents of a file using:
print <path_to_file>
To delete a file, run:
delete <path_to_file>
Sometimes the file system gets corrupted, and you will see errors like "ERROR: saving /settings.json". If that happens, clear the memory by running:
format
Subscribe to my newsletter
Read articles from BlackTechX directly inside your inbox. Subscribe to the newsletter, and don't miss out.
Written by
