How to Use CloudWatch Alarms in AWS
 Sumit Mondal
Table of contents

Introduction:
In the vast world of cloud computing, AWS (Amazon Web Services) stands out as a leader, providing a wide array of services to cater to diverse business needs. One such service is Amazon CloudWatch, a monitoring and observability service that allows you to collect and track metrics, collect and monitor log files, and set alarms. In this blog post, we'll focus on a key aspect of CloudWatch – alarms – and guide you through the process of setting up and using CloudWatch Alarms in AWS.
What are CloudWatch Alarms?
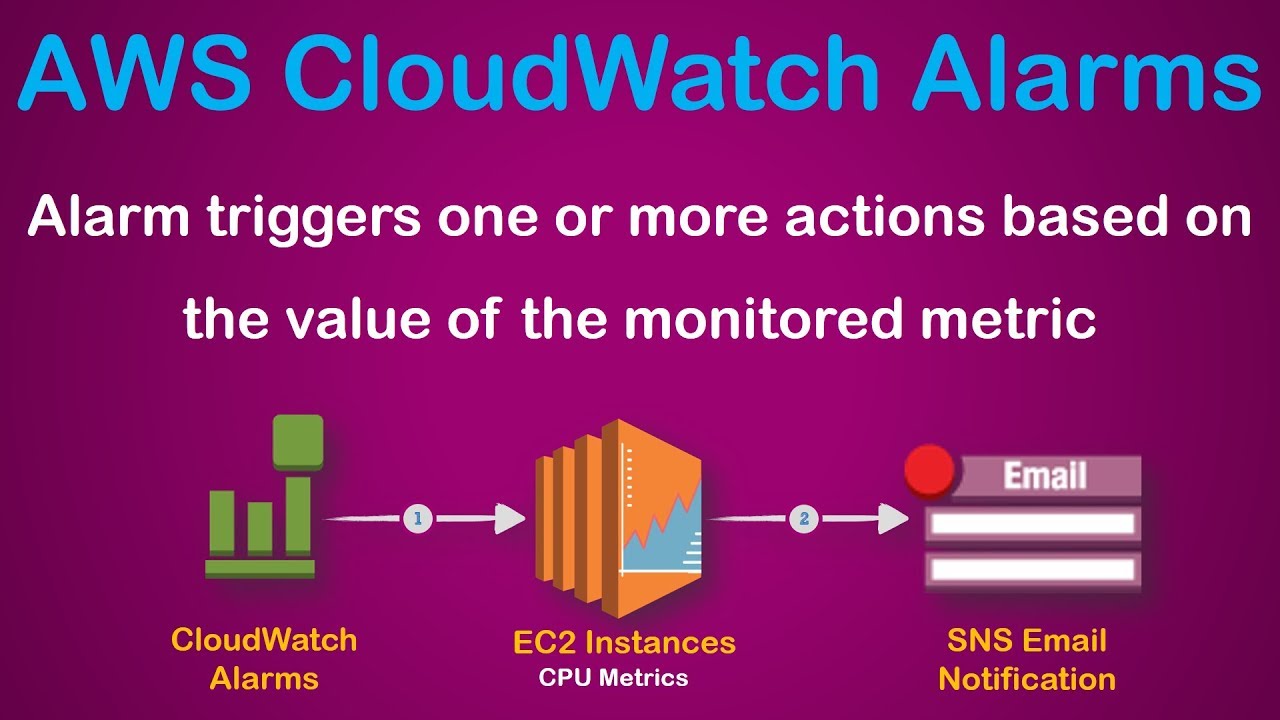
Before we delve into the how-tos, let's understand the basics. CloudWatch Alarms are a crucial component of the CloudWatch service that help you monitor and respond to changes in your AWS resources. They allow you to define thresholds for your metrics and trigger actions when those thresholds are breached. These actions could range from sending notifications to auto-scaling your resources.
Step 1: Navigate to the AWS Management Console
To get started, log in to your AWS Management Console. Once logged in, find and select the "CloudWatch" service from the list of available services.
Step 2: Access CloudWatch Alarms
Within the CloudWatch dashboard, look for the "Alarms" option in the left-hand navigation pane. Click on it to access the Alarms page.
Step 3: Create a New Alarm
On the Alarms page, click the "Create Alarm" button to initiate the alarm creation process.
Step 4: Choose a Metric
Select the AWS resource and metric for which you want to create the alarm. This could be anything from an EC2 instance's CPU utilization to an S3 bucket's object count. Choose the metric that aligns with your monitoring requirements.
Step 5: Set Conditions
Define the conditions for your alarm by specifying a threshold. You can set thresholds for various conditions like greater than, less than, or equal to a specific value. This is the trigger point that will activate your alarm.
Step 6: Configure Actions
Decide what actions should be taken when the alarm is triggered. CloudWatch supports various actions, such as sending notifications, stopping or terminating instances, or even executing Lambda functions. Configure these actions based on your specific use case.
Step 7: Add Alarm Name and Description
Give your alarm a descriptive name and add a meaningful description. This step is crucial for maintaining clarity and understanding the purpose of the alarm in the future.
Step 8: Review and Create
Review all the configurations you've made and click the "Create Alarm" button. Your CloudWatch alarm is now active and will start monitoring the specified metric based on the conditions you've set.
Conclusion:
In this beginner-friendly guide, we've walked through the process of setting up CloudWatch Alarms in AWS. By leveraging these alarms, you can gain valuable insights into the performance of your AWS resources and take proactive measures to ensure optimal efficiency. As you explore CloudWatch further, you'll discover additional features and functionalities that can enhance your monitoring and observability capabilities in the AWS cloud. Happy monitoring!
Subscribe to my newsletter
Read articles from Sumit Mondal directly inside your inbox. Subscribe to the newsletter, and don't miss out.
Written by

Sumit Mondal
Sumit Mondal
Hello Hashnode Community! I'm Sumit Mondal, your friendly neighborhood DevOps Engineer on a mission to elevate the world of software development and operations! Join me on Hashnode, and let's code, deploy, and innovate our way to success! Together, we'll shape the future of DevOps one commit at a time. #DevOps #Automation #ContinuousDelivery #HashnodeHero