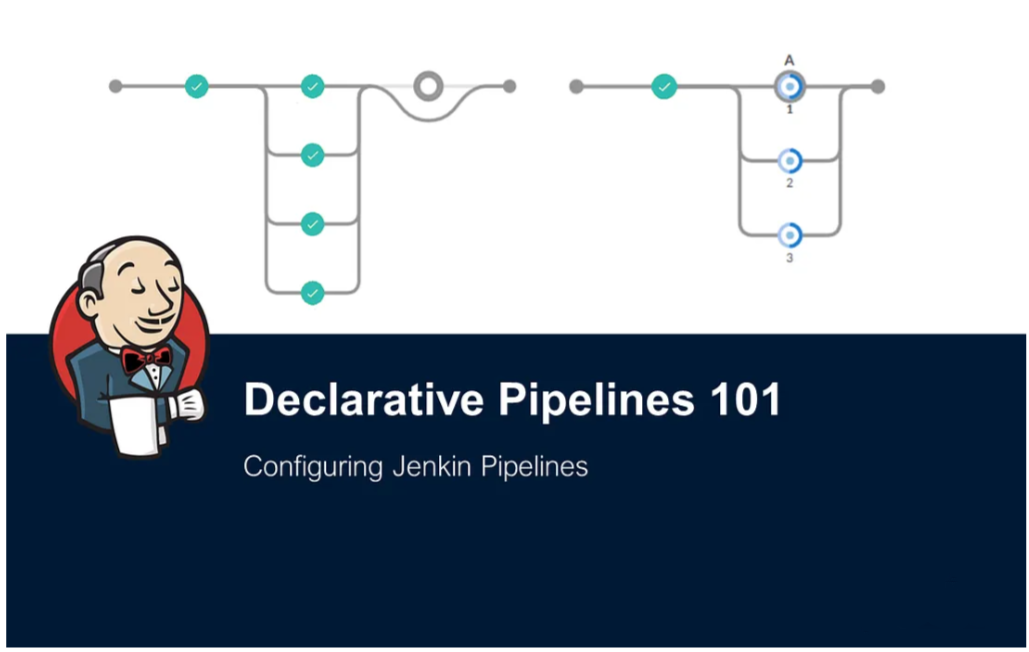
26. Jenkins Declarative Pipeline
 Sunil Prasad
Introduction
In the realm of DevOps and Continuous Integration/Continuous Deployment (CICD), Jenkins plays a pivotal role as an automation server. One of the key features that Jenkins offers is the ability to define and manage pipelines as code. In this article, we'll delve into the Declarative Pipeline Syntax of Jenkins, a more recent and advanced implementation compared to its predecessor, Scripted Pipeline.
Understanding Pipeline
A pipeline in Jenkins is essentially a collection of steps or jobs arranged in a sequence. It enables the automation of the software delivery process by defining the entire workflow in code. This approach provides transparency and repeatability in the build, test, and deployment phases.
Declarative vs. Scripted
Before diving into the specifics of Declarative Pipeline, it's crucial to understand the difference between Declarative and Scripted Pipelines. Scripted Pipeline, being the initial and more traditional approach, is based on a general-purpose Domain Specific Language (DSL) using Groovy. On the other hand, Declarative Pipeline is a more recent and advanced implementation, offering a simpler and more structured syntax.
Importance of Having a Pipeline
The core concept of "Pipeline-as-code" revolves around defining the Jenkins Pipeline in a text file, commonly known as a Jenkinsfile. This file is then committed to the project's source control repository, treating the continuous delivery pipeline as an integral part of the application. The benefits of this approach include:
Automated Build Process: Creating a Jenkinsfile for your project automatically generates a pipeline build process for all branches and pull requests.
Code Review/Iteration: The Jenkins Pipeline, being part of the codebase, undergoes the same code review and iteration process as the rest of the application's source code.
Writing a Declarative Pipeline
Here's a basic example of a Declarative Pipeline:
pipeline {
    agent any
    stages {
        stage('Build') {
            steps {
                // Build steps go here
            }
        }
        stage('Test') {
            steps {
                // Test steps go here
            }
        }
        stage('Deploy') {
            steps {
                // Deployment steps go here
            }
        }
    }
}
In this example:
agent any specifies that the pipeline can run on any available agent (build executor).
The stages block defines different stages in the pipeline, such as build, test, and deploy.
Within each stage, the steps block contains the specific actions to be performed.
Task-01: Creating a Jenkinsfile
Jenkins, a widely-used automation server, provides robust features for implementing Continuous Integration/Continuous Deployment (CICD) pipelines. In this walkthrough, we'll tackle Task-01, focusing on creating a new Jenkins job using the Declarative Pipeline. We will leverage the official Jenkins Hello World example, demonstrating the process step by step.
Step 1: Create a New Job
Navigate to Jenkins Dashboard:Open your Jenkins dashboard in a web browser.
Create a New Item:Click on "New Item" to initiate the process of creating a new Jenkins job.
Choose Pipeline:In the item creation form, enter a suitable name for your job.Select the "Pipeline" option instead of "Freestyle Project."
Configure Pipeline:Scroll down to the "Pipeline" section and define the pipeline script in the "Definition" field.You can either write the script directly or choose to retrieve it from source control.
Save Job:Click "Save" to create the new pipeline job.
Step 2: Hello World Example
- Access the Pipeline Script:Open the newly created pipeline job and navigate to the "Pipeline" section.In the "Script" box, input the following basic example:pipeline { agent any stages { stage('Hello World') { steps { echo 'Hello, Jenkins!' } } } }
pipeline {
    agent any
    stages {
        stage('Hello World') {
            steps {
                echo 'Hello, Jenkins!'
            }
        }
    }
}
Save Changes:
- Save the changes to the pipeline script.
Step 3: Declarative Pipeline
- Convert to Declarative Syntax:Now, let's convert the Hello World example into a Declarative Pipeline.Replace the existing script with the Declarative Pipeline syntax:Here's a basic example of a Declarative Pipeline:
pipeline {
    agent any
    stages {
        stage('Hello World') {
            steps {
                echo 'Hello, Jenkins!'
            }
        }
    }
}
- Save Changes:Save the changes to the pipeline script.
Conclusion
By completing this Task-01, you've successfully created a Jenkins job using the Declarative Pipeline and converted a basic script into the Declarative syntax. This hands-on experience provides valuable insights into the power of Declarative Pipelines for automating your software delivery process. As you continue your journey in DevOps and CICD, mastering Jenkins and its declarative approach will undoubtedly enhance your efficiency and workflow.
Thank you for reading this article...
Subscribe to my newsletter
Read articles from Sunil Prasad directly inside your inbox. Subscribe to the newsletter, and don't miss out.
Written by

Sunil Prasad
Sunil Prasad
Aspiring Devops Engineer who have proficient knowledge AWS || LINUX || GIT || GITHUB || ANSIBLE || DOCKER || TERRAFORM || JENKINS || KUBERNETES || PROMETHEUS || GRAFANA || UBUNTU/REDHAT || PYTHON ||