Mail Automation using Python
 Swoyam Siddharth Nayak
Introduction
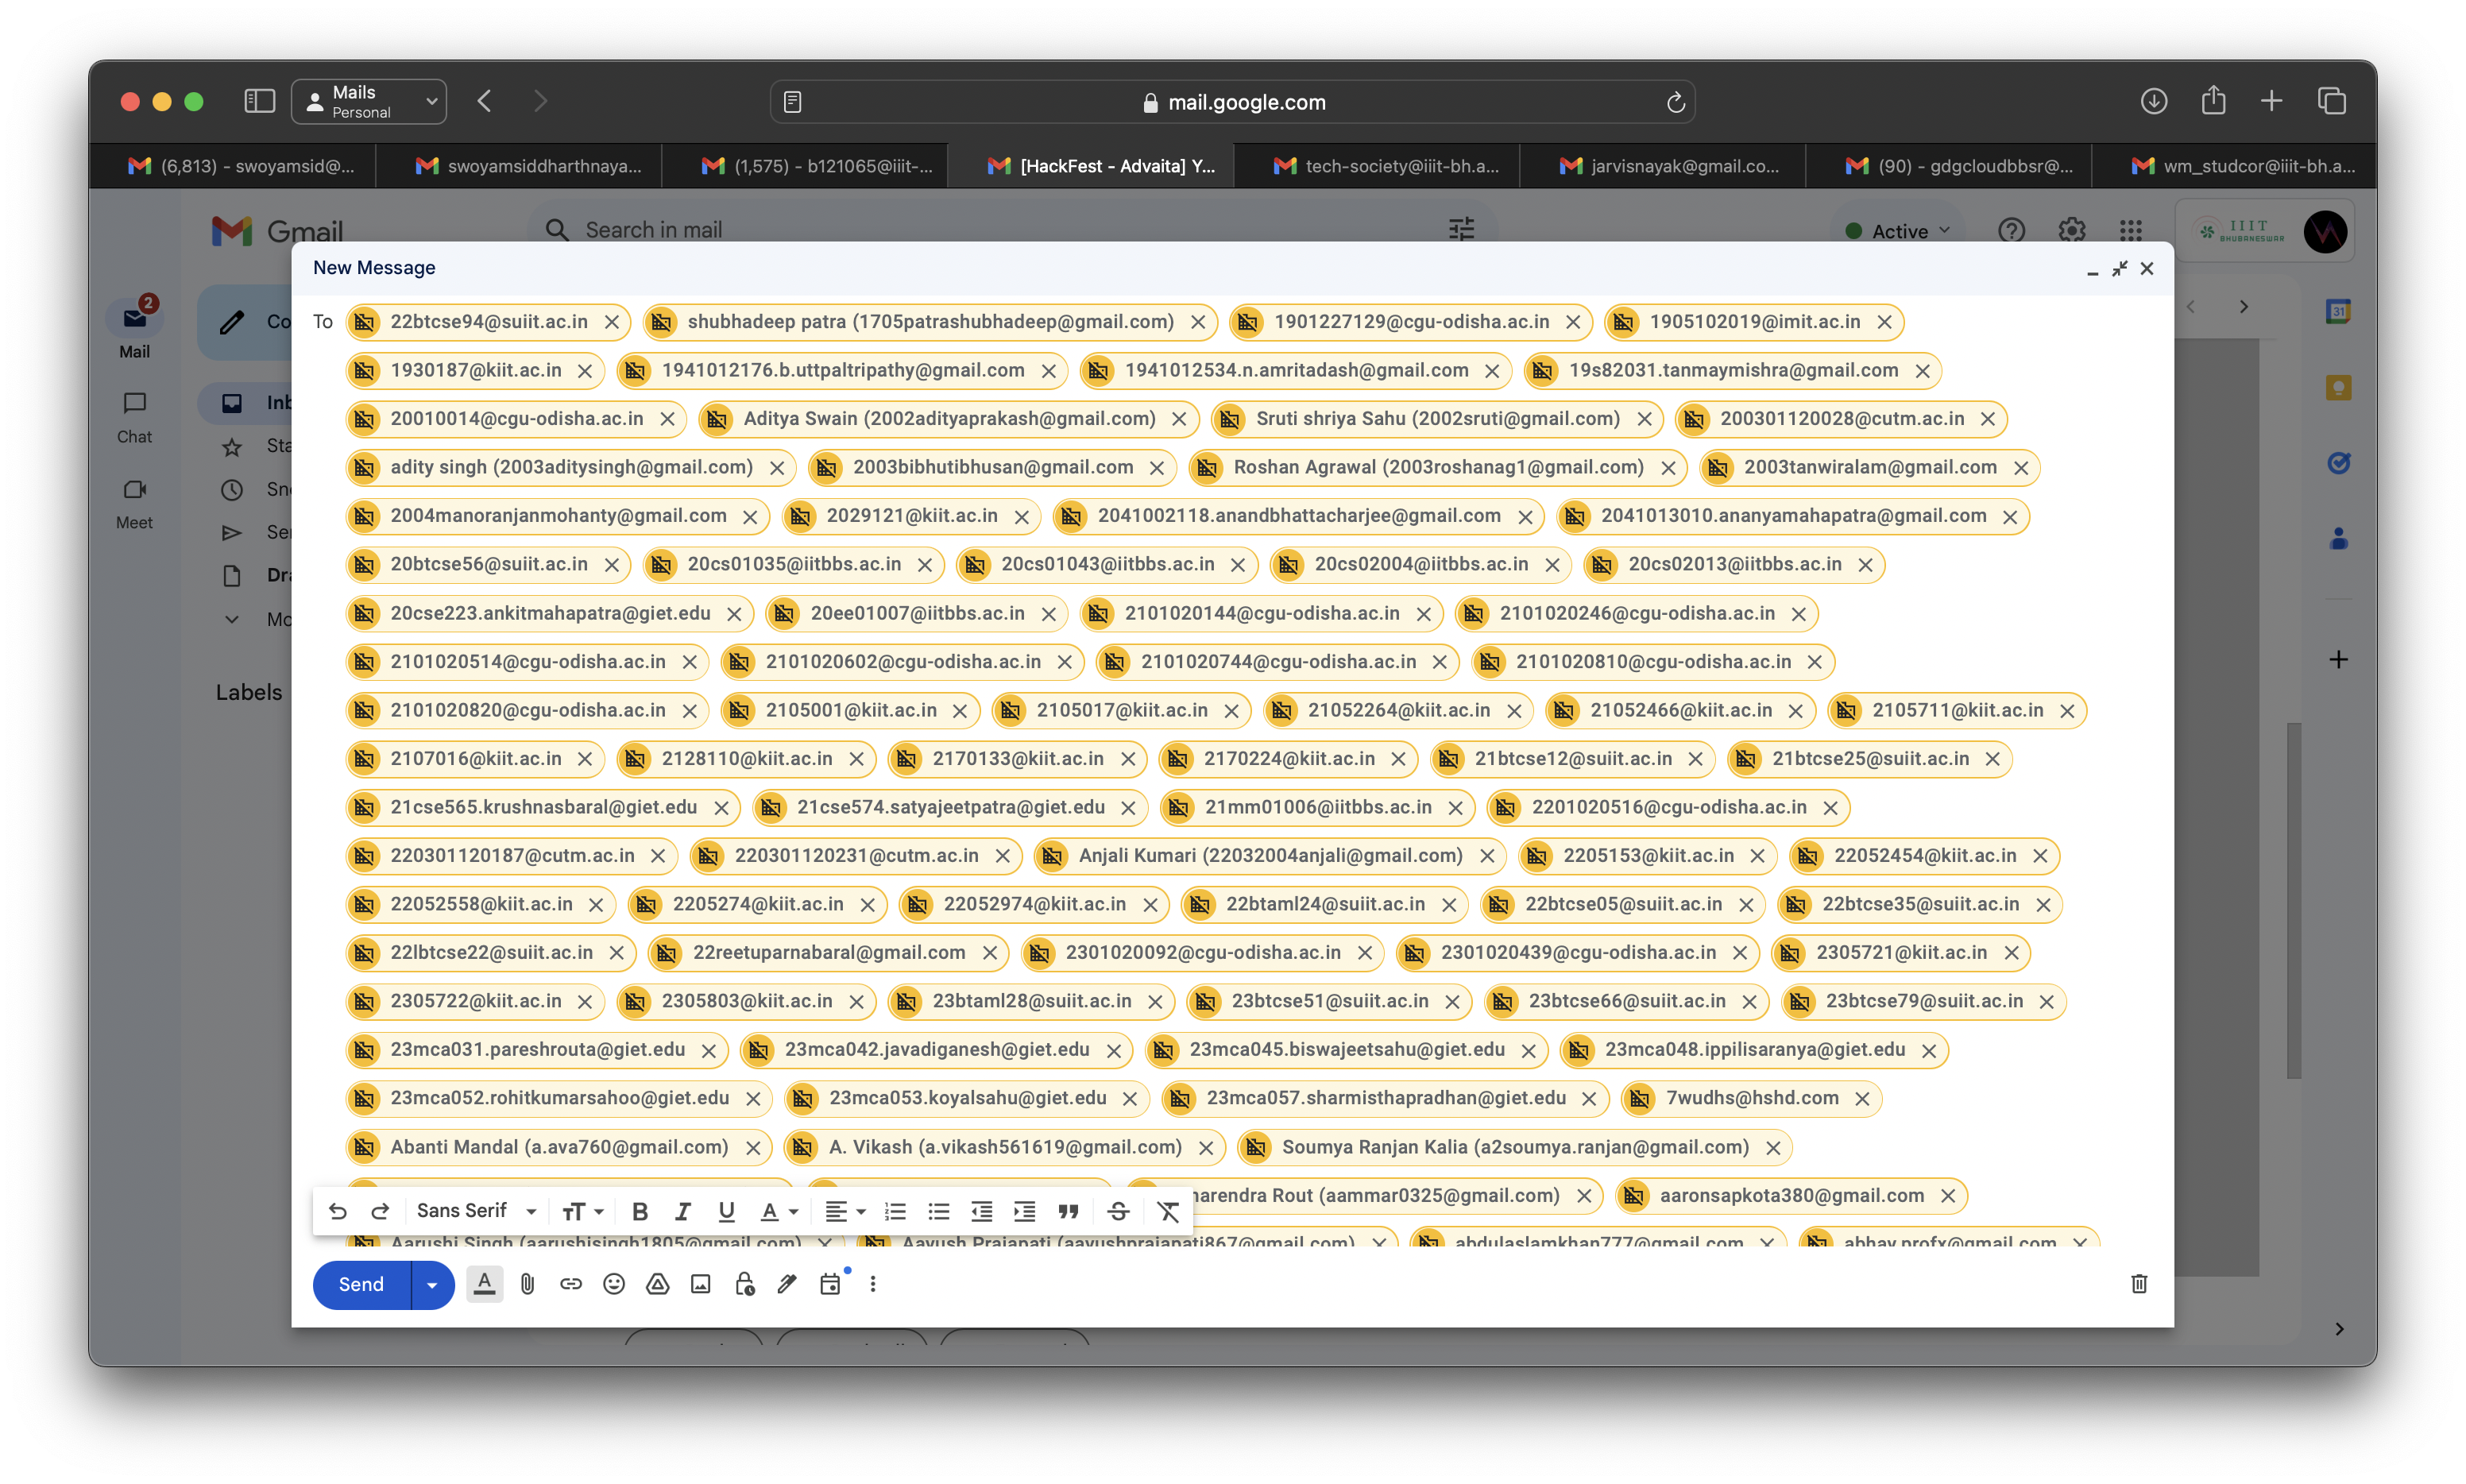
Ever sent mail to many recipients at once ? Drafting everyone the same mail, adding everyone in bcc and then sending. This method works but have some issues:
Adding
bccthough hides the other mails but shows the recipient that they were inbccand this mail was sent to many users along with themSometimes adding so many people in a single mail often puts your mail in the
spamsection.
How to solve ?
In this blog, we are going to discuss on how we can use Python for sending emails through your local machine.
By the power of Python, we can automate the whole emailing process and get rid of putting everyone in bcc or getting into spam folder
Abstract
Setting up your account
Setting up your credentials in python
Generating the mail content to be sent
Sending a mail through Python
Bulk/Custom Emailing
Setting up your account
Sending email through a python script wont work with your normal password, you would have to generate a specific
apppasswordwhich you can use later in your script to send mails
NOTE: Thisapp-passwordprovides access of your account to your account, thus it is advisable to not use you personal mail for the same, instead create a different account specifically for this purposeIn this blog, we would be taking an example of a gmail account for sending mails, but the same process would work for other email services.
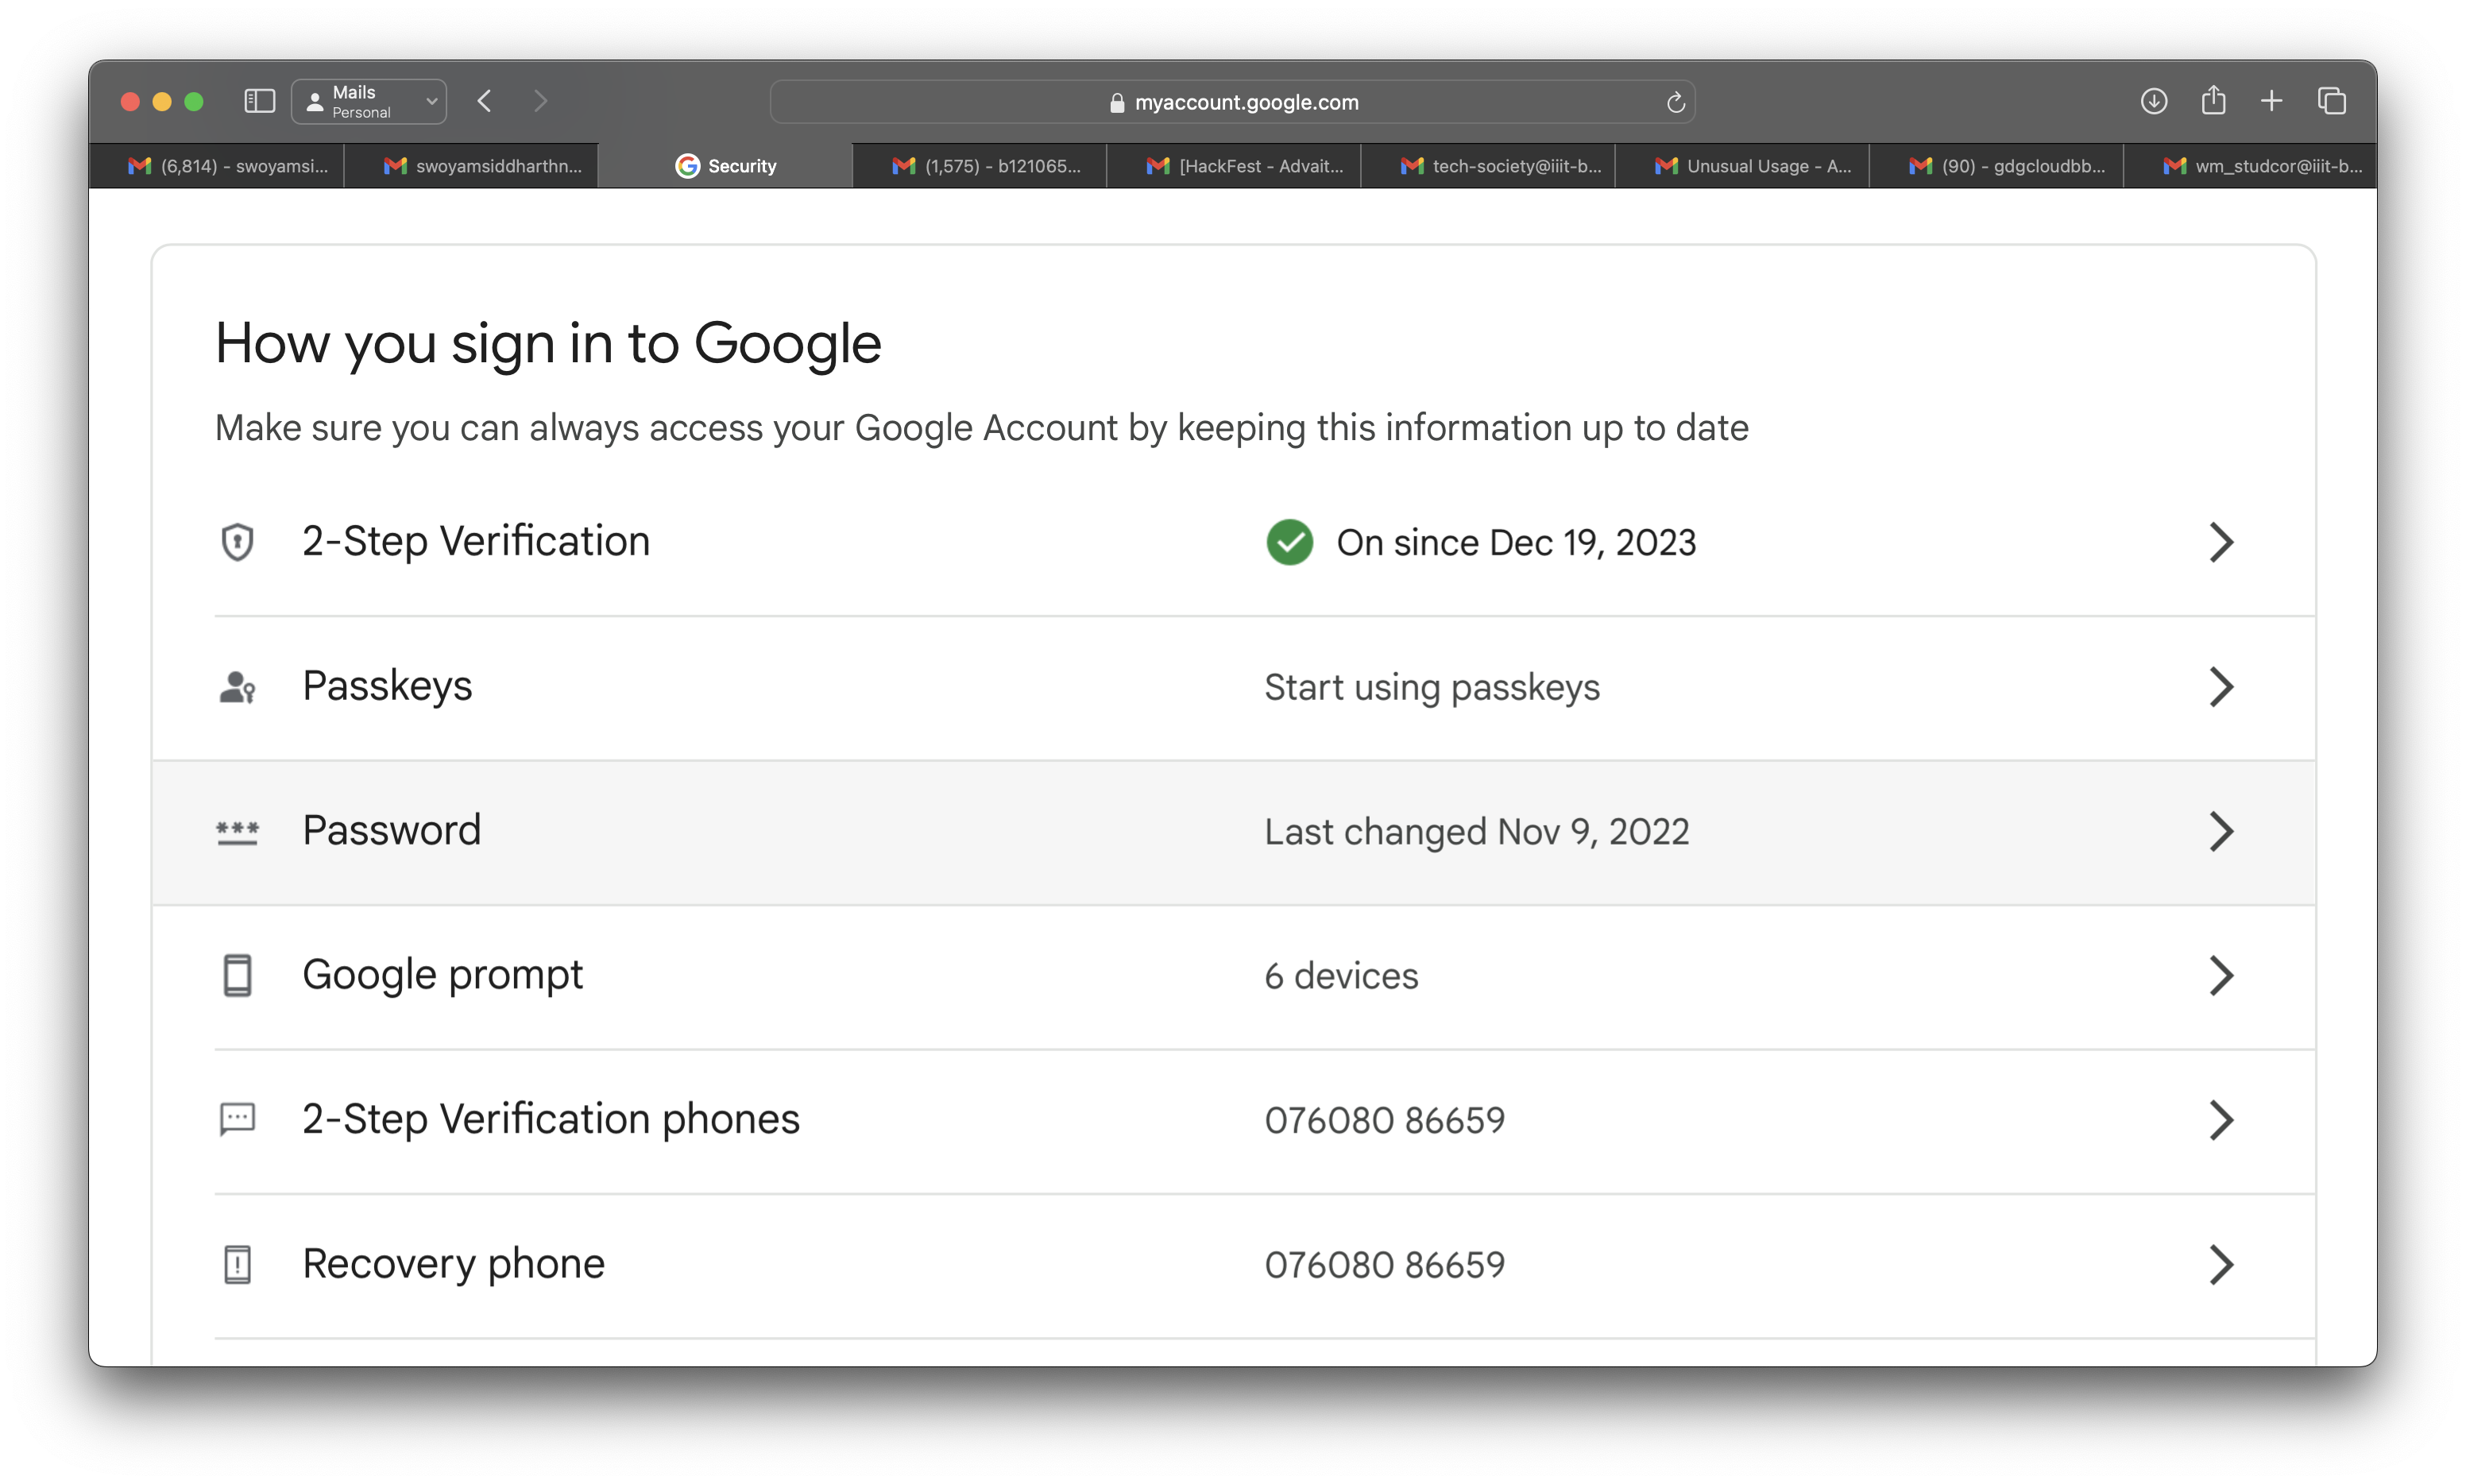
Enable 2-Factor Authentication on your account, enabling this give you the access to create app-password
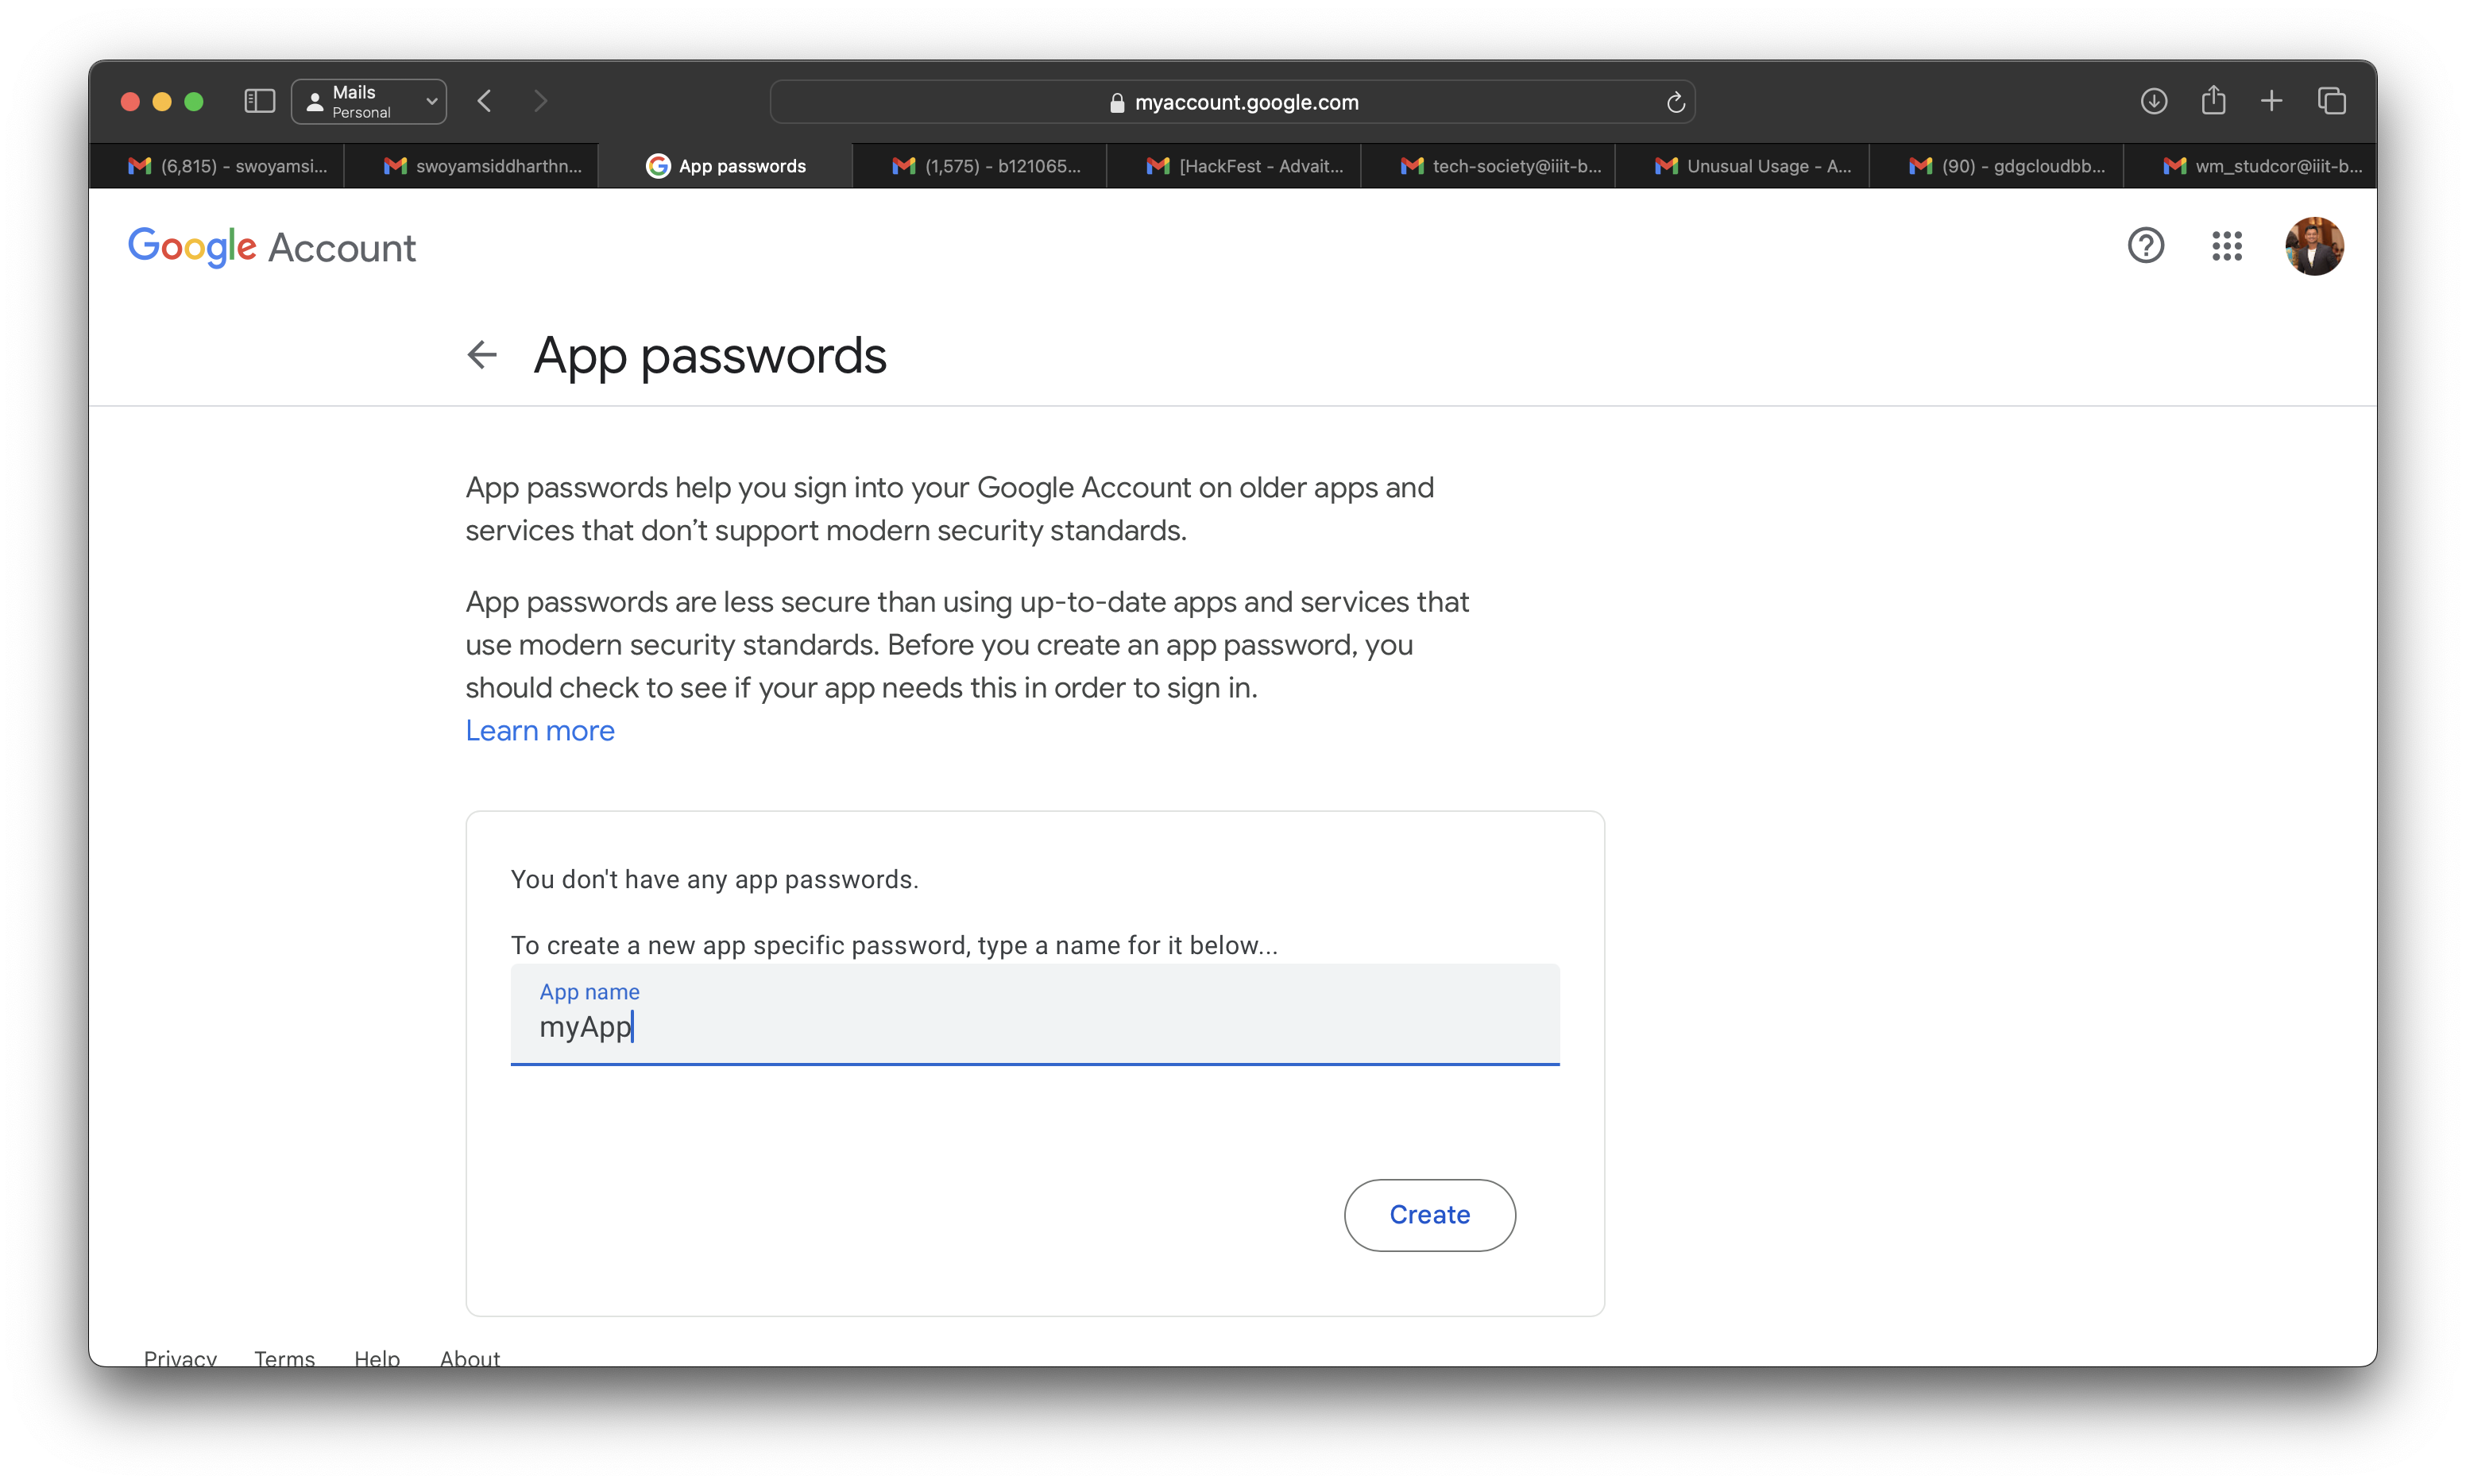
Go to the link https://myaccount.google.com/apppasswords to generate your
app password.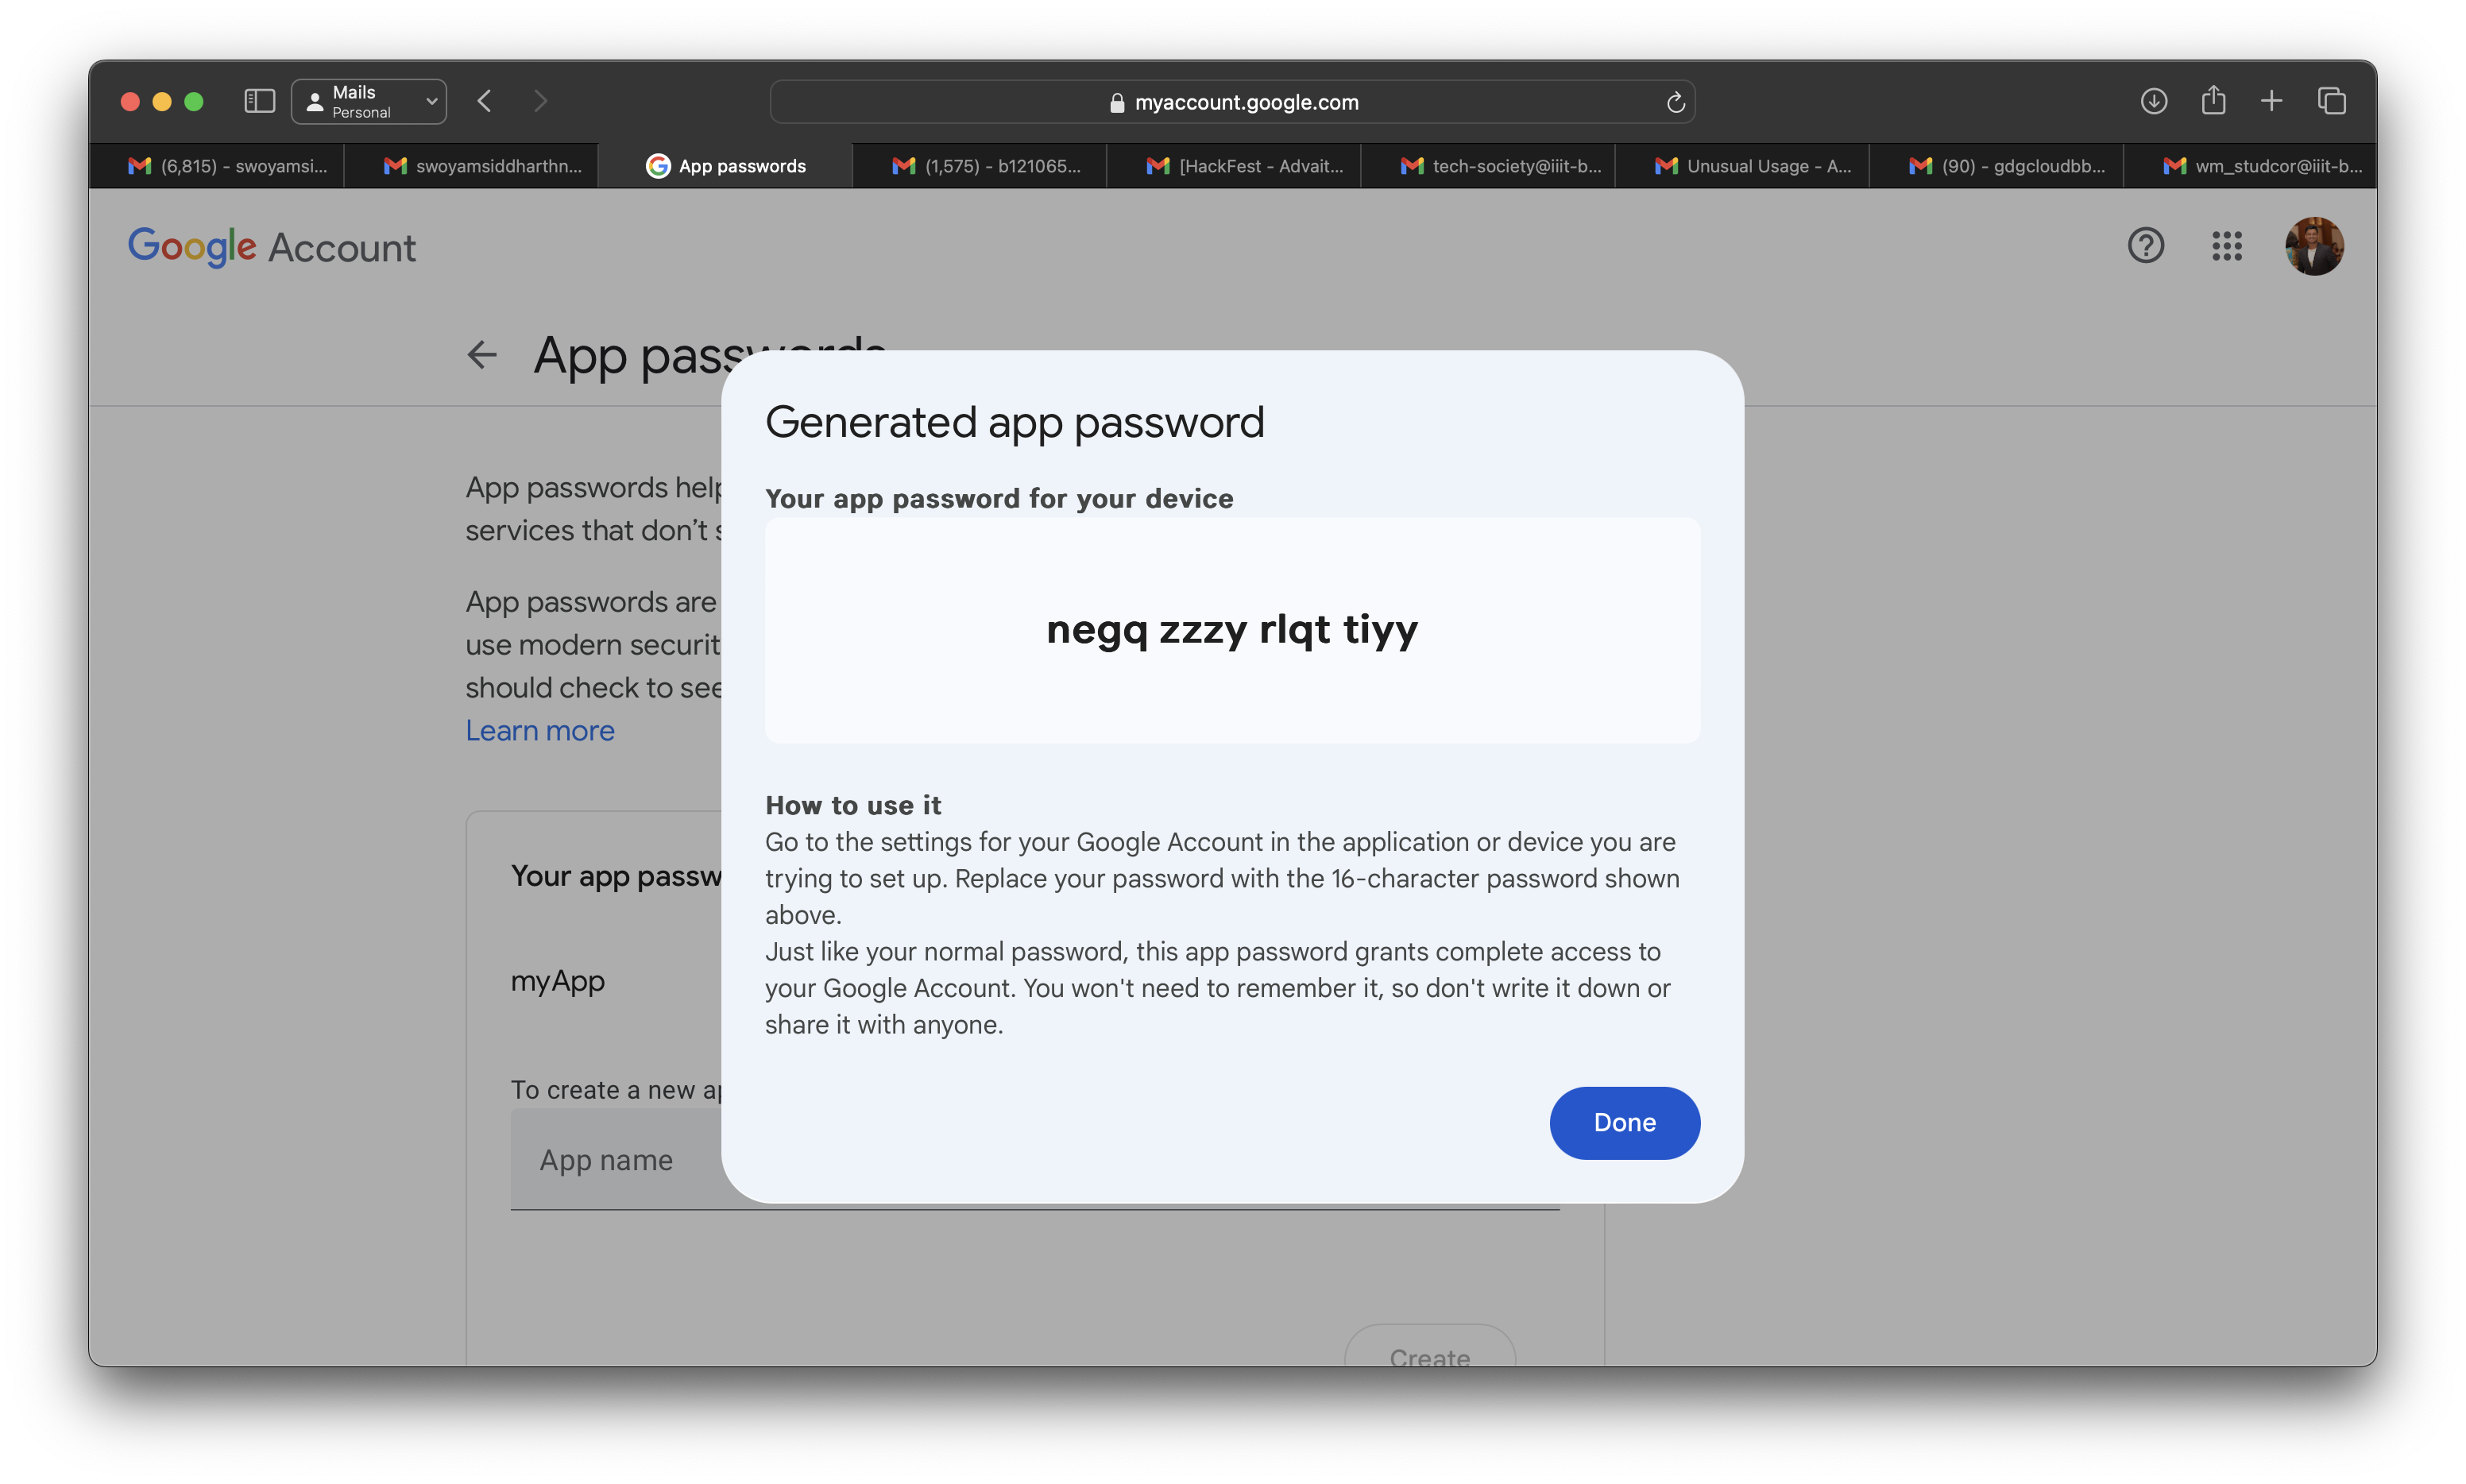
Save the
app-passwordsomewhere for further use
Setting up your Credentials in python
In the root of your project folder, make a file named creds.py to save the credentials of your email account

If you are creating a public github repository, make sure to add the creds.py file in .gitignore to protect your account and credentials from public use.
Generating the Mail Content
Copy the code snipped below to create your mail content in MIMEMultipart, you can also use MIMEText alone for sending plain emails but for adding styles, images, attachements in future, creating a MIMEMultipart() object would be preferrable
from email.mime.multipart import MIMEMultipart
from email.mime.text import MIMEText

msg = MIMEMultipart()
msg['From'] = "sender's email id"
msg['To'] = "receiver's email id"
msg['Subject'] = "subject of the email"
body = "body_of_the_email"
msg.attach(MIMEText(body, 'plain'))
You can also generate a HTML embedded email by inserting the html code in your mail as shown below
from email.mime.multipart import MIMEMultipart
from email.mime.text import MIMEText

htmlContent = """
<html>
    <body>
        <h1> This is a test email </h1>
    </body>
</html>
"""

msg = MIMEMultipart()
msg['From'] = "sender's email id"
msg['To'] = "receiver's email id"
msg['Subject'] = "subject of the email"
msg.attach(MIMEText(htmlContent, 'html'))
Sending a Mail through Python
For sending email through python, we are going to take help of the smtplib library of python.
You can follow the following code snippet to send an email for sending an email through python
from email.mime.multipart import MIMEMultipart
from email.mime.text import MIMEText

msg = MIMEMultipart()
msg['From'] = "sender's email id"
msg['To'] = "receiver's email id"
msg['Subject'] = "subject of the email"
body = "body_of_the_email"
msg.attach(MIMEText(body, 'plain'))

import smtplib, creds
server = smtplib.SMTP('smtp.gmail.com', 587)
user = creds.user
password = creds.password
server.starttls()
server.login(user, password)
text = msg.as_string()
server.sendmail(msg['From'], msg['To'], text)
server.quit()
NOTE: Don't forget to import the creds.py module that you have created as we are going to use the credentials to send the mail.
For this example, as we are using gmail, i have used the gmail SMTP server address smtp.gmail.com and its respective PORT no 587. If you are using any other mail services feel free to change the SMTP server address and PORT NO.
Your mail is now sent to your desired recipient.
Sending Bulk/Custom Mails
Now as we are aware of sending mails through python, we can use the concepts of loops and send bulk emails to different users. Let's see a short example of how to do so:
Create a list of users to whom you want to send the email
 users = [
     ["Swoyam Siddharth", "swoyamsid@gmail.com"],
     ["John Doe", "johndoe@example.com"],
     ["Jane Smith", "janesmith@example.com"],
     ["Alice Johnson", "alicejohnson@example.com"],
     ["Bob Williams", "bobwilliams@example.com"]
 ]
Create a function to send the emails:
NOTE: Just start and login the server once, don't initiate the server in your function or else python would repetitively login to the server everytime your function is calleddef send_email(name: str, email: str): msg = MIMEMultipart() msg['From'] = creds.user msg['To'] = email msg['Subject'] = "subject of the email" body = 'Hii {name}\nThis is a test email' msg.attach(MIMEText(body, 'plain')) text = msg.as_string() server.sendmail(msg['From'], msg['To'], text)Now we need to import the necessary libraries, create the server and create a loop to send emails to all the persons present in our list
 from email.mime.multipart import MIMEMultipart
 from email.mime.text import MIMEText
 import smtplib, creds, user

 server = smtplib.SMTP('smtp.gmail.com', 587)
 user = creds.user
 password = creds.password
 server.starttls()
 server.login(user, password)

 def send_email(name: str, email: str):
     msg = MIMEMultipart('alternative')
     msg['From'] = creds.user
     msg['To'] = email
     msg['Subject'] = "subject of the email"
     body = 'Hii {name}\nThis is a test email'
     msg.attach(MIMEText(body, 'plain'))
     text = msg.as_string()
     server.sendmail(msg['From'], msg['To'], text)

 for i in range(len(user.users)):
     send_email(user.users[i][0], user.users[i][1])
The above script will run and send custom emails to all the users that we have defined in our list saved in file
user.pyNOTE:
msg=MIMEMultipart('alternative')this makes a subtype of MIMEMultipart. The alternative subtype of MIMEMultipart and is used for messages with multiple alternative versions of the same content, such as plain text and HTML versions
Conclusion
In summary, this blog explored challenges in mass emailing and presented a practical Python solution. By automating the email process, issues like BCC visibility and spam folder placement can be overcome.
Key steps include setting up a dedicated email account, securing app passwords, and using Python's smtplib library for email automation. The blog also covered crafting email content using MIME and sending bulk or custom emails through loops.
Implementing these Python-driven strategies allows users to streamline email communication, increase efficiency, and reduce the risk of emails being marked as spam.
Subscribe to my newsletter
Read articles from Swoyam Siddharth Nayak directly inside your inbox. Subscribe to the newsletter, and don't miss out.
Written by
