Day 16 Jenkins Part 1 (Basic)
 Apurv Samadder

What is Jenkins?
Jenkins is an open source continuous integration-continuous delivery and deployment (CI/CD) automation software DevOps tool written in the Java programming language. It is used to implement CI/CD workflows, called pipelines.
Jenkins is a tool that is used for automation, and it is an open-source server that allows all the developers to build, test and deploy software. It works or runs on java as it is written in java. By using Jenkins we can make a continuous integration of projects(jobs) or end-to-endpoint automation.
Jenkins achieves Continuous Integration with the help of plugins. Plugins allow the integration of Various DevOps stages. If you want to integrate a particular tool, you need to install the plugins for that tool. For example Git, Maven 2 project, Amazon EC2, HTML publisher etc.
Let us do discuss the necessity of this tool before going ahead to the procedural part for installation:
Nowadays, humans are becoming lazy😴 day by day so even having digital screens and just one click button in front of us then also need some automation.
Here, I’m referring to that part of automation where we need not have to look upon a process(here called a job) for completion and after it doing another job. For that, we have Jenkins with us.
TASK:
1. What you understood in Jenkins, write a small article in your own words
Jenkins is an automation tool, developed on java, that basically supports the DevOps culture/ methodology 100%. So what it does is integrate all the tools , from Git(repo) to building the project and then deploying it , giving an interim final overview of how the project is looking. By using Jenkins we can make a Continuous Integration of a project.
Installing Jenkins?
step 1 Go to Amazon ec2 and creates a instance, with Ubuntu OS and free tier eligible resources , t2.micro should work, and once it is up, SSH into to the machine using the connect command in console
step 2 Prerequisites, will be Java to be installed in the system
 sudo apt update
 sudo apt install fontconfig openjdk-17-jre
Check the version of java Installed
java -versionstep 3 Now you can Install Jenkins using below command
 sudo wget -O /usr/share/keyrings/jenkins-keyring.asc \

   https://pkg.jenkins.io/debian-stable/jenkins.io-2023.key

 echo deb [signed-by=/usr/share/keyrings/jenkins-keyring.asc] \

   https://pkg.jenkins.io/debian-stable binary/ | sudo tee \

   /etc/apt/sources.list.d/jenkins.list > /dev/null

 sudo apt-get update
 sudo apt-get install jenkins
step 4 Note: By default, Jenkins will not be accessible to the external world due to the inbound traffic restriction by AWS. Open port 8080 in the inbound traffic rules as show below.
EC2 > Instances > Click on
In the bottom tabs -> Click on Security
Security groups
Add inbound traffic rules as shown in the image (you can just allow TCP 8080 as well, in my case, I allowed All traffic).

Step 5 Login to Jenkins using the below URL:
http://:8080 [You can get the ec2-instance-public-ip-address from your AWS EC2 console page]
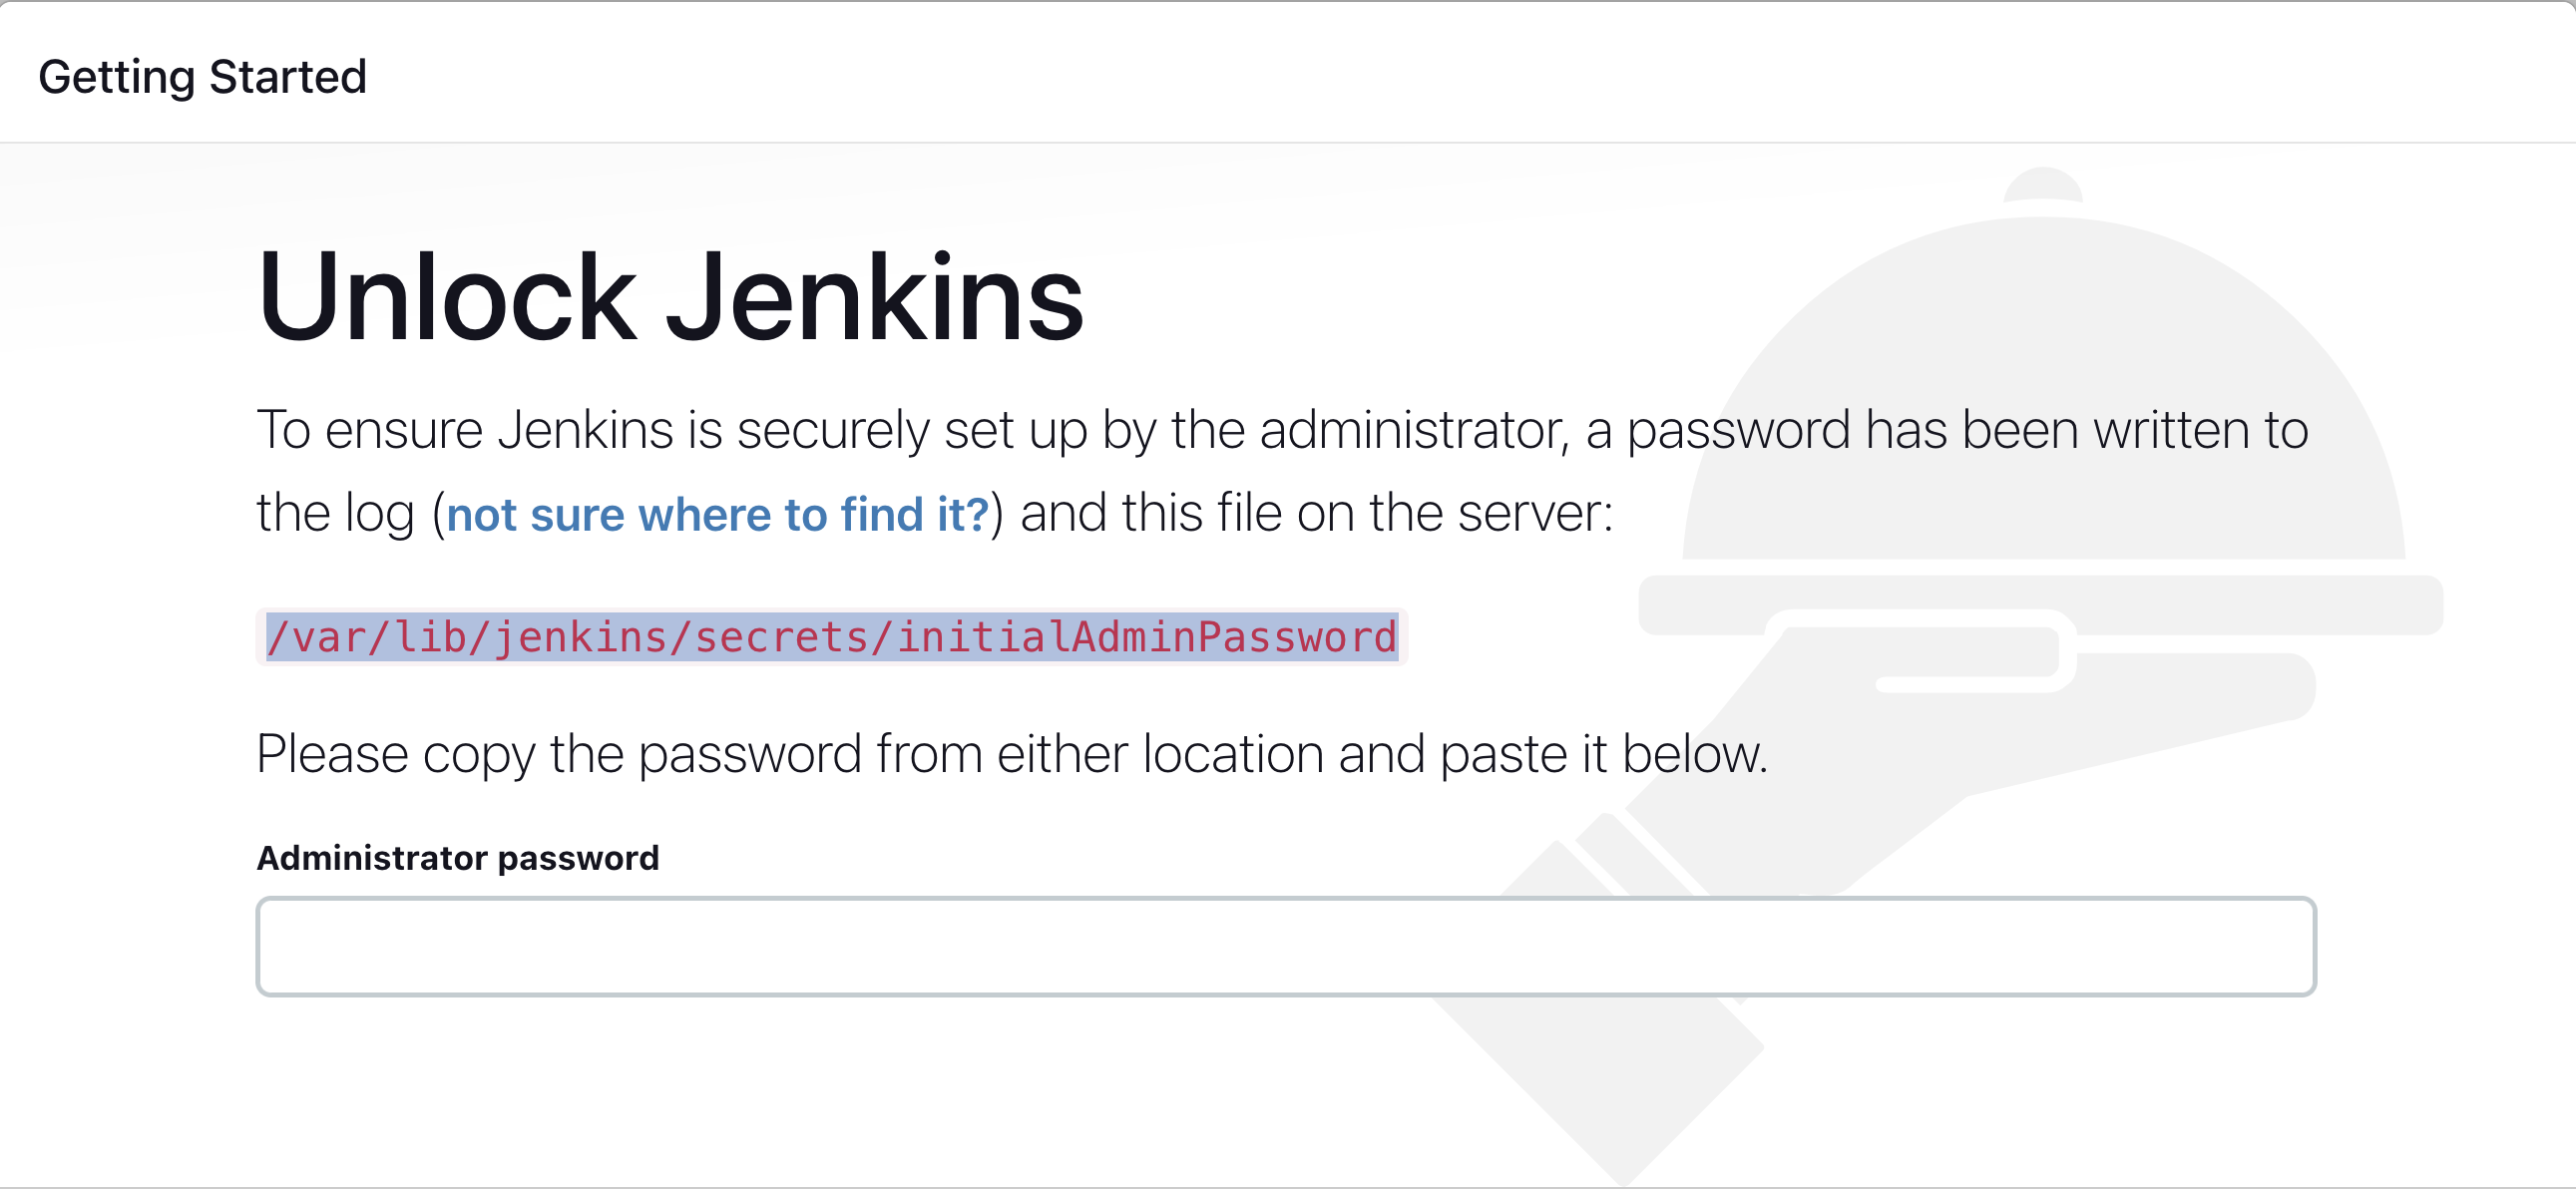
After you login to Jenkins, - Run the command to copy the Jenkins Admin Password -
sudo cat /var/lib/jenkins/secrets/initialAdminPassword -
Enter the Administrator password
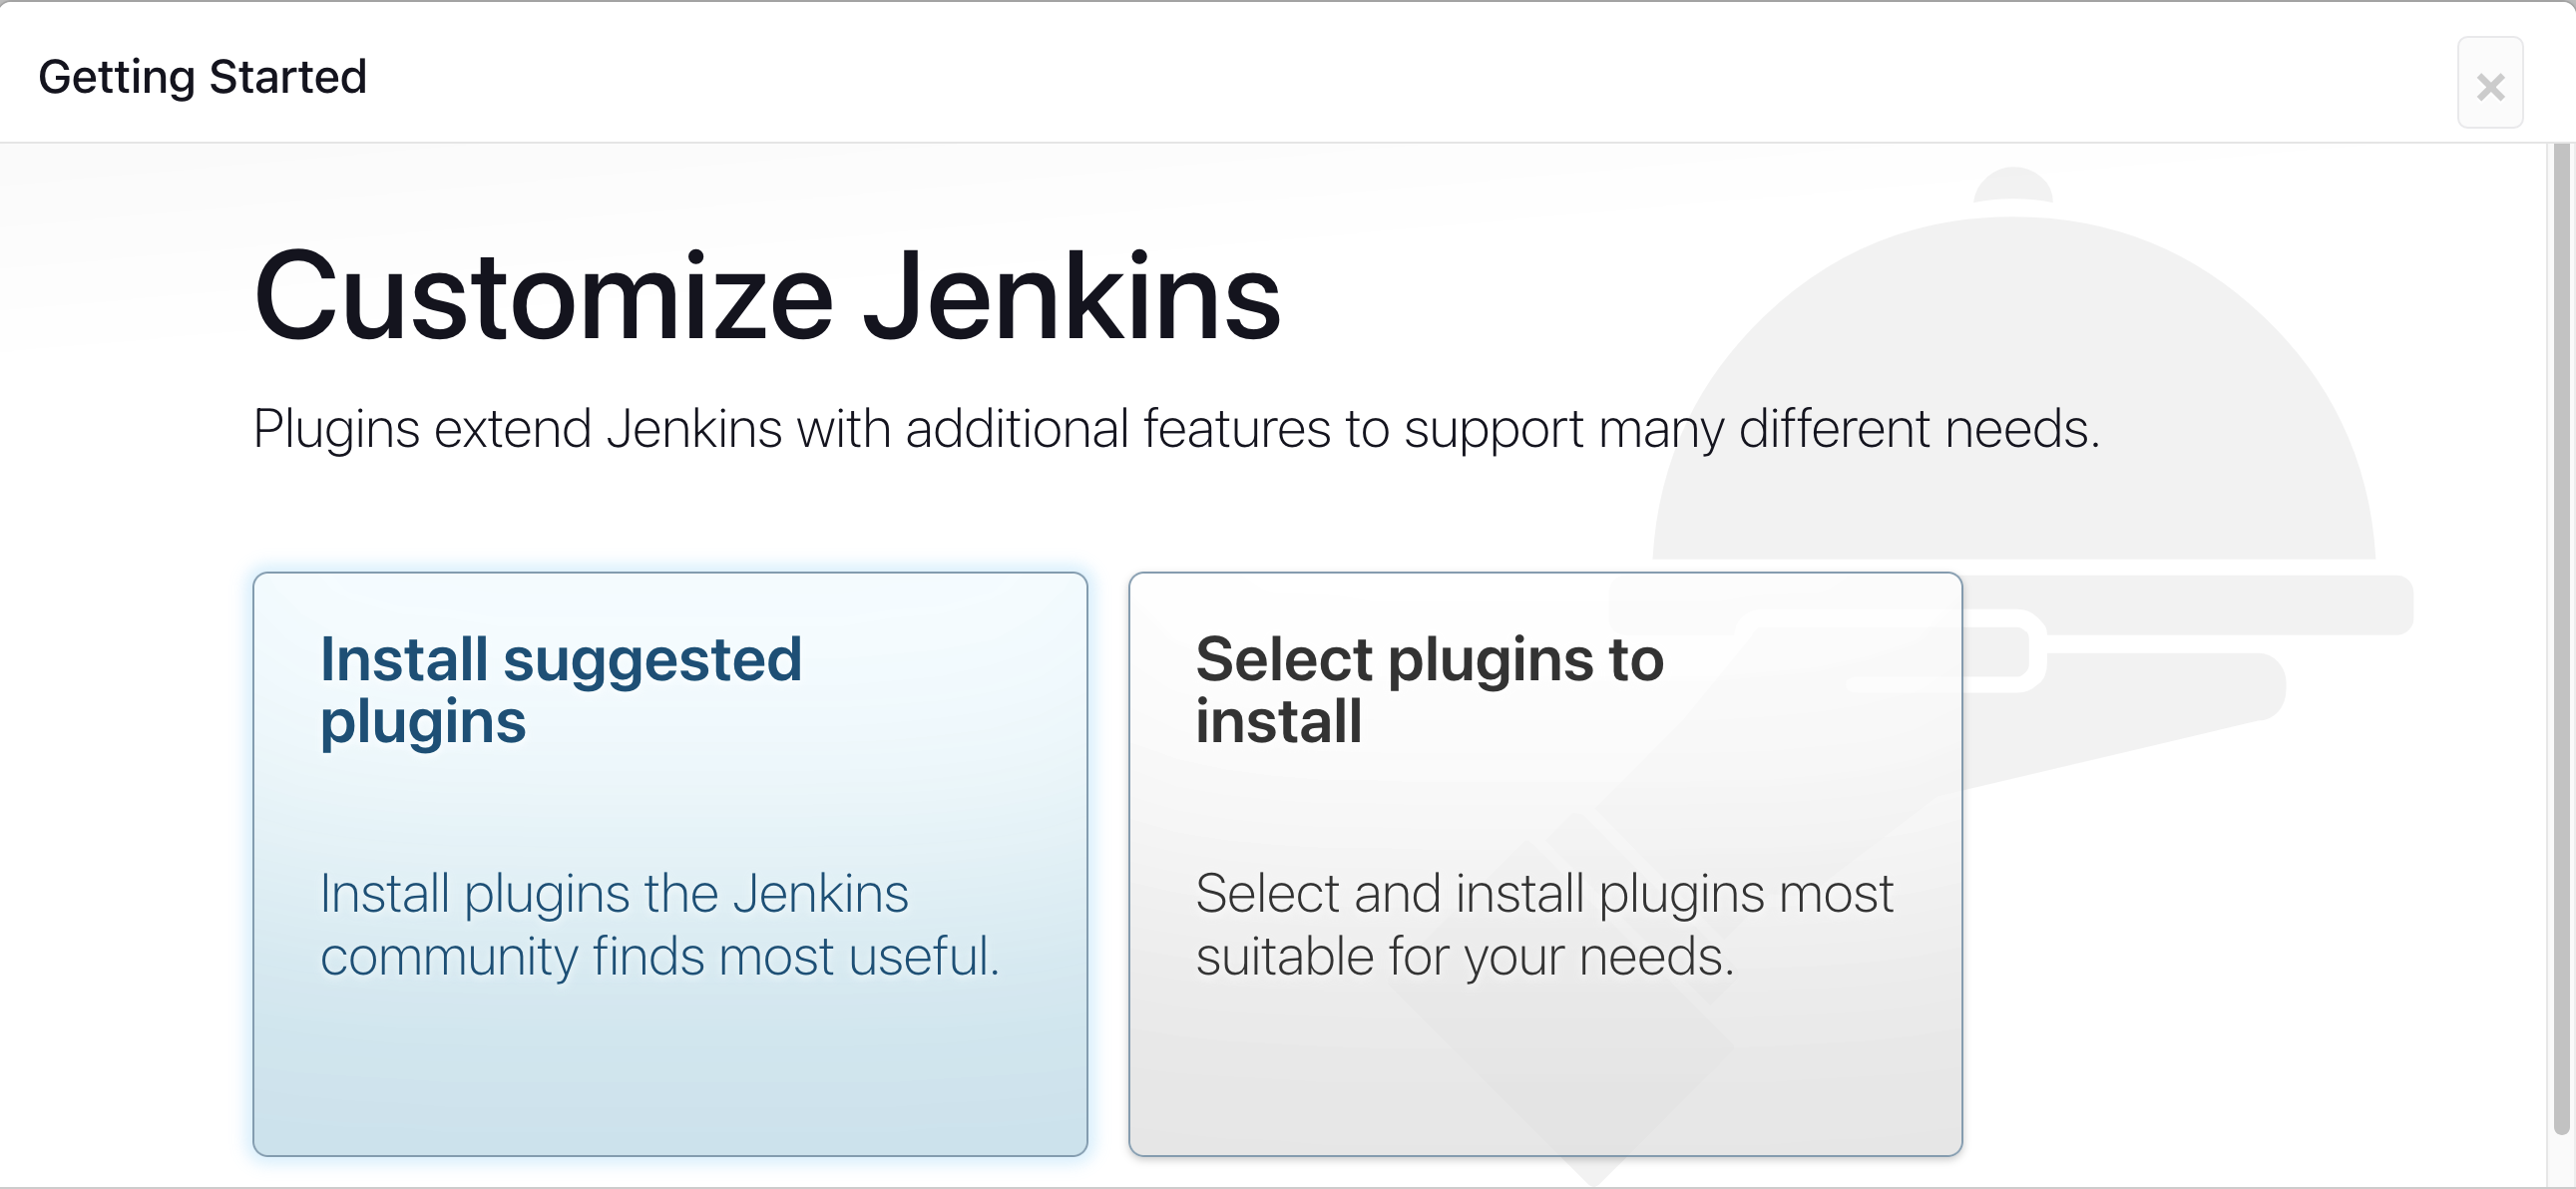
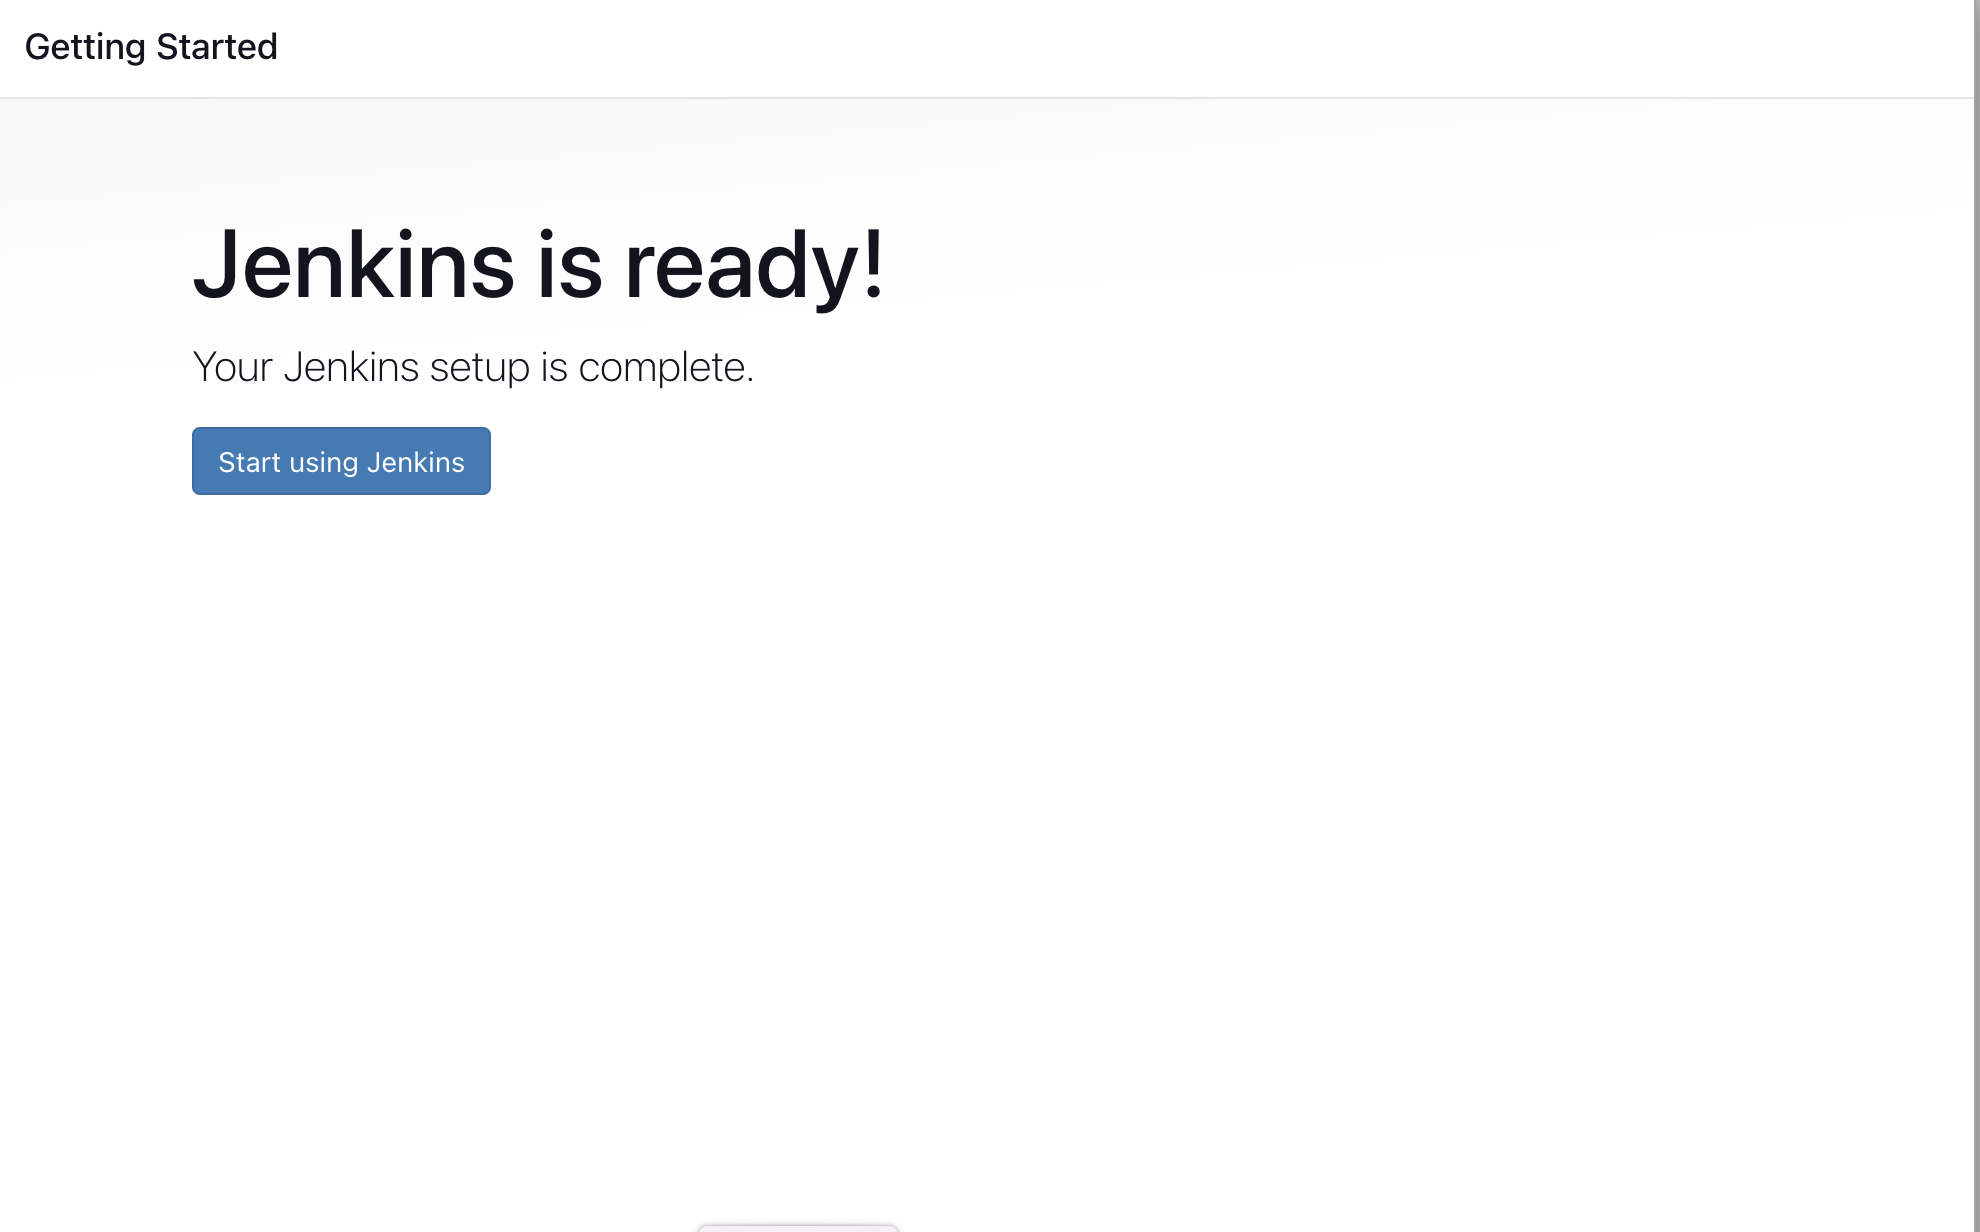
Wait for Jenkins to install suggested pulgins
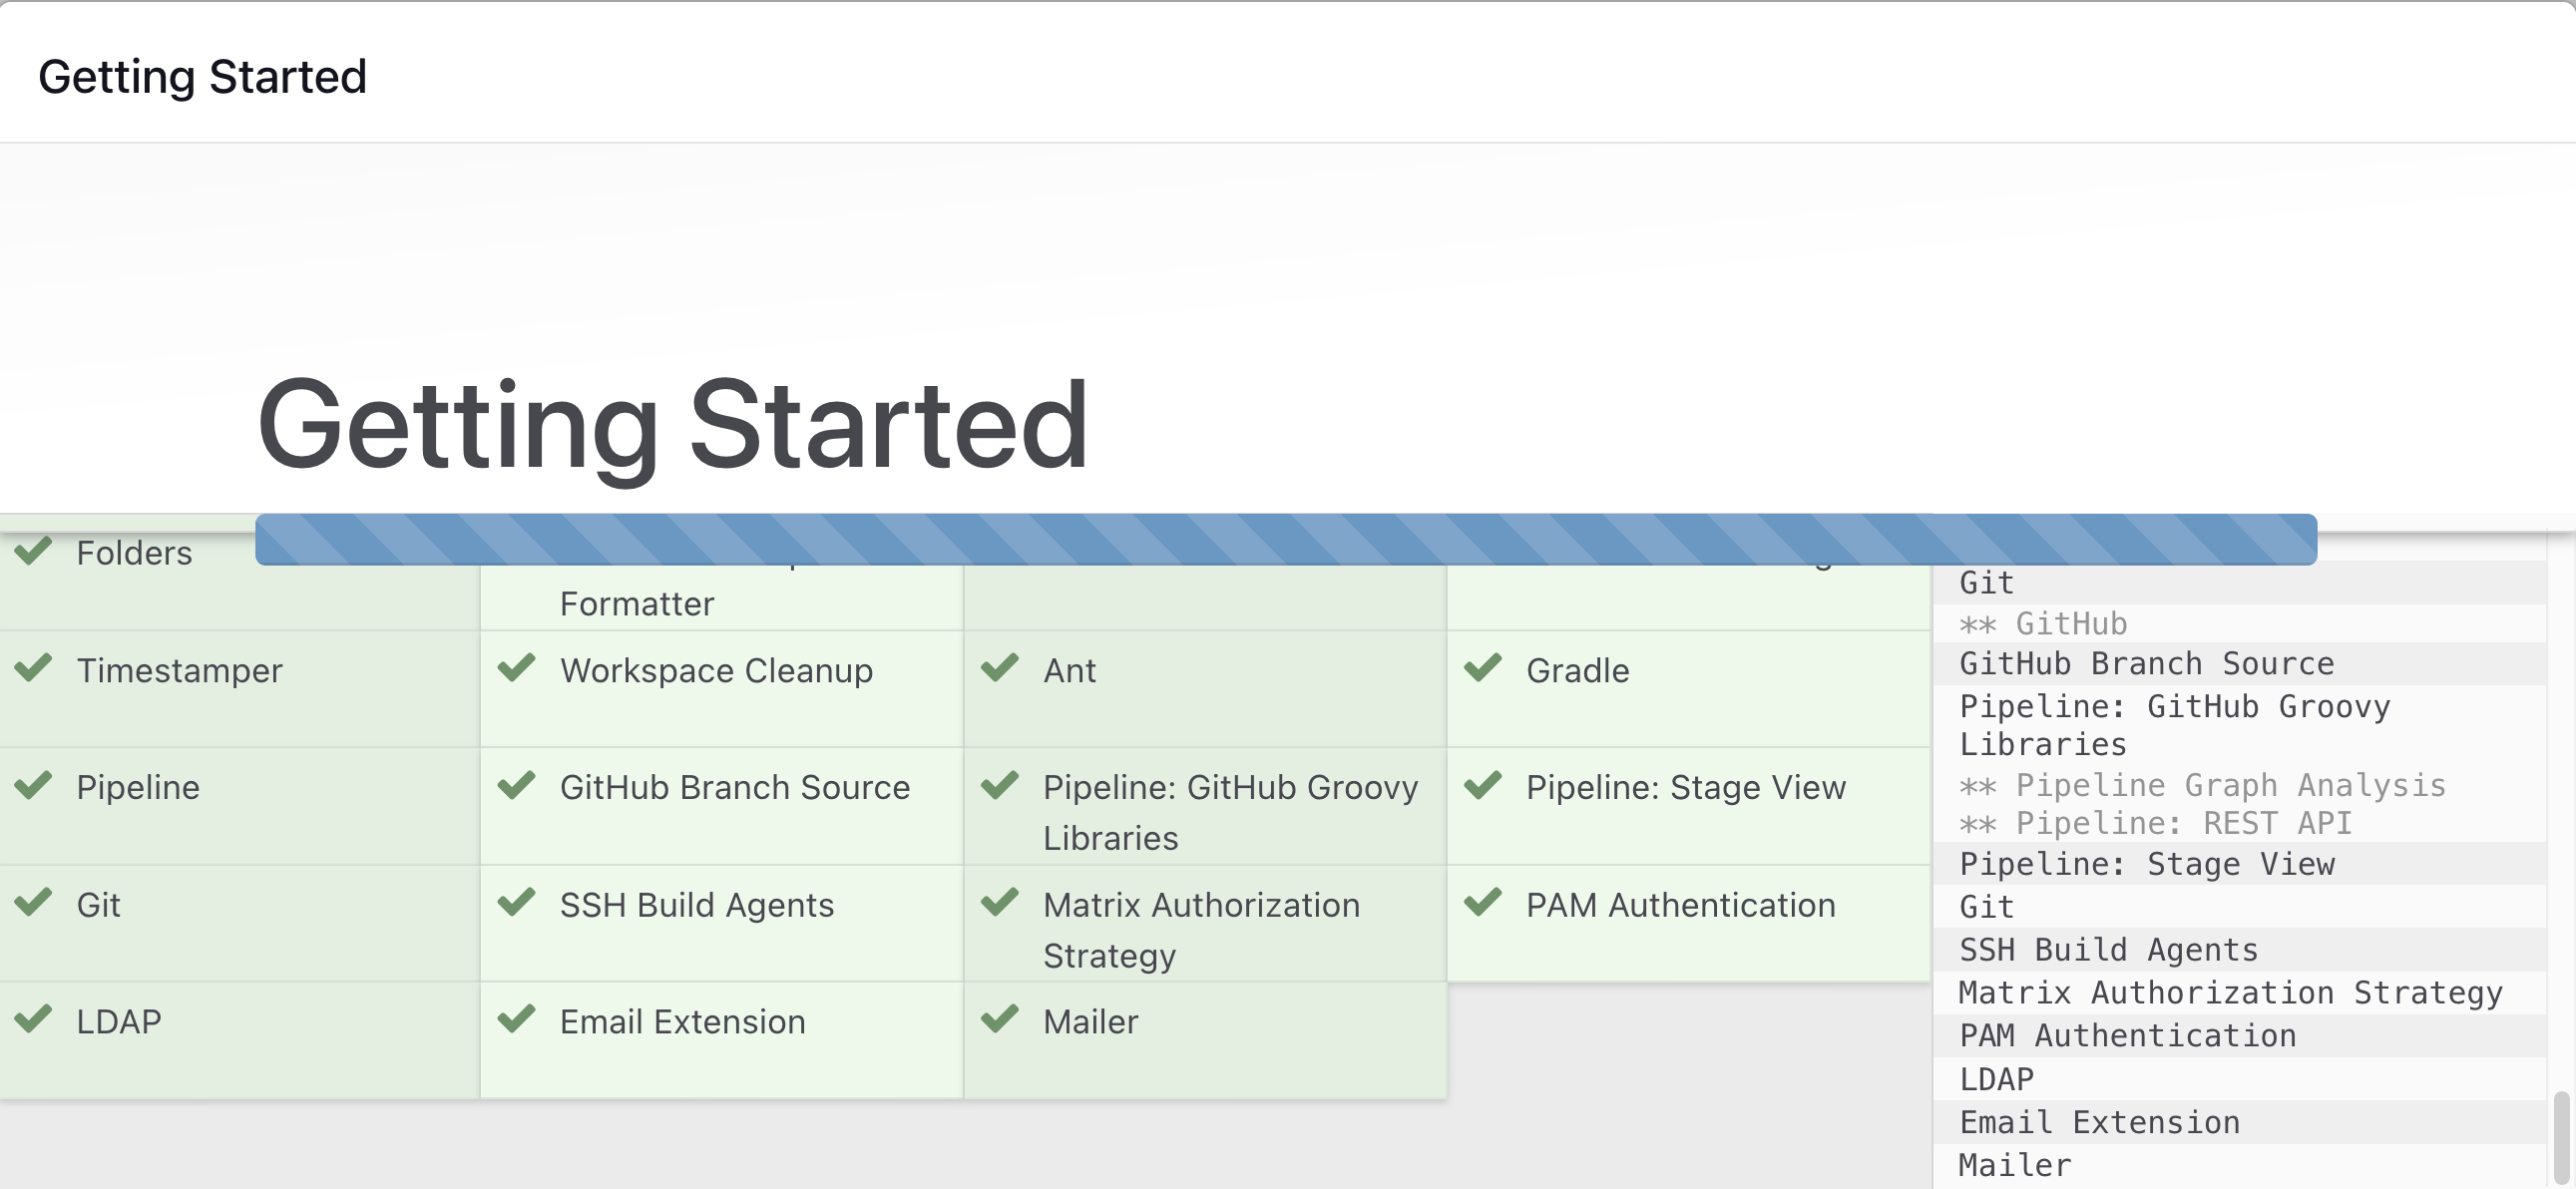
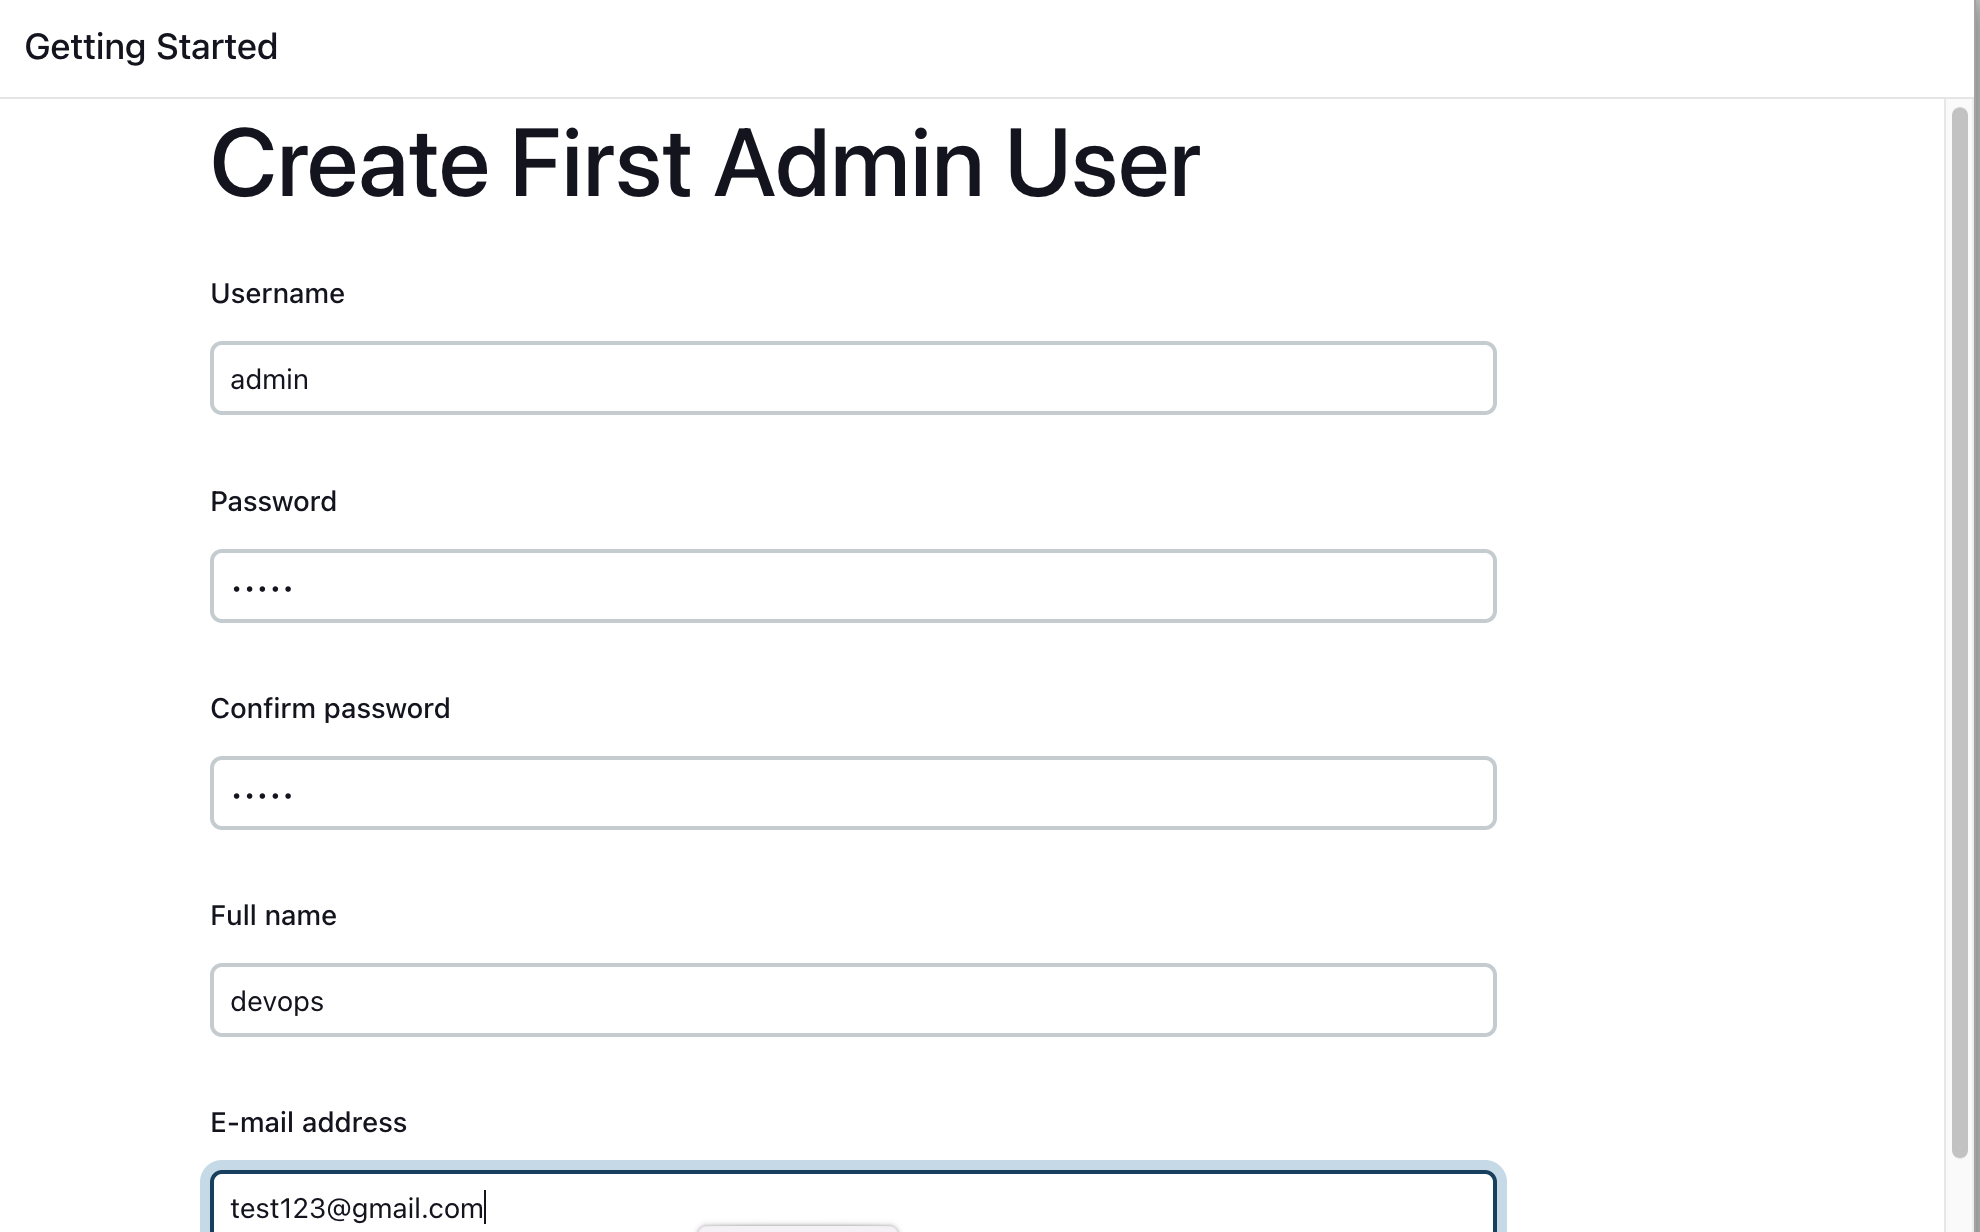
Create First Admin User or Skip the step [If you want to use this Jenkins instance for future use-cases as well, better to create admin user]
2.Create a freestyle pipeline to print "Hello World!!
a. Click on New item.

b. Enter your item name.

Enter the description.

Select build steps and use execute shell then save it.

Click on build now.
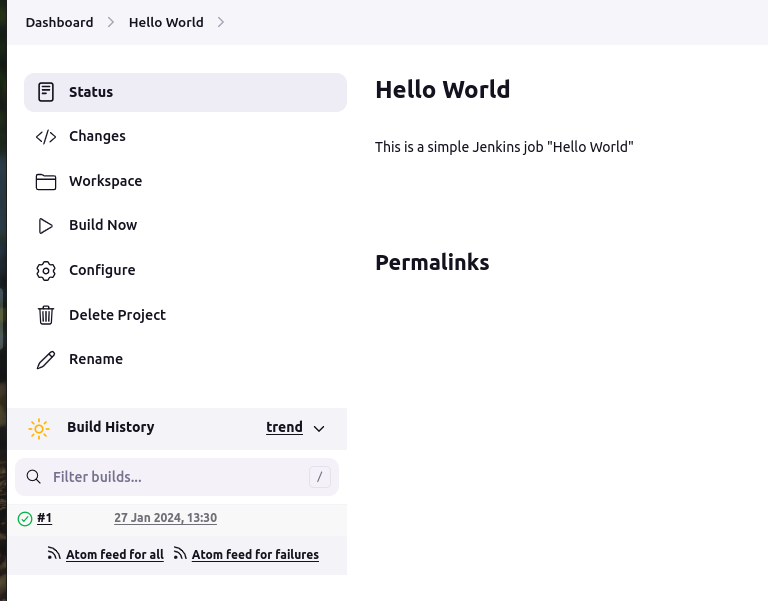
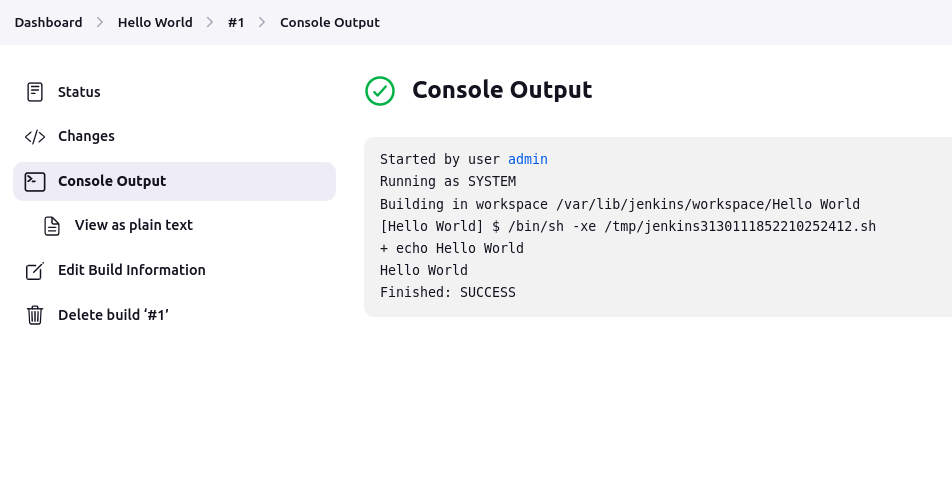
"Hello world" free style project successfully run.
Output:-
Subscribe to my newsletter
Read articles from Apurv Samadder directly inside your inbox. Subscribe to the newsletter, and don't miss out.
Written by
