Day 65: Provisioning an EC2 Instance on AWS
 Vedant Thavkar
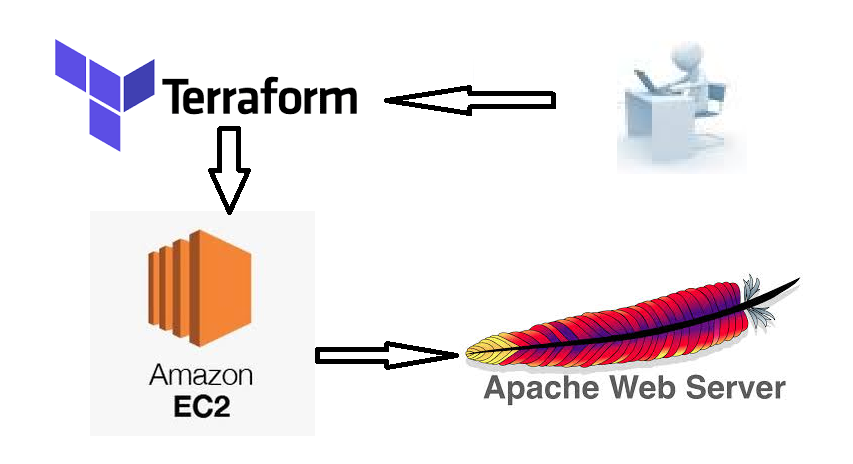
Introduction: Welcome to a journey into infrastructure as code (IaC) with Terraform! In this tutorial, we'll delve into the basics of Terraform by creating a simple web server on Amazon Web Services (AWS). By the end, you'll have a foundational understanding of how Terraform enables the seamless provisioning of infrastructure resources.
Understanding Terraform Resources: Before we dive into the practical steps, let's grasp the concept of Terraform resources. In Terraform, resources represent the various components of your infrastructure, such as servers, databases, and networking configurations. These resources are defined using resource blocks in your Terraform configuration files.
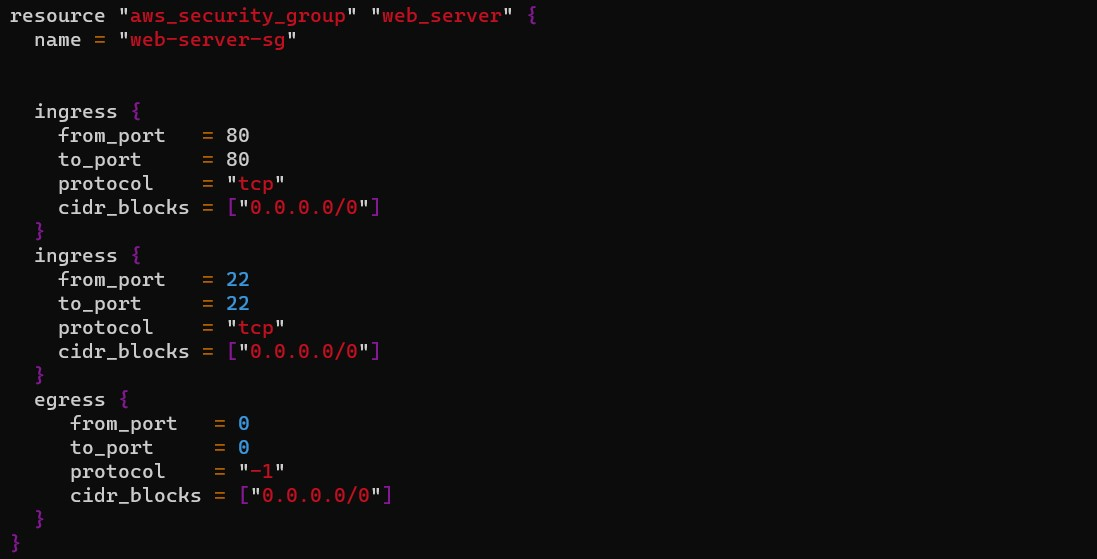
Task 1: Creating a Security Group: Our first step is to establish a security group on AWS. This security group will regulate inbound traffic to our EC2 instance, allowing HTTP traffic on port 80.
resource "aws_security_group" "web_server" {
  name_prefix = "web-server-sg"

  ingress {
    from_port   = 80
    to_port     = 80
    protocol    = "tcp"
    cidr_blocks = ["0.0.0.0/0"]
  }
}
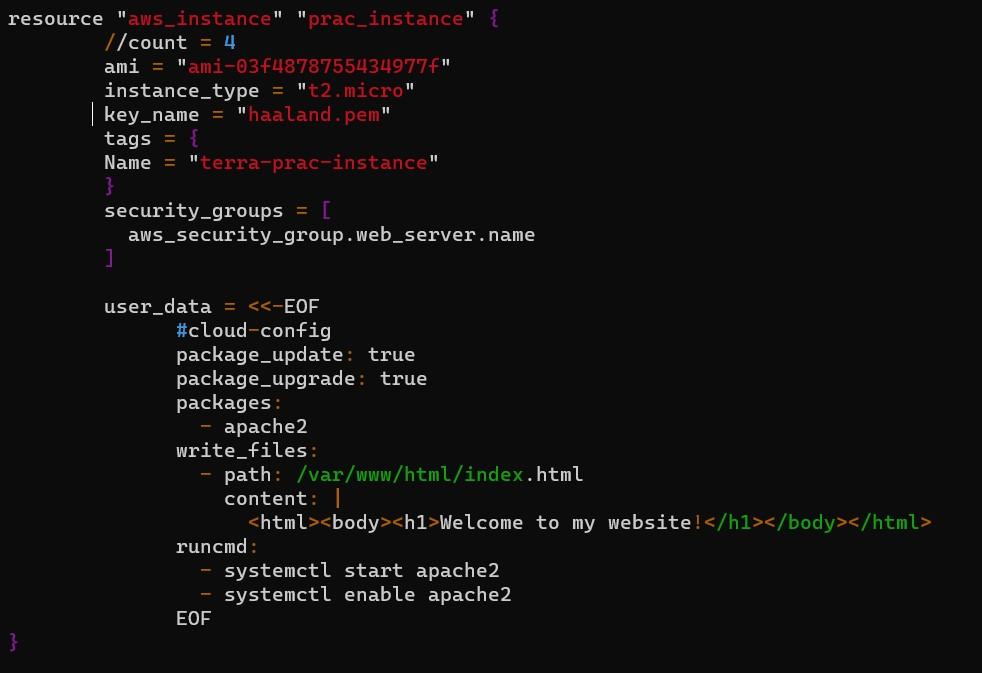
Task 2: Provisioning an EC2 Instance: Now, let's provision an EC2 instance using Terraform. This instance will utilize the security group we created earlier and host a basic website.
resource "aws_instance" "web_server" {
  ami           = "ami-0557a15b87f6559cf"
  instance_type = "t2.micro"
  key_name      = "my-key-pair"
  security_groups = [
    aws_security_group.web_server.name
  ]

  user_data =  user_data = <<-EOF
              #cloud-config
              package_update: true
              package_upgrade: true
              packages:
                - apache2
              write_files:
                - path: /var/www/html/index.html
                  content: |
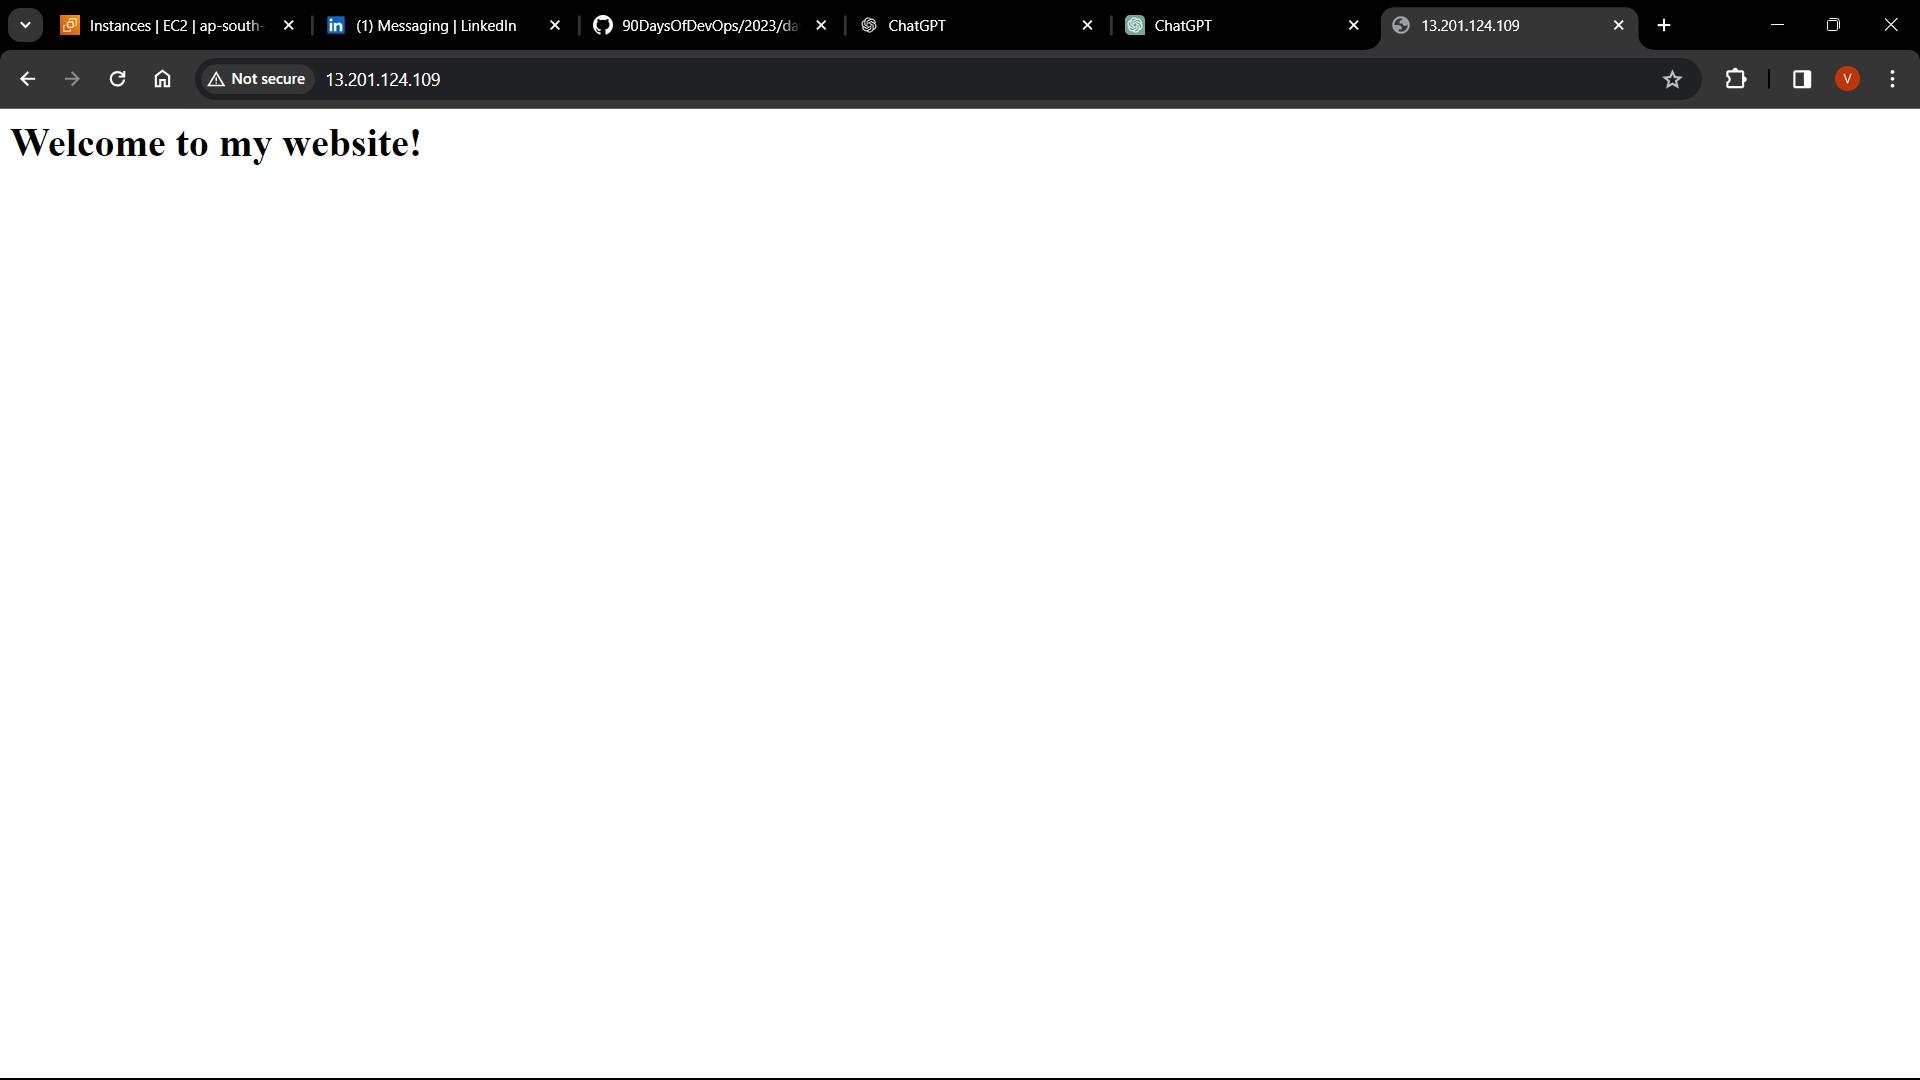
                    <html><body><h1>Welcome to my website!</h1></body></html>
              runcmd:
                - systemctl start apache2
                - systemctl enable apache2
              EOF
}
Task 3: Accessing Your Website: With the EC2 instance up and running, you can now access the hosted website. Simply navigate to the public IP address of your EC2 instance in a web browser to view the webpage.


Conclusion: Congratulations! You've successfully embarked on your Terraform journey by provisioning an EC2 instance on AWS. This tutorial covered the fundamentals of Terraform resource management, empowering you to build and manage infrastructure with ease. Keep exploring Terraform's vast capabilities, and happy provisioning!
Call to Action: Ready to unlock the full potential of Terraform? Dive deeper into Terraform's documentation and explore advanced features to enhance your infrastructure automation journey. Happy Terraforming!
Subscribe to my newsletter
Read articles from Vedant Thavkar directly inside your inbox. Subscribe to the newsletter, and don't miss out.
Written by

Vedant Thavkar
Vedant Thavkar
"DevOps enthusiast and aspiring engineer. Currently honing skills in streamlining development workflows and automating infrastructure. Learning AWS, Docker, Kubernetes, Python, and Ansible. Eager to contribute and grow within the DevOps community."