Aws Elastic Beanstalk
 Victor Ogundipe
HOW TO DEPLOY AN APPLICATION ON AWS ELASTIC BEANSTALK
INTRODUCTION: Elastic Beanstalk is a service that abstracts the underlying infrastructure, including the EC2 instances so you do not directly create Elastic Beanstsalk on EC2, Instead Elastic Beanstalk automatically provision the necessary EC2 instances, load balancer, and other infrastructure components to run and scale your application.
However, to understand how Elastic Beanstalk uses EC2 instances under this hood, here is a simplified overview of the process :
Create an AWS Account, if you do not have one using https://aws.amazon.com/
Sign in to your AWS Management Console: Go to the AWS Management Console and sign in using your credentials
.
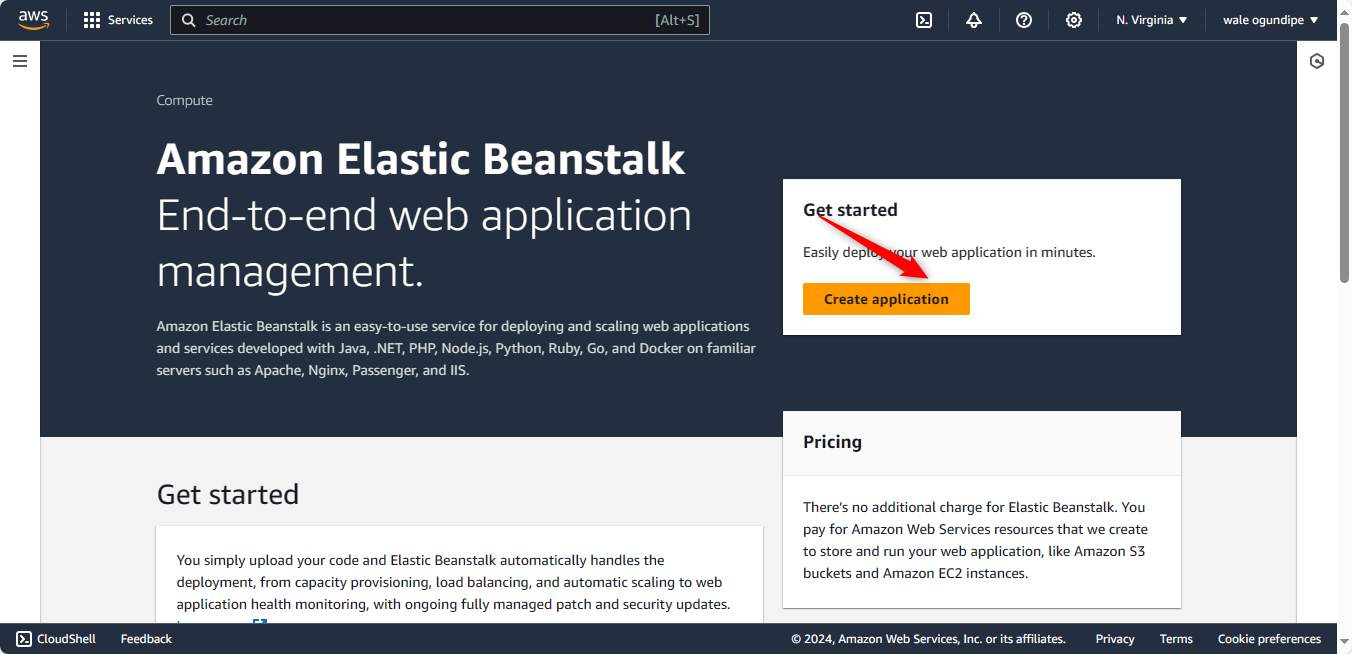
Navigate to Elastic Beanstalk: once you logged in, navigate to the Elastic Beanstalk console by searching for "Elastic Beanstalk "in the AWS Management Console, to enable you to create an application and give it a name
.
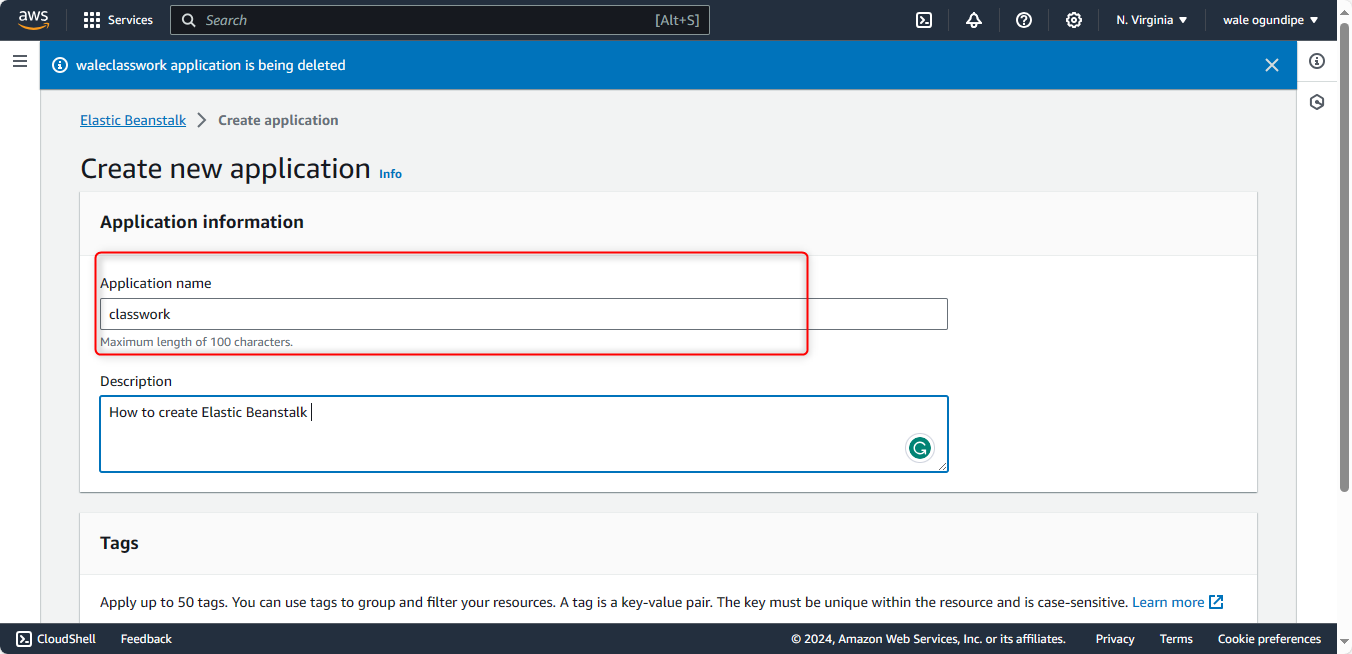
Create an Application: To Create an application in Elastic Beanstalk you can do this by clicking on the "Create Application "button on the left top side and following the on-screen instructions. you will need to provide a name for your application such as " classwork"

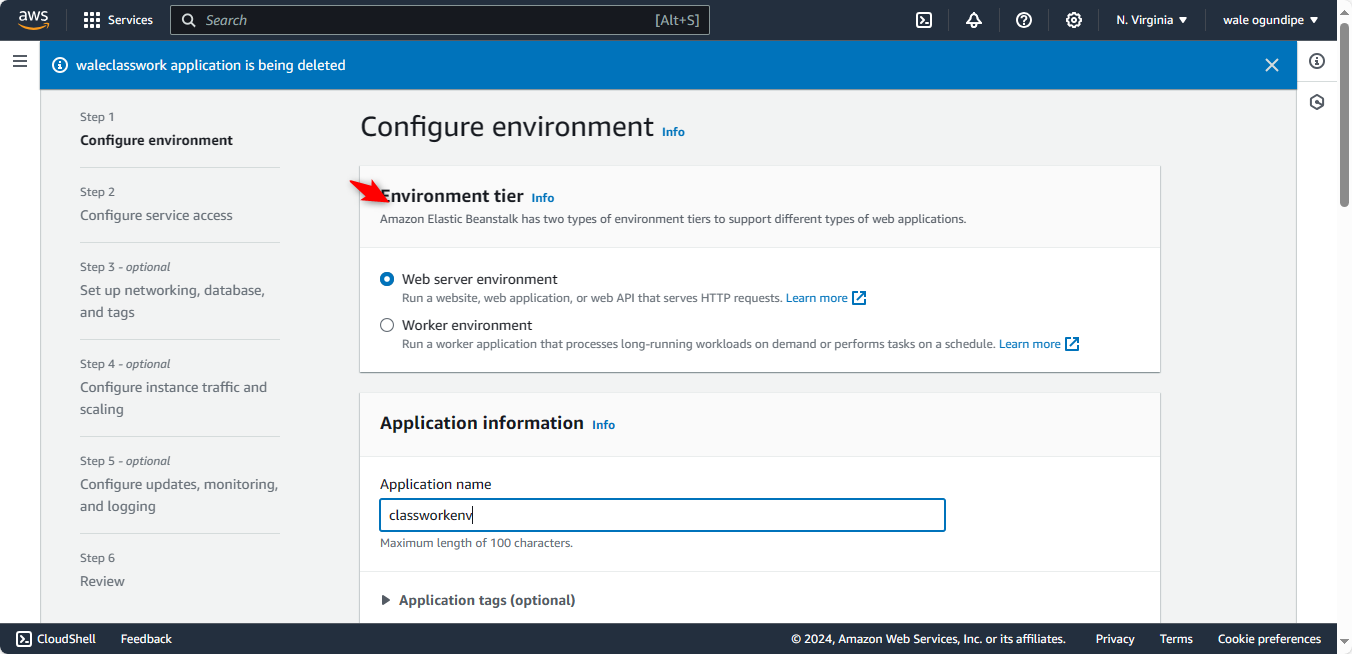
Create an Environment: After creating your application you have named your application, you will need to create an environment within that application and give it the name "classworkenv"
:
Once your environment is created, you will need to select the particular platform to use in which you will have to build your application such as PHP, Ruby, Docker, etc, and click Next
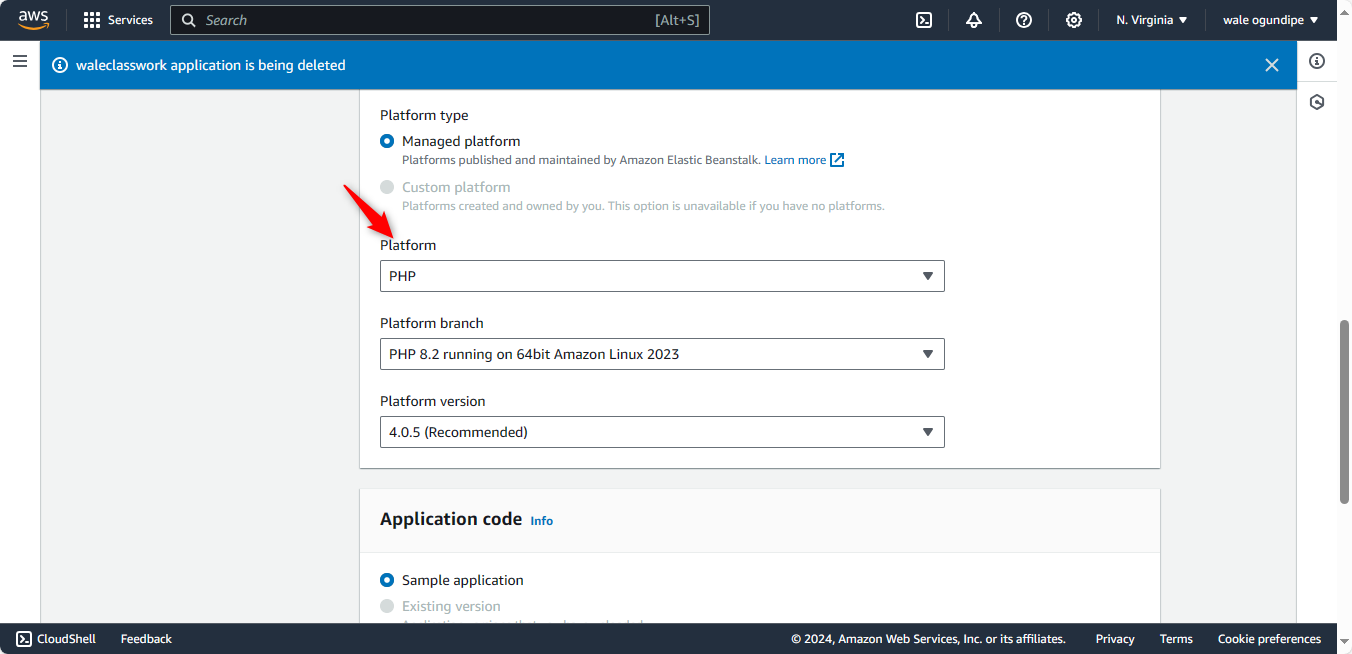
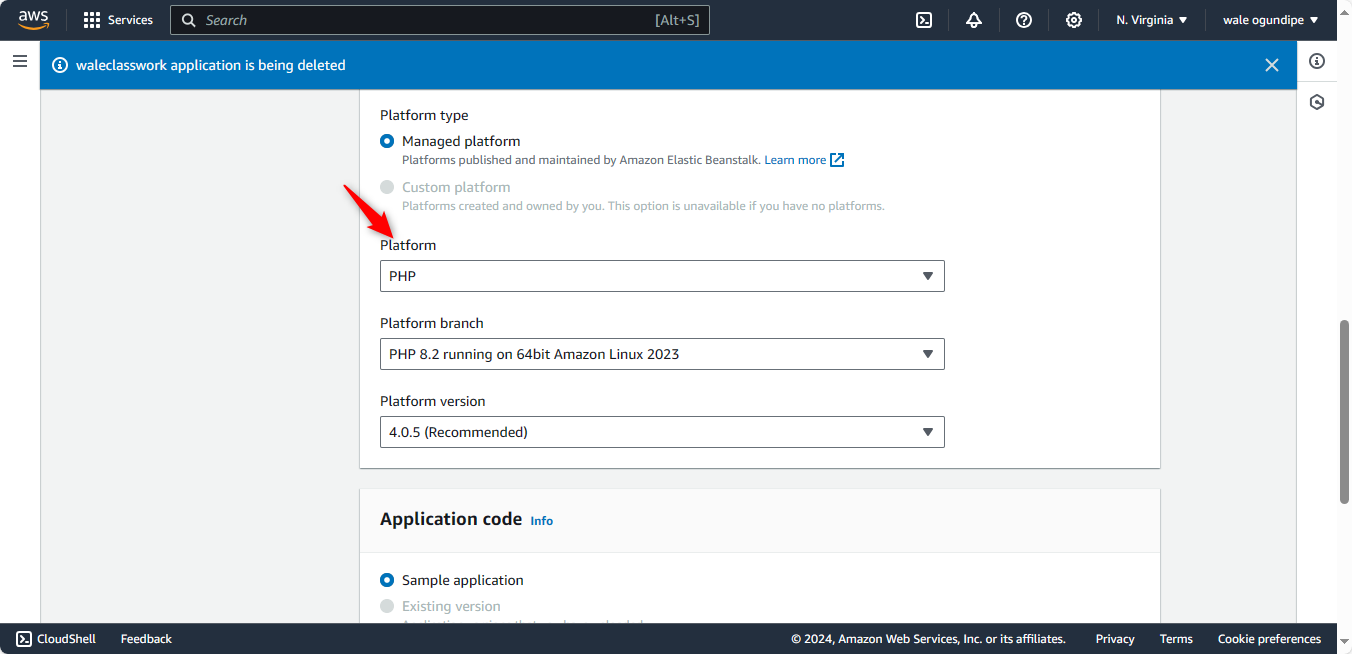
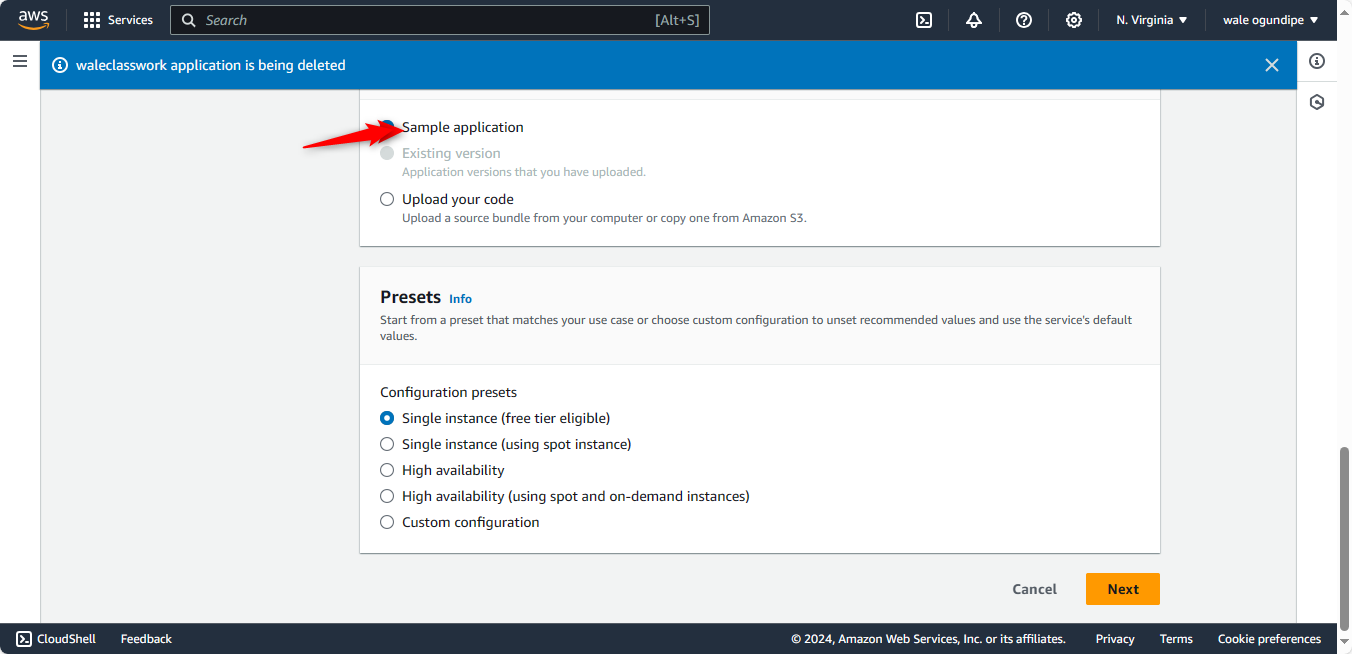
once the configuration is done, Click next and select "Sample Application "You can deploy your application by uploading your application code
You need to open another tab on the browser and type IAM, then click on it to give you permission .
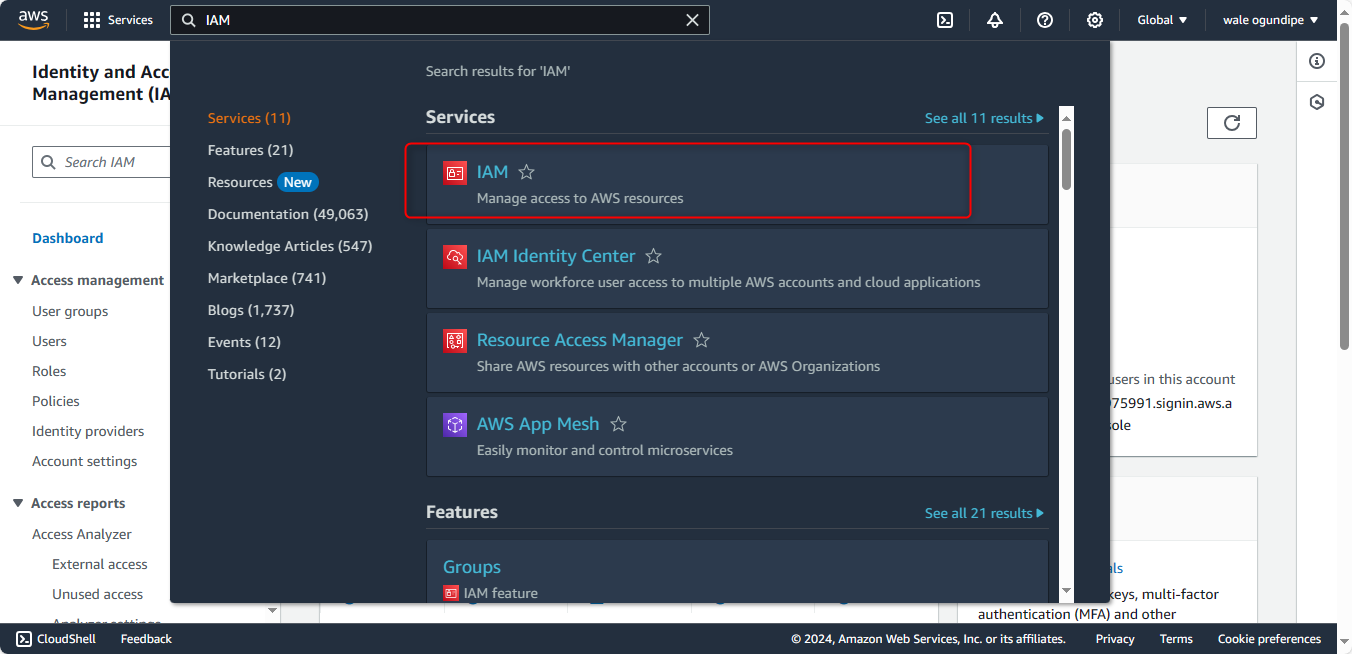
After you have clicked on the IAM and you have permission,you need to set your boundary
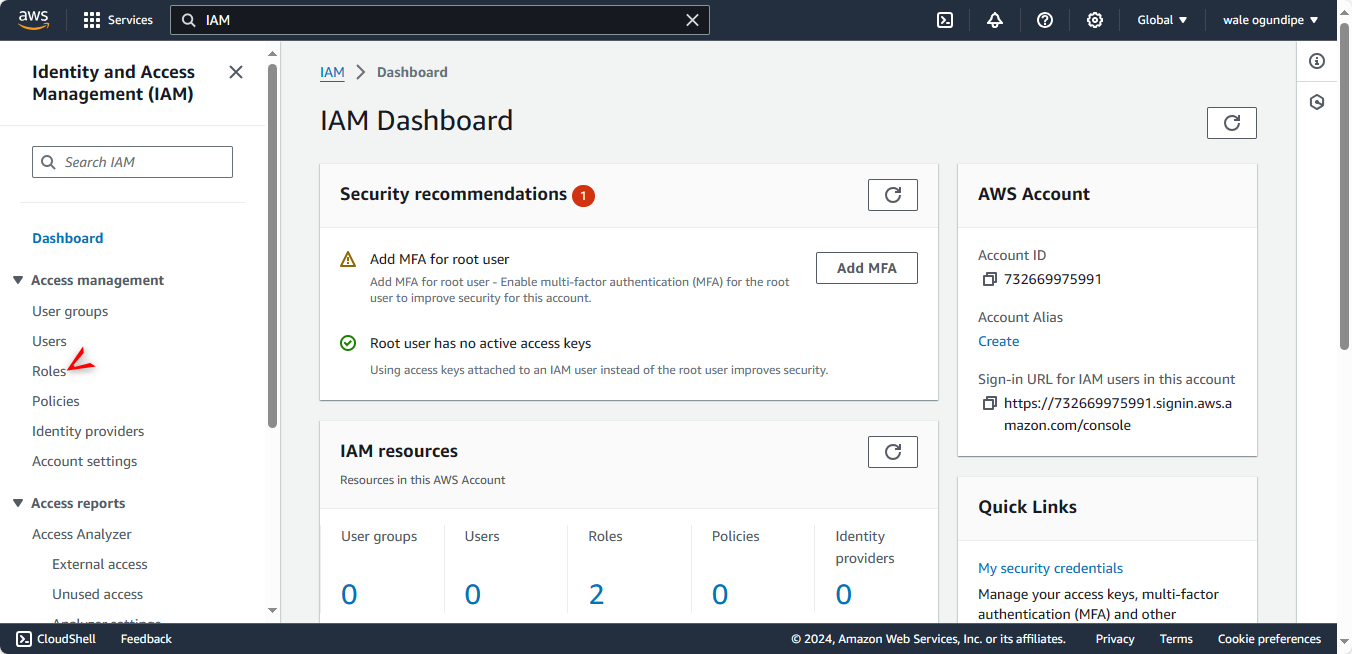
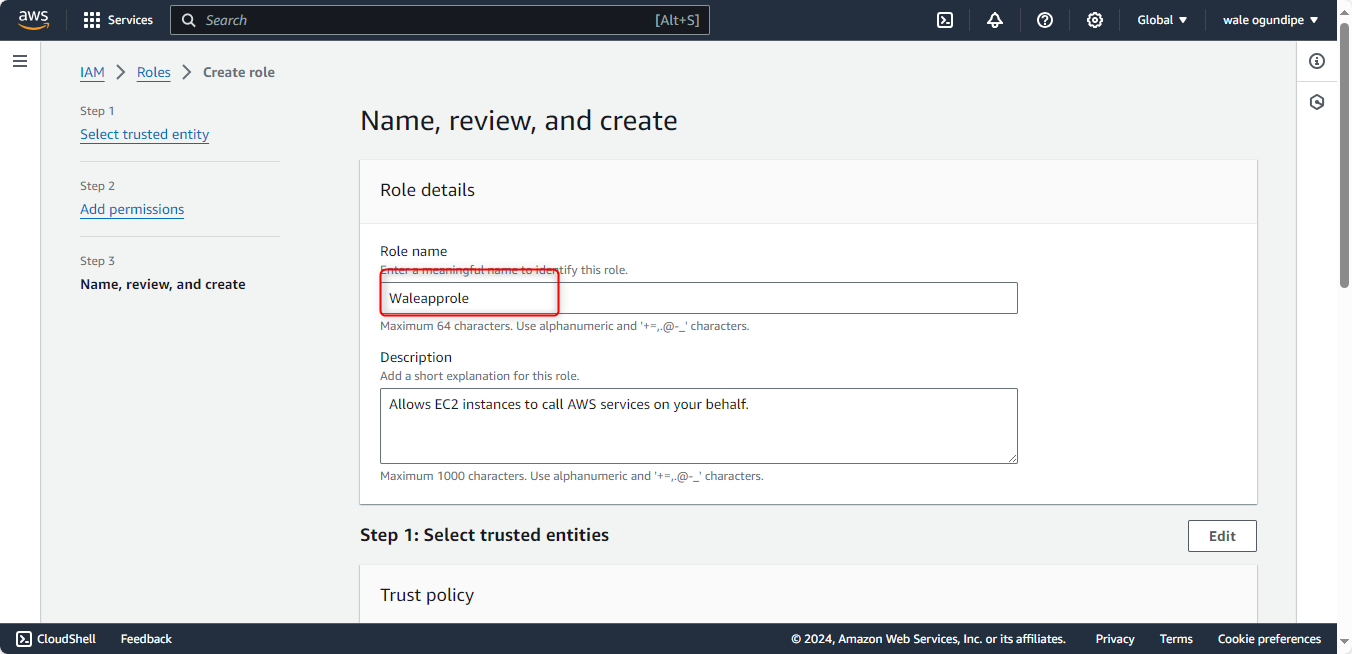
IAM Role: the IAm Role will give you permission to use the Policy to create your Role.
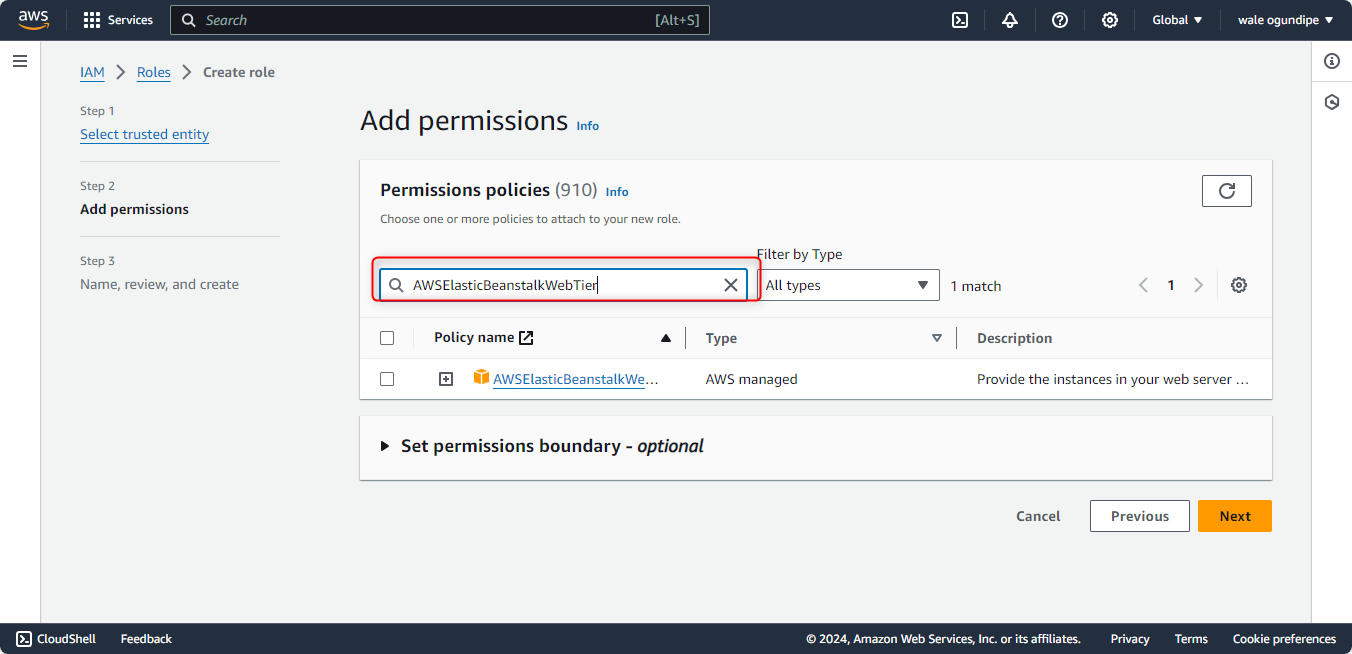
Click on Create Role on your left top side and click on permission to have access.
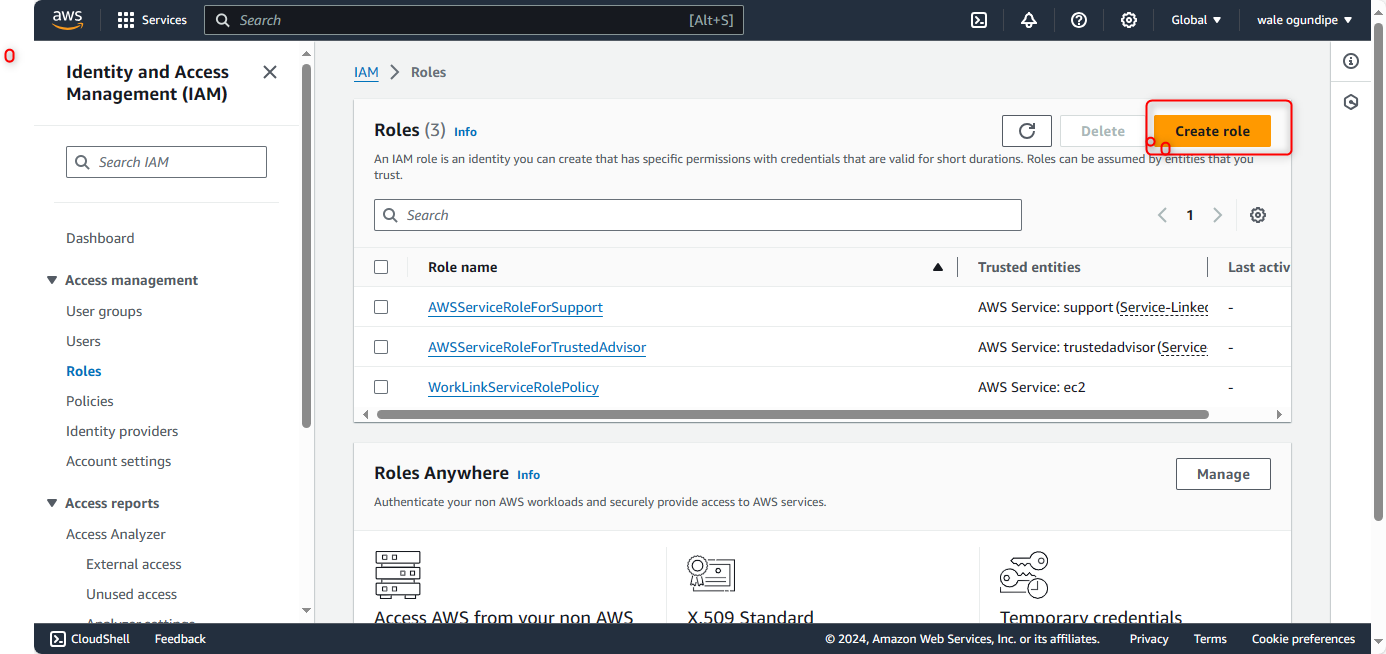
13. You need to configure your Role access.
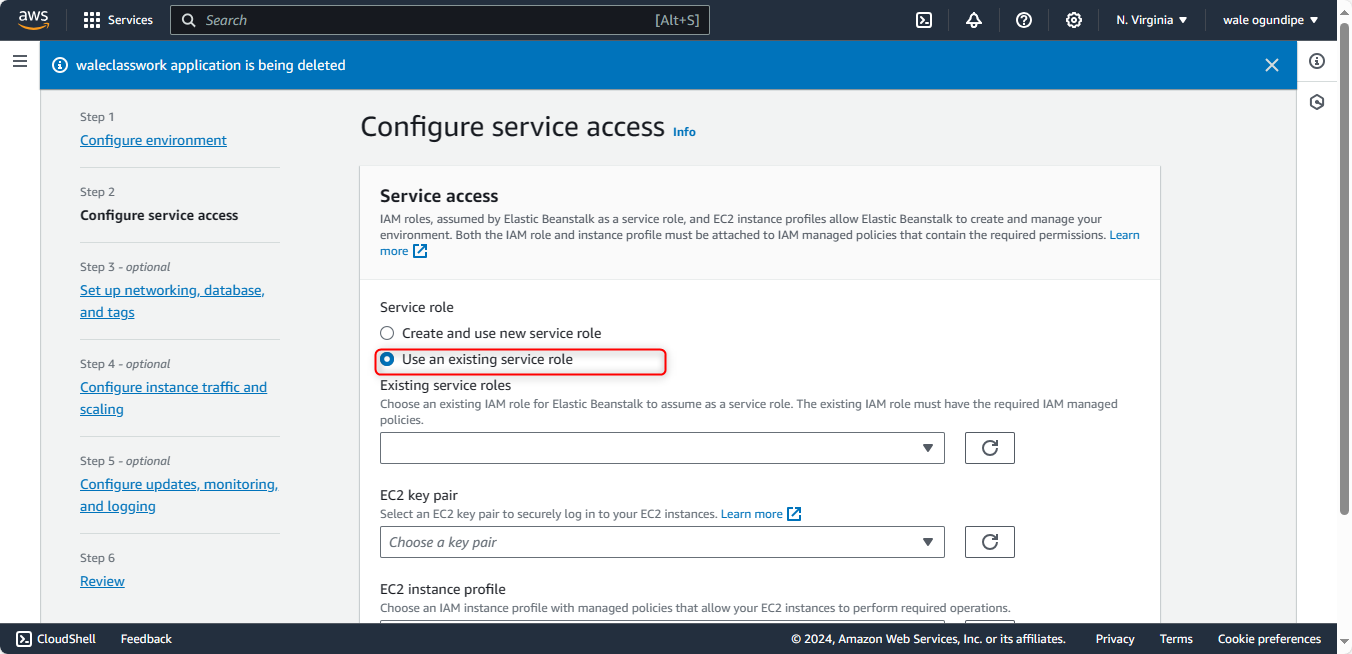
.
- After the configuration is done, you can deploy your Profile permission application by uploading it from your application code
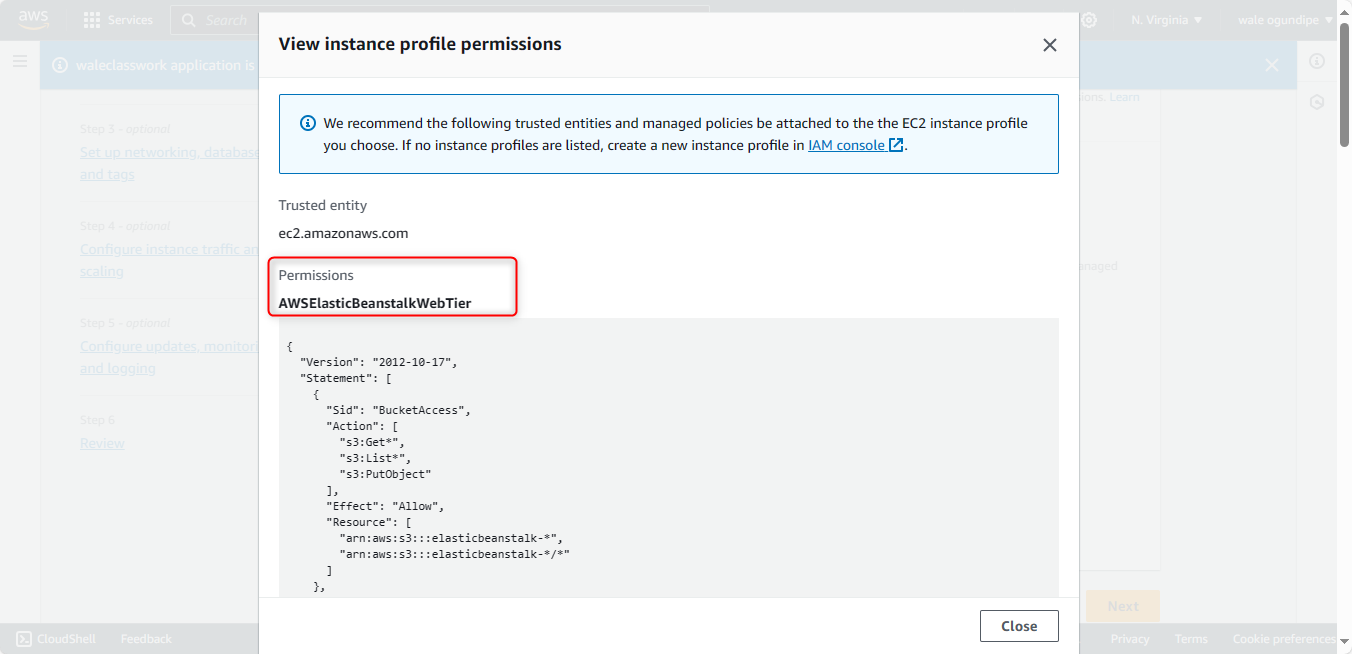
14. Monitor Deployment: the ElasticBean stalk will handle the deployment process, including provisioning the necessary infrastructure and deploying your application code.
Monitor Deployment: The Elastic Beanstalk will handle the deployment process including provisioning and necessary infrastructure and it will deploy your application code. you can monitor the deployment progress through the Elastic Beanstalk console.
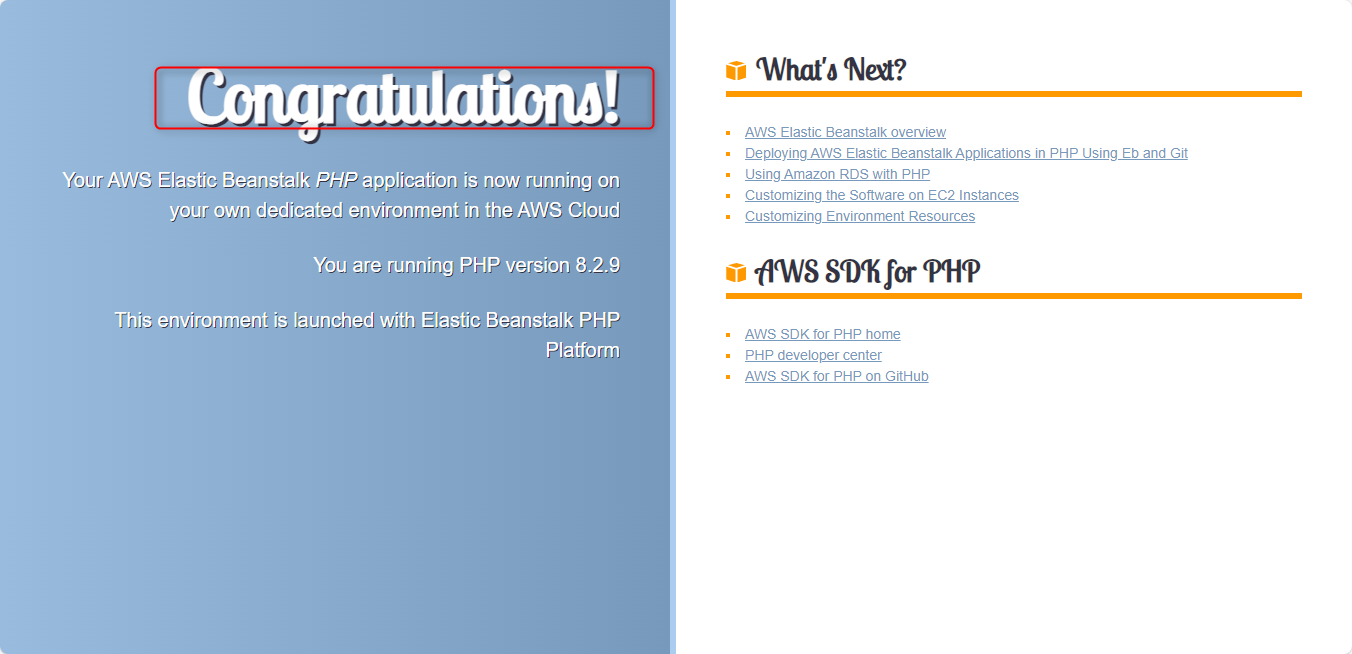
16. these are the basic steps to deploy an application using AWS Elastic Beanstalk.
Subscribe to my newsletter
Read articles from Victor Ogundipe directly inside your inbox. Subscribe to the newsletter, and don't miss out.
Written by
