Day 5 Task: Advanced Linux Shell Scripting for DevOps Engineers with User management
 Supriya Surkar
This is#90DaysofDevopschallenge under the guidance ofShubham Londhe.
Day 5 TASK
Introduction👍:
- Welcome to Day 5 of our DevOps journey! Today, we're going to dive into some advanced Linux shell scripting techniques, specifically focusing on user management and automation. Don't worry if you're new to this – we'll break it down step by step.
Step 1: Understanding Directory Creation
Let's say you have a task where you need to create multiple directories in Linux, maybe for organizing files or projects. Doing this manually can be time-consuming and tedious. Instead, you can use a simple command to create multiple directories at once.
Example:
mkdir day{1..90}

- This command creates 90 directories named 'day1' through 'day90' in your current directory. It's like magic! You just saved yourself a ton of time and effort.
Step 2: Task Assignment – Shell Scripting for Directory Creation
Now, imagine you need to create directories dynamically based on certain parameters. This is where shell scripting comes in handy. You can write a script that automates the directory creation process, making your life much easier.
Example Script:
createDirectories.sh
#!/bin/bash

# Check if three arguments are provided
if [ "$#" -ne 3 ]; then
  echo "Usage: $0 <directory_name> <start_number> <end_number>"
  exit 1
fi

# Extract arguments
directory_name="$1"
start_number="$2"
end_number="$3"

# Check if start_number and end_number are integers
if ! [[ "$start_number" =~ ^[0-9]+$ ]] || ! [[ "$end_number" =~ ^[0-9]+$ ]]; then
  echo "Error: Start and end numbers must be integers."
  exit 1
fi # we can also skip this part but it is good practice to do so

# Loop to create directories
for ((i=start_number; i<=end_number; i++)); do
  directory="${directory_name}${i}"
  mkdir "$directory"
done

echo "Directories created successfully."
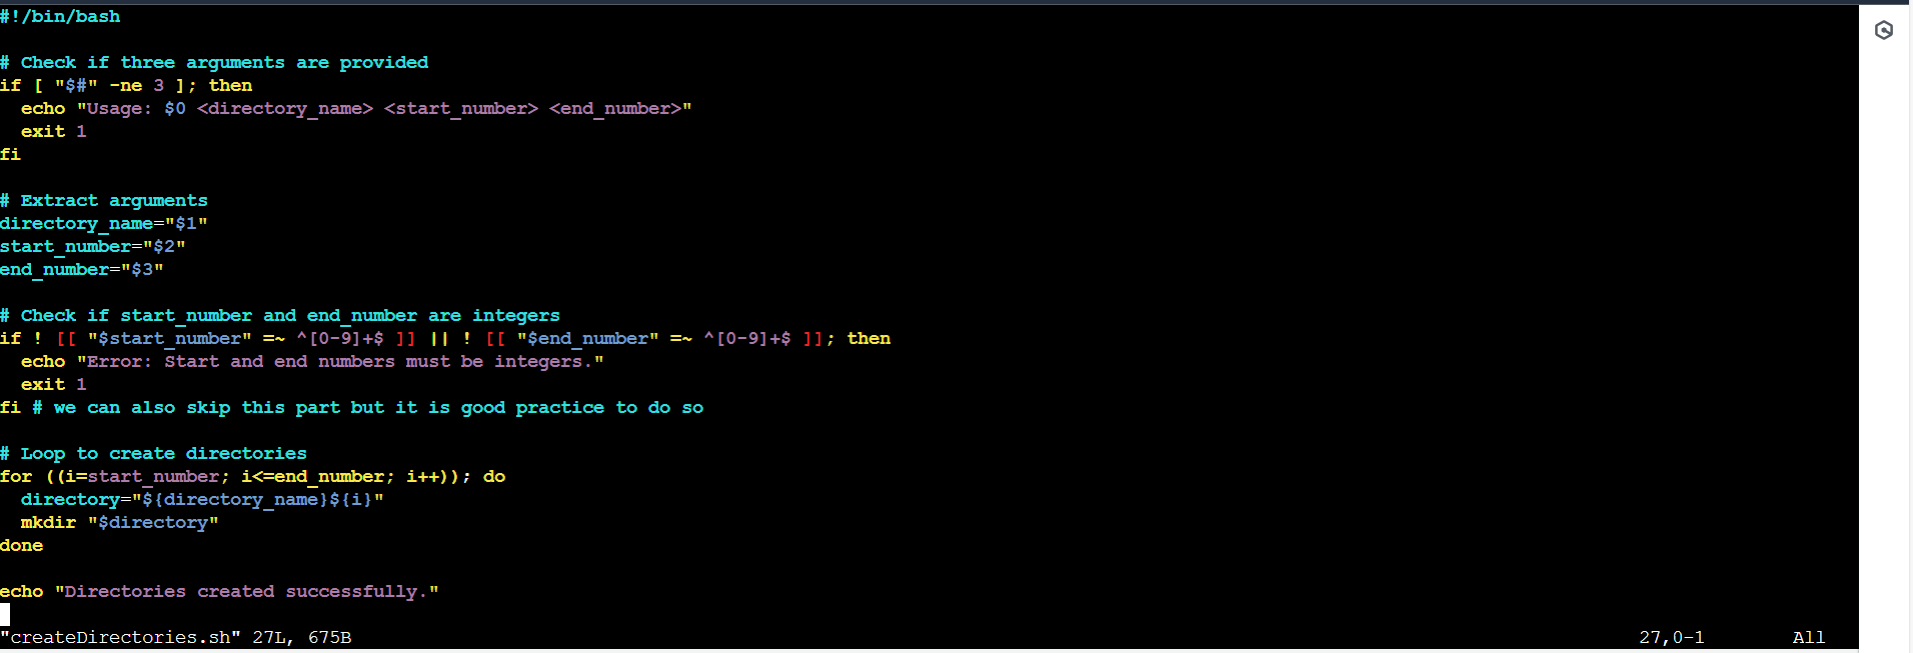
- When you run this script with appropriate arguments, like
./createDirectories.shday 1 90, it creates directories from 'day1' to 'day90' just like before.

Step 3: Creating a Backup Script
Backups are essential for protecting your work. You can create a simple backup script that copies your important files to a safe location.
Example Backup Script:
backup.sh
#!/bin/bash

# Define source and target directories
src=/home/ubuntu/scripts
trg=/home/ubuntu/backups

# Ensure that the target directory exists
mkdir -p $trg

# Get the current timestamp
curr_timestamp=$(date "+%d-%m-%Y-%H-%M-%S")
# Create backup file name with timestamp
backup=$trg/$curr_timestamp.tgz

# Inform the user about the backup process
echo "Taking backup on $curr_timestamp"
#echo $backup

# Create the backup archive using tar
tar czf $backup --absolute-names $src
echo "backup complete"
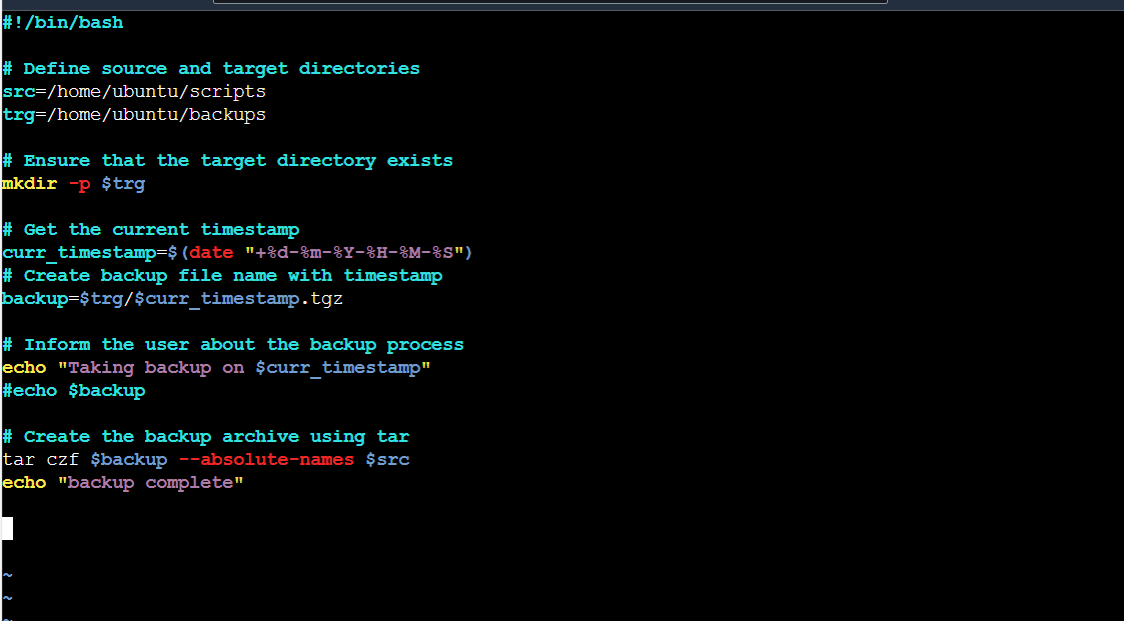
- This script compresses your files into a tarball with a timestamp and saves it to the backup destination.
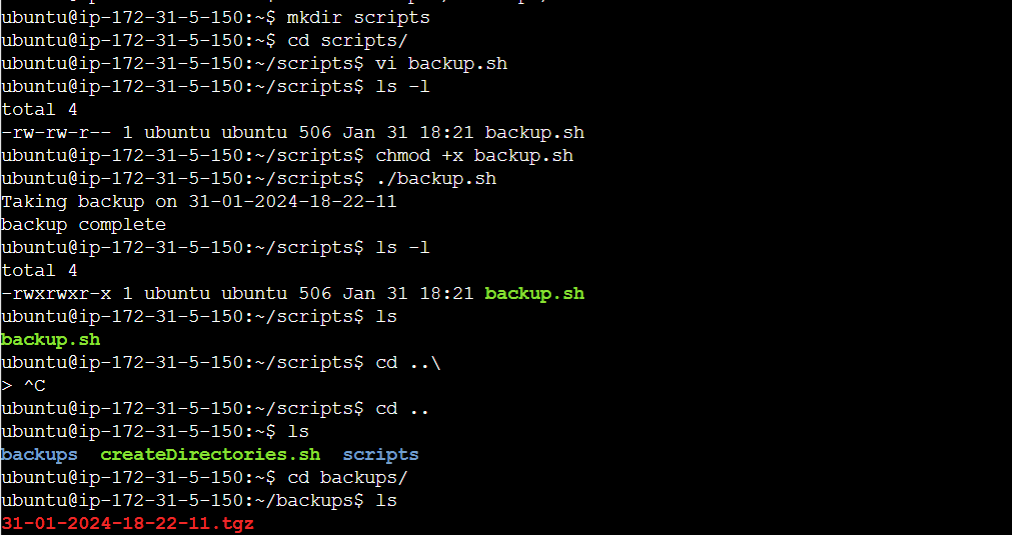
Step 4: Automating with Cron and Crontab
Cron is a powerful tool for automating tasks in Linux. You can use it to schedule your backup script to run at regular intervals without manual intervention.
Example Cron Job:
* 10 * * * /path/to/backup.sh
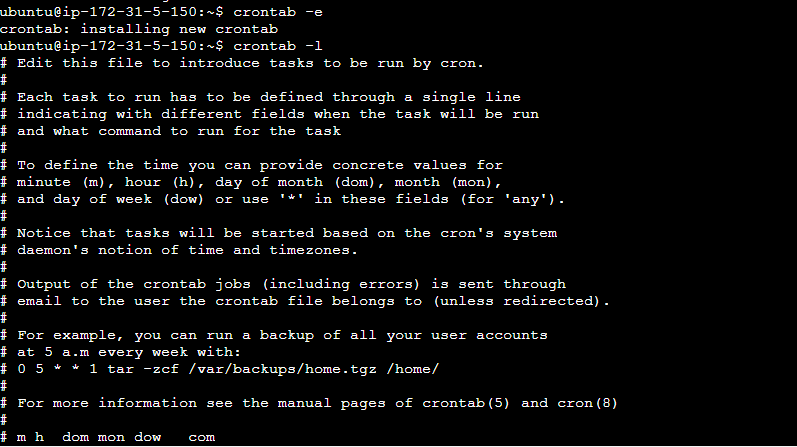
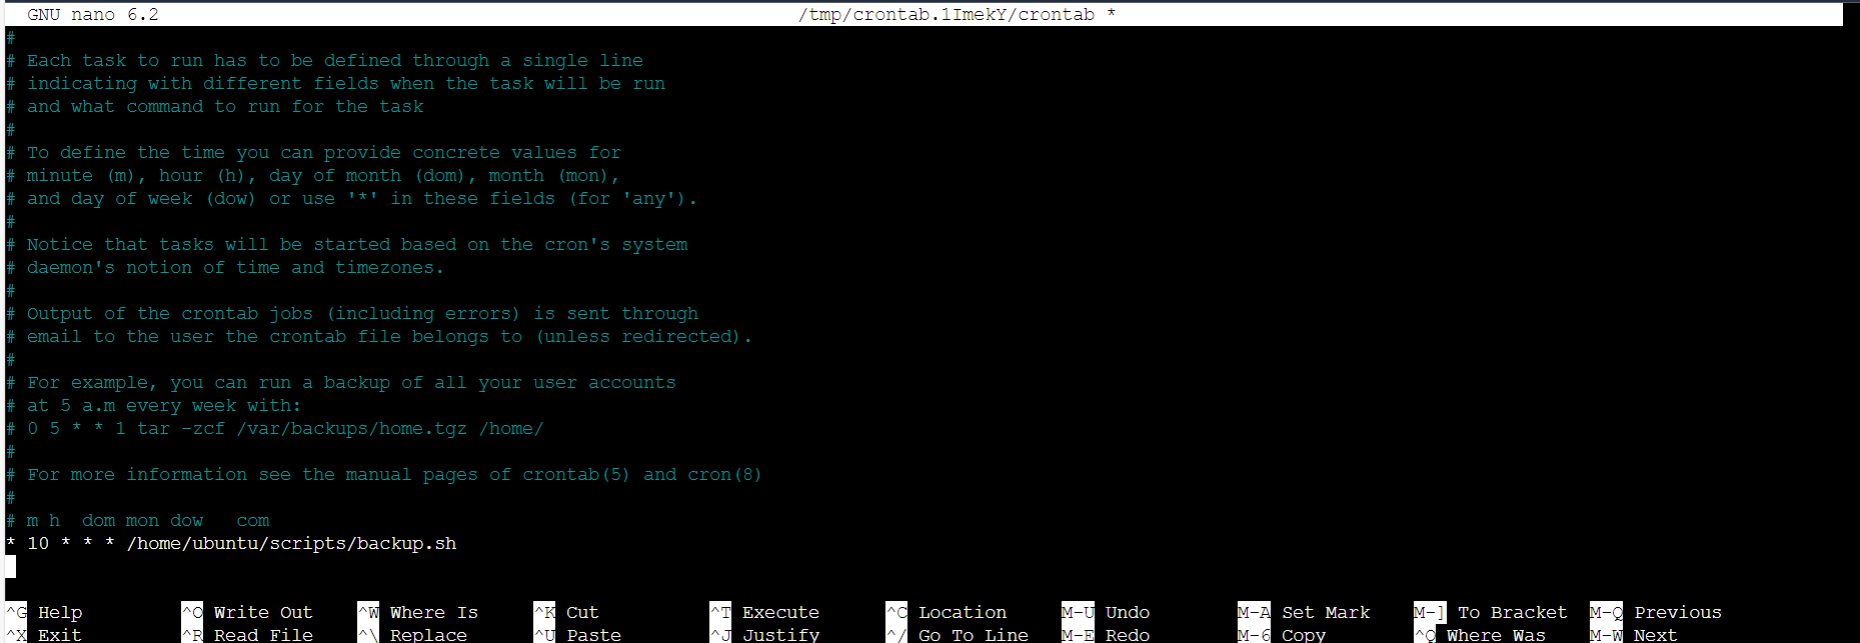
This cron schedule will execute the
backup.shscript every minute during the 10:00 AM hour.Once testing is complete, you can switch to running it daily at 10:00 AM using the following schedule:
0 10 * * * /home/ubuntu/scripts/backup.sh
Step 5: User Management Basics
In Linux, users are central to the system. You can create and manage users using simple commands.
To create two users and display their usernames in Linux, you can follow these steps:
Use the
addusercommand to create the users. Provide a username when prompted and complete the user creation process for each user.Example:
 sudo adduser user1
 sudo adduser user2
To display the usernames of the newly created users, you can use the
idcommand followed by the usernames.Example:
 id user1
 id user2
After executing the above commands, you'll see output displaying information about each user, including their usernames.

- By following these steps, you'll have created two users and displayed their usernames in your Linux system.
Conclusion🎉:
Congratulations on completing Day5 of the DevOps challenge! Today, we've unlocked the power of Linux shell scripting, from dynamic directories to automated backups and user management. Keep exploring, learning, and growing on your DevOps journey. Together, we'll shape the future of technology and make a positive impact in the tech world.
I trust you found this guide on Advanced Linux Shell Scripting for DevOps Engineers with User management helpful. If you did, please consider giving it a thumbs up 👍 to show your support😄!
Thank you for taking the time to read! 💚
Subscribe to my newsletter
Read articles from Supriya Surkar directly inside your inbox. Subscribe to the newsletter, and don't miss out.
Written by
