How to build an eCommerce website and integrating Email notification only using open source tools
 Osada Vidath
TL;DR
In this tutorial, you’ll learn how to build an eCommerce store that you can fully customize and even prepare the ground for sending transactional notifications and messages to buyers.

As a developer, knowing how to build an eCommerce website with code is a practical and valuable skill. It opens up job opportunities, lets you work on real projects, and adds versatility to your skill set. Plus, in the world of web development, eCommerce is a stable and growing industry. So, whether you're into building your own projects, collaborating with others, or just want to stay in the loop with tech trends, diving into eCommerce coding can be a smart move.
1st rule in software development: Don't reinvent the wheel unless you really have to. It's fine to recreate something for learning or business purposes, BUT if something is not your core competency, pick a ready-to-use solution. This saves nerves, time, and money.
Open source is the developer’s way of giving back to humanity, so in this tutorial, we are going to use it. Everyone loves simple food recipes that don’t require tons of different ingredients, and in this meal, we are going to include ONLY TWO because that’s all we need.
Medusa is an open source, headless ecommerce engine that prides itself as an alternative to Shopify. It’s built on Node.js with modification in mind, Medusa is composed of three parts:
Headless commerce: The repository that exposes the REST API
Admin panel: Developers can use the Medusa admin panel to customize and manage their store functionalities
Frontend: You can develop the frontend with Next.js, a static site generator like Gatsby, or any other framework
You can learn more about Medusa by checking their GitHub repository.
The BIGGEST MISTAKE developers make is not thinking far ahead and plan for future potential needs. That is the main difference between software developers and software engineers. Building notifications infrastructure / systems is not even a real thought initially. It always starts with something small. Sending an email to confirm the purchase, sending a push notification about a sale going live, or even just an SMS with a confirmation code to authenticate the user in the registration stage. Very soon, it becomes a nightmare to build, maintain and oversee, and once the store takes off and requires to handle higher scale, the real pain come knocking on the door (It calls “Refactoring”) which in polite terminology means: “The code is crap and cannot be maintained so we need to rewrite the whole thing”.
So I came across a DevTool that does just that! An open-source READY-TO-INTEGRATE notifications infrastructure!
Honestly, I feel that sharing such a tool is almost like sharing a cheat code and competitive advantage, but they just won Producthunt’s Golden Kitty Award, so anyway, they are going to be on everyone's radar soon, so there is no real point in gatekeeping this. Enjoy!
Novu is the one tool you need for ALL of your notification needs in the present and the future.
All that is required from you is:
Create an account
Pick the channels you wish to communicate with your customers (Email, SMS, WhatsApp, etc.)
Connect your providers (SendGrid, Twillio, FCM, etc.)
Build your tailored notification workflow (Or just use their pre-made templates)
Add the code snippet to your Backend to call Novu’s API once an event accrued
And that’s it!
Anyway, at the end of this guide, you will have a clear idea about how to use Novu and how to implement it with your Medusa eCommerce store.
Are you not really a tutorial person? Or maybe just want a shortcut? I've got you covered.
You can obtain the source code for this tutorial on this GitHub repository.****
Prerequisites
You’re going to use TypeScript throughout this project, for that you need to have Node JS installed on your local computer. If you don’t already have it, you can download it from the official Node JS website.
It is recommended to have a preliminary idea about basic JavaScript concepts to make navigating through this tutorial easier but feel free to follow along even if you don’t have much experience.
Configuring Databases
To properly use Medusa and its notification features, you need to utilize two databases, namely PostgreSQL and Redis. Let’s discuss about installing each of those databases in this section.
Configuring Redis
If you’re using Linux or Mac, the process is fairly easier, you can just install Redis in your local computer following the instructions from Redis official documentation.
But if you are using windows, things are little more completed, you need to have WSL2 installed in order to use Redis locally. You can find instructions for that here.
Also if you don’t want to install Redis locally, you can deploy a small but free Redis instance in their free managed cloud platform as well.
Configuring PostgreSQL
PostgreSQL is the main database that is used by Medusa. Installing Postgres is fairly straightforward. You can download the relevant installer that matches your OS from their official website.
Once both of the databases are correctly configured, you can move on to the next step.
Configuring Medusa
Installing Medusa
To test Novu integration, you need a Medusa instance up and running on your local computer. A Medusa instance consists of 3 parts, you can install and setup all three of them all at once with one single command by using the “create-medusa-app” utility provided by Medusa.
To create a Medusa store, open your terminal at the location of your choice and run the following command.
npx create-medusa-app@latest
Once you run this command on your terminal, you will be presented with a series of questions, make sure to enter your PostgreSQL database’s connection information correctly and choose to install the Next.js starter storefront (You won’t be touching its code but it would be needed for testing the integration)
You can find more information about “create-medusa-app” in their documentation.
Now you can move into the main folder and the storefront folder and run yarn dev separately to start up the backend and frontend both in development mode.
Connecting Redis
Now that you have a Medusa server up and running, you need to connect your Redis instance that you created. To do this, open the Medusa server folder (not the storefront) in your text editor, open the .env file and add the following line at the end of it. (Make sure to add your actual Redis URL at the end)
REDIS_URL=
Next, open the medusa-config.js file and inside the modules constant which is already defined, include the following object.
eventBus: {
  resolve: "@medusajs/event-bus-redis",
  options: {
    redisUrl: REDIS_URL,
  },
},
Right below, in the projectConfig object, uncomment the line with the redis_url to enable Redis.
Congratulations ! You have successfully connected Redis to your Medusa instance. Make sure to restart the Medusa server because a restart might be necessary for these changes to reflect.
Configuring Novu
Now that you have a Medusa instance up and running, you have to configure Novu.
Creating a Novu Account
To create a Novu account, head on over to Novu Signup page and either use GitHub login or email and password to create yourself a brand new Novu account.
Now, before you go ahead and create a Novu workflow, there are a few things that you should take note of.
First, go to the Integration Store from the left menu and see the integrations that are currently created. You can use the Novu test providers for now but in production, you need to make use of a third party provider like SendGrid.
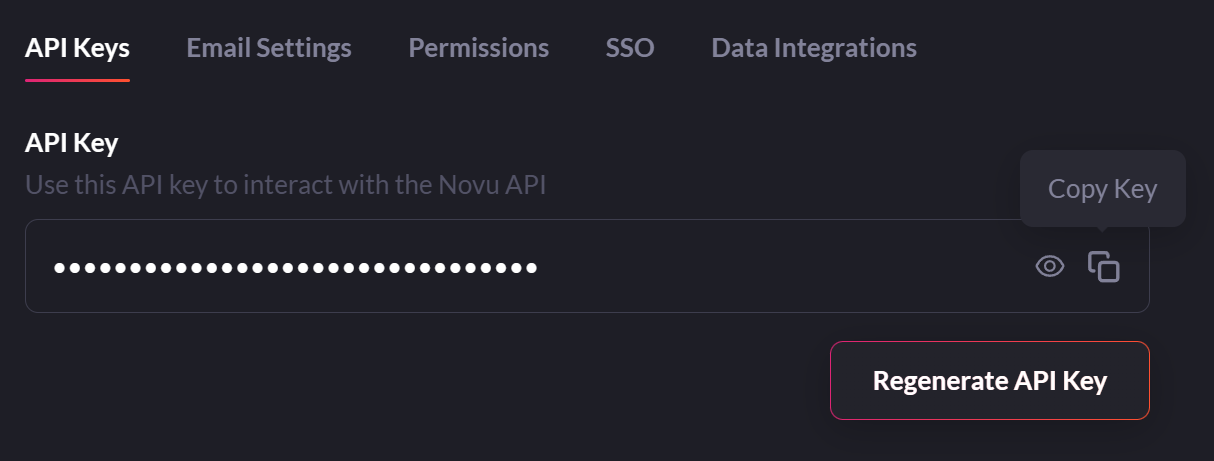
Next, head on over to the Settings section from the left hand side menu and copy the API Key. You are going to need that just in a bit inside your code.

Creating a Novu Workflow for Email Notifications
Basically a workflow is how you send notifications in Novu, you simply create a workflow from the dashboard and trigger that workflow from the backend of your code.
To start creating a workflow, go to the workflow tab and click on Add a workflow , then choose a Blank workflow for now. On the top left of the page, you can name your workflow, I am going to name mine as “Medusa Novu Integration”. Naming the workflow will be important because you will be calling this workflow by its name.
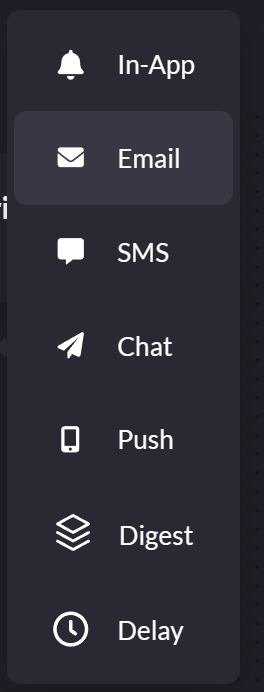
In the middle of the page, you can see the area you will build your workflow on. Click the plus button below the Workflow trigger block and choose Email because you are going to be sending just Email notifications for now.

Next, click on the pencil icon to start editing your Email notification.
Start by setting the Sender name and Subject per your preference and move on to the Editor section. This Editor is where you will craft your email. Now you can style, add images and do all sorts of things to the email that you’re going to be sending in a bit, but for the sake of simplicity, copy and paste the below text in your editor.
Hey {{name}},

Thank you for placing your order with us.

Order ID - {{orderId}}
Amount - {{amount}}
Notice that there are some variables inside the double curly braces. These are variables that you can define from the backend when you’re sending an email.
Now that you’ve finished the work on Novu dashboard, click on the Update button on the top right.
Handling Store Events with Novu
There is an extensive array of events in Medusa that you can use to notify users. You can take a look at the whole list of events in the Medusa documentation.
But for the sake of this guide, you are going to be using the order.placed event mainly. As the name suggests, this event will be called when a user places an order from the frontend.
To listen to these events and send notifications, you can create a Notification Provider. You can find more information about that in their documentation.
For the Notification Provider to properly work, we need to set up two things inside of the Medusa codebase. Namely,
Service
Loader
Creating the Notification Provider Service
Start by creating a new TypeScript file inside the service directory inside the src directory. Make sure to use kebab-case when naming the file. As an example, I used novu-notifications.ts
Then copy and paste the following code inside that file, I will explain how each code block works in a bit.
import { AbstractNotificationService, OrderService } from "@medusajs/medusa";
import { Novu } from "@novu/node";

class NovuNotificationsService extends AbstractNotificationService {
  static identifier = "novu-notifications";

  protected orderService: OrderService;

  protected novu: Novu;

  constructor(container) {
    super(container);

    this.orderService = container.orderService;
    this.novu = new Novu(process.env.NOVU_API_KEY);
  }

  async sendNotification(
    event: string,
    data: any,
    attachmentGenerator: unknown
  ): Promise<{
    to: string;
    status: string;
    data: Record<string, unknown>;
  }> {
    if (event === "order.placed") {
      const order = await this.orderService.retrieve(data.id, {
        relations: ["customer", "shipping_address", "payments"],
      });

      const orderData = {
        orderId: order.id.split("_")[1],
        name: `${order.shipping_address.first_name} ${order.shipping_address.last_name}`,
        amount: (order.payments[0].amount / 100).toLocaleString("en-US", {
          style: "currency",
          currency: "USD",
        }),
      };

      await this.novu.trigger("medusa-store-notifications", {
        to: {
          subscriberId: order.email,
          email: order.email,
        },
        payload: orderData,
      });

      return {
        to: order.email,
        status: "done",
        data: orderData,
      };
    }
  }

  async resendNotification(
    notification: any,
    config: any,
    attachmentGenerator: unknown
  ): Promise<{
    to: string;
    status: string;
    data: Record<string, unknown>;
  }> {
    const to: string = config.to ? config.to : notification.to;

    await this.novu.trigger("medusa-store-notifications", {
      to: {
        subscriberId: to,
        email: to,
      },
      payload: notification.data,
    });

    return {
      to,
      status: "done",
      data: notification.data,
    };
  }
}

export default NovuNotificationsService;
Notice the imports. The
AbstractNotificationServiceis the class that has extended the notification service class with.OrderServiceis used to access the order information like customer’s name and amount to include in the notification.The
Novuclass is imported from@novu/nodein order to make requests to the Novu API.💡 Make sure to install the `@novu/node`package by running `npm i @node/novu` inside the Medusa server
Next, you have the class named
NovuNotificationServicein this case and it requires a property named identifier. This will be used later inside the loader to call this specific notification service.There are two variables defined for the Medusa services and the Novu and all of those two variables are initialized inside the constructor.
💡 Make sure to include the Novu API key you copied earlier inside the Novu constructor like this or via an environment variable. `this.novu = new Novu("MY_NOVU_API_KEY");`
Next, there are the two most important functions, sendNotification and resendNotification. The first function will be called when any of the events we have defined are triggered and the resend function is called when a resend notification is triggered from the admin panel.
Inside the sendNotification function,
The event is first checked, in this case, it only proceeds further if the event is
order.placedwhich means a new order is placed.Then all the details are accessed from the database with the call to
orderServicelike this.const order = await this.orderService.retrieve(data.id, { relations: ["customer", "shipping_address", "payments"], });Then you can see the data from the database call is organized in to a new object that matches what Novu requires. Notice that the keys here are the same as what you defined inside the Novu dashboard.
  const orderData = {
    orderId: order.id.split("_")[1],
    name: `${order.shipping_address.first_name} ${order.shipping_address.last_name}`,
    amount: (order.payments[0].amount / 100).toLocaleString("en-US", {
      style: "currency",
      currency: "USD",
    }),
  };
Finally, the Novu workflow you initially created is called with the necessary details to trigger an email notification like this. Notice that the email is passed into
subscriberIdandemailfields.I was having a problem here regarding sending emails to users without subscribing them to an email list. I was able to get immediate support in Novu’s Discord server. I highly recommend you to leave a message on the Discord server if you need some immediate support.
  await this.novu.trigger("medusa-store-notifications", {
    to: {
      subscriberId: order.email,
      email: order.email,
    },
    payload: orderData,
  });
Inside the resendNotification function,
- The previously sent notification details are passed into the function. So you can just take them and resend the notification as shown in the code.
That’s basically everything about the Notification Provider. The next important part is the loader function that will help this service class to be loaded in the Medusa environment.
Creating the Notification Provider Loader
Start by creating a new file named notifications.ts inside the src/loaders folder inside Medusa server with the following content.
import { MedusaContainer, NotificationService } from "@medusajs/medusa";

export default async (container: MedusaContainer): Promise<void> => {
  const notificationService = container.resolve<NotificationService>(
    "notificationService"
  );

  notificationService.subscribe("order.placed", "novu-notifications");
};
Notice in the last line, the service called novu-notifications is subscribed to the order.placed event. The service name here is the one that you defined as the identifier in the service file. Make sure that both the names across the files are matching.
Handling More Events
If you want to handle more events all you have to do is add another subscribe statement in the loader file like this.
notificationService.subscribe("order.refund_created", "novu-notifications");
In this case, this is being called when a refund is triggered.
And then send the notification with the related parameters from the service file. As it is mentioned earlier you can find all the events with their related data payloads are mentioned in the Medusa documentation.
That’s basically it. Now you should be ready to test this thing out!
Testing Notifications
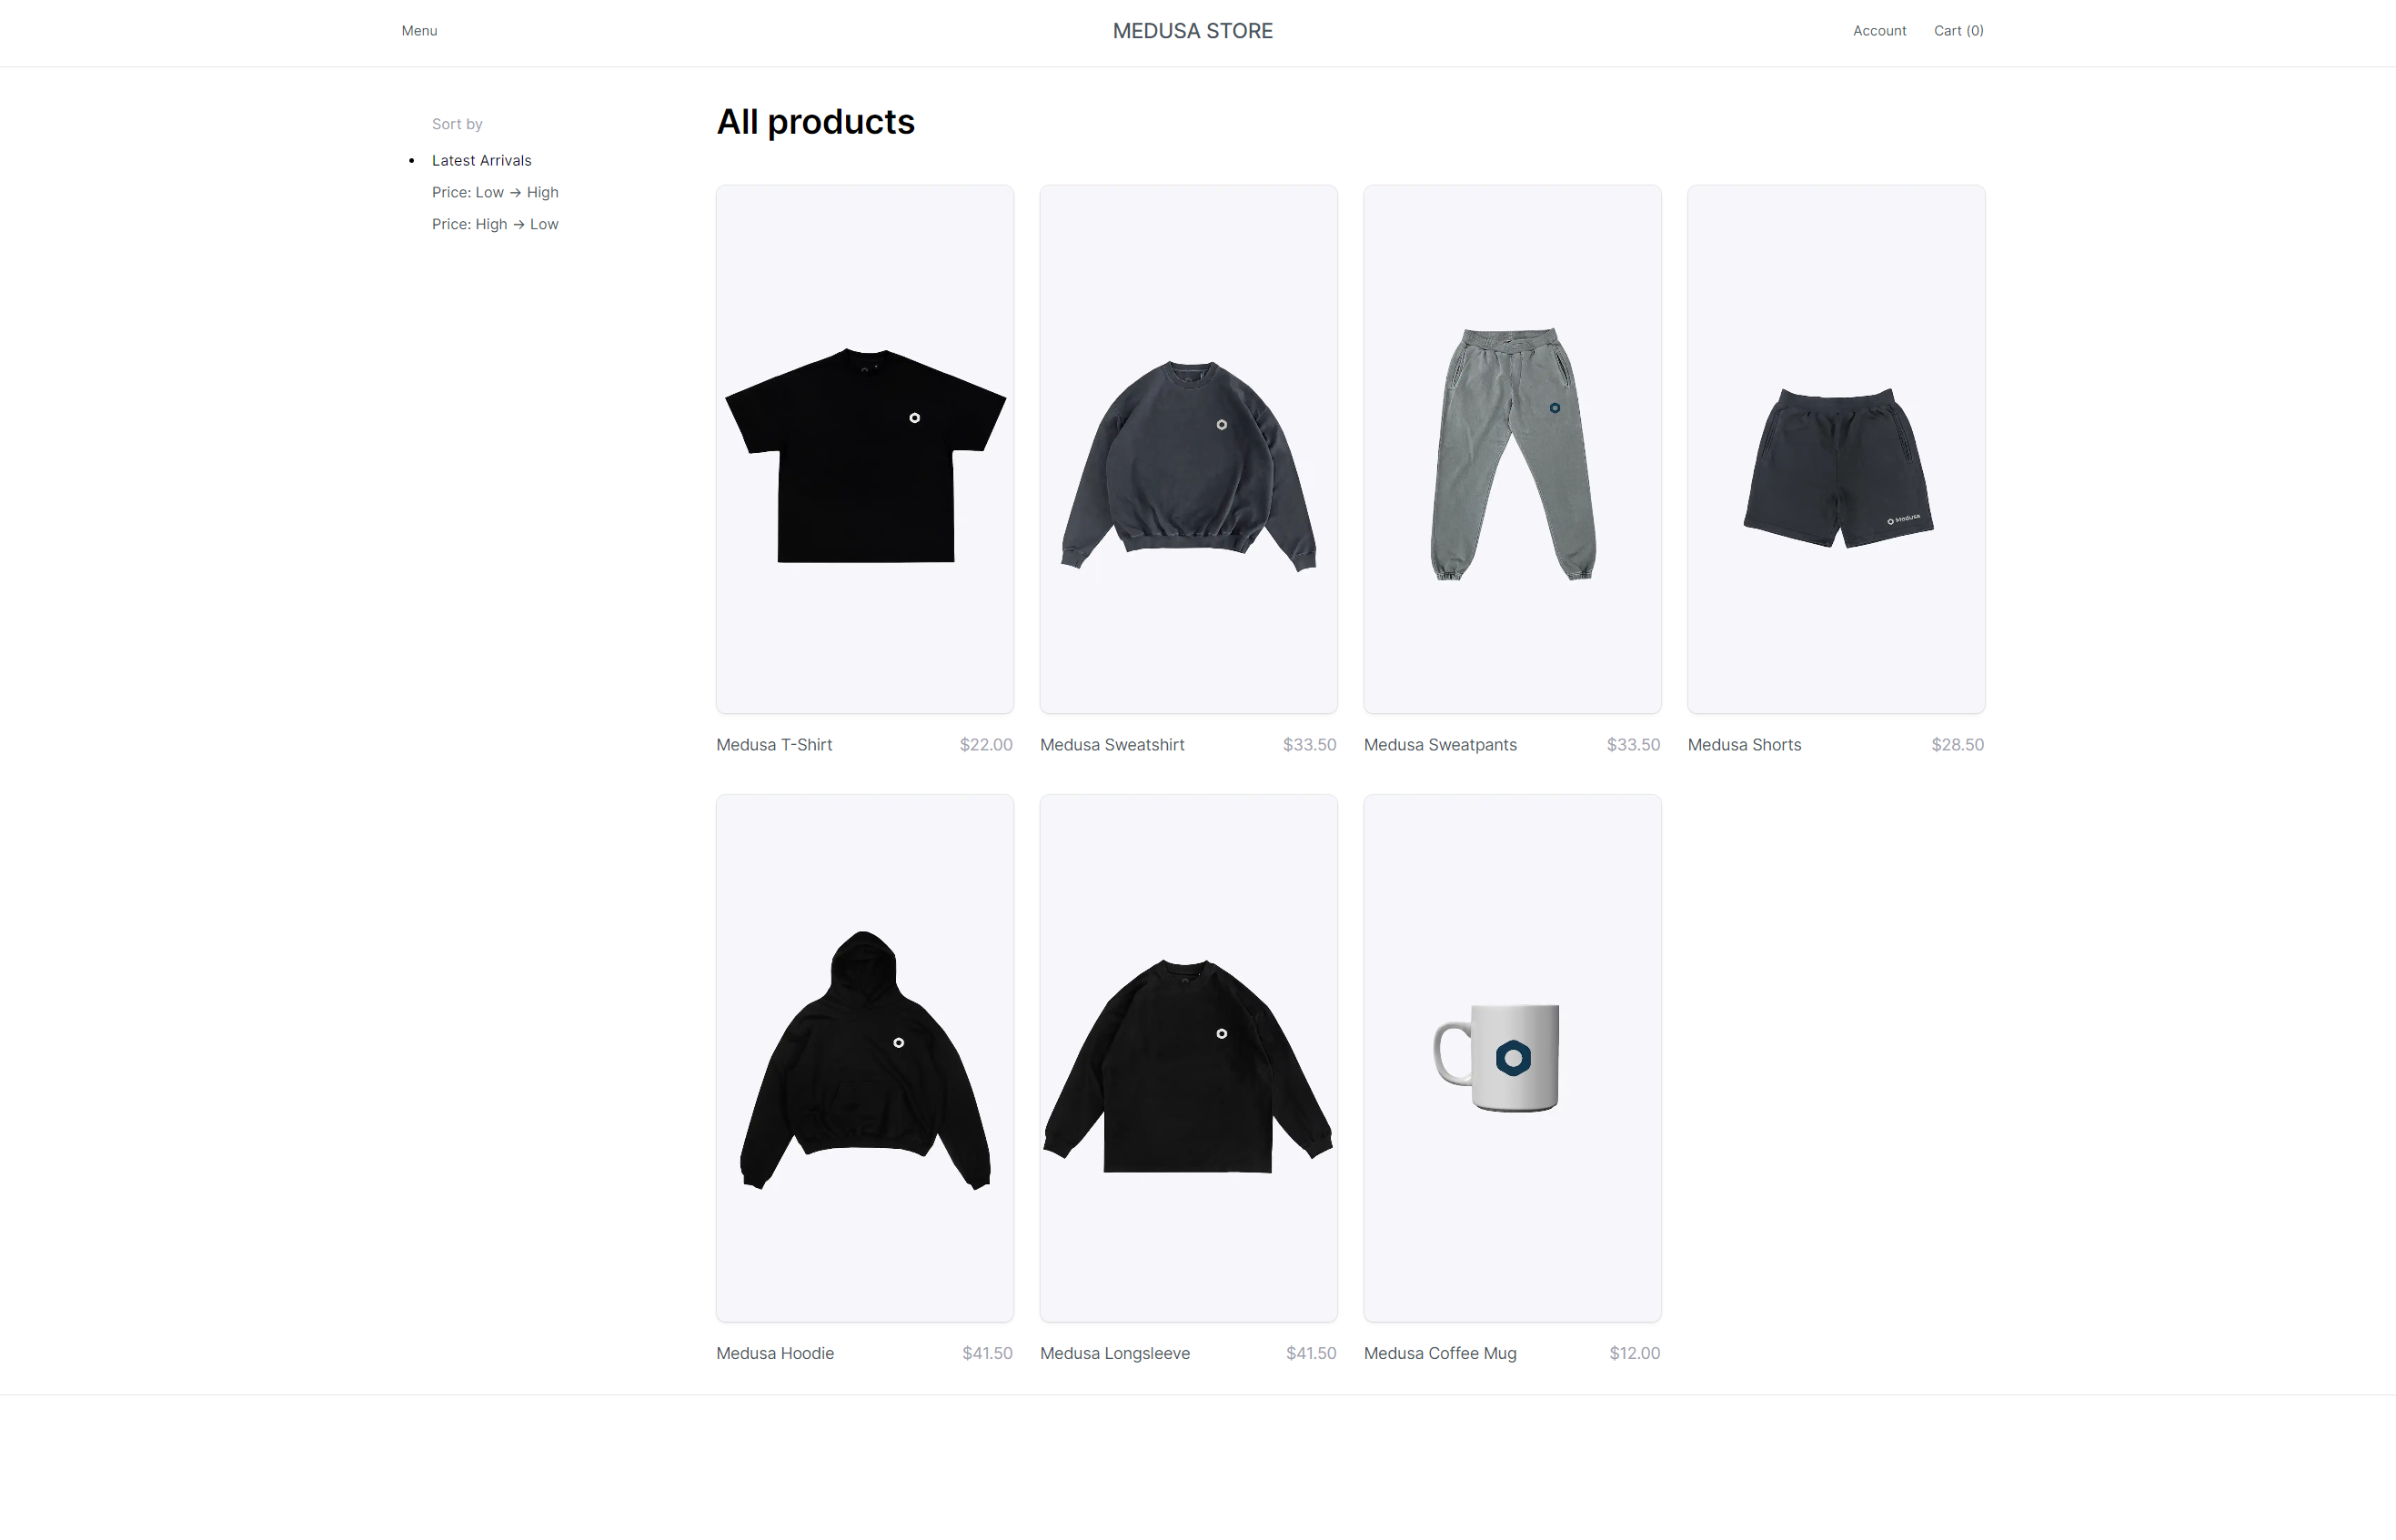
To test notifications, go to the Medusa storefront, which is usually hosted on localhost:8000, choose a product, add it to the cart and place an order with some dummy details.

You can choose from a set of example products if you chose to seed dummy products in an earlier step.
If you have followed all the instructions and everything went well, you should now receive an email that looks something like this.

Conclusion
If you followed this tutorial, you should have a clear understanding of how to build an eCommerce store and even send a confirmation of purchase to the buyer!
Novu and Medusa have very responsive and helpful communities on Discord, so if you need help - just head there!
Thank you for reading so far! If you’ve found it helpful or would like me to cover something else, let me know down in the comments.
Subscribe to my newsletter
Read articles from Osada Vidath directly inside your inbox. Subscribe to the newsletter, and don't miss out.
Written by

Osada Vidath
Osada Vidath
10001₂ year old curious human being building stuff