How to setup application locally
 Debjit Biswas
#APIHackathon
This is a video guide that shows how you can convert a WordPress site post into a Hashnode blog very efficiently.
We divided this tutorial into three parts.
1. Installing software locally on a Windows machine.
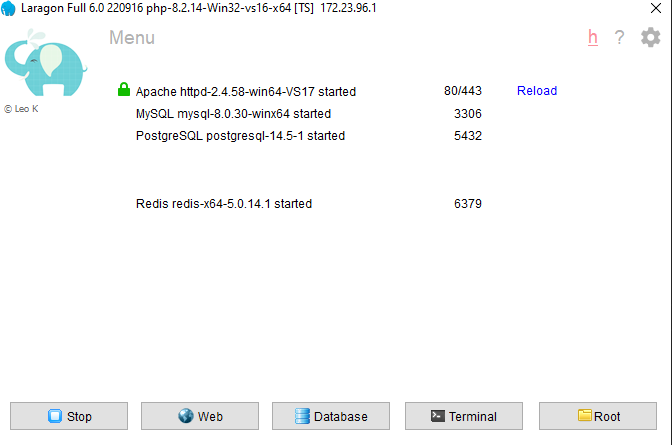
Installing web development environments on Windows is really easy; you can.
https://laragon.org/download/
Follow the on-screen installation, and you are done. It is that easy. Now we need to install the application. Open a terminal where your "root" of the laragon is located or your desired place.
Create a MySQL database. You can name it "onedataexpress". If you want any other name, update your ".env" file.
In the command, follow the command to install.
git clone https://github.com/debjit/onedataexpress
cd onedataexpress
composer install
copy .env.example .env
php artisan key:generate
php artisan migrate --seed
npm i
npm run dev
// If you are using laragon your url will be directory_name.<local_extension>
//I am using test as local_ext so mine is "http://wpconverter.test"
//you can directly run the php server from the command line using,
// Open this in a new terminal
php artisan serve
//then goto the site link and you can visit the app.
This application uses Laravel Queue. You must run the application when using it.
//Open this in a new terminal
php artisan queue:work
.env file update. This is your application settings or environment file. Update the settings accordingly.
// Please update mysql database, username and password inside your .env file.
// If you wanted to to use default settings, create "onedataexpress" database inside mysql
Installing WordPress Locally
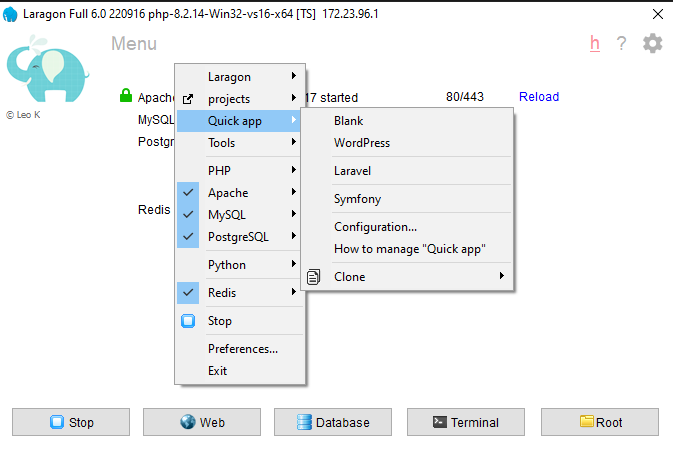
Right click free space on screen to open the menu.
Using Laragon, you can install WordPress from the quick menu. Once you start the development server, you will get a URL to access it. And then you just import the old or current WP blog backup.
Or you can find a tutorial on how to duplicate your WP to local for testing. Google it.
- Importing WordPress posts to Hashnode blogs.
Log in using this email and password.
email: admin@local.com
pass: password
Setting up your Hashnode details.
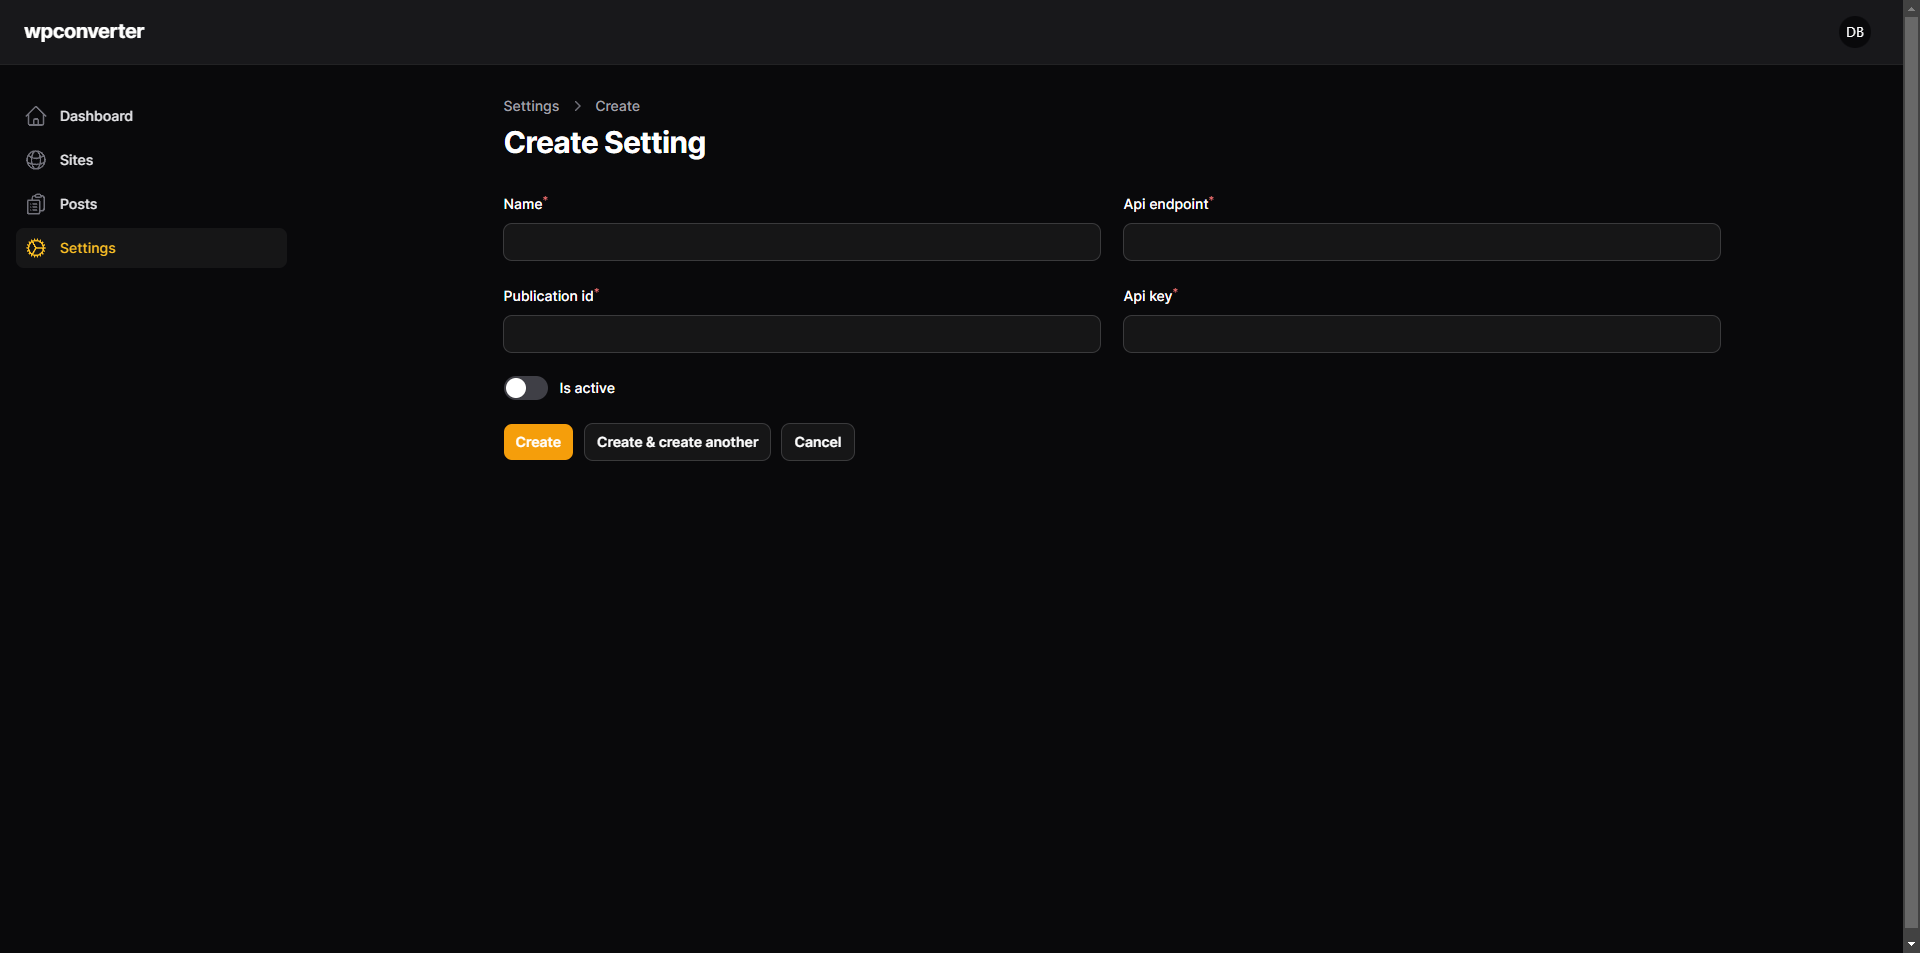
Go to settings, click "New Setting," and input all the required fields. You can add multiple blog settings for Hashnode and publish to a selected blog.
Let's add your WordPress site. Now click on the site on the left.
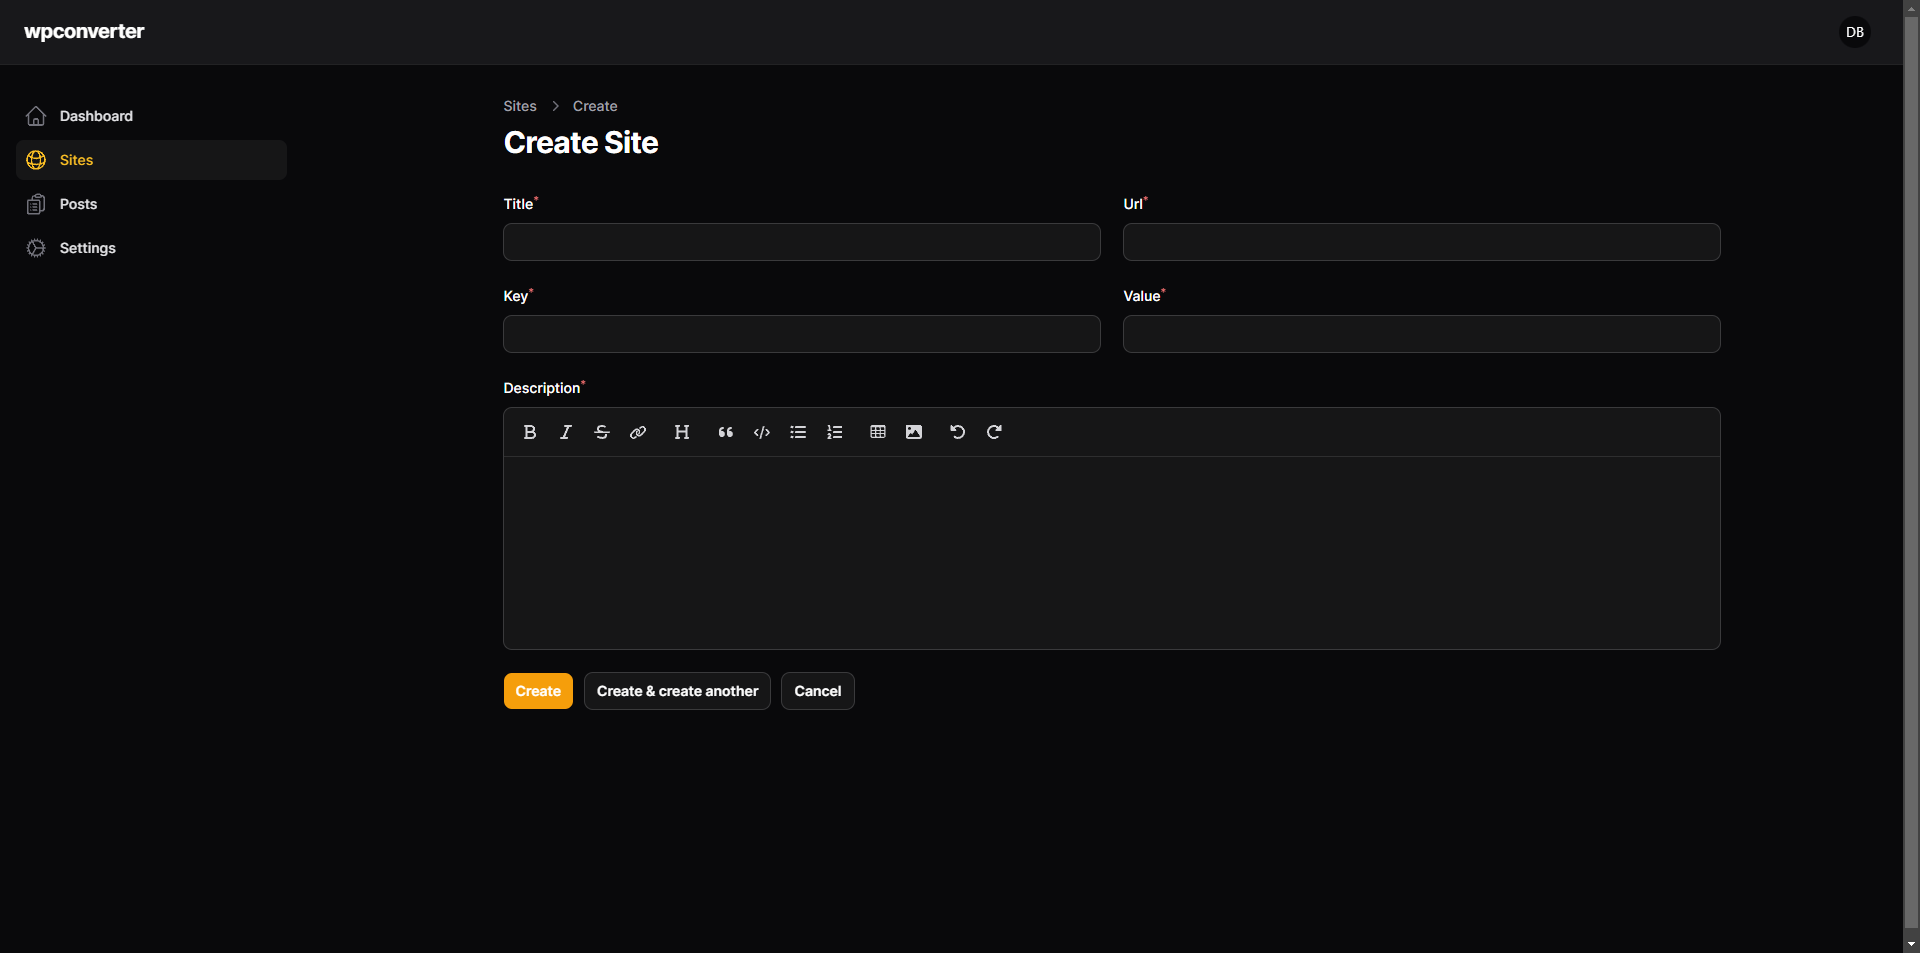
Currently, we are not using the authentication method for WP, so it does not matter. We are getting all the published blog posts via API. "key" and "value" can be blank or any demo value for now. I intend to use this to get draft posts from WP-API.
Now fill in the boxes and create.
Now click the start button; this will connect to WordPress and get the tags and category list and store them inside the database. Please note that we need a queue to be run for this.

Once this is successful, you can then fetch all the posts. by clicking the button.
If you want to edit your post before publishing, you just have to post, and you can see all the posts there. You can sort, edit, and delete accordingly.
Once done, you just click publish all or publish individual posts to your blog.
If you want, you can post all from here and edit from Hashnode.
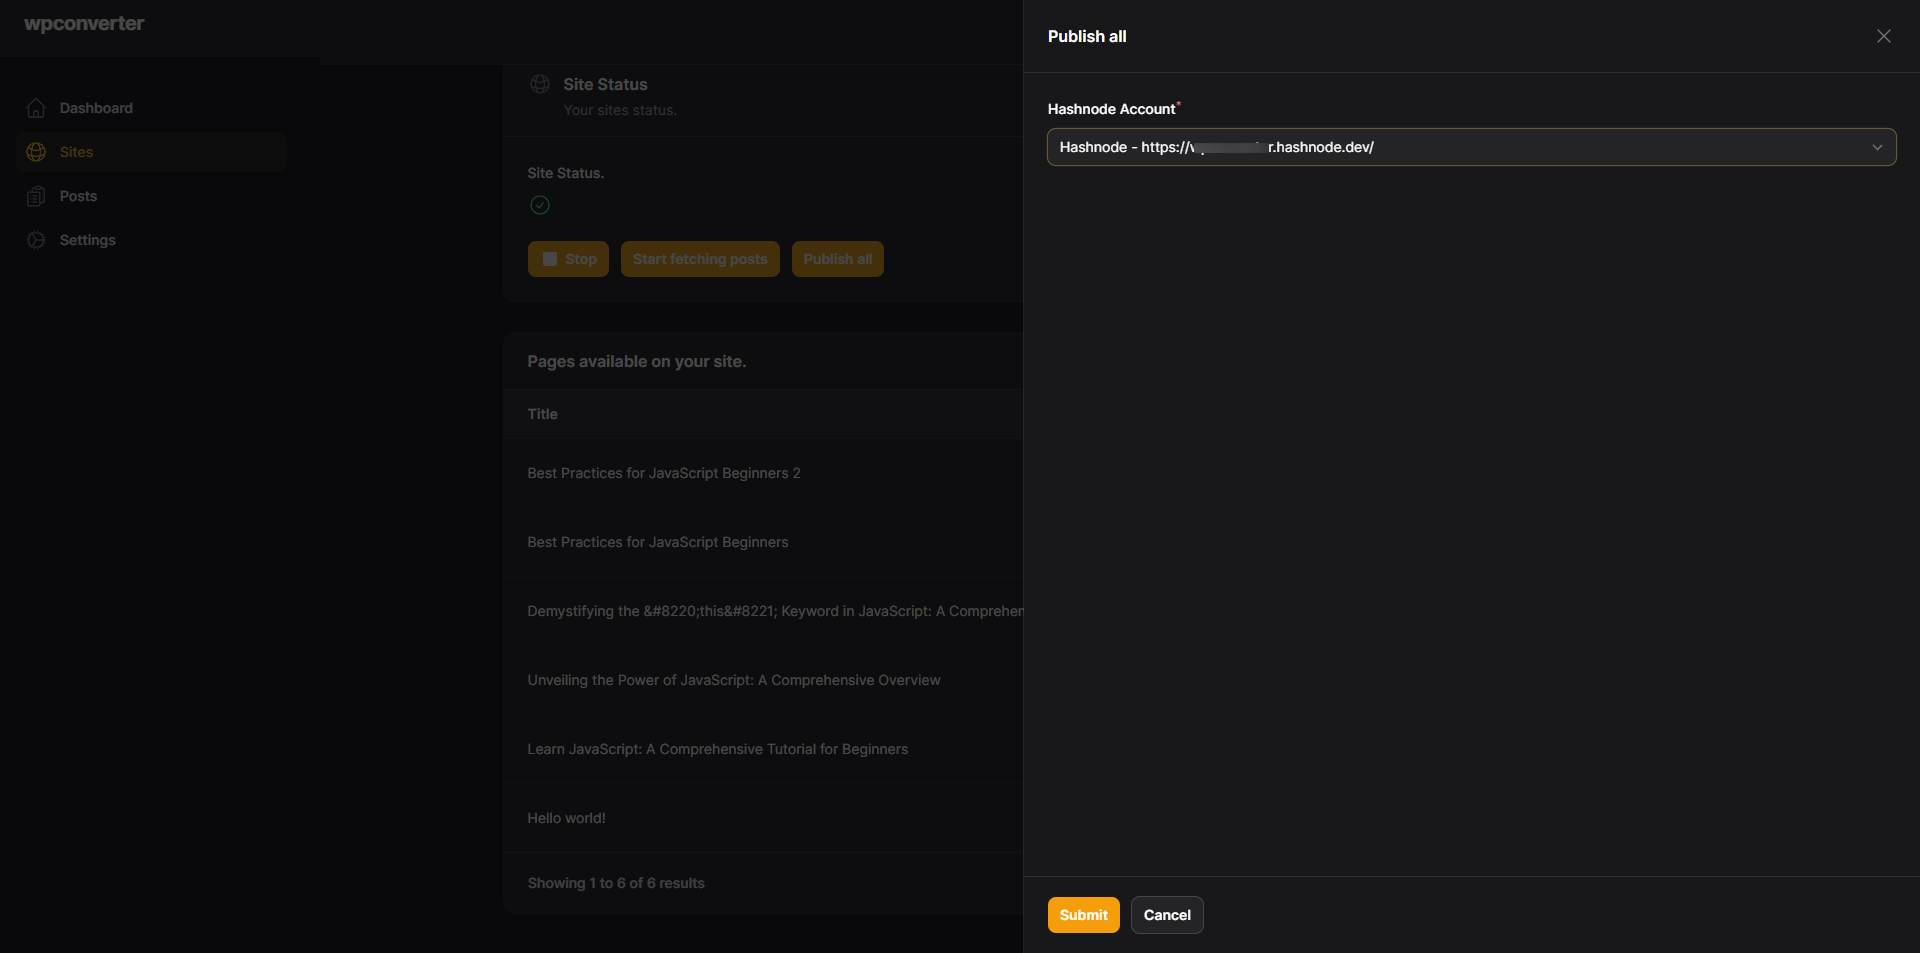
Now you can also publish single posts from there view. You will find all your posts in the left menu bar.
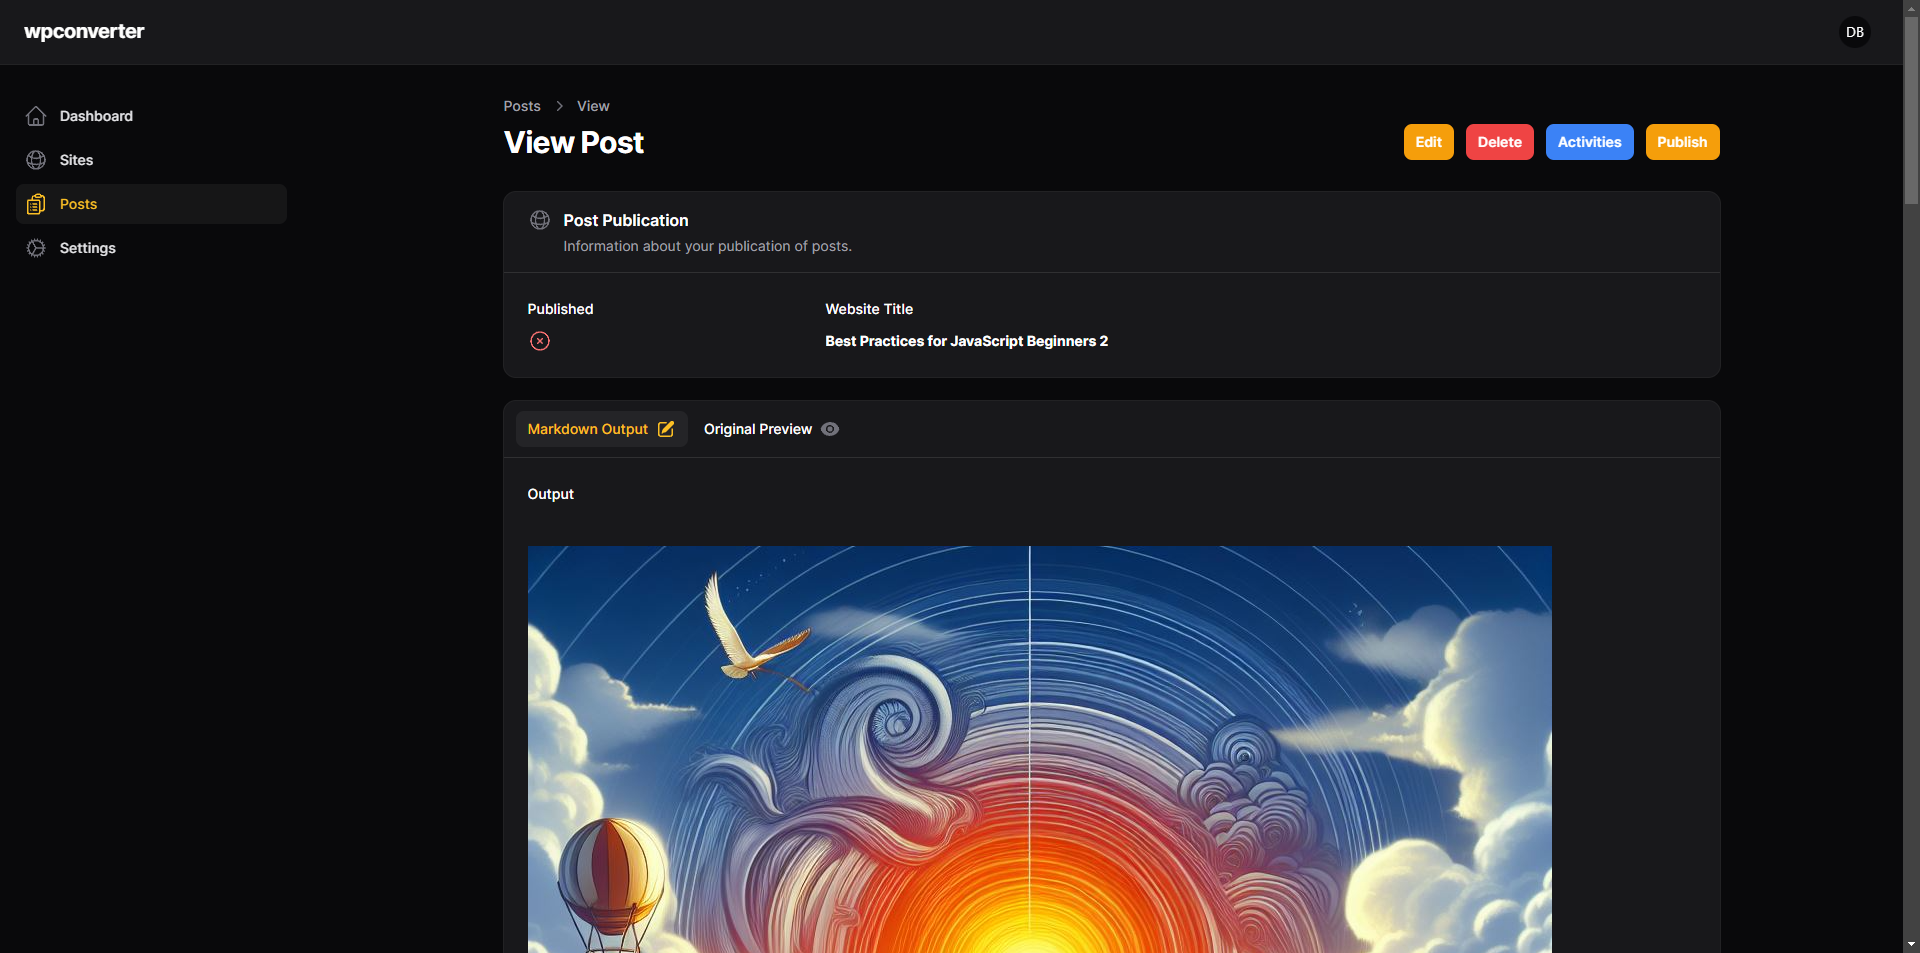
Now let's publish one single post.
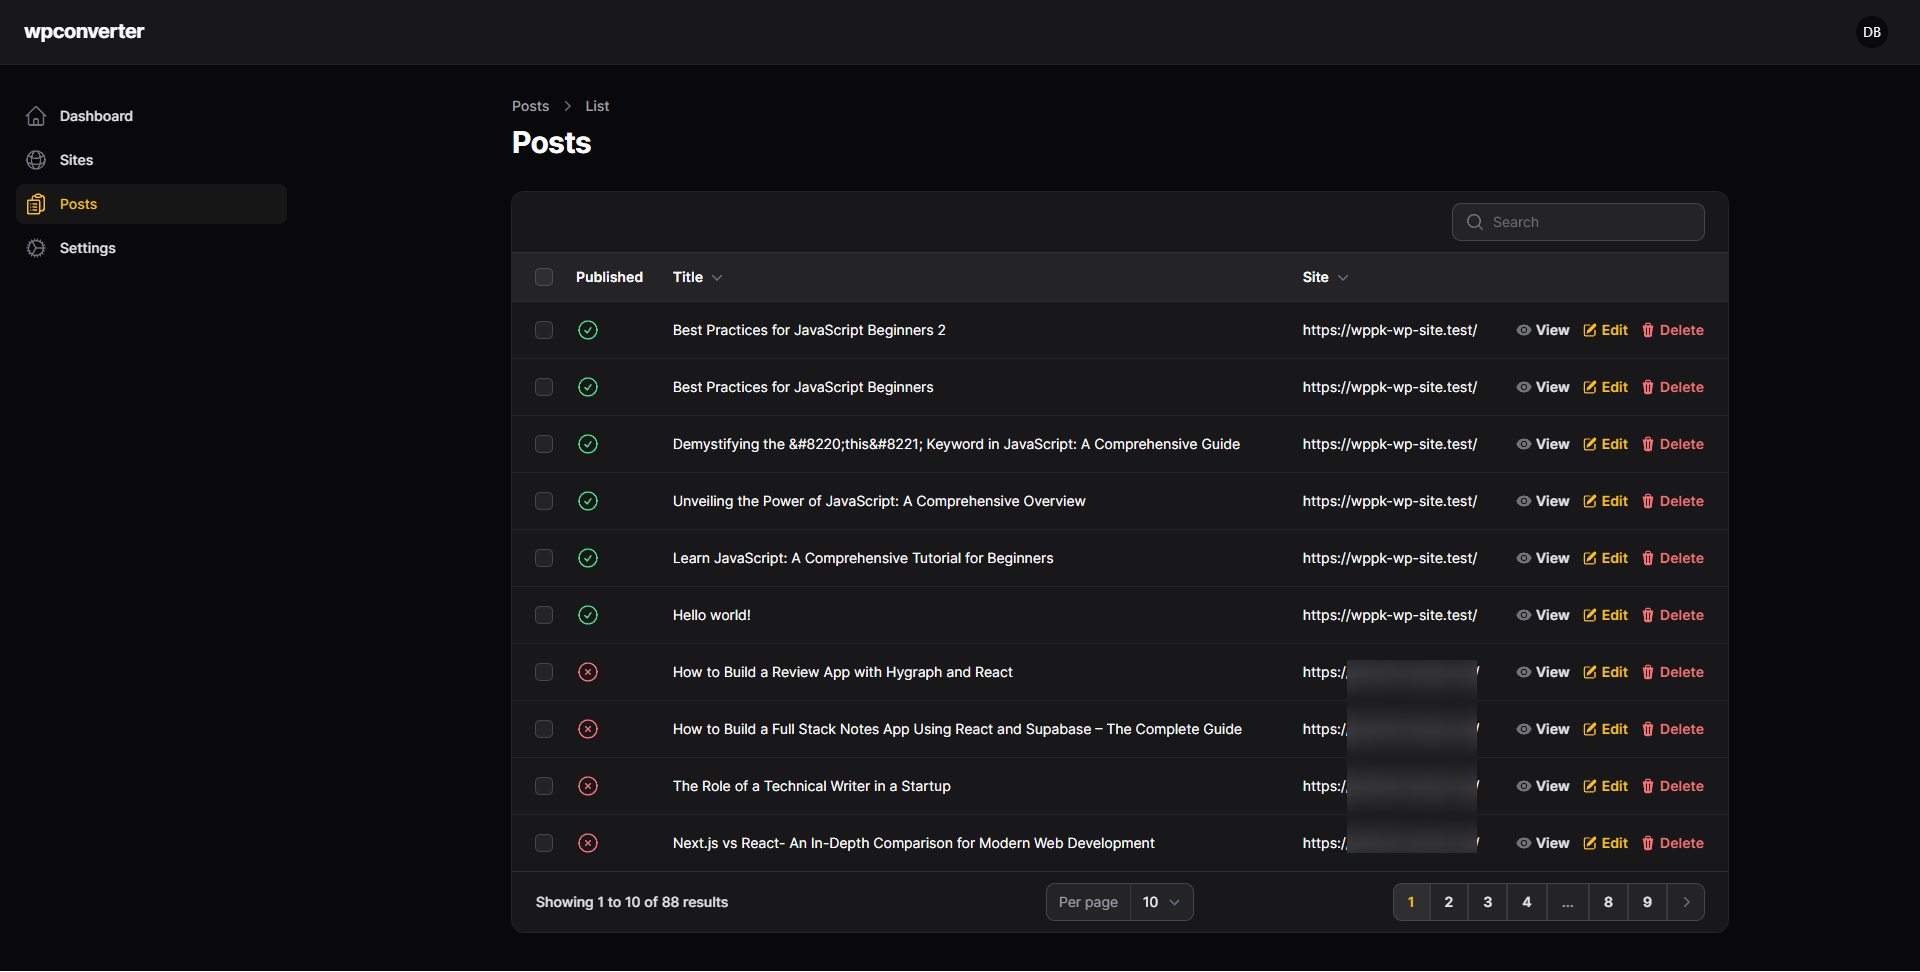
On the show page, you will see the details and, if needed, edit or delete them. You can see the original post and the markdown body preview.
You can select to publish the post after reviewing and editing if needed. Click publish, and from a slide window, you can select which blog you are publishing to. That's it. Your post is published on the Hashnode blog using the API.
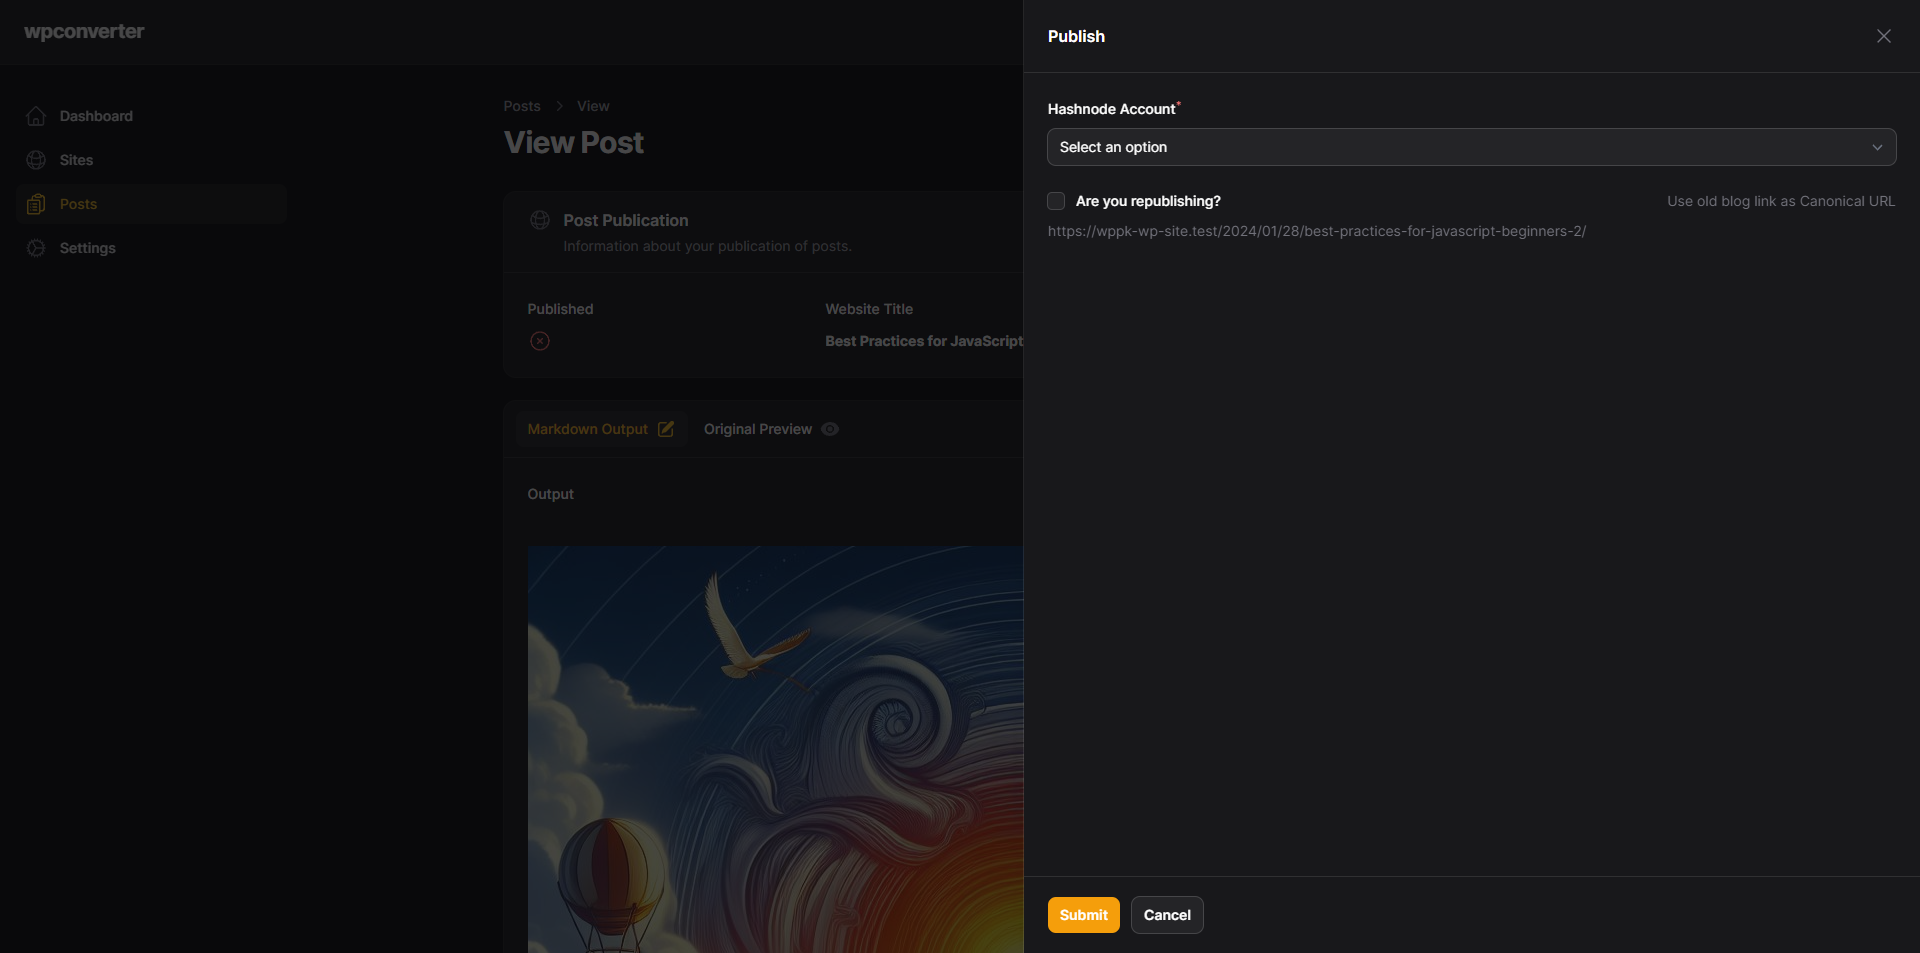
Note: You can republish the post, but please delete it first; otherwise, it will create a duplicate post. I will update the code later for this.
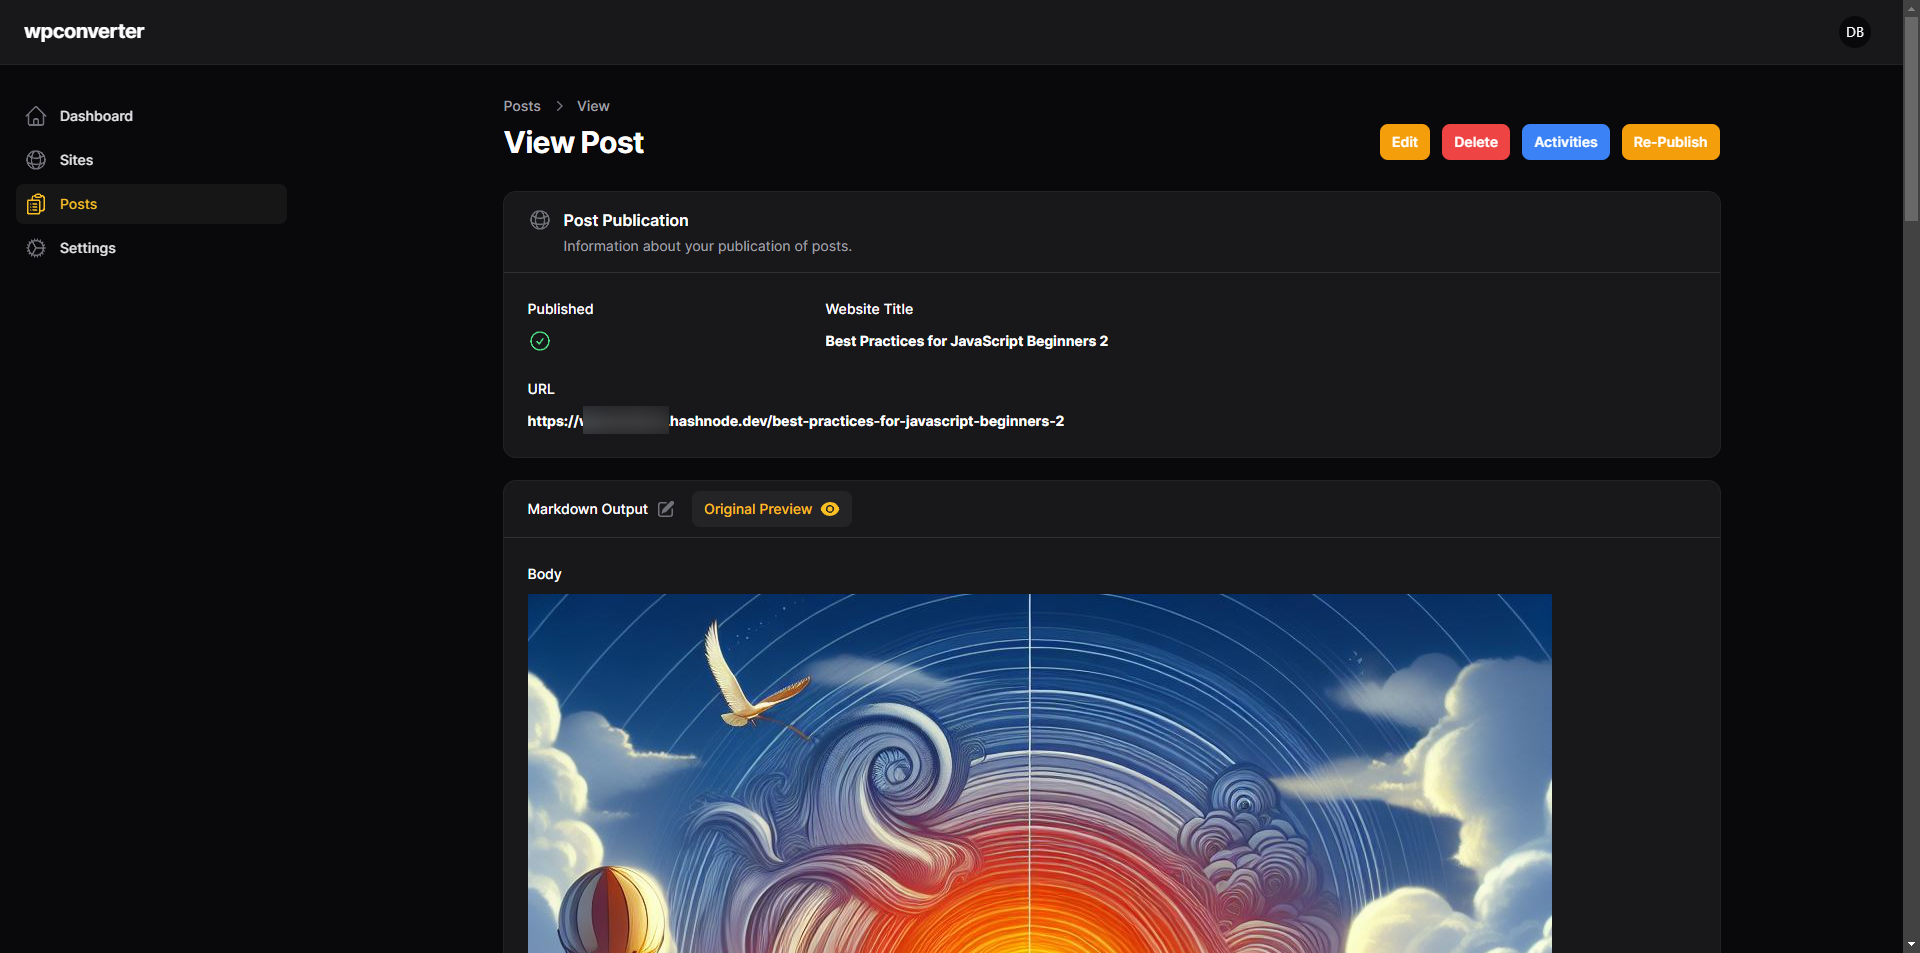
Note: Media is not processed. I am working on this. Please replace the image manually for now. I will update this later.
Subscribe to my newsletter
Read articles from Debjit Biswas directly inside your inbox. Subscribe to the newsletter, and don't miss out.
Written by

Debjit Biswas
Debjit Biswas
Developer