How to Setup MongoDB & Mongo Shell ?
 Nitin soni
Installation or setup of MongoDB?
You can install MongoDB using two different methods one is using MSI and another is using zip. Here, we will discuss how to install MongoDB using MSI, so you need to follow each step carefully:
Steps to install MongoDB on Windows using MSI
Step 1: Go to the MongoDB Download Community Link to download the MongoDB Community Server and click on "select package" button
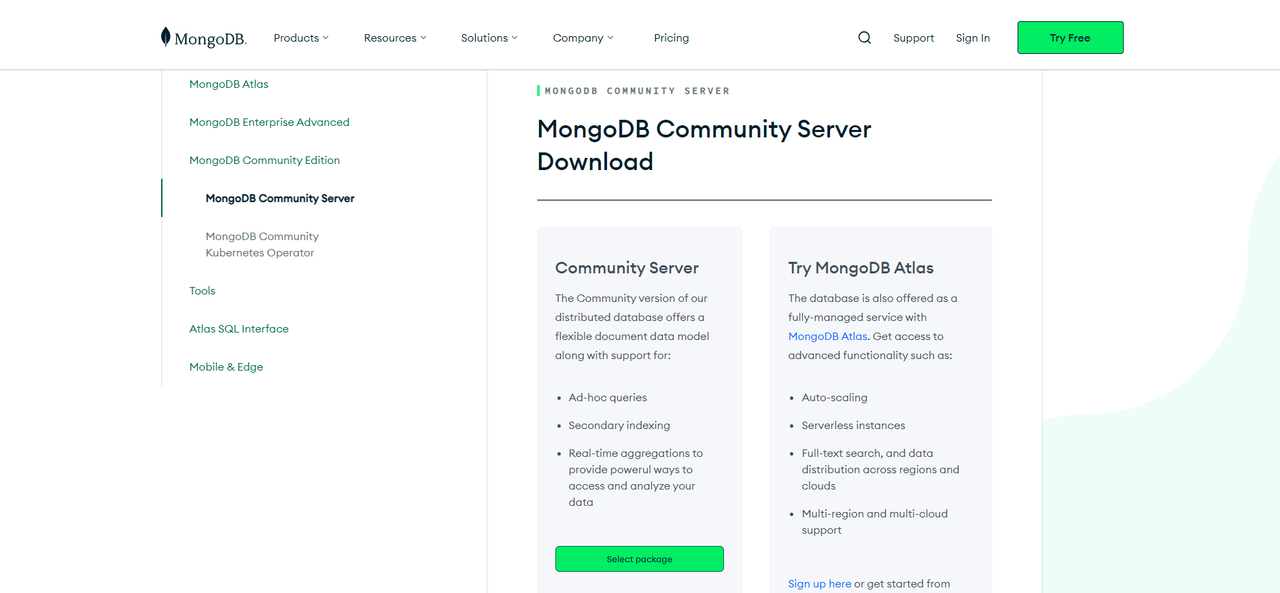 Step 2 : Here, You can select any version, Windows, and package according to your requirement. For Windows, we need to choose :
- version : Always choose current version as per now version is : 7.0.5 (current)
- OS: Windows x64
- Package: msi
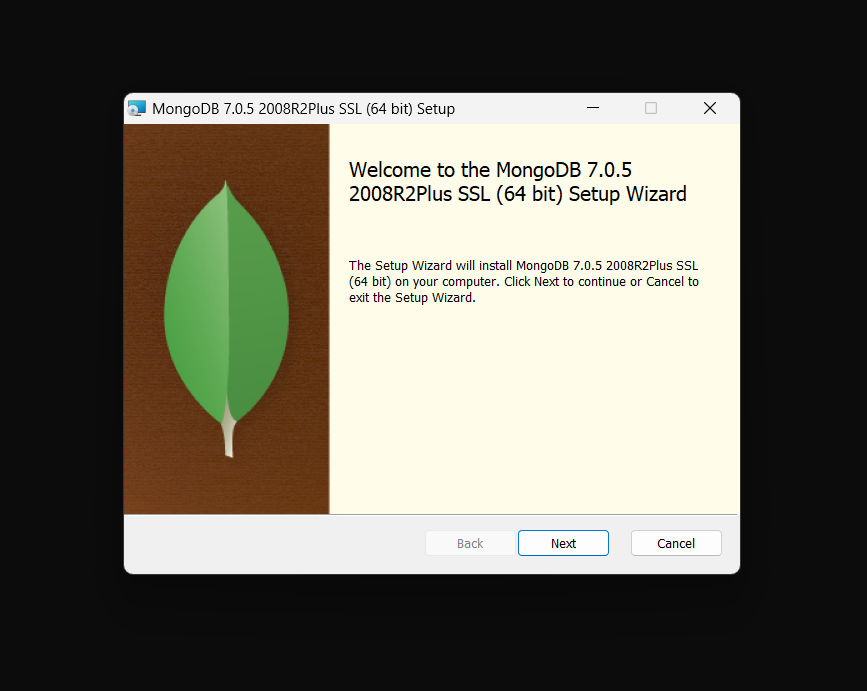
And click on download. Step 2: When the download is complete open the msi file and click the next button in the startup screen:
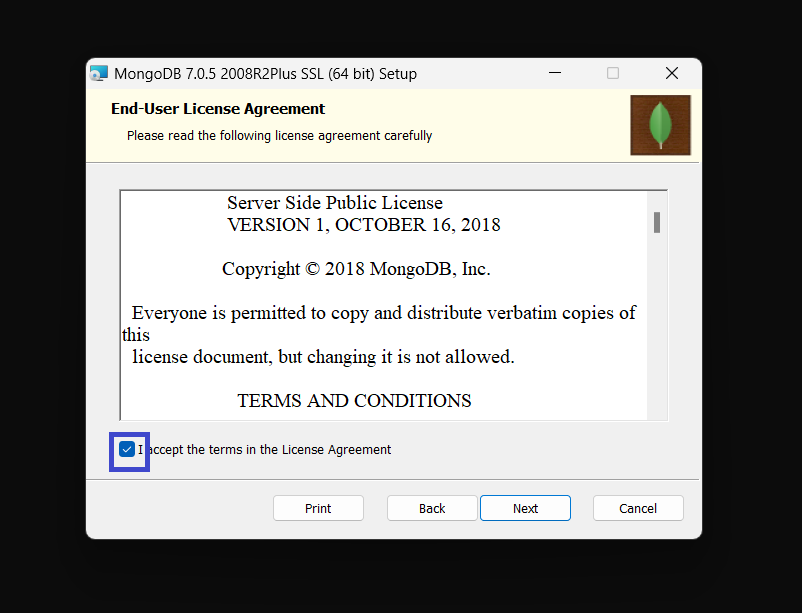
 Step 3: Accept the End-User License Agreement and click the next button:
 Step 4: Now select the complete option to install all the program features. Here, if you can want to install only selected program features and want to select the location of the installation, then use the Custom option:
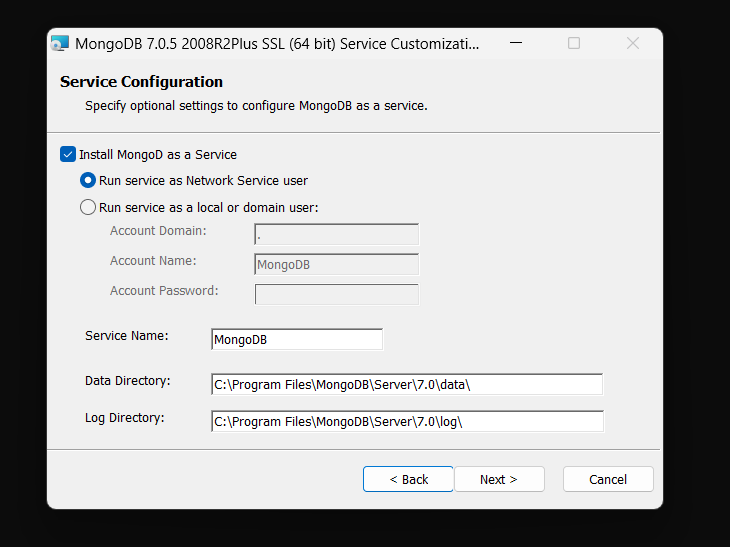
 Step 5: Select “Run service as Network Service user” and copy the path of the data directory. Click Next:
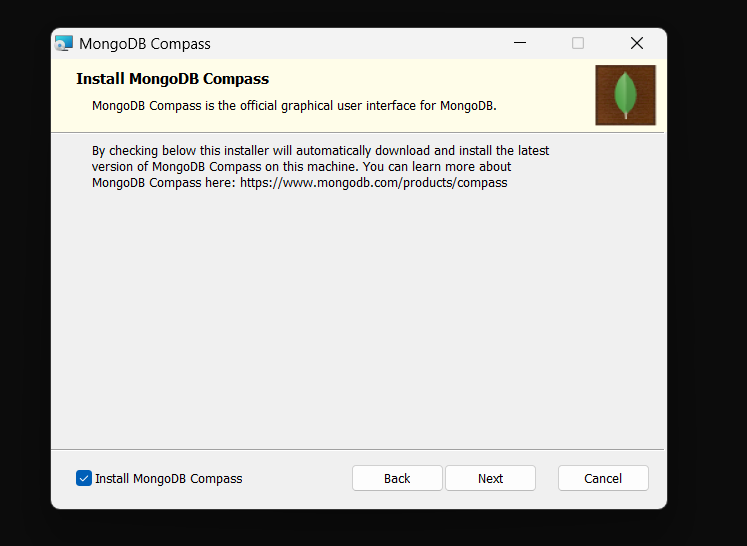
 Step 6: You can select to install mongoDB compass as well to see the collection in GUI.
 Step 7: Click the Install button to start the MongoDB installation process:
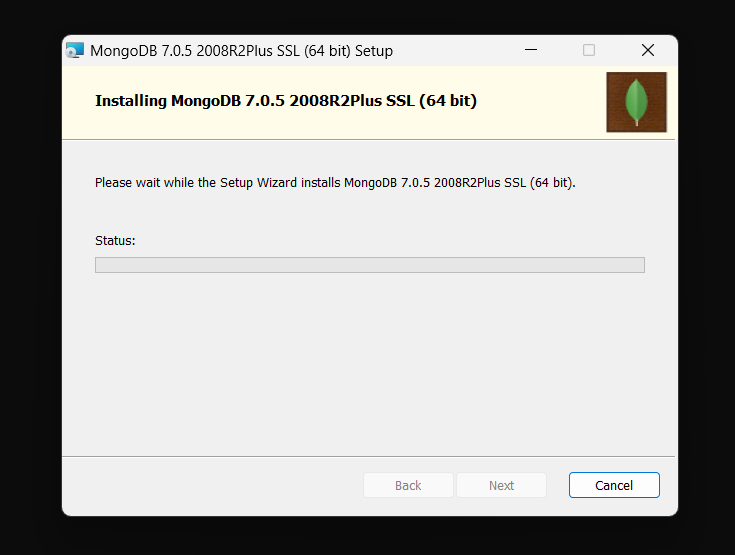
 Step 8: After clicking on the install button installation of MongoDB begins:
 Step 9: Now click the Finish button to complete the MongoDB installation process:
 Step 10: Now we go to the location "C:\Program Files\MongoDB\Server\7.0\bin" in your system and copy the bin path:
 Step 11: Now click on window button from the taskbar and search for "environment variables" and then click to open them.
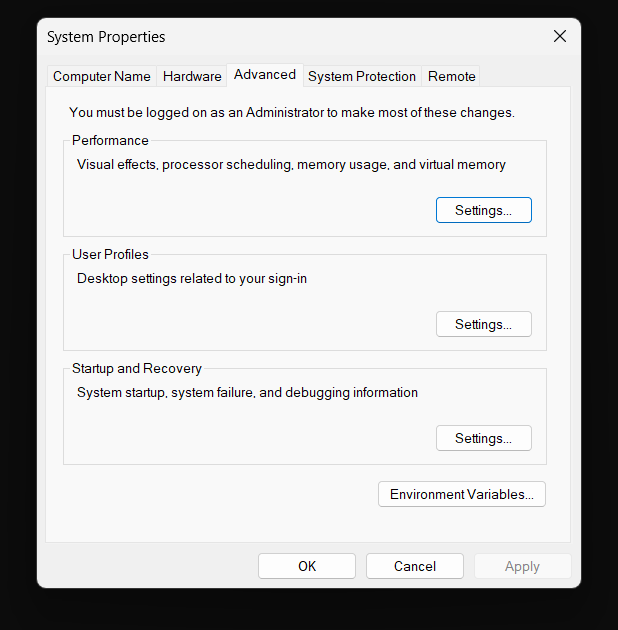 Step 12: click on "environment variable" button and then choose path from the user variable (upper section) and then click on "Edit" button.
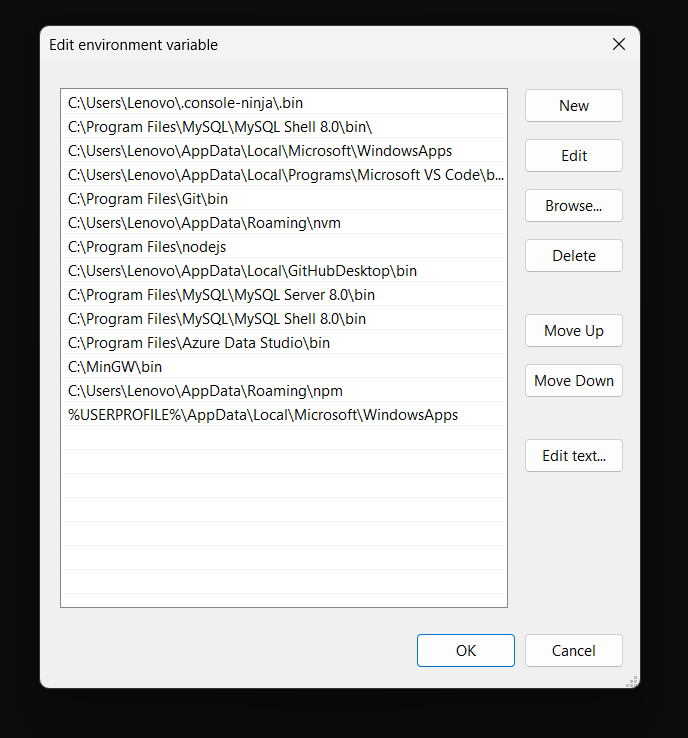 Step 13: Now click on "New" button and then paste that path which we copied in step 10. and then click on "ok" button.
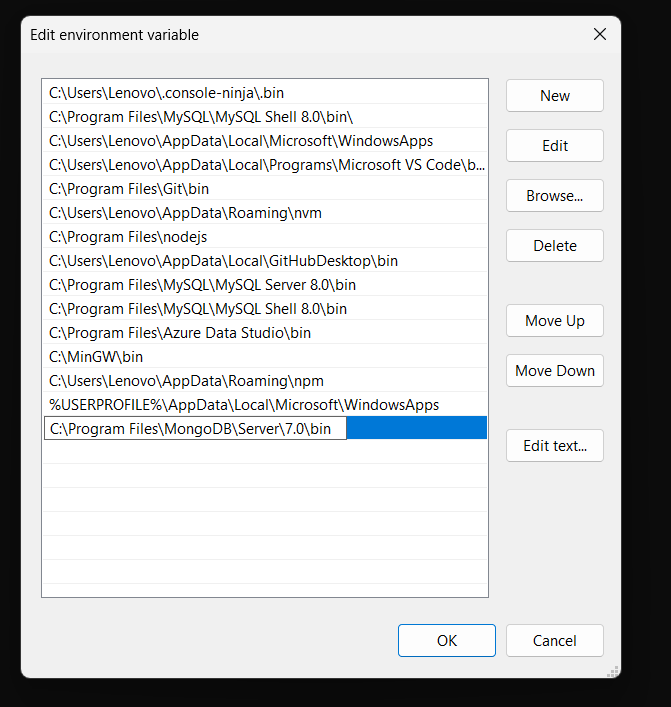 Step 14: Now paste the same path in system variable section by selecting "path" and then click on "edit" button and paste inside them as we done in step 13.
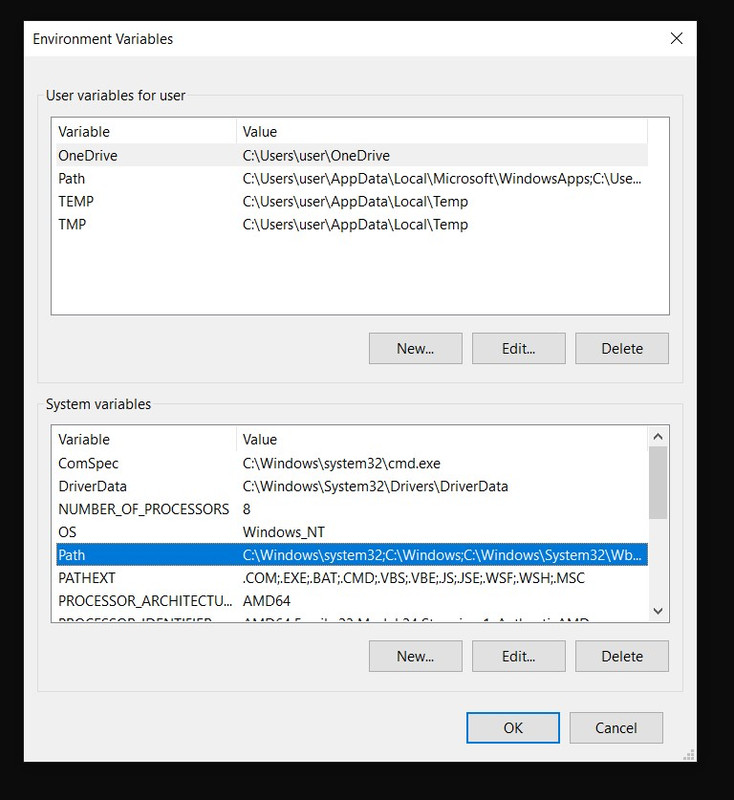
- Now if you think why we paste the path in both user variable section and system variable section then the answer is that user variable are only accessed by currently logged-in user but system variables are accessed by all the user account globally in our system.
Step 15: Now Goto command prompt (cmd) and check for the mongo version by typing following command : mongod --version
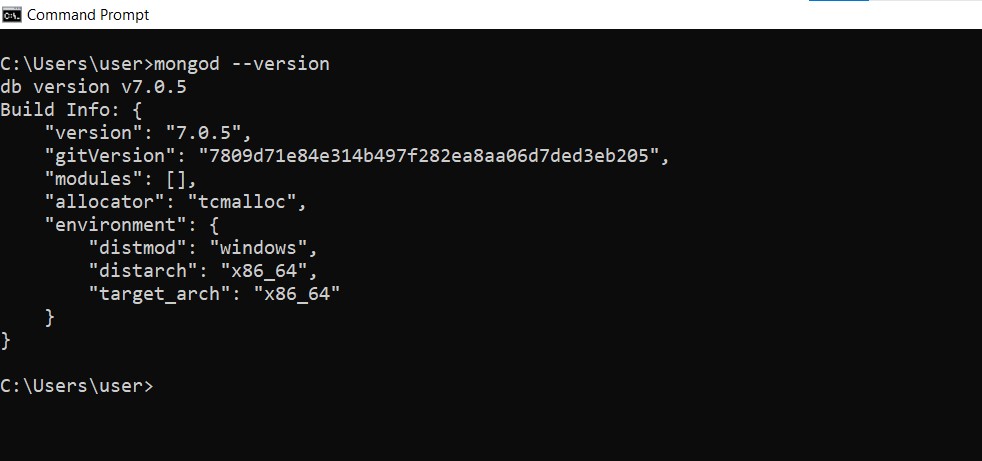
- if you get the version detail that means your mongdb is completely installed.
Step 16: Now to run mongo shell in our command prompt then we have to install mongo shell separately because the traditional MongoDB shell, ‘mongo.exe,’ is no longer included in the server binaries after MongoDB 6.0. When you install MongoDB 6.0 or later, you will not see the ‘mongo.exe’ file in your ‘bin’ folder. This change is mentioned in the’ Compatibility Changes in MongoDB 6.0’ section. so, download the MongoDB shell from the link https://www.mongodb.com/try/download/shell.
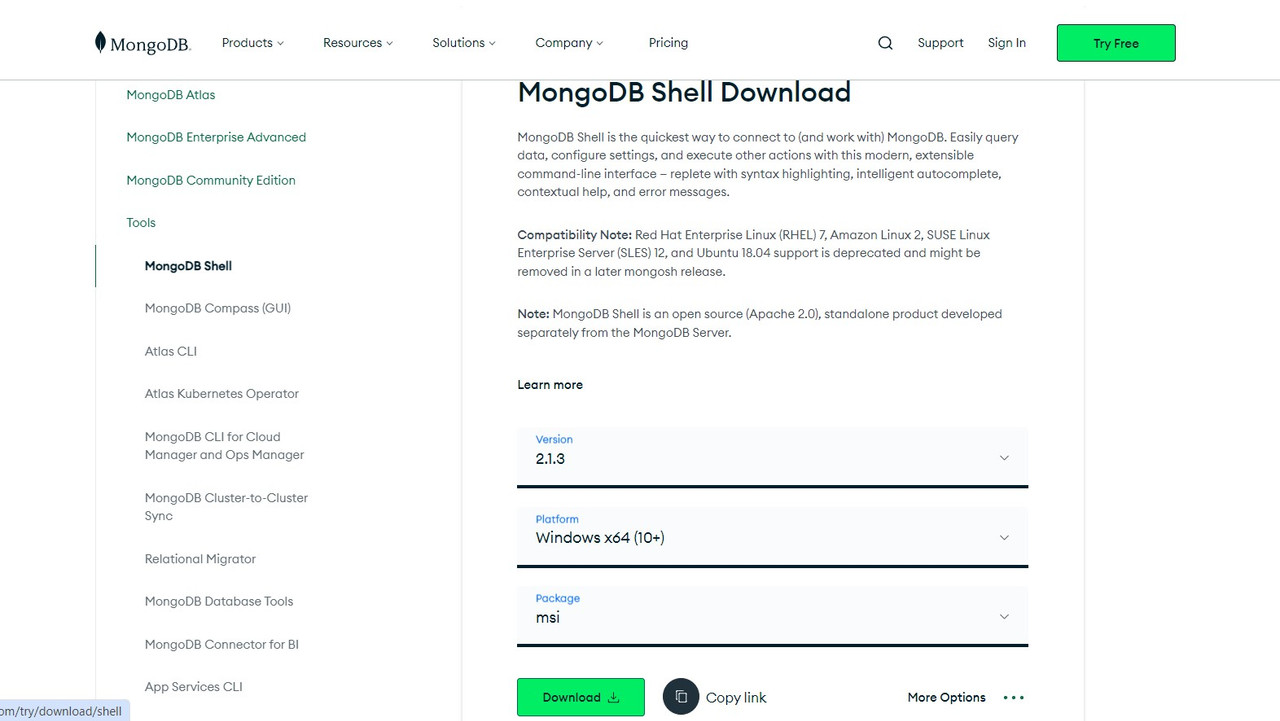 Step 17: When the download is complete open the msi file and click the next button in the startup screen:
 Step 18: Now copy the default path which is given in destination folder and if you want to change the destination path then click on "change" button and change the path but for now we just copy the path.
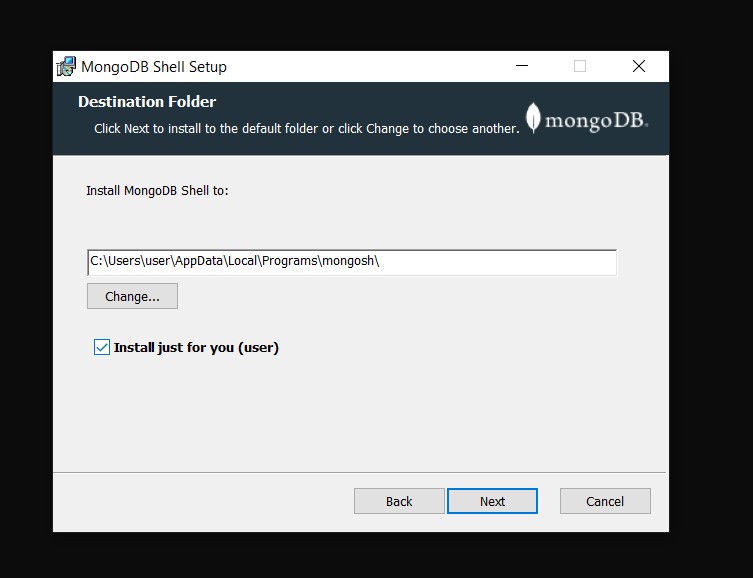 Step 19: Now click on "Install" and wait till the process complete.
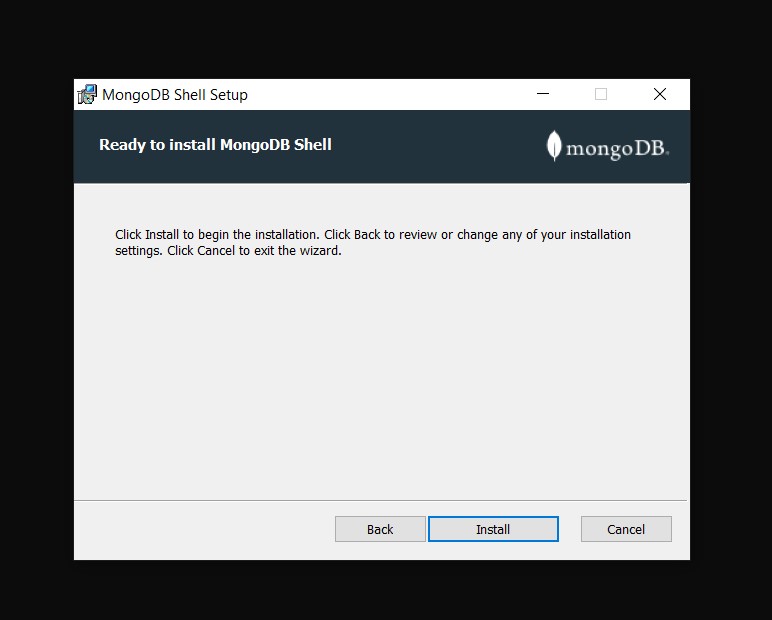 Step 20: Now click on "finish" button.
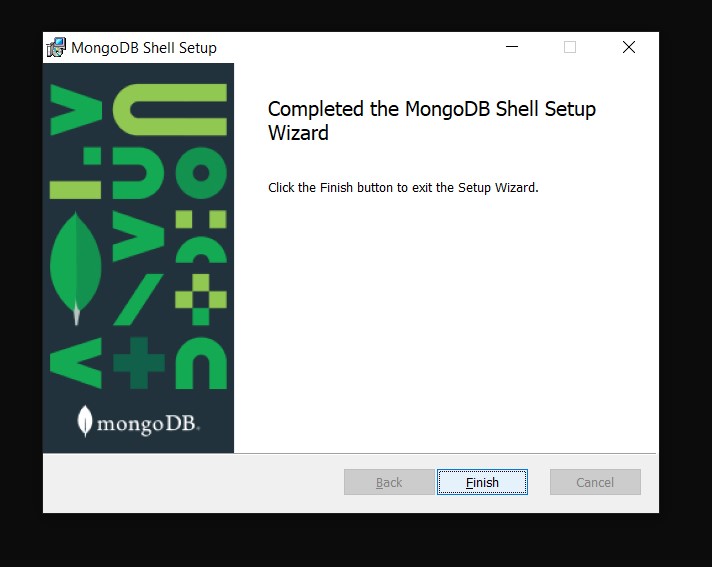 Step 21: Now go to the location which we copied in step 18 "C:\Users\user\AppData\Local\Programs\mongosh" in your system and check that "mongosh" and other files are present and copy the path:
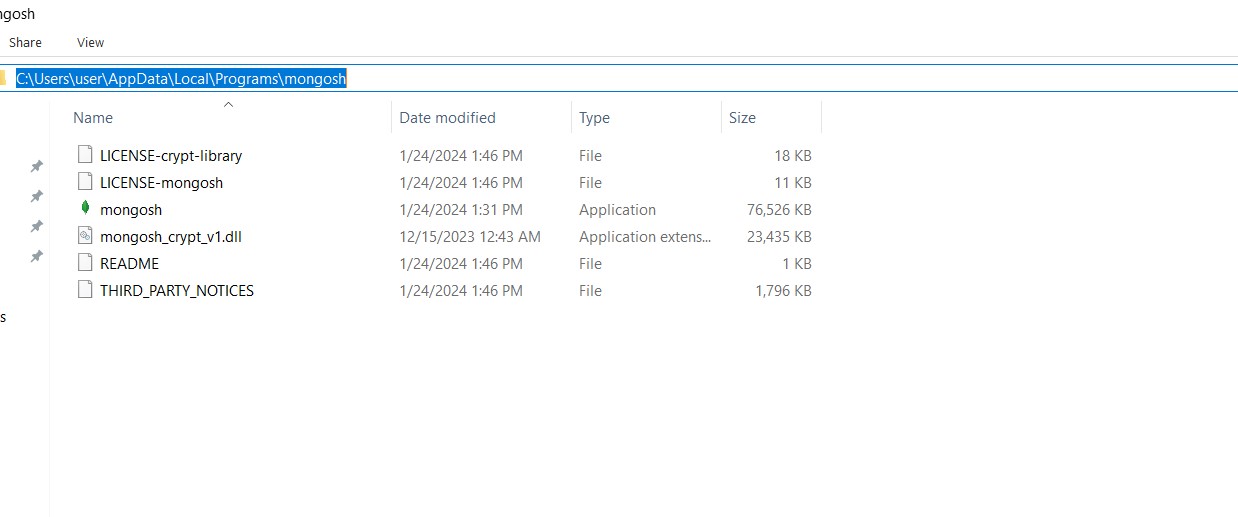 Step 22: Now paste the path in environment variable.
 Step 23: Now Goto cmd and type command "mongosh" and finally your shell will start.
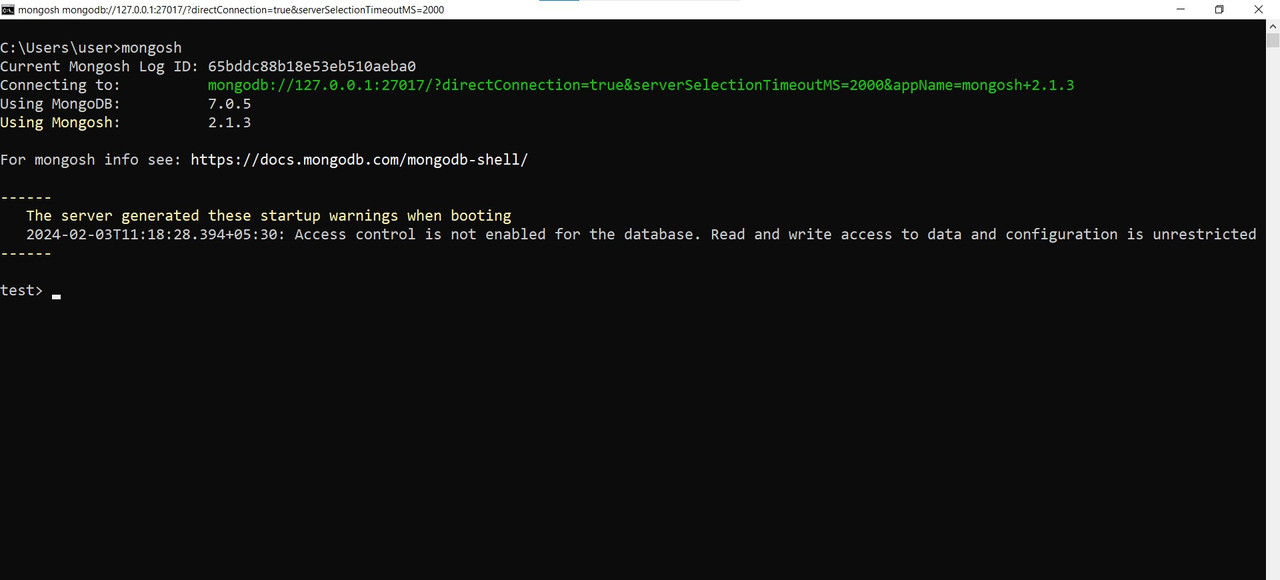 Now you can run your mongoDB commands and can also perform mongoDB queries here.
Thanks for reading, i will write more blogs on mongoDB where i will cover all the mongoDB queries from basic to advanced and if this blog get helpful to you then please like 👍 and share...
Subscribe to my newsletter
Read articles from Nitin soni directly inside your inbox. Subscribe to the newsletter, and don't miss out.
Written by

Nitin soni
Nitin soni
Full stack developer