Title: Day 38 Getting Started with AWS Basics ☁
 ANSAR SHAIK
Introduction
Welcome to Day 38 of the 90DaysOfDevOps challenge! Today, we'll dive into the basics of AWS (Amazon Web Services) and IAM (Identity and Access Management). We'll also undertake two crucial tasks to solidify our understanding of AWS services and IAM roles.
Q1: What is AWS & IAM?
Before we get started, let's briefly understand the key concepts:
AWS (Amazon Web Services): A cloud computing platform that provides a wide range of services, including computing power, storage, databases, machine learning, and more.
IAM (Identity and Access Management): A service that helps you securely control access to AWS resources by managing users, groups, and permissions.
Task 1: Creating IAM User and Launching Linux Instance
Step 1: Creating an IAM User - Iron-man
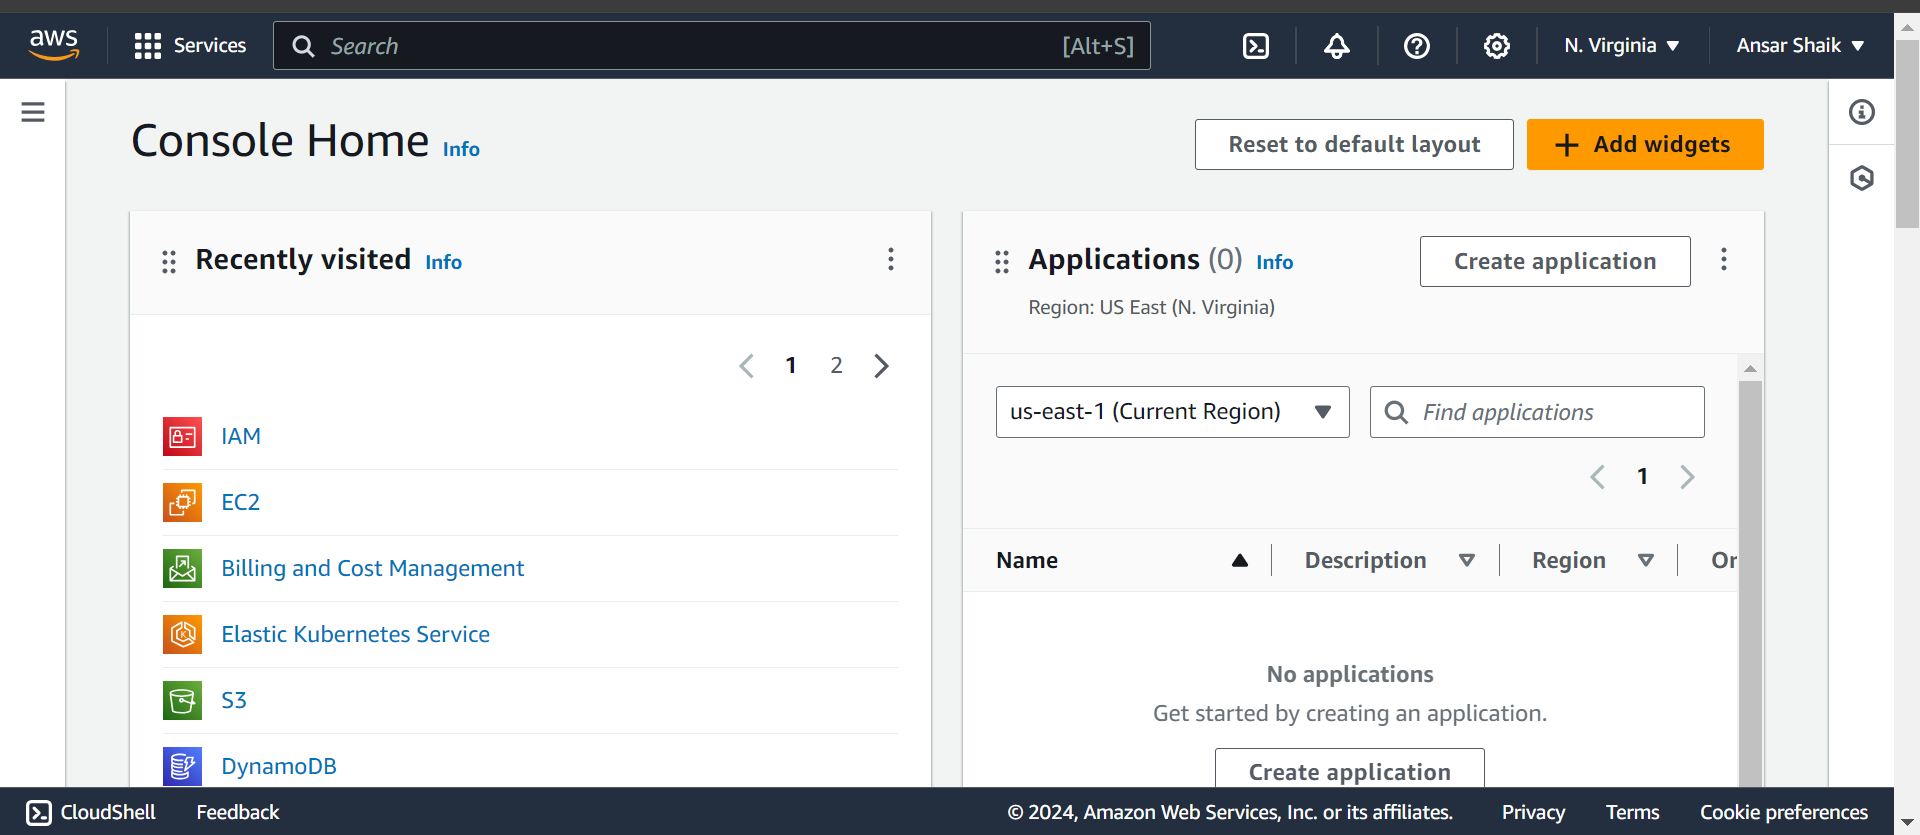
Go to the AWS Management Console and navigate to IAM.
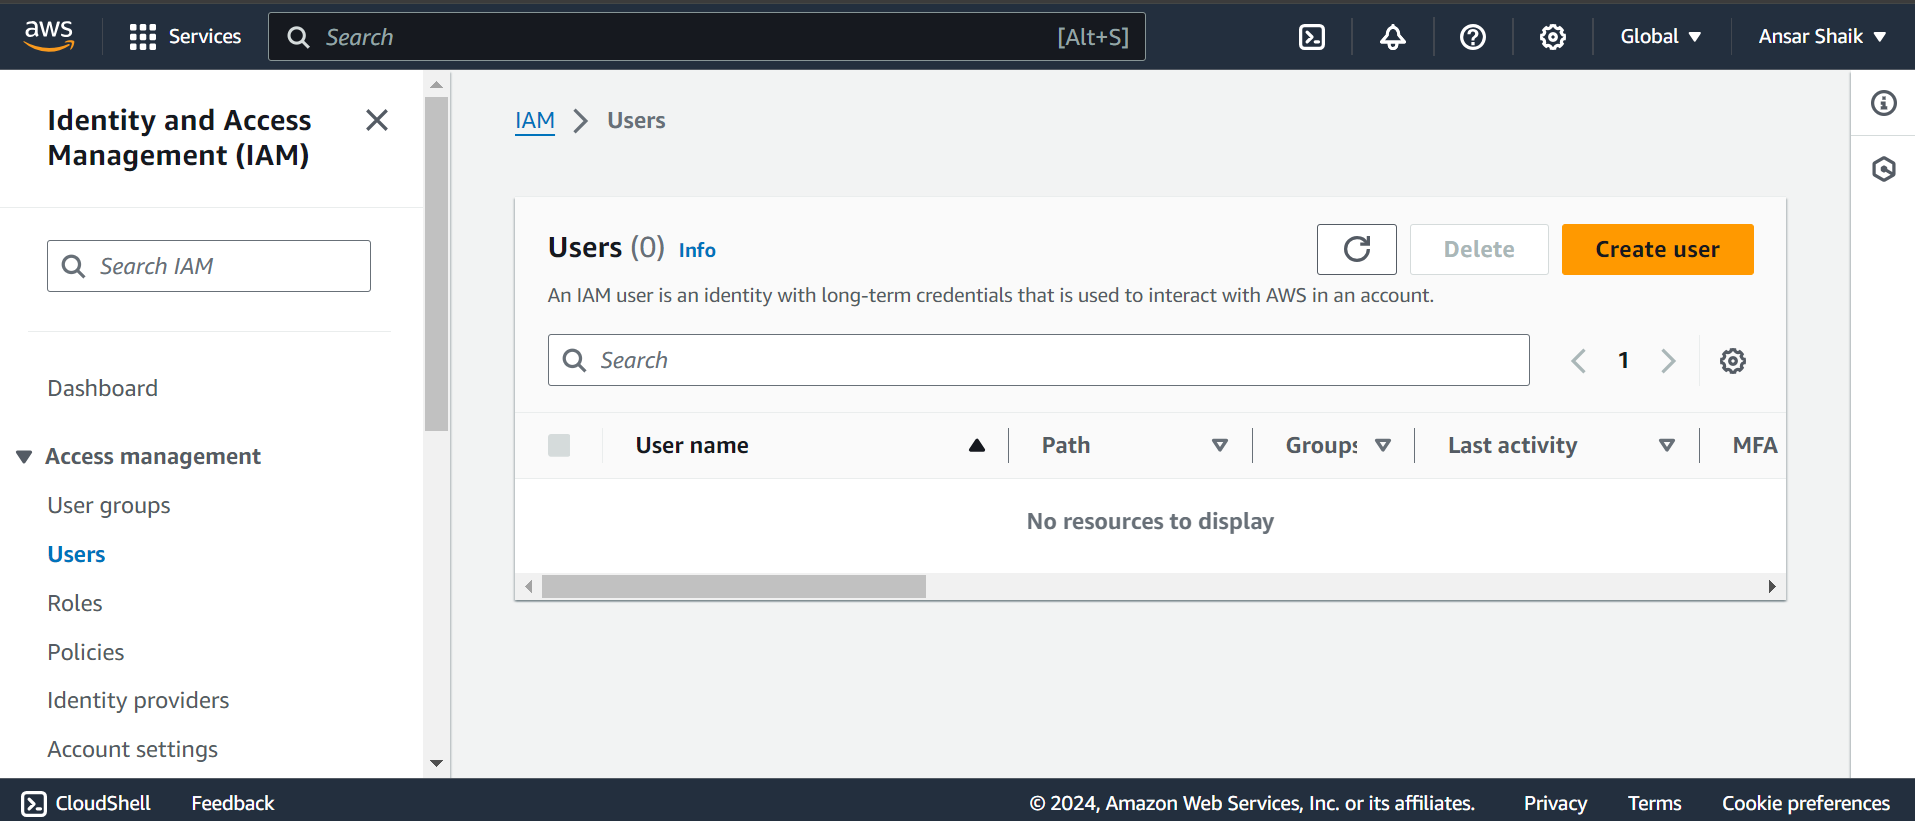
Create a new IAM user named "Iron-man" with programmatic access.
- Create User:
User name:
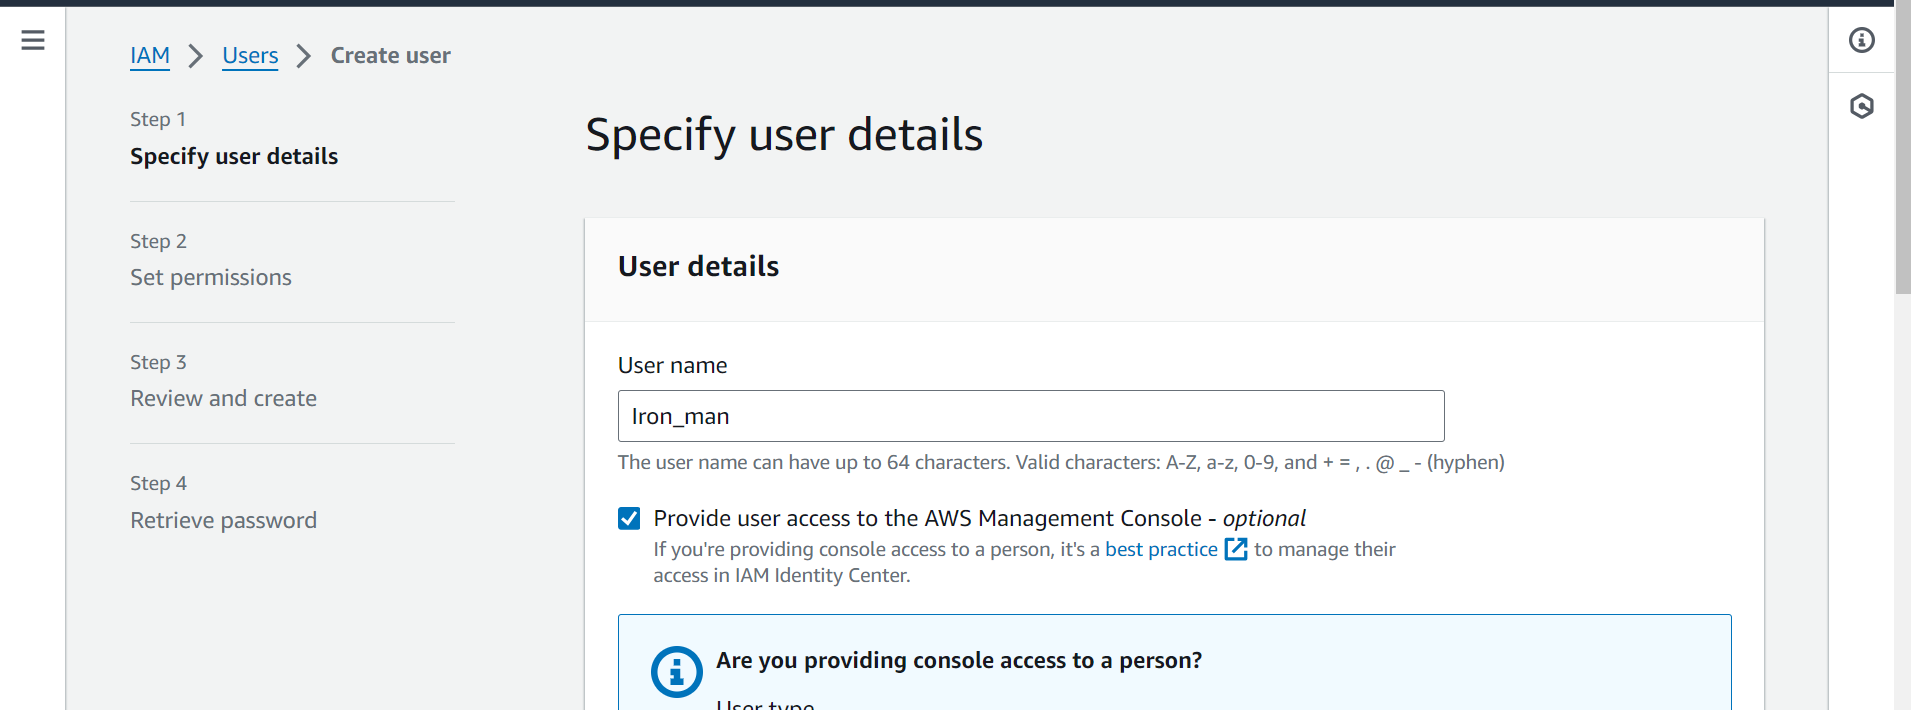
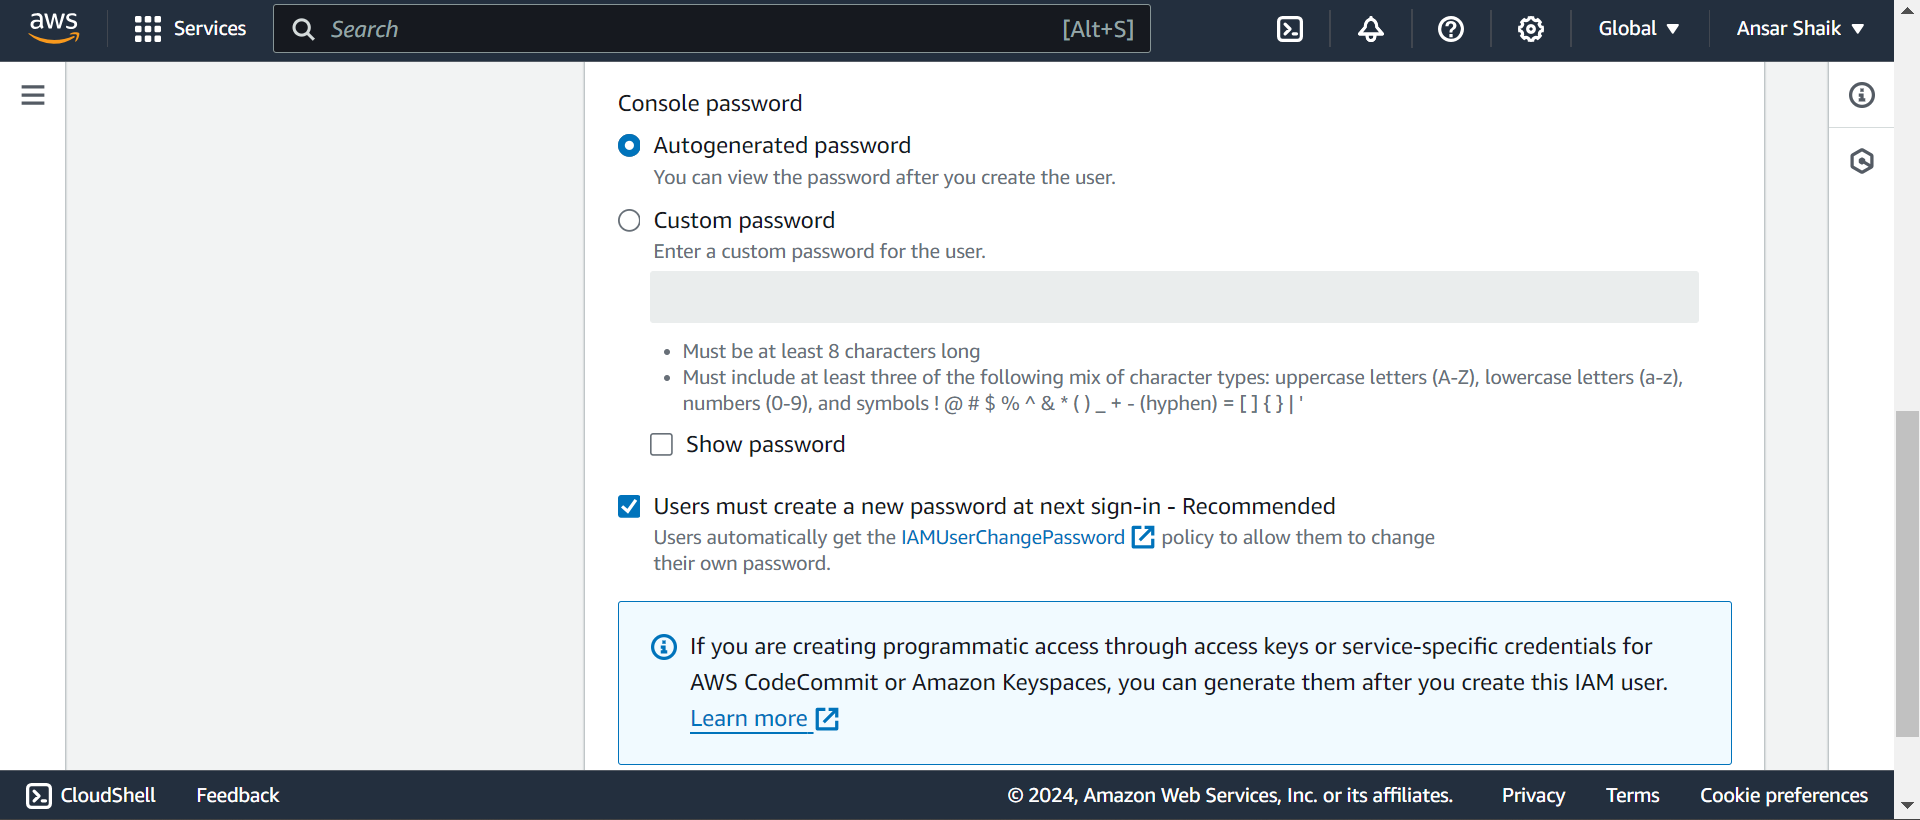
Console access:
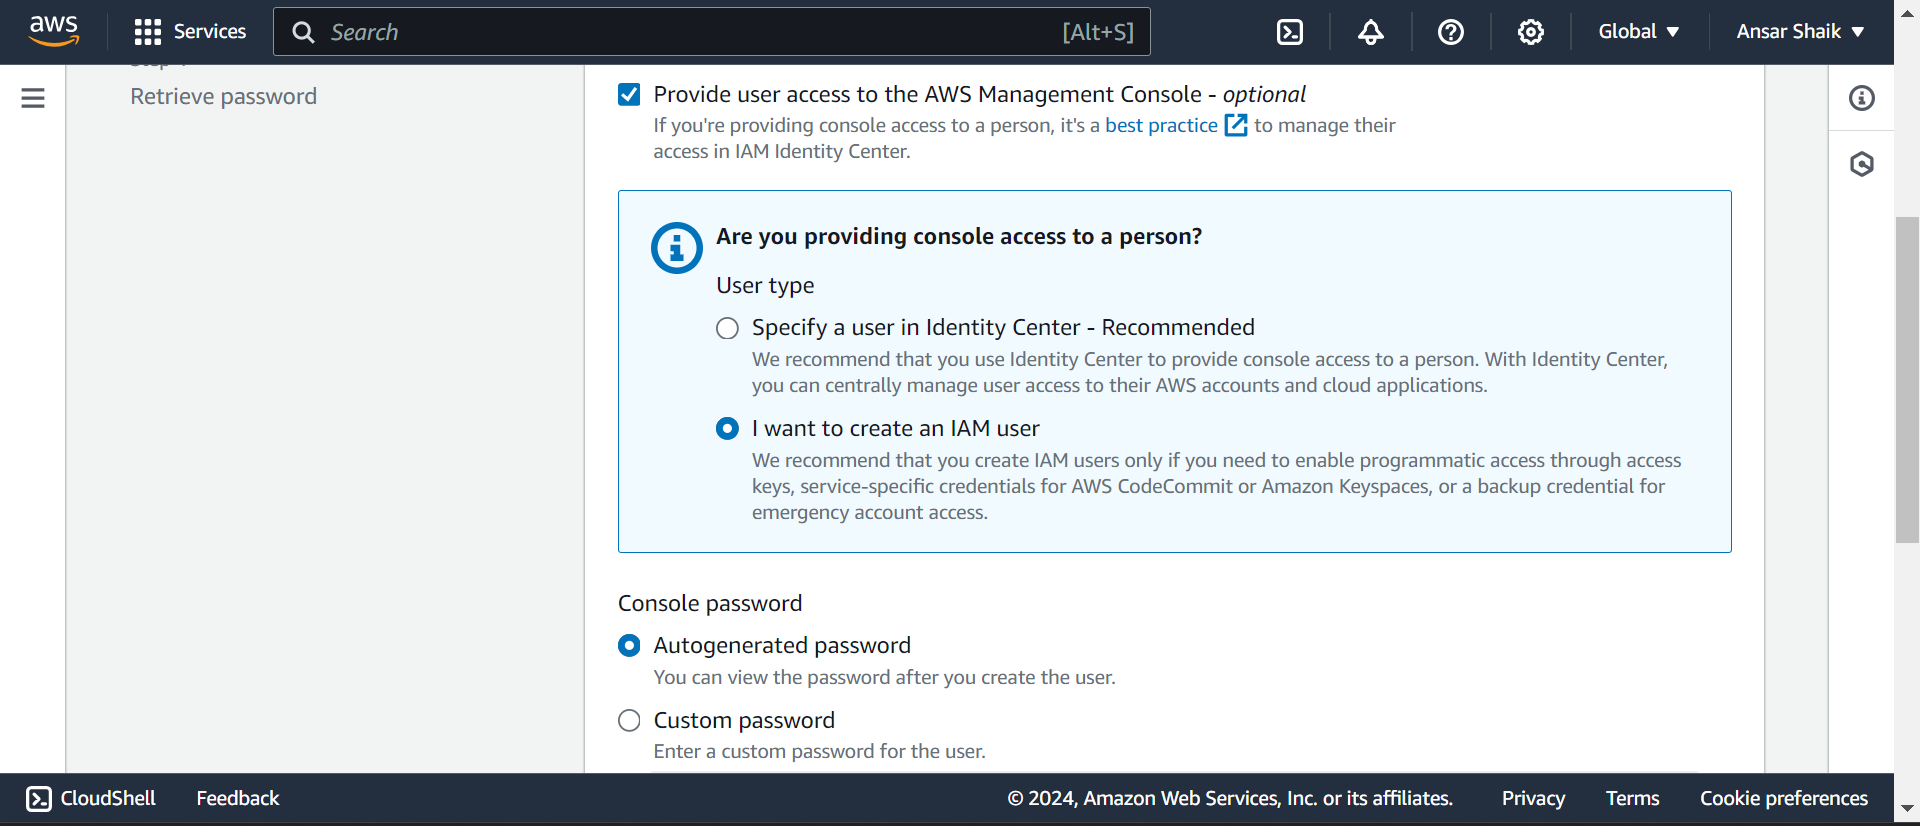
Autogenerated password:
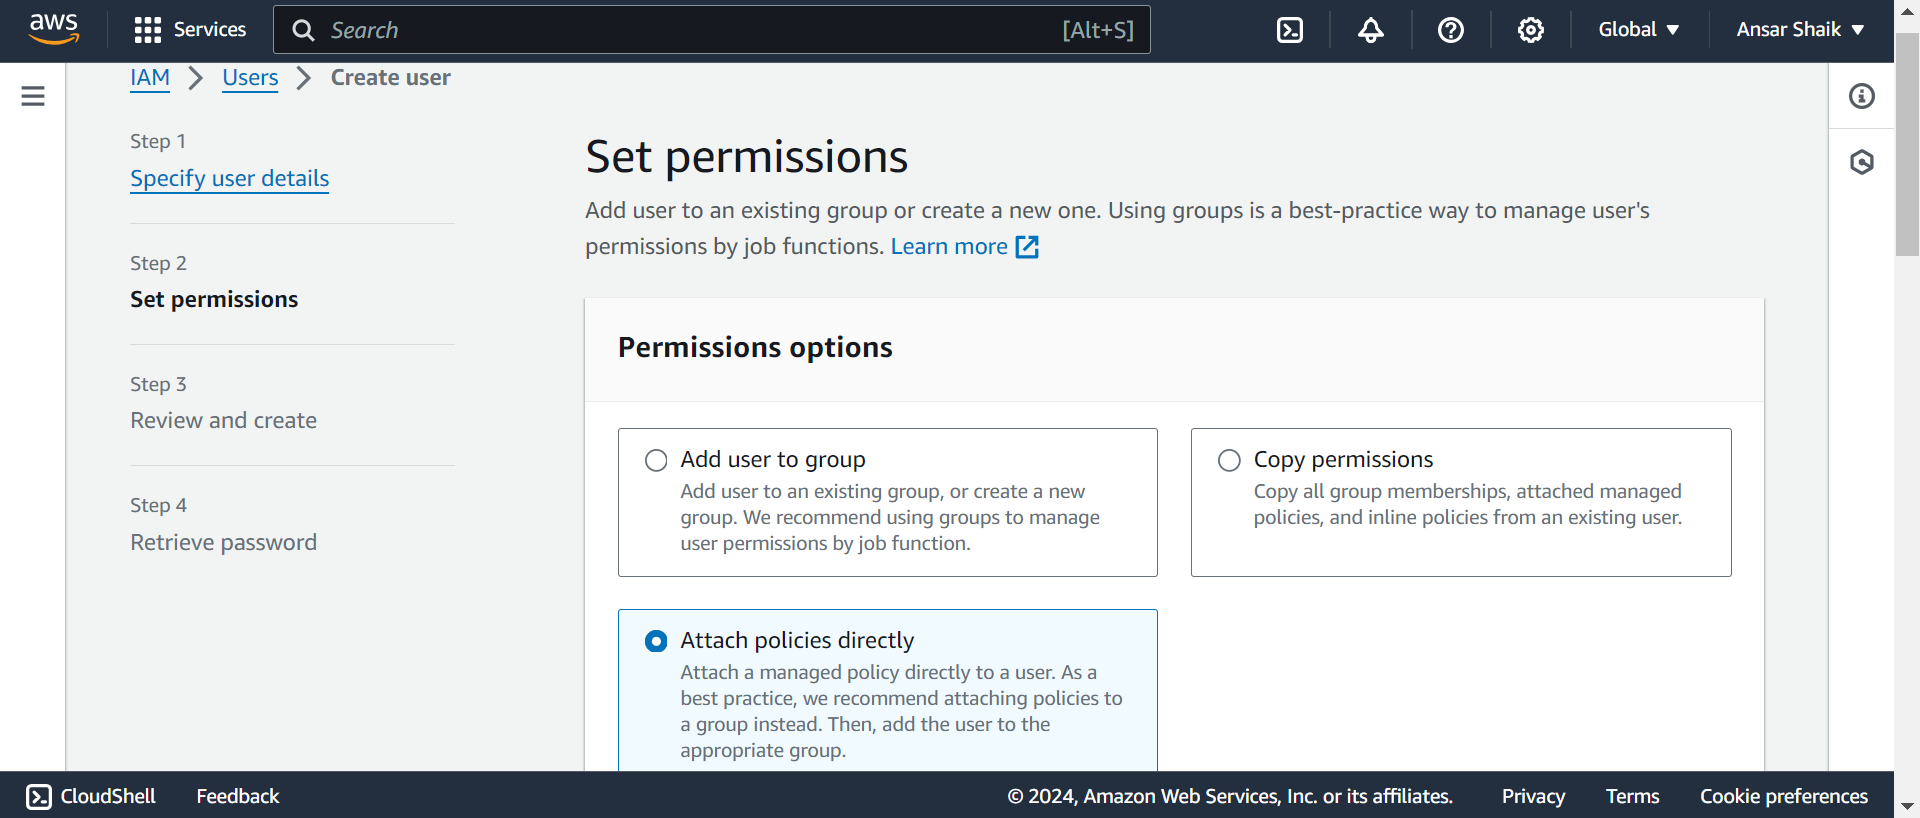
Set permission:
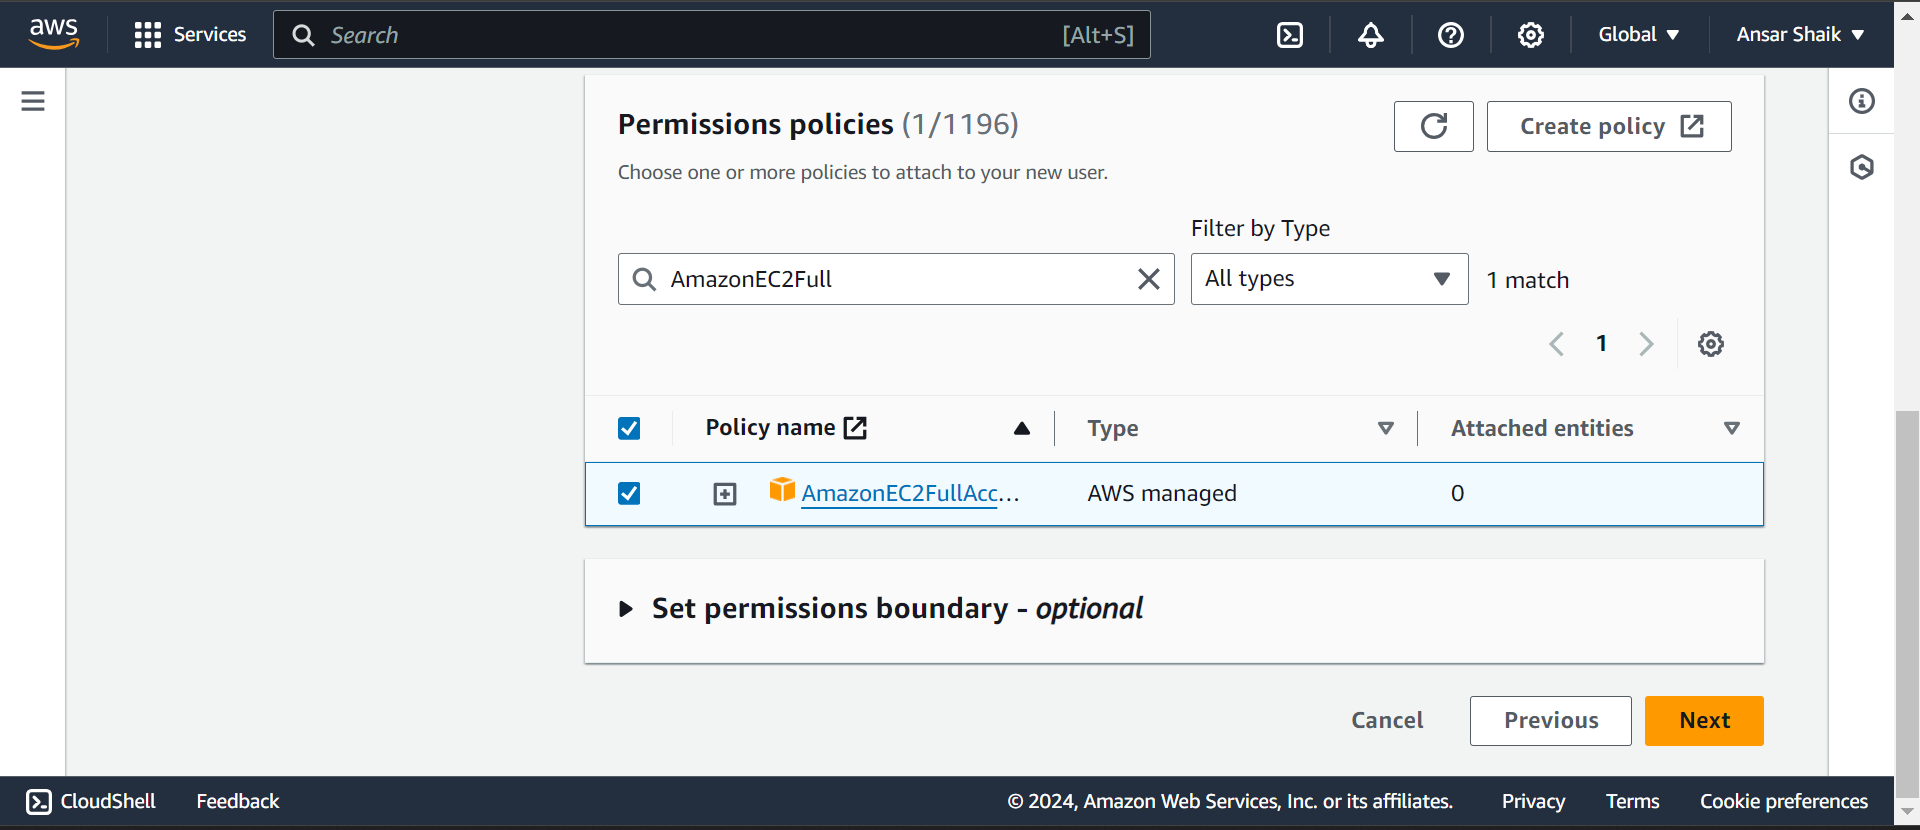
Attach policy: "AmazonEC2FullAccess" policy to grant EC2 access.
Create:
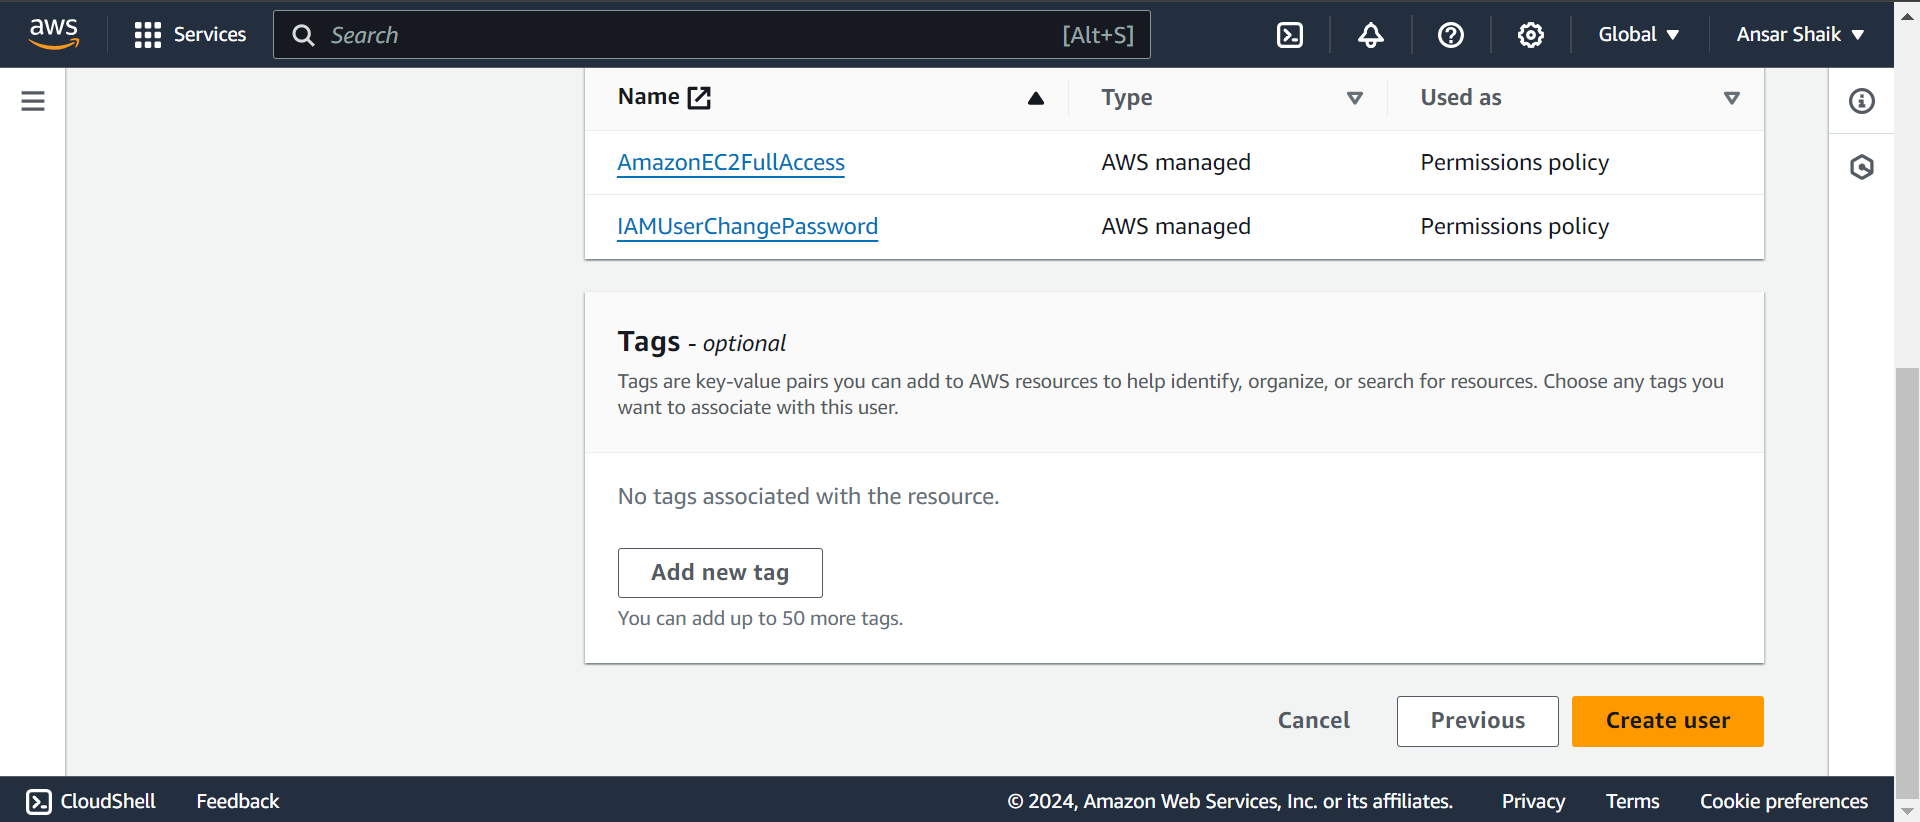
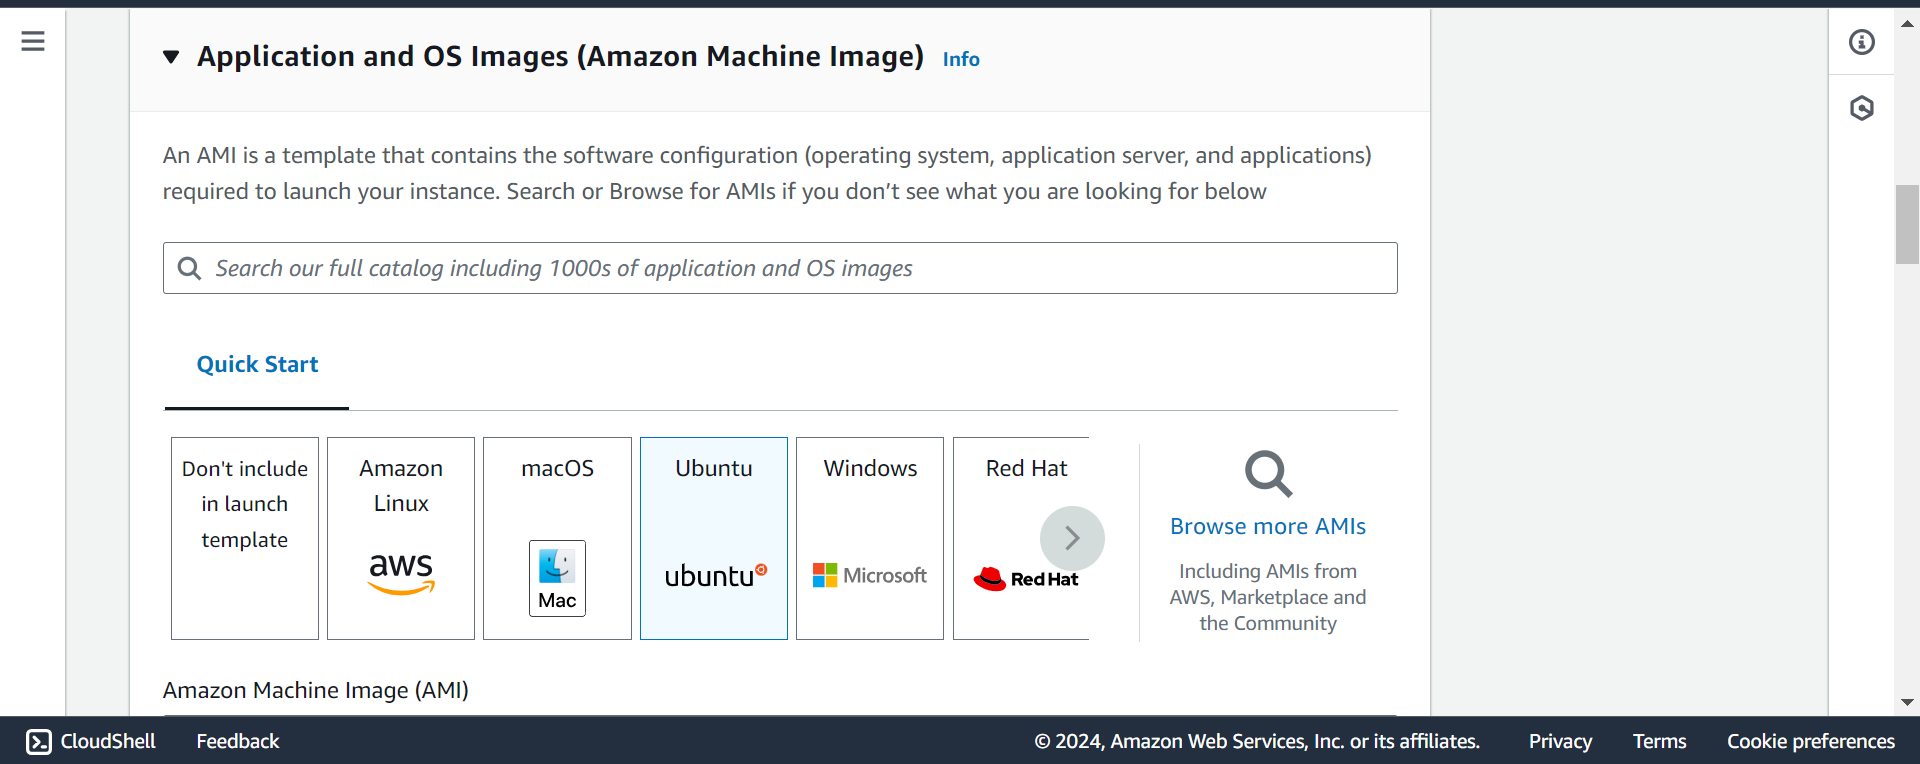
Step 2: Launching a Linux Instance
Using the IAM user credentials,
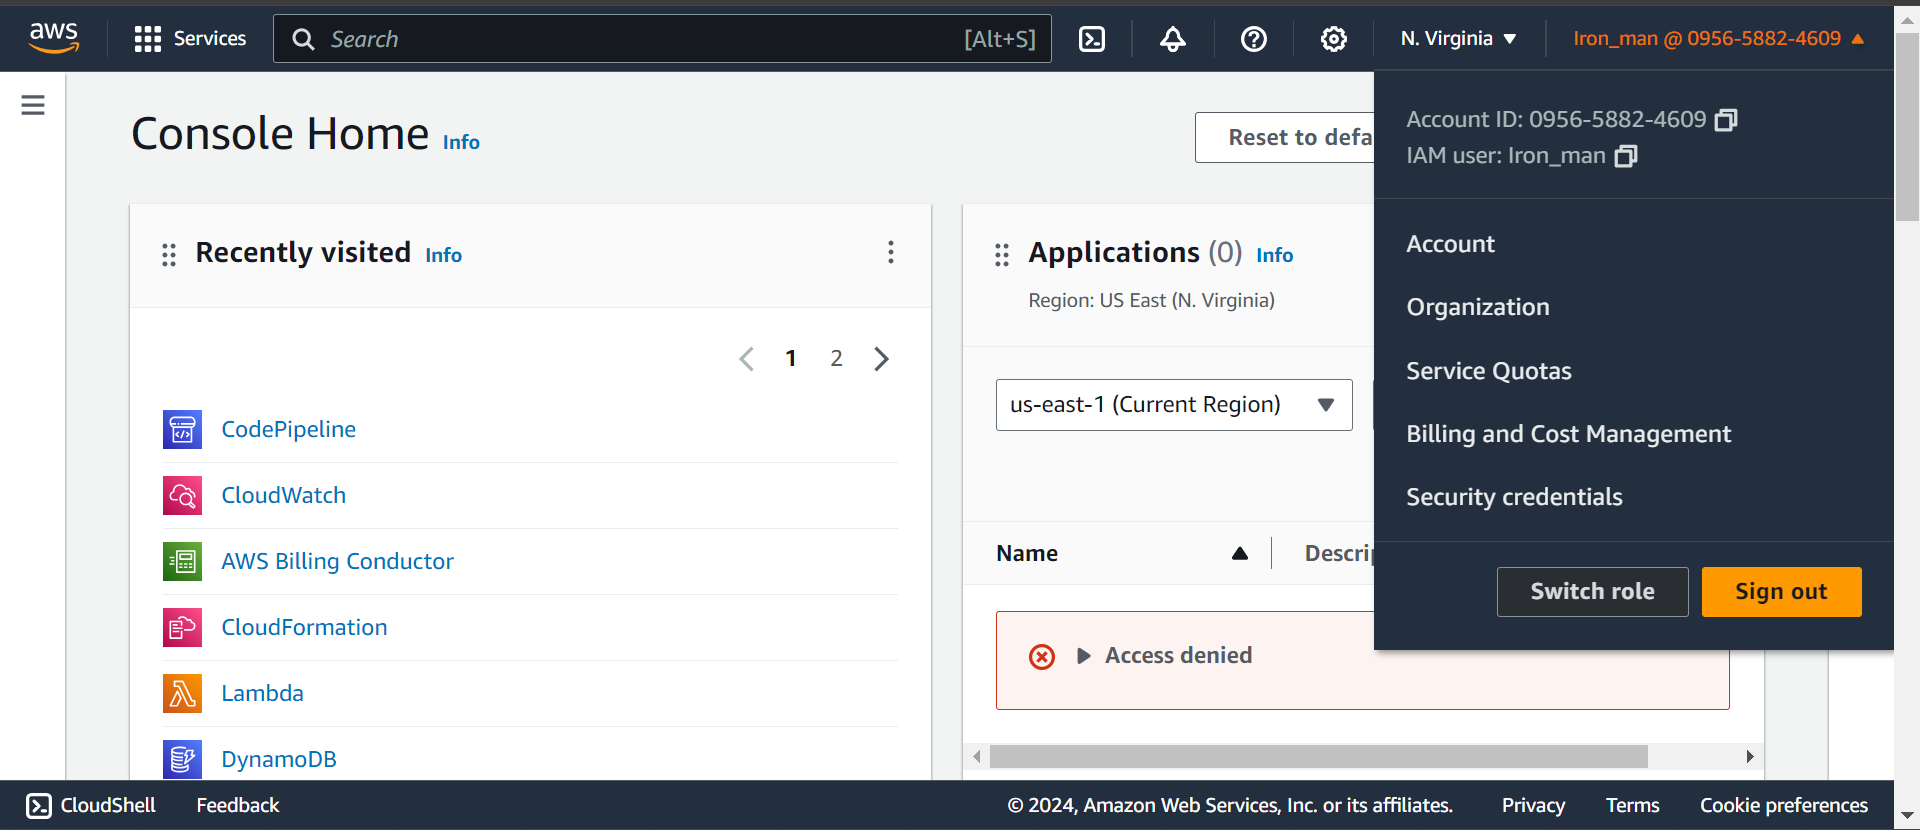
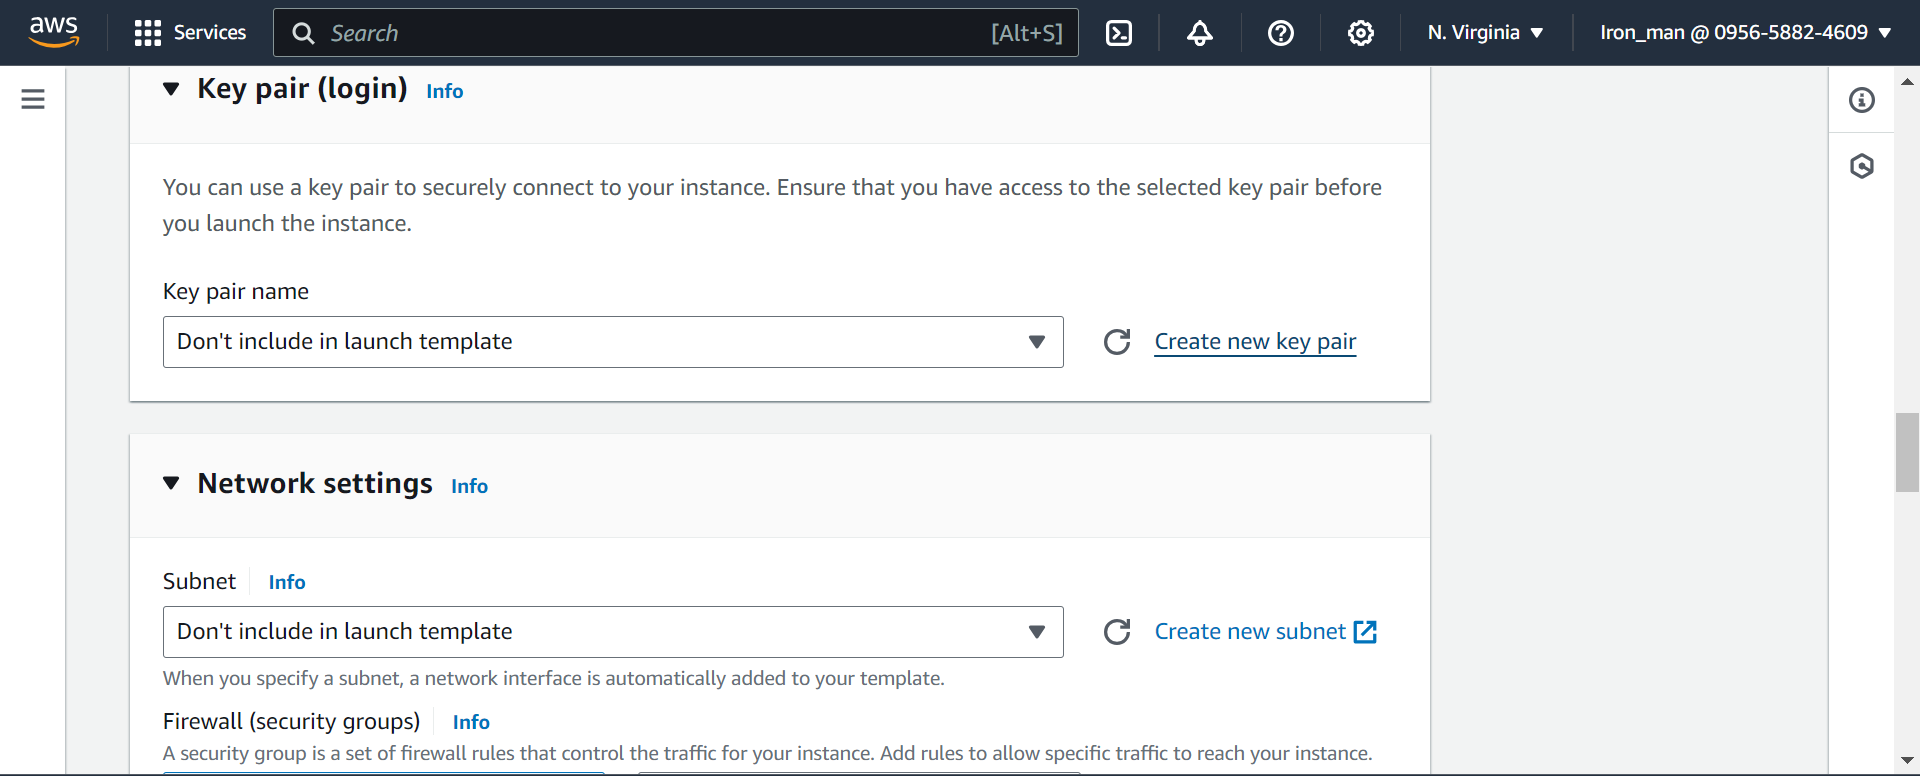
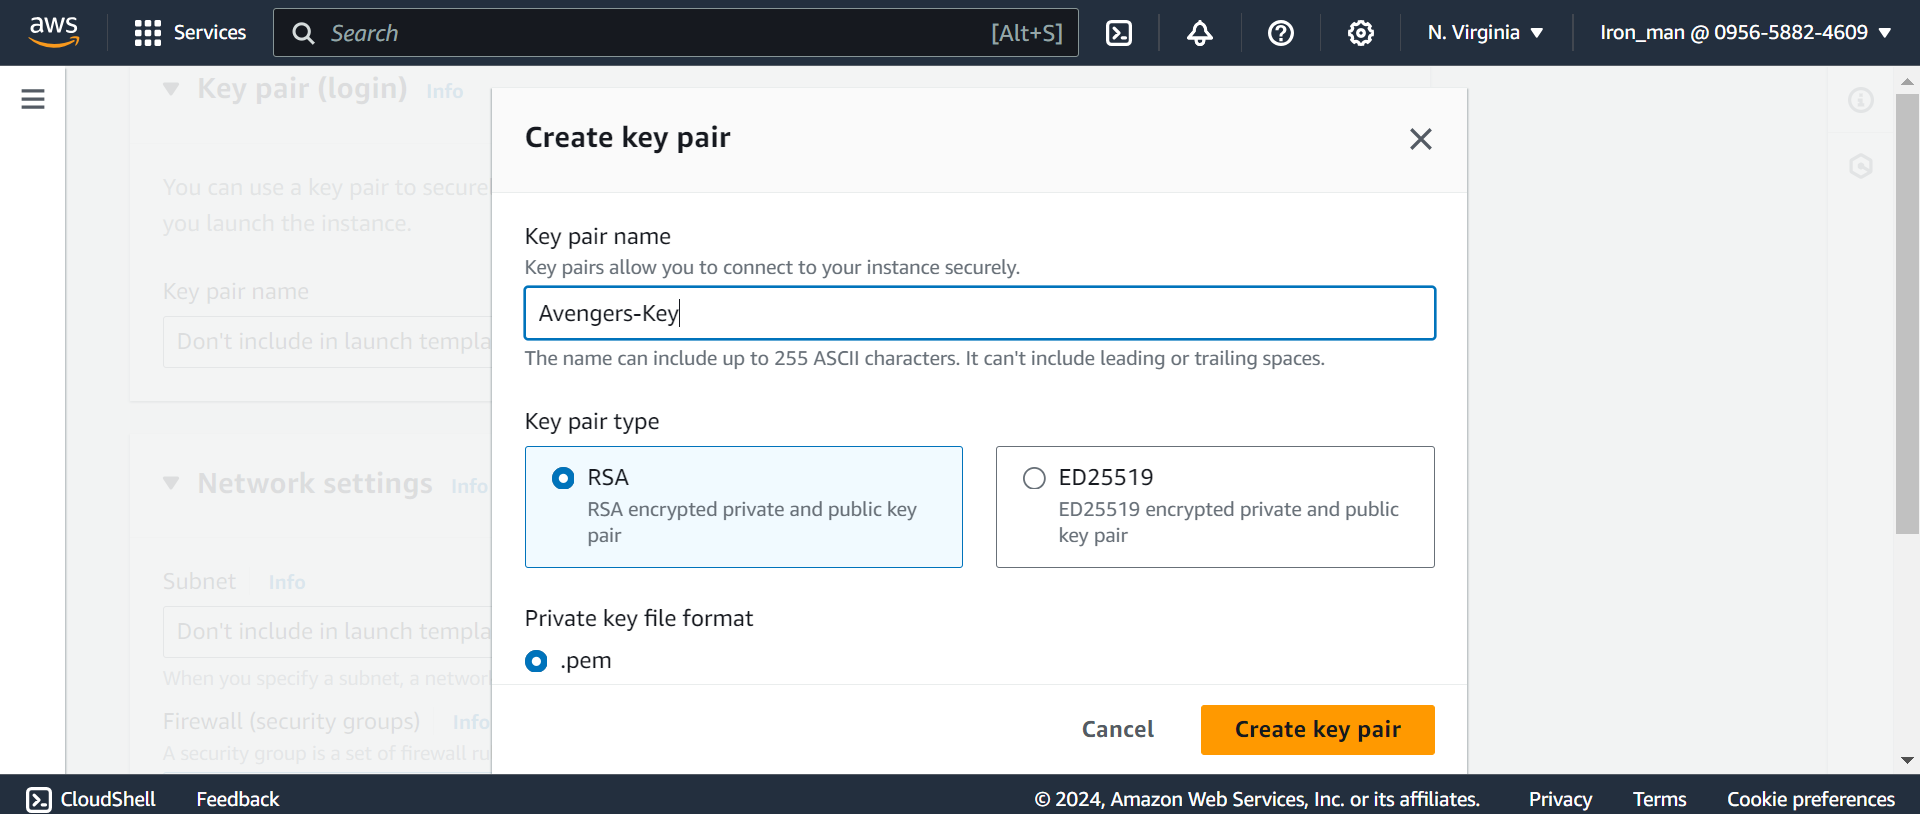
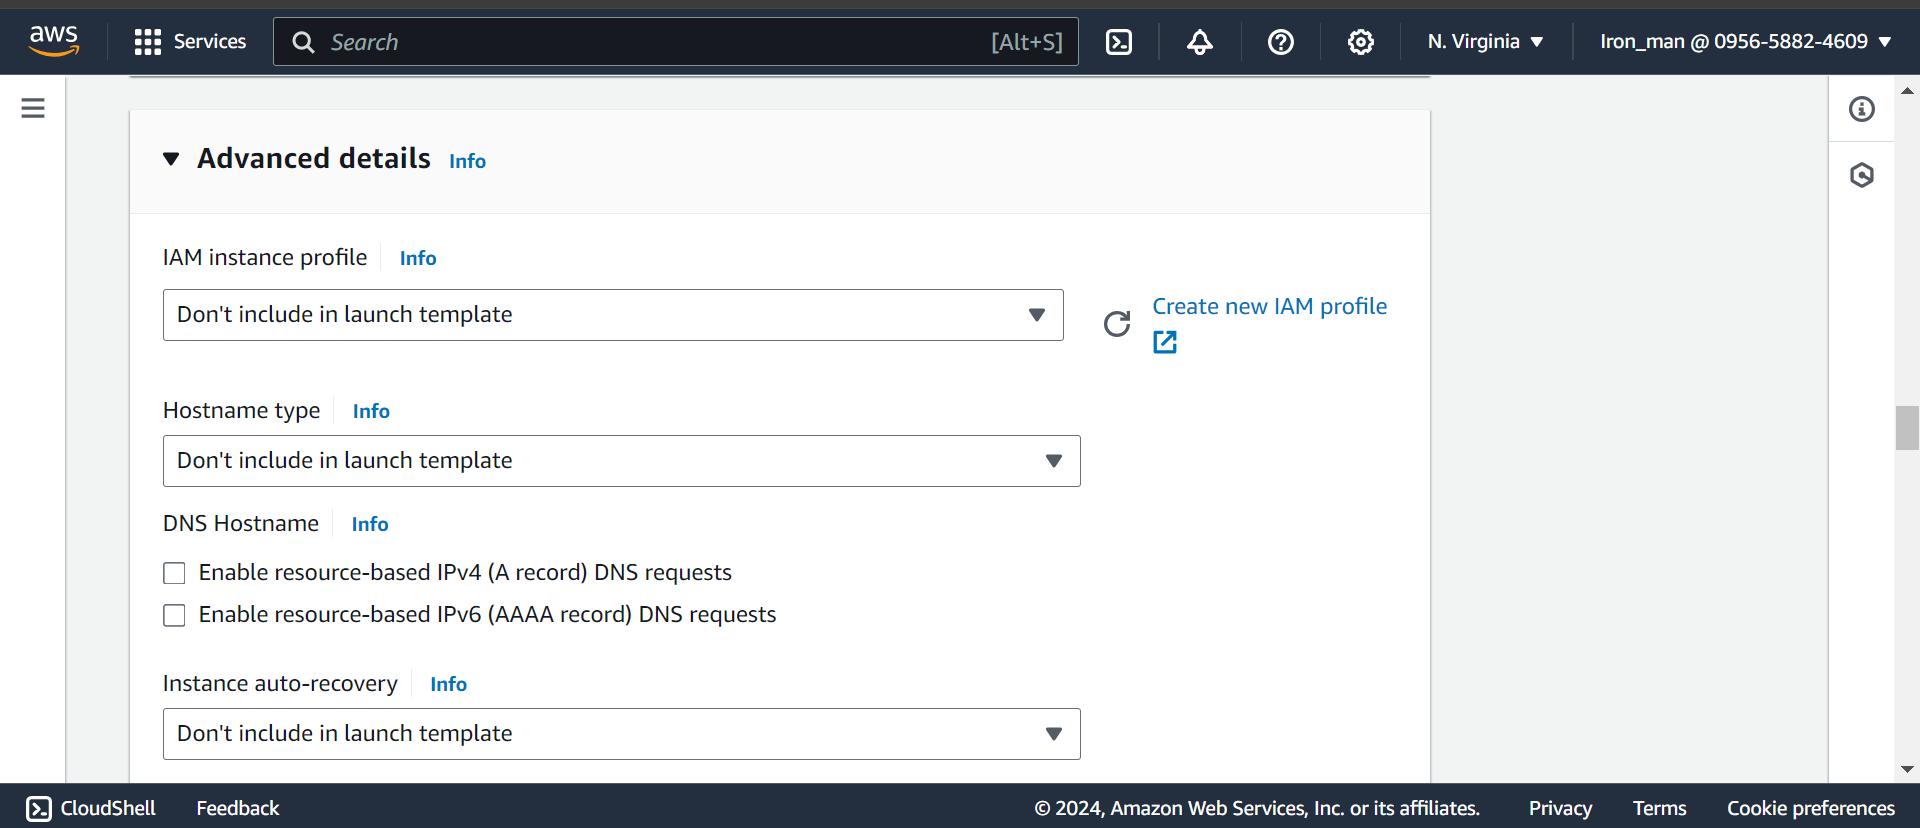
launch a Linux instance through the AWS Management Console.
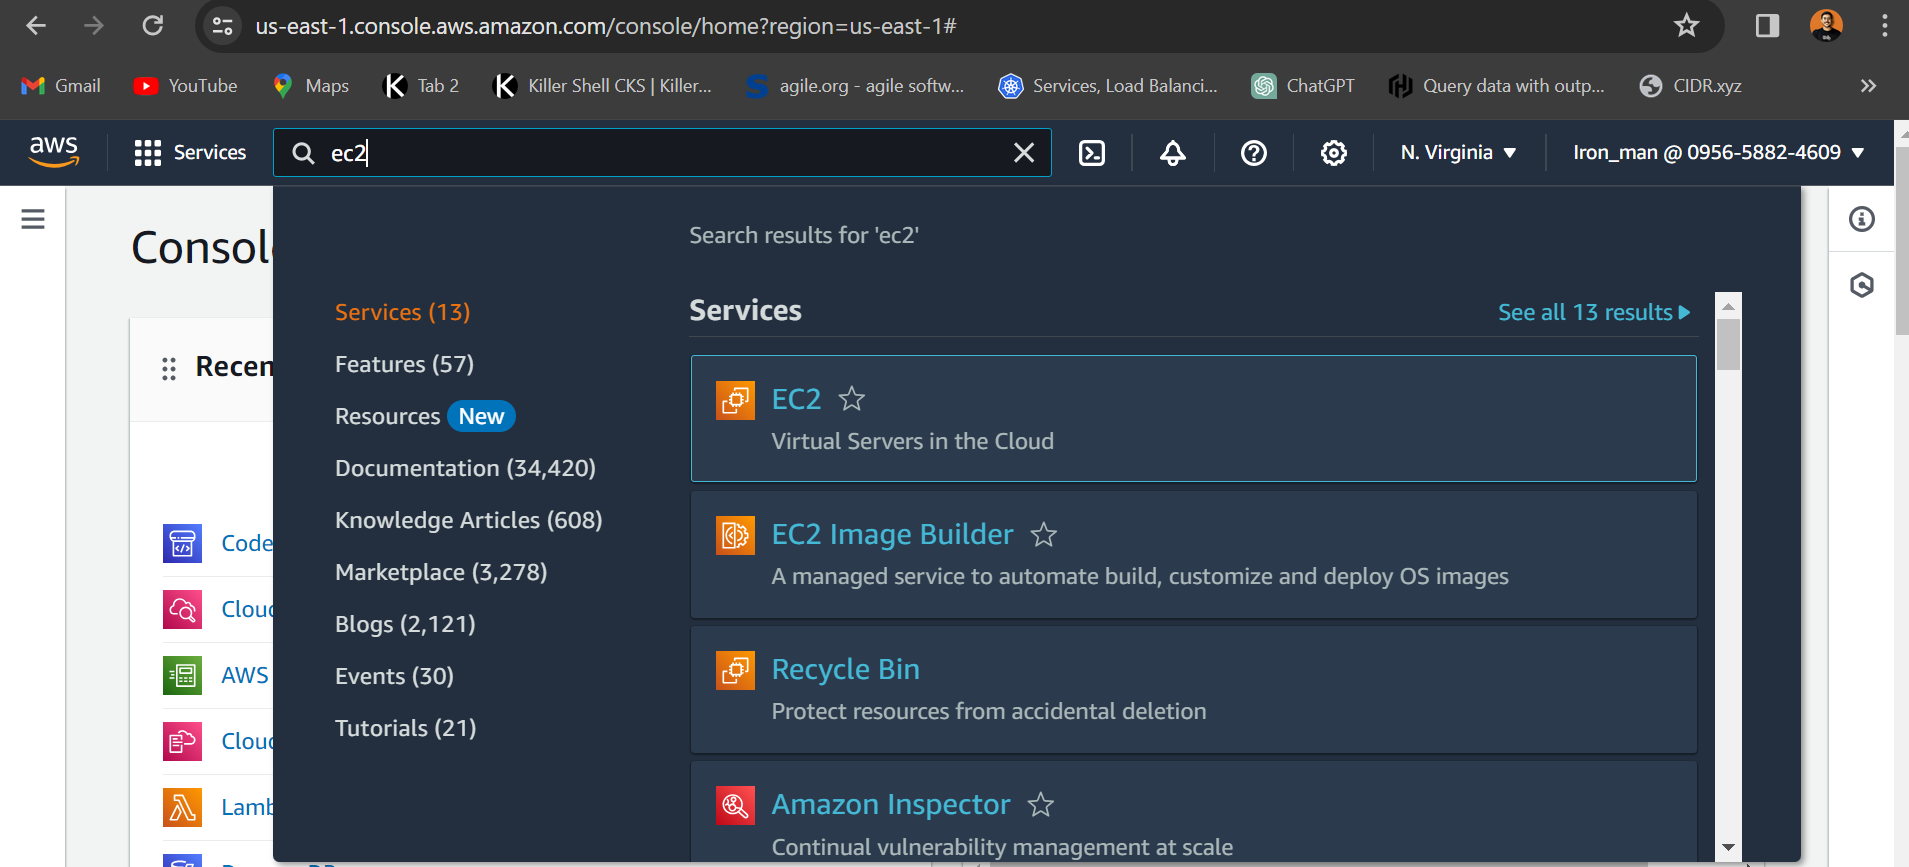
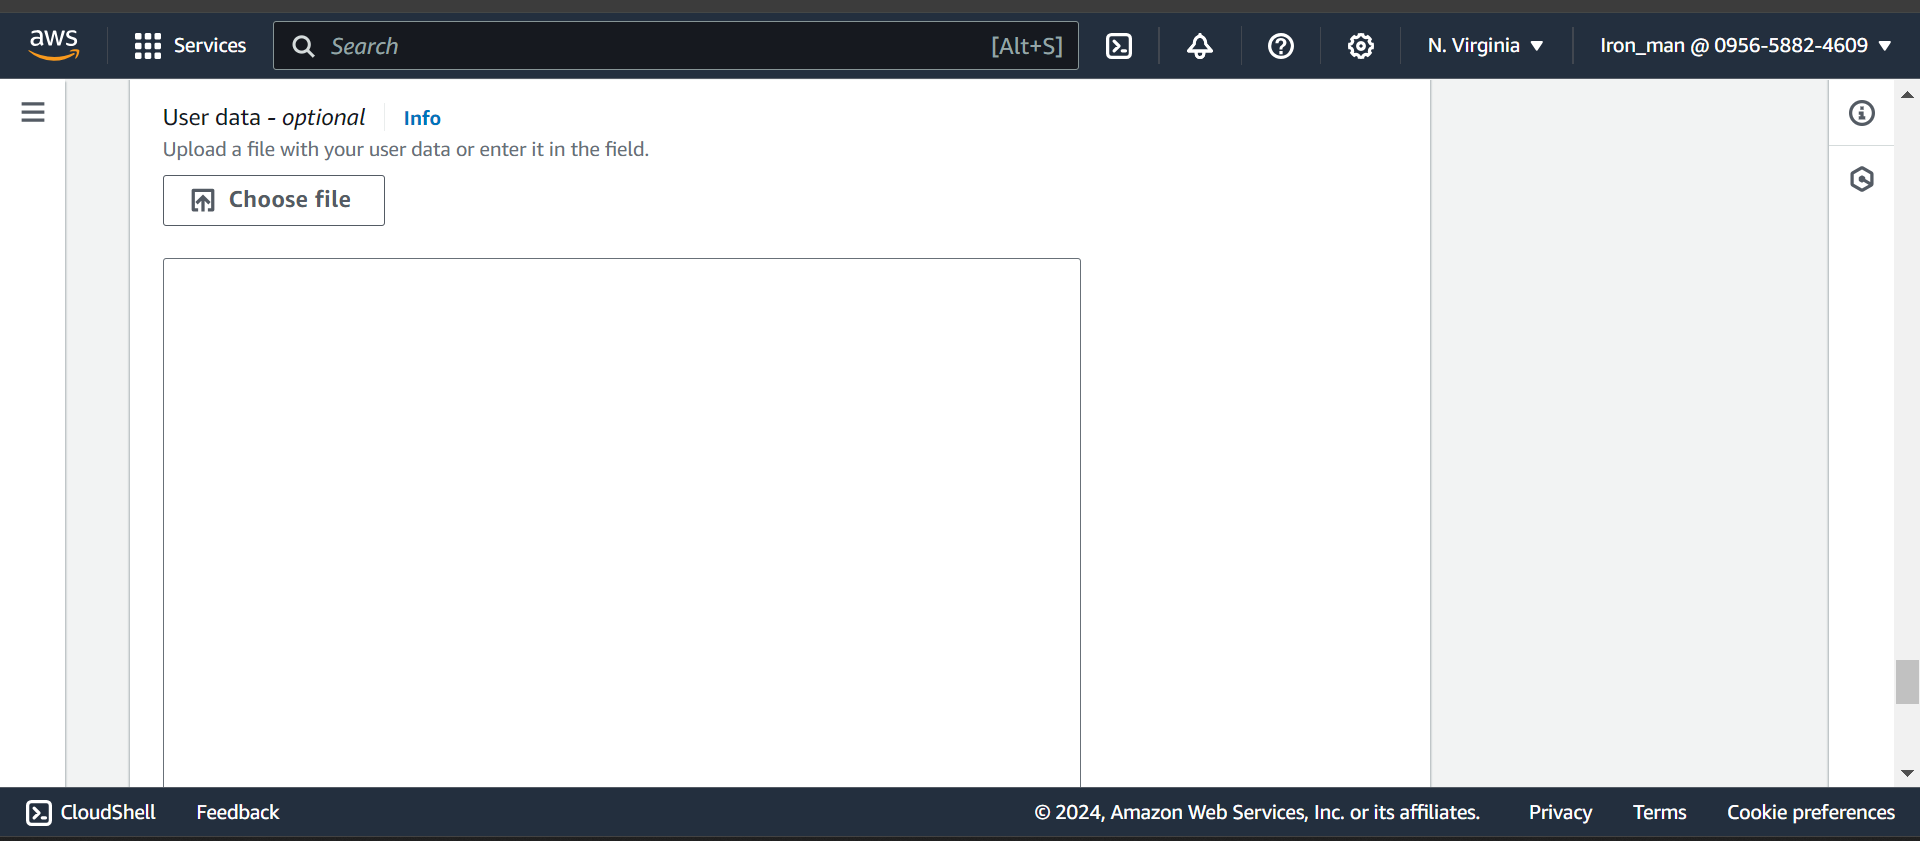
Once the instance is running, connect to it and install Jenkins and Docker using a single Shell Script.
Using template:

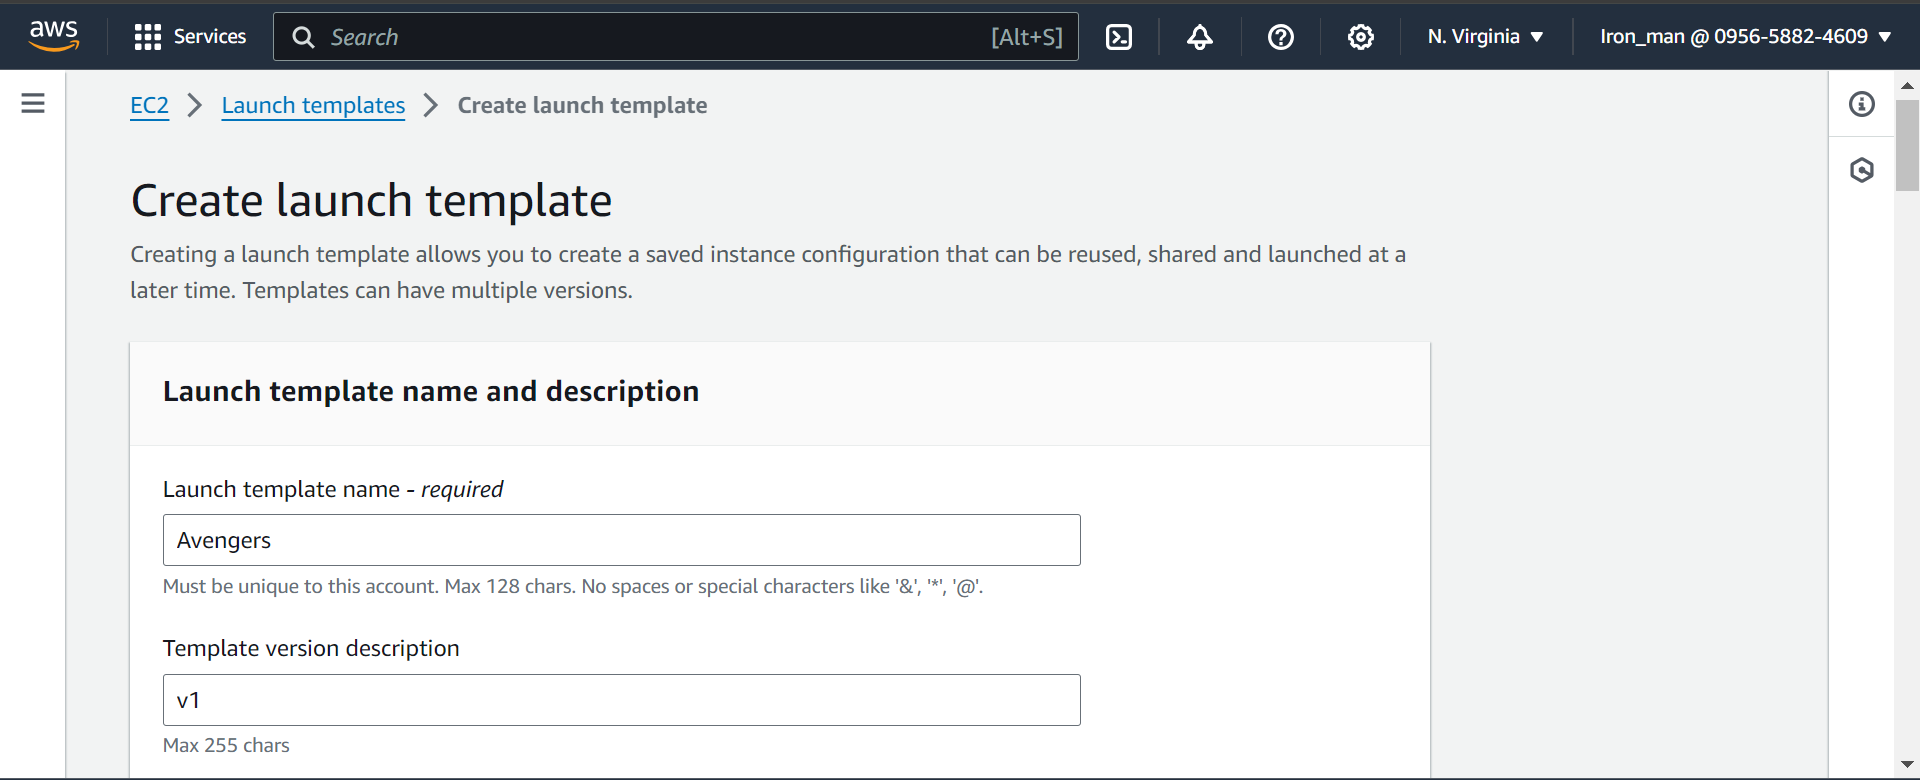
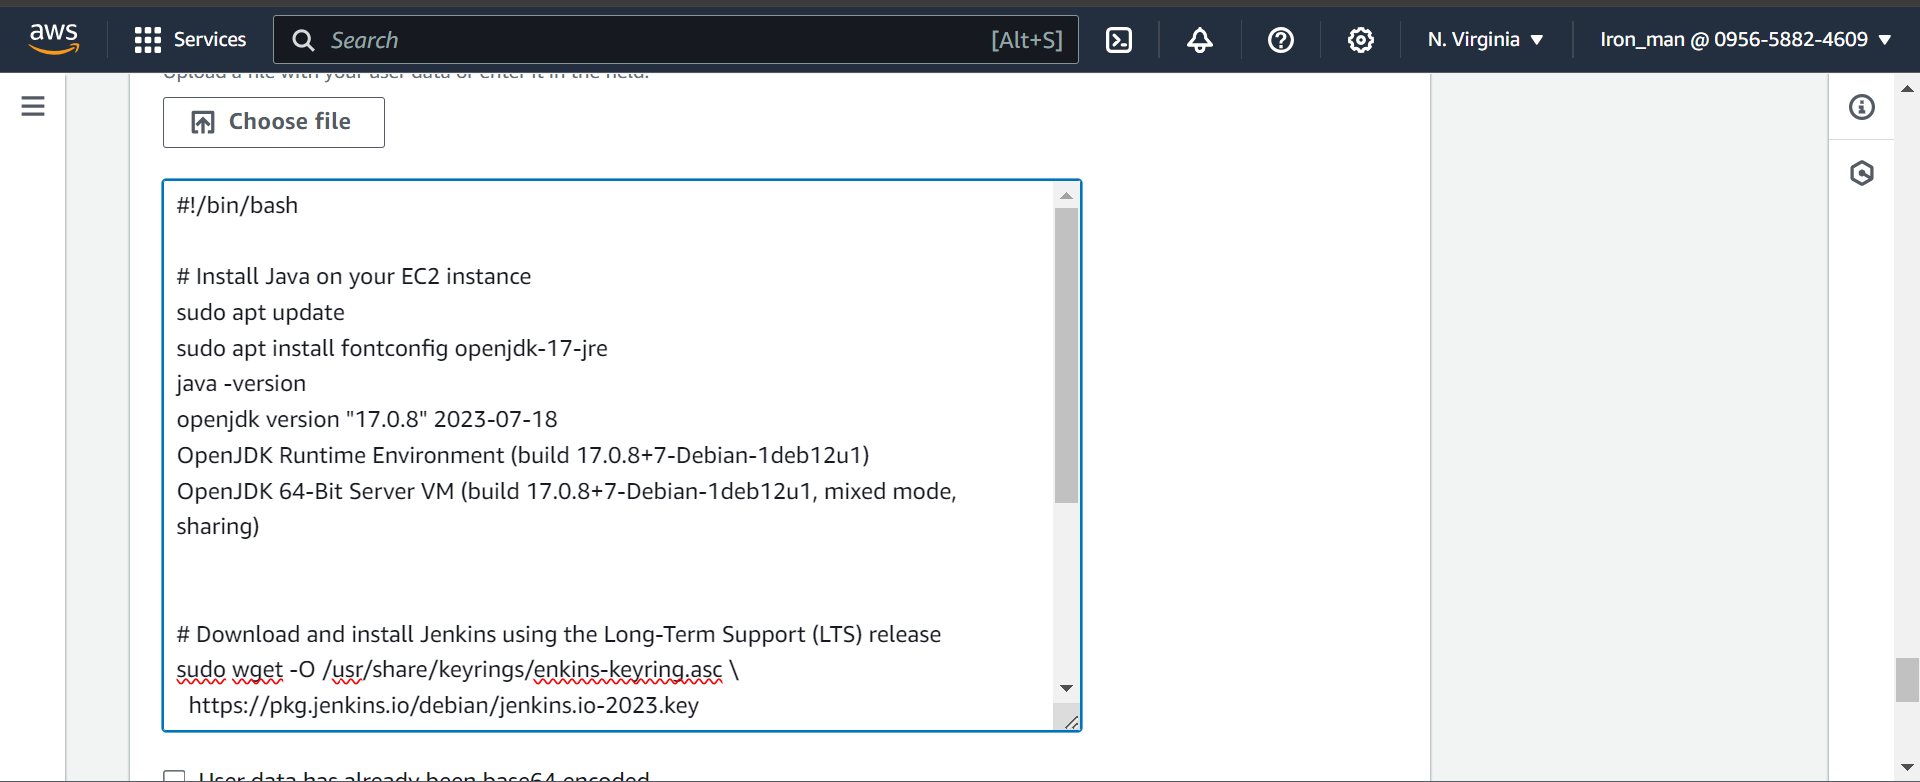
#!/bin/bash

# Install Java on your EC2 instance
sudo apt update
sudo apt install fontconfig openjdk-17-jre
java -version
openjdk version "17.0.8" 2023-07-18
OpenJDK Runtime Environment (build 17.0.8+7-Debian-1deb12u1)
OpenJDK 64-Bit Server VM (build 17.0.8+7-Debian-1deb12u1, mixed mode, sharing)


# Download and install Jenkins using the Long-Term Support (LTS) release
sudo wget -O /usr/share/keyrings/jenkins-keyring.asc \
  https://pkg.jenkins.io/debian/jenkins.io-2023.key
echo deb [signed-by=/usr/share/keyrings/jenkins-keyring.asc] \
  https://pkg.jenkins.io/debian binary/ | sudo tee \
  /etc/apt/sources.list.d/jenkins.list > /dev/null
sudo apt-get update
sudo apt-get install jenkins

# Install Docker
sudo apt install docker.io -y
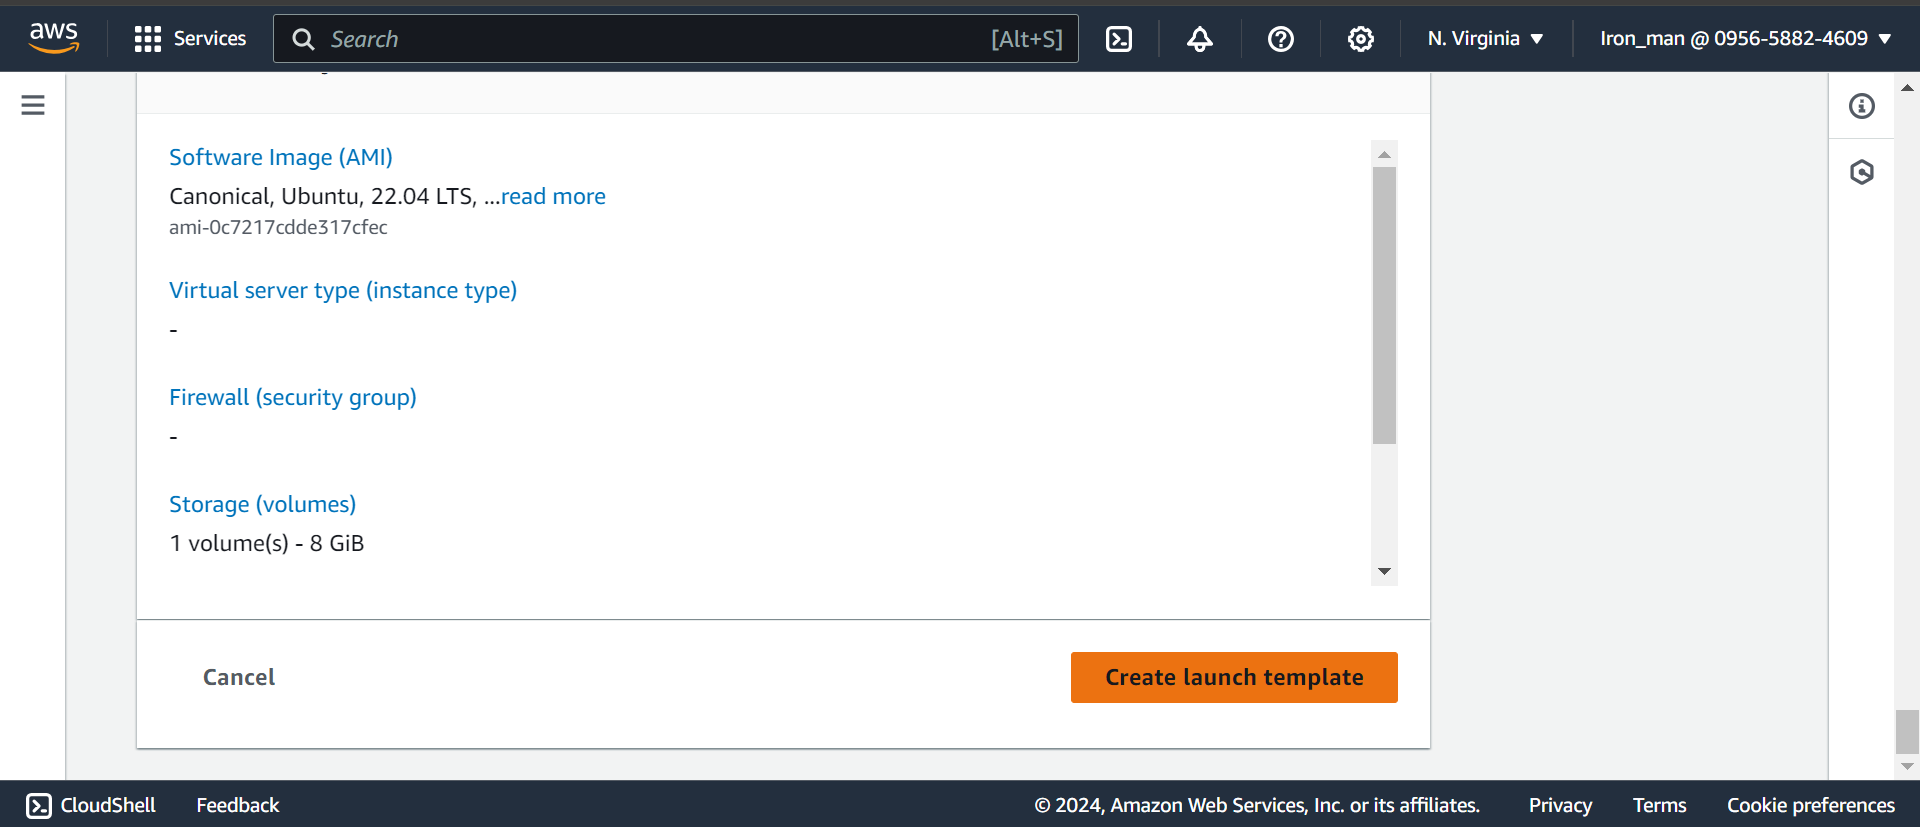
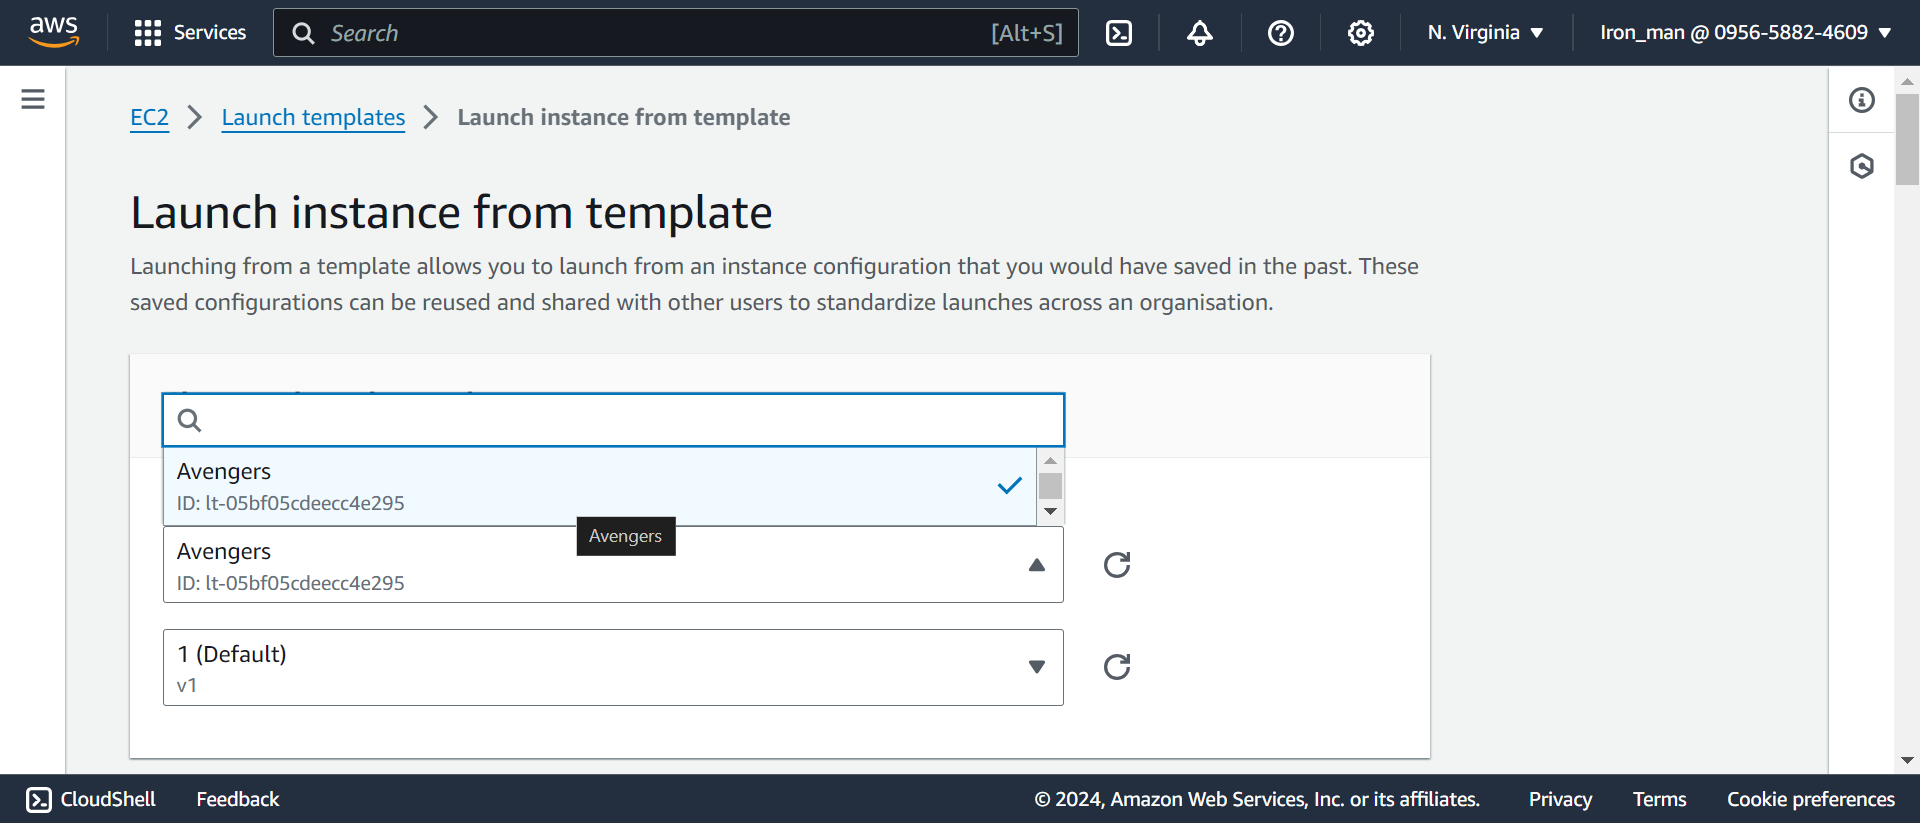
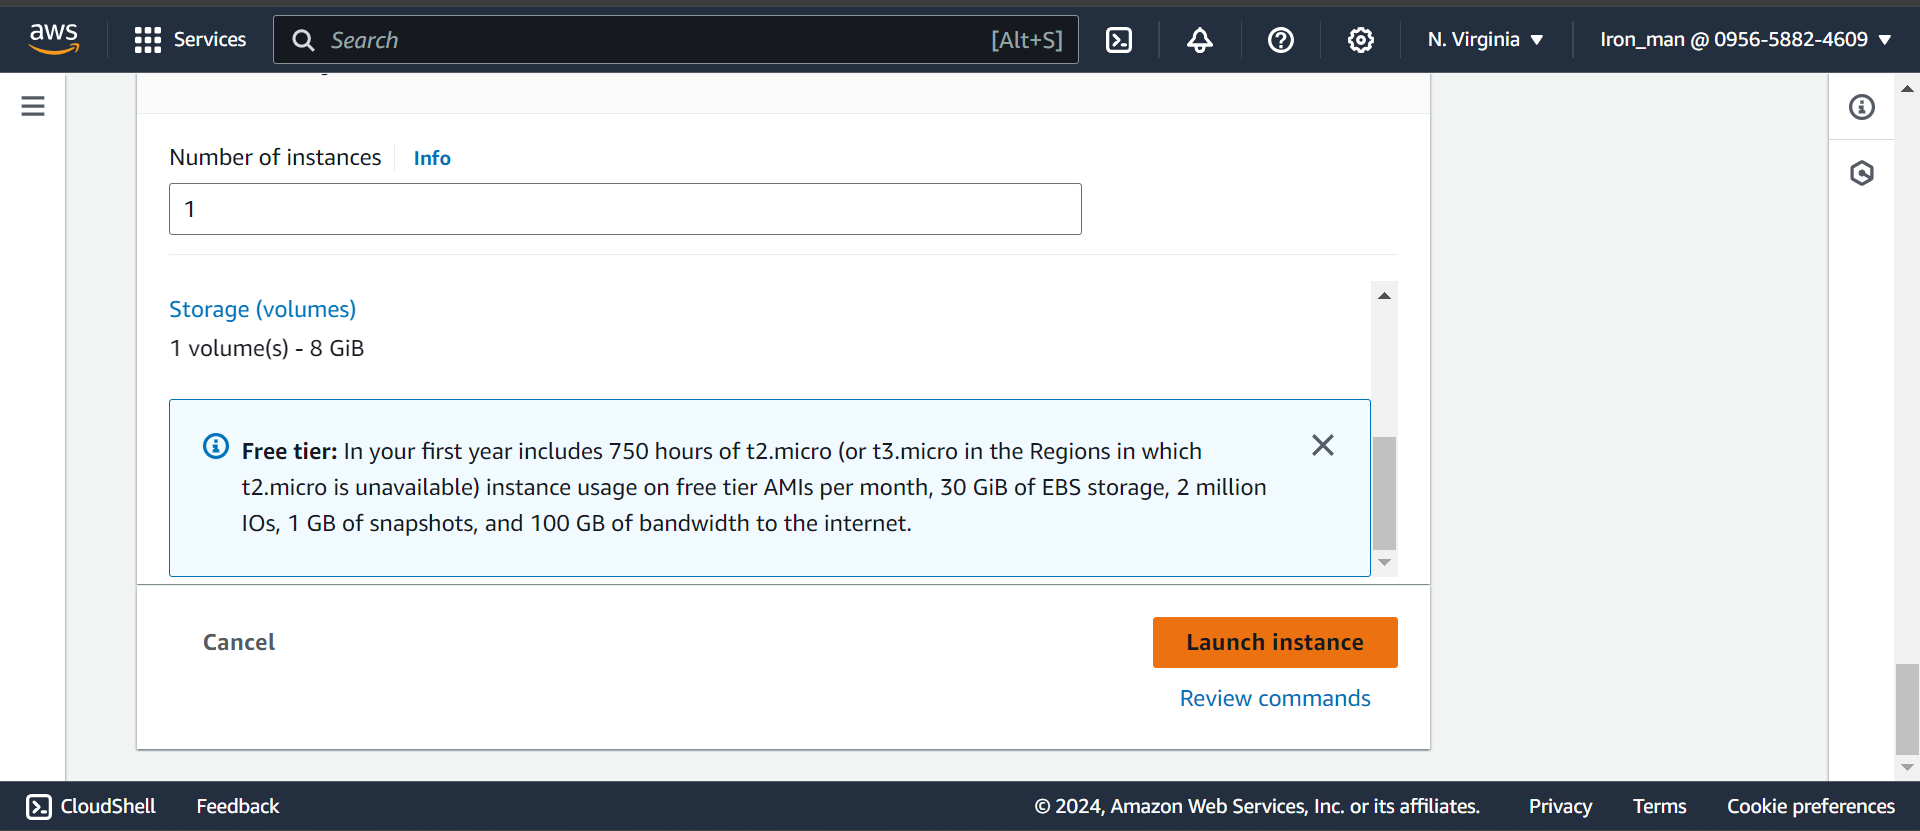
Launch instance from template:


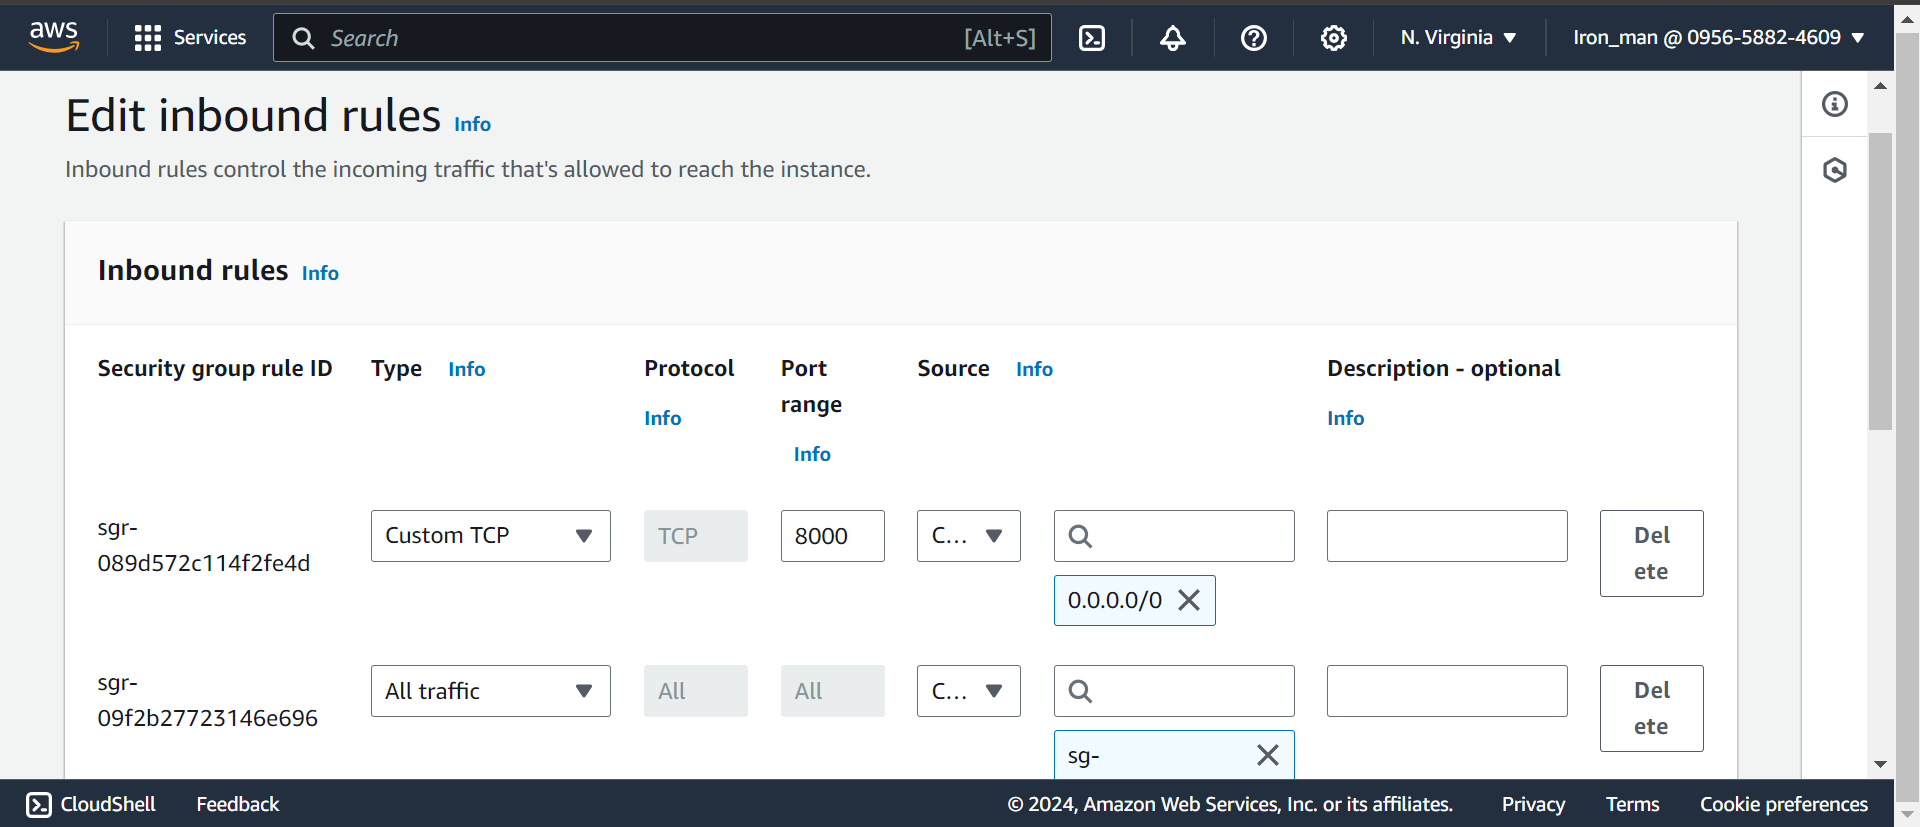
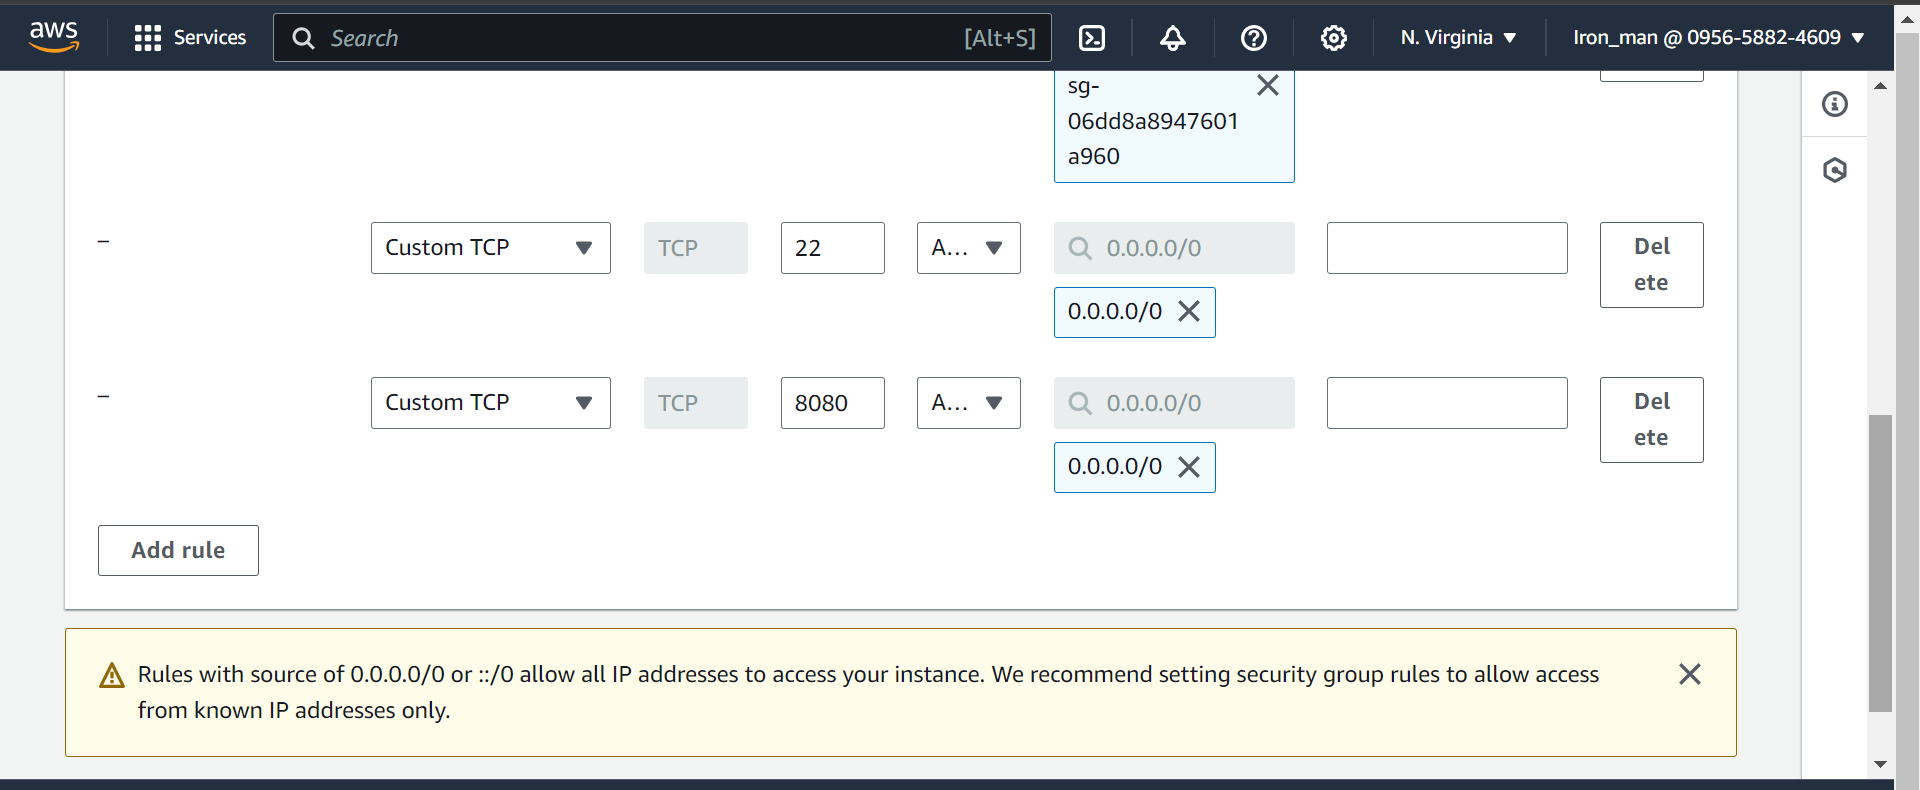
Edit inbound rules:
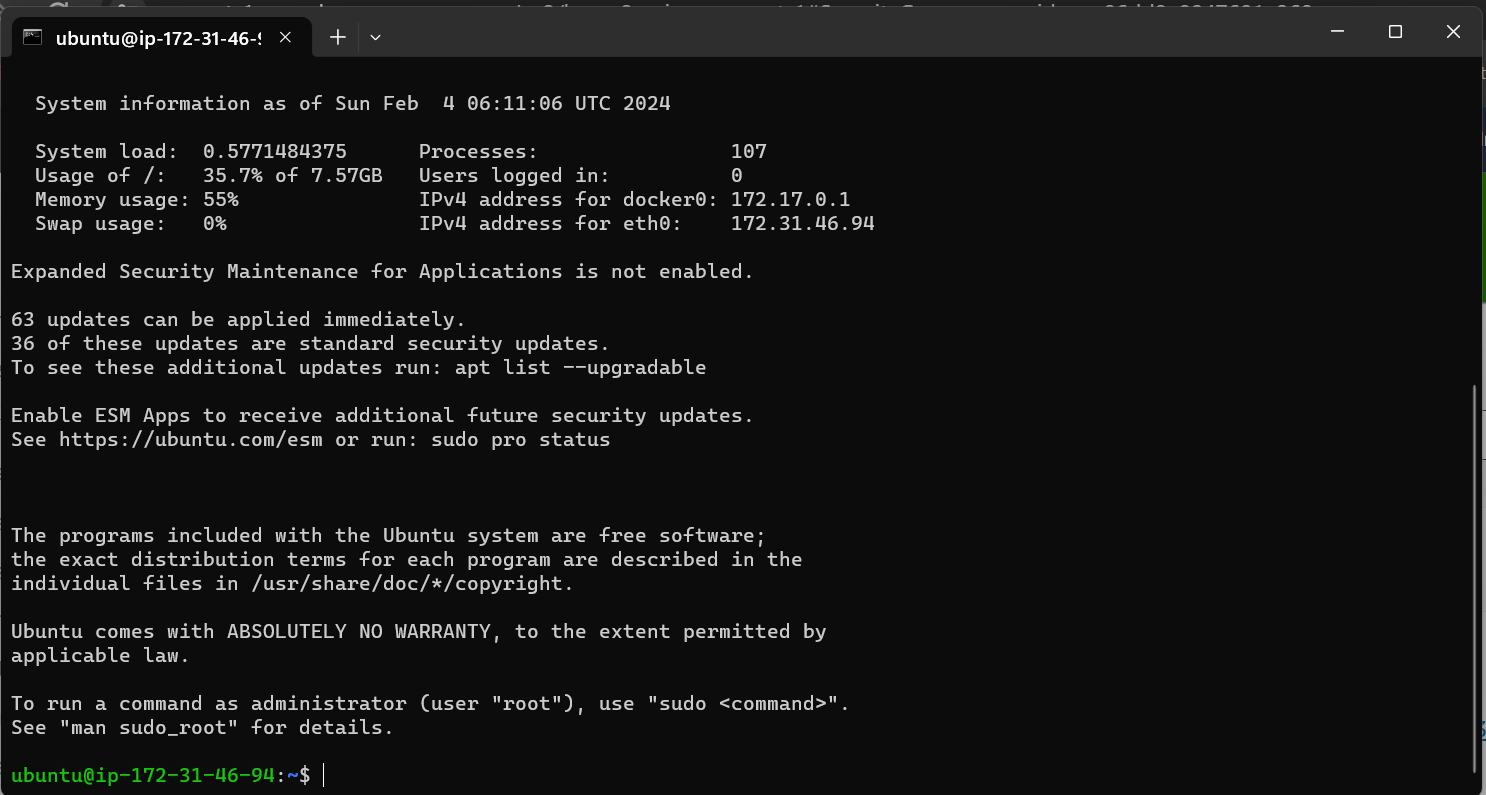
Connect Through SSH:
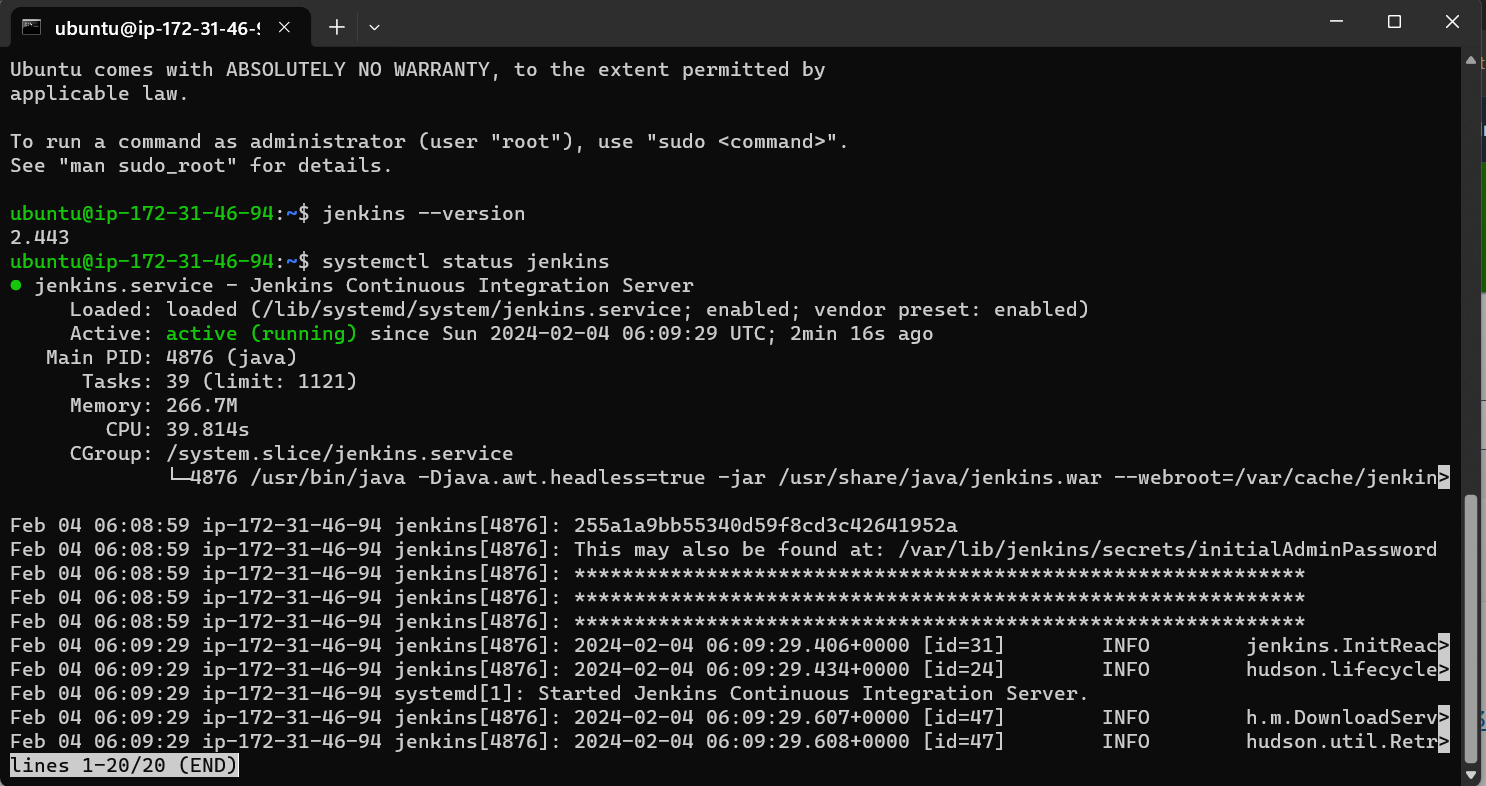
Jenkins is running:
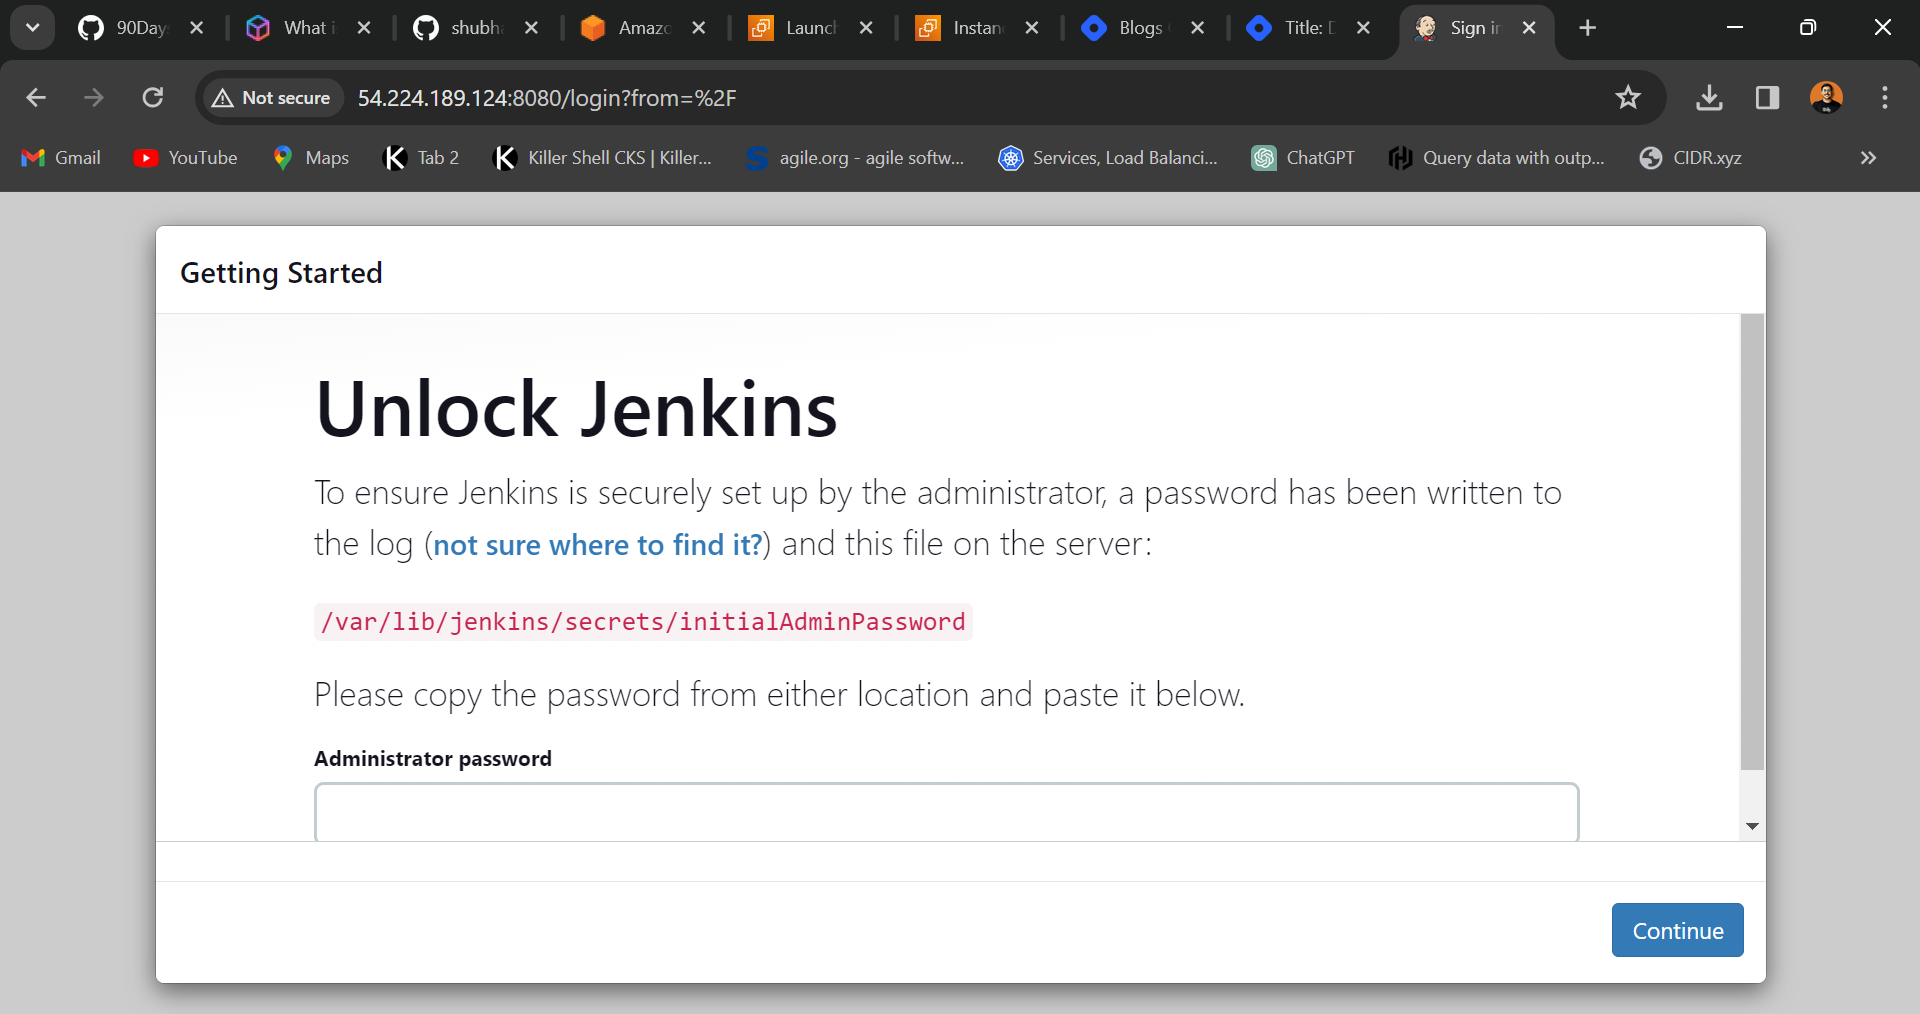
Access using instance IP:

Task 2: Creating DevOps Team - Avengers
Create Multiple IAM Users using AWS CLI
This repository provides a simple script to create multiple IAM (Identity and Access Management) users on AWS using the AWS CLI. Follow the steps below to set up and use the script.
Step 1:Configure AWS CLI To Iron_man
Create IAM users for the Avengers - Thor and Hulk, following the same steps as Iron-man Or Using aws CLI.


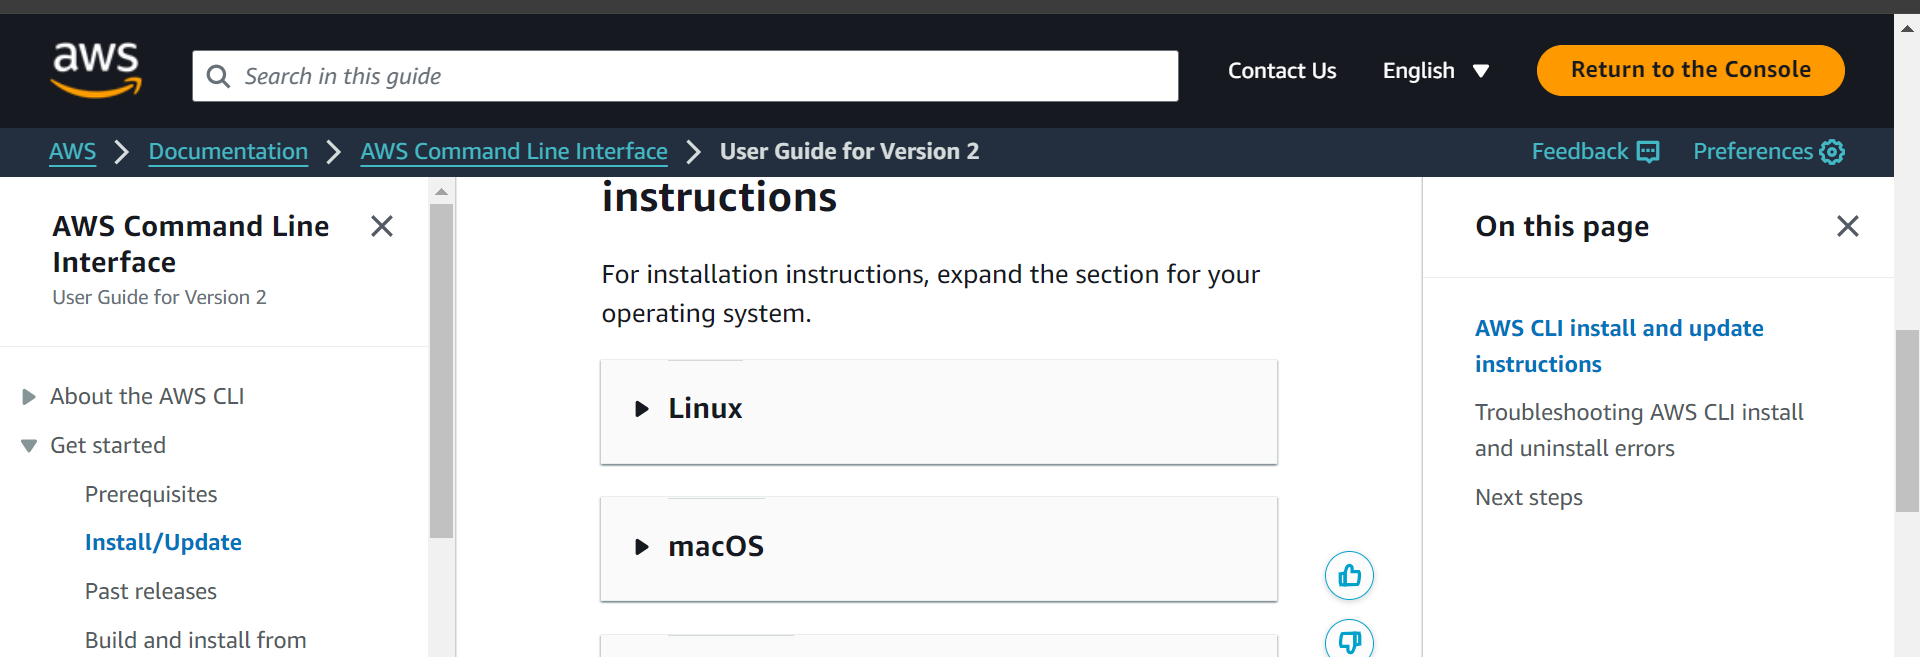

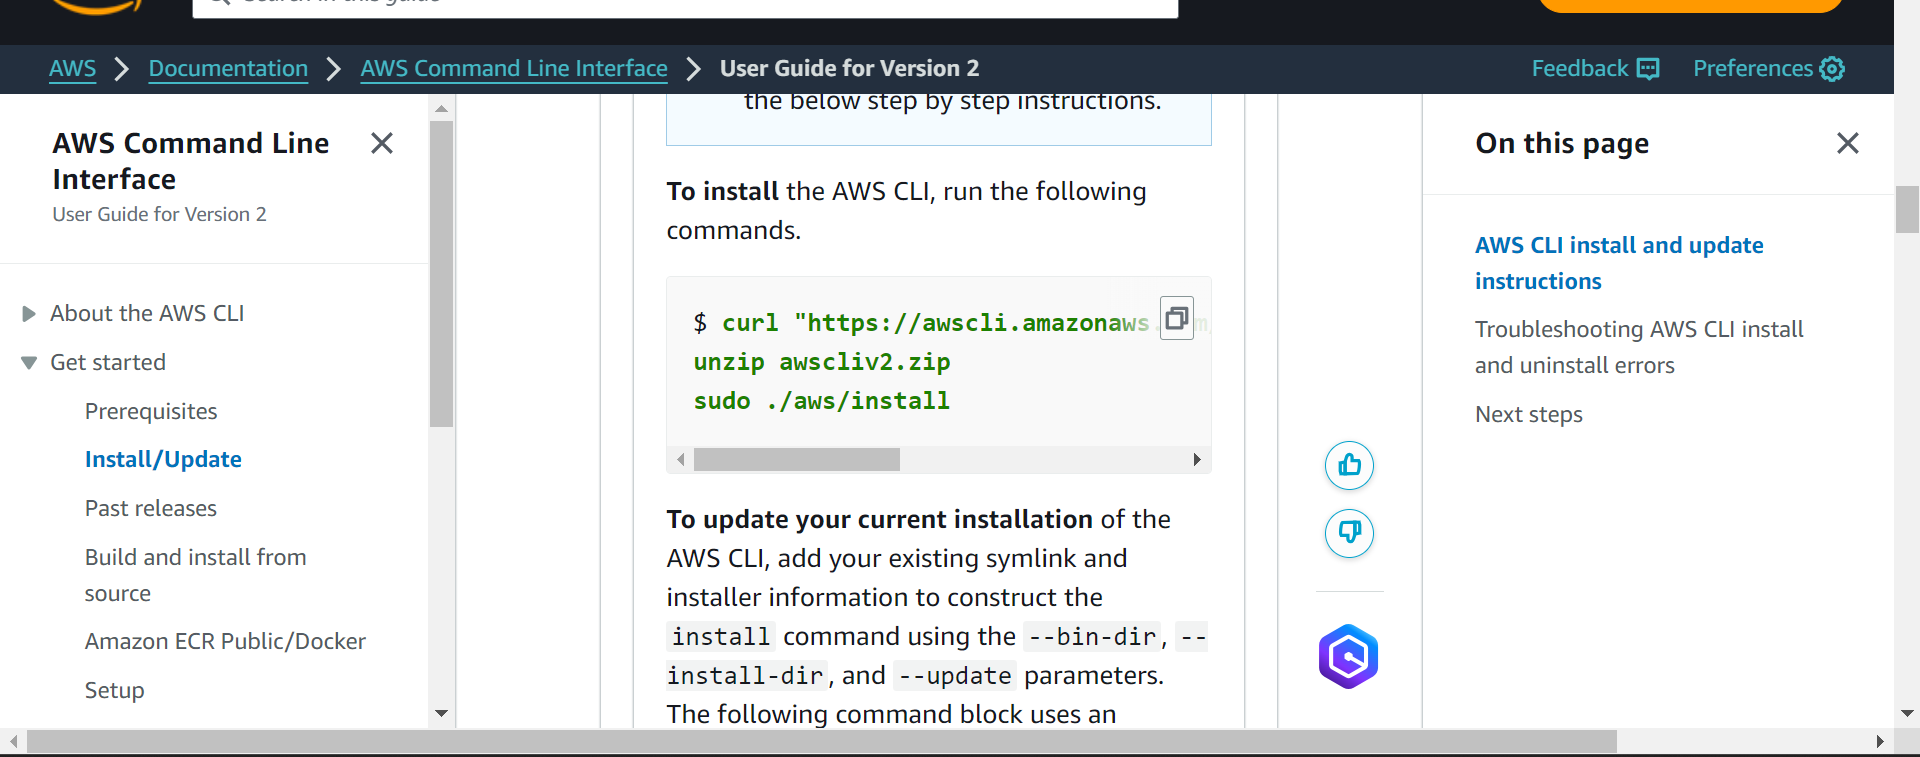
Install aws unzip Too:

Iron_man don't have acces to IAM:
So provide IAM acces:
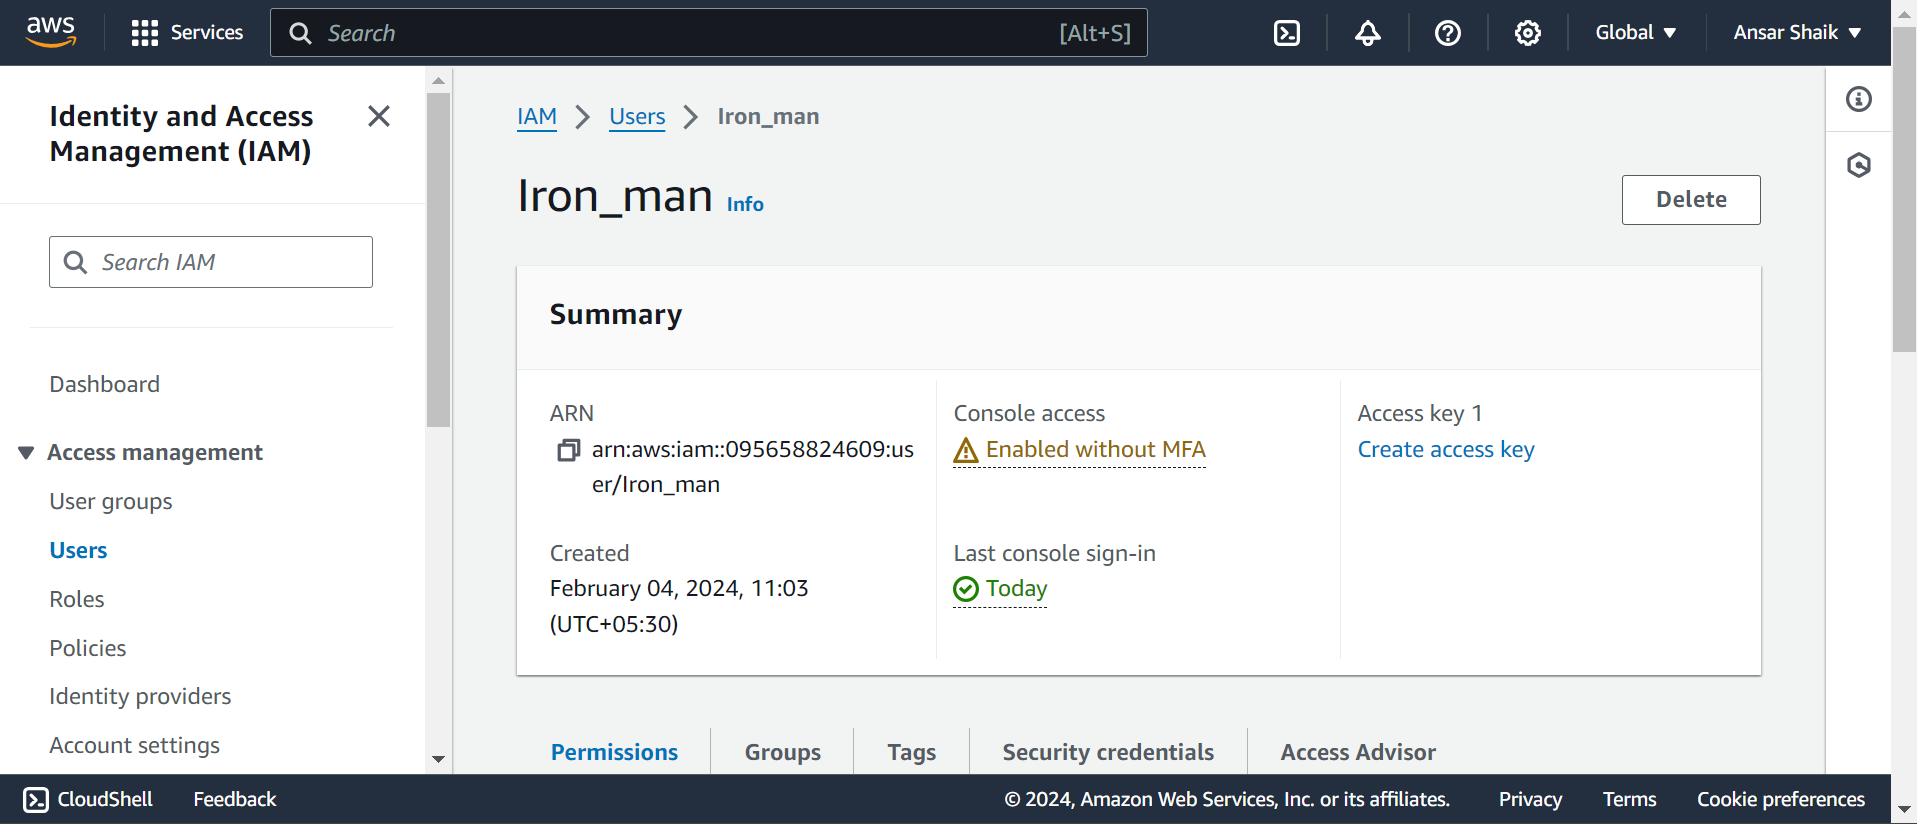
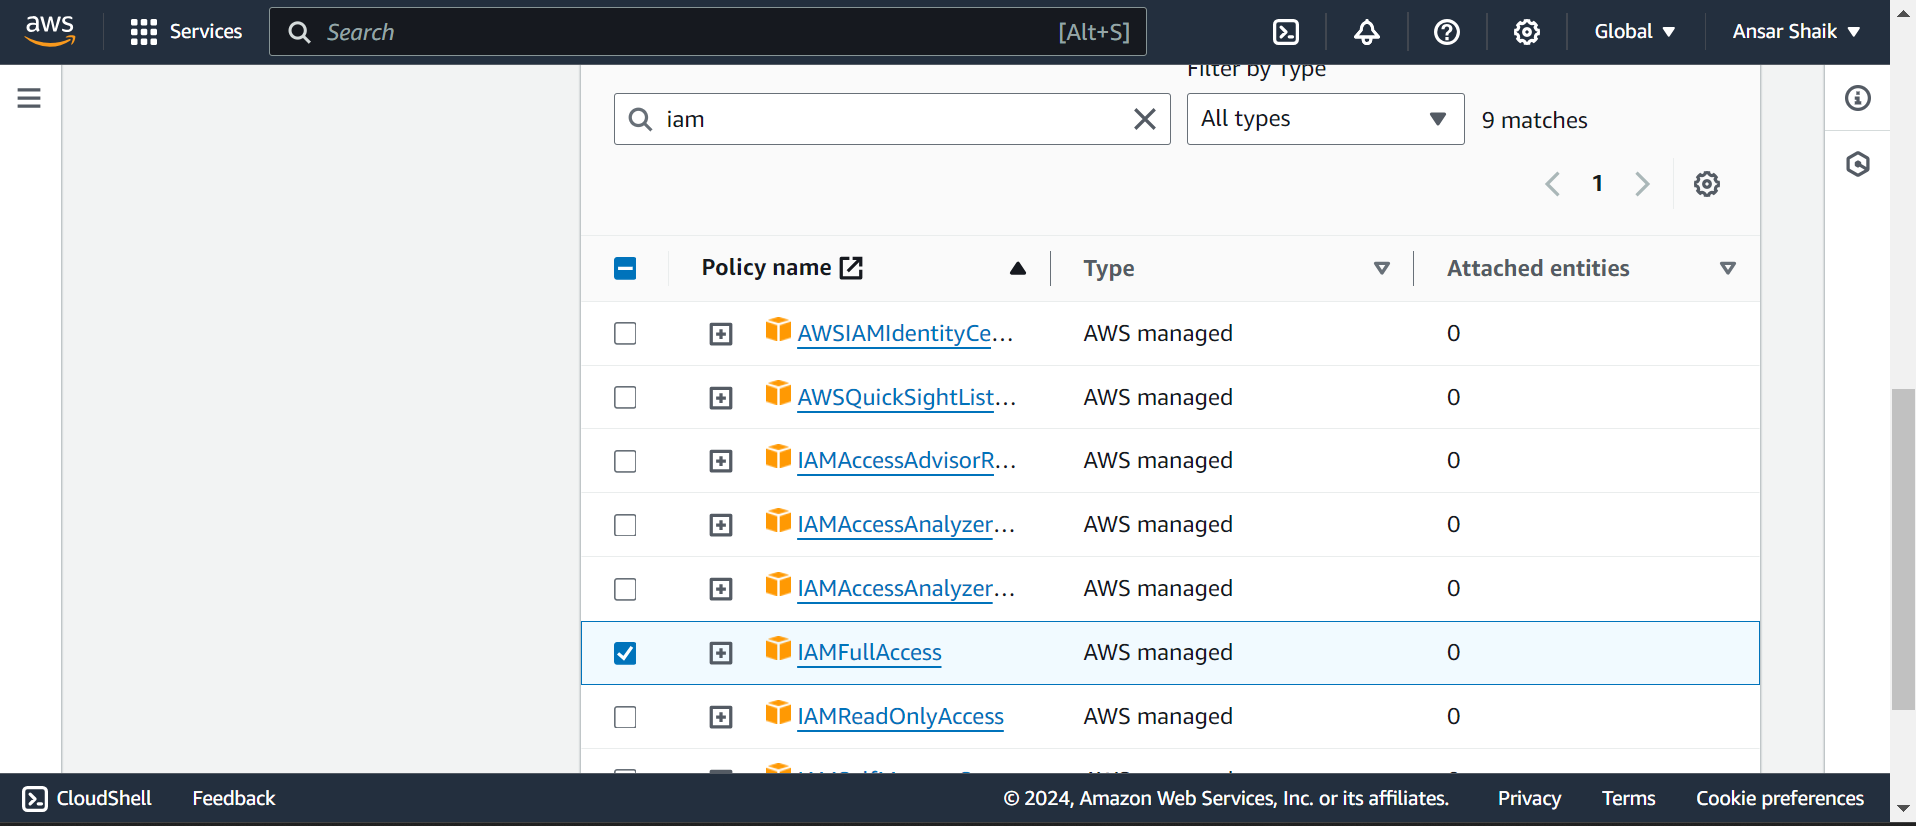
Configure using Access key :

Step 2: Create a UserList.txt File
Create a text file named UserList.txt with a list of usernames for which you want to create AWS IAM accounts. Use a text editor like nano to create the file.
vim UserList.txt
Type each username on a new line and save the file.

Step 3: Create a Shell Script
Create a shell script file named users.sh using the following command:
vim users.sh
Add the following script to users.sh:
bashCopy code#!/bin/bash

while read user
do
    password="abcd@1234"

    aws iam create-user --user-name "$user"

    aws iam attach-user-policy --user-name "$user" --policy-arn arn:aws:iam::aws:policy/AdministratorAccess

    aws iam create-login-profile --user-name "$user" --password "$password" --password-reset-required

    echo "created $user with password $password"
done < UserList.txt
Save the file.
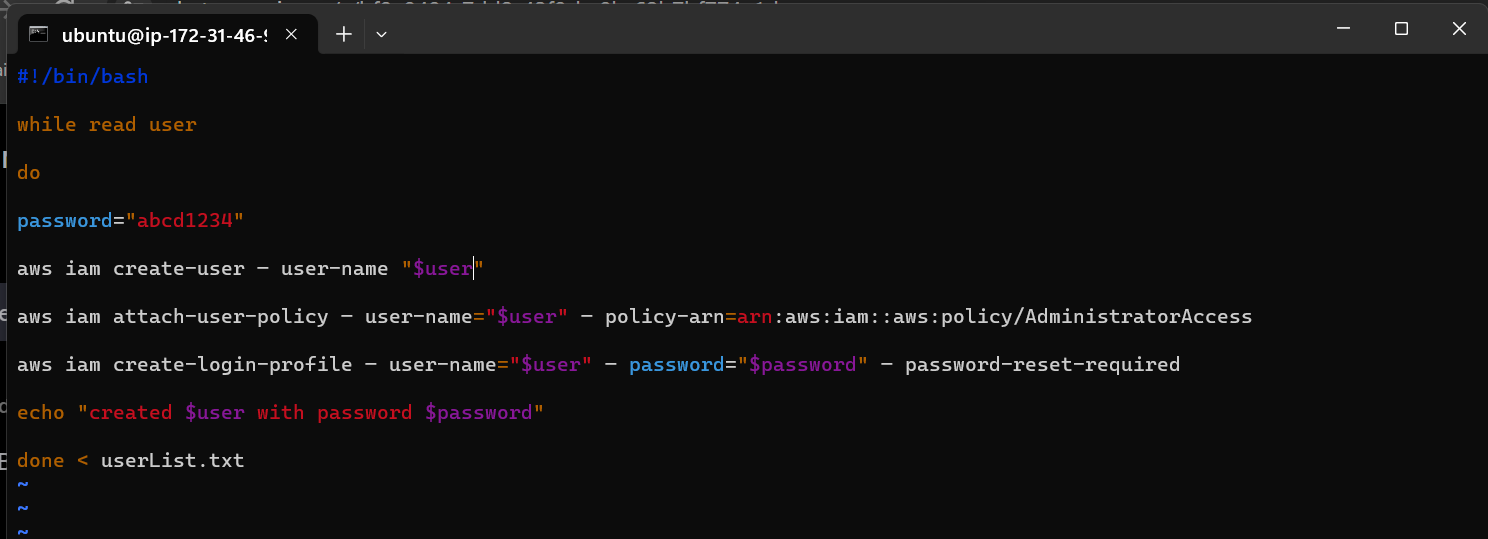
Step 5: Execute the Script
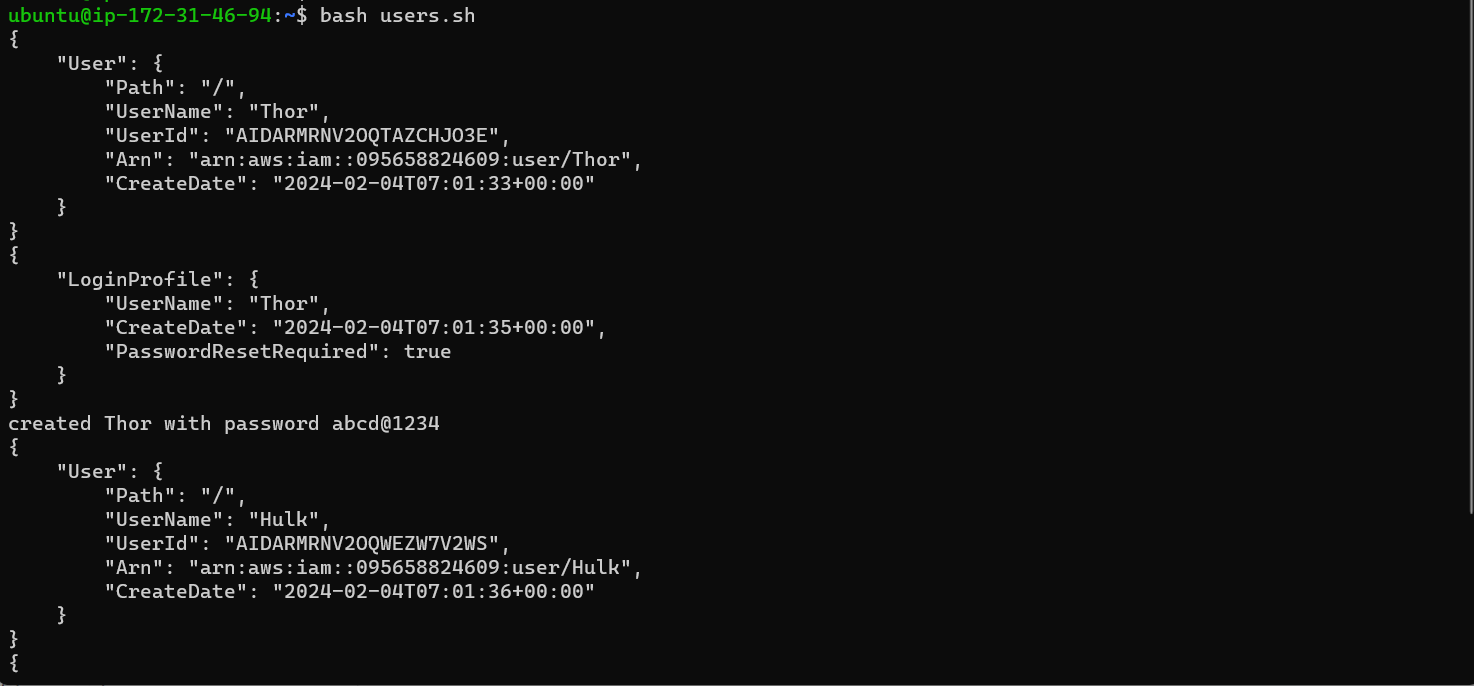
Execute the following command to create users listed in UserList.txt file.
bash users.sh
This script will create IAM users, attach the AdministratorAccess policy, and set a default password for each user.
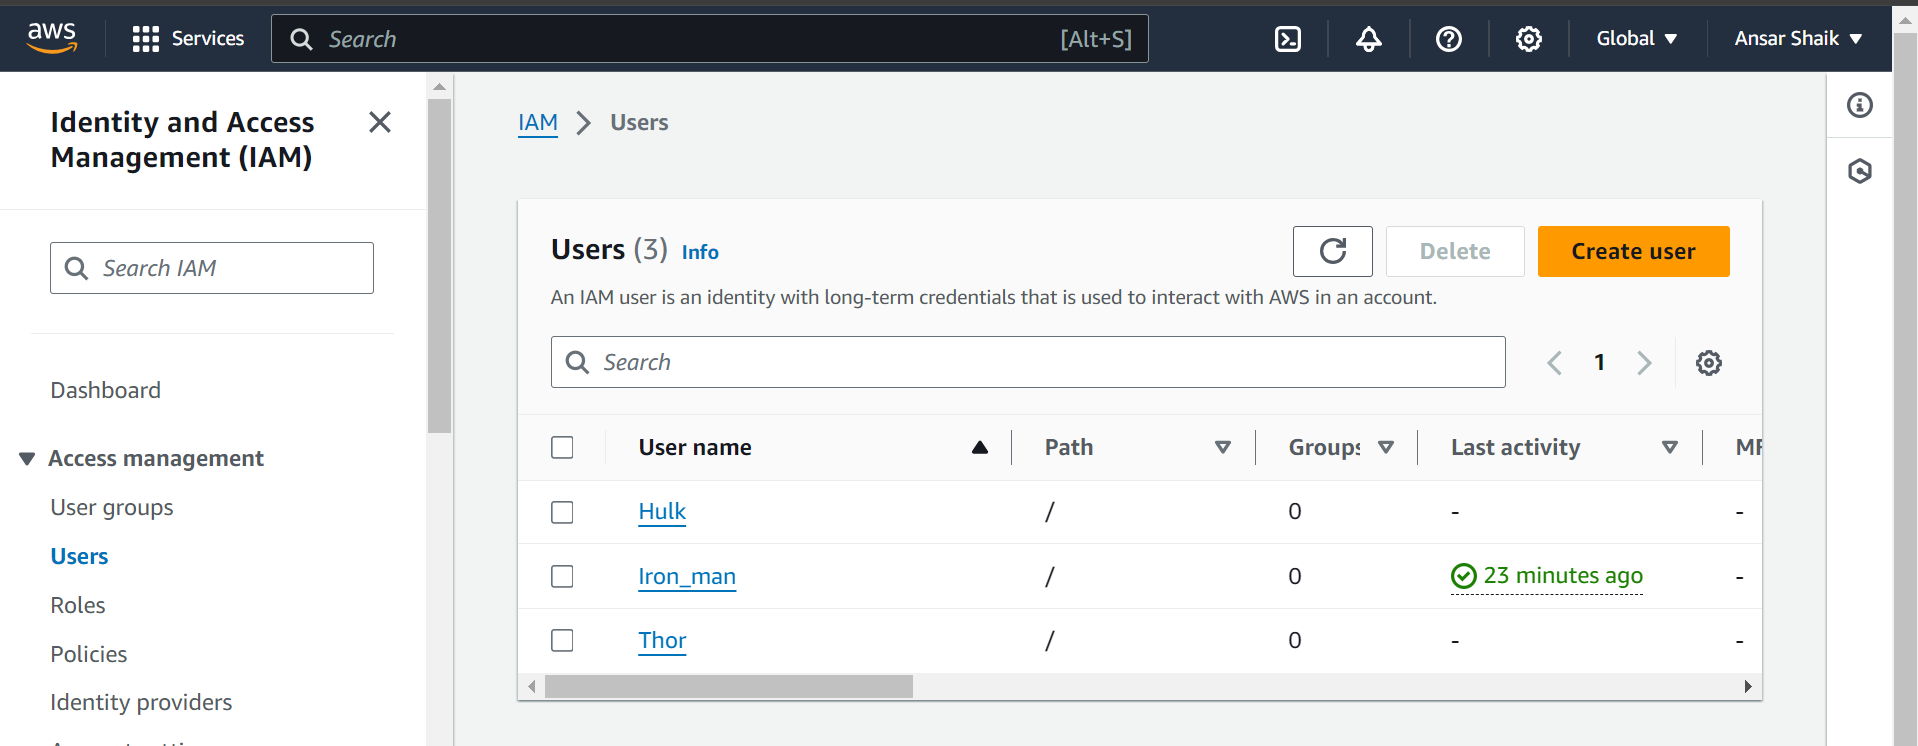
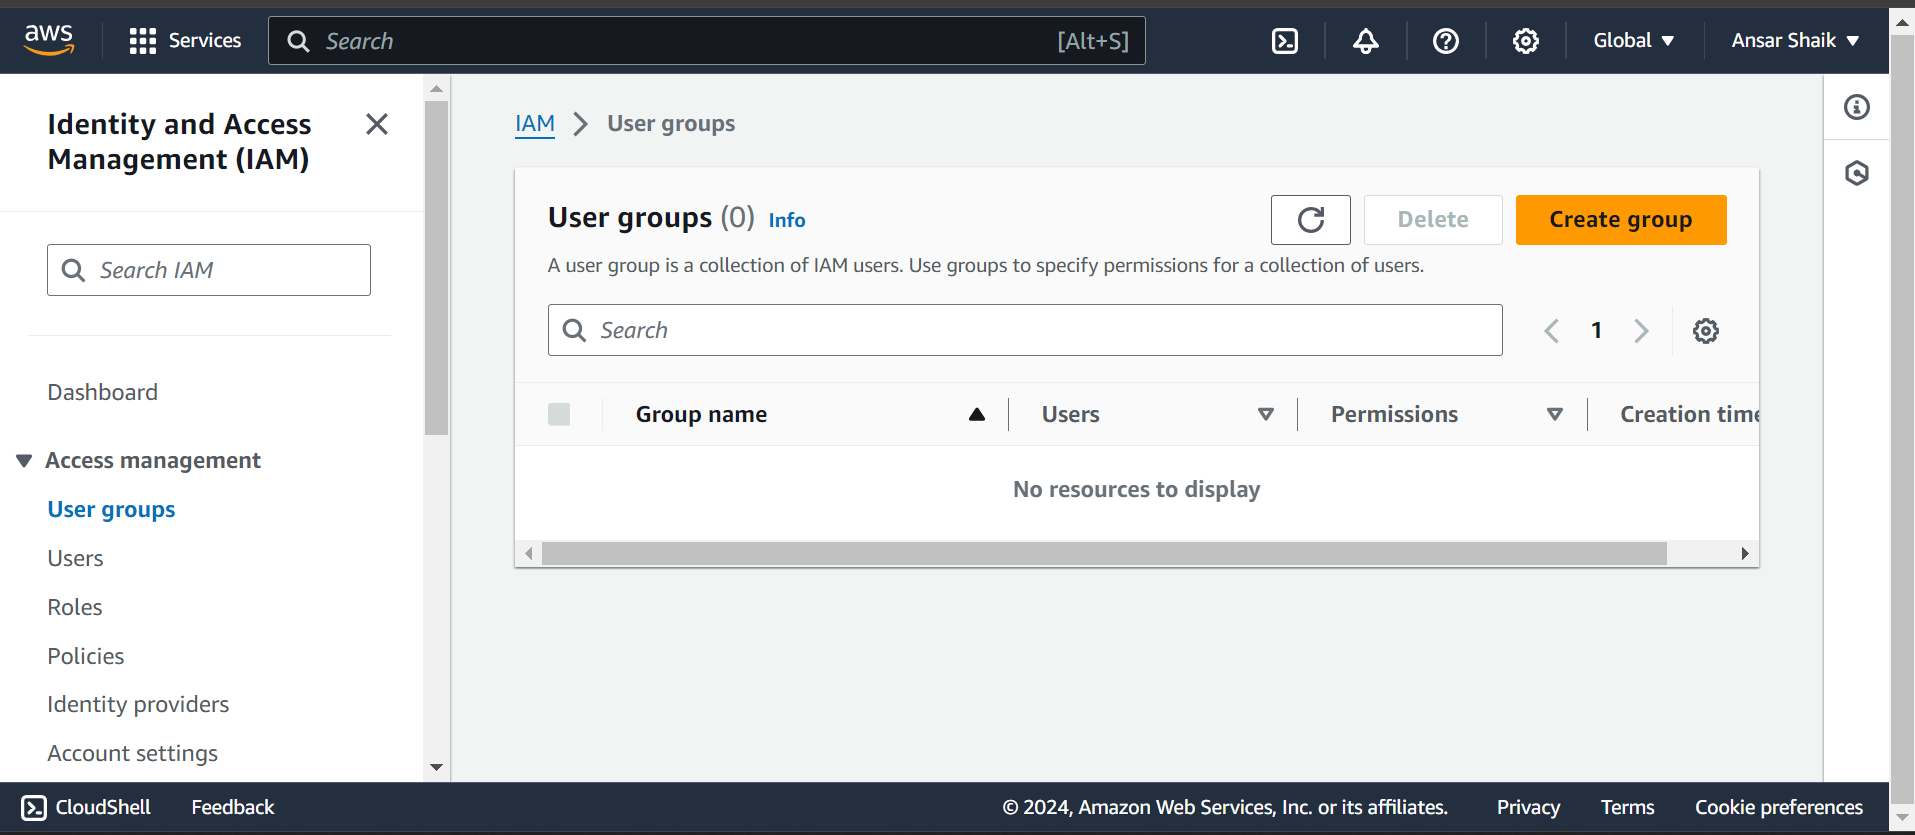
Step 2: Creating DevOps Groups
Create a DevOps group in IAM.
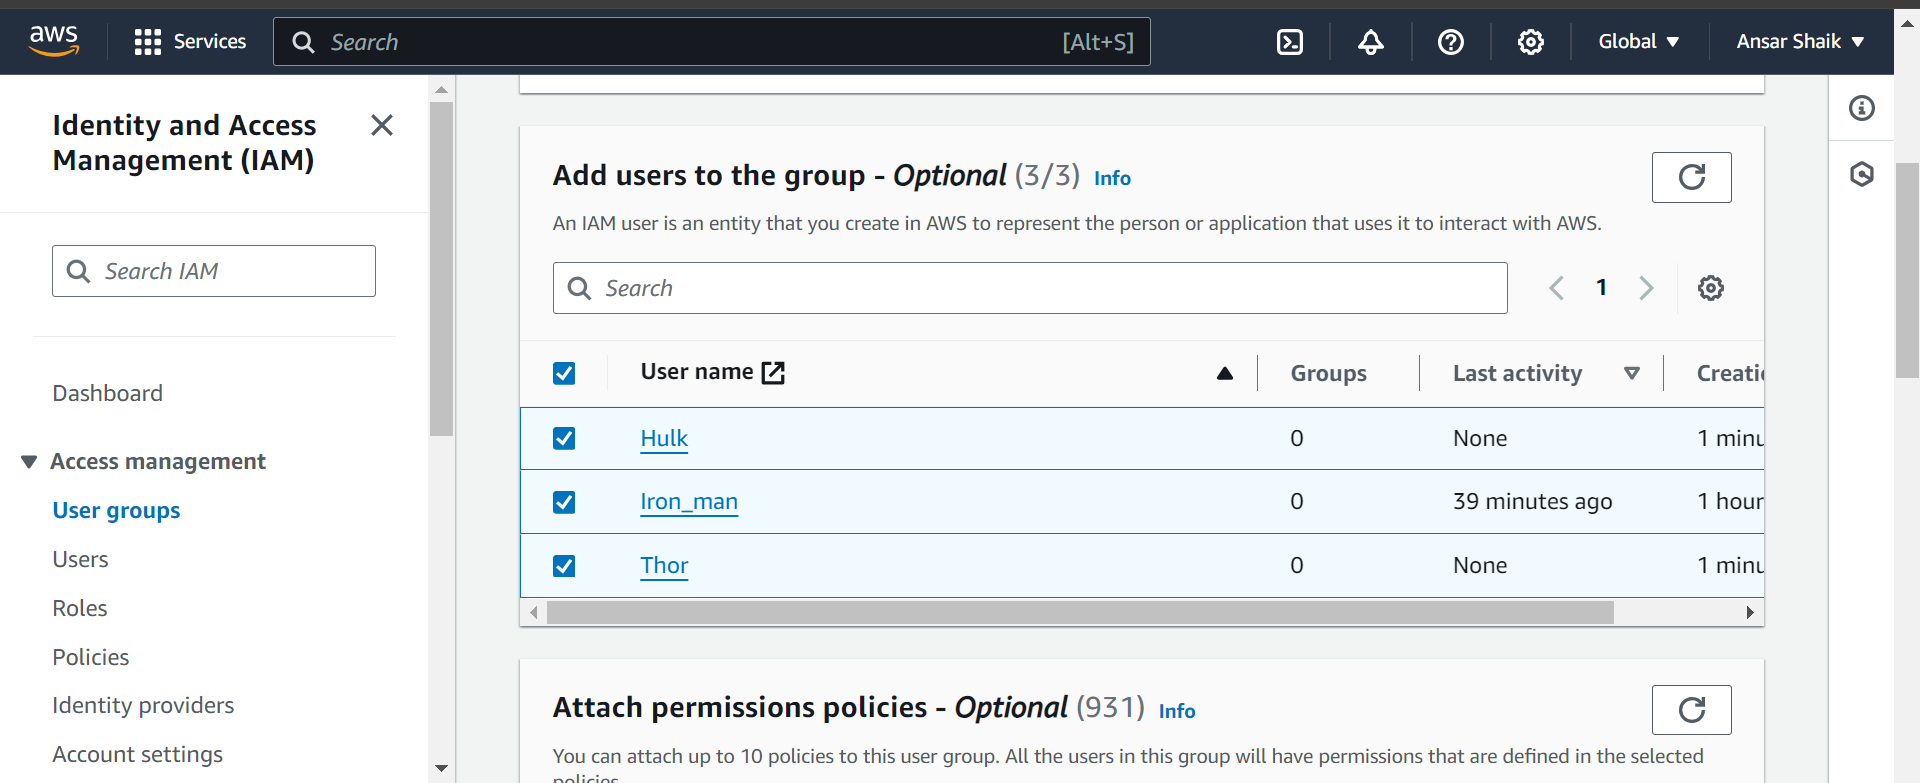
Assign the IAM users (Iron-man, Thor, Hulk) to the DevOps group.
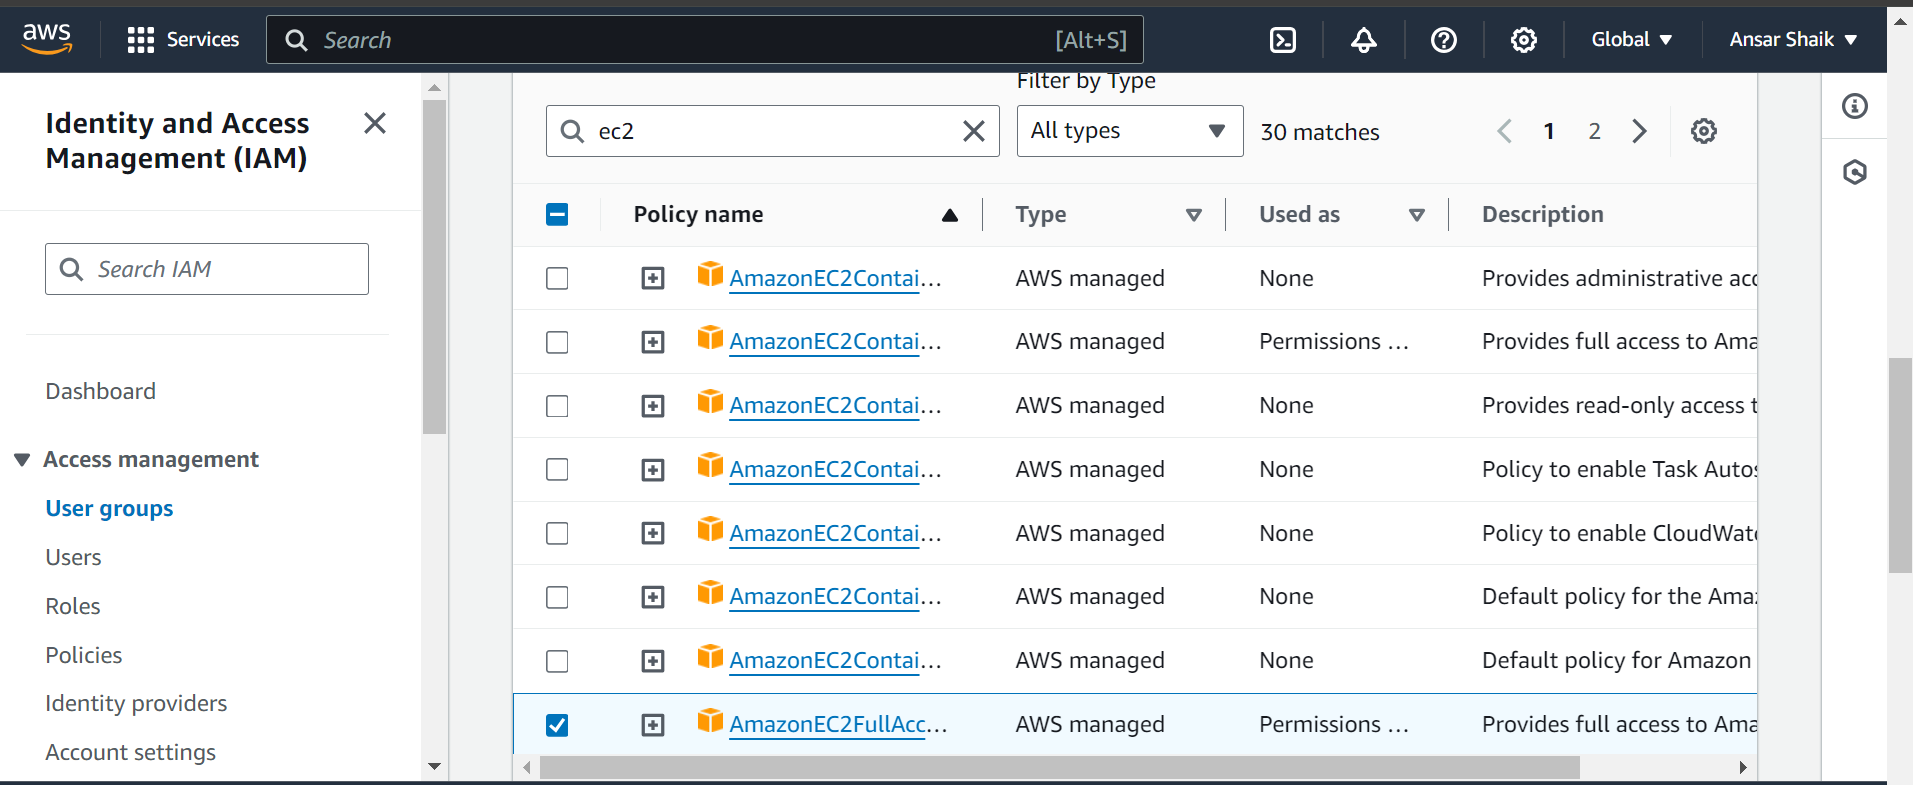
Step 3: Assigning IAM Policy to DevOps Group
Create an IAM policy that grants necessary permissions for DevOps tasks.
Attach the policy to the DevOps group.
Now, you've successfully created an IAM user, launched an EC2 instance, and formed a DevOps team with the Avengers! This lays the groundwork for more advanced DevOps practices on AWS.
In the next blog post, we'll explore further AWS services and dive deeper into DevOps methodologies. Stay tuned for more exciting challenges in your 90DaysOfDevOps journey! ☁🚀
Feel free to customize the content based on your preferences and additional information you'd like to include!
Subscribe to my newsletter
Read articles from ANSAR SHAIK directly inside your inbox. Subscribe to the newsletter, and don't miss out.
Written by

ANSAR SHAIK
ANSAR SHAIK
AWS DevOps Engineer