Project:Building a Two-Tier Application with Flask and MySQL (Using Docker-compose)
 Vishal Parit
In our previous blog, we explored the process of setting up a Two-Tier Application using Flask for the front end and MySQL for the backend. Now, let's take it a step further and simplify the deployment process using Docker-Compose.
Docker-Compose allows you to define and run multi-container Docker applications with ease. We'll utilize a docker-compose.yml file to streamline the orchestration of our Flask and MySQL containers.
Step 1: Docker-Compose Setup
Create a docker-compose.yml file with the following content:
version: '3'
services:
  backend:
    build:
      context: .
    ports:
      - "5000:5000"
    environment:
      MYSQL_HOST: mysql
      MYSQL_USER: admin
      MYSQL_PASSWORD: admin
      MYSQL_DB: testdb
    depends_on:
      - mysql

  mysql:
    image: mysql:5.7
    ports:
      - "3306:3306"
    environment:
      MYSQL_ROOT_PASSWORD: admin
      MYSQL_USER: admin
      MYSQL_PASSWORD: admin
      MYSQL_DATABASE: testdb
    volumes:
      - ./message.sql:/docker-entrypoint-initdb.d/message.sql
Let's break down the line:
volumes:
  - ./message.sql:/docker-entrypoint-initdb.d/message.sql
Here's what each part signifies:
./message.sql: This part defines the path on the host machine where themessage.sqlfile is located. The./indicates that the file is in the same directory as thedocker-compose.ymlfile.:/docker-entrypoint-initdb.d/message.sql: This part defines the path inside the MySQL container where themessage.sqlfile will be mounted. When the container starts, Docker will copy the content of./message.sqlfrom the host machine to/docker-entrypoint-initdb.d/message.sqlinside the MySQL container.
The volumes configuration with ./message.sql:/docker-entrypoint-initdb.d/message.sql is a mechanism to initialize the MySQL database with specific data when the container starts. It's a convenient way to ensure that your database starts with predefined schemas and data, making the deployment and testing of applications more consistent and reproducible.
Step 2: Understanding the Docker-Compose File
backend: This service builds the Flask application using the Dockerfile in the current context. It exposes port 5000 and sets environment variables for MySQL connection details. It depends on the MySQL service.
mysql: This service uses the MySQL 5.7 image, exposes port 3306, and sets up the necessary environment variables. It also mounts a SQL file (
message.sql) into the container, allowing for the initialization of the database with predefined data.
Step 3: Running the Two-Tier Application with Docker-Compose
Execute the following command in the same directory as your docker-compose.yml file:
docker-compose up -d
This command builds the images and starts the containers in detached mode. Docker-Compose takes care of creating the network, linking services, and handling dependencies.

Step 4: Accessing the Application
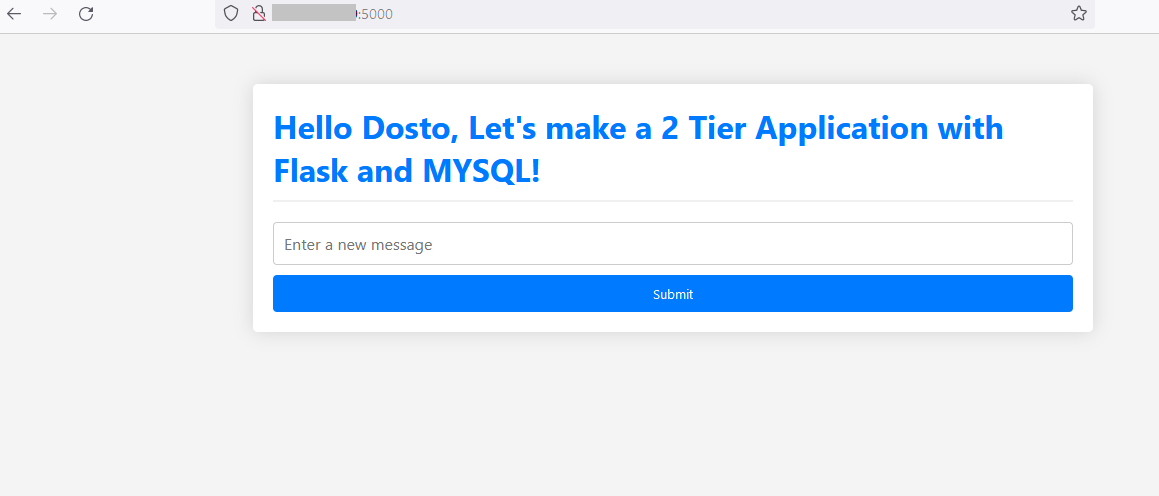
Visit instance_ip:5000 in your web browser. The application should be up and running seamlessly, with Docker-Compose managing the complexity of the multi-container setup.

Step 5: Database Initialization
As an added bonus, Docker-Compose automatically initializes the MySQL database using the message.sql script.
Github URL for the project: https://github.com/vishalparit10/two-tier-flask-app
Step 6: Scaling and Maintenance
Docker-Compose makes it easy to scale your application or update containers. For example, to scale the backend service:
docker-compose up -d --scale backend=3
This command scales the backend service to three instances.
Conclusion:
Docker-Compose simplifies the deployment and management of multi-container applications. The provided docker-compose.yml file abstracts away the intricacies of connecting Flask and MySQL, allowing you to focus on developing and scaling your Two-Tier Application effortlessly. Dive into the world of container orchestration and enhance your development workflow with Docker-Compose!
Subscribe to my newsletter
Read articles from Vishal Parit directly inside your inbox. Subscribe to the newsletter, and don't miss out.
Written by
