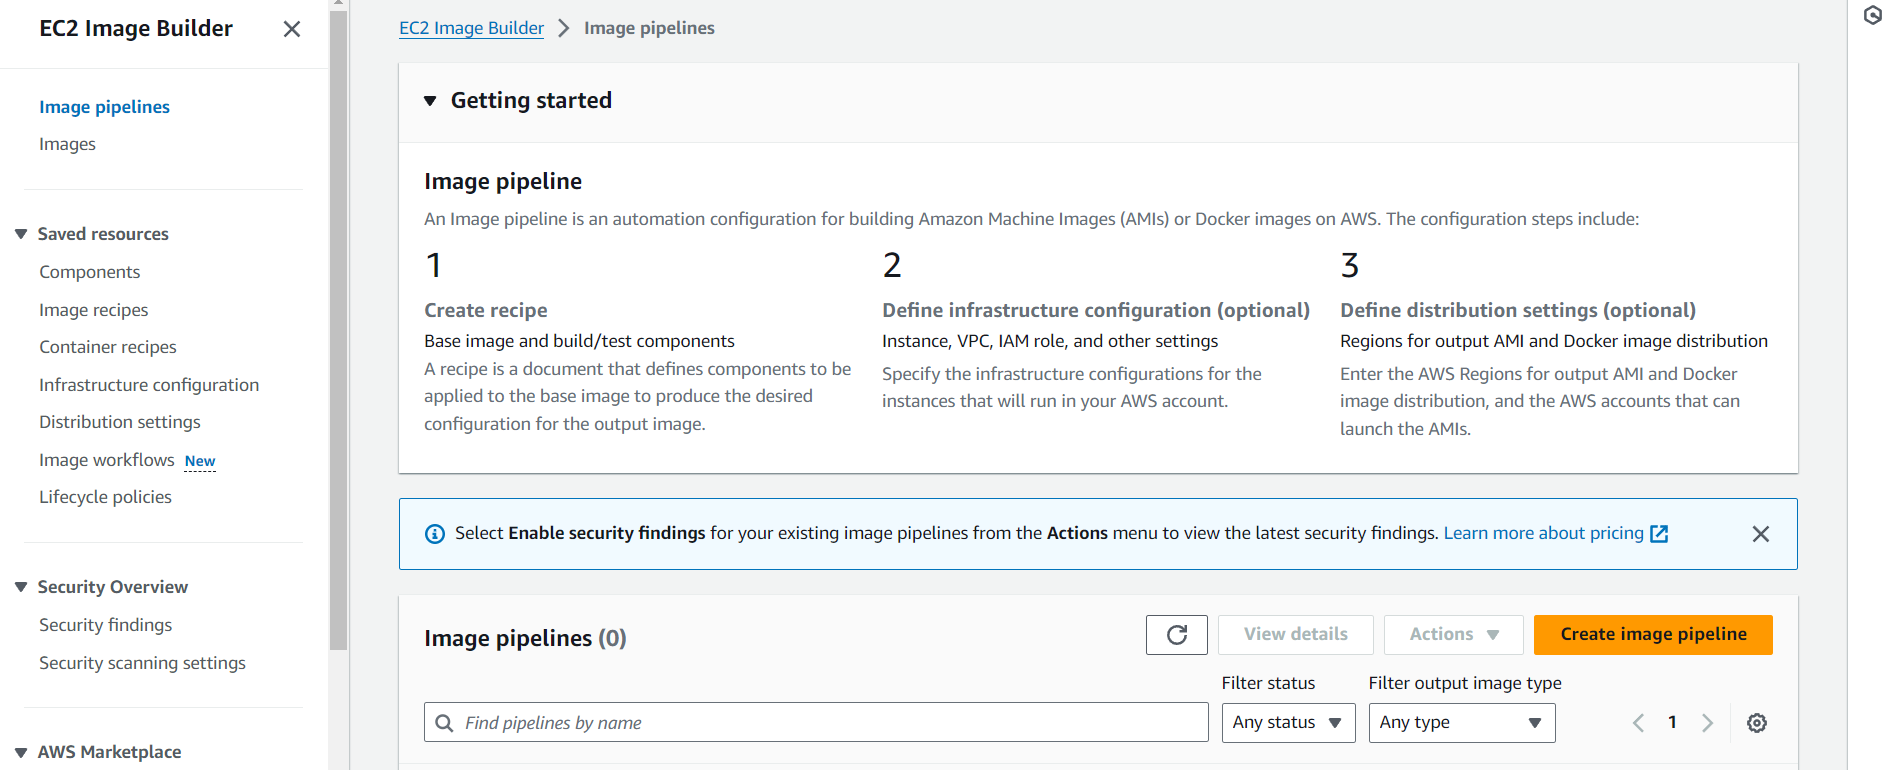
A Beginner's Guide to Using Amazon EC2 Builder in AWS
 Sumit Mondal
Introduction:
Amazon Elastic Compute Cloud (EC2) Builder is a powerful tool offered by Amazon Web Services (AWS) that allows users to create and customize their own virtual servers in the cloud. Whether you're a developer, IT professional, or a business owner, understanding how to use EC2 Builder can be a game-changer for deploying and managing applications in the cloud. In this blog, we'll walk you through the basics of setting up and utilizing Amazon EC2 Builder in AWS.
Step 1: Signing in to AWS Console
First things first, you'll need an AWS account. If you don't have one, you can sign up on the AWS website. Once you've created an account, log in to the AWS Management Console.
Step 2: Navigating to EC2 Dashboard
Once logged in, navigate to the EC2 service by clicking on the "Services" dropdown and selecting "EC2" under the "Compute" section.
Step 3: Launching an EC2 Instance
Now that you're on the EC2 dashboard, let's launch your first EC2 instance. Click on the "Instances" link in the left-hand navigation pane, then click the "Launch Instance" button.
Follow the wizard to configure your instance. You can choose an Amazon Machine Image (AMI), select an instance type based on your needs, configure instance details, add storage, and configure security groups.
Example: Let's say you want to create a basic web server. You can choose an Amazon Linux AMI, select a t2.micro instance type (which falls under the AWS Free Tier), and configure security groups to allow HTTP traffic.
Step 4: Connecting to Your EC2 Instance
Once your instance is running, you'll need to connect to it. Select your instance in the EC2 dashboard, and click on the "Connect" button. Follow the instructions to connect using SSH (Secure Shell) for Linux instances or Remote Desktop for Windows instances.
Example: If you selected an Amazon Linux instance, you can connect using an SSH client. Open your terminal and run the provided SSH command.
ssh -i YourKey.pem ec2-user@YourInstancePublicIP
Replace "YourKey.pem" with the path to your private key and "YourInstancePublicIP" with your EC2 instance's public IP address.
Step 5: Managing Your EC2 Instances
Now that you're connected to your EC2 instance, you can install software, deploy applications, and perform other tasks. Remember to stop or terminate your instance when you're done to avoid unnecessary charges.
Conclusion:
Using Amazon EC2 Builder in AWS might seem complex at first, but by following these simple steps and examples, you can easily create, launch, and manage your own virtual servers in the cloud. Experiment with different configurations, explore additional AWS services, and unlock the full potential of cloud computing with Amazon EC2. Happy cloud computing!
Subscribe to my newsletter
Read articles from Sumit Mondal directly inside your inbox. Subscribe to the newsletter, and don't miss out.
Written by

Sumit Mondal
Sumit Mondal
Hello Hashnode Community! I'm Sumit Mondal, your friendly neighborhood DevOps Engineer on a mission to elevate the world of software development and operations! Join me on Hashnode, and let's code, deploy, and innovate our way to success! Together, we'll shape the future of DevOps one commit at a time. #DevOps #Automation #ContinuousDelivery #HashnodeHero