Day 42-43 :S3 Programmatic Access with AWS-CLI 💻
 ANSAR SHAIK
Introduction
In today's segment of the 90DaysOfDevOps challenge, we're diving into the world of AWS CLI and S3, two fundamental components of Amazon Web Services (AWS). AWS CLI (Command Line Interface) is a powerful tool for managing AWS services from the command line, while S3 (Simple Storage Service) is Amazon's object storage service. We'll explore how to set up programmatic access to S3 using AWS CLI, enabling seamless interaction with S3 buckets from your terminal.
What is AWS CLI?
AWS CLI is a unified tool provided by Amazon to manage AWS services from the command line. It allows users to control multiple AWS services directly from their terminal, automating various tasks and enabling efficient management of AWS resources.
What is AWS S3?
AWS S3 (Simple Storage Service) is an object storage service offered by Amazon Web Services. It provides scalable storage for objects, allowing users to store and retrieve data over the internet. S3 is commonly used for hosting static websites, storing backups, and serving as a central repository for data storage.
DAY-42:IAM Programmatic Access and AWS CLI 🚀
Task 1: Creating AWS_ACCESS_KEY_ID and AWS_SECRET_ACCESS_KEY
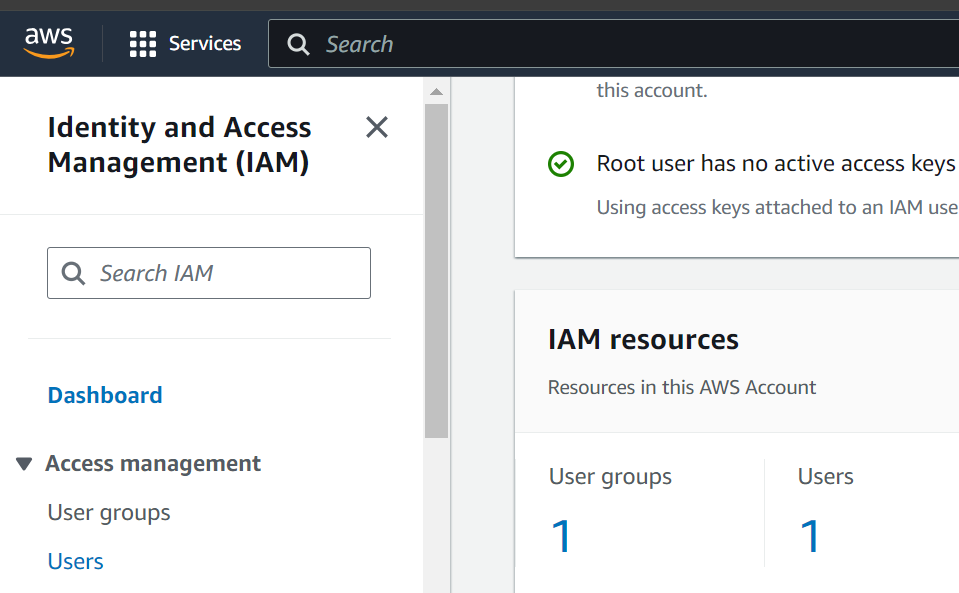
Sign in to the AWS Management Console: Navigate to the IAM (Identity and Access Management) service.

Create a New IAM User: Click on "Users" and then "Add user." Provide a username and choose "Programmatic access" as the access type.
Set Permissions: Attach policies granting access to S3 resources. You can use existing policies or create custom ones according to your requirements.
Review and Create User: Review the user details and create the user. Make sure to note down the
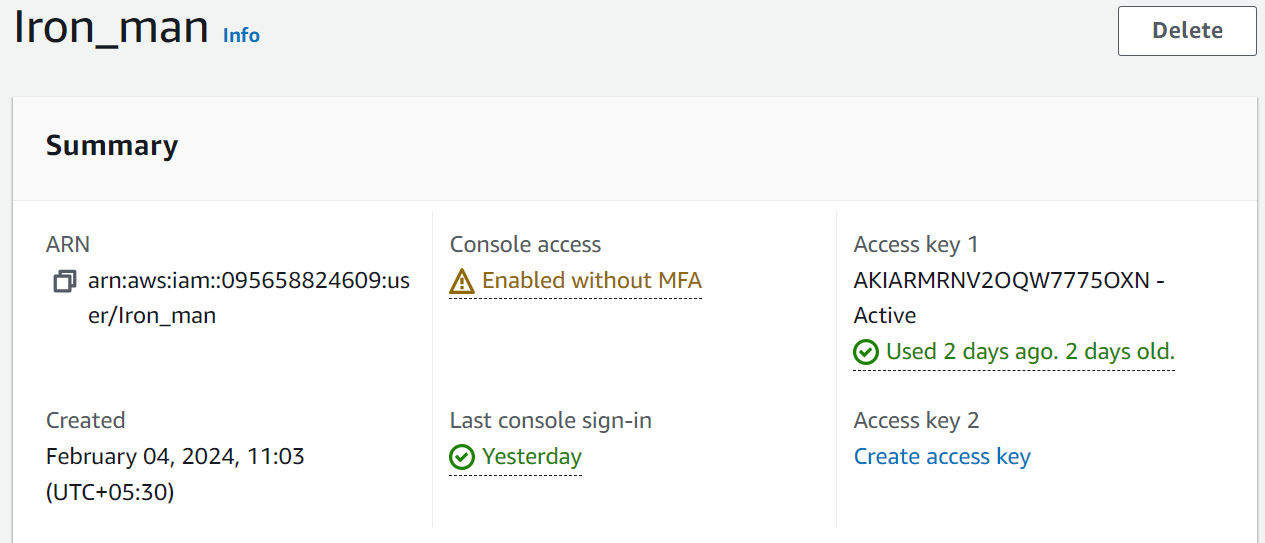
AWS_ACCESS_KEY_IDandAWS_SECRET_ACCESS_KEYprovided during user creation. These credentials will be used to authenticate AWS CLI.I have already created an User(iron_man):

Click On Create access key:
Create for command line interface(CLI):

Select Next:

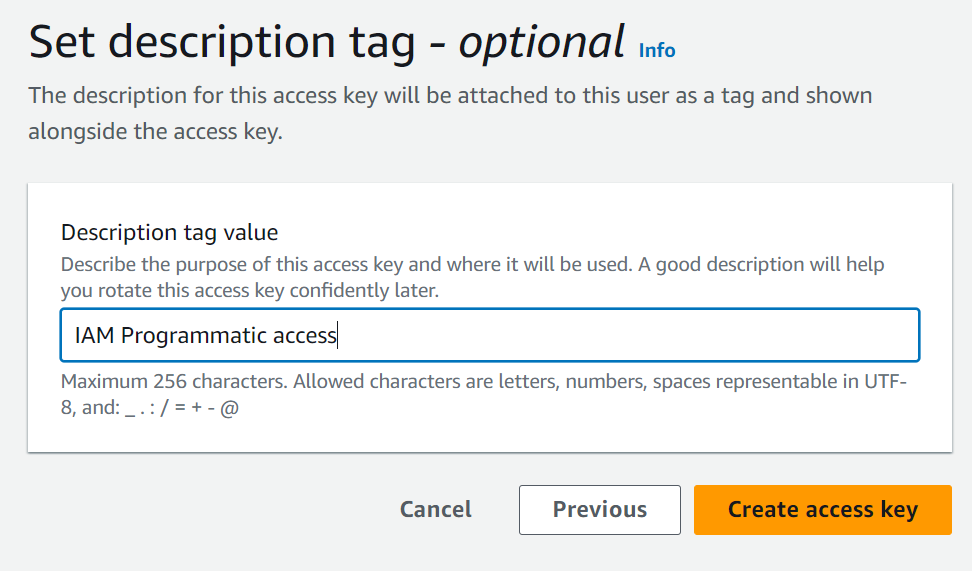
Give description if needed(Optional) and click Create Access Key:
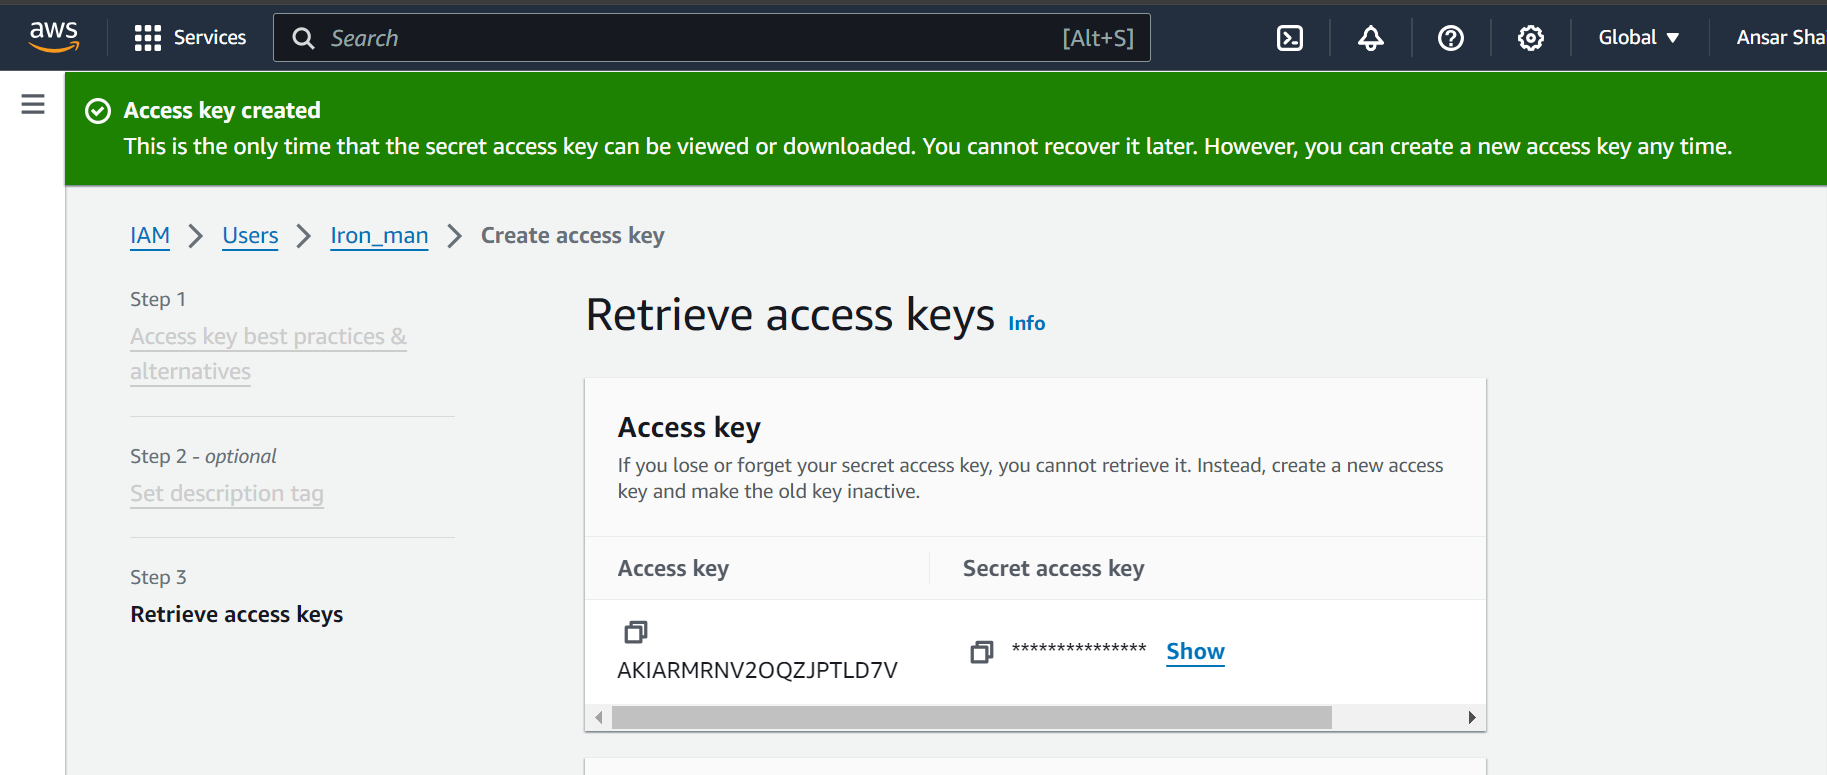
Your access Access Key and Secret access key are ready:
Task 2: Setup and Installing AWS CLI
Open EC2:

Install a new server if you don't have one by choosing Launch instance:

This is my EC2 instance and connect on my local using SSH:


Installation: Install AWS CLI on your local machine by following the installation instructions provided by Amazon. You can install it via pip (Python package manager) or download the standalone installer.
- Search aws cli v2 on google , select first web link.


I am using ubuntu server so i am selecting linux:

Copy this link and paste on ec2 console:
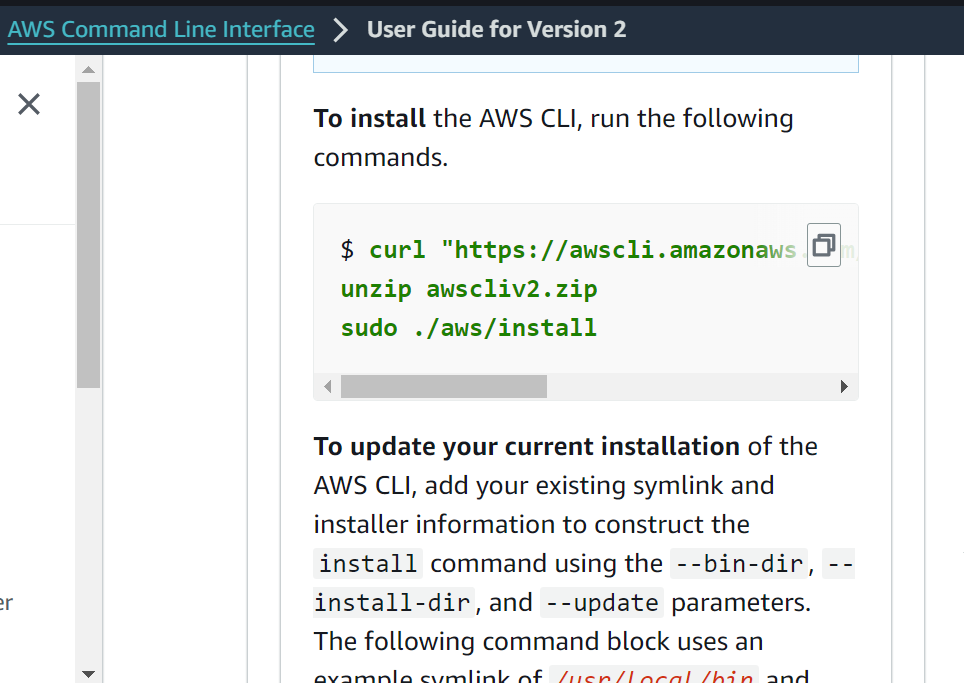
Before that you need to install unzip:

Now install AWS-CLI:

Check version:

Configuration: Once installed, configure AWS CLI by running
aws configurecommand in your terminal. Enter theAWS_ACCESS_KEY_ID,AWS_SECRET_ACCESS_KEY, default region, and output format when prompted.

Change IAM user permissions( AWSS3FullAccess ) to access s3 objects.
DAY-43:S3 Programmatic Access with AWS CLI 💻
Task 1: Interaction with S3 Bucket
Launch EC2 Instance: Using the AWS Management Console, launch an EC2 instance and connect to it using SSH.
Create S3 Bucket: In the AWS Management Console, navigate to S3 and create a new bucket
Certainly! Let's break down each process step by step:
Step-by-Step Guide: Creating an S3 Bucket
Sign in to AWS Management Console:
Navigate to the AWS Management Console (https://console.aws.amazon.com/).
Sign in using your AWS account credentials.
Access S3 Service:
- From the list of AWS services, locate and click on "S3" under the "Storage" category.
Create a New Bucket:
Click on the "Create bucket" button.

Provide a unique bucket name complying with S3 naming rules.
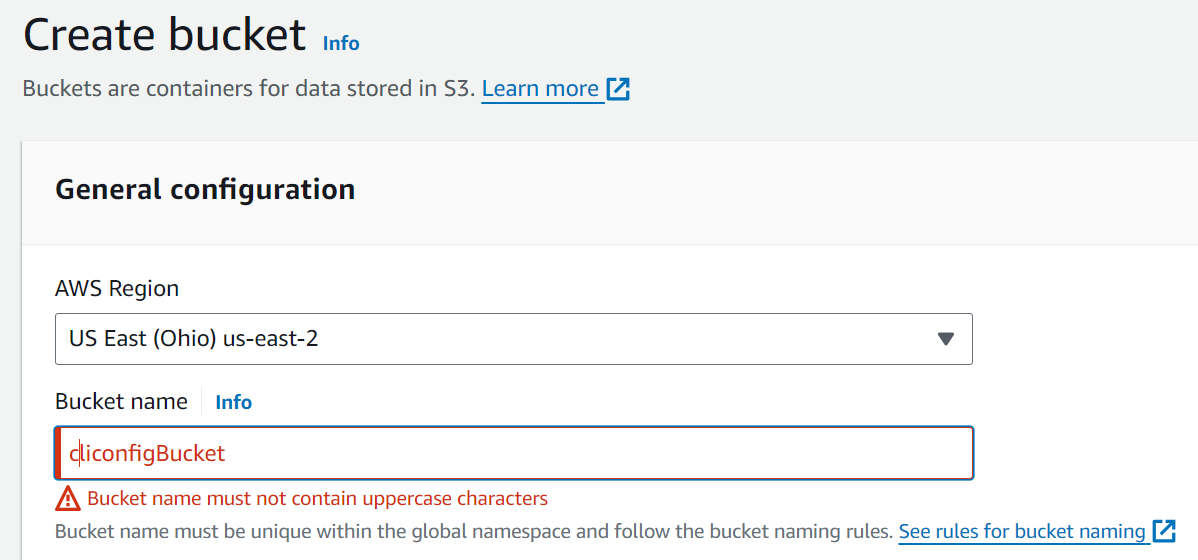
Choose the region for your bucket's location.
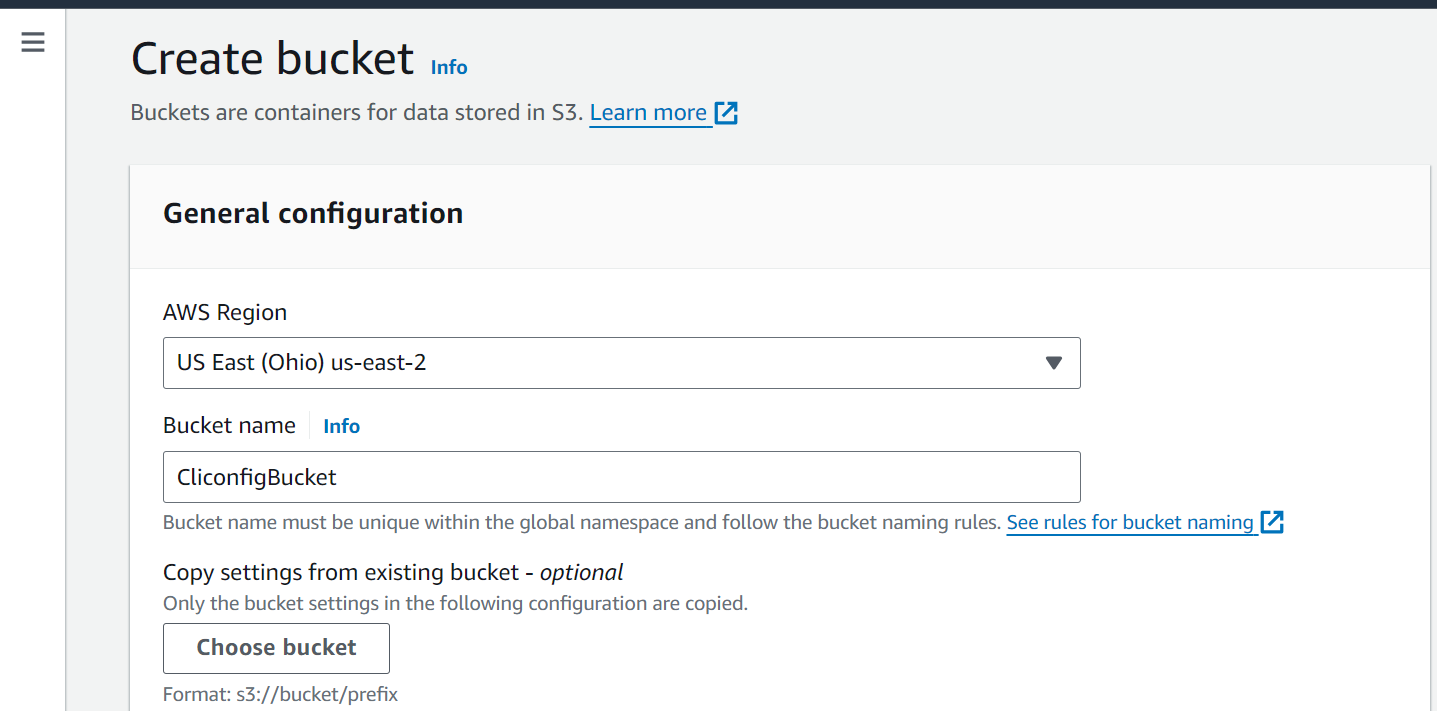
Optionally, configure additional settings such as versioning, logging, tags, and permissions.
Set Bucket Permissions:
In the bucket properties, navigate to the "Permissions" tab.

Configure bucket policy or access control list (ACL) to define who can access the bucket and the objects within it.
Grant appropriate permissions based on your requirements.
Review and Create the Bucket:
Review the configuration settings to ensure they meet your requirements.
Click on the "Create bucket" button to finalize the creation process.

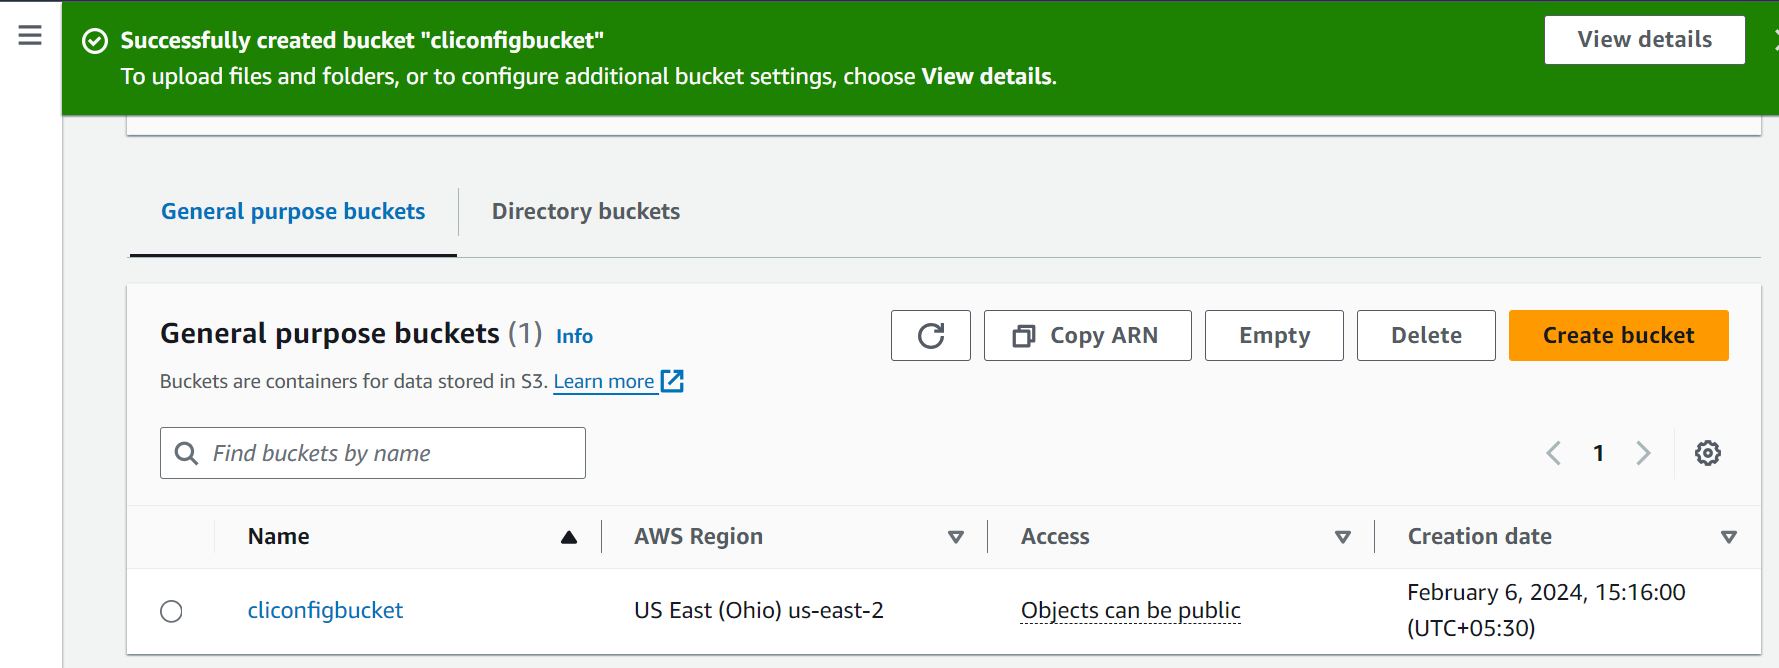
Upload File to S3: Upload a file to the S3 bucket using the AWS Management Console. This could be a simple text file, for example.


Access File from EC2 Instance: Use AWS CLI on the EC2 instance to interact with the S3 bucket. Use commands like
aws s3 lsto list buckets andaws s3 cpto copy files to and from S3.

Move file to mybucket dirrectory:

Task 2: Snapshot and New EC2 Instance
Create Snapshot: Create a snapshot of the existing EC2 instance from the AWS Management Console.
To create a snapshot of an EC2 instance and use it to launch a new EC2 instance, you'll follow these general steps:
Create a Snapshot of the EC2 Instance's EBS Volume:
Go to the Amazon EC2 console.
In the left navigation pane, click on "Instances".
Select the EC2 instance for which you want to create a snapshot.
From the "Actions" dropdown menu, select "Create snapshot".

Enter a name and description for the snapshot.


Click on "Create snapshot".

Wait for the Snapshot to Complete: Snapshots can take some time to complete, especially if the volume is large. You can monitor the progress in the "Snapshots" section of the EC2 console.

Create an AMI from the Snapshot:
Once the snapshot is complete, go to the "Snapshots" section in the EC2 console.
Select the snapshot you just created.
From the "Actions" dropdown menu, select "Create image (AMI)".

Enter a name and description for the AMI.
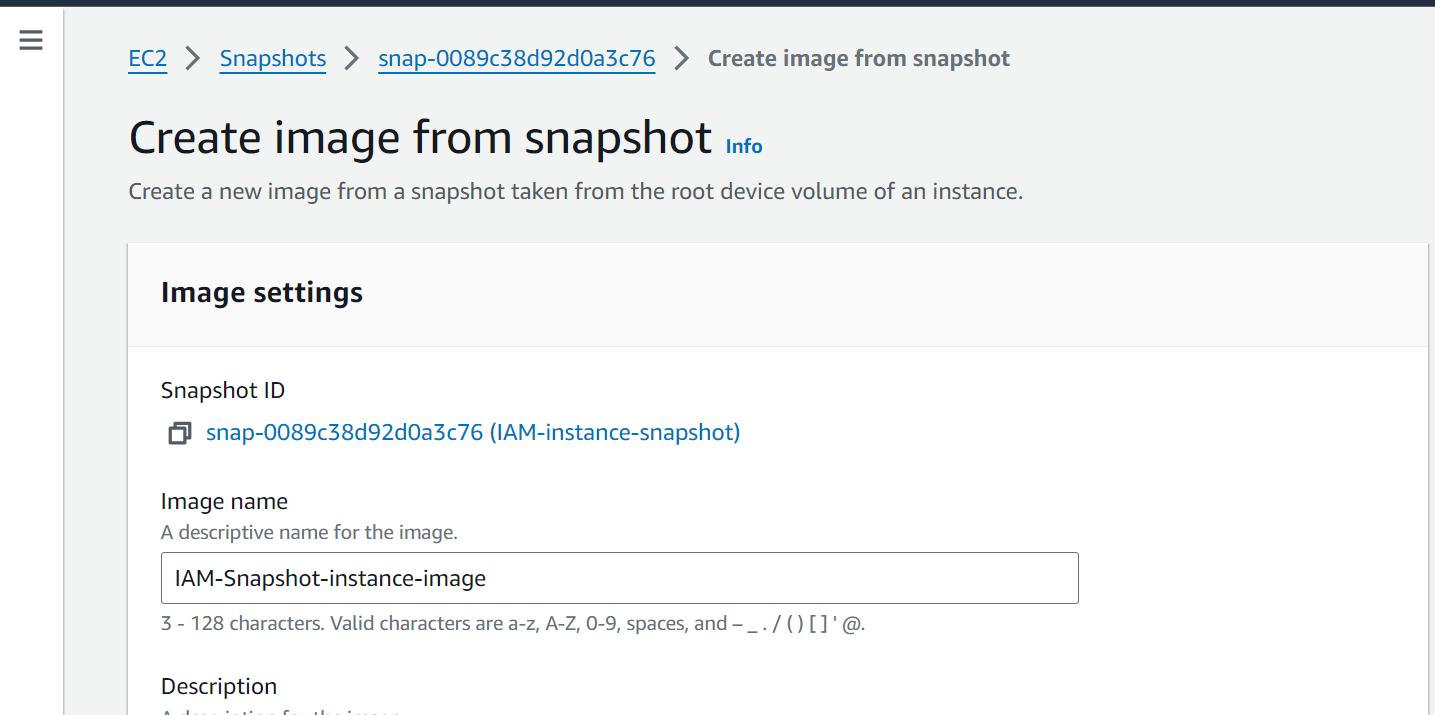
Configure any additional settings as needed.
Click on "Create image".
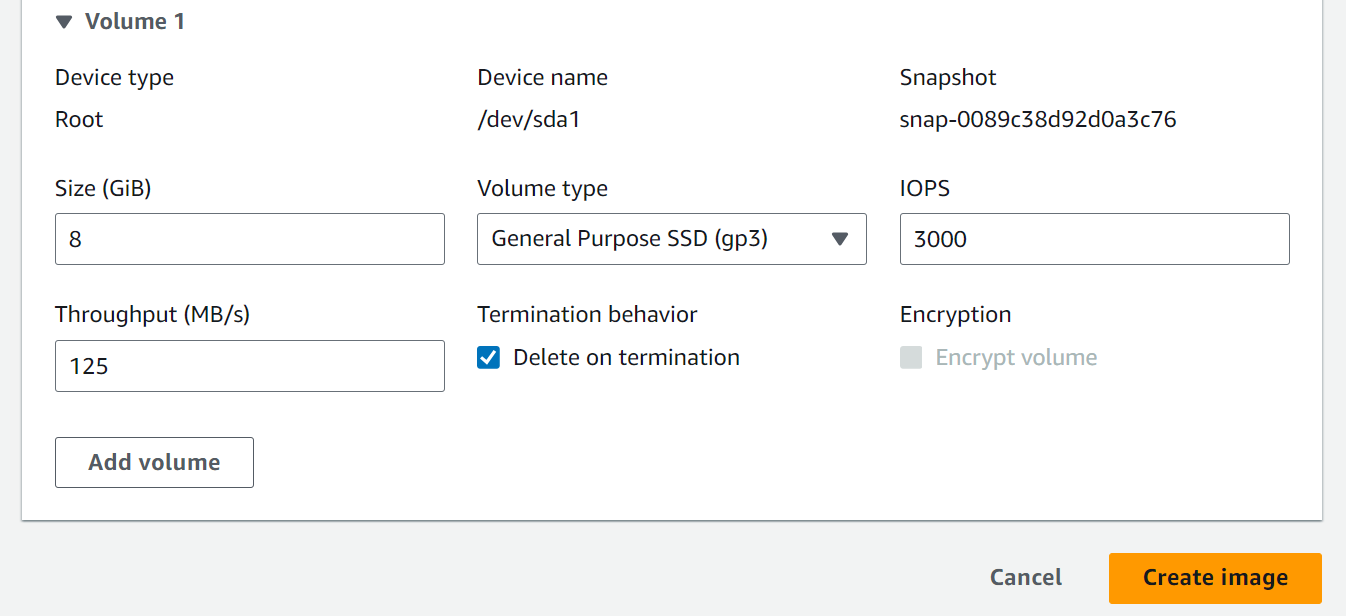
Launch a New EC2 Instance from the AMI:
In the EC2 console, go to the "AMIs" section.
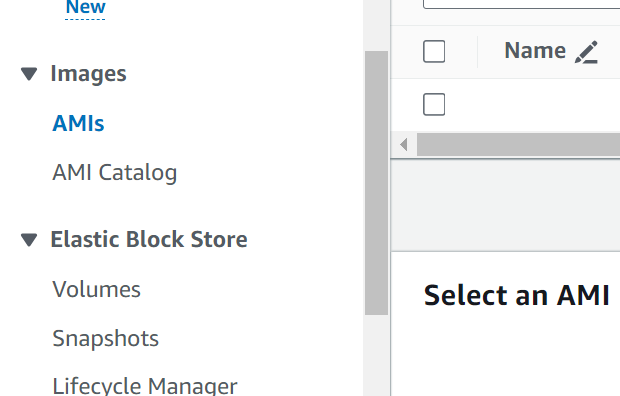
Select the AMI you just created.

Click on "Launch instance" from the "Actions" dropdown menu.

Follow the steps to configure the new EC2 instance, including instance type, network settings, storage, security groups, and other options.


Review your settings and click on "Launch".

Keep in mind that when you launch a new EC2 instance from the AMI, it will have the same configuration as the original EC2 instance at the time the snapshot was taken. Any changes made to the original instance after the snapshot will not be reflected in the new instance unless you take additional steps to update the AMI.

Connect New Instance: Once the new instance is running, connect to it via SSH.

Verify File Contents: Check that the contents of the uploaded file in the S3 bucket are the same on both EC2 instances. Use AWS CLI commands to download and compare file contents.


Conclusion
In this blog post, we've explored how to set up programmatic access to AWS S3 using AWS CLI, enabling seamless interaction with S3 buckets from the command line. By following the outlined steps, you can efficiently manage S3 resources and perform various tasks programmatically, contributing to smoother DevOps workflows within your AWS environment. Stay tuned for more insights and challenges as we continue our journey through the 90DaysOfDevOps challenge!
Subscribe to my newsletter
Read articles from ANSAR SHAIK directly inside your inbox. Subscribe to the newsletter, and don't miss out.
Written by

ANSAR SHAIK
ANSAR SHAIK
AWS DevOps Engineer