Title: A Beginner's Guide to AWS FSx: Unleashing the Power of Managed File Storage
 Sumit Mondal
Introduction:
Navigating the vast landscape of Amazon Web Services (AWS) can be overwhelming, especially for beginners. One service that stands out for simplifying file storage is AWS FSx. In this blog post, we'll explore the basics of AWS FSx in an easy and simple way, backed by practical examples.
Understanding AWS FSx:
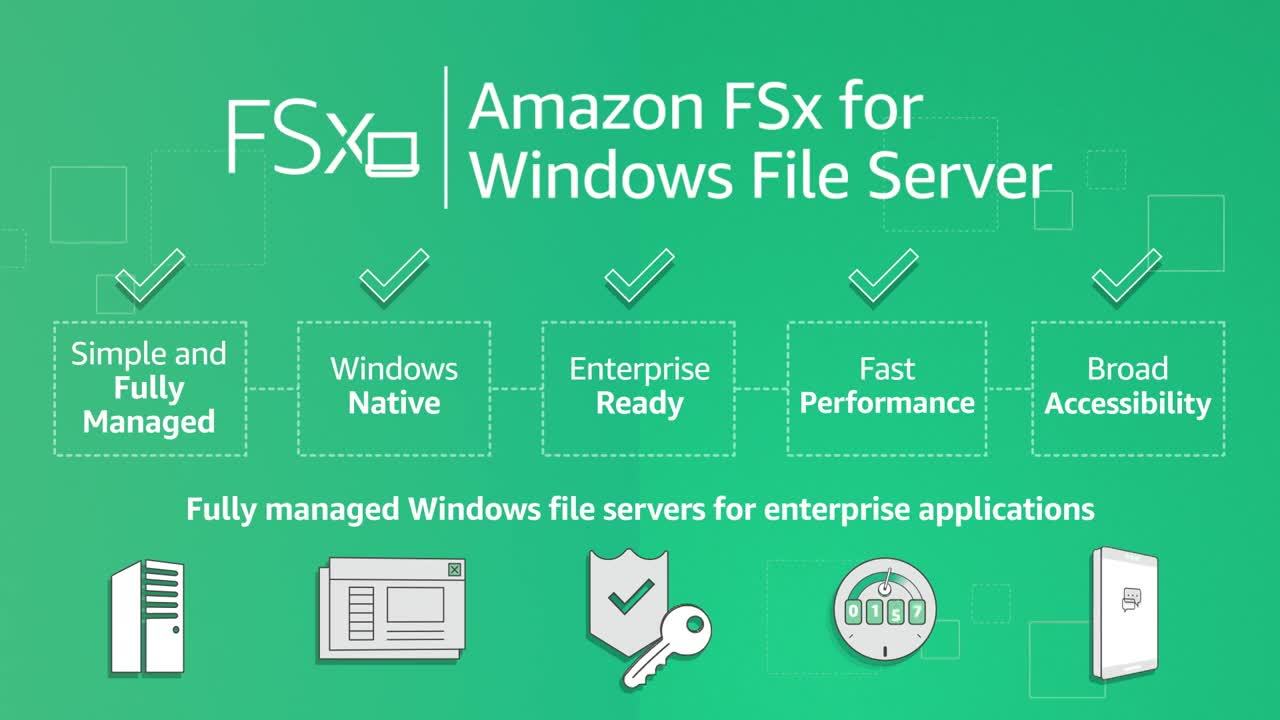
AWS FSx is a fully managed file storage service that makes it easy to launch and run popular file systems. It's designed to seamlessly integrate with other AWS services, providing scalable and high-performance file storage for various applications.
Key Features of AWS FSx:
Managed File Systems: FSx supports popular file systems like Windows File Server, Lustre, and Amazon EFS (Elastic File System). This allows you to choose the file system that best suits your application's needs.
High Performance: FSx delivers high-performance storage, suitable for a wide range of applications, including business applications, analytics, and high-performance computing workloads.
Fully Managed: AWS FSx takes care of the operational aspects, such as backups, maintenance, and updates, so you can focus on building and running your applications.
Getting Started with AWS FSx:
Let's dive into the basics of setting up AWS FSx.
Step 1: Create an FSx File System
Go to the AWS Management Console and navigate to the FSx service.
Click on "Create file system" and choose the file system type (e.g., Windows File Server).
Configure the settings, including storage capacity, throughput, and security settings.
Click "Create file system."
Step 2: Accessing Your FSx File System
Once your FSx file system is created, you can access it in various ways, depending on the chosen file system type.
Example for Windows File Server:
Open the Amazon FSx console.
Choose "File systems" from the navigation pane.
Select your file system and note the DNS name.
Access the file system from a Windows instance using the DNS name.
Step 3: Manage Permissions
AWS FSx integrates with AWS Identity and Access Management (IAM), allowing you to control access to your file systems.
Define IAM roles with the necessary permissions for accessing FSx.
Attach the IAM roles to your instances.
Step 4: Monitor and Optimize
AWS FSx provides built-in monitoring through Amazon CloudWatch. Monitor key metrics such as throughput and IOPS to ensure optimal performance.
Additionally, consider optimizing your file system settings based on your application's needs.
Conclusion:
In this guide, we've covered the basics of AWS FSx, from creating file systems to accessing them and managing permissions. AWS FSx simplifies the process of setting up and managing file storage, allowing you to focus on building robust applications without the hassle of infrastructure management.
Remember, AWS offers extensive documentation and resources, so don't hesitate to explore further based on your specific use case. Happy file storing with AWS FSx!
Subscribe to my newsletter
Read articles from Sumit Mondal directly inside your inbox. Subscribe to the newsletter, and don't miss out.
Written by

Sumit Mondal
Sumit Mondal
Hello Hashnode Community! I'm Sumit Mondal, your friendly neighborhood DevOps Engineer on a mission to elevate the world of software development and operations! Join me on Hashnode, and let's code, deploy, and innovate our way to success! Together, we'll shape the future of DevOps one commit at a time. #DevOps #Automation #ContinuousDelivery #HashnodeHero