Unleashing the Power of Conversational Interfaces: A Beginner's Guide to Using Amazon Lex in AWS
 Sumit Mondal
Introduction:
In the ever-evolving landscape of cloud computing, Amazon Web Services (AWS) stands tall as a pioneer, offering a plethora of services to meet diverse business needs. One such remarkable service is Amazon Lex, a powerful tool that empowers developers to build conversational interfaces with ease. In this blog, we'll embark on a journey to demystify Amazon Lex and explore how it can be harnessed to create chatbots and interactive applications.
What is Amazon Lex?
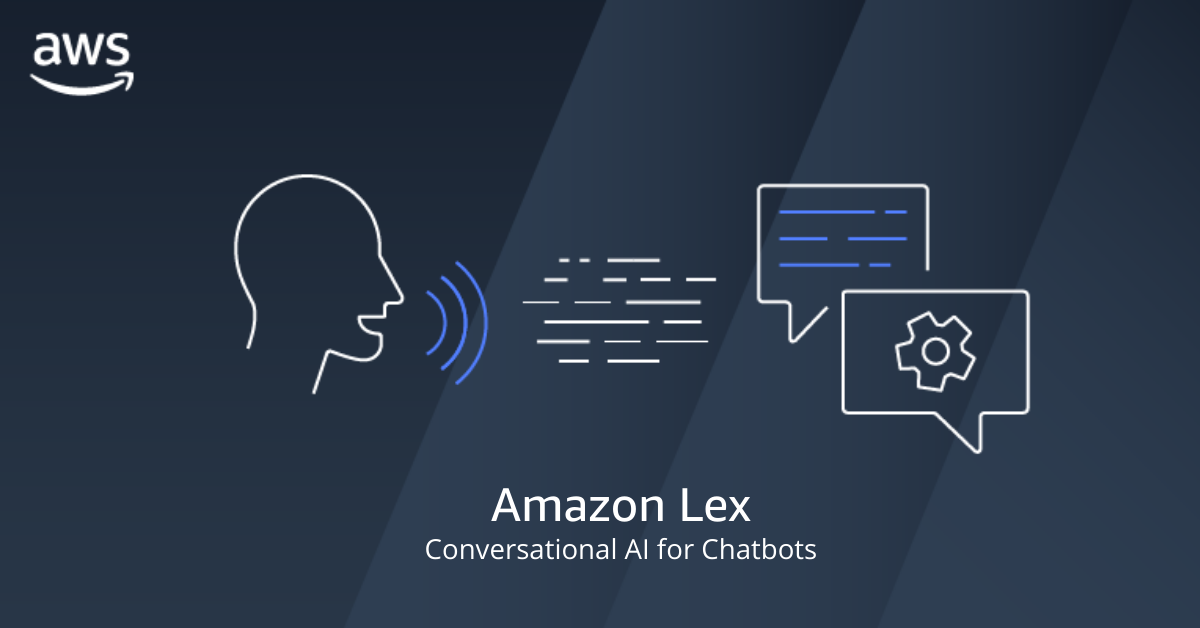
Amazon Lex is a service that enables you to build conversational interfaces using voice or text. Essentially, it's the technology behind Amazon Alexa, providing a platform for creating chatbots and natural language processing (NLP) applications. With Amazon Lex, you can engage users in natural, dynamic conversations, making it a valuable tool for customer support, virtual assistants, and more.
Getting Started:
Sign in to AWS Console: Begin by signing in to your AWS account. If you don't have one, you can create a new account for free.
Navigate to Amazon Lex: Once logged in, go to the AWS Management Console and find the Amazon Lex service.
Create a Bot: Click on "Create Bot" to initiate the process. Choose between the two options: Custom Bot or Sample Bot. For beginners, starting with a Sample Bot is recommended.
Building Your First Bot:
Now, let's delve into creating a simple "OrderFlowers" bot to understand the basics.
Define the Bot: Begin by providing a name for your bot, such as "OrderFlowersBot." Select a language for your bot, and choose the appropriate output voice.
Create an Intent: Intents represent the actions your bot can perform. In our case, let's create an intent named "OrderFlowersIntent." Define sample utterances like "I want to order flowers" and specify the slots (parameters) like "FlowerType" and "PickupDate."
Configure the Slots: Configure the slots by defining the type of data they should capture. For instance, "FlowerType" could be a custom slot type with values like "Roses," "Lilies," etc.
Fulfillment: Decide how your bot will fulfill the user's request. You can integrate with AWS Lambda functions or other services to process the input and generate a response.
Testing the Bot: Amazon Lex provides a built-in test chatbot interface. Use it to interact with your bot, refine responses, and ensure it understands user input correctly.
Deploying Your Bot:
Once satisfied with your bot's performance, it's time to deploy it for public use.
Build and Publish: Click on the "Build" button to compile your bot. After a successful build, click "Publish" to make it accessible.
Integration: Integrate your bot with messaging platforms, mobile apps, or websites using the provided SDKs and APIs. Amazon Lex supports integration with popular platforms like Facebook Messenger and Slack.
Conclusion:
Congratulations! You've just scratched the surface of the vast capabilities Amazon Lex brings to the table. From creating engaging chatbots to enhancing customer interactions, the possibilities are limitless. As you continue your journey with Amazon Lex, explore advanced features, connect with AWS services, and tailor your conversational interfaces to meet the unique needs of your projects. Happy building!
Subscribe to my newsletter
Read articles from Sumit Mondal directly inside your inbox. Subscribe to the newsletter, and don't miss out.
Written by

Sumit Mondal
Sumit Mondal
Hello Hashnode Community! I'm Sumit Mondal, your friendly neighborhood DevOps Engineer on a mission to elevate the world of software development and operations! Join me on Hashnode, and let's code, deploy, and innovate our way to success! Together, we'll shape the future of DevOps one commit at a time. #DevOps #Automation #ContinuousDelivery #HashnodeHero