How to Build a WordPress Website in 9 Simple Steps
 Ellen Garner
Table of contents

In today's digital era, having a professional and functional website is essential for businesses, bloggers, and individuals alike. WordPress, with its user-friendly interface and extensive customization options, has emerged as one of the most popular platforms for building websites. In this detailed guide, we'll walk you through each step of developing a WordPress website.
By the end of this journey, you'll have the knowledge and confidence to create a stunning website that meets your unique needs and objectives. Before we dive deep into detail, for those who don't know about WordPress, here is a short introduction to the CMS.
What is WordPress?
WordPress is a free and open-source content management system (CMS) used to build and manage websites. It provides a user-friendly interface for creating, editing, and publishing web content without requiring advanced technical skills.
9 Steps to Build A WordPress Website
As experts in web design and development in Dubai, we have accumulated extensive experience in crafting effective websites that drive results. Drawing from this wealth of knowledge, we've curated this blog to provide you with practical insights and strategies to navigate the intricacies of website creation.
Let's dive in and explore how you can leverage our expertise to build a WordPress website that is stunning and aesthetically appealing.
Step 1: Choosing a Domain Name and Web Hosting
When it comes to building a website with WordPress, selecting a domain name is the first step in establishing your online presence. Your domain name is your website's address on the internet, so it's essential to choose one that reflects your brand identity and is easy to remember. Once you've chosen a domain name, you'll need to find a reliable web hosting provider to store your website's files and make it accessible on the internet.

When selecting a domain name for your WordPress website, consider the following aspects:
*Keep it short.
*Avoid numbers and dashes.
*Prefer .com, but other extensions work too.
*Steer clear of trademarks and copyrighted material.
*Check availability.
Opt for easy-to-pronounce and spell words.
While selecting a web hosting service provider, keep the following points in mind:
*Research and compare web hosting providers based on factors like reliability, speed, and customer support.
*Choose a hosting plan that suits your needs and budget.
*Sign up for web hosting and complete the registration process.
Step 2: Installing WordPress
Next step to create a website with WordPress after you have a domain name and web hosting, the next step is to install WordPress on your hosting account. WordPress offers a one-click installation option with many hosting providers, making the process quick and straightforward. Alternatively, you can manually install WordPress by downloading the software from wordpress.org and following the installation instructions.
You can install WordPress either manually or you can also opt for a one-click installation.
| Manual Installation | One-Click Installation |
| Download the latest version of WordPress from wordpress.org. | Many web hosting providers offer one-click installation options for WordPress. |
| Upload the WordPress files to your web hosting account using an FTP client. | Log in to your web hosting control panel (e.g., cPanel) and locate the WordPress installer. |
| Create a MySQL database and user for WordPress. | Follow the prompts to install WordPress on your domain. |
| Run the WordPress installation script by accessing your domain name in a web browser. |
Step 3: Selecting a Theme
Choosing the right WordPress theme is crucial for the design and functionality of your website. WordPress offers thousands of free and premium themes that cater to various industries and purposes. Take your time to browse through different themes, preview their demo sites, and choose one that aligns with your brand identity and website goals.

Ready to launch your premium WordPress theme, here’s how you can do it:
*Log in to your WordPress dashboard at your domain.com/wp-admin.
*Go to "Appearance" and then "Themes" from the menu on the left.
*Hit "Add New" at the top.
*Choose "Upload Theme."
*Click "Browse" and find the zip file with your theme.
*Hit "Install" and then "Activate." Voila!"
Step 4: Customizing Your Website
Once you've installed your chosen theme, you can customize your website's appearance and layout to suit your preferences. WordPress provides a range of customization options, including customizing colors, fonts, header and footer styles, and more. You can also add custom widgets and menus to enhance your website's functionality and user experience.
Following are some steps using which you can customize your WordPress website:
*Customizer: The built-in WordPress Customizer lets you modify various aspects of your website's design, such as colors, fonts, header styles, and layouts, without touching any code.
*Widgets: Widgets are small blocks of content that you can add to your website's sidebars, footer, or other widget-ready areas, giving you control over the layout and functionality of different sections.
*Page Builders: Popular page builder plugins like Elementor, Beaver Builder, and Visual Composer allow you to create complex page layouts using a drag-and-drop interface, without any coding requirements.
*Custom CSS: For more advanced customizations, you can add custom CSS code to your theme to override default styles and create unique designs.
*Child Themes: If you want to modify a parent theme without losing your changes when the theme updates, you can create a child theme and customize it to your liking.
Step 5: Adding Content
With your website's design in place, it's time to add content to your pages and posts. WordPress comes with a built-in editor that allows you to create and format text, add images and videos, and embed multimedia content seamlessly. You can organize your content into categories and tags to make it easier for visitors to navigate your site.

To create an engaging and action-driven web copy, following the steps listed below:
*Write informative, engaging, and SEO-friendly content for your website.
*Use headings, subheadings, and bullet points to organize your content.
*Incorporate relevant keywords and phrases to improve search engine visibility.
*Upload and insert images, videos, and audio files into your content.
*Optimize media files for web performance by compressing images and videos.
*Schedule or publish your content to make it accessible to your audience.
*Regularly update and refresh your content to keep it relevant and up-to-date.
Step 6: Installing Plugins
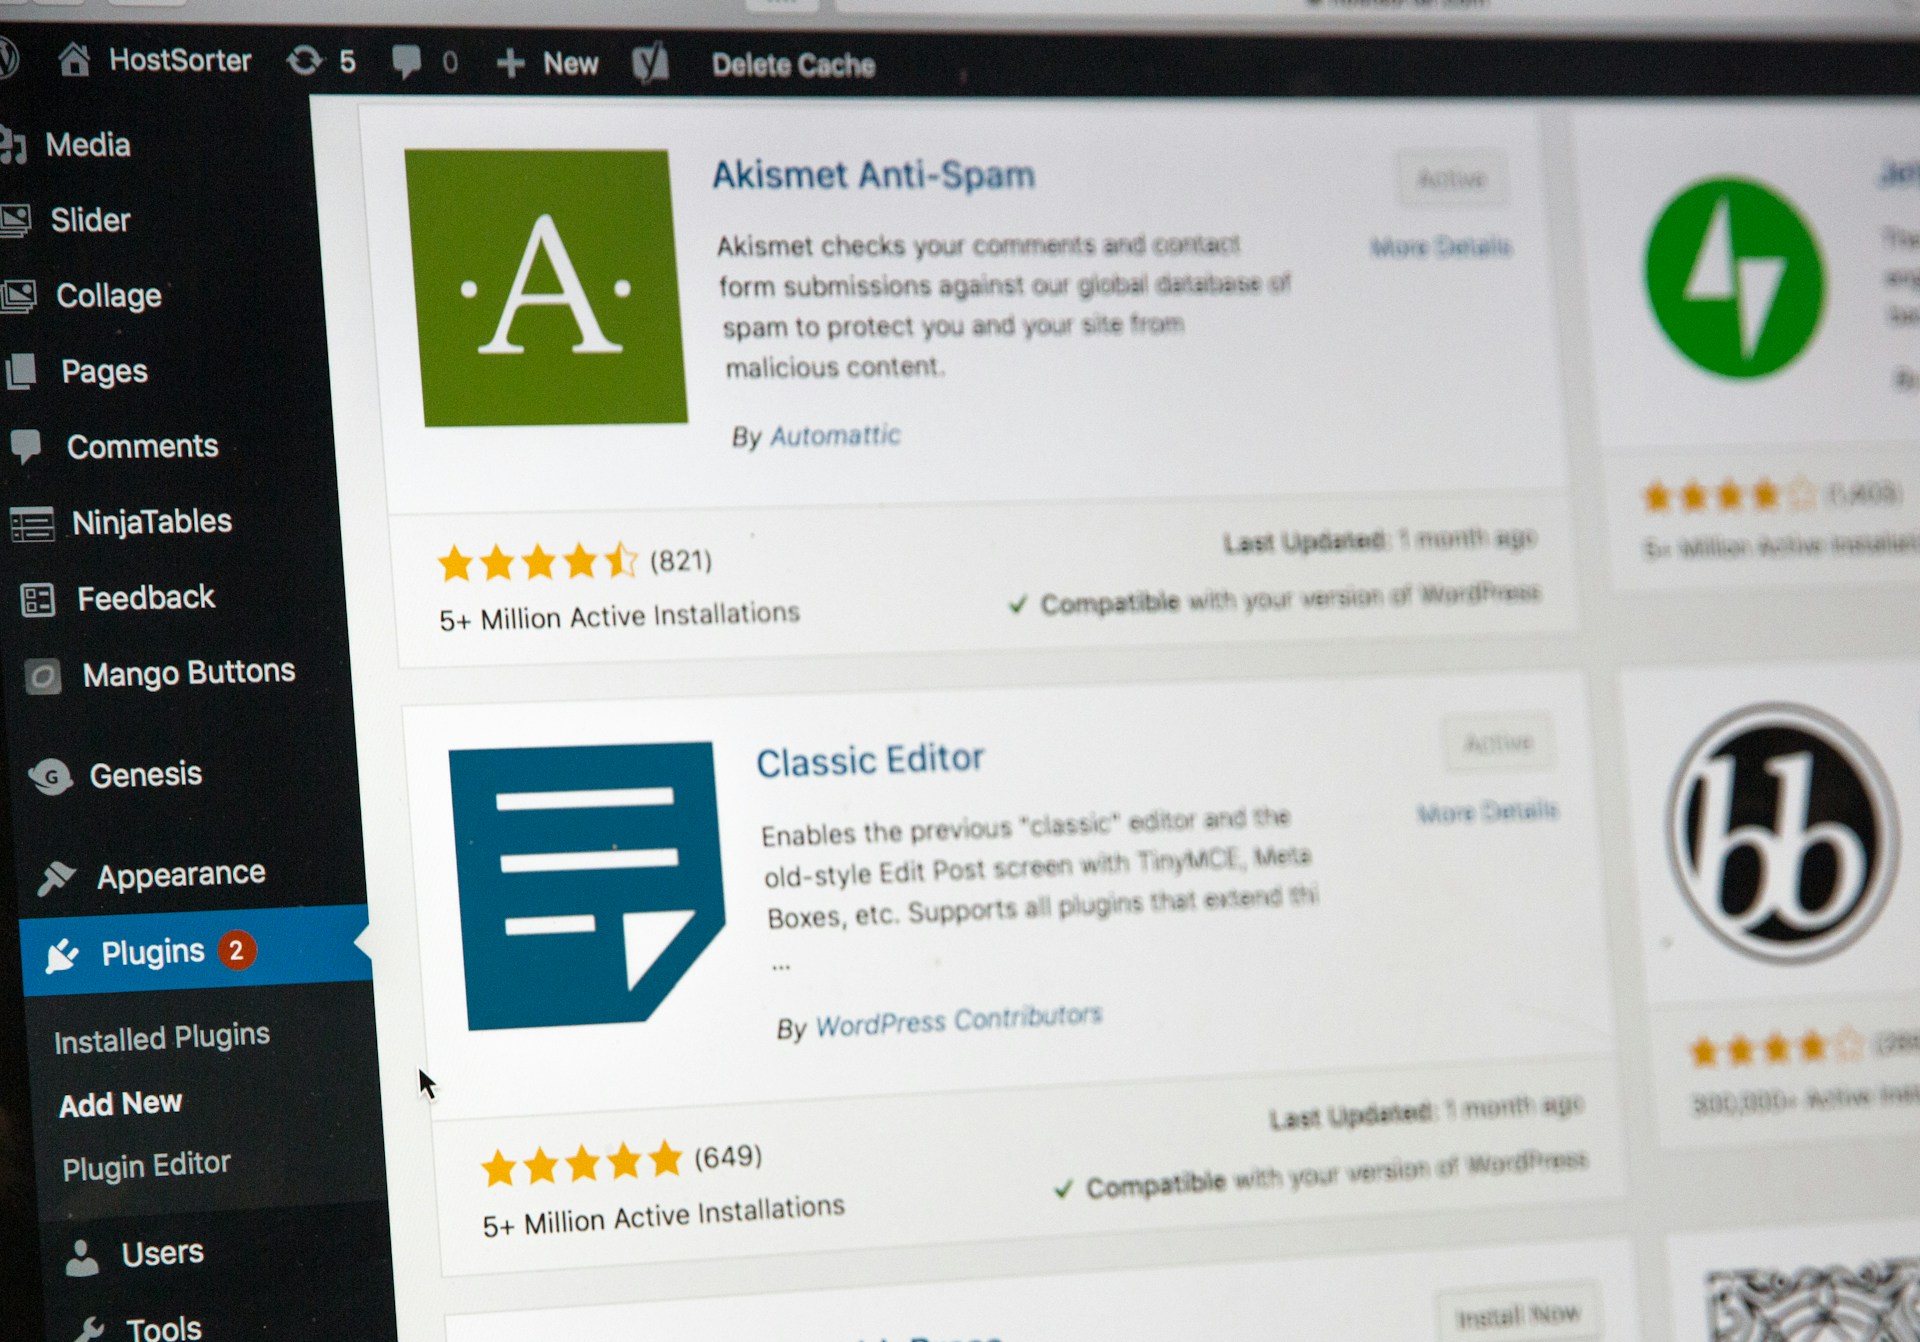
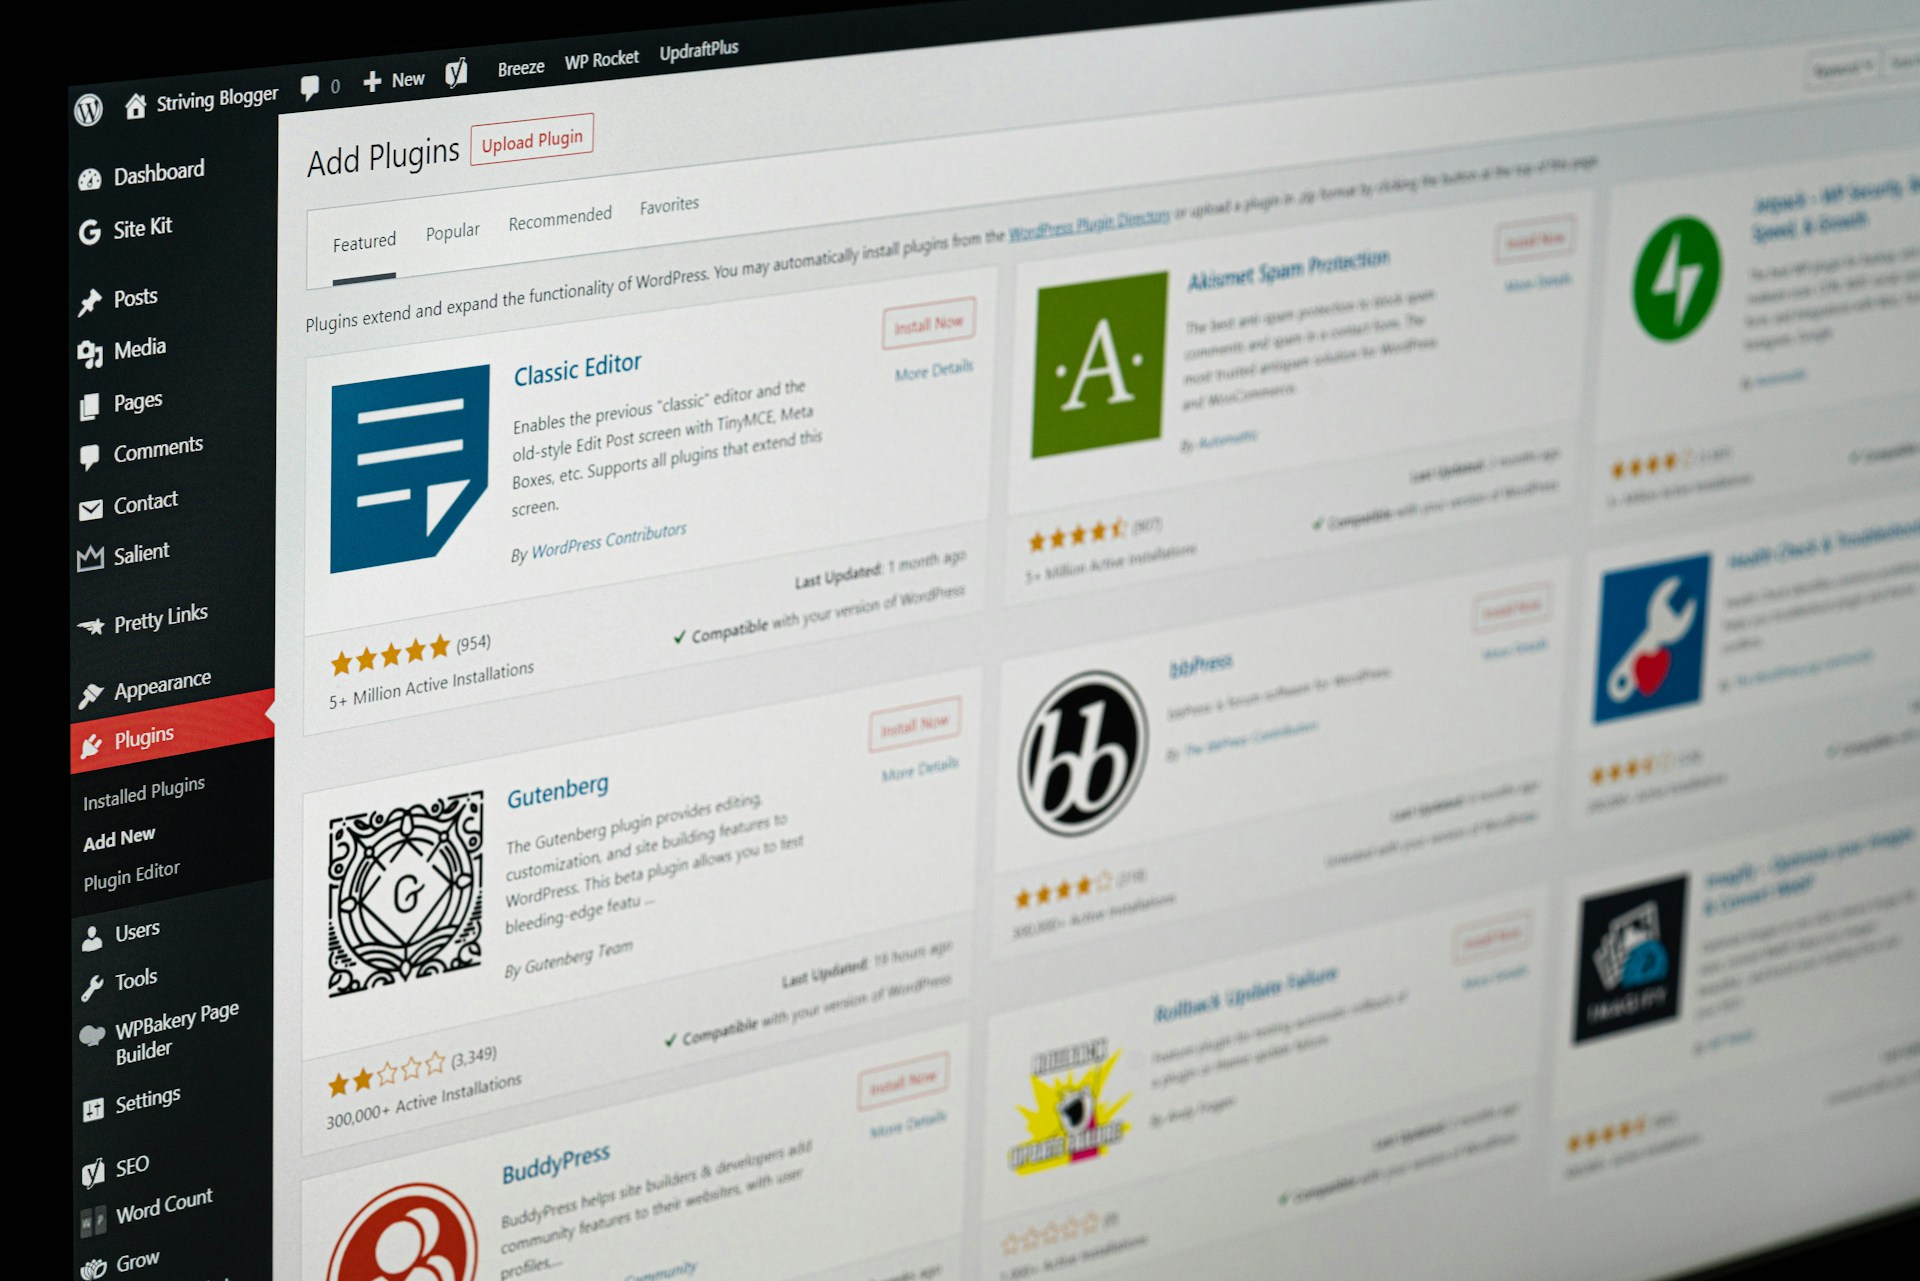
WordPress plugins are like apps that extend the functionality of your website. There are thousands of plugins available for WordPress, covering a wide range of features and functionalities. Whether you need to add contact forms, social media integration, e-commerce capabilities, or SEO optimization, there's a plugin for almost every need.

Here’s a list of most downloaded WordPress plug-ins:
*Yoast SEO: Optimize posts for search engines.
*Google Analytics: Track website traffic and activity, essential for bloggers seeking brand collaborations.
*Jetpack: Enhance security, maintenance, and performance.
*Akismet: Protect against spam comments on blog posts.
*Elementor: Utilize a beginner-friendly drag-and-drop editor with a page builder plugin like Elementor.
Step 7: Optimizing for SEO
Search engine optimization (SEO) is essential for improving your website's visibility and ranking in search engine results. WordPress offers several built-in features and plugins that make it easy to optimize your website for search engines. You can optimize your content, meta tags, permalinks, and more to ensure that your website ranks well in search engine results pages (SERPs).

Follow the steps listed below to optimize your website for SEO:
*Install an SEO Plugin: Choose a reputable SEO plugin like Yoast SEO or All in One SEO Pack to manage on-page optimization tasks easily.
*Optimize Permalinks: Set up SEO-friendly permalinks by including relevant keywords in the URL structure of your posts and pages.
*Create Quality Content: Produce high-quality, informative content that addresses the needs of your target audience and incorporates relevant keywords naturally.
*Optimize Meta Tags: Craft compelling meta titles and descriptions for each page and post, including relevant keywords and enticing language to improve click-through rates.
*Use Heading Tags: Structure your content with proper heading tags (H1, H2, H3, etc.) to help search engines understand the hierarchy and importance of your content.
*Optimize Images: Compress images to improve page loading speed, and use descriptive filenames and alt text with relevant keywords to enhance accessibility and SEO.
*Improve Site Speed: Optimize your website's performance by minimizing CSS and JavaScript files, enabling browser caching, and leveraging a content delivery network (CDN).
*Ensure Mobile Responsiveness: Choose a mobile-responsive theme and ensure your website displays properly on all devices, as mobile-friendliness is a crucial factor in search engine rankings.
*Secure Your Website: Implement security measures such as SSL certificates, regular updates, and strong passwords to protect your website from security threats and boost SEO.
*Monitor and Analyze: Use tools like Google Analytics and Google Search Console to track website performance, monitor traffic, and identify areas for improvement in your SEO strategy.
Step 8: Ensuring Security
Website security is paramount to protect your WordPress website from hackers, malware, and other security threats. WordPress regularly releases updates and security patches to address vulnerabilities, so it's essential to keep your website, themes, and plugins up to date. Additionally, you can use security plugins and implement best practices like strong passwords and secure file permissions to enhance your website's security.

Listed below are some essential steps to ensure high security standards for your WordPress website:
*Keep WordPress, themes, and plugins updated.
*Use a reputable hosting provider with security features.
*Install a security plugin like Wordfence or Sucuri.
*Enforce strong passwords and limit login attempts.
*Enable two-factor authentication for user logins.
*Set appropriate file permissions.
*Disable directory listing.
*Consider implementing a website firewall.
*Regularly backup your website's data.
Step 9: Market Your Website
Finally, it's crucial to devise a marketing strategy for your WordPress website, as simply building a website doesn't guarantee visitors. Successful businesses invest in diverse marketing strategies to enhance online visibility and attract traffic.
Here are some effective ways to market your site:
*Submit your URL to Google Search Console for quicker indexing.
*Establish social media profiles for your website and incorporate links in your posts, spanning platforms like Facebook Business Page, Instagram, or Pinterest business account.
*List your website on relevant online directories such as Yellow Pages, TripAdvisor, or Yelp.
*Set up a Google My Business account to enhance local search visibility.
*Register your business with the Better Business Bureau.
Include your website's URL in your email signature, business cards, and other marketing collateral. Employing a combination of these strategies maximizes your site's exposure and increases its chances of online visibility.
Final Word
Although building a WordPress website can seem daunting, the benefits of a professional and functional online presence are undeniable. At Aun Digital, we understand the challenges brands face when navigating the intricacies of WordPress. That's why we're here to help. With our expertise and streamlined processes, we can assist brands in building and launching their WordPress websites in less than 30 days. From design to development, our team is committed to delivering results that exceed expectations.
Contact us today to learn more about how Digital, can elevate your online presence and help your brand thrive in the digital landscape.
Subscribe to my newsletter
Read articles from Ellen Garner directly inside your inbox. Subscribe to the newsletter, and don't miss out.
Written by

