Build a Serverless Greeting App
 Olga Myronenko
Welcome, AWS learners! Are you ready to experiment with the cloud? This quick and fun tutorial guides you through creating a personalized greeting application using AWS Lambda and Amazon API Gateway. By the end of this tutorial, you'll have a live application that greets users by name, showcasing the seamless integration and power of serverless computing on AWS.
Step 1: Familiarize Yourself with the Key AWS Services
AWS Lambda: A serverless computing service that executes your code in response to events without requiring you to manage servers.
Amazon API Gateway: A service often used by developers that simplifies the creation and management of secure APIs at any scale.
Step 2: Access Your AWS Account
Sign up or log into your AWS account at https://aws.amazon.com/.
Access the AWS Management Console to start your project.
Step 3: Create Your Lambda Function
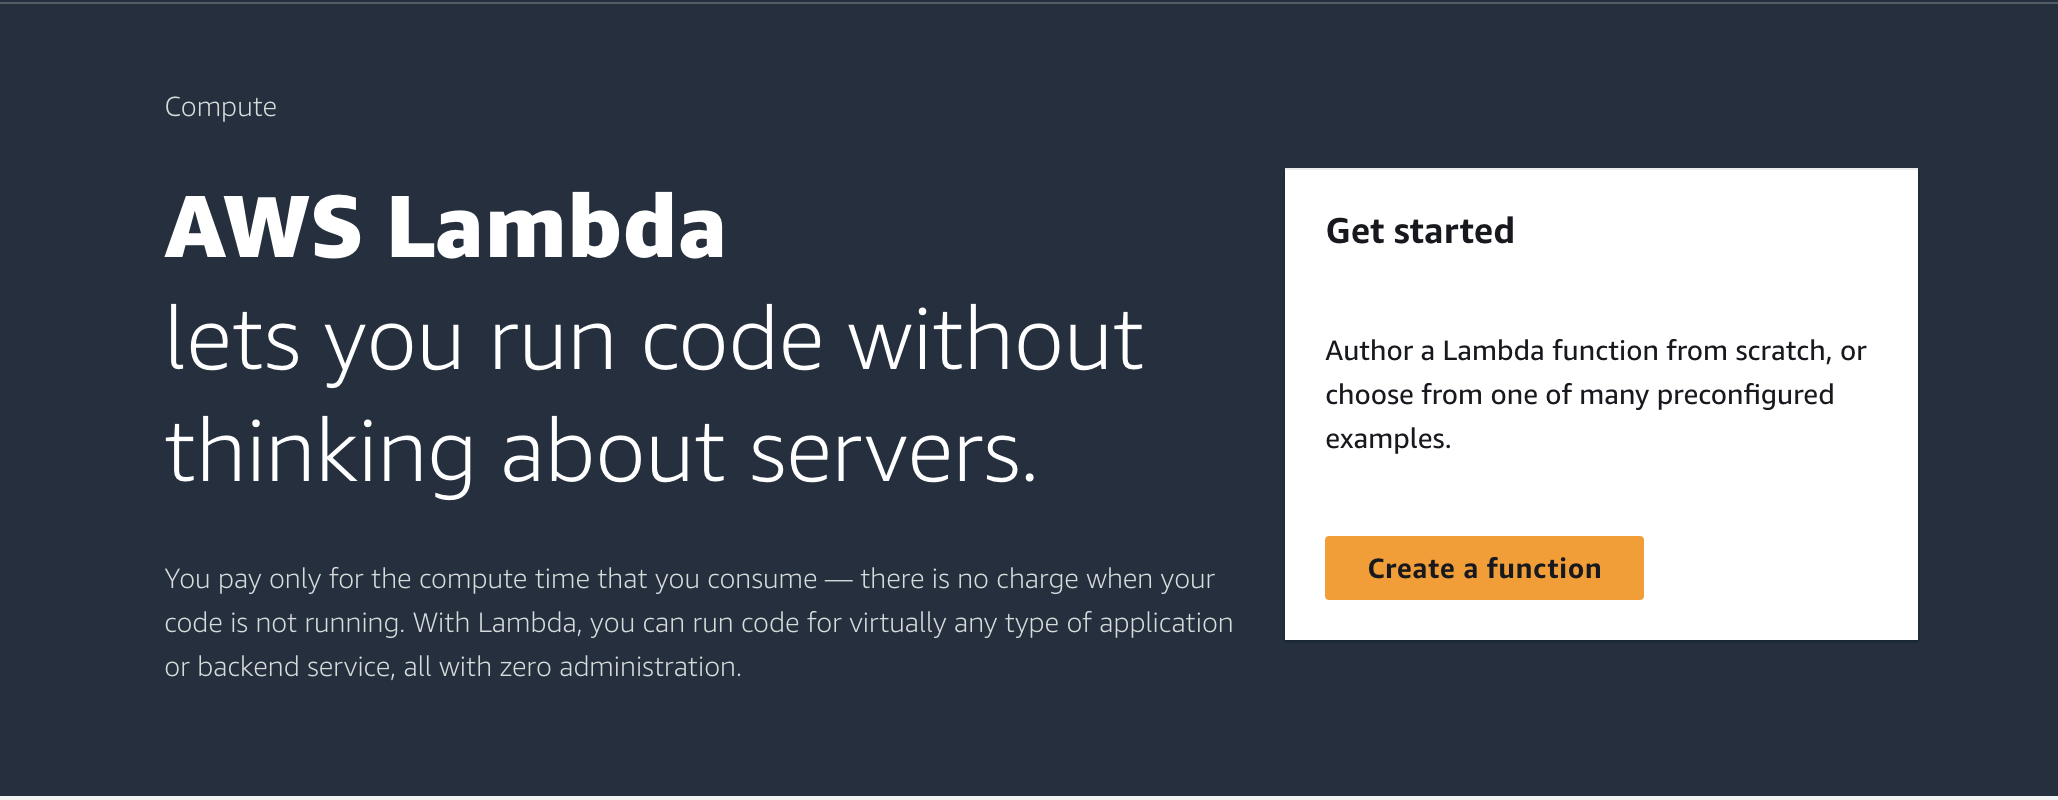
Open the AWS Lambda console and select “Create function”.
Choose “Author from scratch”. Name your function
PersonalizedGreetingand select Python 3.8 as the runtime.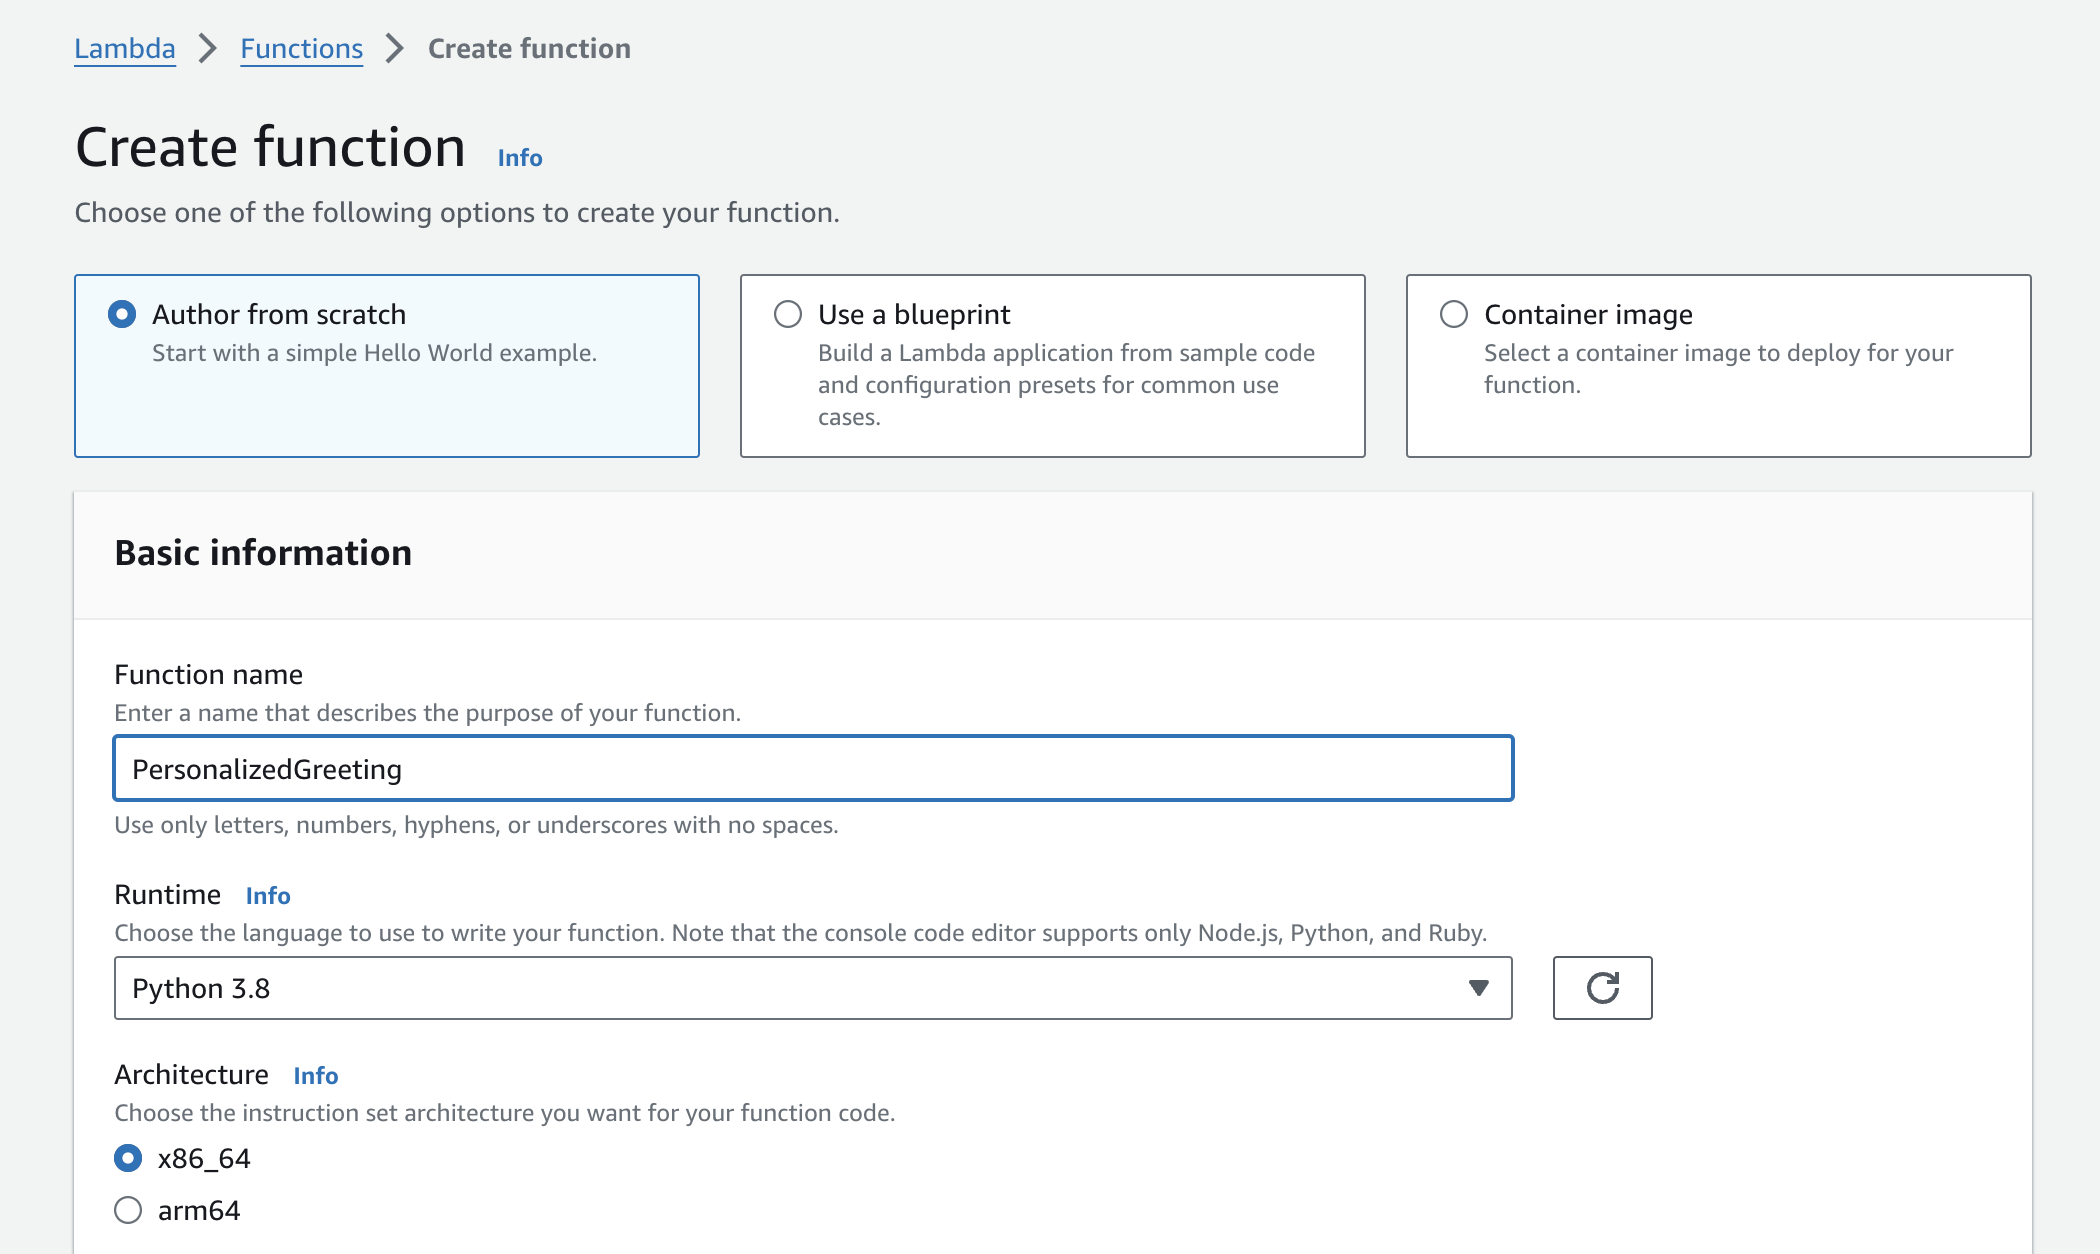
Keep the default execution role settings and click “Create function” on the bottom right.
In the code editor, enter the following Python code:
import json

def lambda_handler(event, context):
    # Extract 'name' query parameter
    name = event['queryStringParameters']['name']
    greeting = f"Hello, {name}! Welcome to our innovative AWS Cloud Project."
    return {
        'statusCode': 200,
        'body': json.dumps(greeting)
    }
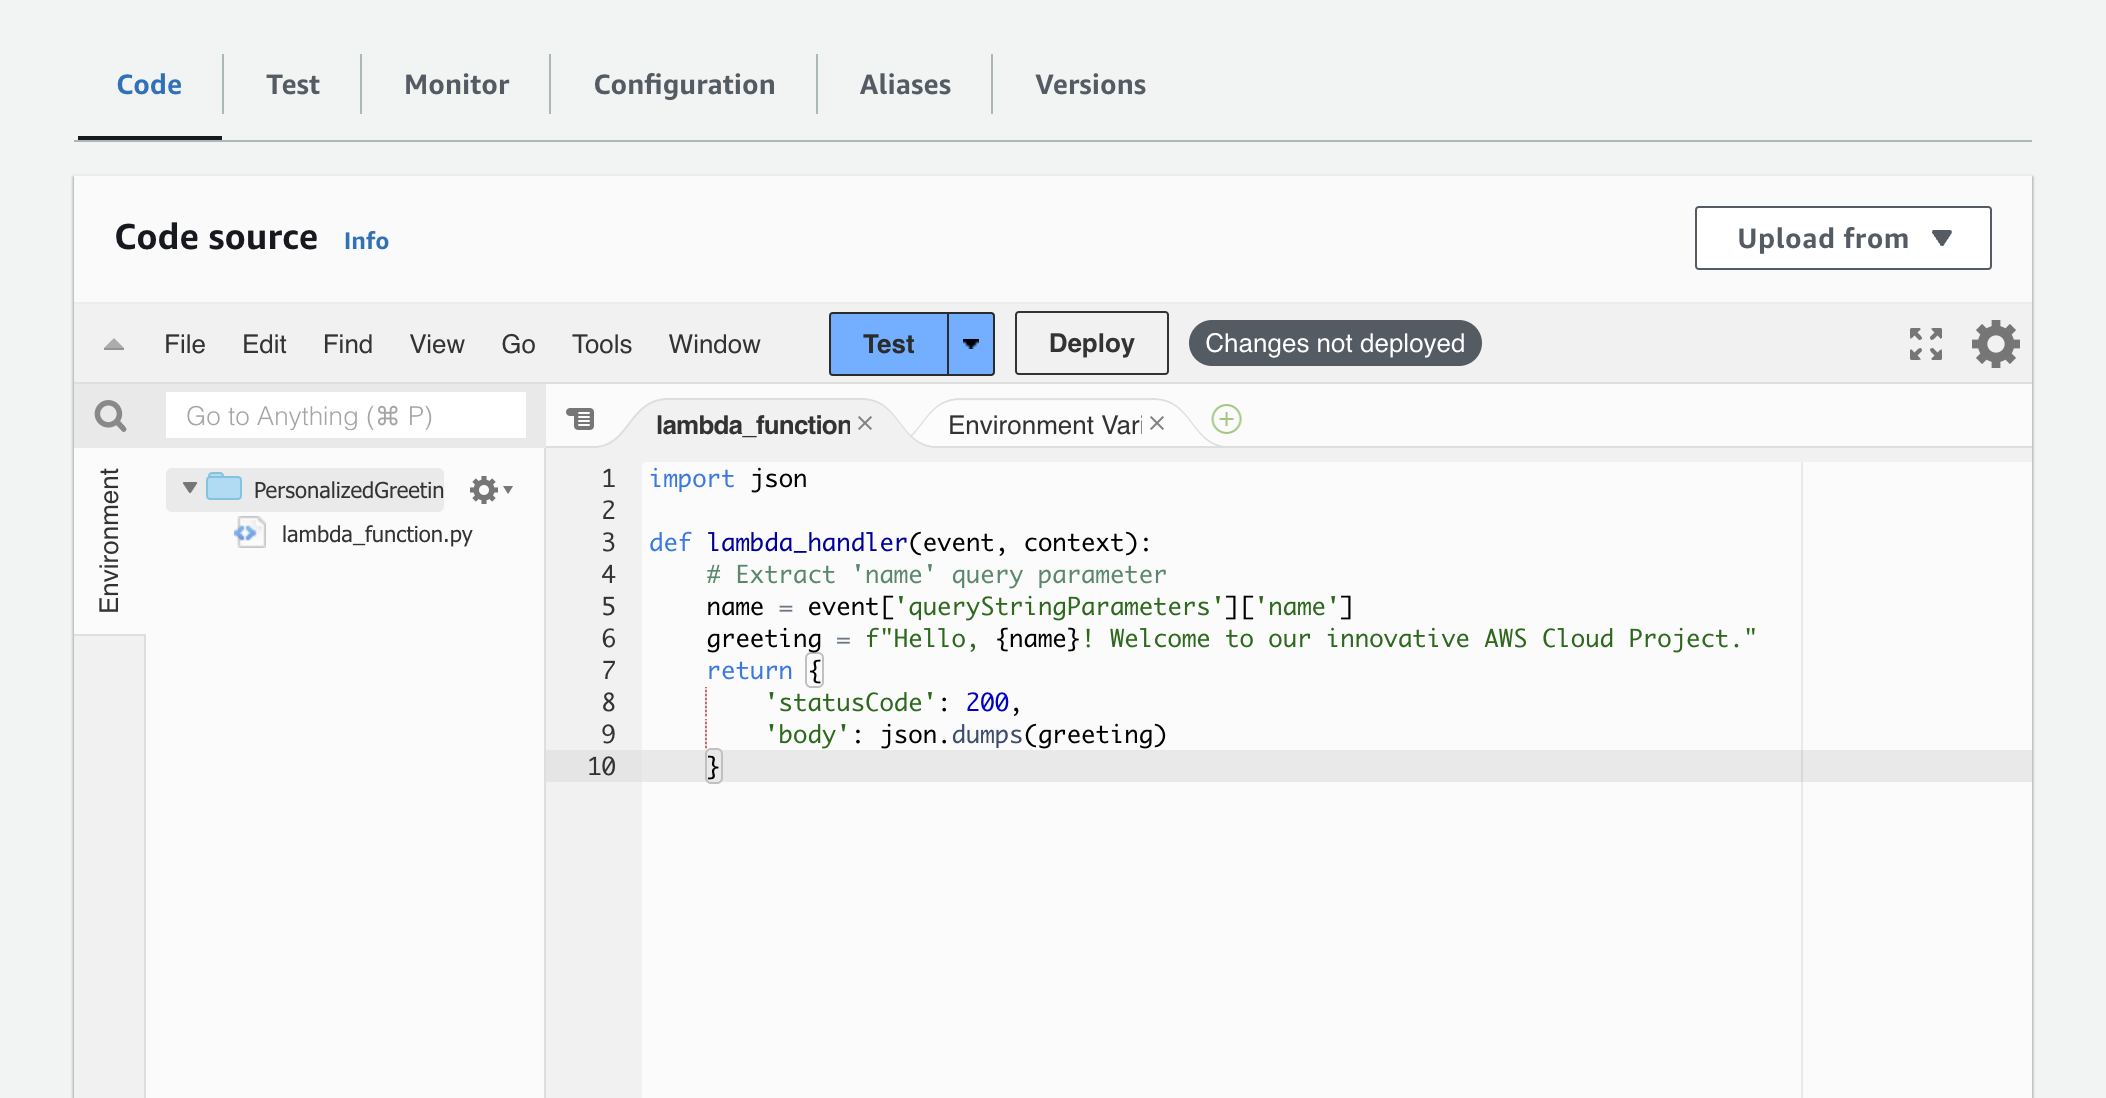
- Click “Deploy” above the code to save your changes.
Step 4: Configure Amazon API Gateway
Navigate to the Amazon API Gateway console.
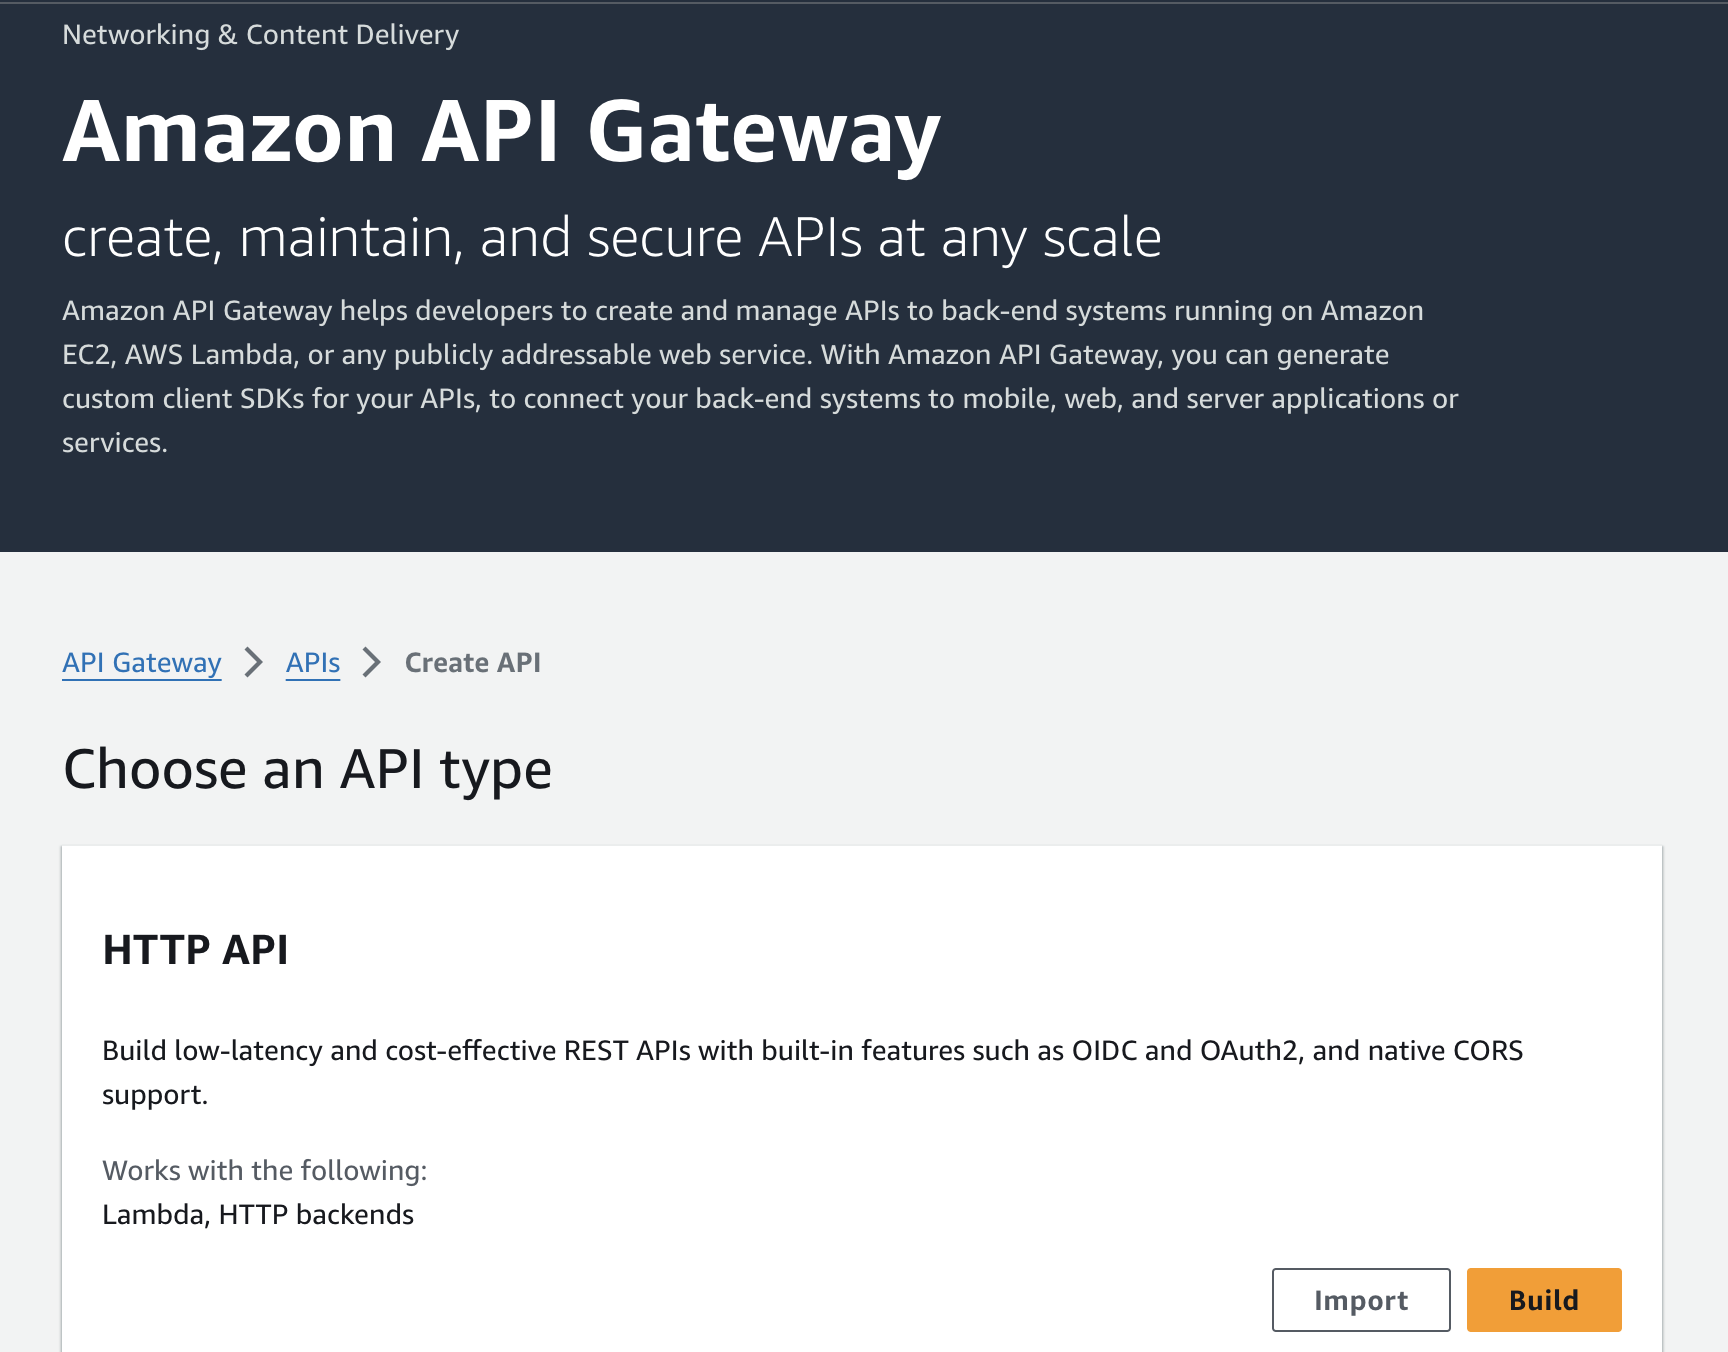
For the API type, select “HTTP API” because it's optimized for serverless applications. Click on “Build”.
Next, click on “Add integration”, choose “Lambda”, and select your
PersonalizedGreetingfunction. Click "Next" on the bottom right.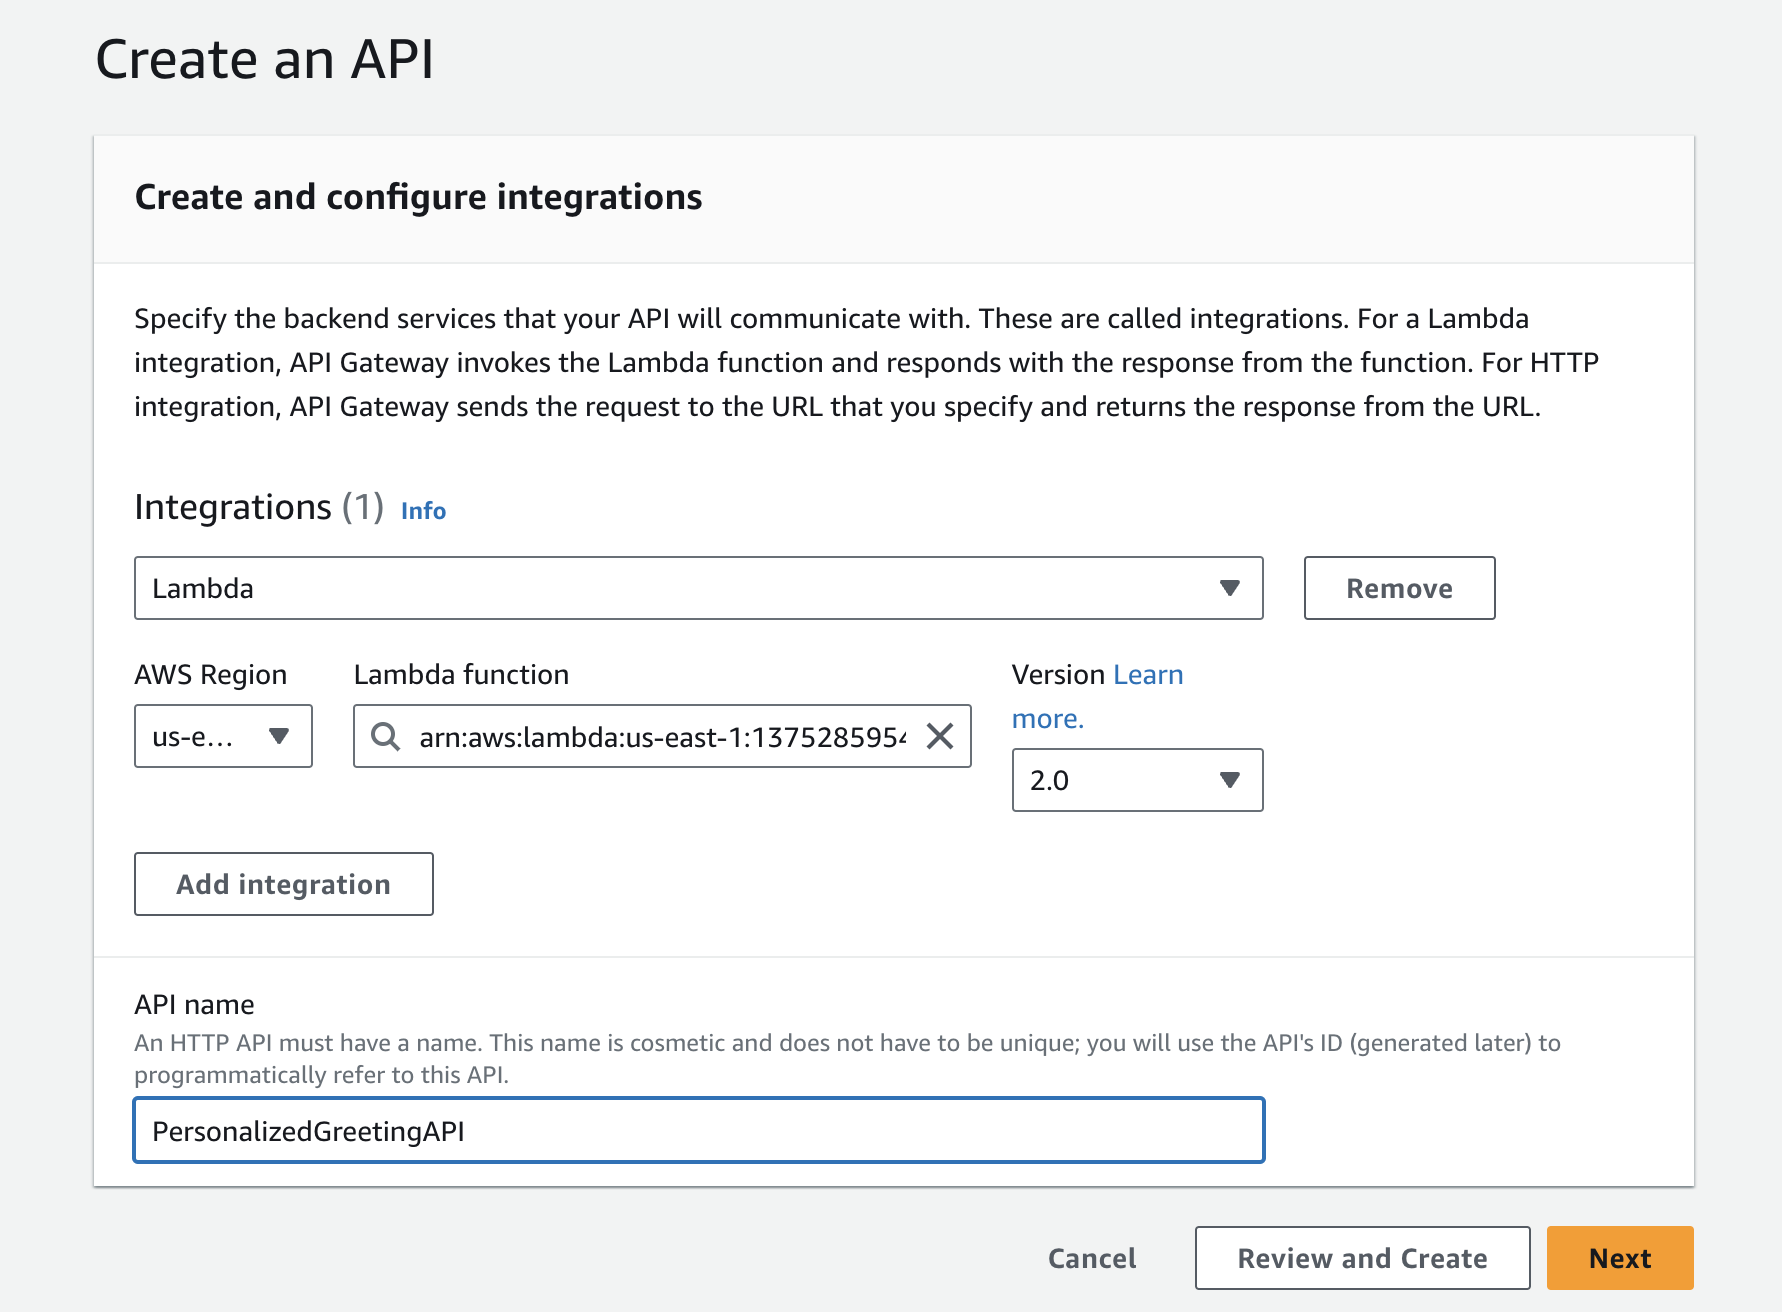
In the “Configure routes” section, leave the method as "ANY", set up the resource path (e.g.,
/greeting) and ensure your Lambda function is selected under "Integration target." Click "Next" once everything looks right.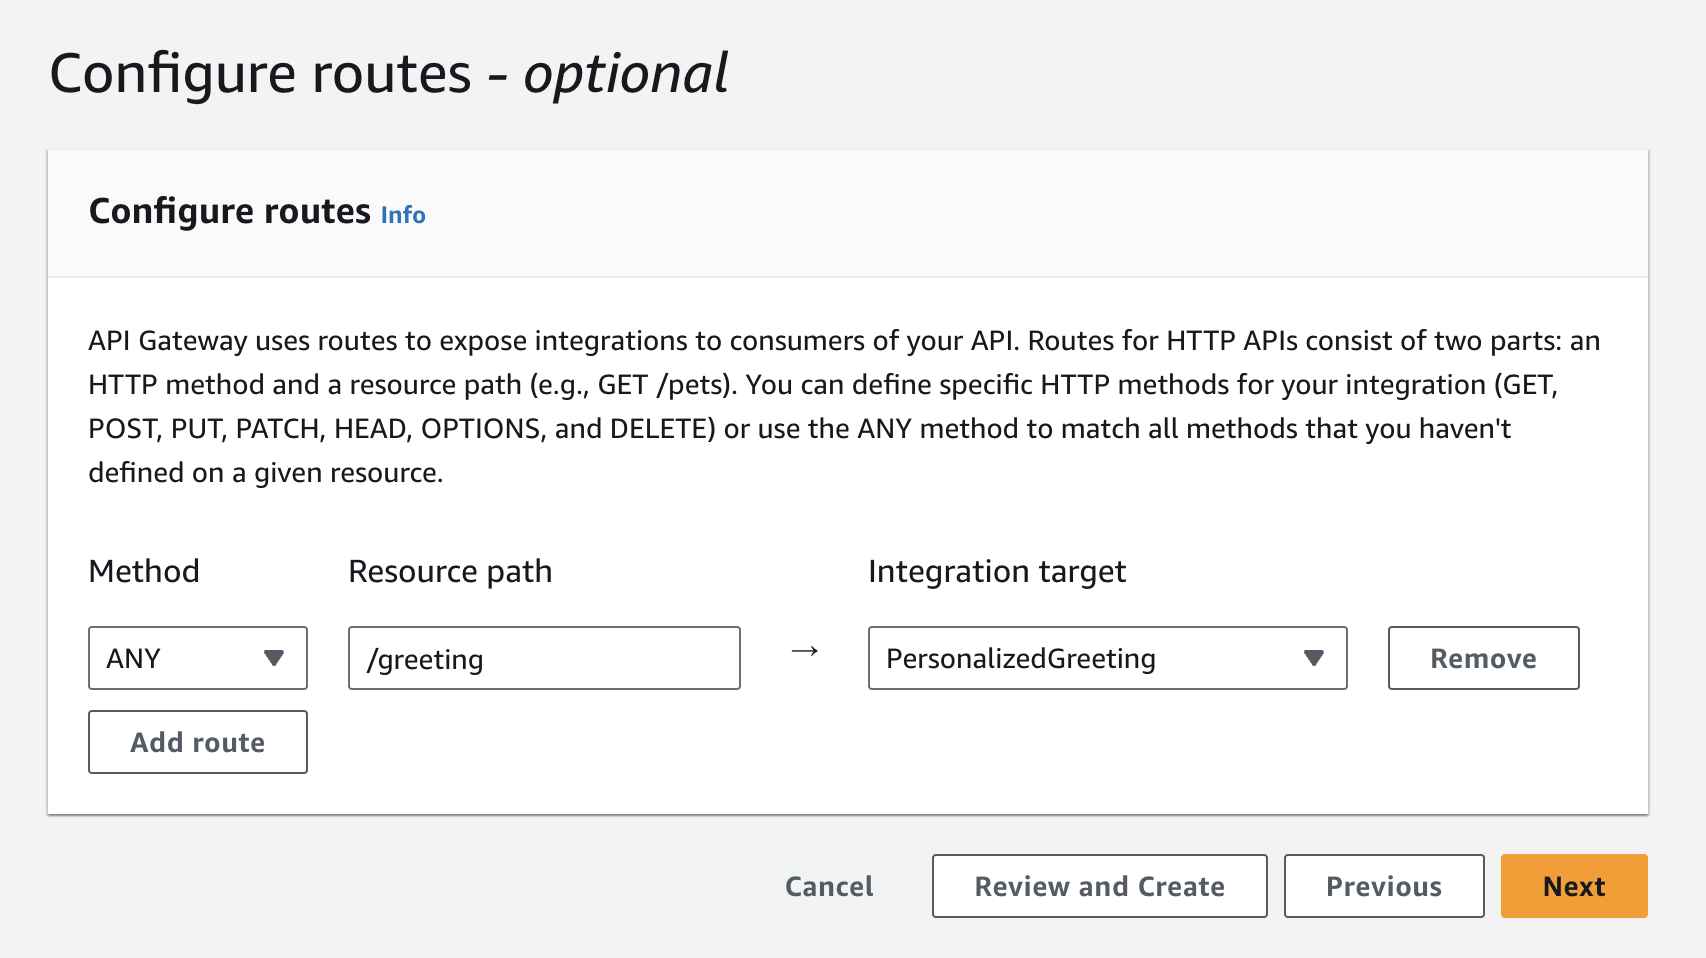
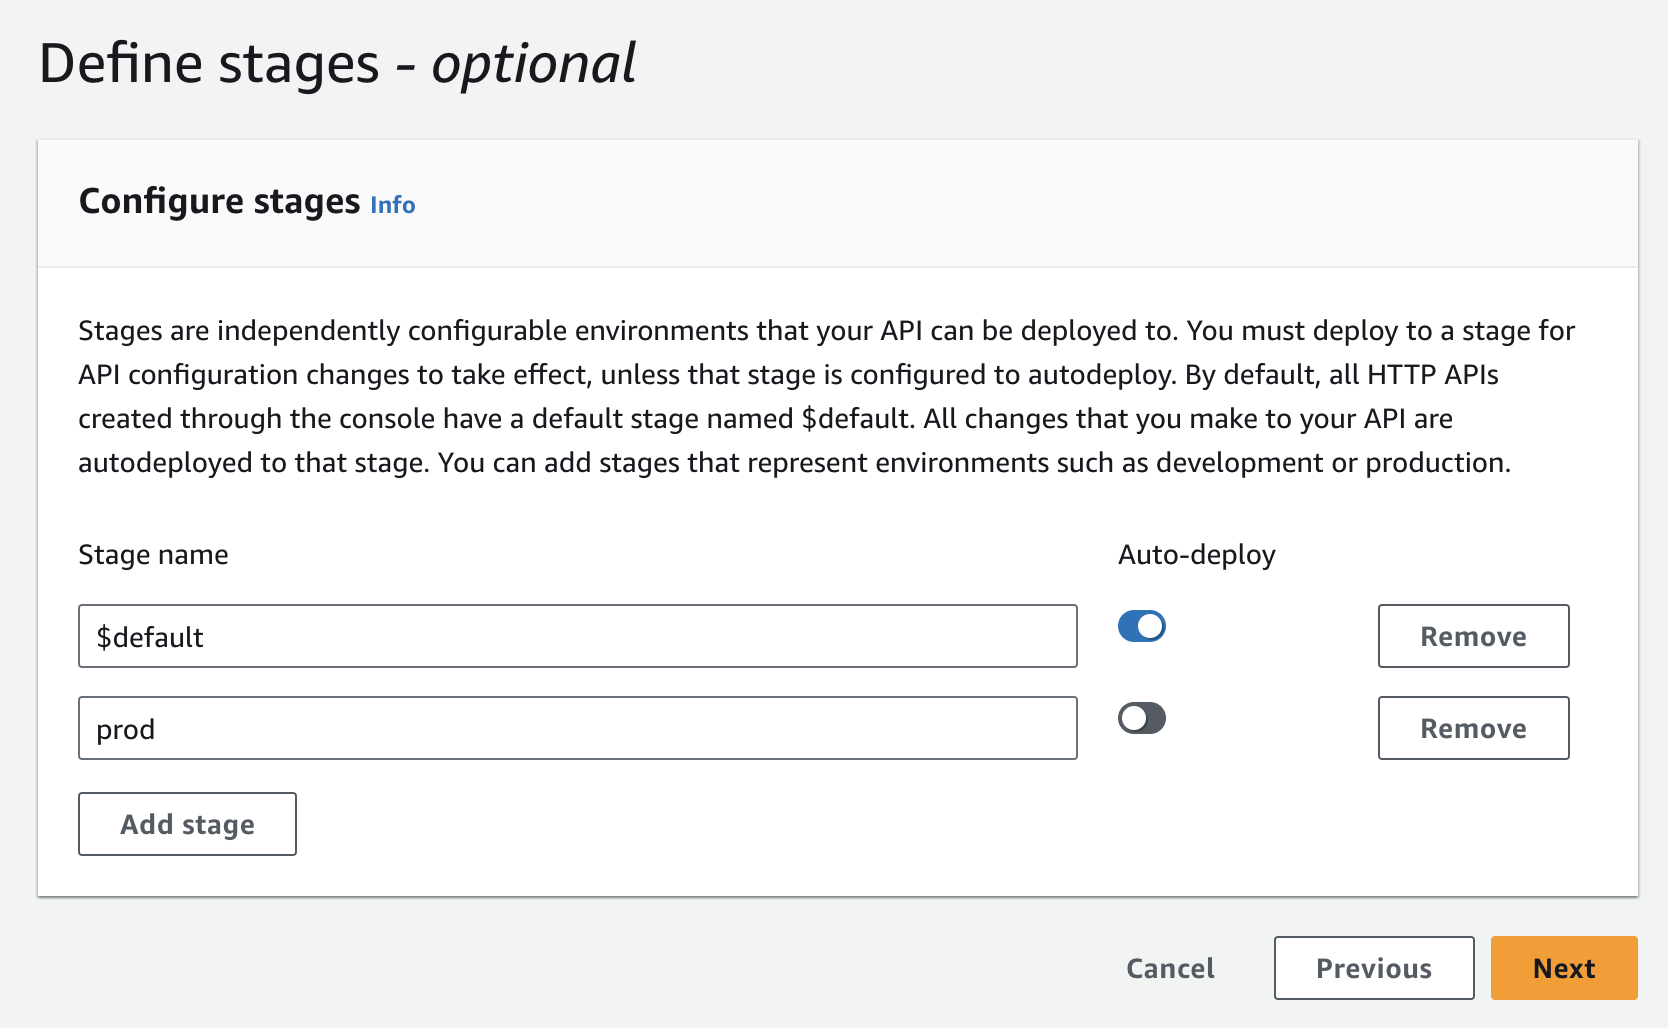
Define a stage (e.g.,
prod) in the “Deployments” section, then click "Next" and review your configurations before clicking "Create".
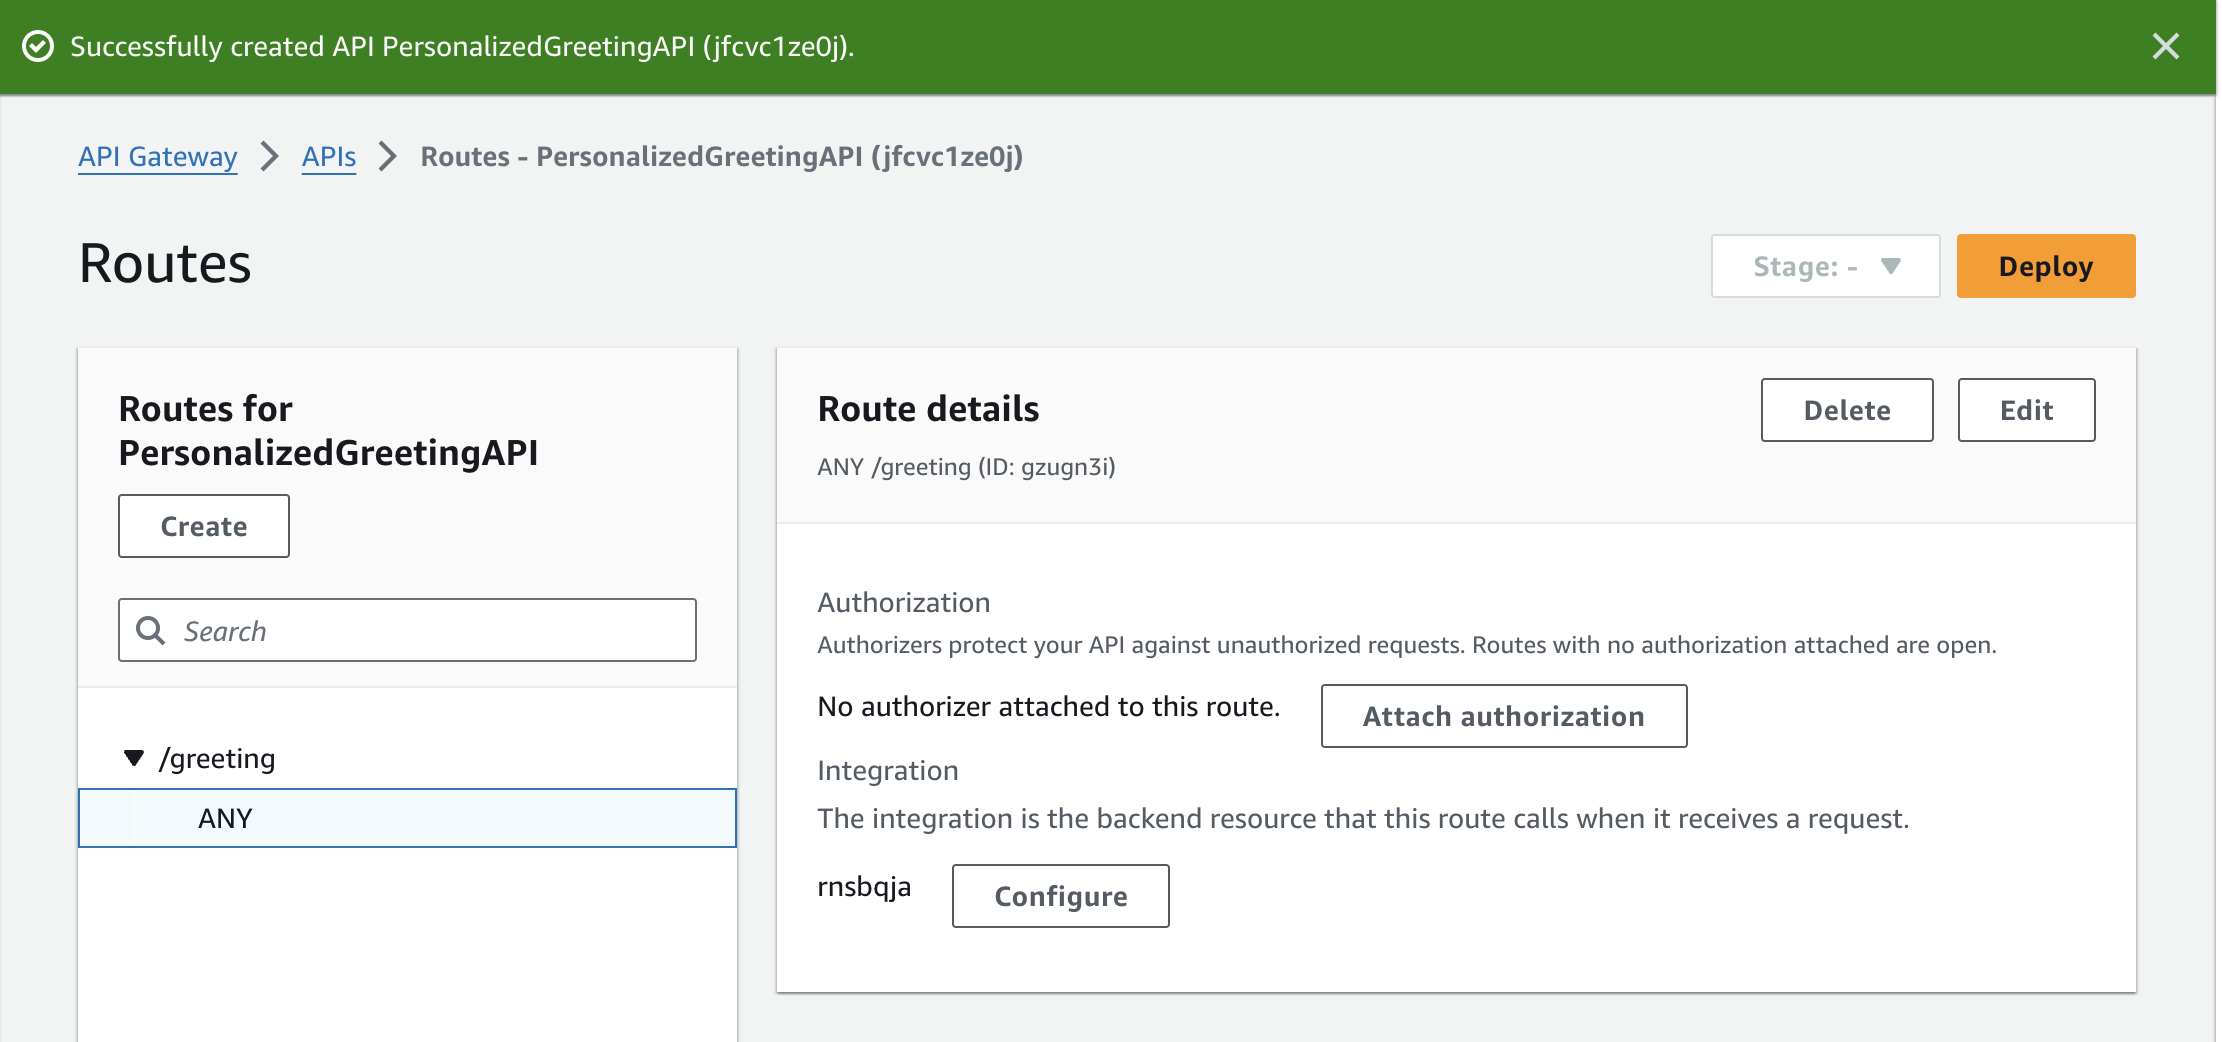
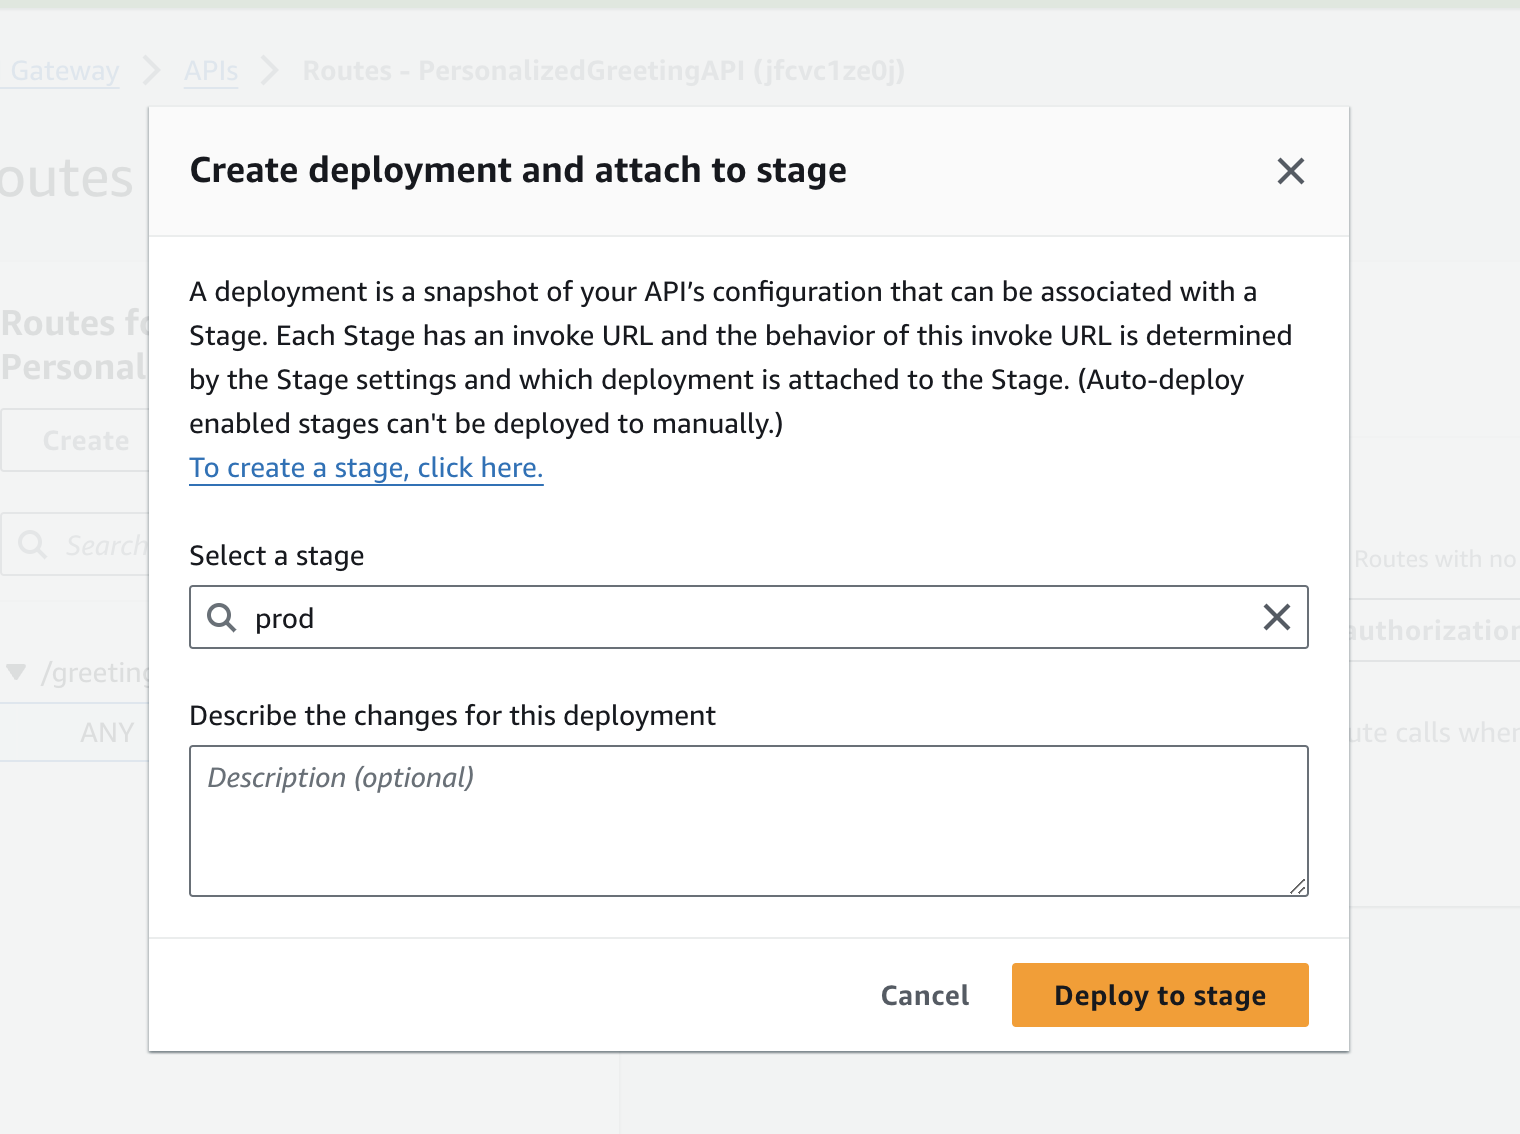
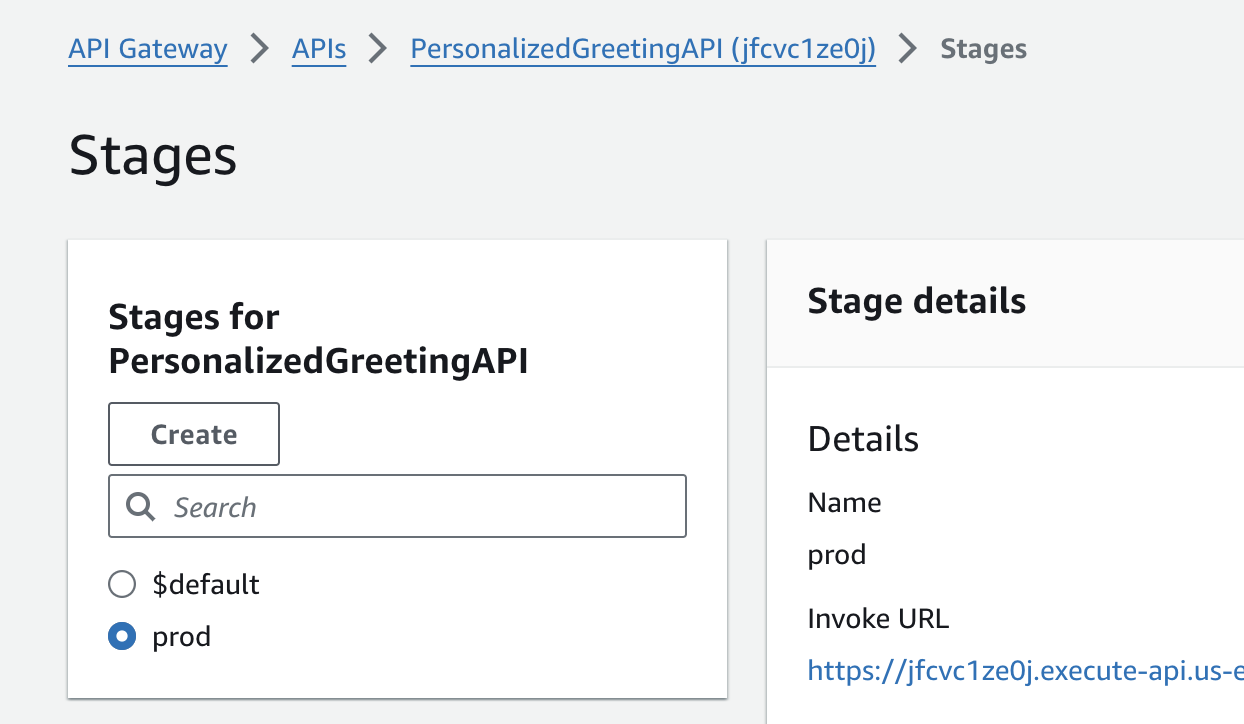
- Deploy the API. Here you can select the prod stage. On the navigation panel on the left, click on "Stages" under "Deploy." Navigate to the prod stage and take note of the Invoke URL provided.
Step 5: Test Your Personalized Greeting Application
- With your API deployed, construct the URL to test your application. Use the Invoke URL followed by the route and include a query parameter for the name:
<InvokeURL>/greeting?name=YourName
Replace
<InvokeURL>with your actual Invoke URL andYourNamewith any name.Access this URL in a web browser. You should see a greeting message personalized with the name you provided.

Step 6: Wrapping Up 🙌
Delete the resources you created!
Congratulations on successfully creating and deploying your personalized greeting application using AWS Lambda and API Gateway! This project not only showcases the simplicity and efficiency of serverless computing but also highlights how quickly you can bring an idea to life with AWS Cloud. As you continue exploring AWS, consider expanding your application by integrating additional AWS services or adding more complexity to your Lambda function. This project is just the beginning of your AWS Cloud journey, so enjoy the ride! ☁️🚗☁️
Subscribe to my newsletter
Read articles from Olga Myronenko directly inside your inbox. Subscribe to the newsletter, and don't miss out.
Written by
Olga Myronenko
Olga Myronenko
I am an AWS Certified Solutions Architect Associate and Cloud DevOps Engineer. 👩🏫 Currently I am working on projects in AWS, Python, Linux, Docker, Kubernetes, Jenkins and Terraform. GitHub Portfolio: https://github.com/omyro