How to make Building Wasm Blazingly Easy
 Etienne ANNE
The WebAssembly ecosystem is experiencing rapid expansion, with developers increasingly intrigued by the promise of "Code Once, Run Everywhere." Initially confined to browser environments, WebAssembly (Wasm) is now gaining traction for server-side execution as well.
However, amidst this promise lies the challenge of selecting the optimal compiler to facilitate seamless development. Navigating this landscape can be daunting for beginners. Fear not, as I'm here to streamline your journey toward creating your first Wasm module, sparing you from tedious trial and error.
This article serves as a comprehensive guide, walking you through the process of building a WebAssembly module using Golang. We'll start from the less practical methods and gradually progress to the quickest and simplest approach, leveraging the Wasmo Cloud Service.
1. Should I target the Web Browser ?
We're faced with the decision of whether to develop WebAssembly (Wasm) with browser support or target alternative environments. However, if our aim is to execute it within our Rust program, how exactly do we go about running WebAssembly code outside of the browser? The answer lies in WASI - the WebAssembly System Interface. WASI defines a modular system interface implemented by Wasm runtimes, enabling access to underlying systems such as the filesystem and networking in a secure and uniform manner.
Our first choice is made : we must build a WASM using the WASI flag to execute it.
2. Write In Go, Run With Rust.
A common way to write and build Go to Wasm is to use the tooling provide on the github.
package main

import "fmt"

func main() {
    fmt.Println("Hello, WebAssembly!")
}
To obtain the Wasm file, simply compile the code targeting the WASM architecture.
GOOS=wasip1 GOARCH=wasm go build -o main.wasm main.go
Pretty straightforward here, we just have two parameters:
GOARCH=wasmtells to the go compiler that we are targeting the Wasm architectureGOOS=wasip1tells to the compile that we want to target thewasi_snapshot_preview1API (to access to the underlying system).
Once done, we can finally execute the Wasm using a runtime. In this example, we will use Wasmtime, a fast and secure runtime written in Rust.
➜ wasmtime run main.wasm
Hello, WebAssembly!
We already did the job. But, why we are only on the second step ?
3. Write Real program with Wasm
Ok, we did the job, but the program is really simple. What about exchange some data between Rust and Go ? Dozens of articles have already been written on this difficult subject. The main limitation with WebAssembly is that it only supports four different types: i32, i64, f32, and f64. Passing around more complex values like strings, arrays, or record types can’t be done without some kind of glue code. And to do that, we must use the only and secure possibility : alloc and free memory in shared linear memories.
So let's jump over this barrier and using the Extism project to produce the glue code. Extism is a cross-language framework for building with WebAssembly and comes with a huge list of languages to build and run Wasm file.
If you're not familiar with Wasm and the Extism ecosystem, I really encourage you to read one excellent article and series about Wasm and Extism from .
I highly recommend reading an excellent series authored by Philippe Charrière on WebAssembly (Wasm) and the Extism ecosystem, especially if you're not yet acquainted with these subjects.
Let's migrate and improve our previous code to a greeting function with the person's name from the Rust.
package main

import (
    "github.com/extism/go-pdk"
)

//export greet
func greet() int32 {
    input := pdk.Input()
    greeting := `Hello, ` + string(input) + `!`
    pdk.OutputString(greeting)
    return 0
}

func main() {}
Let's explain line by line.
the first line imports Extism
Then we defined a
greetfunction, taking no arguments and returning the exit code (very similar to C program)Then we added the glue code to obtain the context that we will pass through our Rust program :
pdk.Input()returns the string contextWe concatenated the greeting
Finally we returned the built string to our program by writing it in the memory (pretty simple for us using Extism's
OutputStringmethod)
Let's create and run the wasm binary using the Extism cli.
tinygo build -o main.wasm -target wasi main.go

extism call main.wasm greet --input "Benjamin" --wasi
# => Hello, Benjamin!
Okay, let's proceed to fulfill the promise outlined in this article.
4. Create Wasm Binaries In one click
We just saw how to build Go program to Wasm and run it in our Rust program. But now, we may wonder how to support many languages to write our code and run it in many other languages.
It's time to use a tool named Wasmo which provides CLI and application to quickly build Wasm binaries on top of Extism framework, without worrying about installing compilers, or compiling to the right target.
Let's create our first Wasmo instance.
docker network create wasmo-network
docker run -d --name s3Server \
    -p 8000:8000 \
    -e SCALITY_ACCESS_KEY_ID=access_key \
    -e SCALITY_SECRET_ACCESS_KEY=secret \
    --net wasmo-network scality/s3server
docker run -d --net wasmo-network \
    --name wasmo \
    -p 5001:5001 \
    -e "AUTH_MODE=NO_AUTH" \
    -e "AWS_ACCESS_KEY_ID=access_key" \
    -e "AWS_SECRET_ACCESS_KEY=secret" \
    -e "S3_FORCE_PATH_STYLE=true" \
    -e "S3_ENDPOINT=http://localhost:8000" \
    -e "S3_BUCKET=wasmo" \
    -e "STORAGE=DOCKER_S3" \
    maif/wasmo
One easy way to deploy Wasmo is to use a S3 Bucket to back up produced Wasm binaries and to indicates that we want to start without any authentication (NO_AUTH).
Once started, you should see something like
###############################################################
# ⚠The manager will start without authentication configured⚠  #
###############################################################
info: Initialize s3 client
info: Bucket test-manager is missing.
info: Wasmo 1.0.9 listening on 5001 ...
Now let's create our Go same plugin using the Wasmo UI : http://localhost:5001
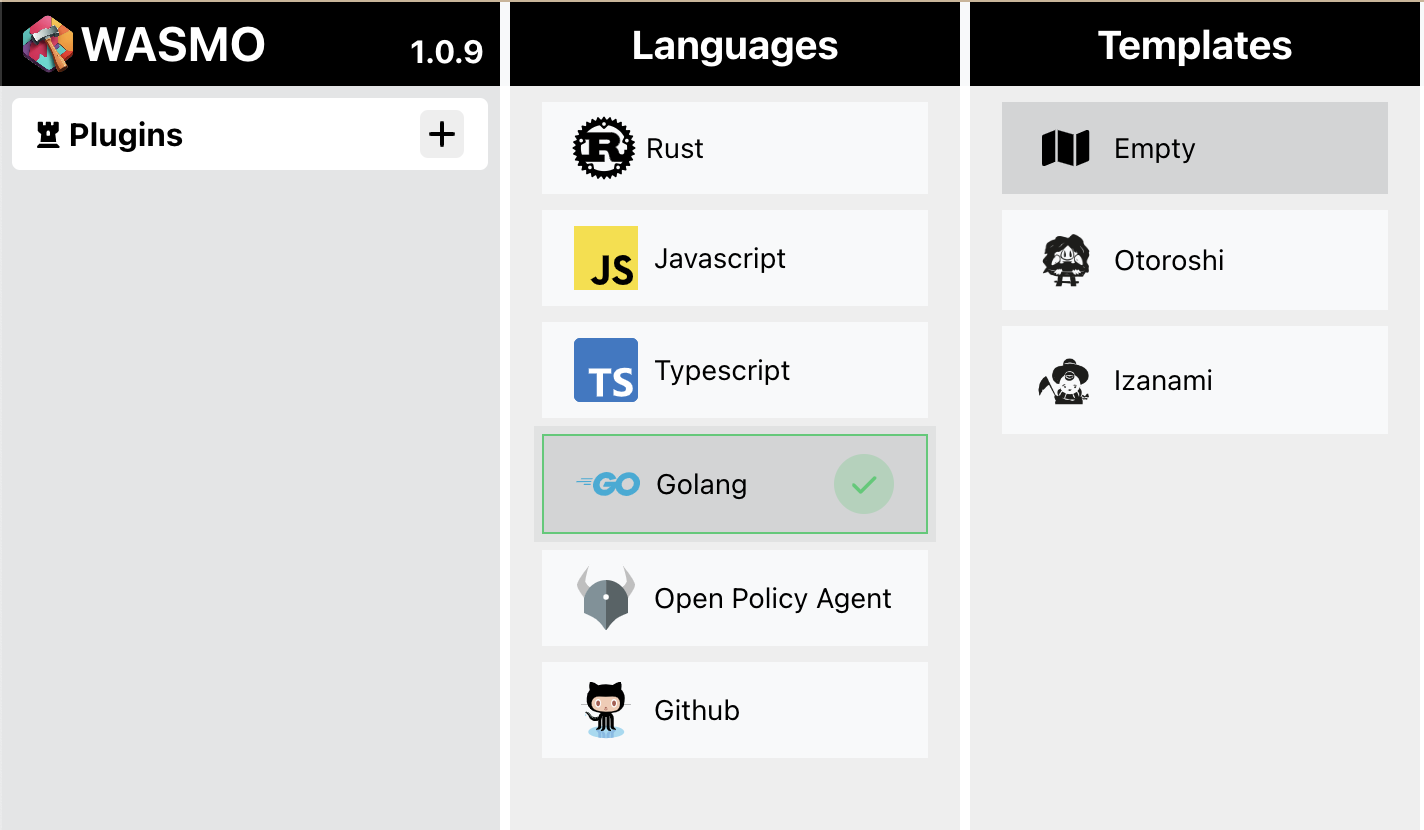
The process is simple : click Plugins button at the top left, select Go as the language, select the Empty template and write go-program as plugin name.

As you can see, Wasmo offers many languages and prebuilt templates to help you to get started.
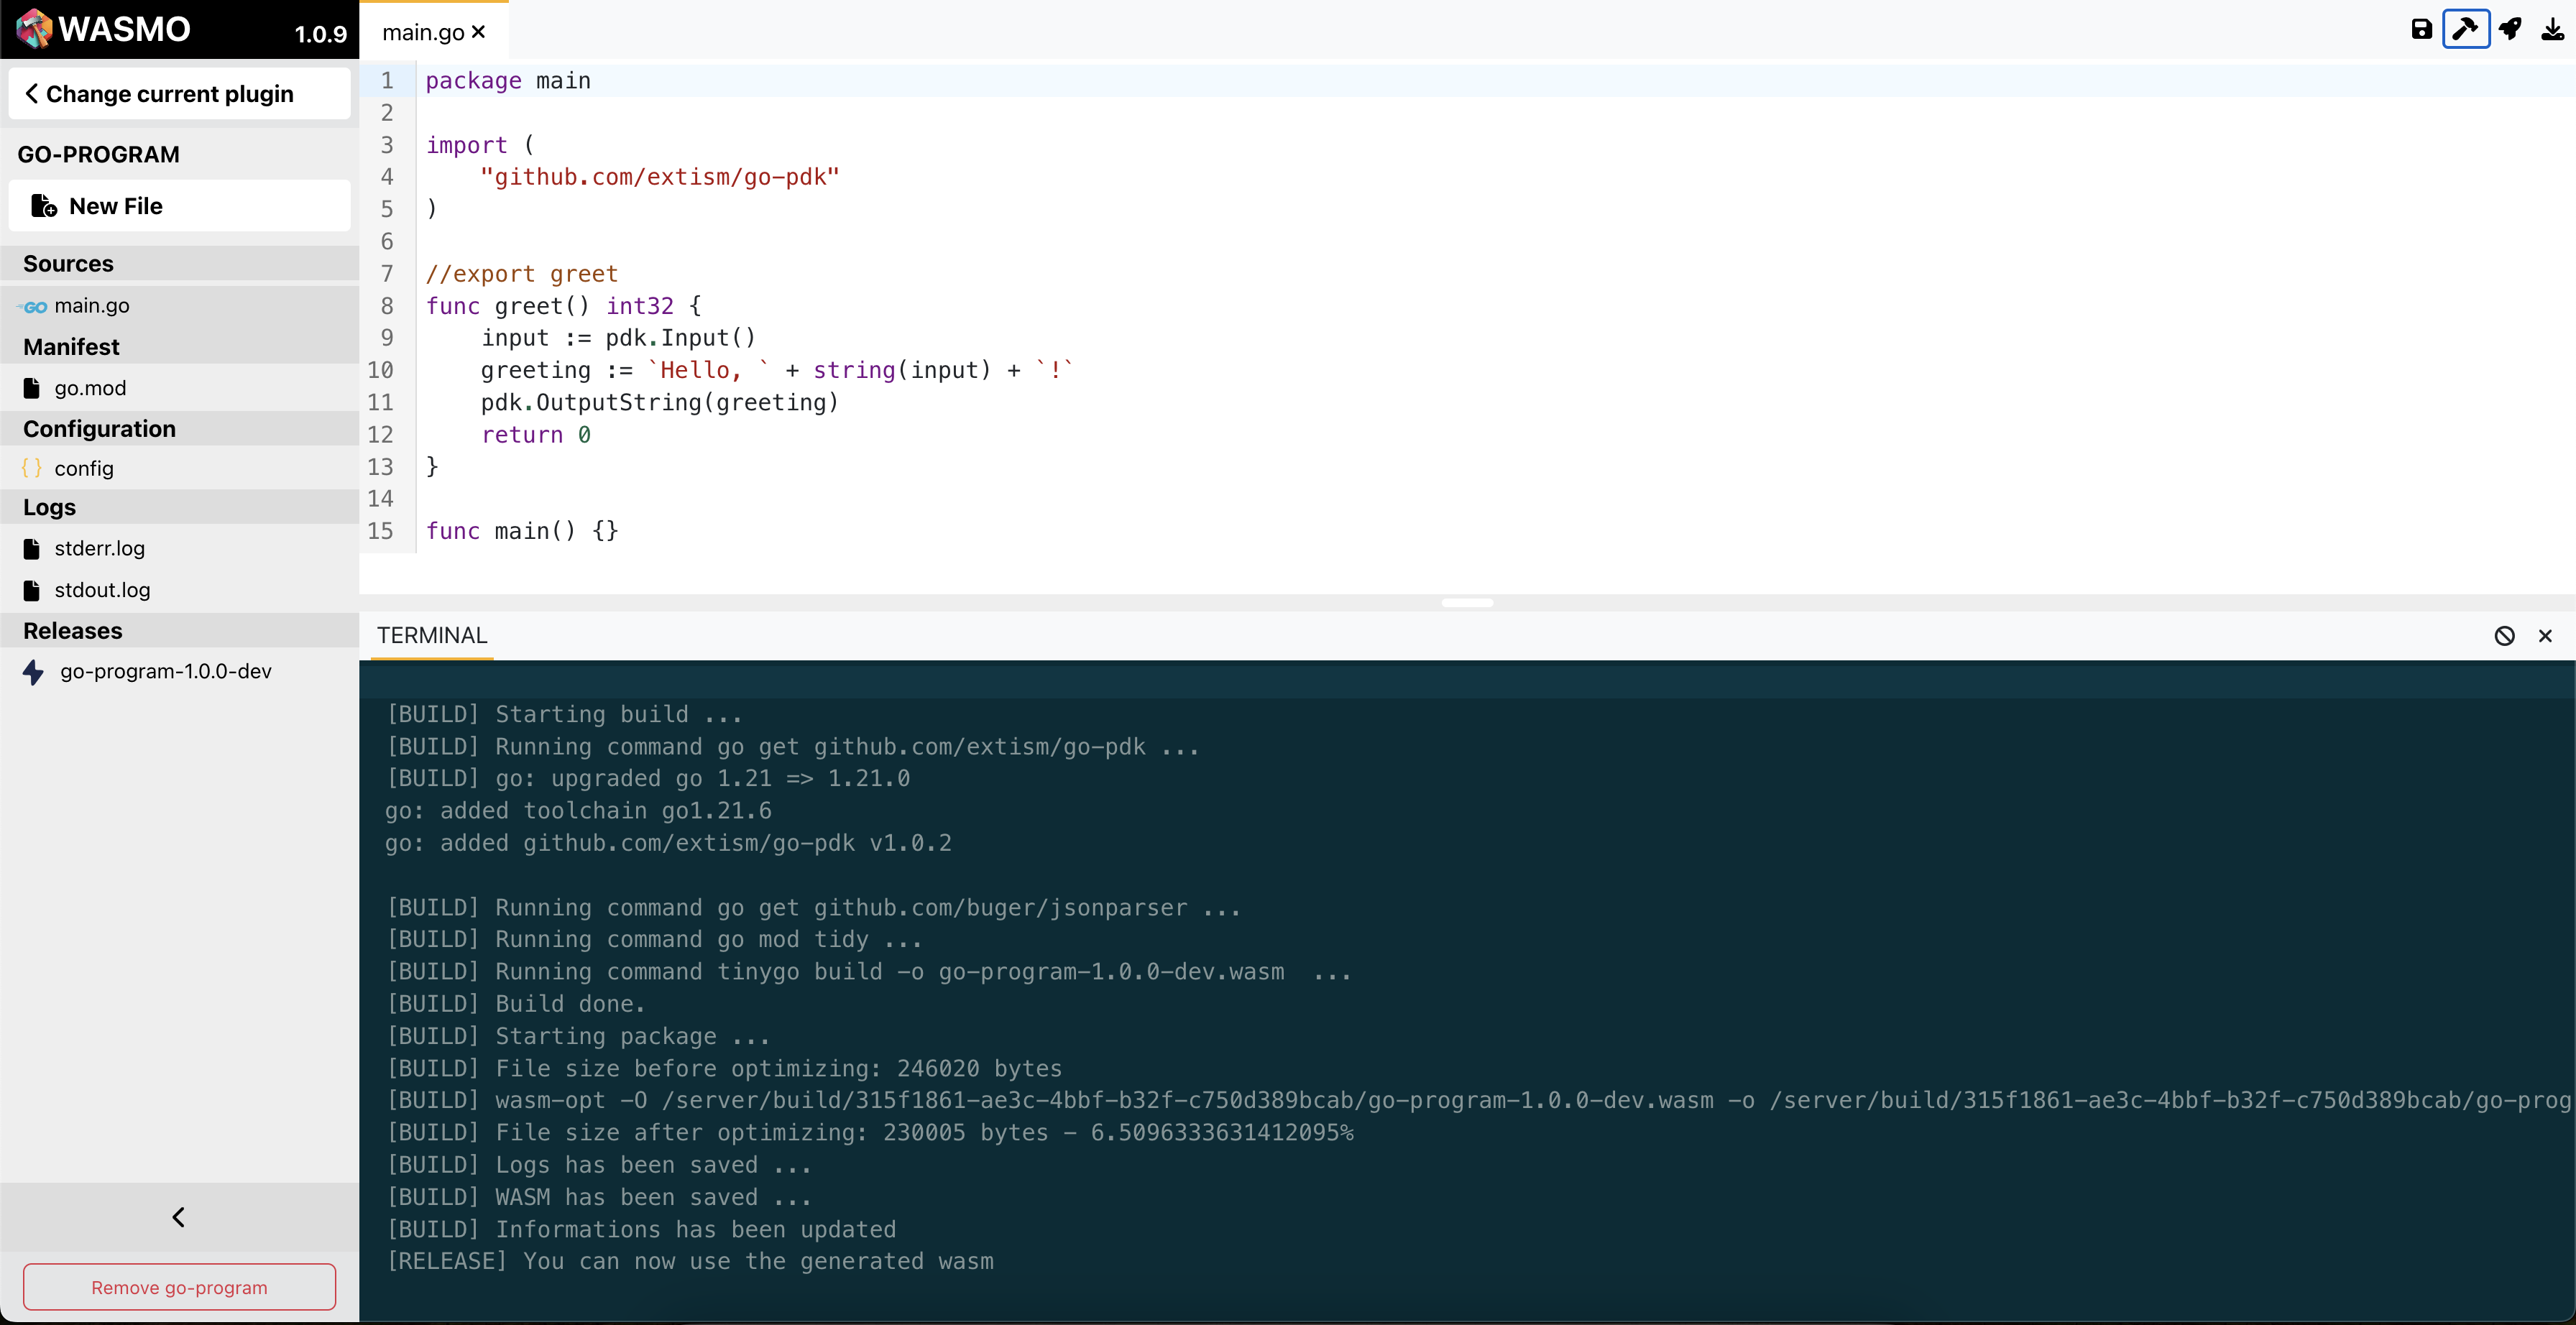
The second and laststep is to click the 🔨 icon.

Congratulations ✨ Wasmo is working for you. You just need to wait a few seconds (that you can spend reading the logs from the Wasmo build process logs) for your go-program-1.0.0-dev Wasm binary file to be ready.
Just download it by clicking the binary in the Releases section and run it.
extism call main.wasm greet --input "Benjamin" --wasi
# => Hello, Benjamin!
5. The easiest step : Wasmo Cloud 🚀
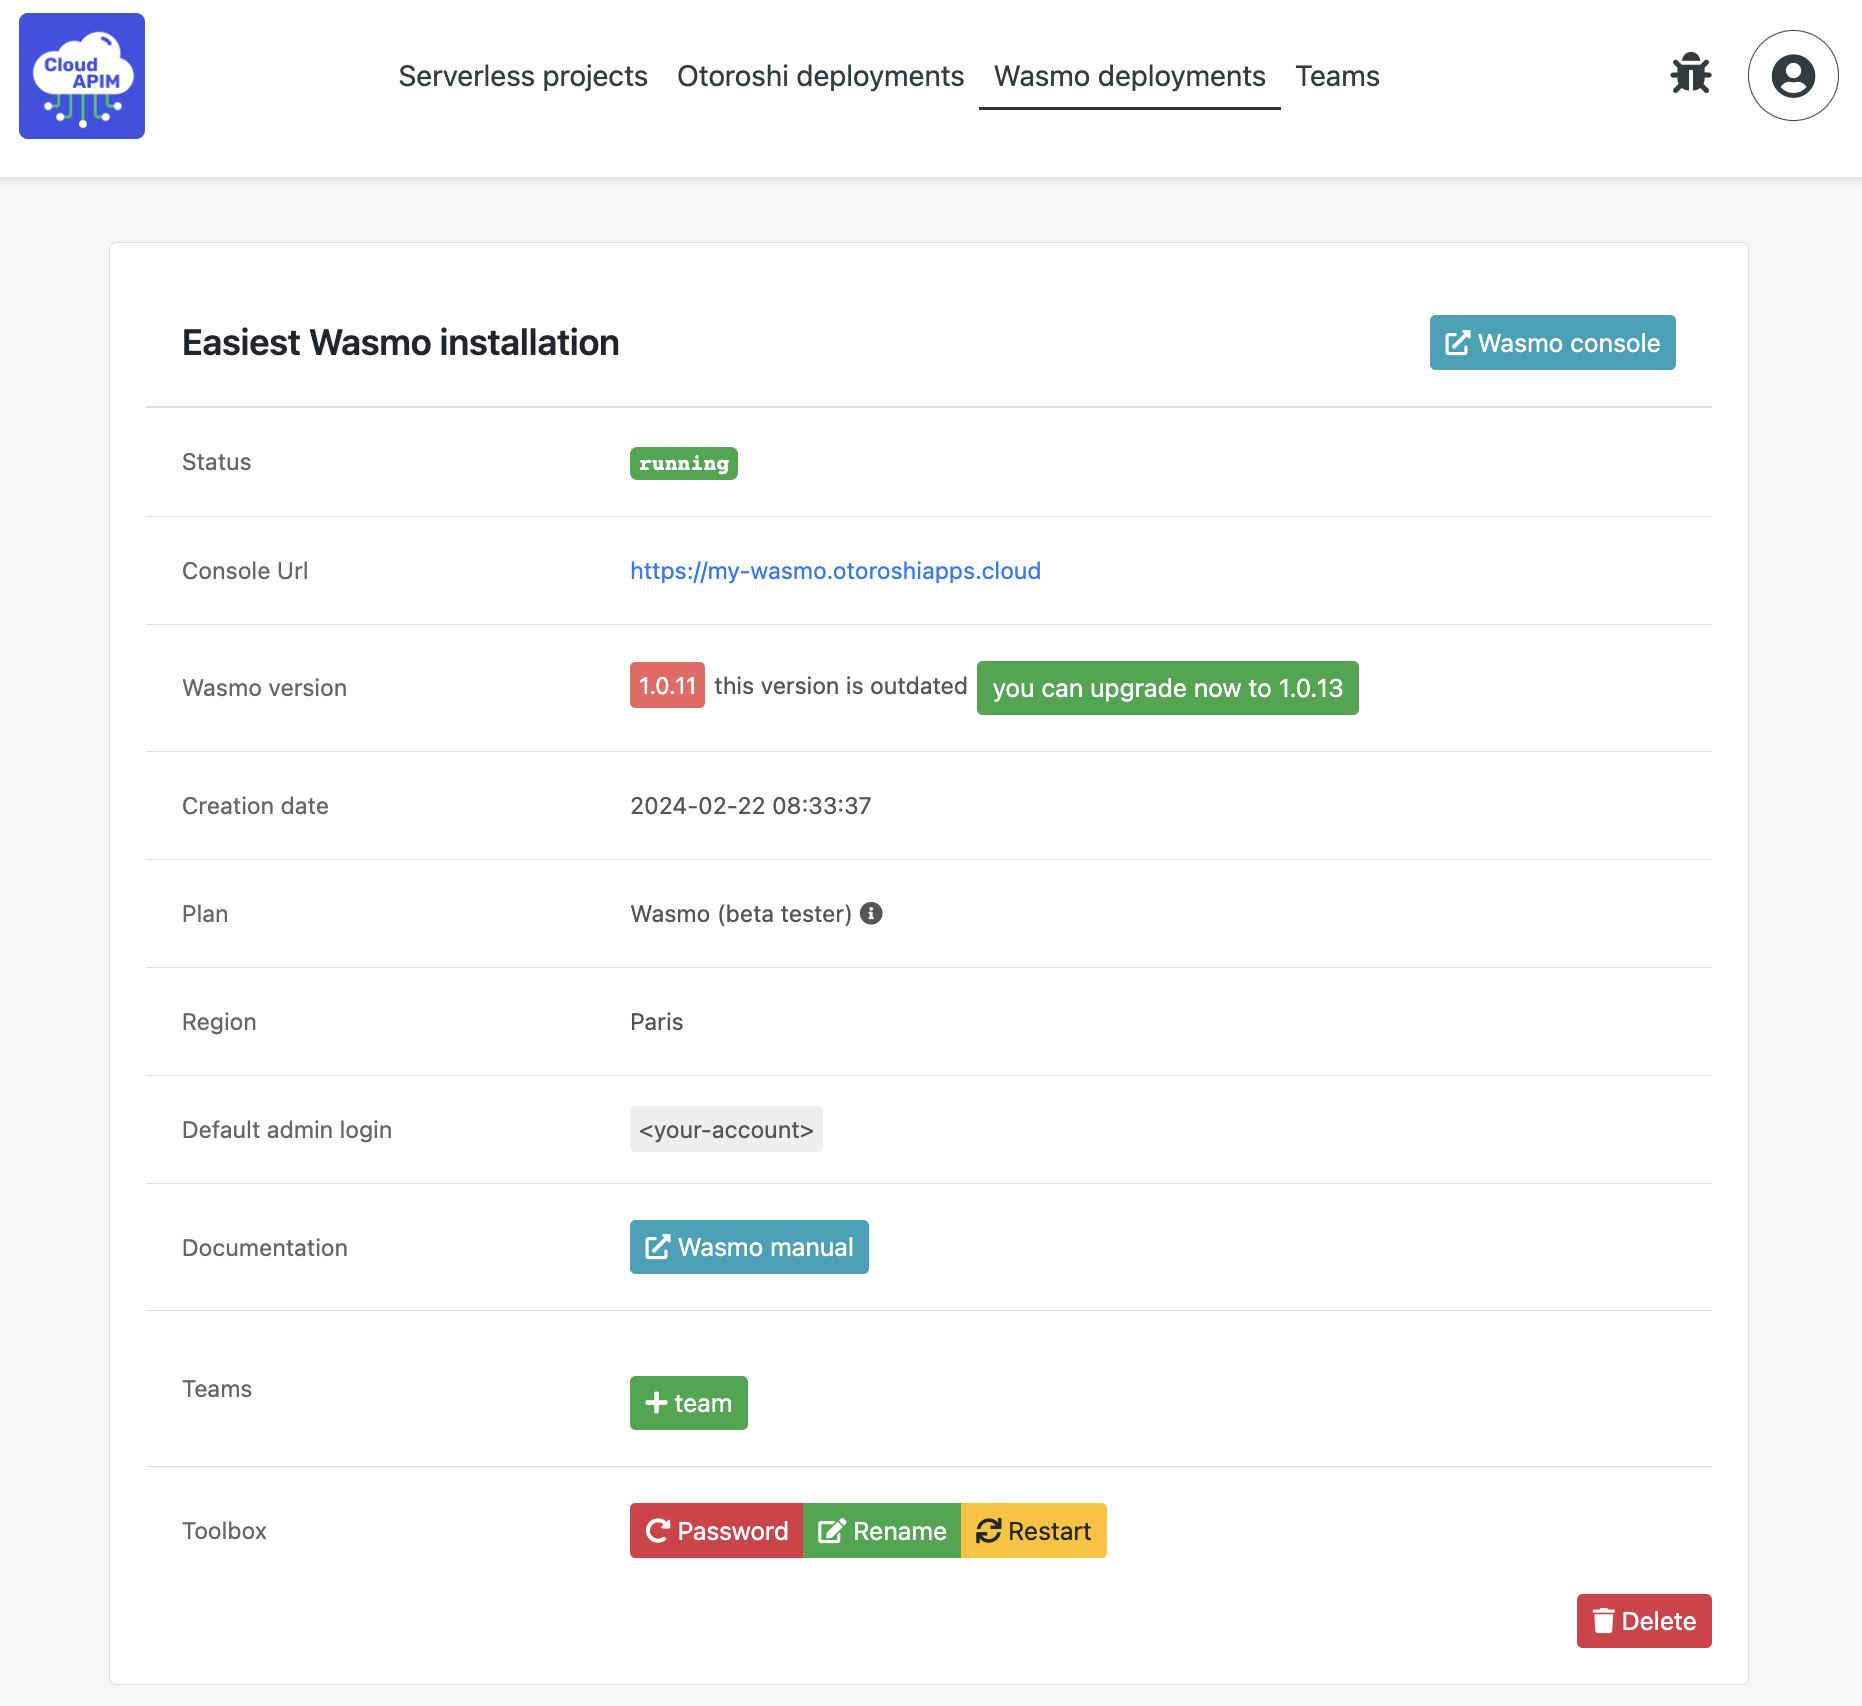
Using Wasmo as a cloud service could hardly be simpler. Since February, it has become possible to deploy and execute Wasmo in the cloud with just a few clicks. Using the Cloud APIM provider, we can easily deploy and execute Wasmo in a cloud environment.
Navigate to Cloud APIM, create a new account if you haven't already, and then create a new Wasmo instance with just a name.
Once done, click the URL to jump to the console.

Congratulations ✨, you can now build and utilize Wasm binaries with Wasmo.
For the most meticulous readers, you may have observed that Wasmo offers Otoroshi templates. Notably, the Wasm binaries generated by Wasmo are fully compatible with Otoroshi.
If you overlooked this detail, you can discover further information regarding the integration of Wasm in an API Gateway in the previous article on Wasm and Otoroshi.
If you followed this article to the end, add 👏 .
You can join discussions about Wasm, Wasmo or Otoroshi by clicking here.
About the projects used in this article :
Wasmo: https://maif.github.io/wasmo/builder/getting-started
Subscribe to my newsletter
Read articles from Etienne ANNE directly inside your inbox. Subscribe to the newsletter, and don't miss out.
Written by
