ArgoCD on Minikube Kubernetes Cluster
 Nehal Ingole
ArgoCD and Minikube
Introduction
Minikube is a tool that allows you to run Kubernetes clusters locally on your machine. It's an excellent tool for development, testing, and learning Kubernetes without needing a full-scale cluster. This guide will walk you through the complete installation process of Minikube on your system.

Prerequisites
Before we begin, ensure that you have the following prerequisites installed on your system:
A hypervisor (such as VirtualBox, VMware, or Hyper-V) installed and enabled.
A compatible version of kubectl installed on your system.
A system with hardware virtualization support enabled in the BIOS settings.
Step 1: Install a Hypervisor Minikube requires a hypervisor to create and manage virtual machines for running Kubernetes clusters. Depending on your operating system, choose and install one of the following hypervisors:
VirtualBox: Download and install VirtualBox from the official website: https://www.virtualbox.org/
VMware: Download and install VMware Workstation or VMware Fusion from the official website: https://www.vmware.com/
Hyper-V: Enable Hyper-V feature on Windows by following the instructions here: https://docs.microsoft.com/en-us/virtualization/hyper-v-on-windows/quick-start/enable-hyper-v
Step 2: Install kubectl kubectl is the command-line tool for interacting with Kubernetes clusters. If you haven't installed kubectl yet, you can follow the official Kubernetes documentation for installation instructions: https://kubernetes.io/docs/tasks/tools/install-kubectl/
Step 3: Install Minikube Now that you have a hypervisor and kubectl installed, you can proceed to install Minikube. Follow these steps:
Download the Minikube binary for your operating system from the official Minikube releases page: https://github.com/kubernetes/minikube/releases
Extract the downloaded archive and move the Minikube binary to a directory included in your system's PATH. For example, on Unix-based systems, you can move it to
/usr/local/bin.Make the Minikube binary executable by running the following command:
chmod +x /usr/local/bin/minikube
- Verify that Minikube is installed correctly by running the following command:
minikube version
This should display the Minikube version installed on your system.
Step 4: Start Minikube Cluster Once Minikube is installed, you can start a Minikube cluster by running the following command:
minikube start
This command creates a virtual machine using the hypervisor you installed earlier and starts a Kubernetes cluster inside it. It may take a few minutes to download and set up the necessary components.
Step 5: Verify Minikube Installation After the Minikube cluster is started, you can verify its status and configuration by running the following command:
minikube status
This command will display the status of the Minikube cluster, including the Kubernetes version, IP address, and cluster status.
Lets started with ArgoCD

Introduction
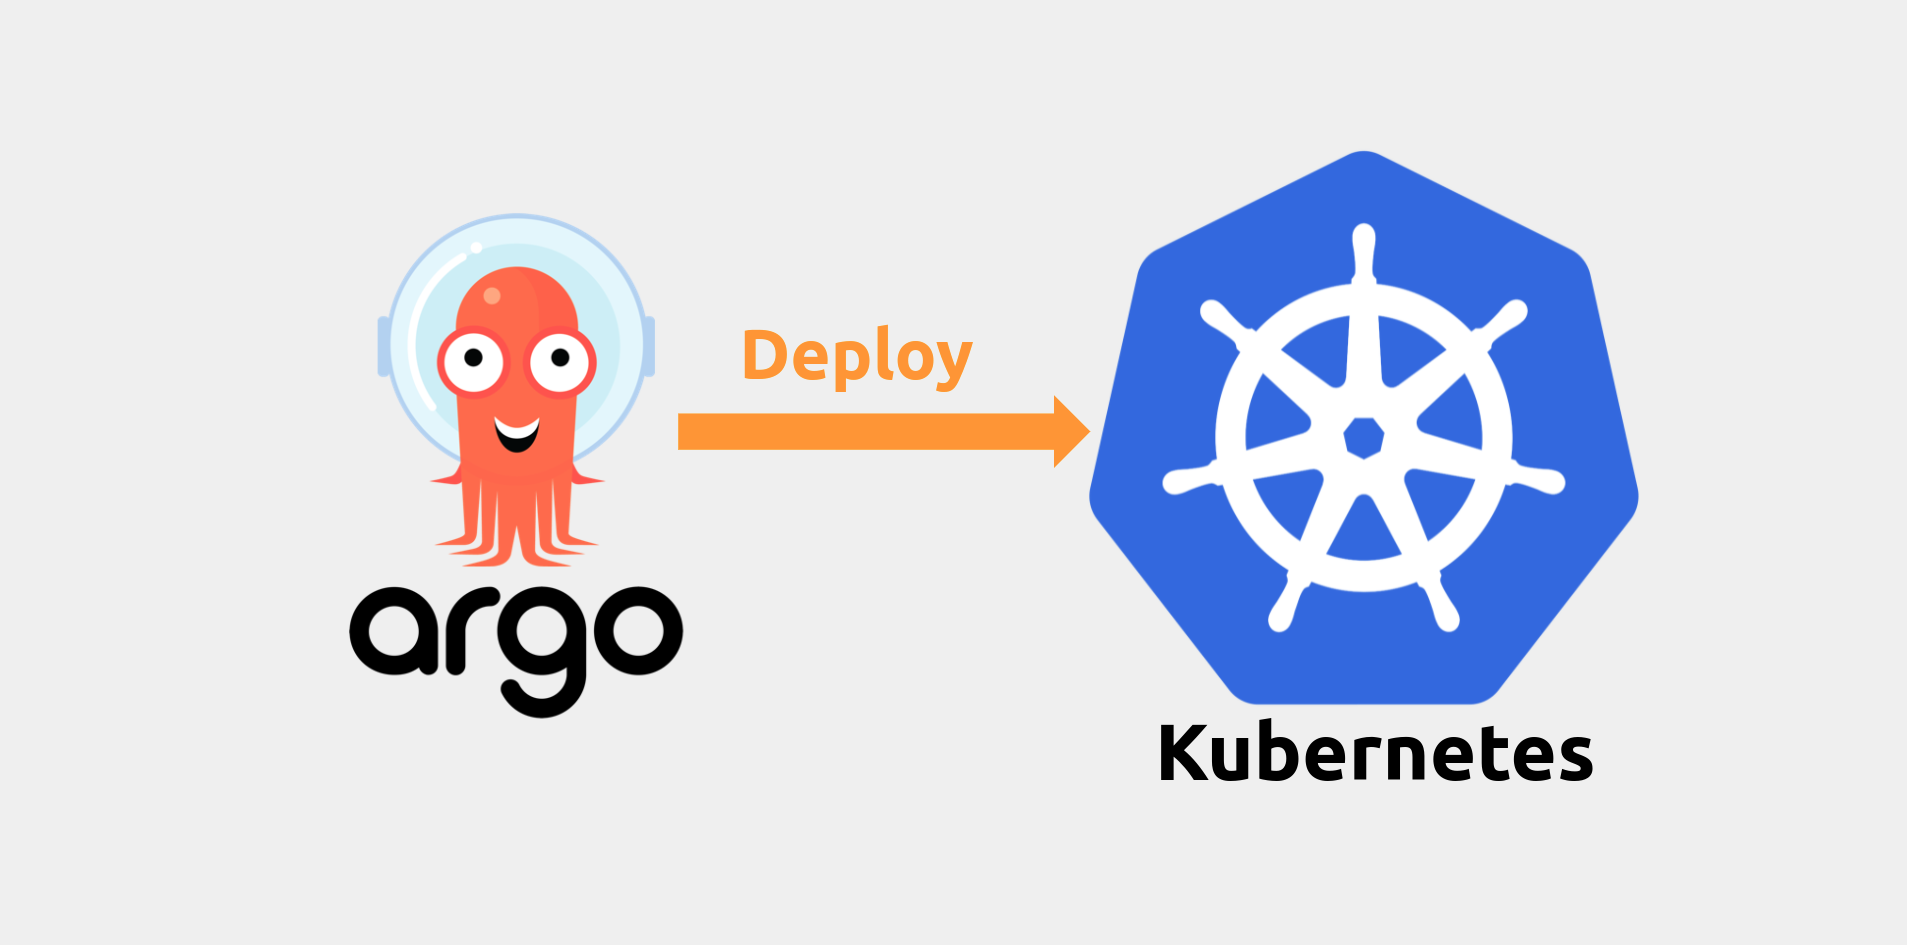
ArgoCD is a declarative, GitOps continuous delivery tool for Kubernetes. It enables automated deployment, monitoring, and management of applications on Kubernetes clusters. In this blog, we'll walk through the step-by-step process of installing ArgoCD on a Minikube Kubernetes cluster. By the end of this guide, you'll have ArgoCD up and running on your local Kubernetes environment, ready to manage your applications with ease.
Prerequisites
Before proceeding, ensure you have the following prerequisites:
Minikube installed and running on your system.
kubectl installed and configured to work with your Minikube cluster.
Step 1: Start Minikube Cluster If you haven't already started Minikube, initiate the Minikube cluster using the following command:
minikube start
This command will create a local Kubernetes cluster using Minikube on your machine.
Step 2: Install ArgoCD ArgoCD can be installed on Kubernetes using Helm, a package manager for Kubernetes applications. Follow these steps to install ArgoCD using Helm:
- Add the ArgoCD Helm repository:
helm repo add argo https://argoproj.github.io/argo-helm
- Update the Helm repositories:
helm repo update
- Install ArgoCD:
helm install argocd argo/argo-cd
Step 3: Access ArgoCD UI After installing ArgoCD, you can access its web-based user interface (UI) to manage applications. To access the ArgoCD UI, you need to create a port-forward to the ArgoCD server service. Run the following command in your terminal:
kubectl port-forward svc/argocd-server -n argocd 8080:443
Now, you can access the ArgoCD UI by opening a web browser and navigating to https://localhost:8080. You'll be prompted to log in with the default username and password.
Step 4: Log in to ArgoCD UI Use the default username admin to log in to the ArgoCD UI. To retrieve the default password, you can run the following command:
kubectl -n argocd get secret argocd-initial-admin-secret -o jsonpath="{.data.password}" | base64 -d
Enter the username admin and the password obtained from the previous step to log in to the ArgoCD UI.
Step 5: Deploy Applications with ArgoCD Now that ArgoCD is installed and running, you can start deploying applications to your Minikube Kubernetes cluster using ArgoCD. To deploy an application, you need to create an Application resource definition and specify the source of your application manifest files. ArgoCD will continuously monitor your Git repository for changes and automatically sync the state of your applications with the desired state defined in your Git repository.
Conclusion
With ArgoCD successfully installed on your Minikube Kubernetes cluster, you're now equipped with a powerful tool for managing and deploying applications in a GitOps-centric manner. By leveraging ArgoCD's capabilities, you can automate your deployment workflows, ensure consistency across environments, and increase the efficiency of your development process.
As you continue to explore ArgoCD and its features, consider integrating it into your development pipeline to simplify application deployments, improve collaboration among team members, and enhance the overall reliability of your Kubernetes-based applications.
Stay tuned for more insights and tutorials on Kubernetes, DevOps, and cloud-native technologies. Happy coding!
Connect with us:
Hashnode: https://hashnode.com/@Nehal71
Twitter : https://twitter.com/IngoleNehal
Subscribe to my newsletter
Read articles from Nehal Ingole directly inside your inbox. Subscribe to the newsletter, and don't miss out.
Written by

Nehal Ingole
Nehal Ingole
🚀 Greetings World! 🌐 Meet a dynamic Frontend Developer, UI/UX Designer, and avid explorer of Cloud & DevOps realms! Uncover the journey of a professional deeply passionate about crafting seamless user experiences, designing visually stunning interfaces, and navigating the cloud with a DevOps mindset. 🔧 Skills Snapshot: Frontend Mastery: HTML, CSS, and JavaScript expert, specializing in React, Angular, and Vue.js. Design Wizardry: Proficient in wireframing, prototyping, and Adobe Creative Suite and Figma for captivating designs. Cloud Maestro: Fluent in AWS, Azure, and Google Cloud Platform, adept at architecting scalable solutions. DevOps Guru: Skilled in Docker, Kubernetes, Jenkins, and Git, contributing to efficient development workflows. 🔗 Let's Connect: Open to collaborating on exciting projects and sharing industry insights, I invite connections for networking or discussions. Reach out for potential collaborations. 📧 Contact Me: GitHub: GitHub Profile Email: nehalingole2001@gmail.com Mobile: 7397966719 Figma: Figma Profile Twitter: Twitter Profile HashNode: HashNode Profile LinkedIn : LinkedIn Profile