Step-by-Step Guide to Setting Up an Azure Load Balancer for Optimal Traffic Distribution
 Siddhant Bhattarai
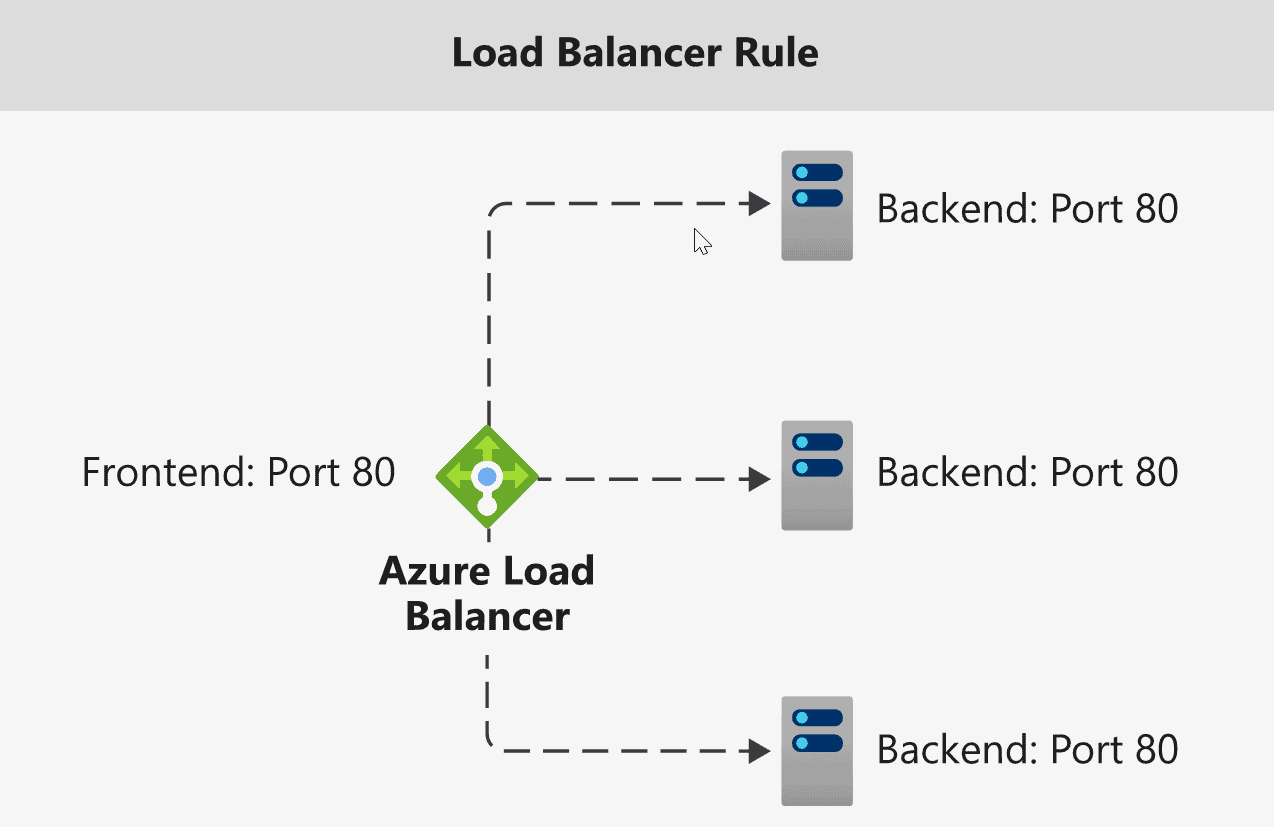
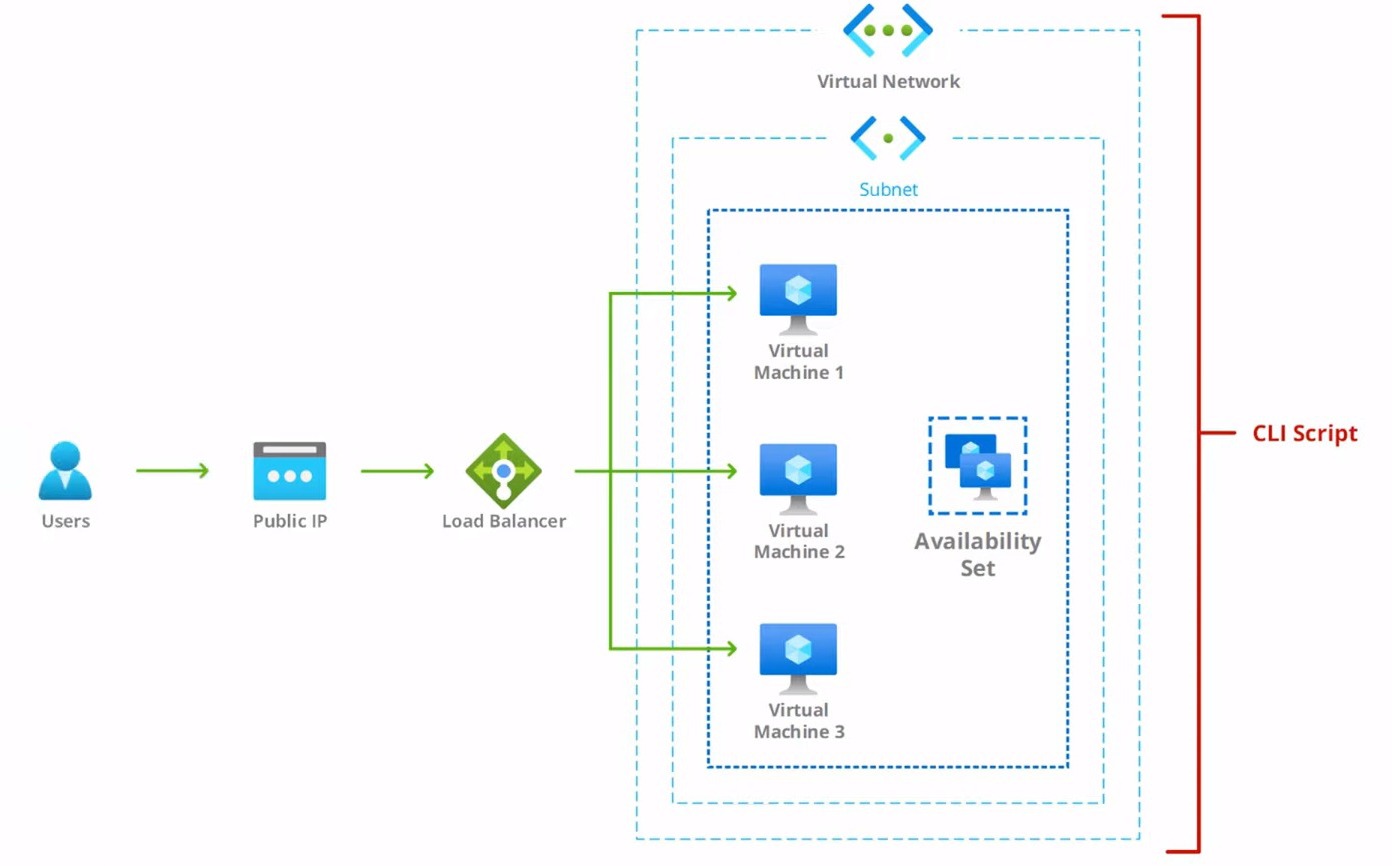
In the realm of cloud services, ensuring that your applications remain accessible and perform optimally under varying loads is paramount. One of the key components in achieving this is the use of load balancers. Azure Load Balancer stands out as a robust solution, offering to distribute incoming network traffic across multiple servers, ensuring no single server becomes a bottleneck. This guide walks you through setting up an Azure Load Balancer, ensuring your applications can handle traffic efficiently and reliably.
Define Deployment Variables
The journey begins with the preparation phase, where defining your deployment variables is crucial. This blog provides a clear example, setting variables for resource groups, locations, network names, and more. This step is foundational, as these variables will be used throughout the setup process to streamline the creation of resources.
Linux:
# Define deployment variables
resourceGroup="azure-lb-rg"
location="eastus"
username="siddhant"
password='Admin@123456789'
vnetName="ismt-vnet"
subnetName="ismt-private-subnet"
availabilitySetName="ismt-vm-as"
nsgName="ismt-vm-nsg"
vmSize="Standard_B1s"
image="Canonical:0001-com-ubuntu-server-jammy:22_04-lts:latest"
For Windows:
# Define deployment variables
$resourceGroup="azure-lb-rg"
$location="eastus"
$username="siddhant"
$password='Admin@123456789'
$vnetName="ismt-vnet"
$subnetName="ismt-private-subnet"
$availabilitySetName="ismt-vm-as"
$nsgName="ismt-vm-nsg"
$vmSize="Standard_B1s"
$image="Canonical:0001-com-ubuntu-server-jammy:22_04-lts:latest"
Create the resource group
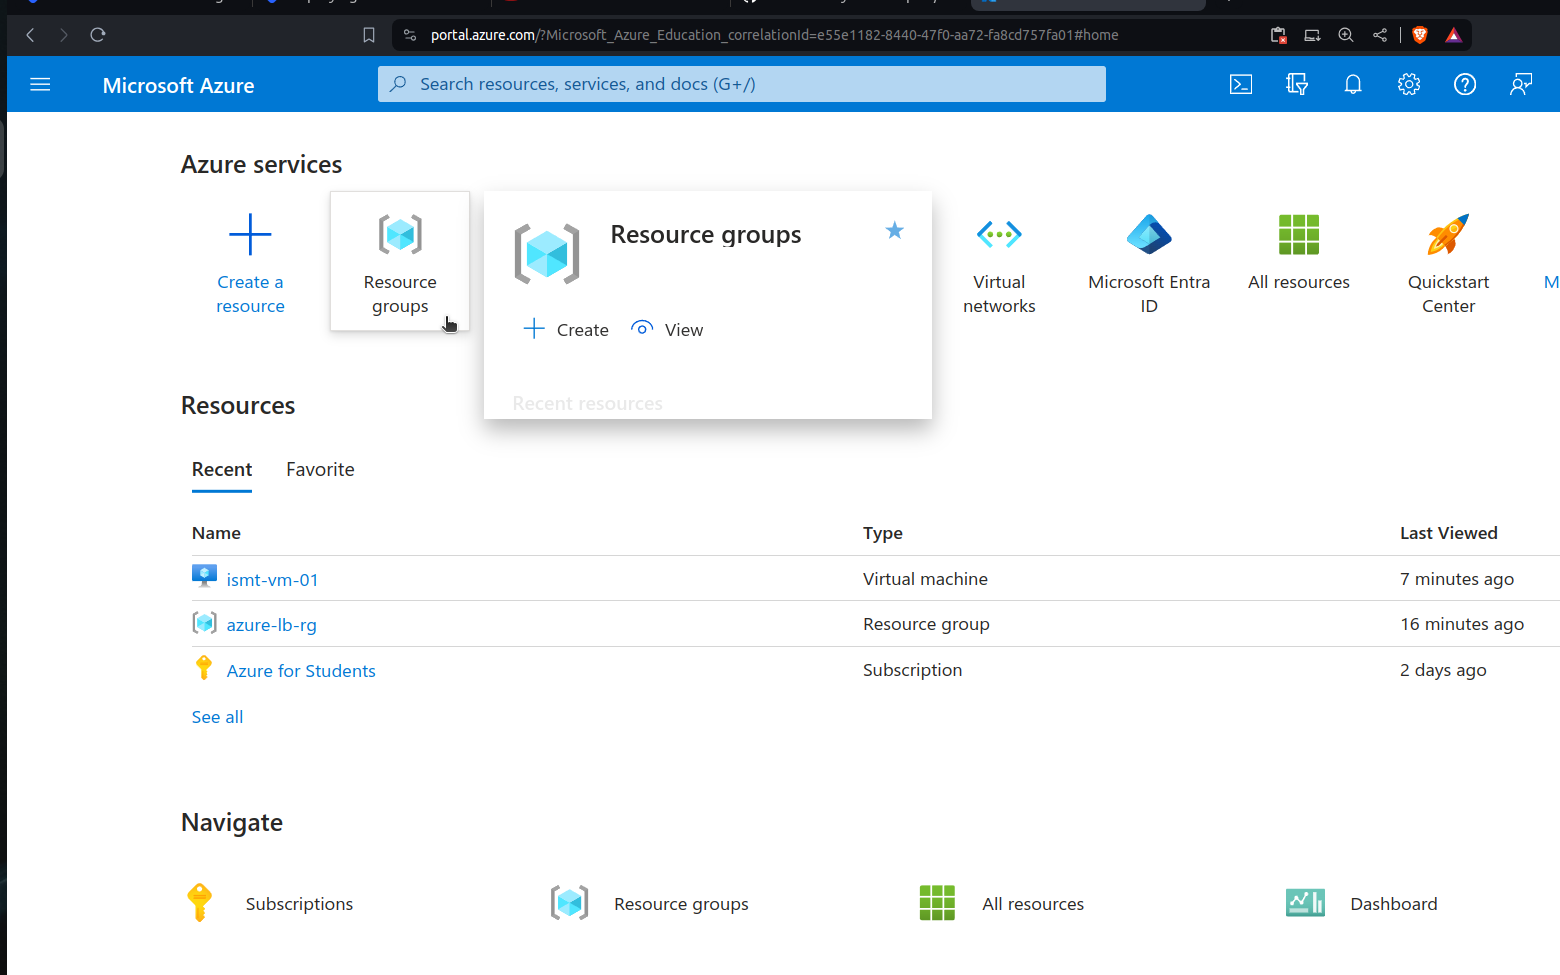
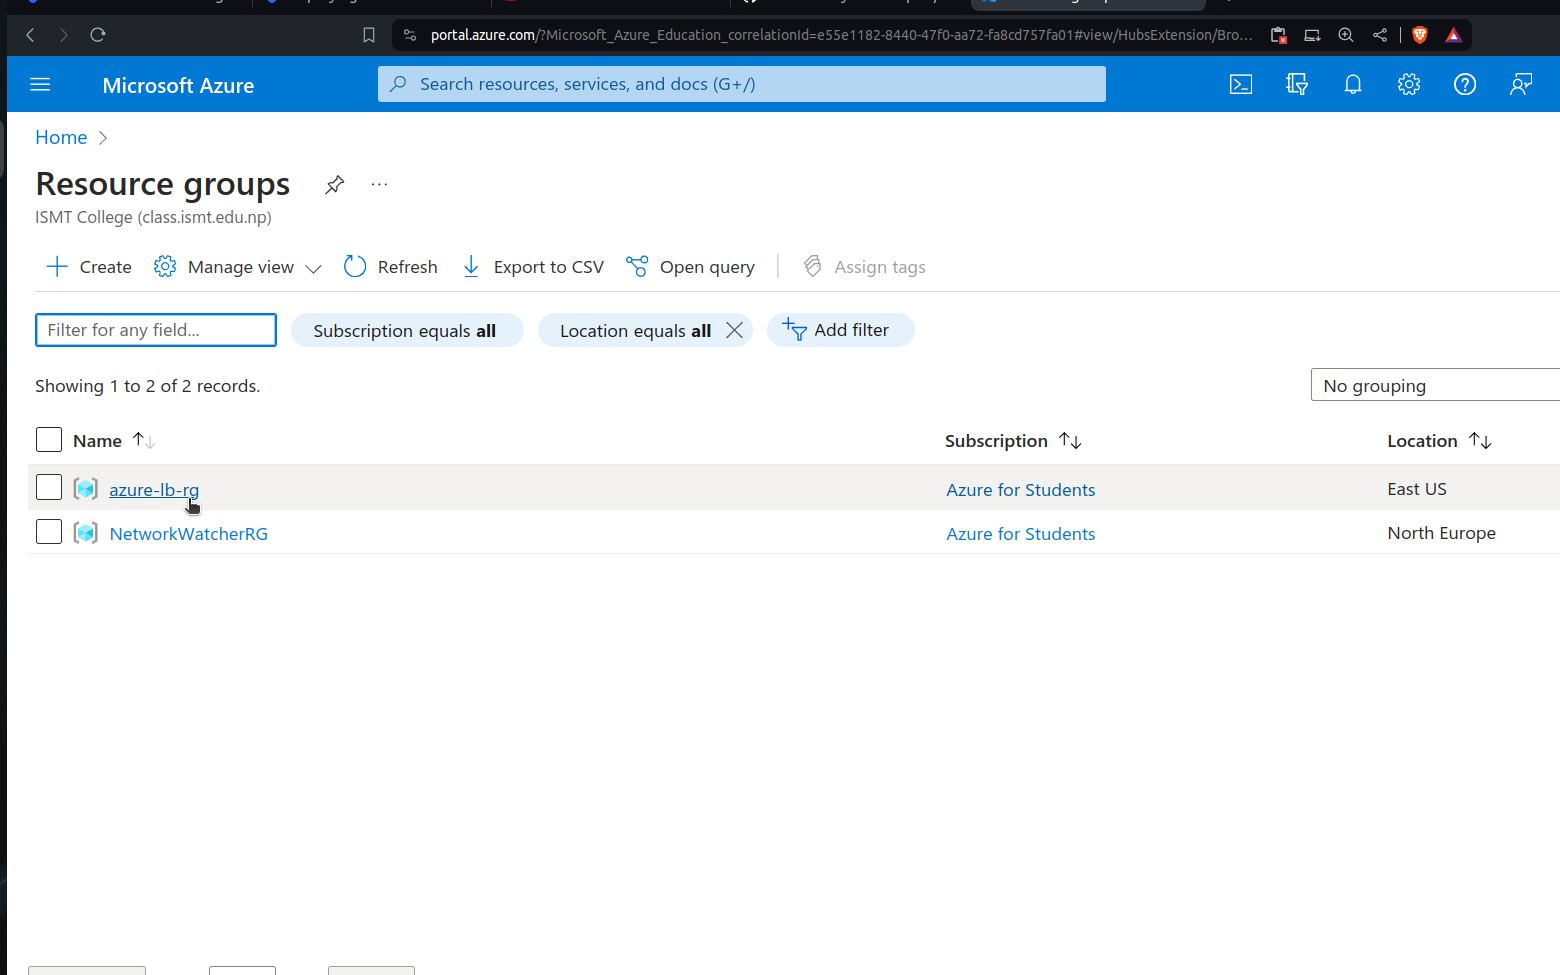
With variables in hand, the next step is creating a resource group in Azure. This group serves as a container for holding related resources for your load balancer setup. The command is straightforward, reflecting the simplicity Azure offers in orchestrating complex cloud services.
# Create the resource group
echo "Creating resource group..."
az group create --name $resourceGroup --location $location
Create the Virtual Network and Subnet
A virtual network (VNet) is crucial for Azure VMs and Load Balancers, as it enables them to communicate securely. Subnets further organize resources within a VNet. This guide demonstrates the ease of setting up a VNet and a subnet, marking a critical step in preparing the environment for the load balancer.
Linux
# Create the virtual network and subnet
echo "Creating virtual network and subnet..."
az network vnet create \
  --name $vnetName \
  --resource-group $resourceGroup \
  --location $location \
  --address-prefixes '172.16.0.0/16' \
  --subnet-name $subnetName \
  --subnet-prefixes '172.16.1.0/24'
For Windows:
# Create the virtual network and subnet
az network vnet create `
  --name $vnetName `
  --resource-group $resourceGroup `
  --location $location `
  --address-prefixes '172.16.0.0/16' `
  --subnet-name $subnetName `
  --subnet-prefixes '172.16.1.0/24'
Create the Availability Set
High availability is a key feature of robust applications. An availability set is a group of VMs that Azure uses to ensure that at least one VM is available during maintenance or failures. Creating an availability set is a simple yet significant step towards a fault-tolerant application setup.
# Create the availability set
echo "Creating availability set..."
az vm availability-set create \
  --name $availabilitySetName \
  --location $location \
  --resource-group $resourceGroup
For Windows:
# Create the availability set
az vm availability-set create `
  --name $availabilitySetName `
  --location $location `
  --resource-group $resourceGroup
Proceed with VM Creation
Next, we create the virtual machines (VMs) that will serve our application. This method involves a loop to create multiple VMs, showcasing the scalability of Azure services. These VMs are later added to the load balancer for distributing incoming traffic.
# Proceed with VM creation
echo "Creating VMs..."
for NUM in 1 2 3; do
  az vm create \
    --name ismt-vm-0$NUM \
    --resource-group $resourceGroup \
    --location $location \
    --size $vmSize \
    --image $image \
    --admin-username $username \
    --admin-password $password \
    --vnet-name $vnetName \
    --subnet $subnetName \
    --public-ip-address "" \
    --availability-set $availabilitySetName \
    --nsg $nsgName
done
For Windows:
# Proceed with VM creation
for ($NUM=1; $NUM -le 3; $NUM++) {
  az vm create `
    --name "ismt-vm-0$NUM" `
    --resource-group $resourceGroup `
    --location $location `
    --size $vmSize `
    --image $image `
    --admin-username $username `
    --admin-password $password `
    --vnet-name $vnetName `
    --subnet $subnetName `
    --availability-set $availabilitySetName `
    --nsg $nsgName
}
Open Port 80 for Web Traffic
For web applications, opening port 80 is essential to allow HTTP traffic. This step is a testament to Azure’s flexibility in configuring network security groups (NSGs) to meet the application's needs.
# Open port 80 for web traffic
echo "Configuring network security group rules..."
for NUM in 1 2 3; do
  az vm open-port --resource-group $resourceGroup --name ismt-vm-0$NUM --port 80
done
For Windows:
# Open port 80 for web traffic
# Loop through VMs and open port 80
foreach ($NUM in 1..3) {
  az vm open-port --resource-group $resourceGroup --name "ismt-vm-0$NUM" --port 80
}
Install Nginx and Configure Web Page
Before introducing the load balancer, ensuring your servers are ready to serve content is key. Installing Nginx on each VM and configuring a basic web page demonstrates how Azure supports a wide range of applications and services. The use of Azure VM extensions to automate software installations is a game-changer.
Linux:
# Install Nginx and configure web page
# Loop through each VM and install Nginx
for NUM in {1..3}
do
  # Set the VM name
  vmName="ismt-vm-0$NUM"

  # Install Nginx and configure web page on the VM
  echo "Installing Nginx and configuring web page on $vmName..."

  # Use Azure CLI to set a CustomScript extension on the VM
  az vm extension set \
    --resource-group $resourceGroup \
    --vm-name $vmName \
    --name CustomScript \
    --publisher Microsoft.Azure.Extensions \
    --version 2.0 \
    --settings "{\"fileUris\": [\"https://raw.githubusercontent.com/siddhantbhattarai/azure-load-balancer/main/webserver-script.sh\"], \"commandToExecute\": \"bash webserver-script.sh\"}"
done
For Windows:
# Install Nginx and configure web page
for ($NUM = 1; $NUM -le 3; $NUM++) {
  # Set the settings JSON as a PowerShell string
  $settings = '{"fileUris": ["https://raw.githubusercontent.com/siddhantbhattarai/azure-load-balancer/main/webserver-script.sh"], "commandToExecute": "bash webserver-script.sh"}'

  # Use double quotes to encapsulate the JSON string
  $settings = $settings -replace '"', '\"'

  az vm extension set `
    --resource-group $resourceGroup `
    --vm-name "ismt-vm-0$NUM" `
    --name CustomScript `
    --publisher Microsoft.Azure.Extensions `
    --version 2.0 `
    --settings "$settings"
}
Create the Load Balancer
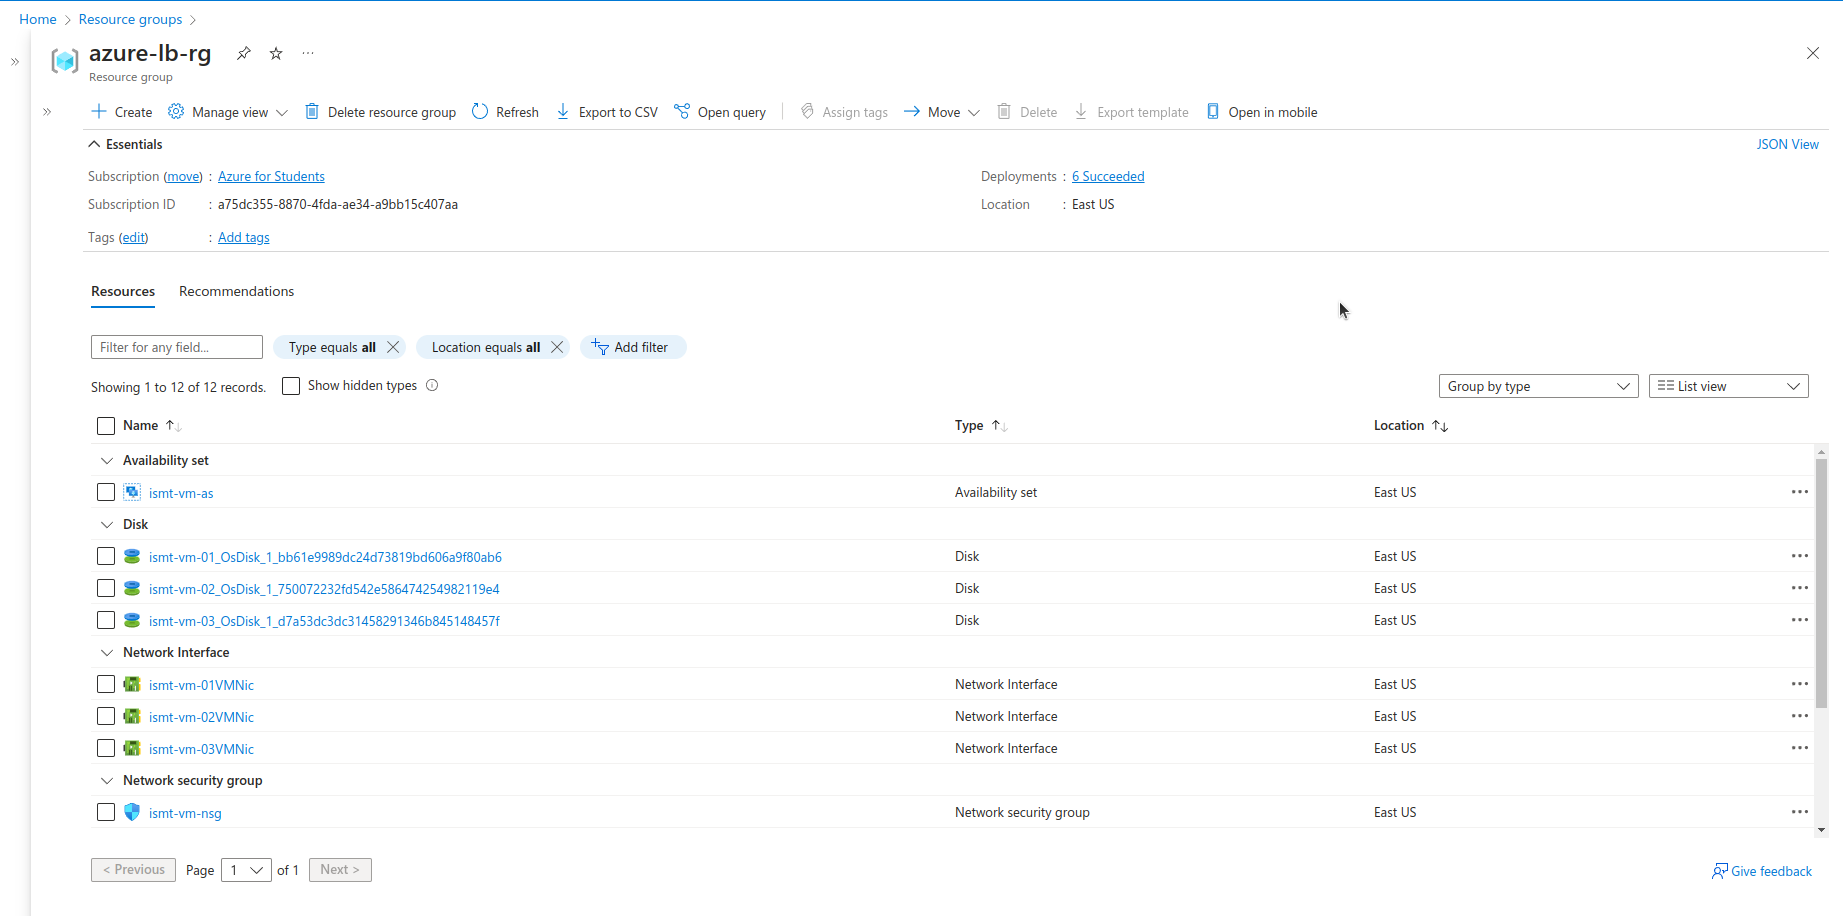
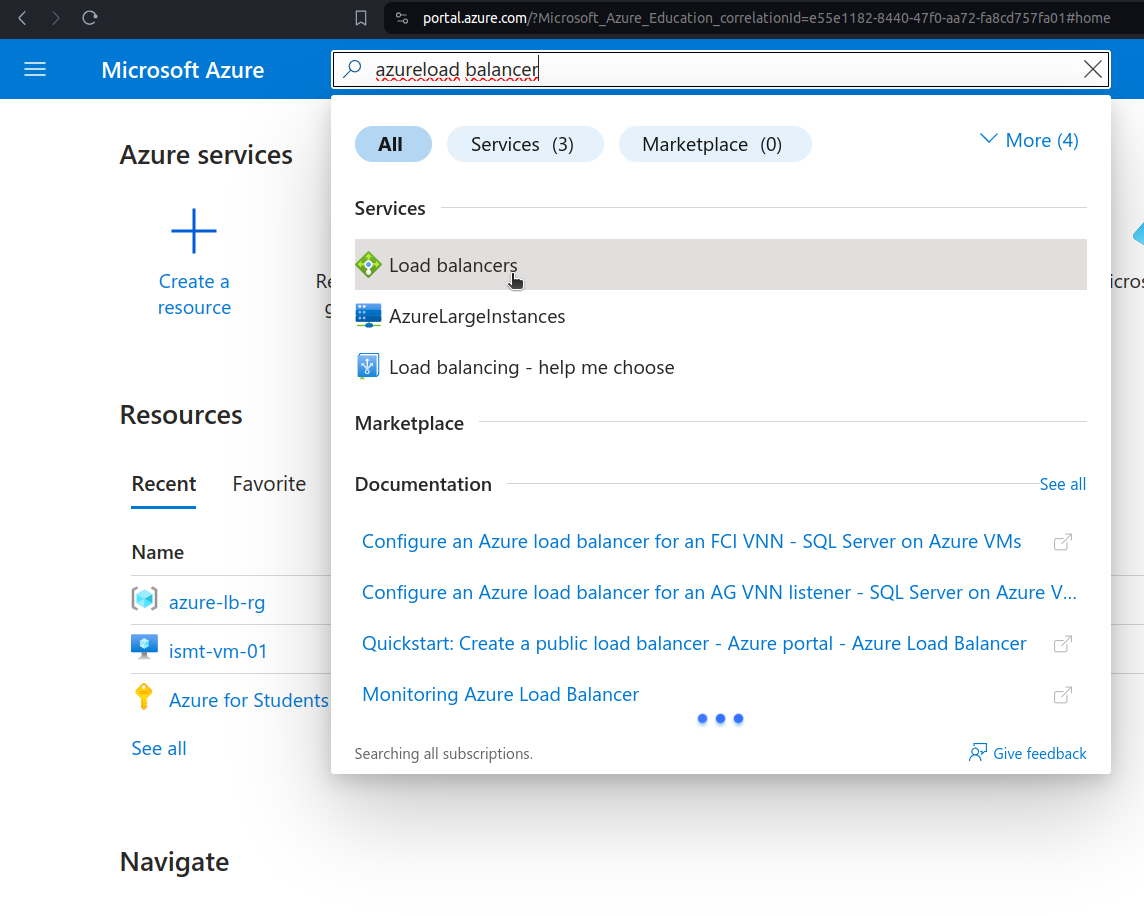
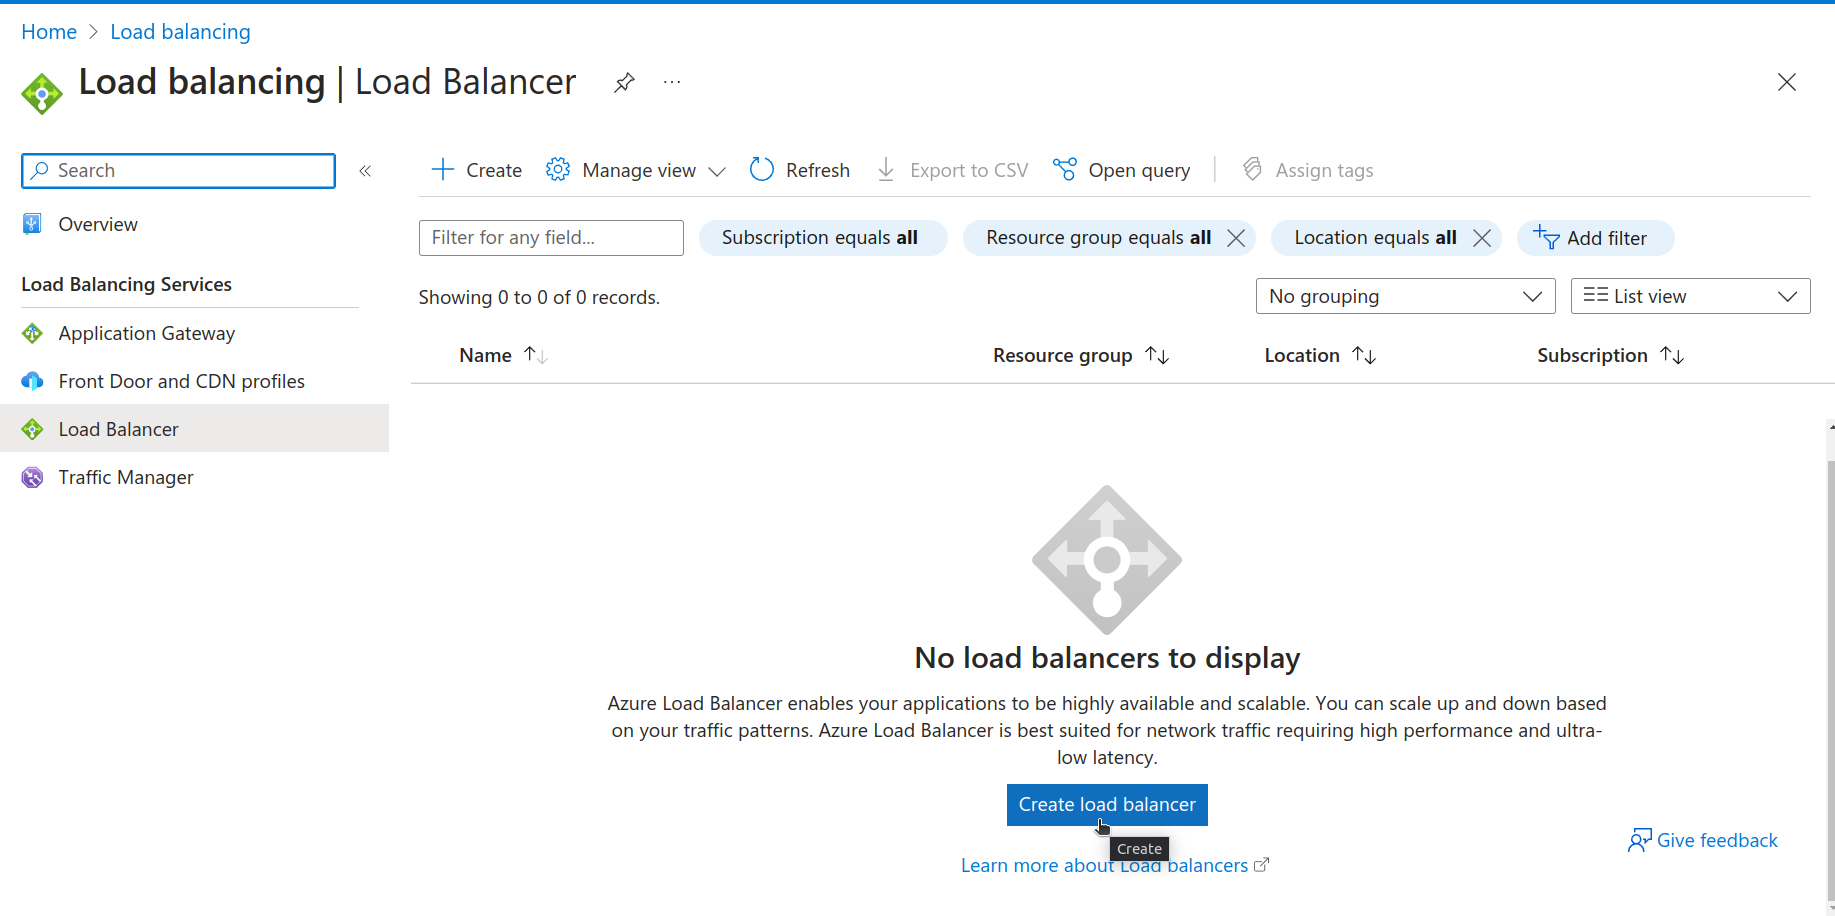
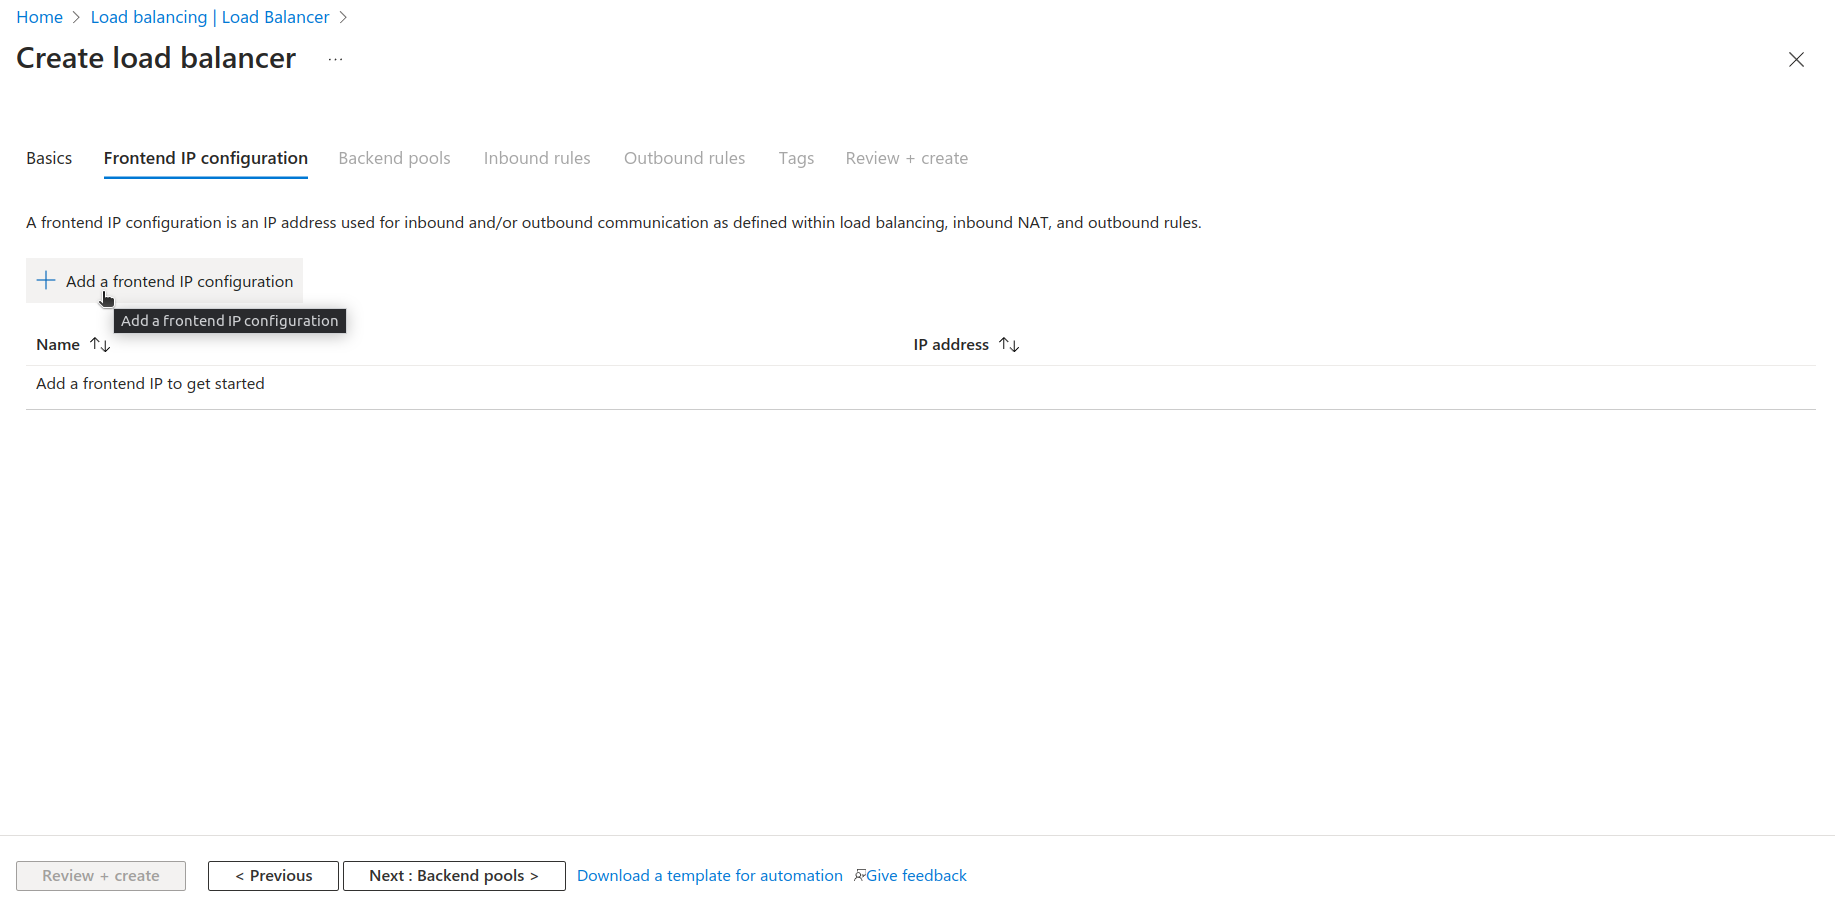
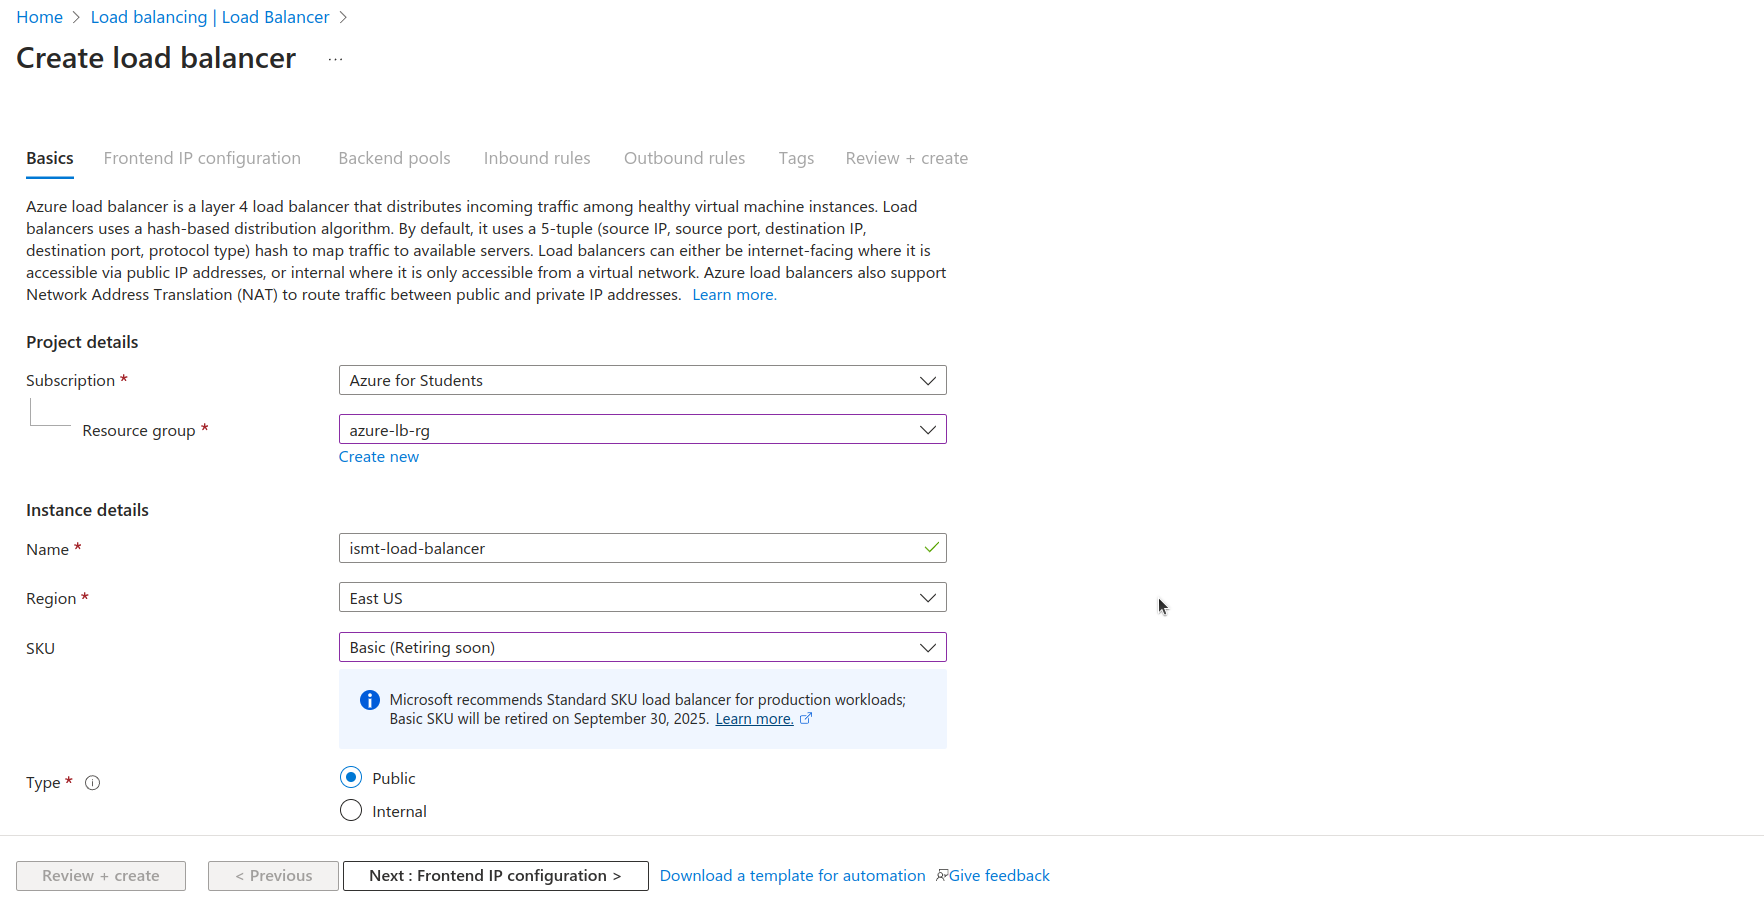
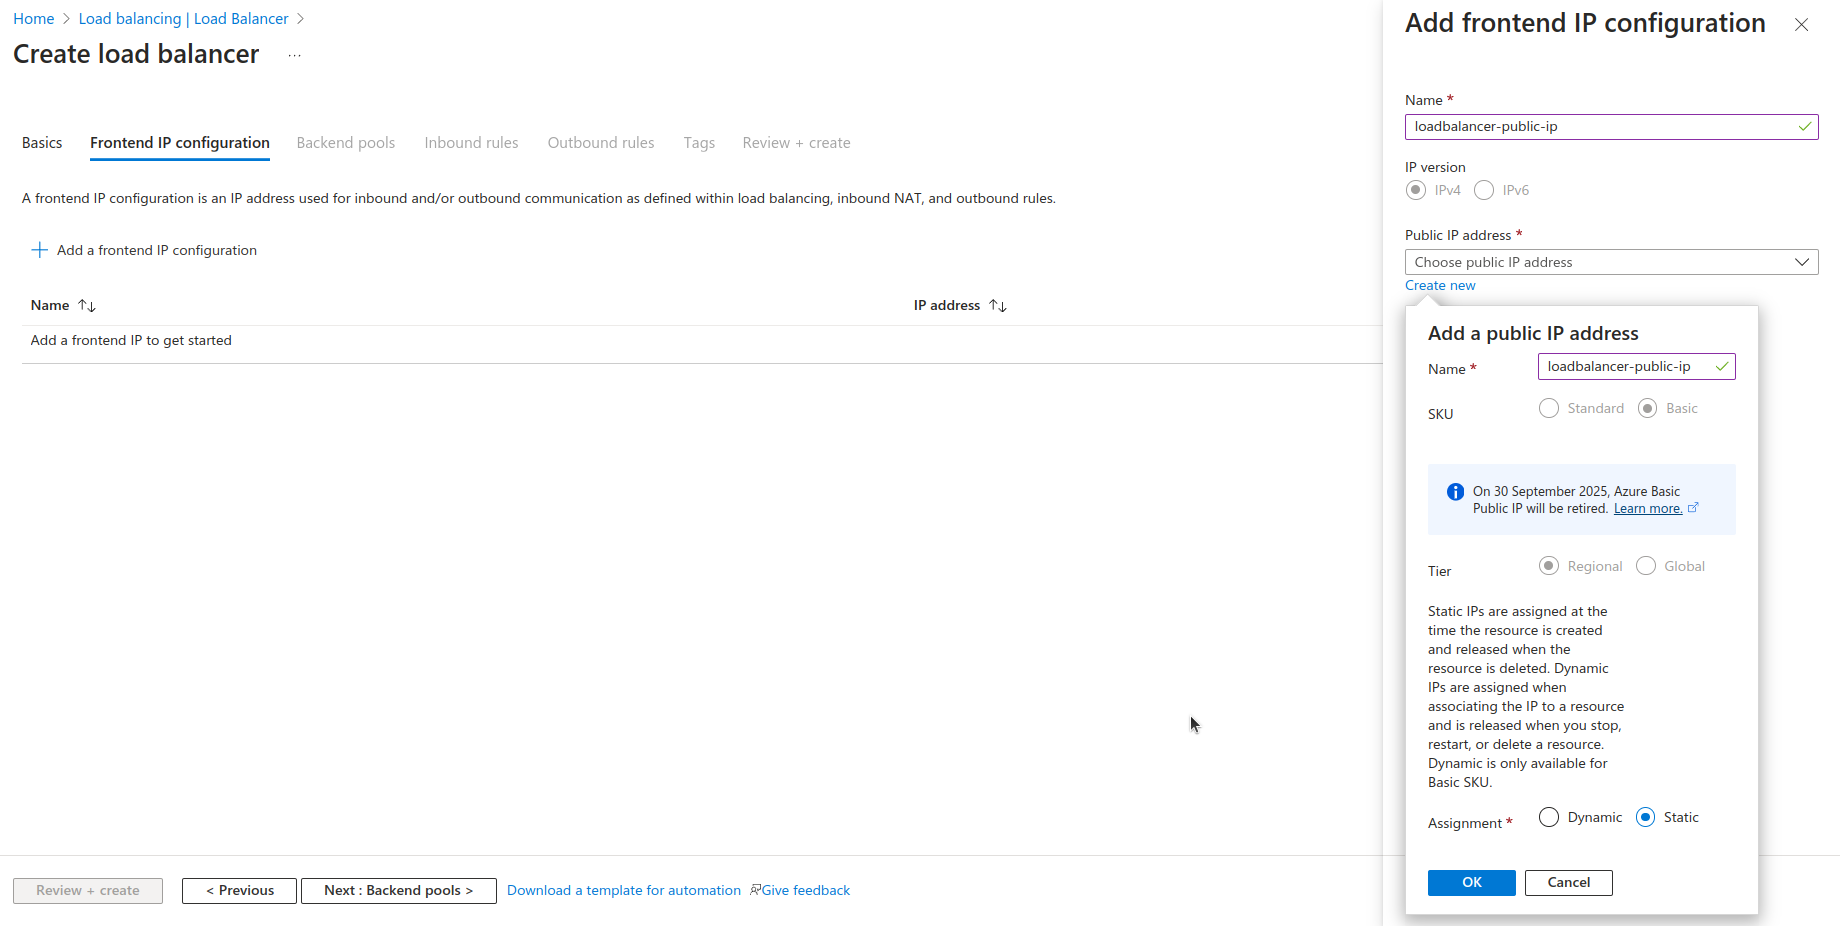
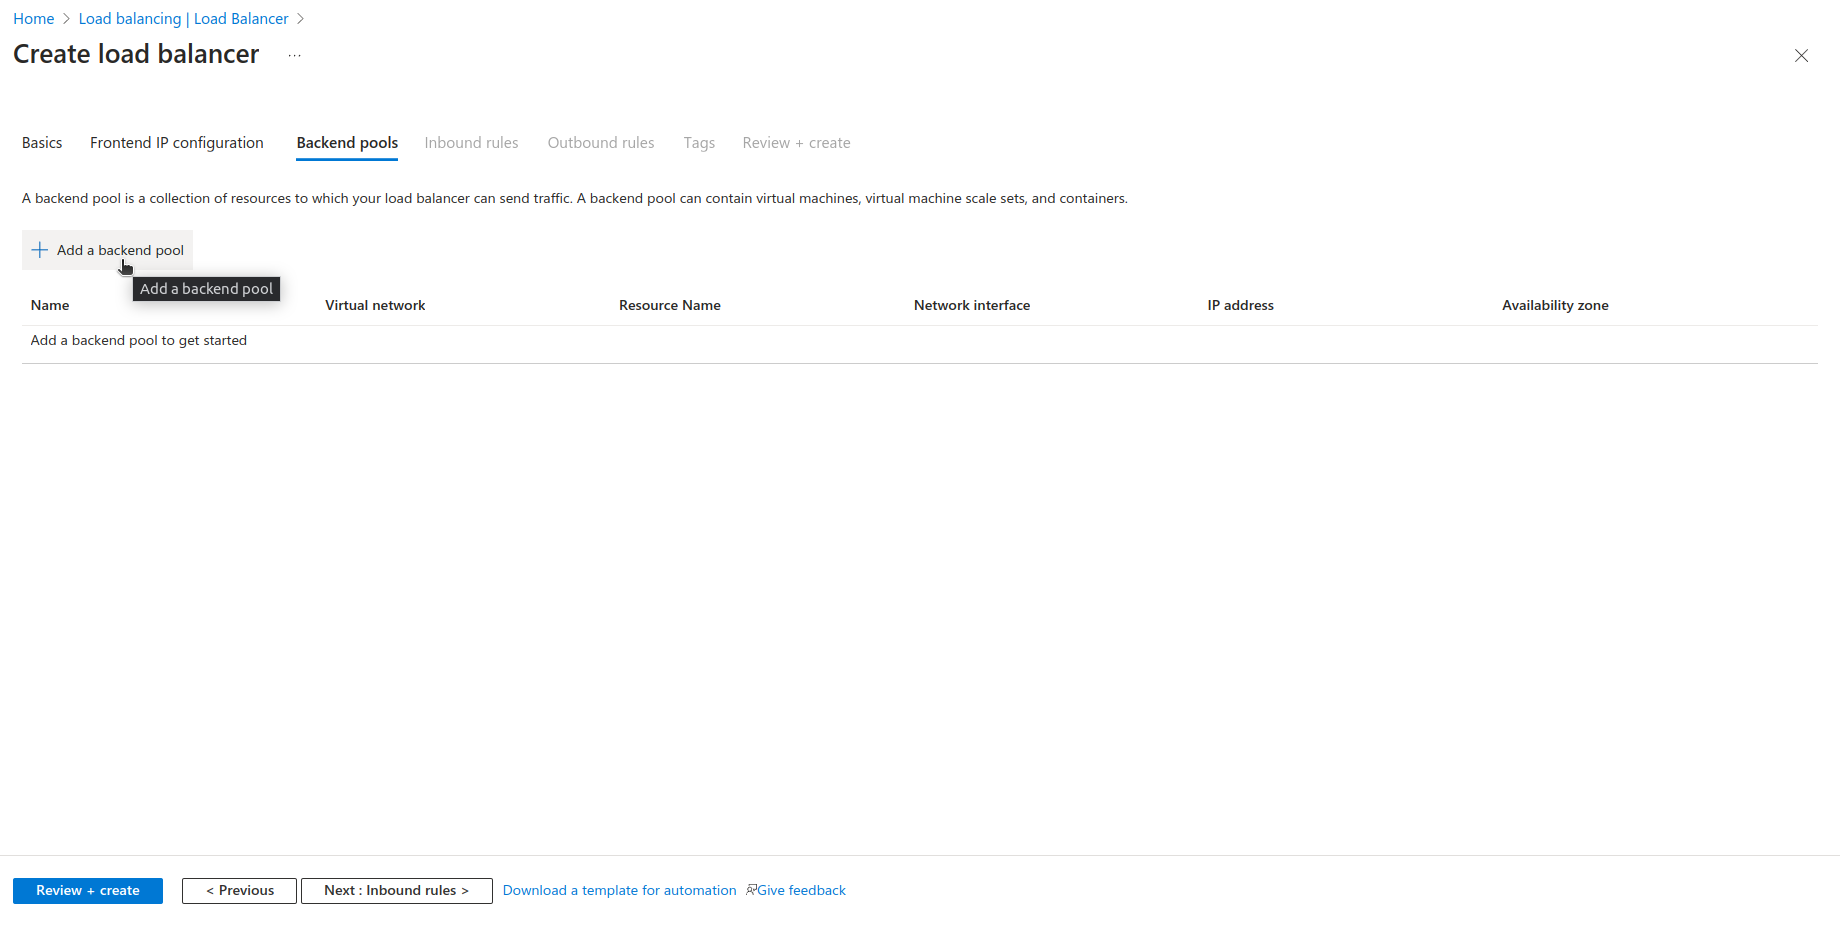
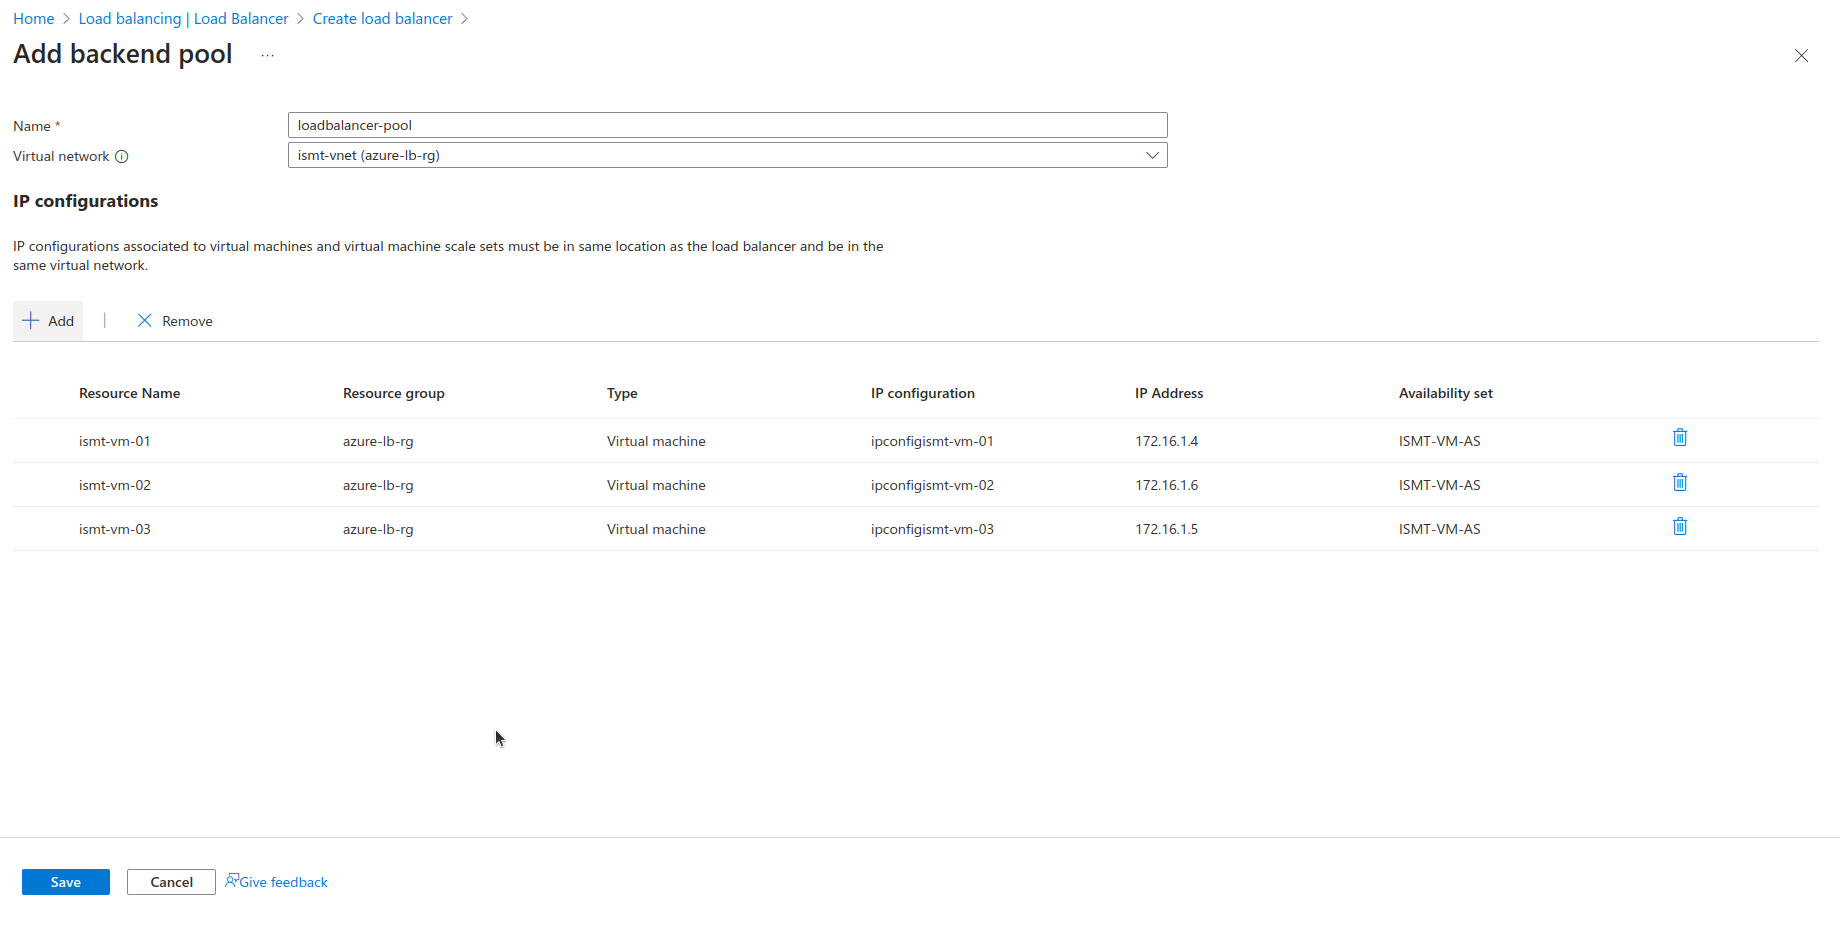
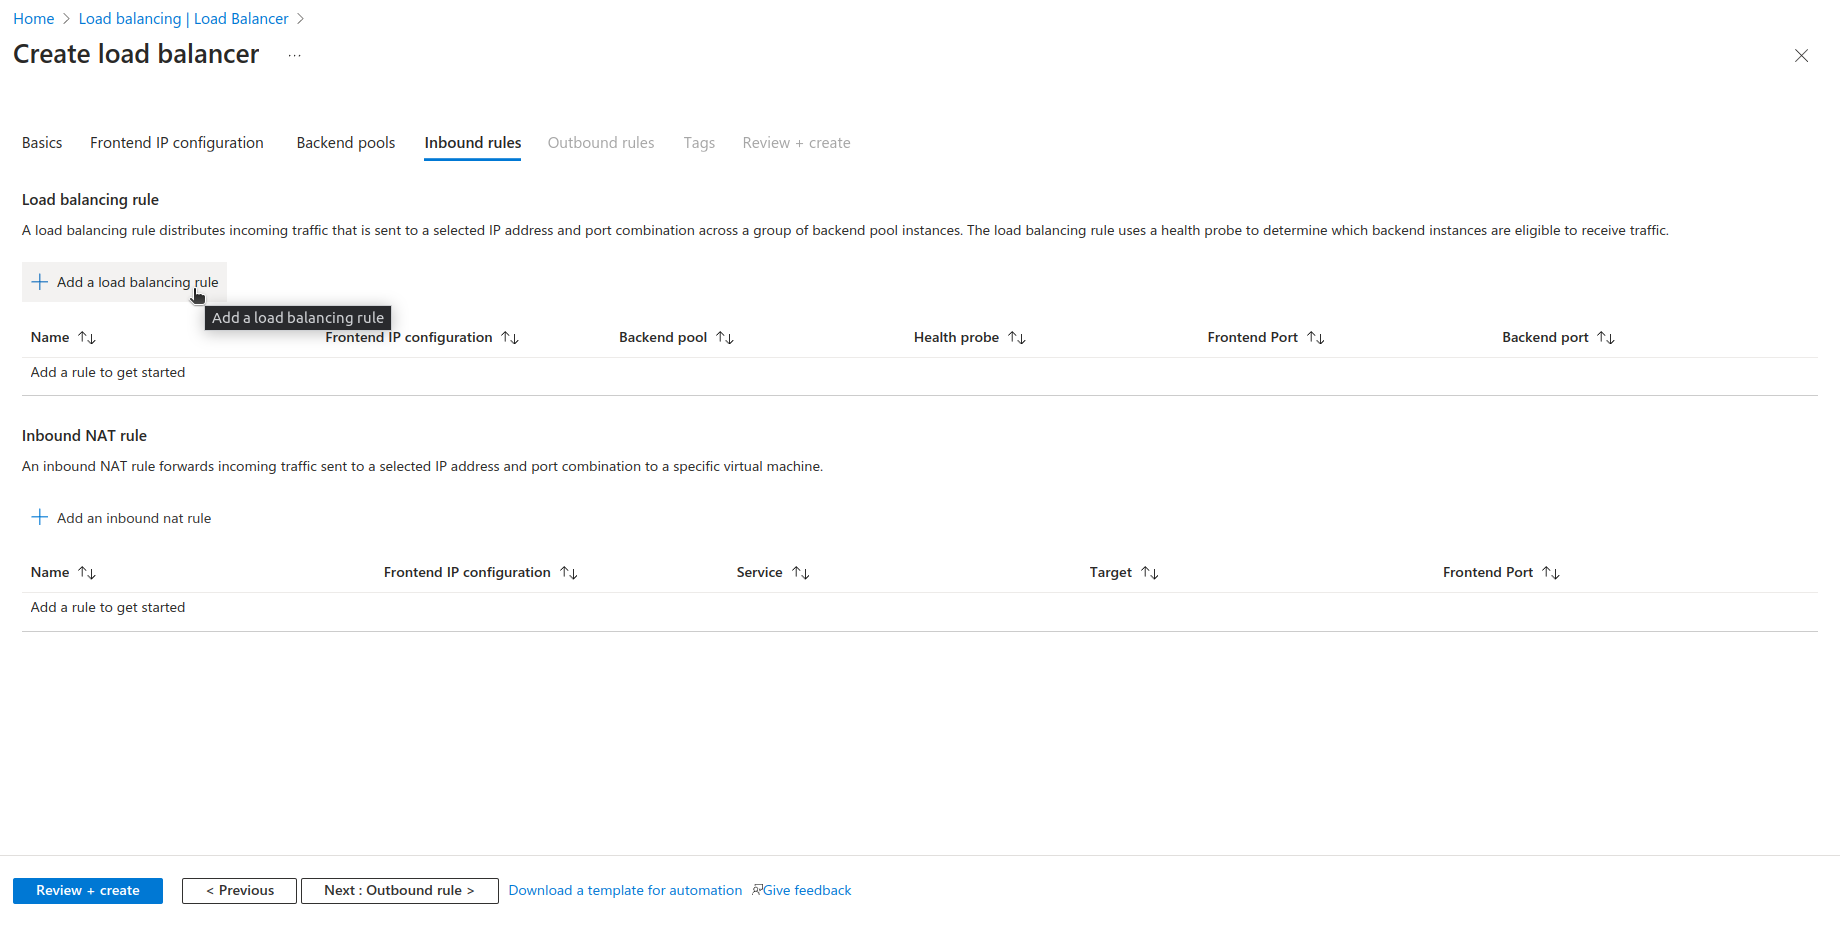
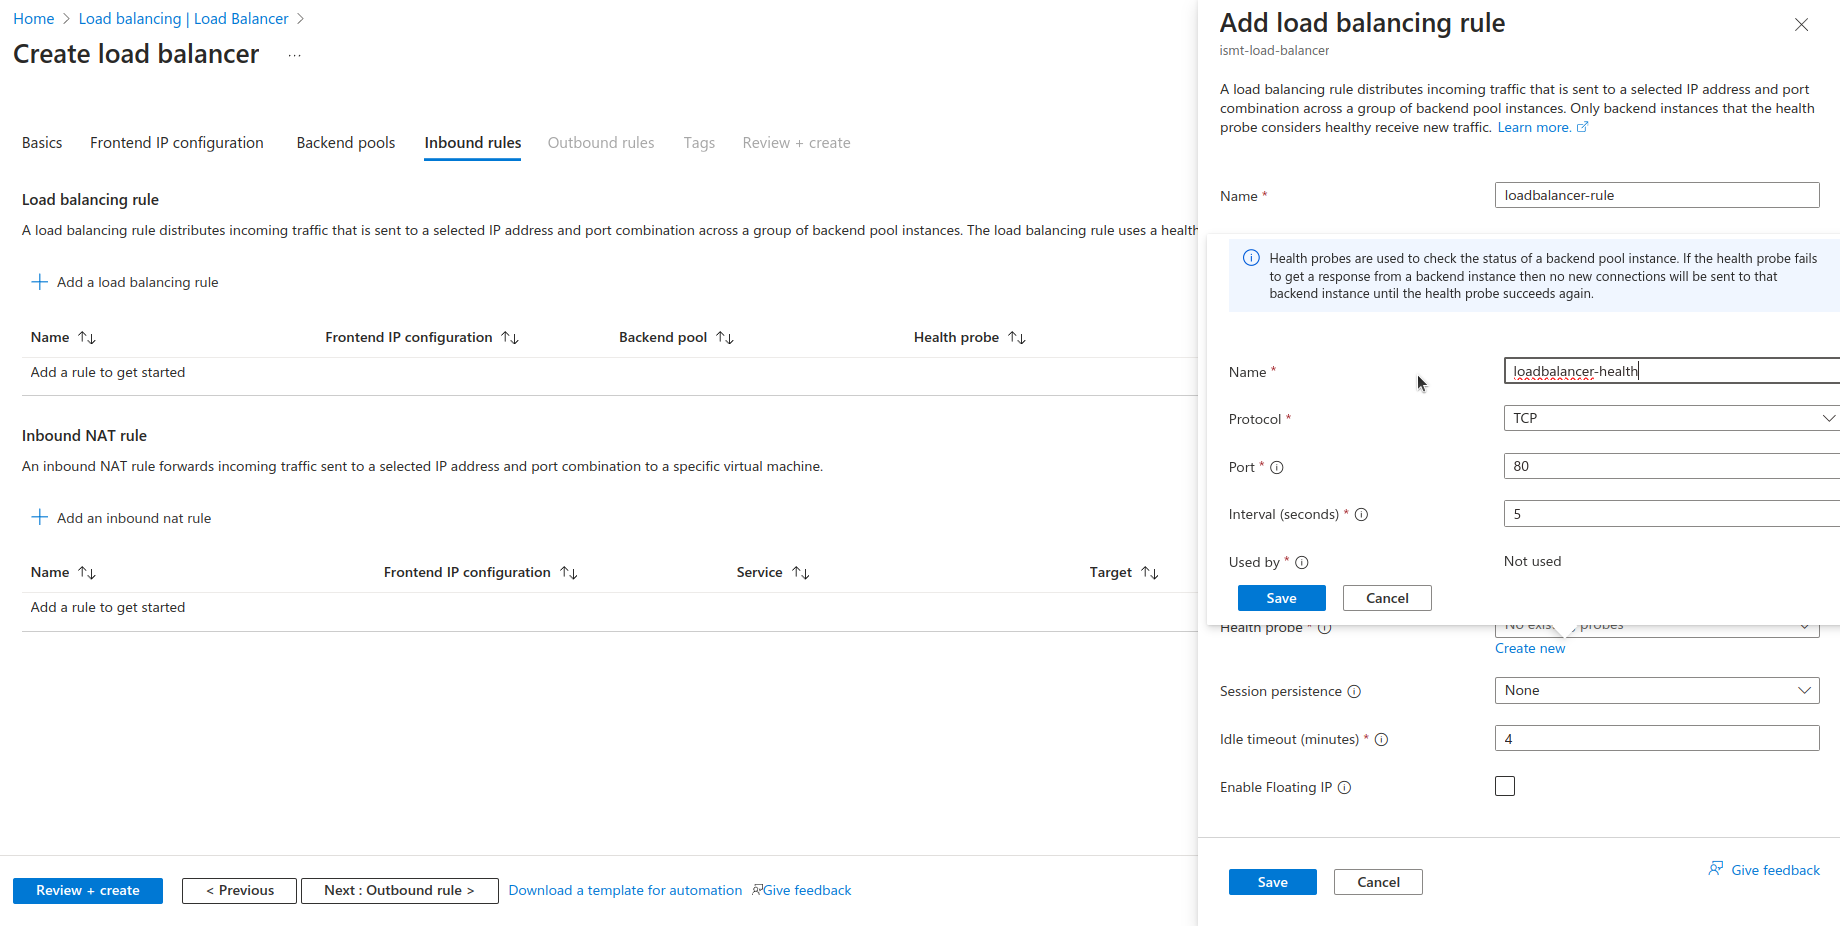
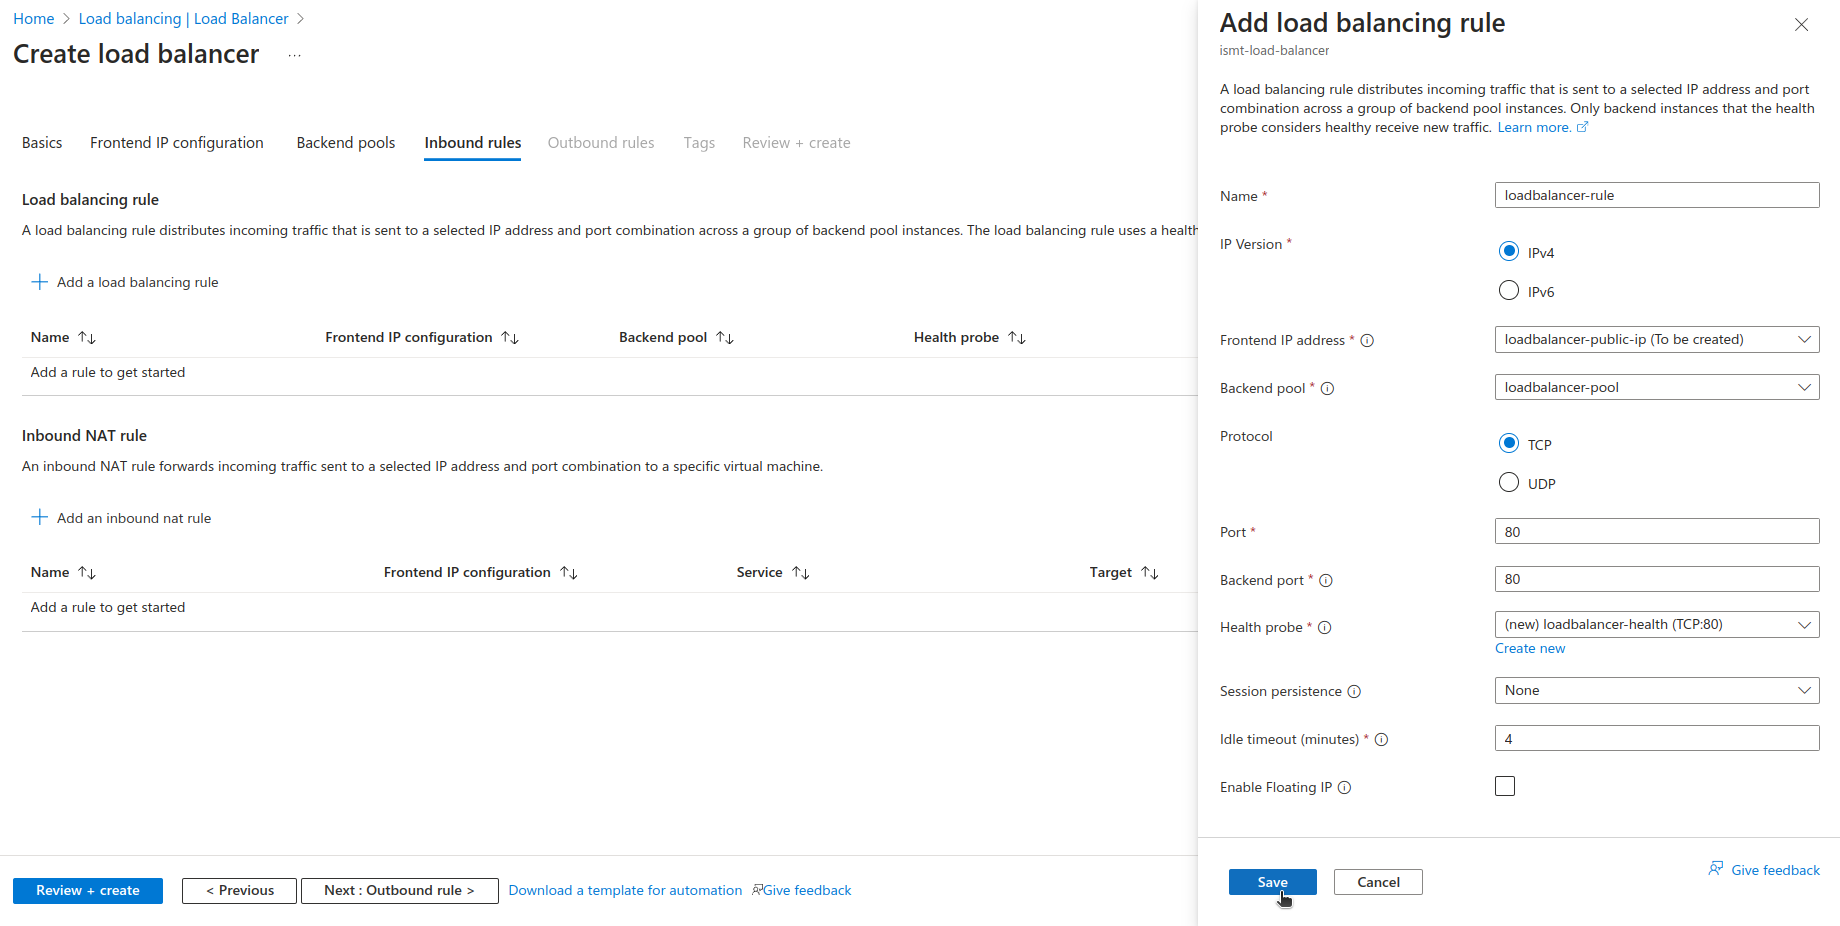
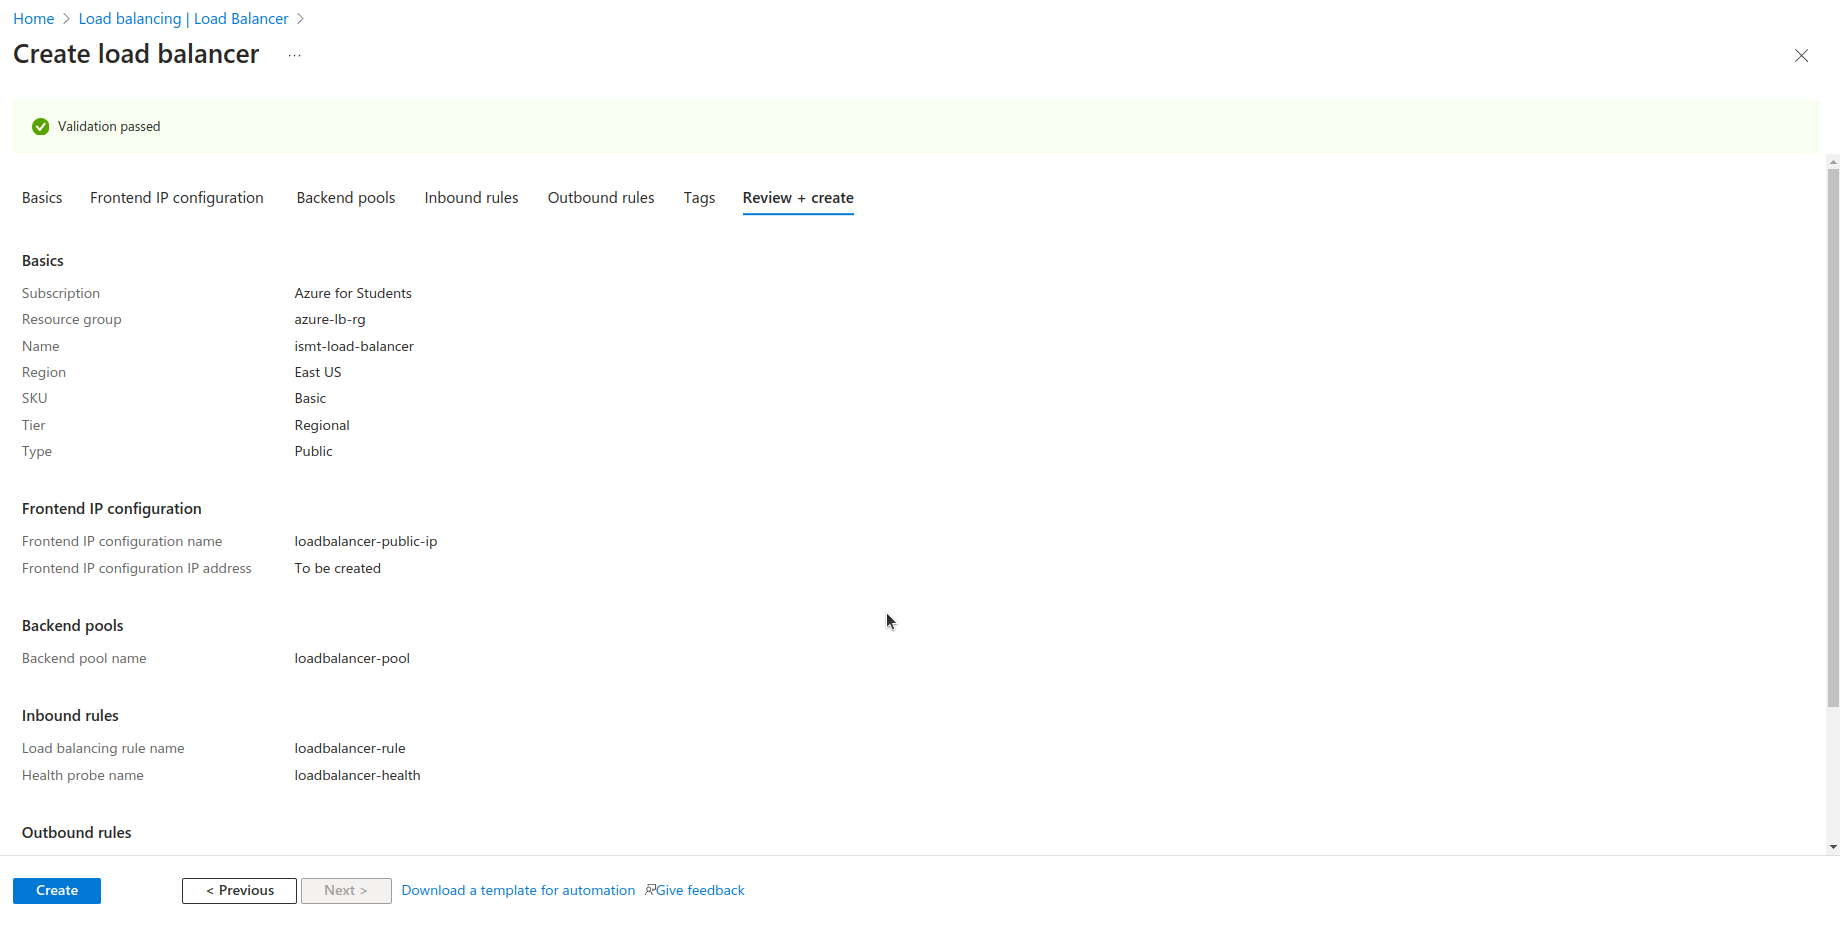
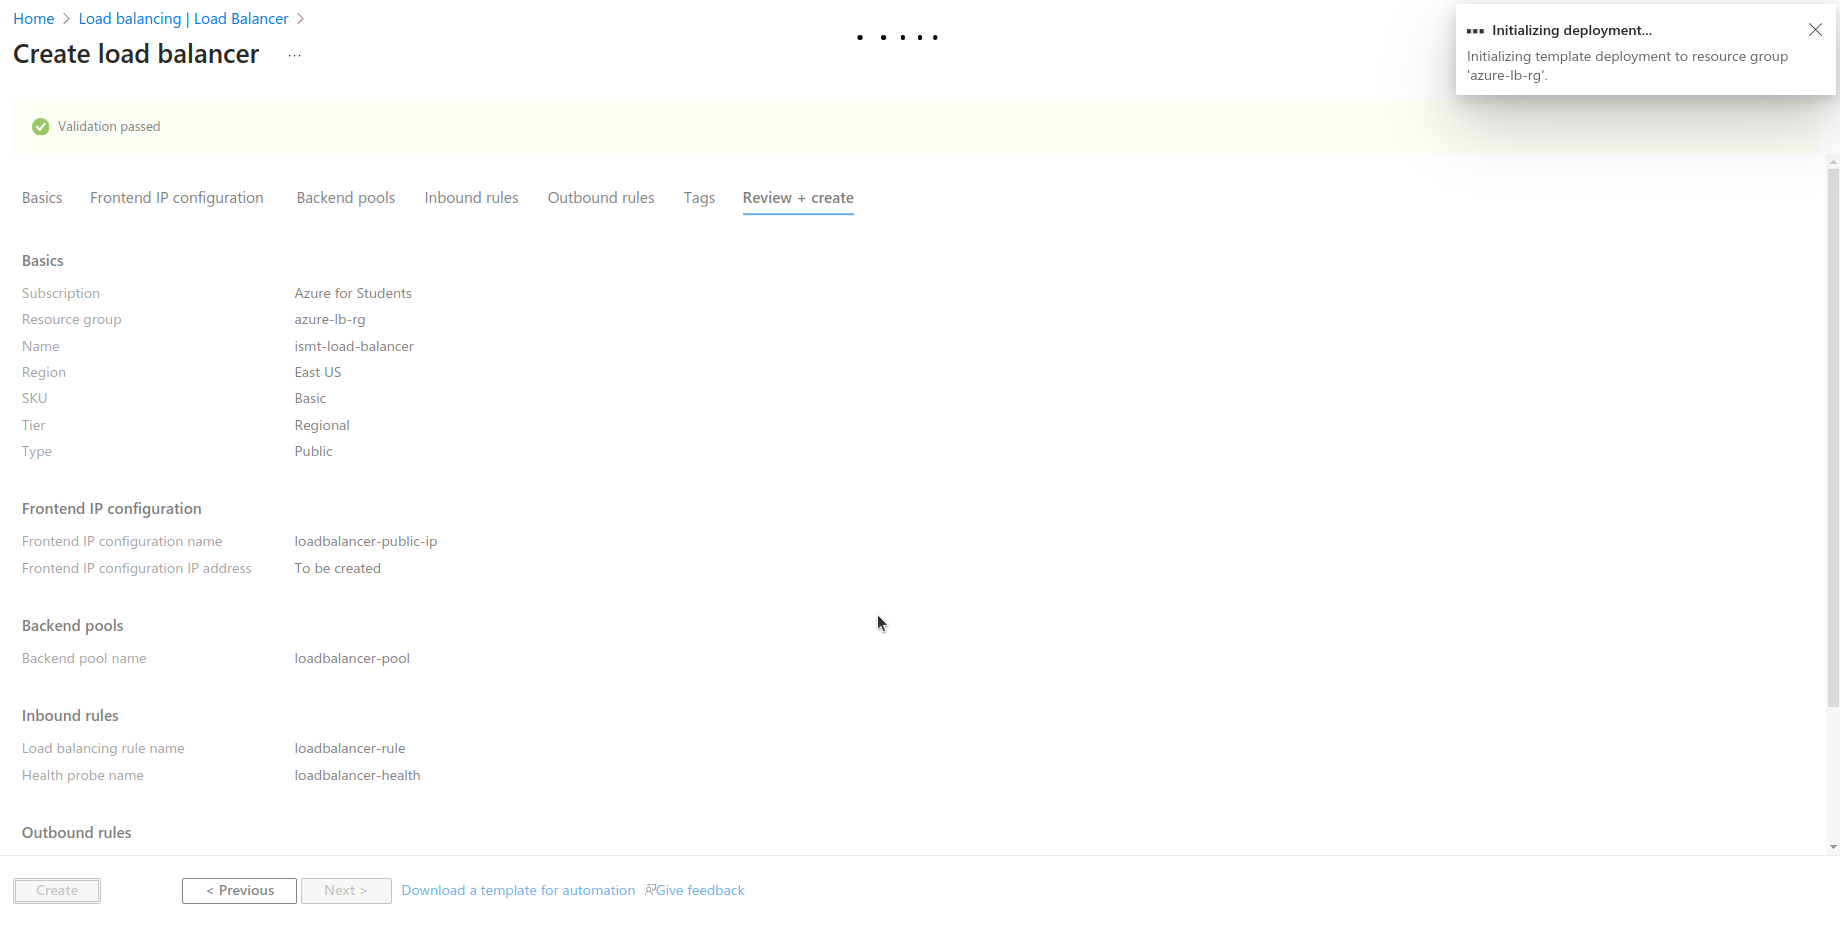
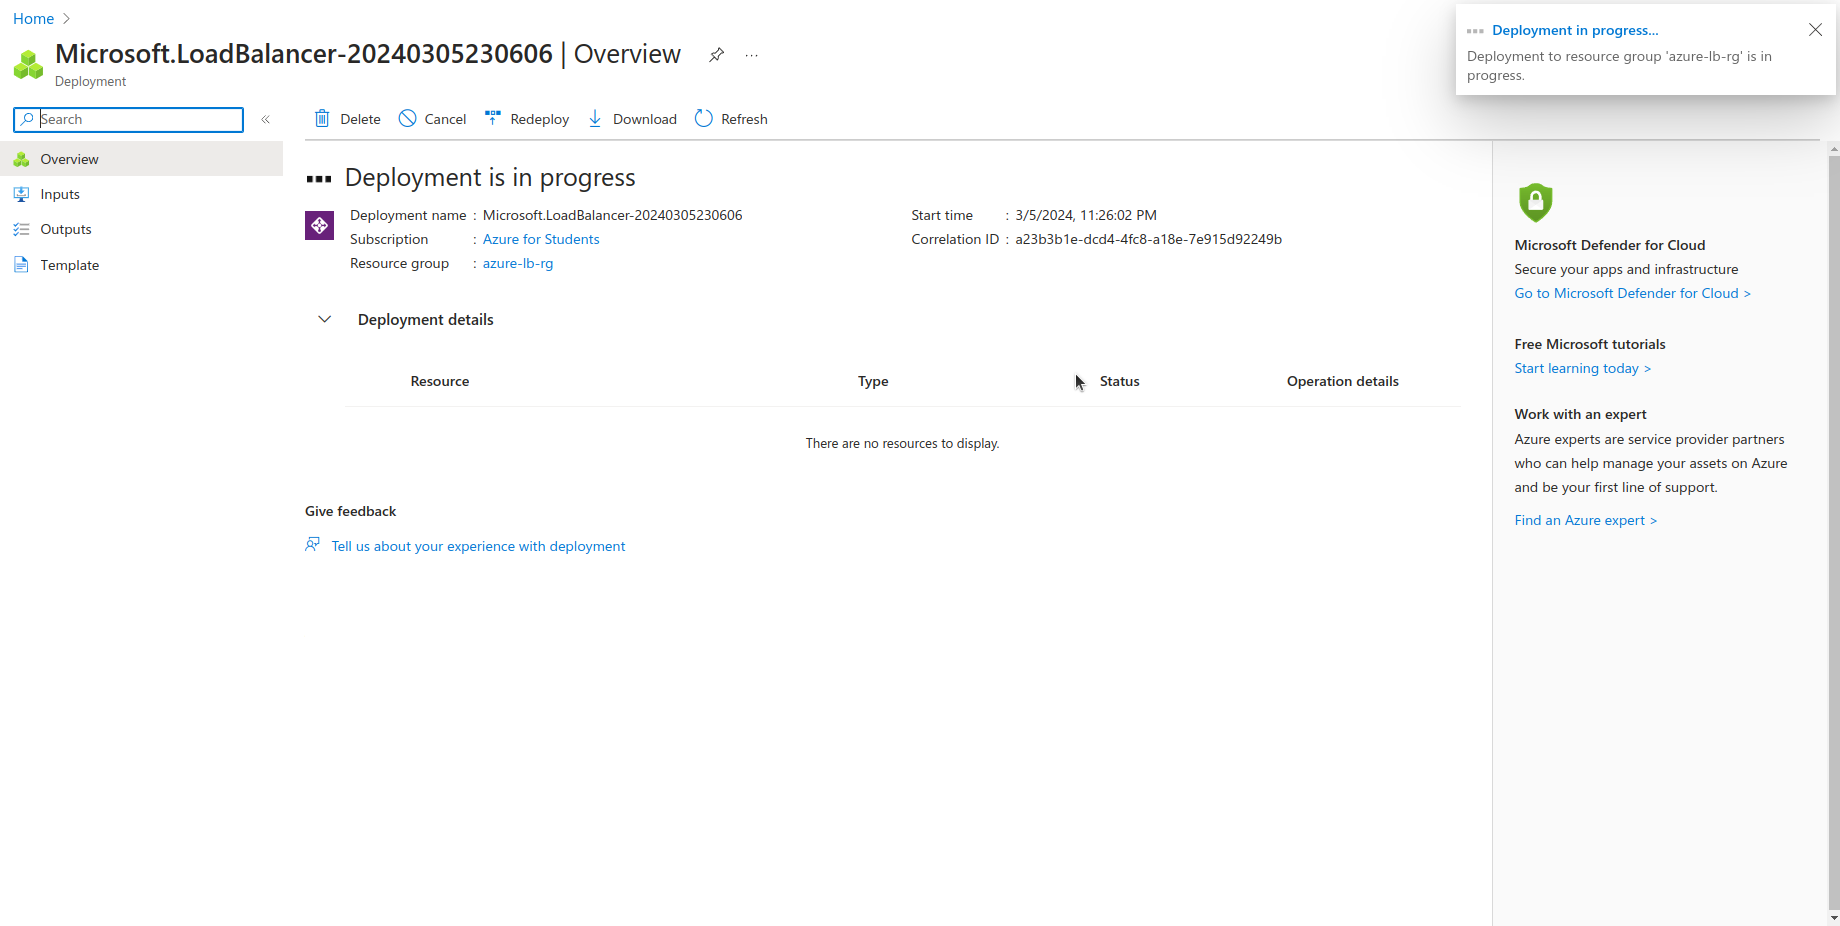
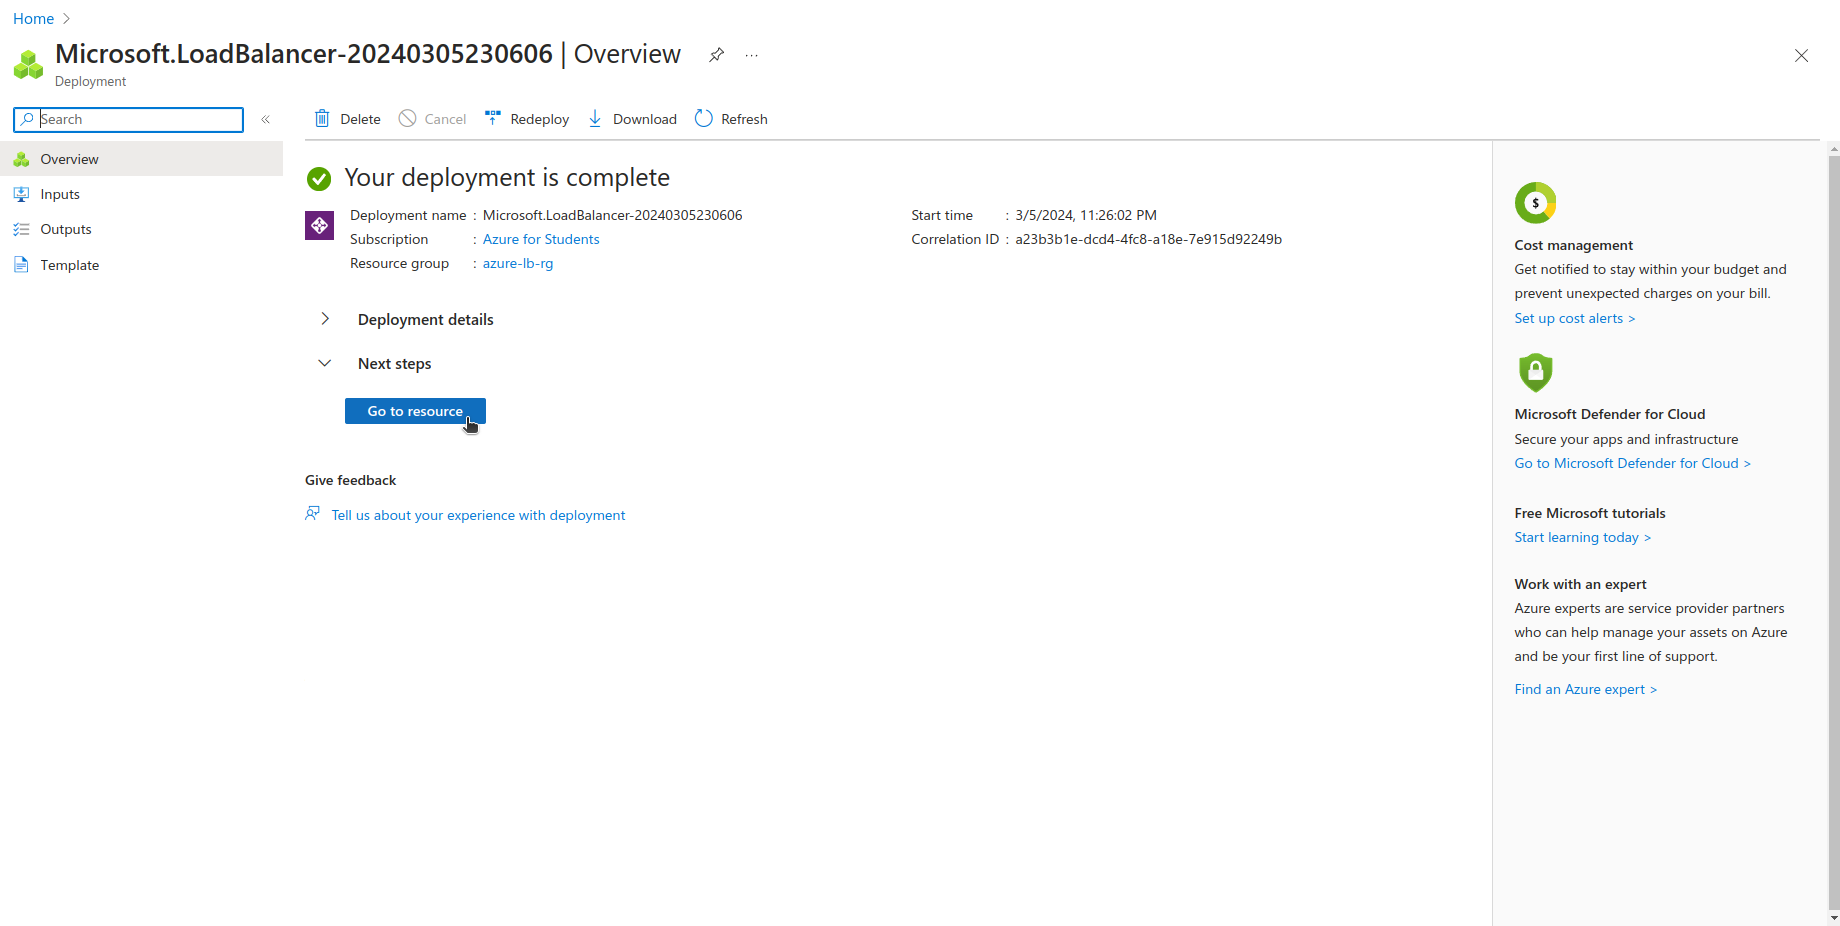
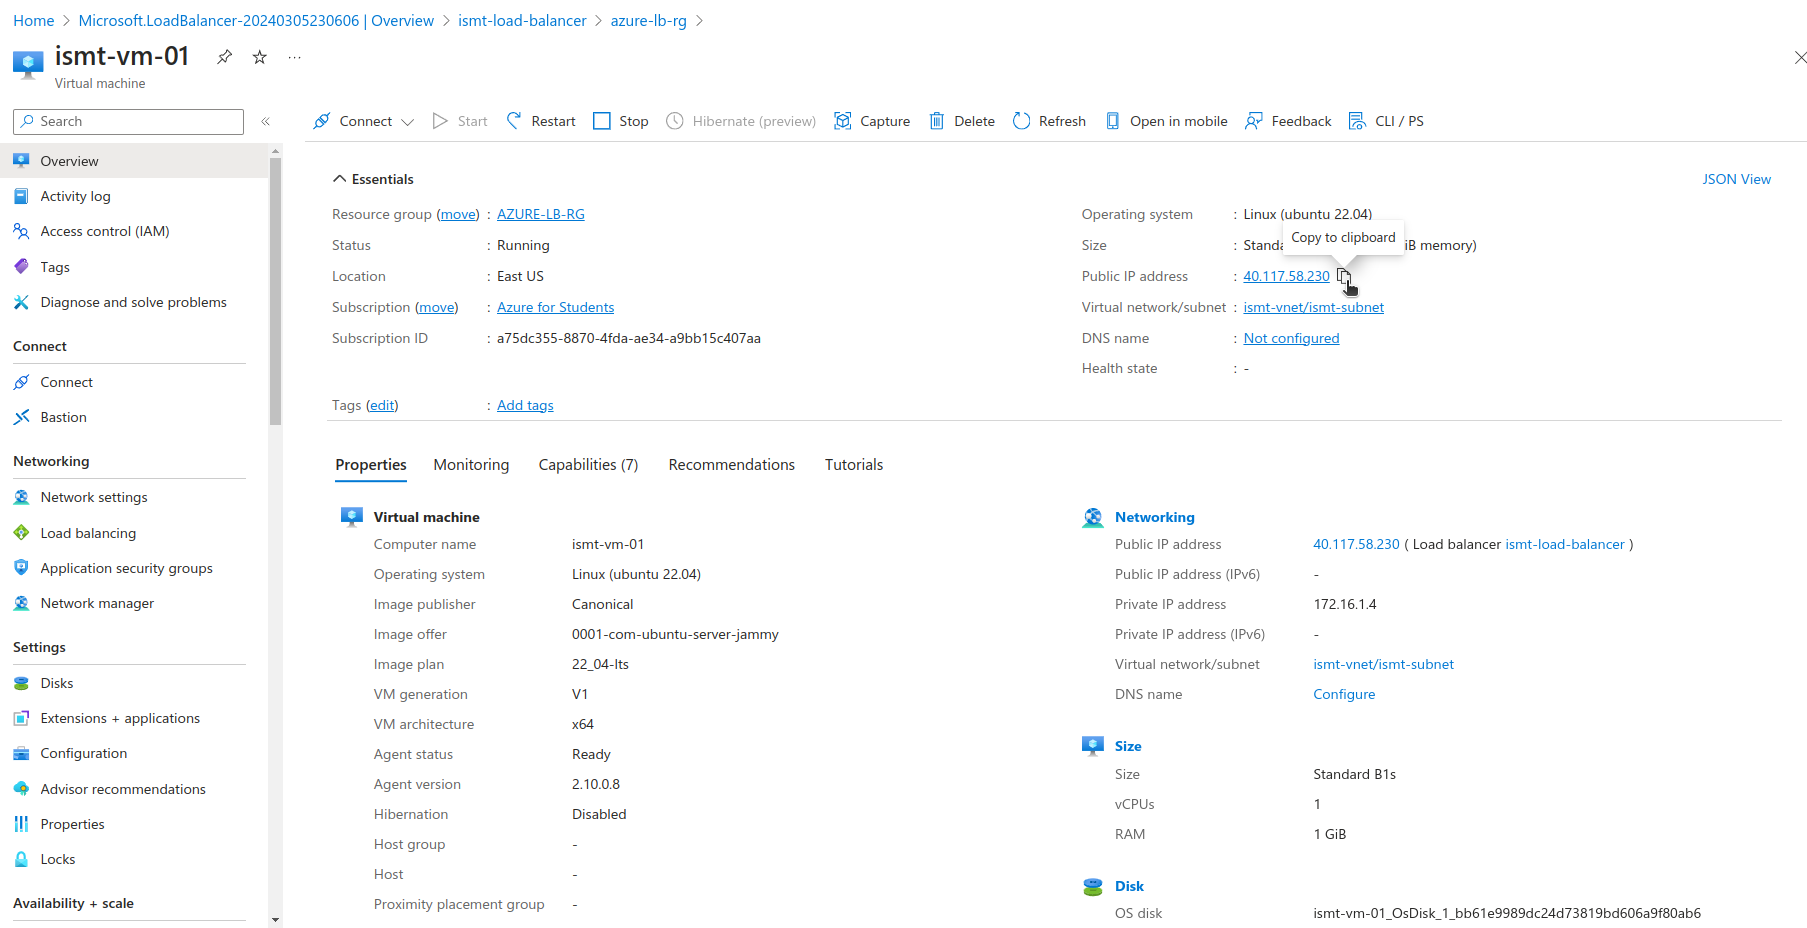
Creating a load balancer in Azure involves several steps, including setting up a resource group, creating the load balancer itself, configuring backend pools, health probes, load balancing rules, and, finally, connecting virtual machines (VMs) to the backend pool. Below is a step-by-step guide to creating a basic load balancer in Azure.

Clean Resource:
az group delete --name $resourceGroup --yes --no-wait
Conclusion
In conclusion, setting up an Azure Load Balancer is a strategic move toward enhancing the scalability, reliability, and availability of my applications. Through the step-by-step guide I've provided, we've seen how to methodically prepare our environment, from defining deployment variables to creating virtual machines, and finally, establishing the load balancer itself. Each step is crucial, paving the way for a robust setup that ensures my application can withstand varying loads and maintain performance.
This guide underscores the importance of understanding the components and processes involved in deploying Azure Load Balancers. Whether I'm managing a small application or a large-scale enterprise system, the principles of traffic distribution, fault tolerance, and resource optimization are universally applicable. By following the outlined steps, I'm equipped to deploy a solution that not only meets my current needs but also scales for future growth.
Azure's infrastructure and tools, as demonstrated, offer a flexible and powerful platform for deploying and managing load balancers. The ease with which one can automate and configure various aspects of the setup process is testament to the platform's maturity and focus on user experience. As cloud technologies continue to evolve, leveraging these capabilities becomes increasingly important in delivering high-quality digital experiences.
Finally, remember that the journey doesn't end with deployment. Monitoring, maintaining, and periodically reviewing my load balancer's performance and configurations are key to ensuring ongoing operational excellence. Azure provides the tools and services necessary to not only deploy but also optimize my infrastructure over time. Embrace these opportunities to learn, adapt, and enhance my applications, ensuring they remain robust, responsive, and ready to serve my users efficiently.
Subscribe to my newsletter
Read articles from Siddhant Bhattarai directly inside your inbox. Subscribe to the newsletter, and don't miss out.
Written by

Siddhant Bhattarai
Siddhant Bhattarai
I am a versatile professional with expertise in multiple domains, including DevSecOps, AWS Cloud Solutions, AI/ML, and Cyber Security. With over 5 years of experience in the field, I have honed my skills and dedicated myself to various roles and responsibilities. If you're looking for opportunities for collaboration, insights, or exciting ventures in these domains, I'm open to connecting. Please don't hesitate to reach out – I'm excited to engage with professionals, learners, and enthusiasts who share my passion for these fields!