🐳🔀 Building a Multi-Container Application with Docker Compose 🚢🌉
 Sprasad Pujari
🚀 Project:
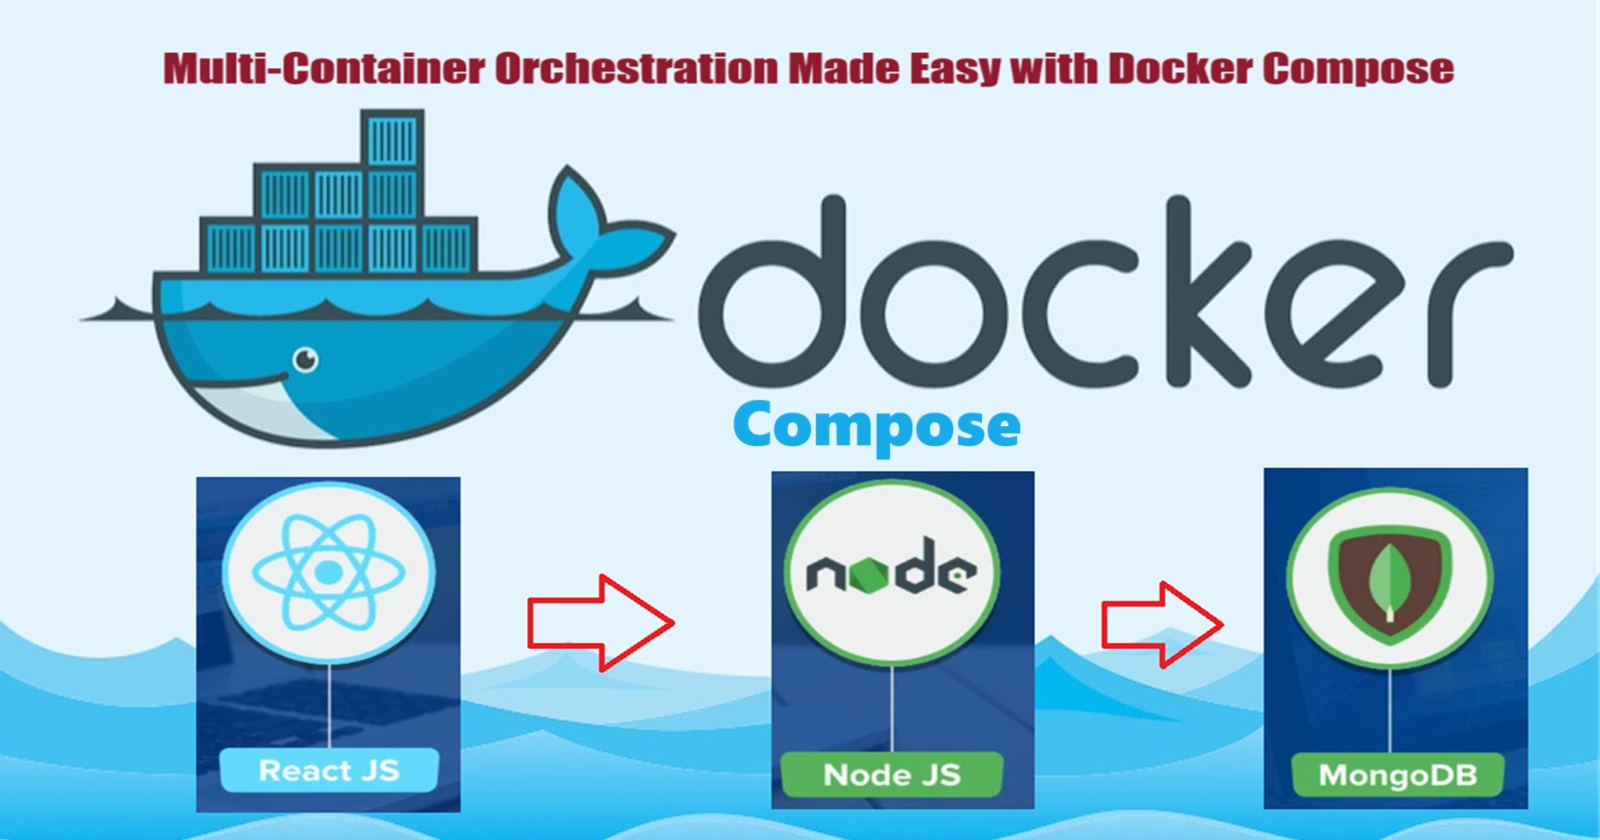
In this project, we'll build a multi-container application using Docker Compose. The application will consist of a Node.js backend, a React.js frontend, and a MongoDB database. Let's get started!
📝 Step 1: Set up the Project Structure
Create a new directory for your project:
mkdir multi-container-app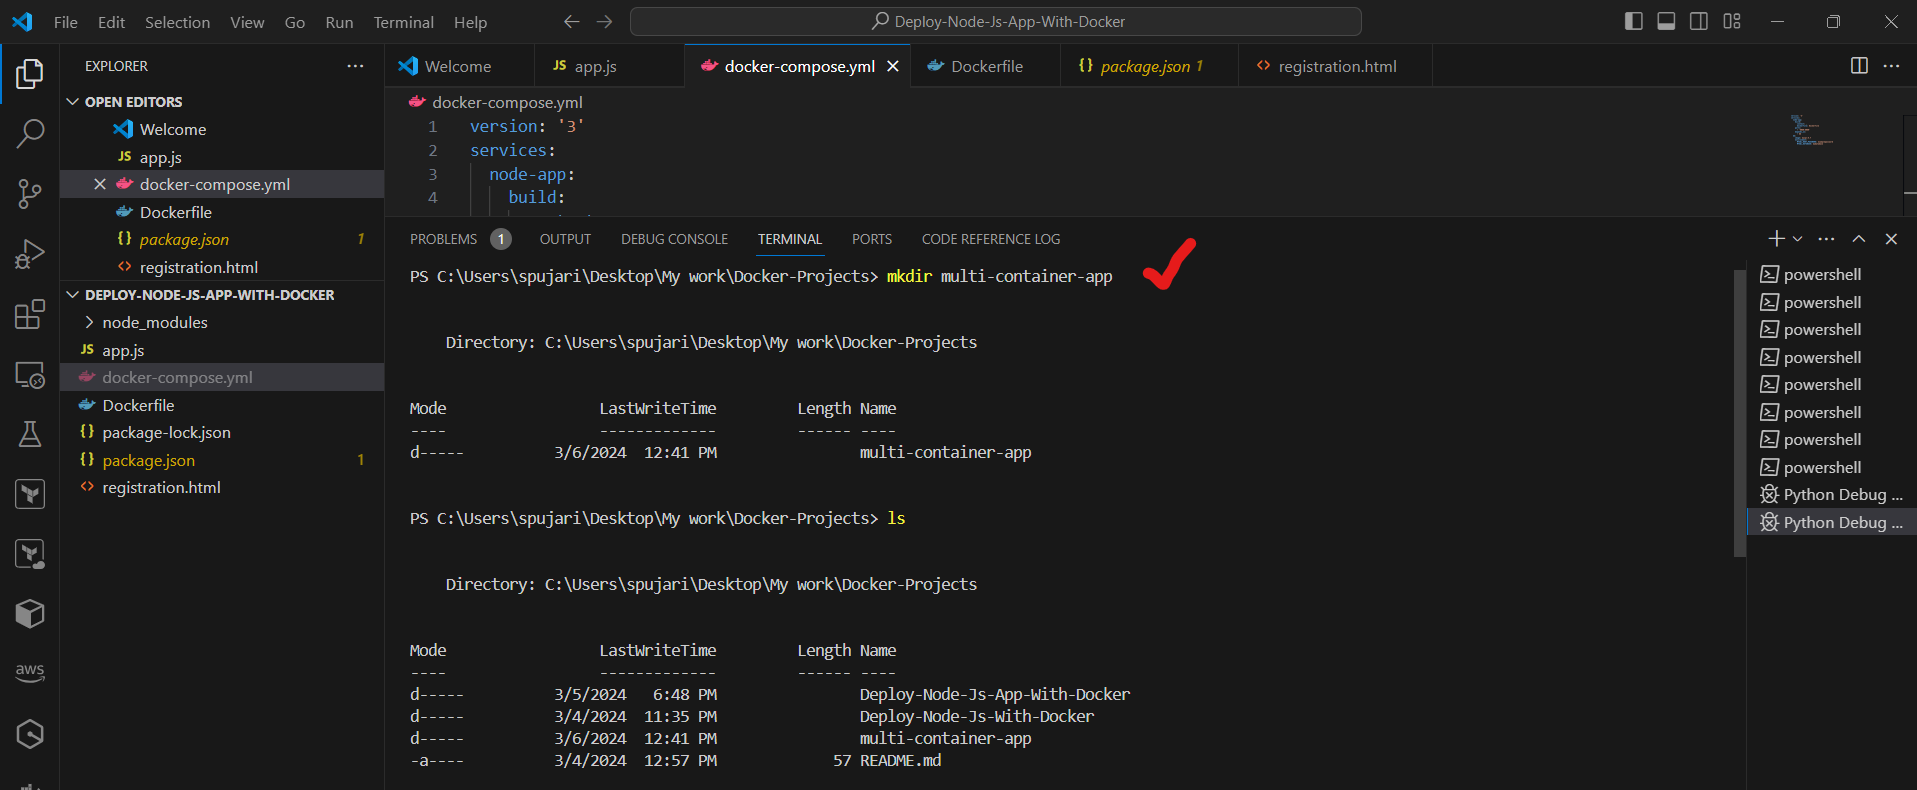
Navigate into the directory:
cd multi-container-appCreate a directory for the backend:
mkdir backend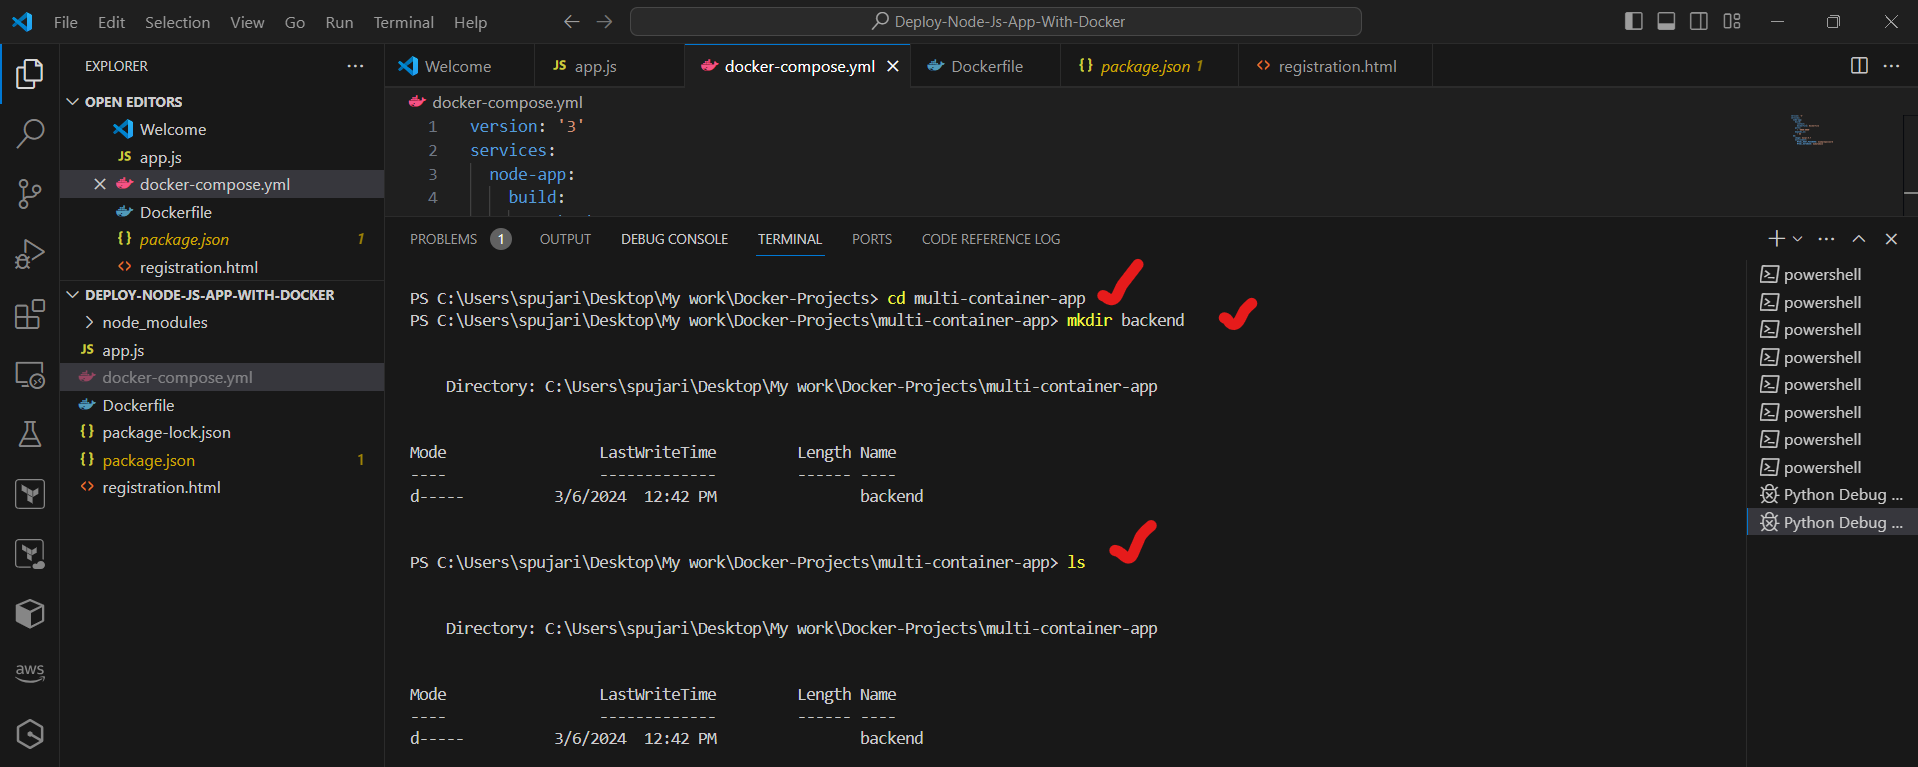
Create a directory for the frontend:
mkdir frontend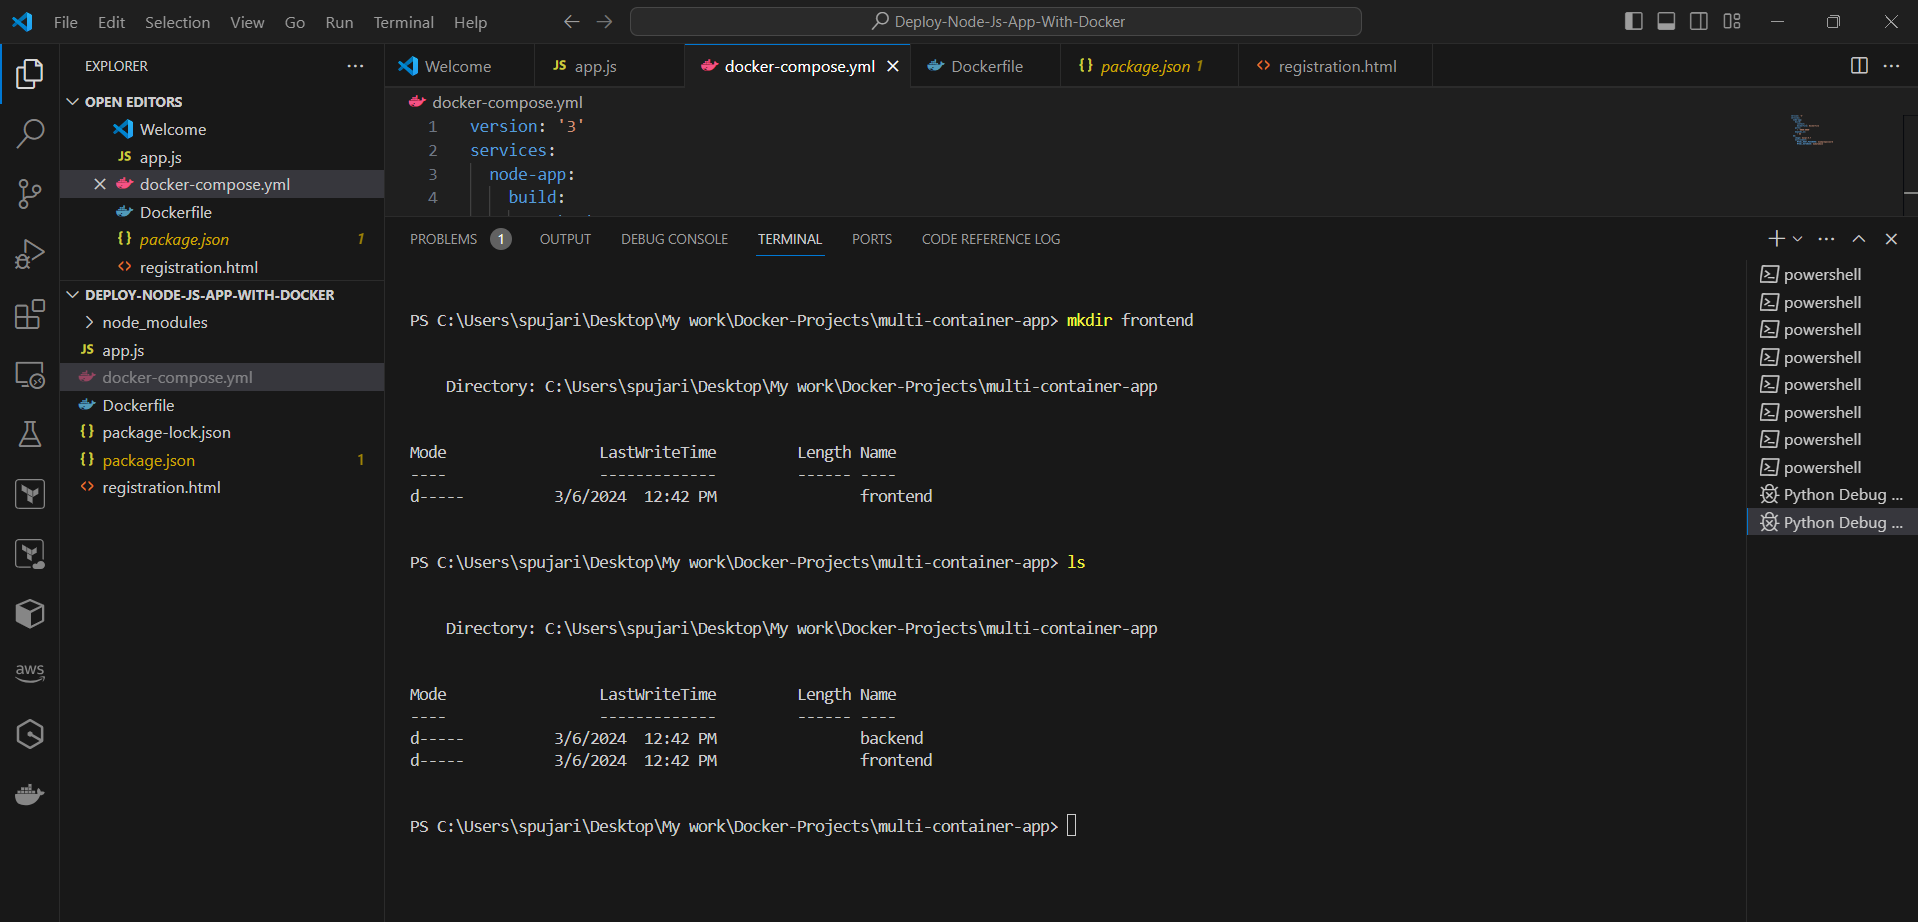
📦 Step 2: Initialize Node.js Projects
Initialize a new Node.js project for the backend:
cd backendnpm init -y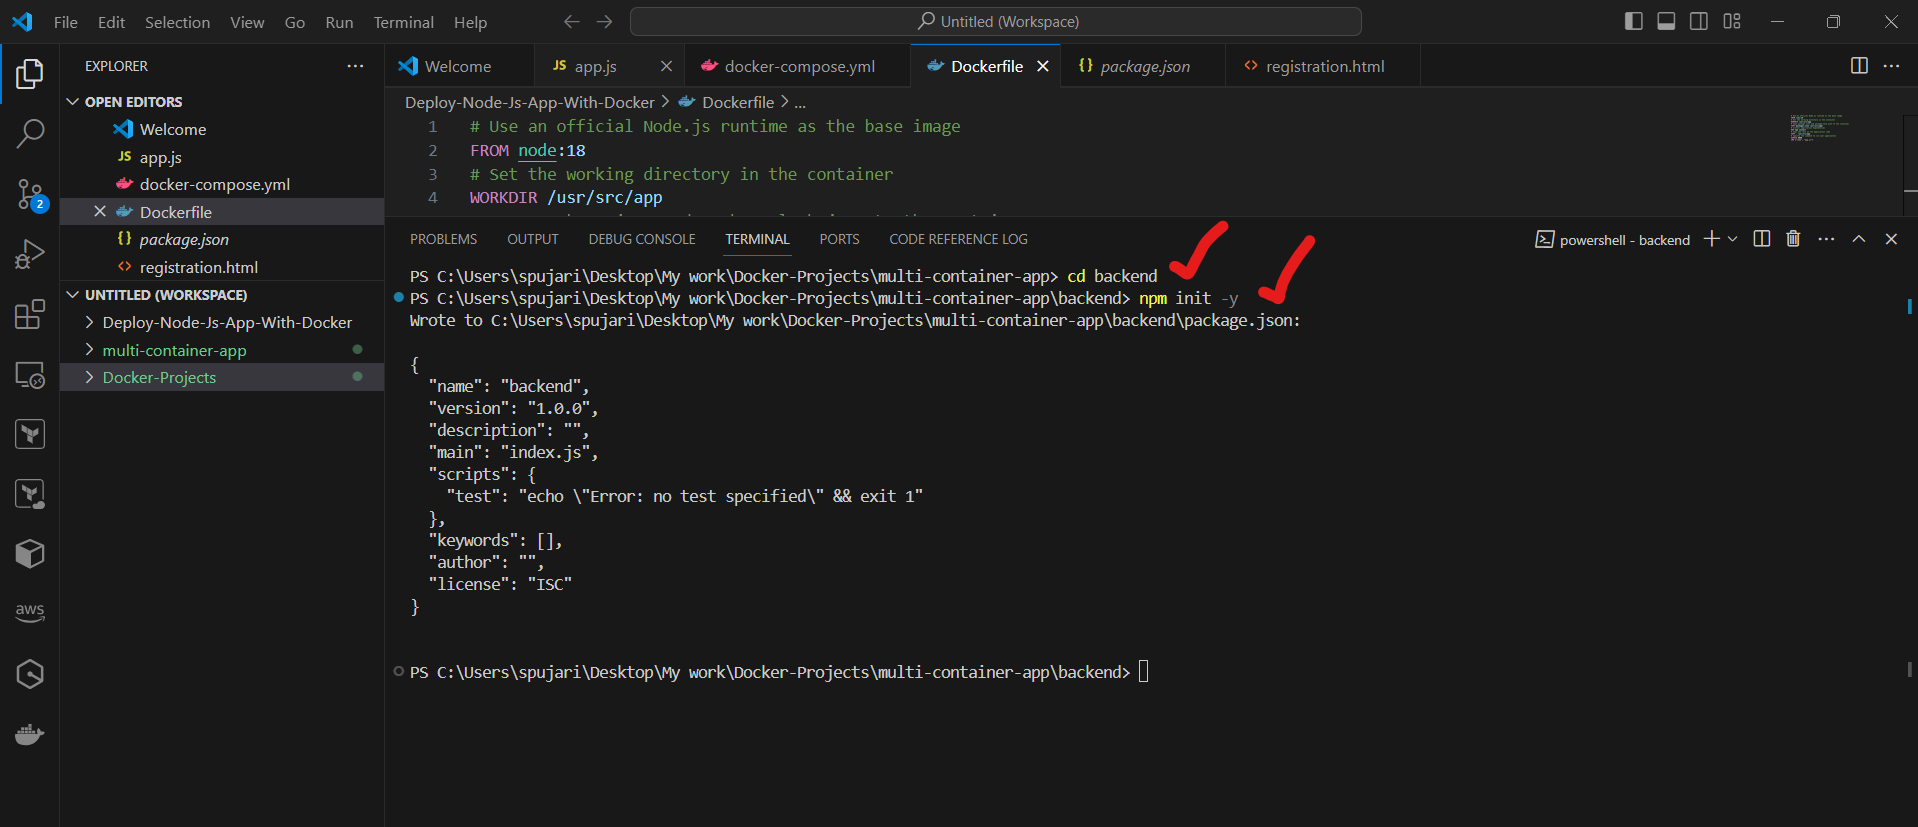
Install required dependencies for the backend (e.g., Express.js, Mongoose):
npm install express mongoose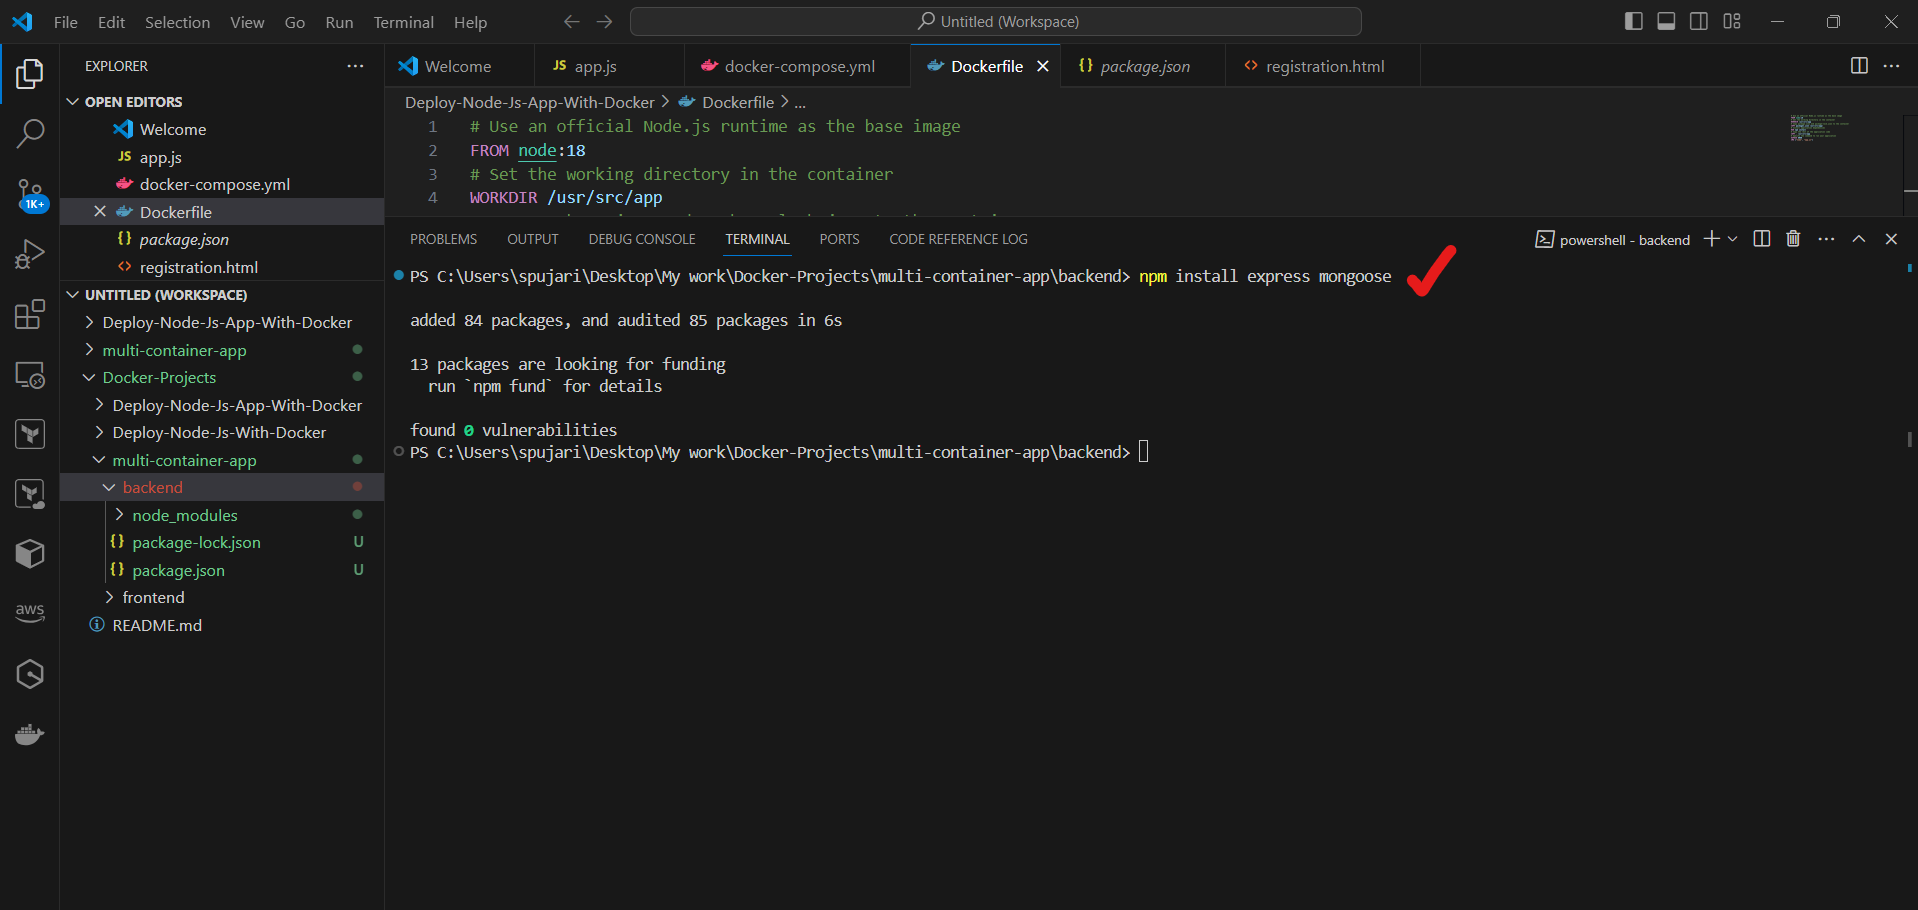
Initialize a new Node.js project for the frontend:
npx create-react-app frontendThe
npxcommand above will create a new directory namedfrontendin themulti-container-appworking directory. Now,cdinto thefrontenddirectory.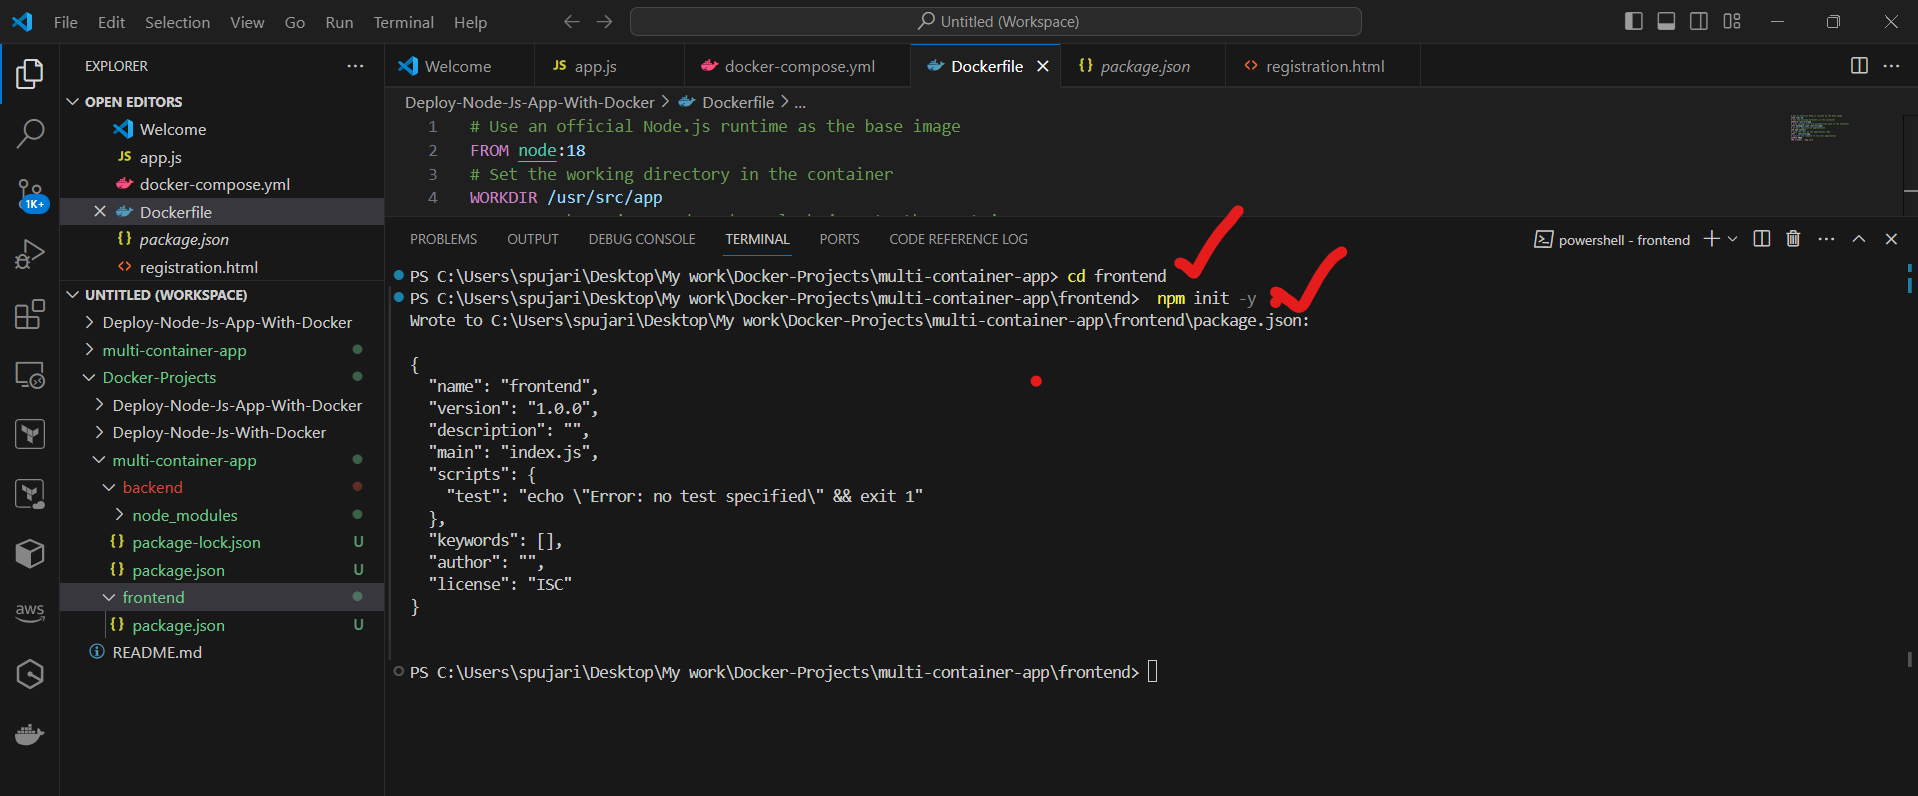
Install required dependencies for the frontend (e.g., React.js):
npm install react react-dom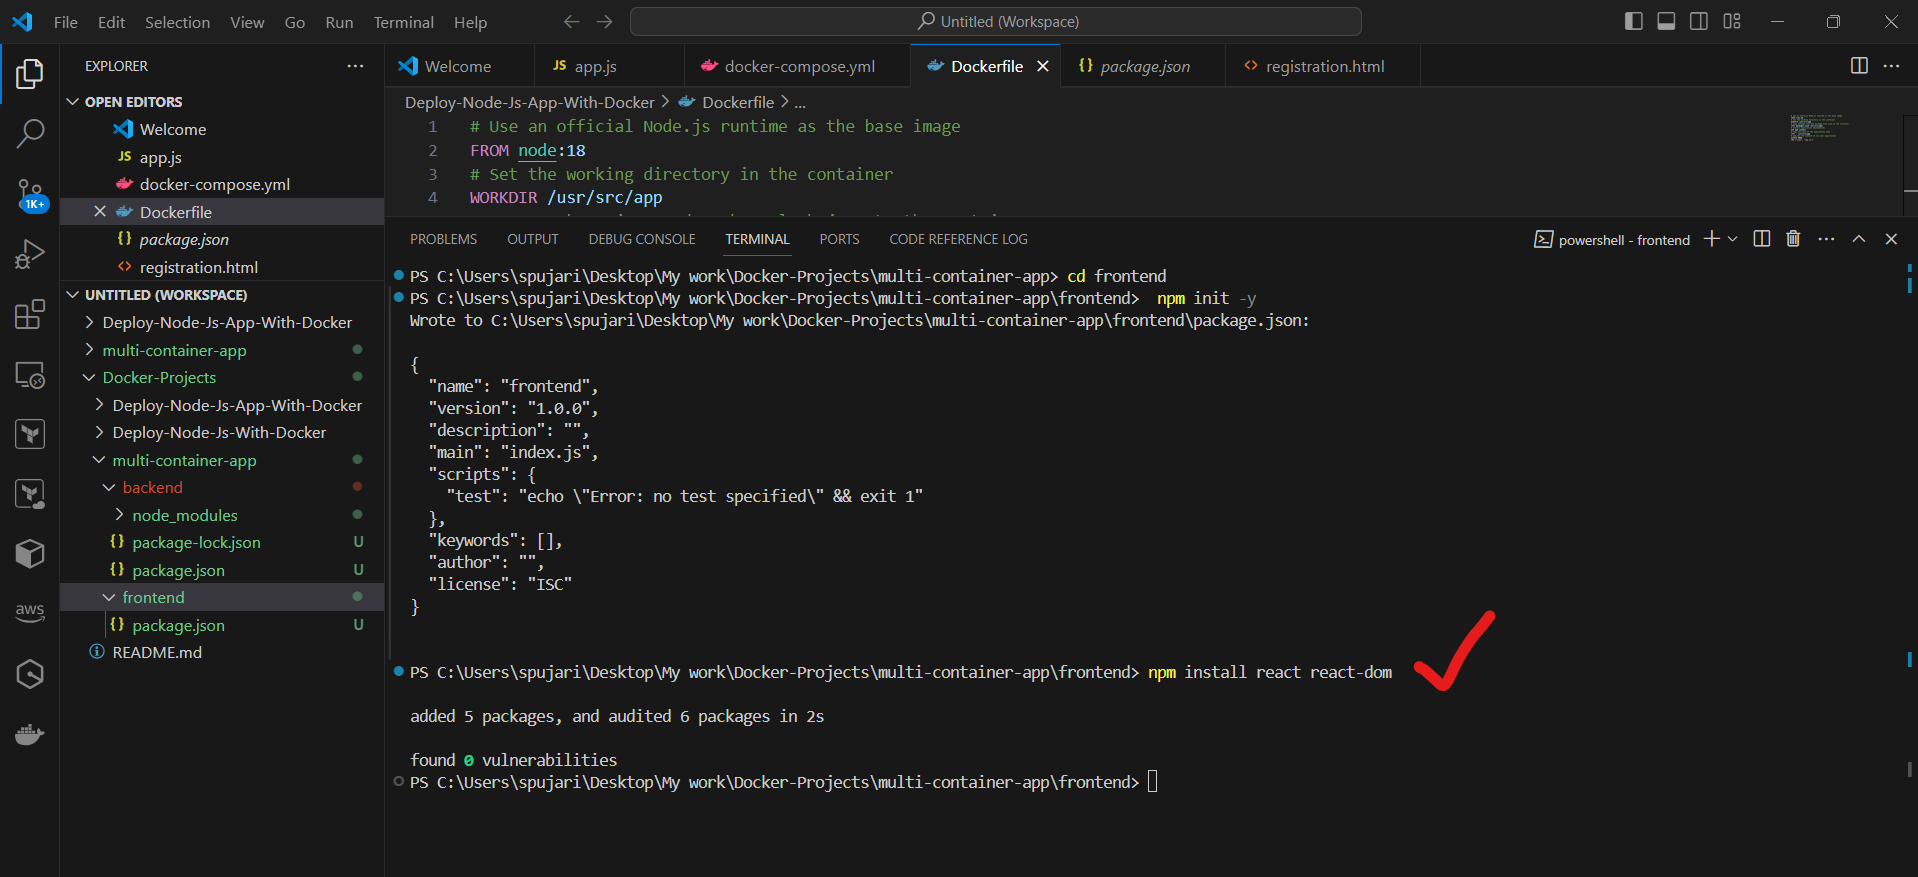
⚙️ Step 3: Set up the Backend
In the
backenddirectory, create a new fileserver.js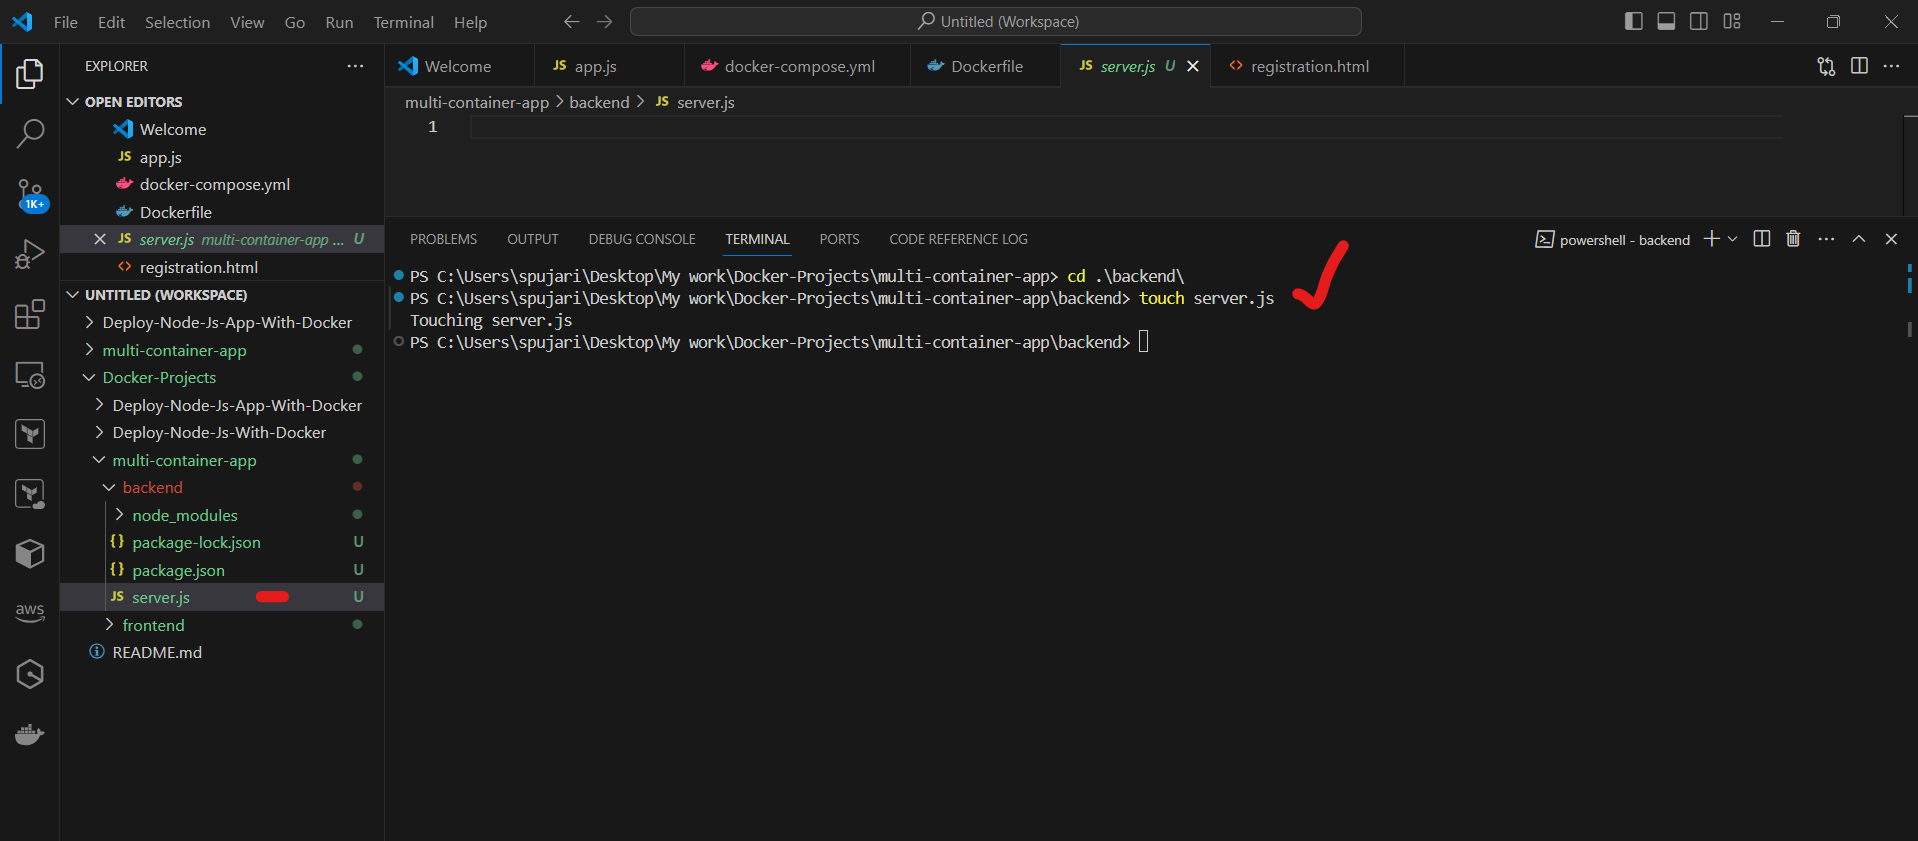
Add the following code to
server.jsto set up a basic Express server and connect to MongoDB: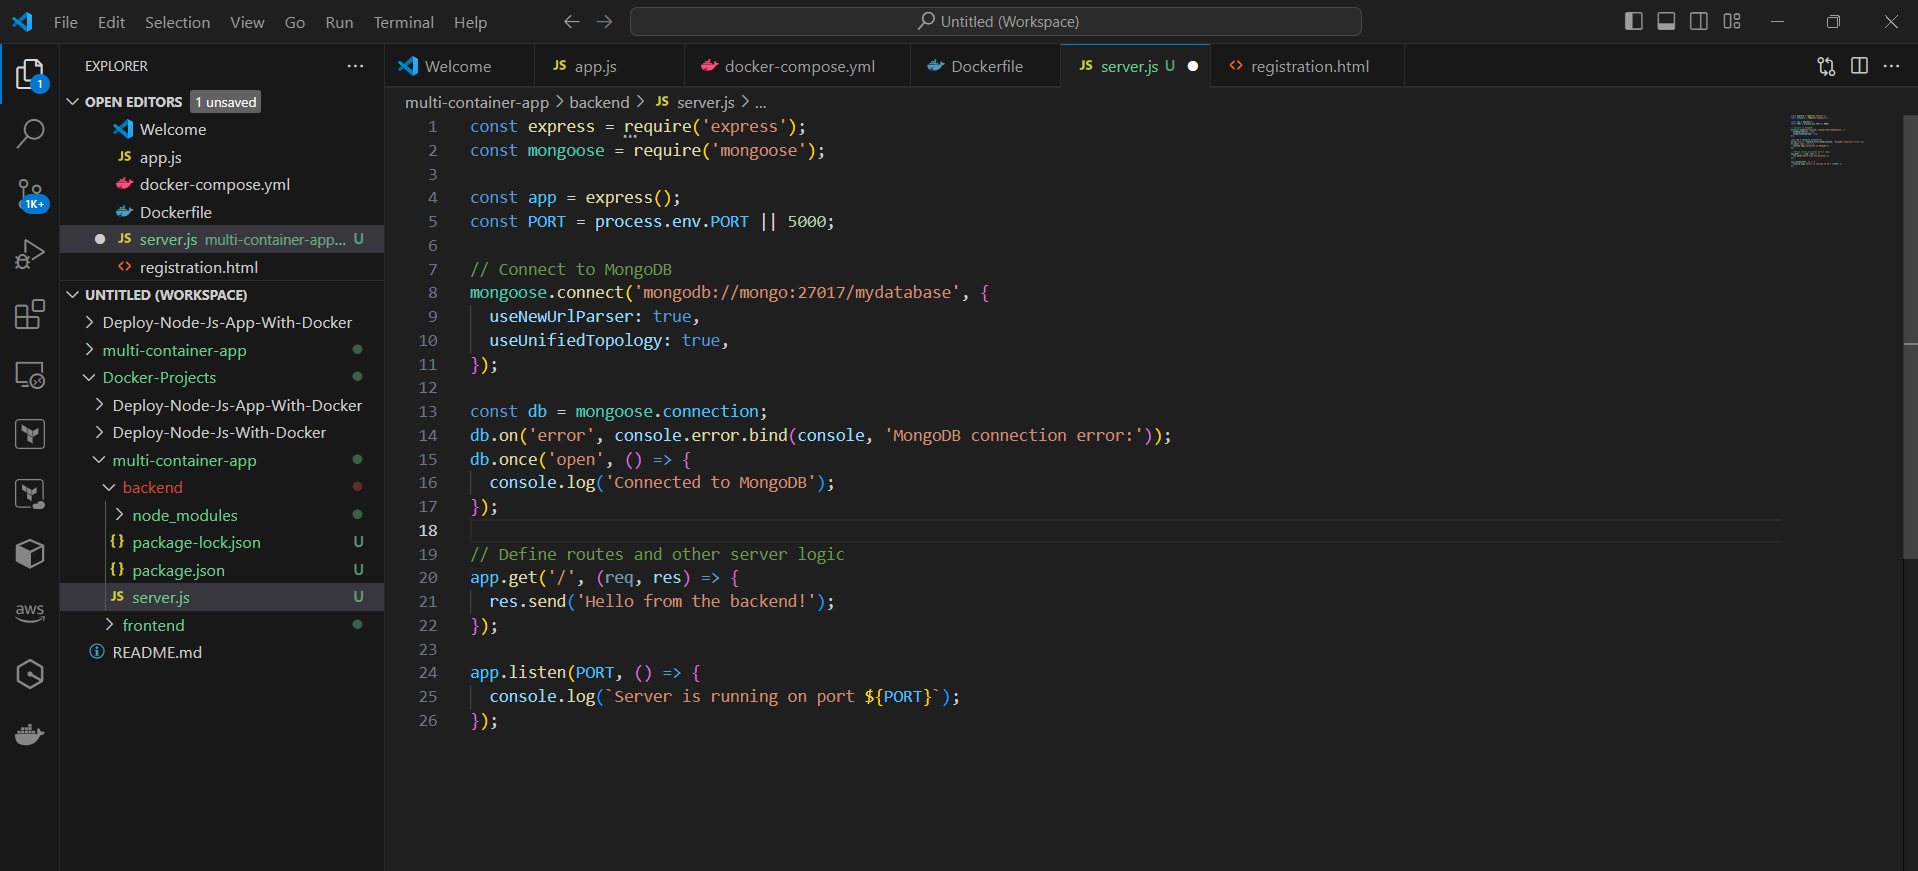
🖥️ Step 4: Set up the Frontend
In the
frontenddirectory, go tosrc/App.jsAdd the following code to
src/App.jsto create a basic React component: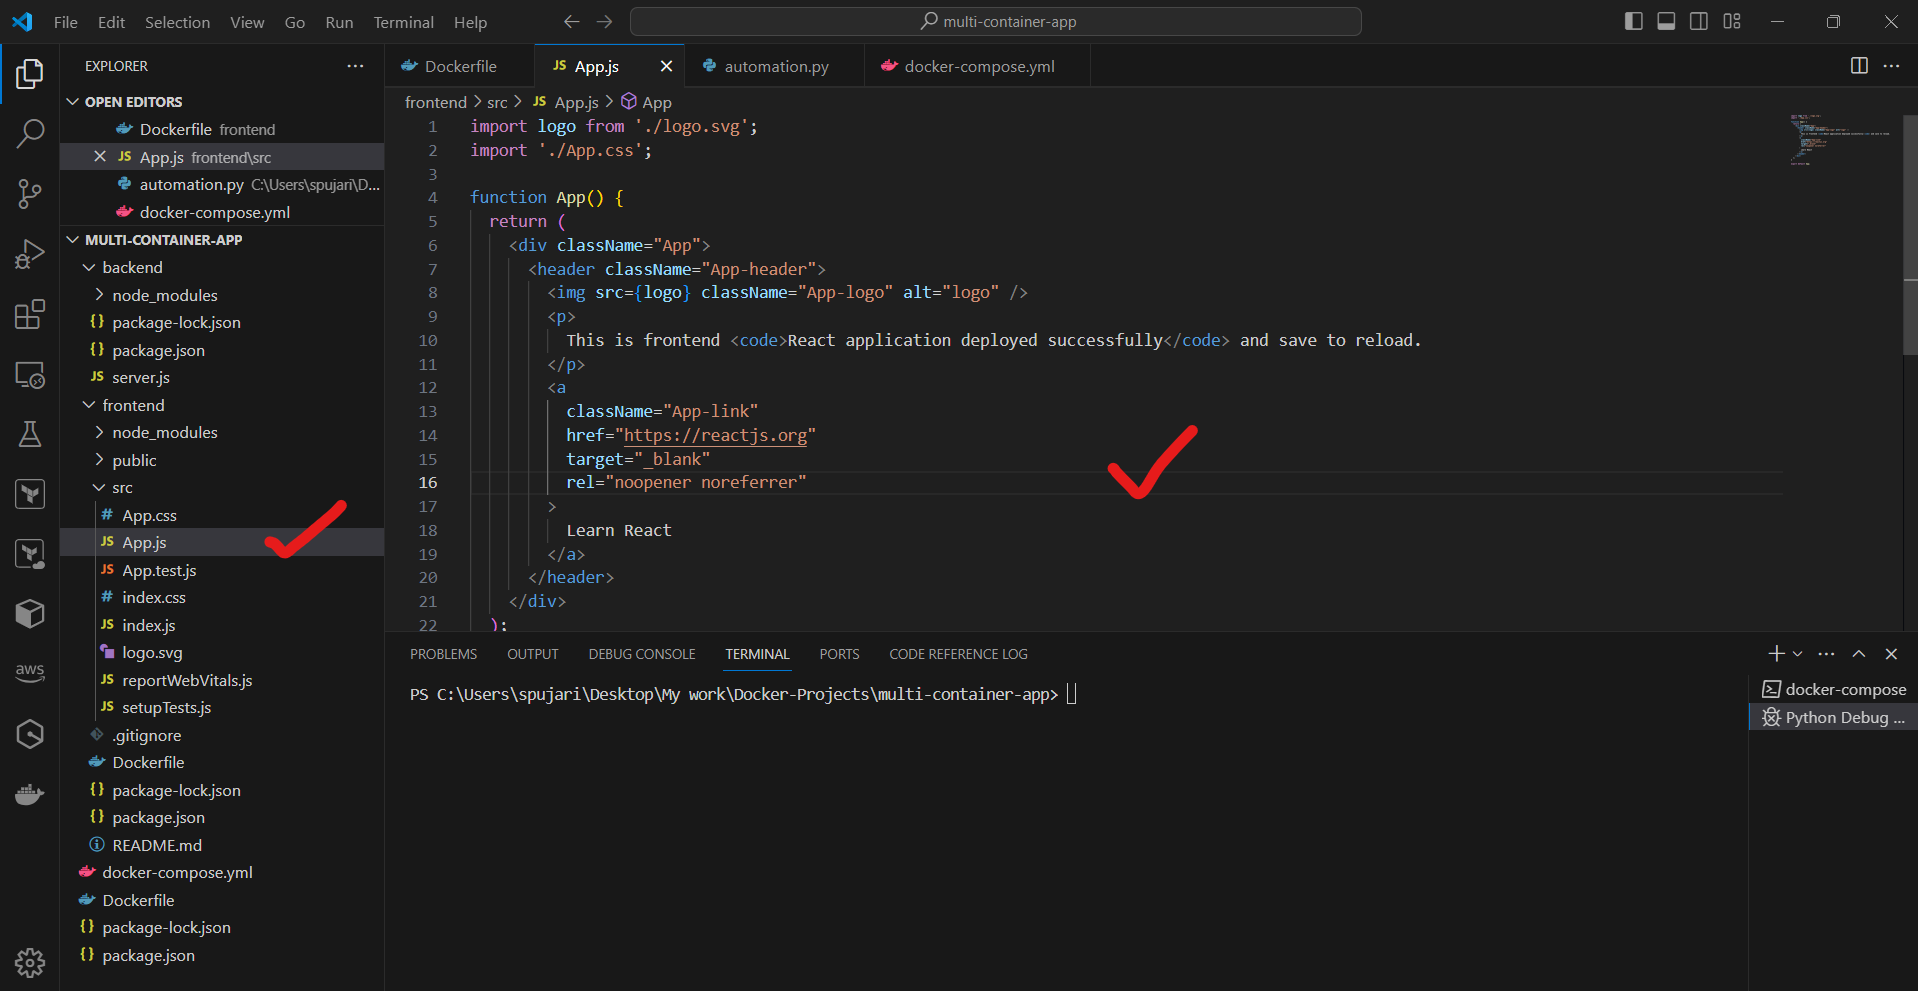
Create a new file
src/index.jsand add the following code to render the React app: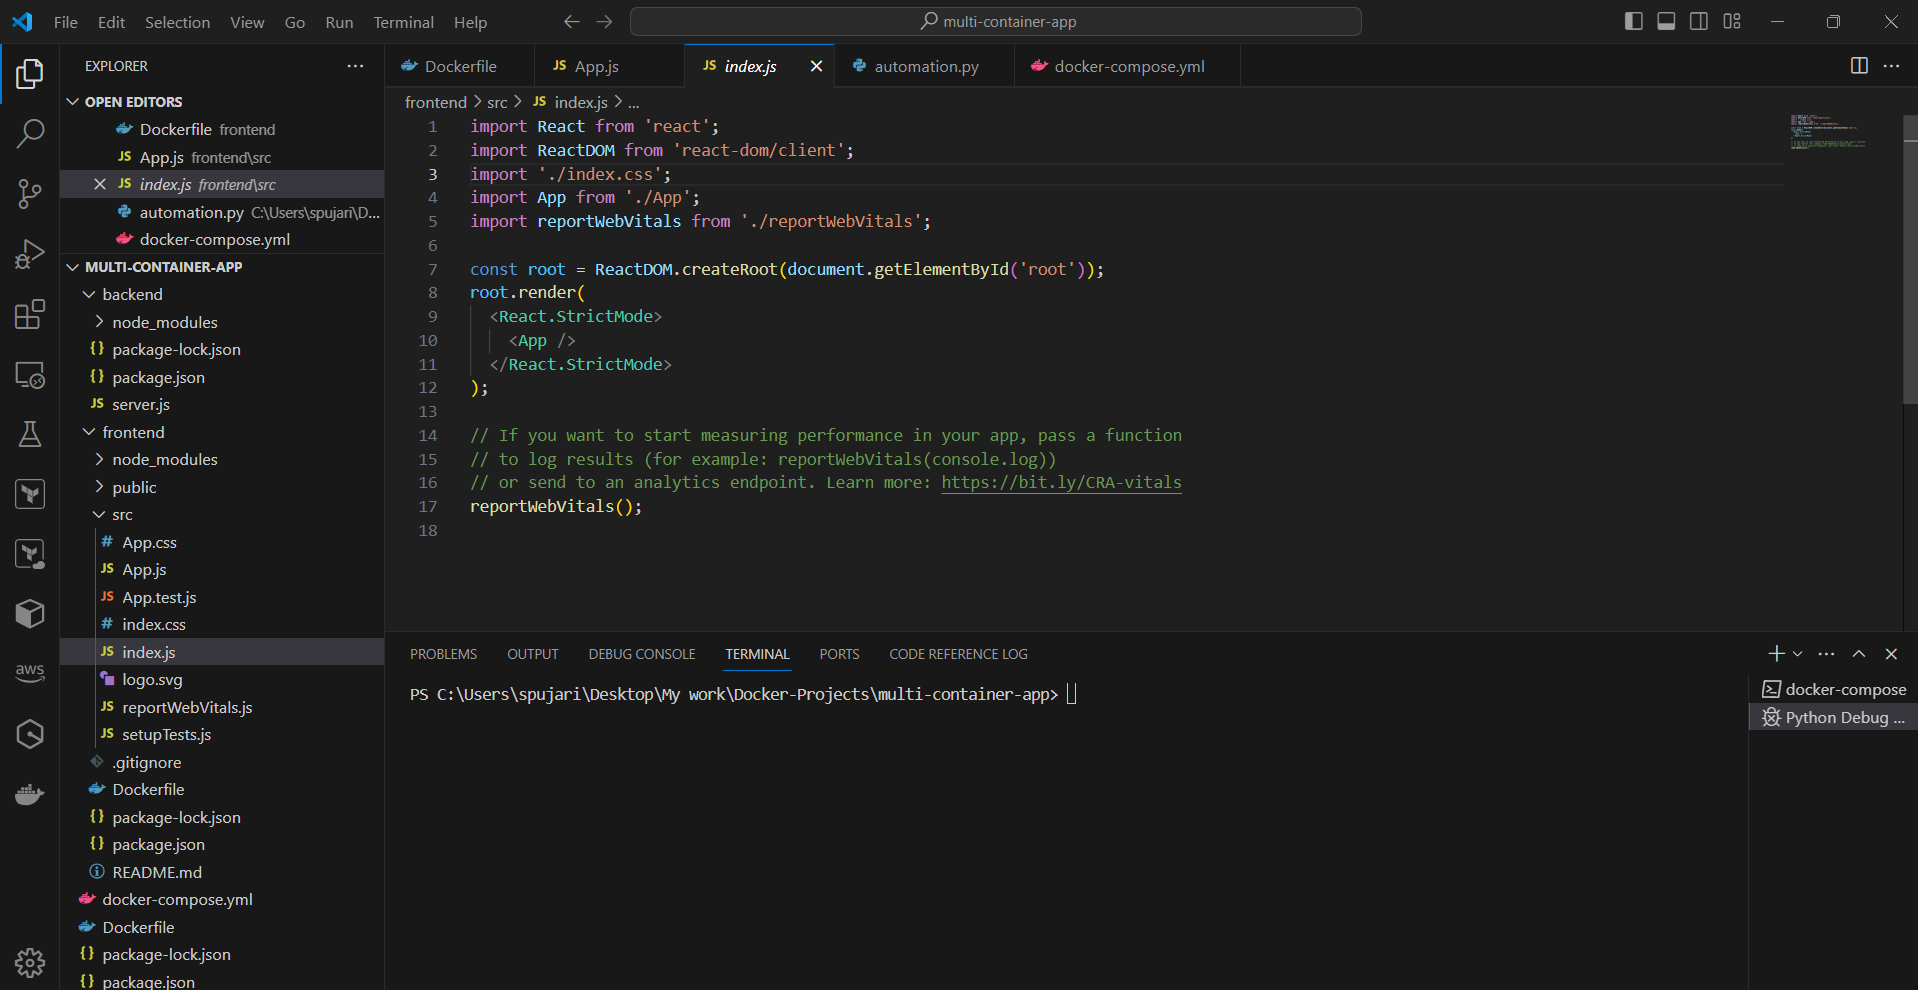
🐳 Step 5: Create Docker Images
In the project root directory, create a new file
Dockerfilefor the backend: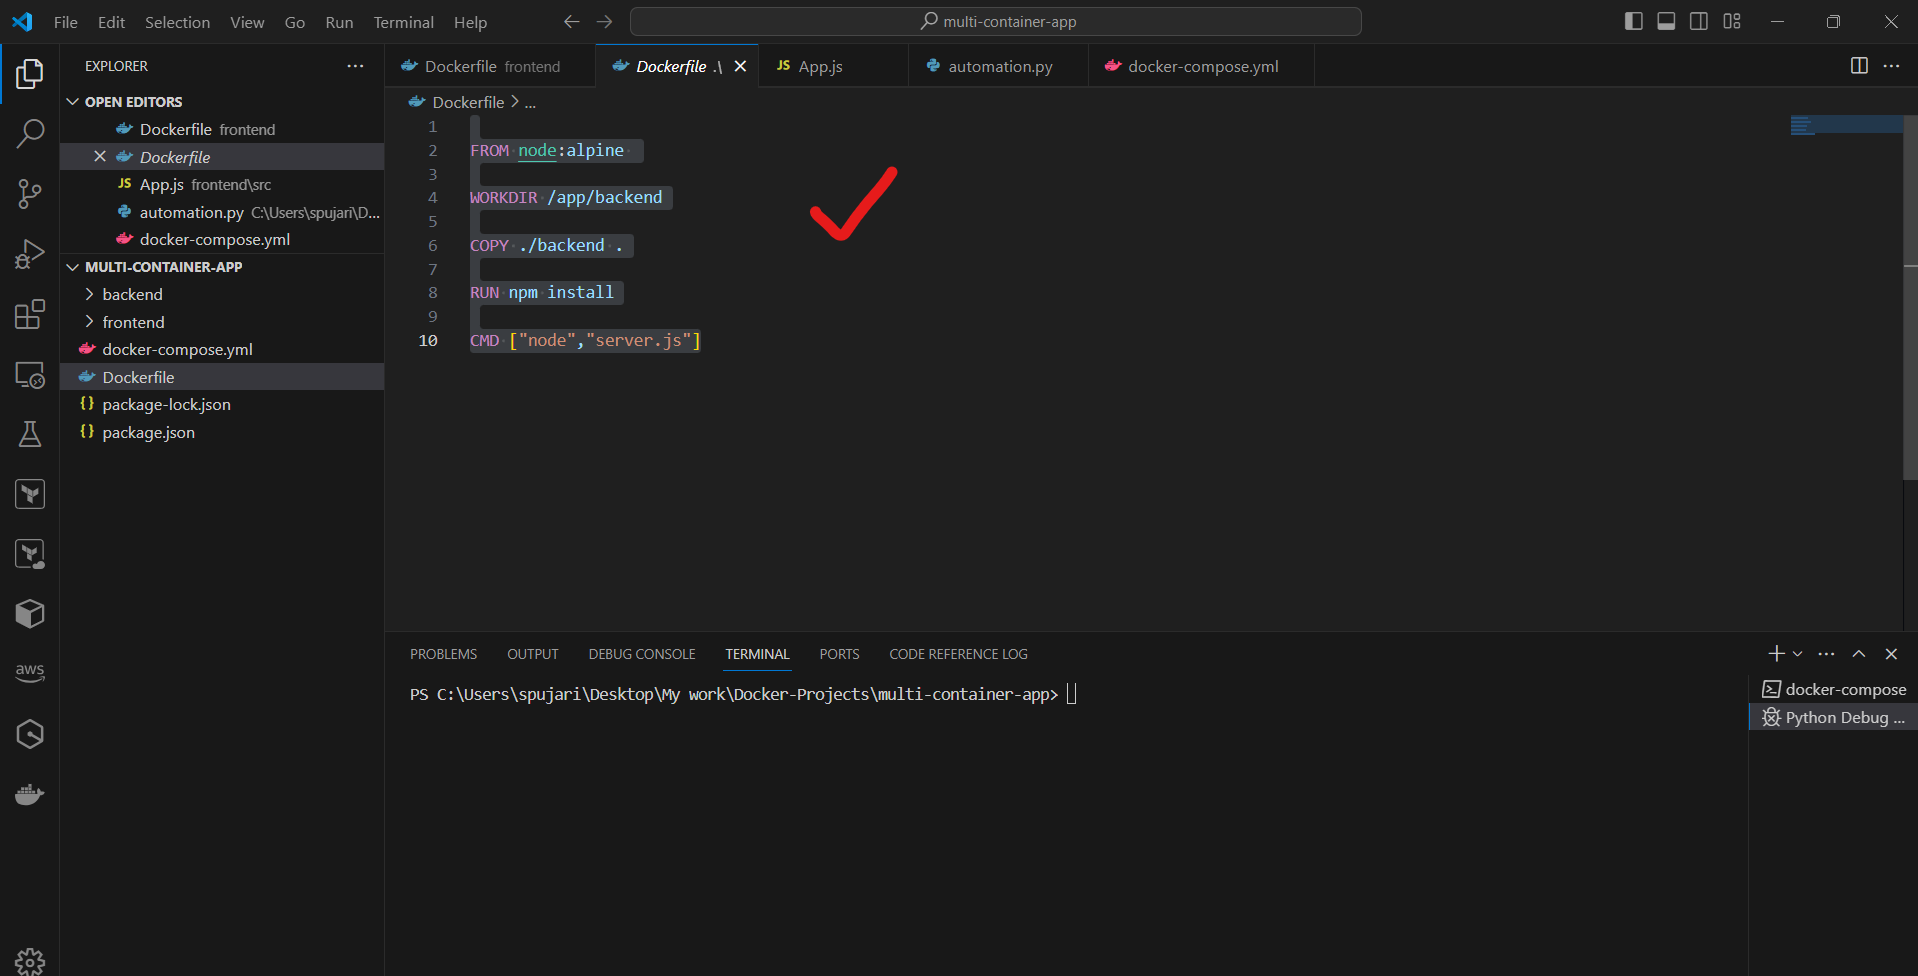
Create another
Dockerfilefor the frontend in thefrontenddirectory: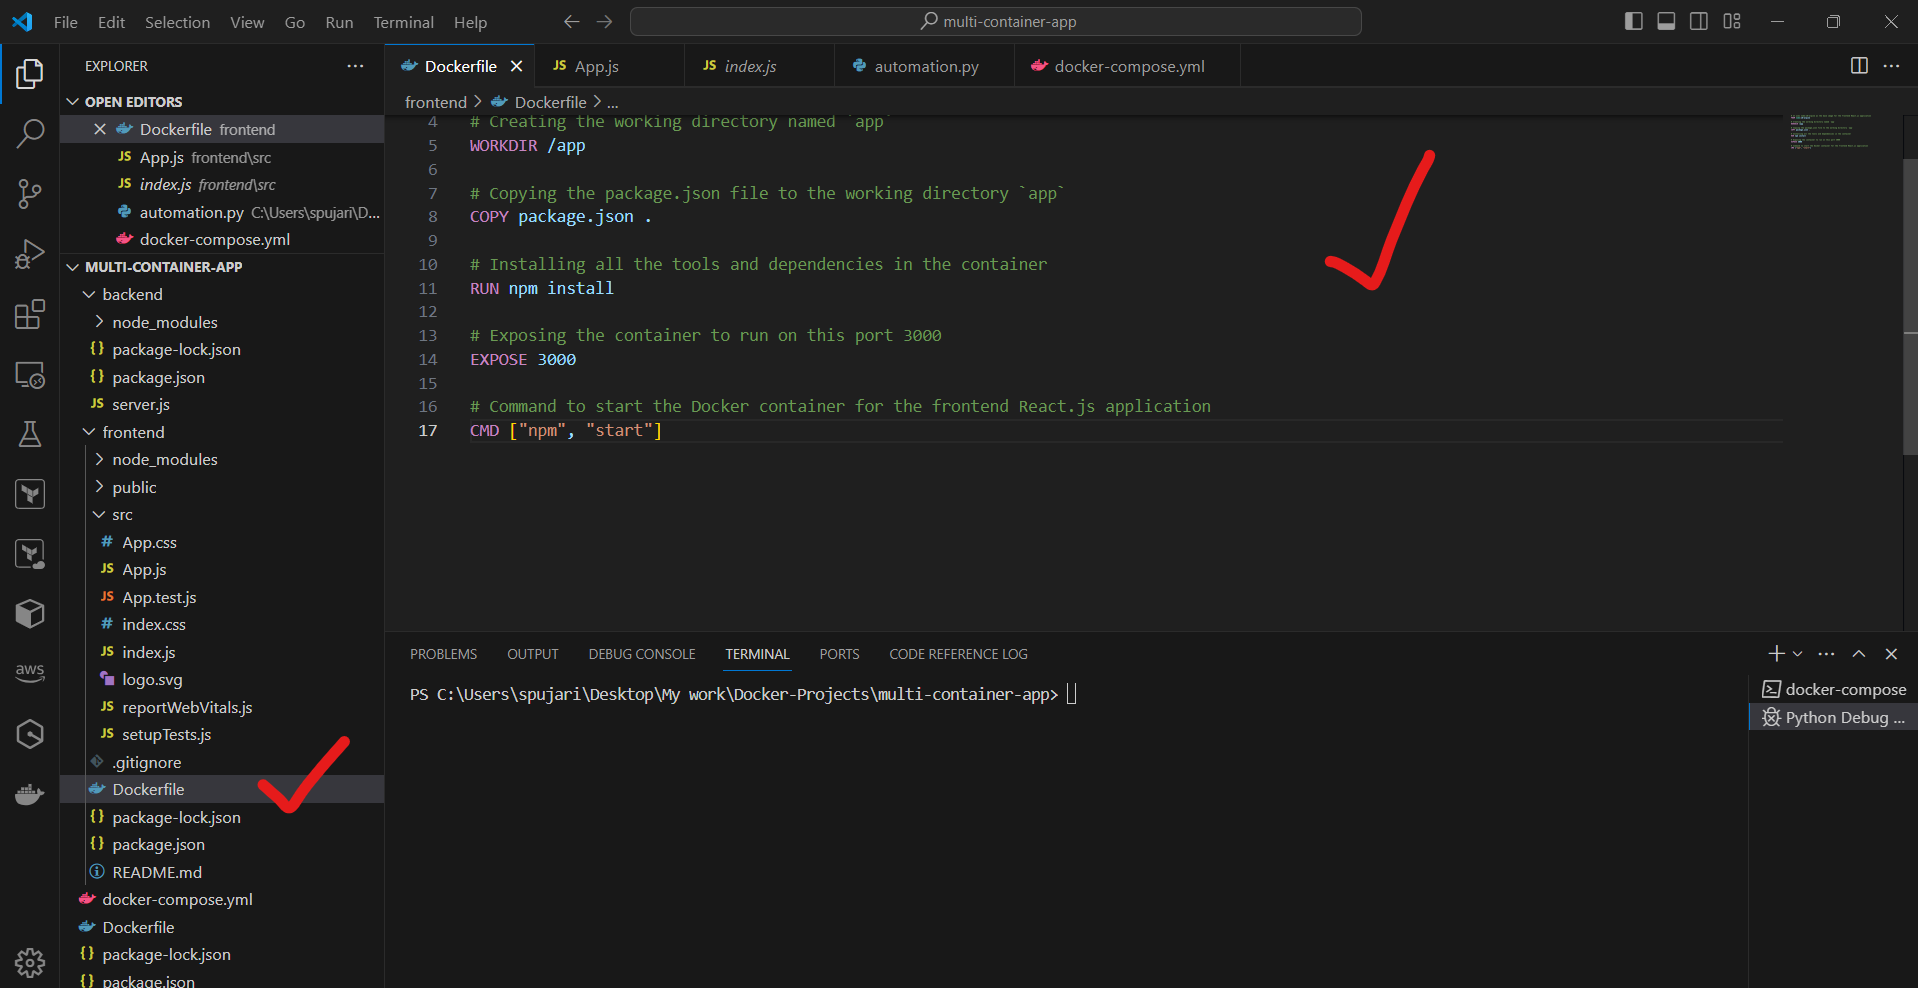
🚢 Step 6: Set up Docker Compose
In the project root directory, create a new file
docker-compose.ymlAdd the following content to
docker-compose.yml: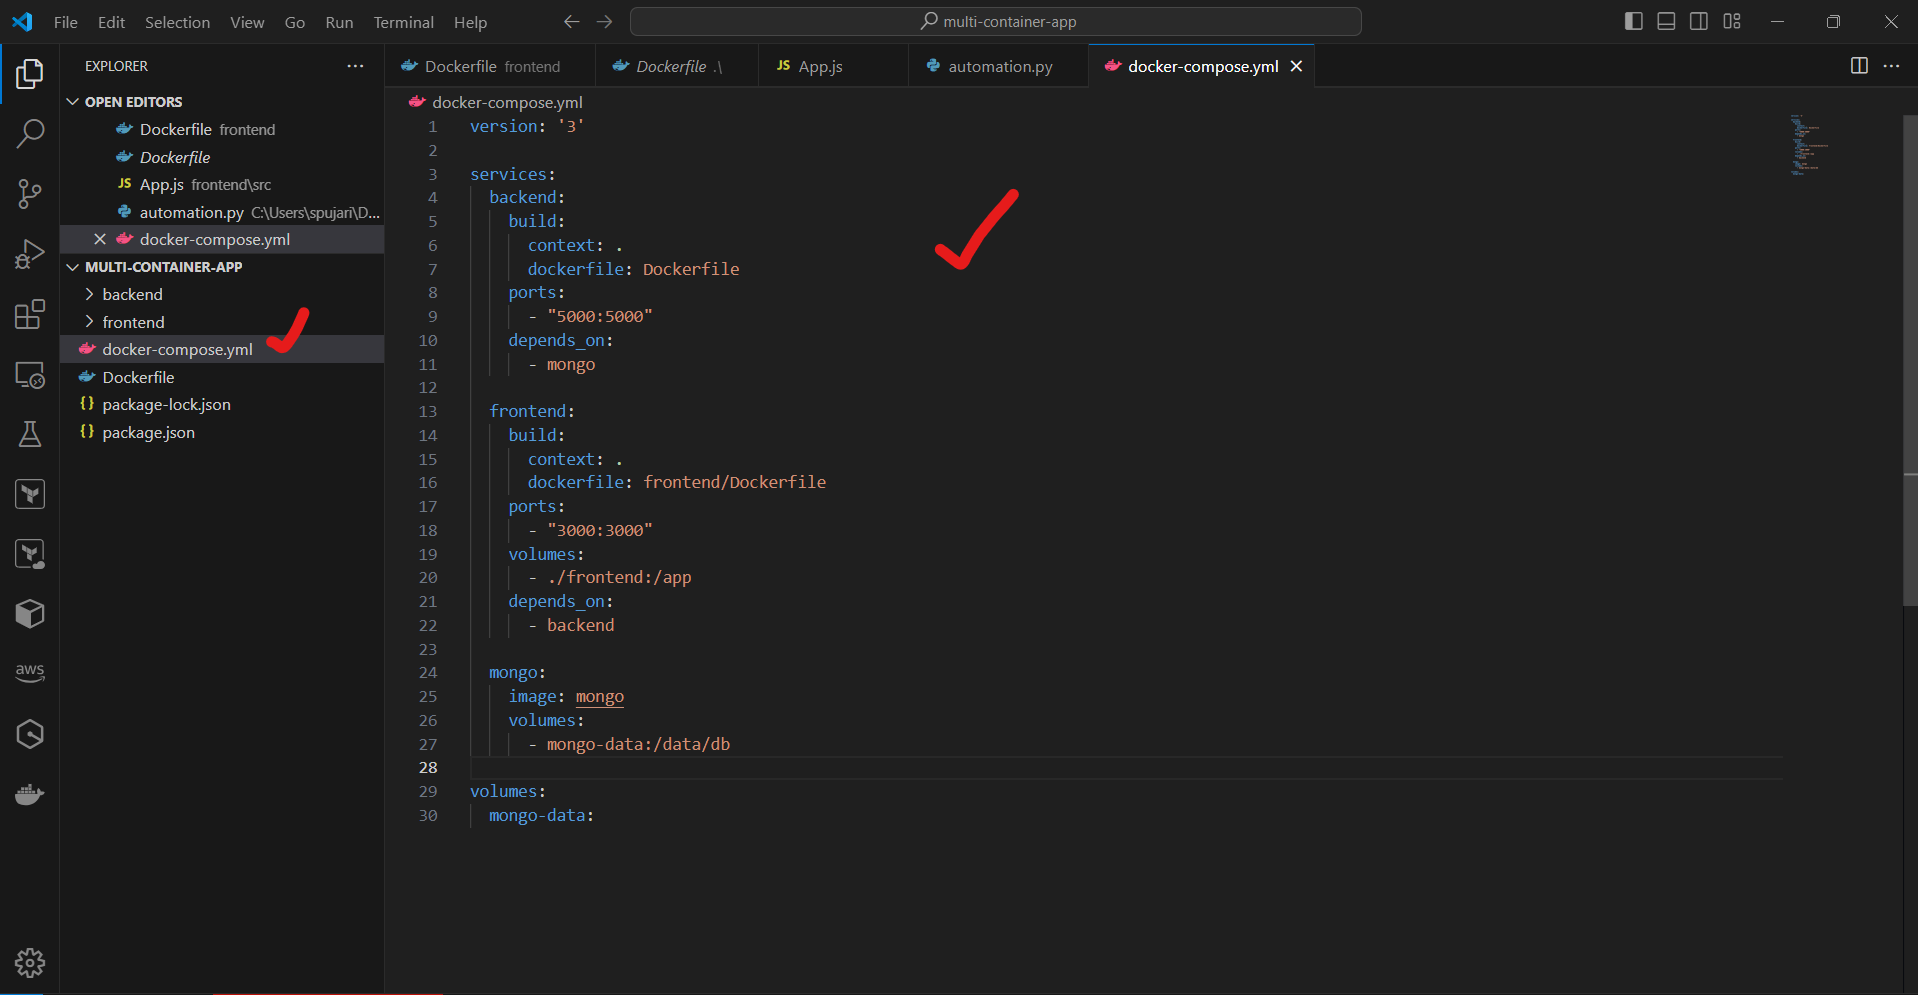
🚀 Step 7: Build and Run the Application
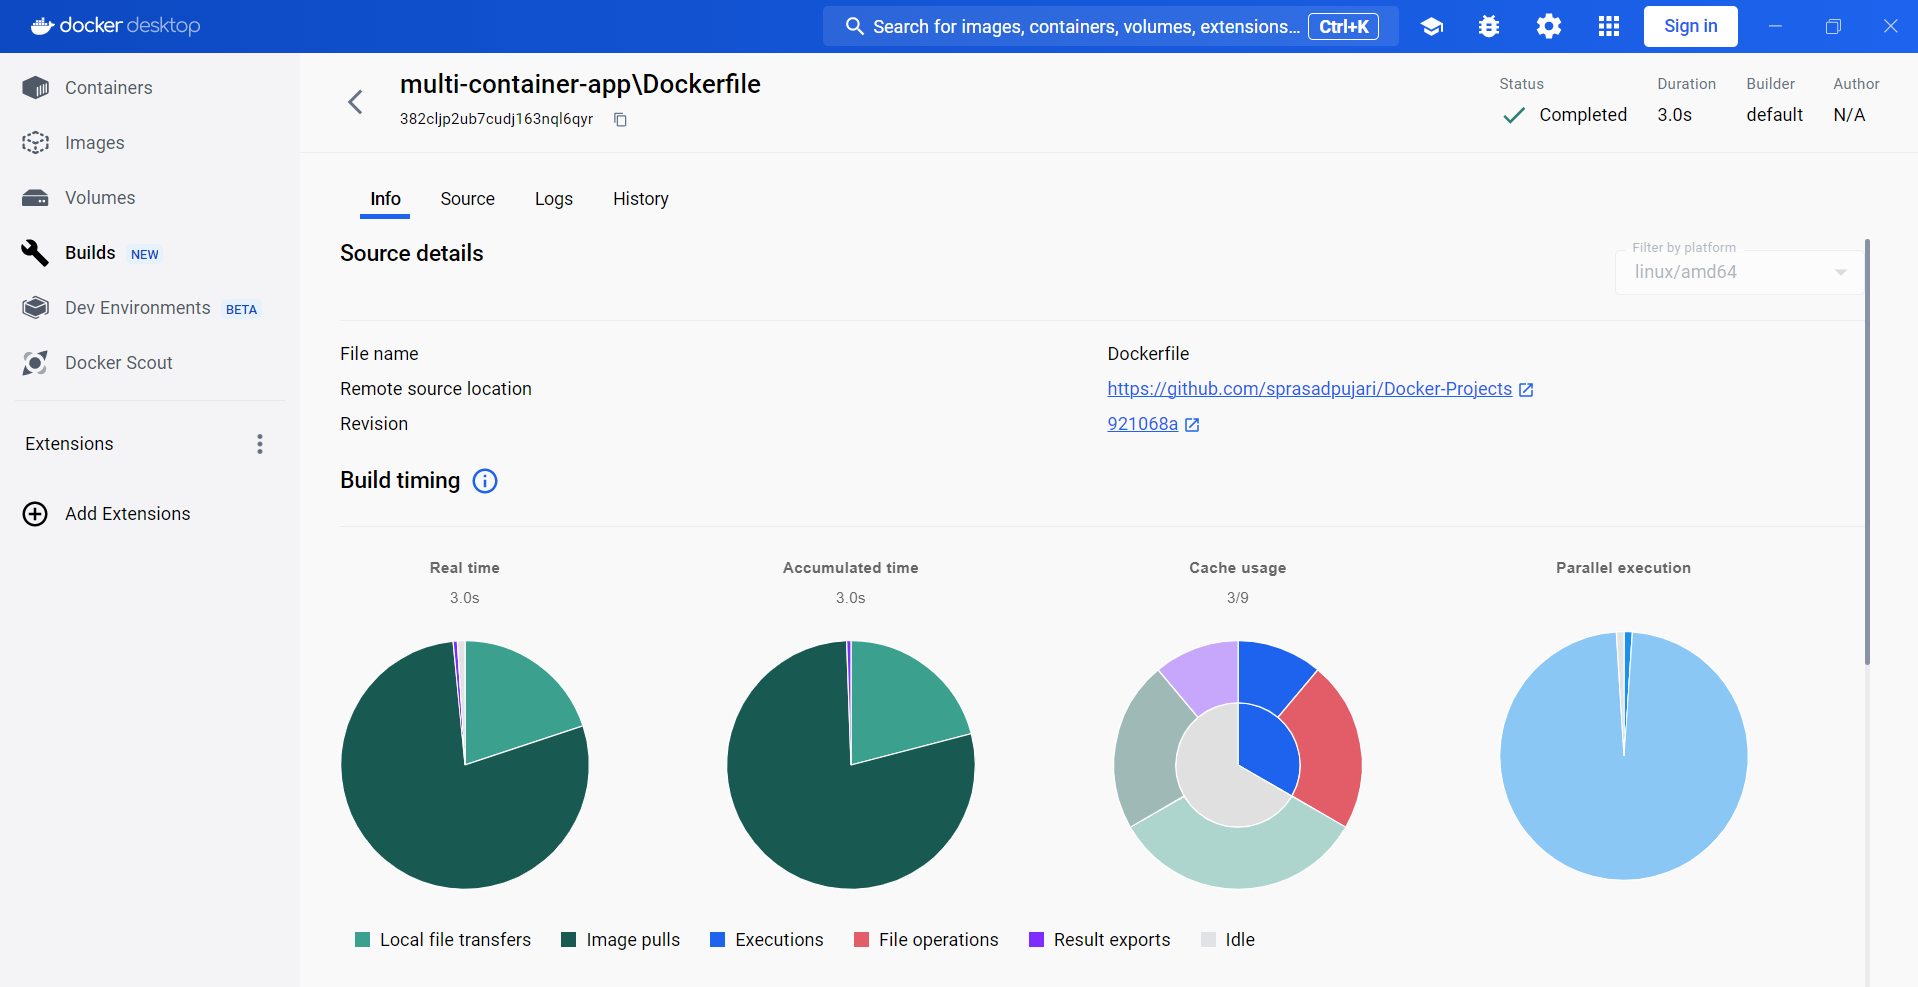
In the project root directory, run the following command to build the Docker images:
docker-compose build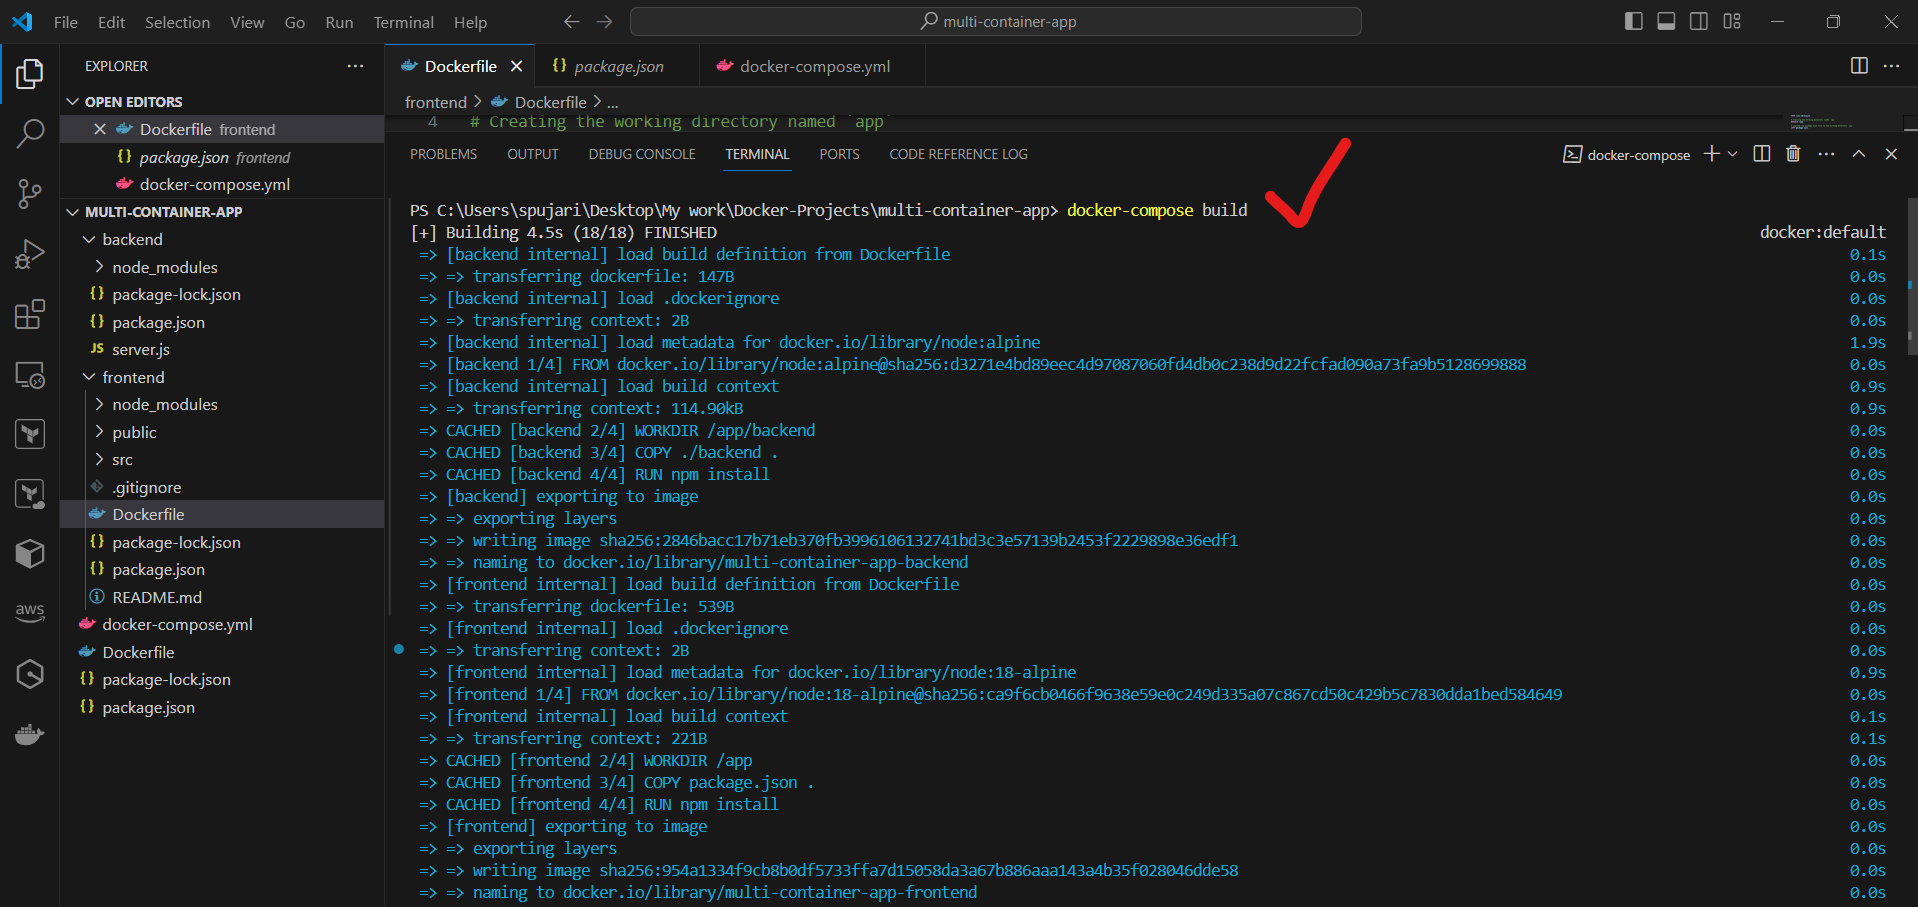
Once the build is complete, run the following command to start the containers:
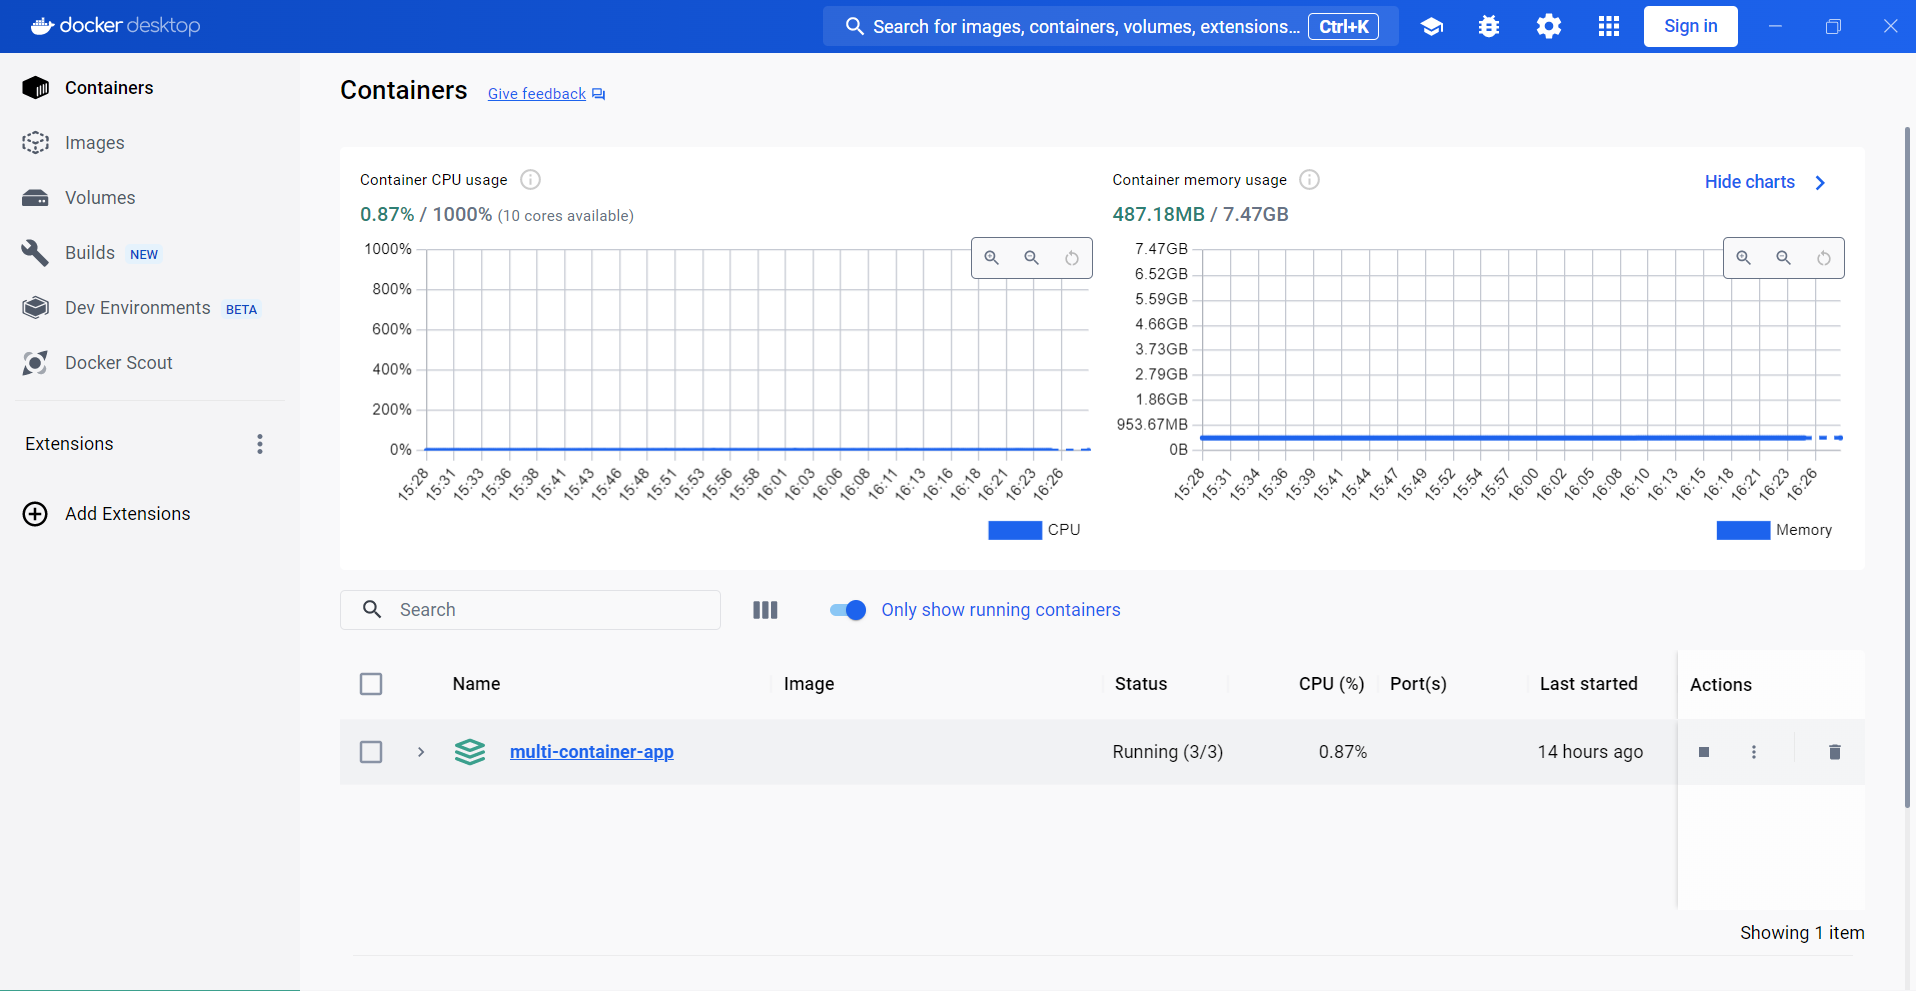
docker-compose up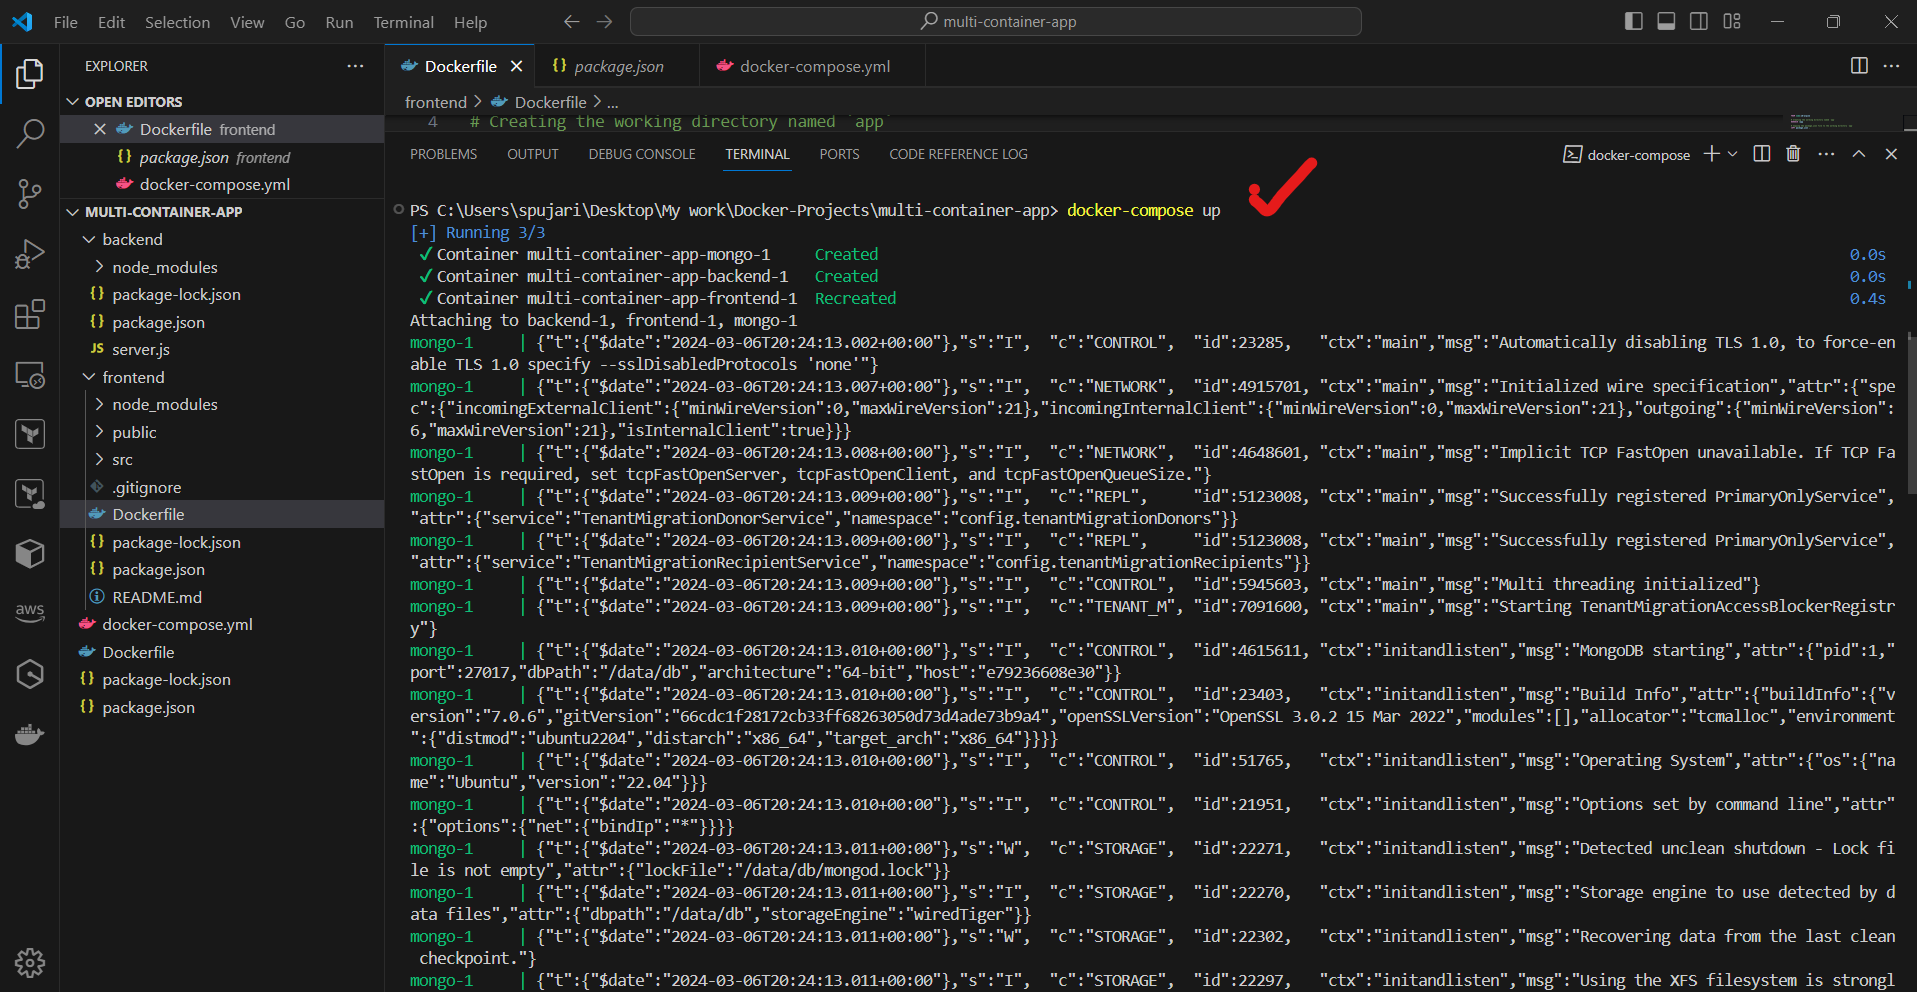
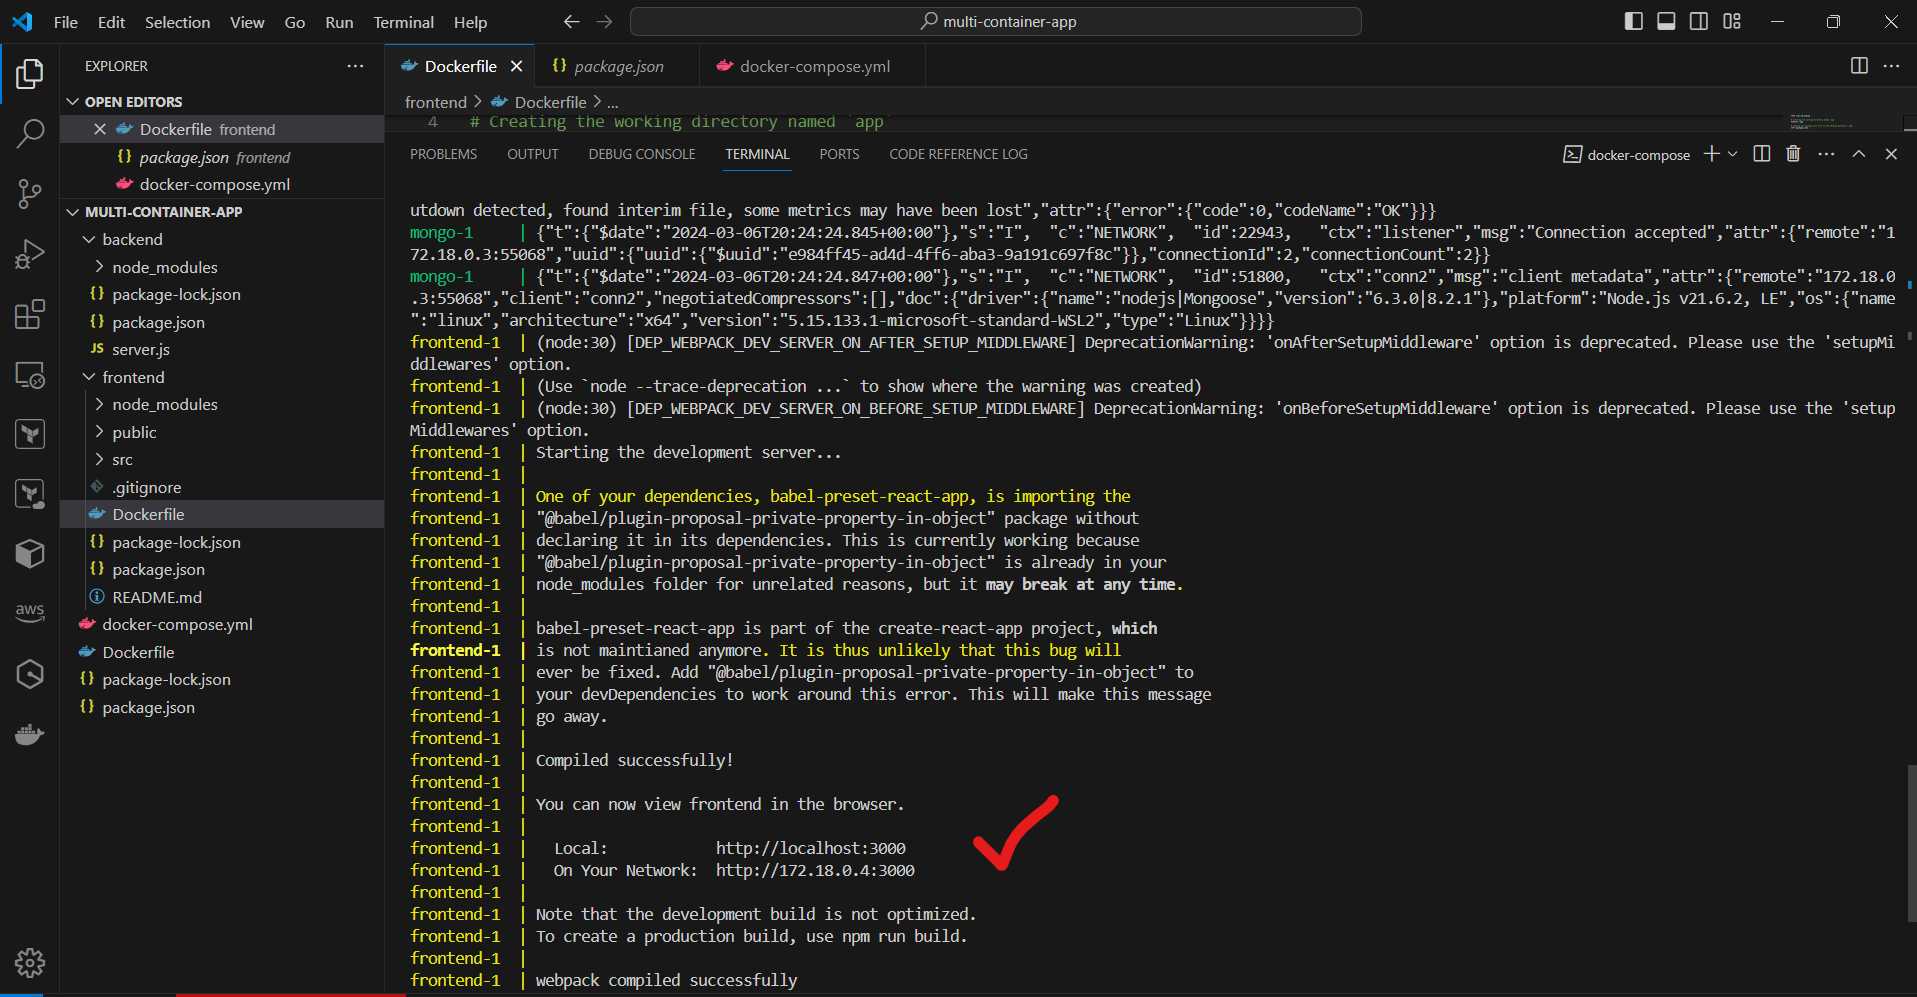
You should now be able to access the frontend at http://localhost:3000
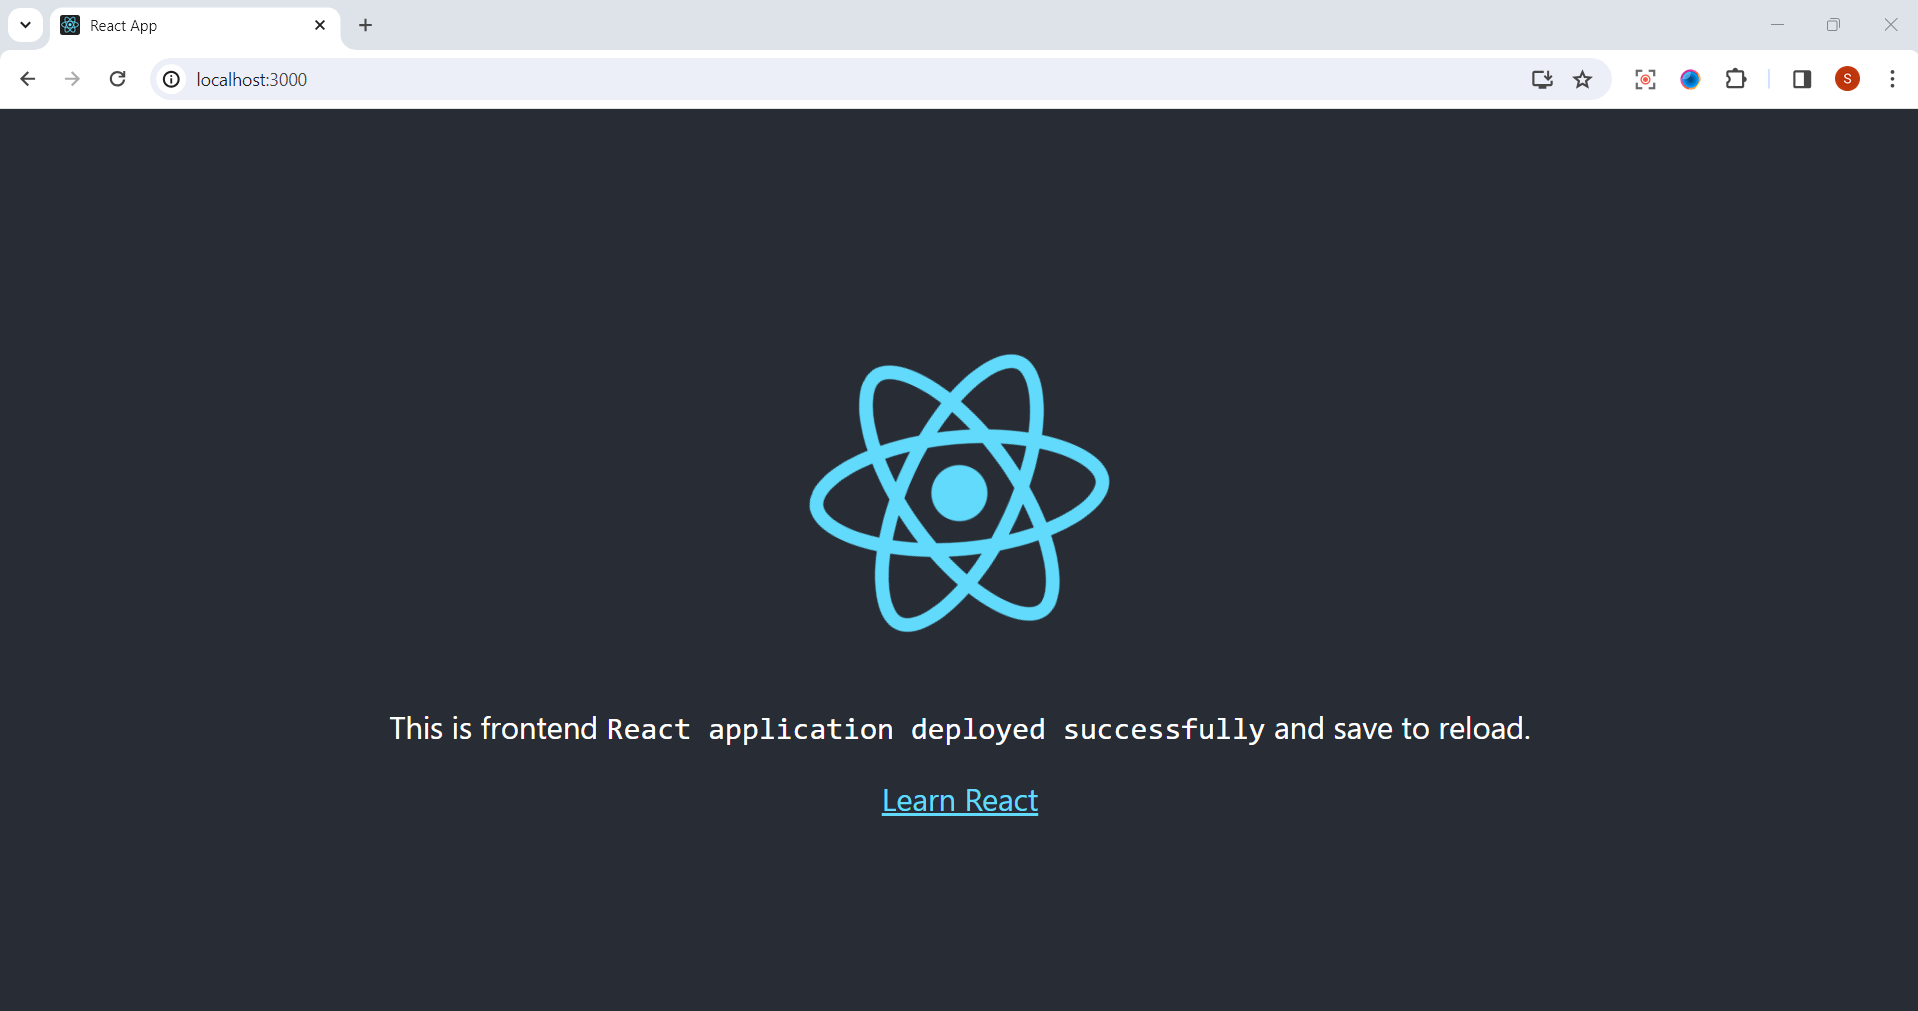
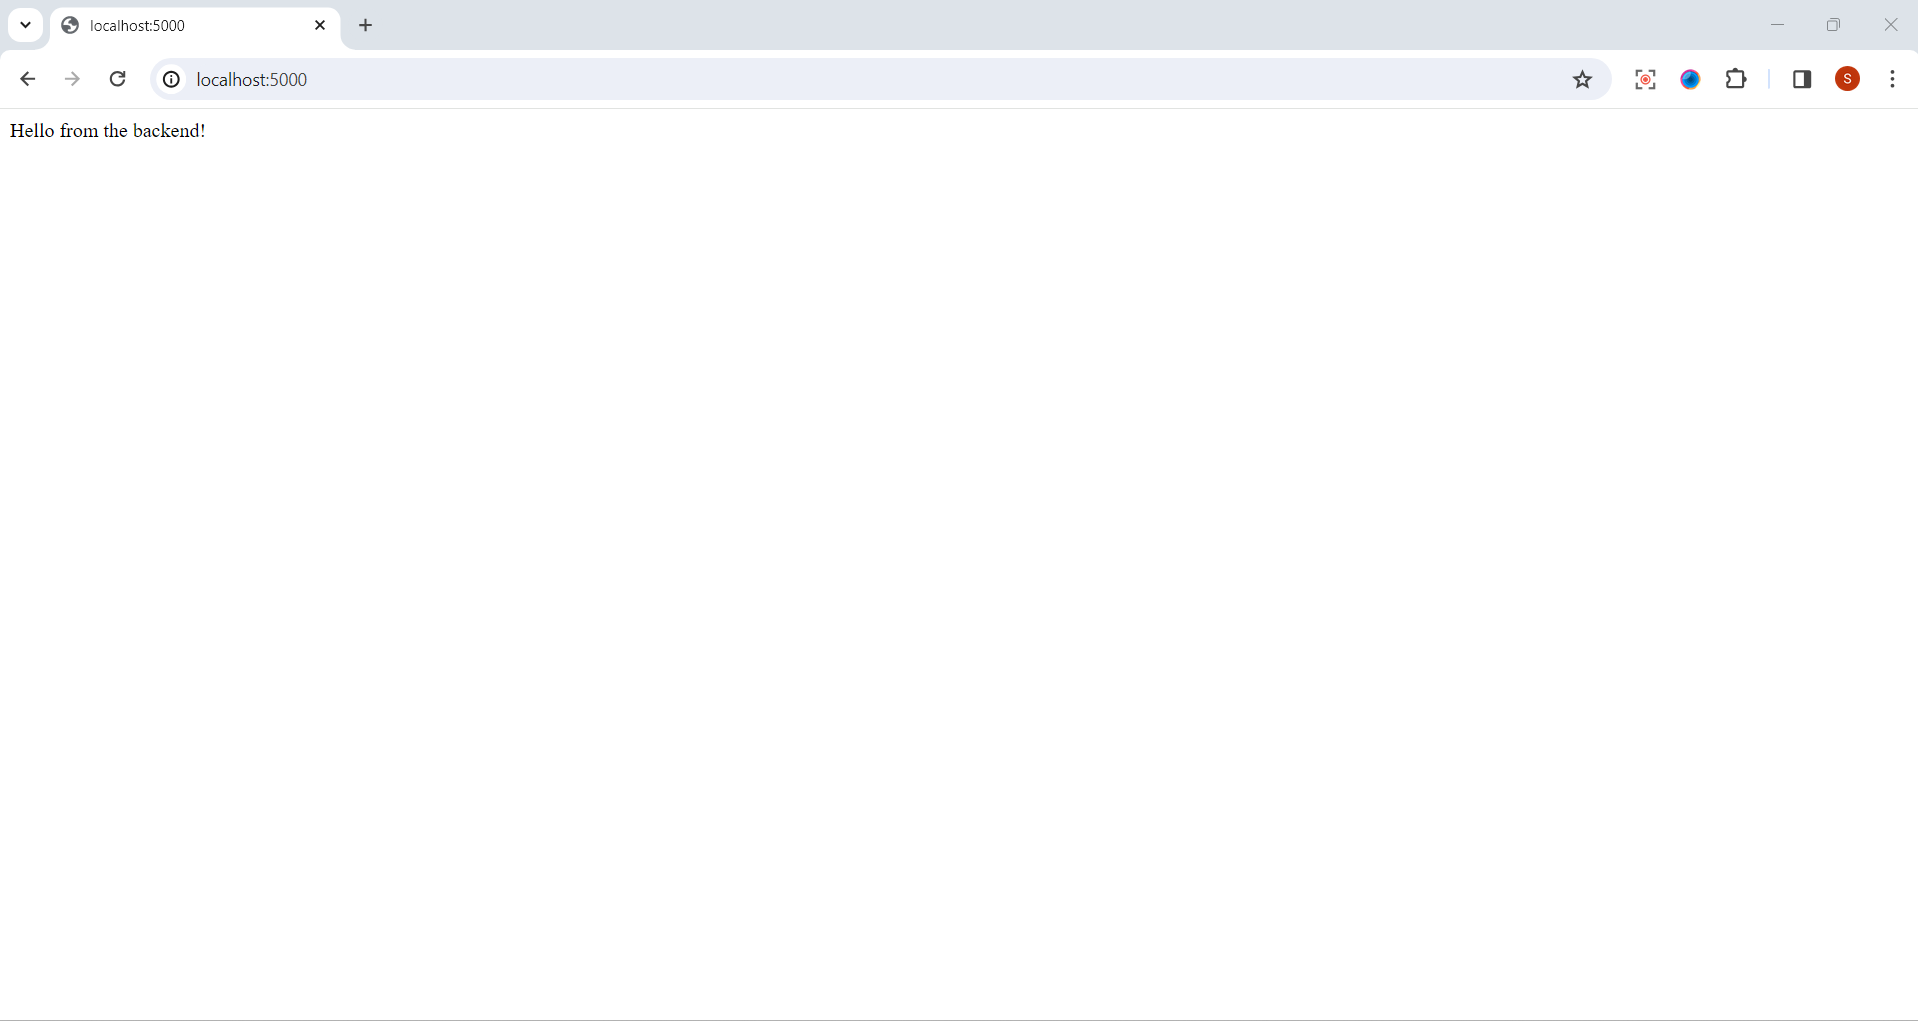
and the backend at http://localhost:5000.
Monitoring and Maintenance:
👇 Click the link below to access the code 👇
You can find all of the Docker code used in this tutorial on the following GitHub repository:
https://github.com/sprasadpujari/Docker-Projects/tree/main/multi-container-app
This link will take you to the specific GitHub repository and directory where the code for the multi-container application with Docker Compose is hosted. Explore the code, experiment, and enhance your Docker skills!
🎉 Congratulations! You've successfully built a multi-container application with Docker Compose, including a Node.js backend, a React.js frontend, and a MongoDB database.
Conclusion 🎉
This project demonstrates how Docker Compose simplifies the process of building and running multi-container applications by defining the services, dependencies, and configurations in a single file.
Feel free to explore and expand upon this project by adding more features, integrating additional services, or deploying it to a production environment using Docker and orchestration tools like Kubernetes.
Happy coding and containerizing! 🐳💻
Thank you for joining me on this exciting journey through the world of cloud computing! Your interest and support mean a lot, and I'm thrilled to continue exploring this fascinating field together. Let's stay connected and keep learning and growing as we navigate the ever-evolving landscape of technology. 🚀
📍 Connect with me on LinkedIn: https://www.linkedin.com/in/prasad-g-743239154/
📬 Or reach out directly at spujari.devops@gmail.com. I'm always open to hearing your thoughts and suggestions, as they help me improve and better cater to your needs. Let's keep moving forward and upward!
🤝 If you found this blog post helpful, please show your support by giving it a round of applause 👏👏👏. Your engagement boosts the visibility of the content and lets other DevOps and Cloud Engineers know that it might be useful to them too. Thank you for your support! 😀
Happy deploying, and let's continue our cloud computing adventures together!
Best Regards,
Sprasad
Subscribe to my newsletter
Read articles from Sprasad Pujari directly inside your inbox. Subscribe to the newsletter, and don't miss out.
Written by

Sprasad Pujari
Sprasad Pujari
Greetings! I'm Sprasad P, a DevOps Engineer with a passion for optimizing development pipelines, automating processes, and enabling teams to deliver software faster and more reliably.