Rebuilding My Homelab: Step One
 John Pruitt
I recently was trying to migrate all of my data from one Nextcloud server (installed on a pi4 running Ubuntu) to another (a docker container on another pi4 running DietPI). Long story short, I irreversibly corrupted the file system on the raspberry pi I was using to run my entire homelab. Many hours of work was destroyed but the personal files were still on the original disk.
So I am rebuilding the server, and now is the time for all the changes I didn't make time for.
First of all, even though Ubuntu for aarch64 is far more mature than when I first put together the file server I was trying to offline, in the mean time I gained an appreciation for DietPi.
It's lighter, leaner, and has more creature comforts in the dietpi-* commands for when you're ssh'd into your raspberry pi. Plus running dietpi-software on your first boot gets you a working baseline for adding containers.
My install time dietpi-software applications:
OpenSSH Client
Python 3 RPi.GPIO
Fail2Ban
Apache
DietPi-RAMlog
OpenSSH Server:
Docker Compose
Docker
Portainer
DietPi-Dashboard
Homer
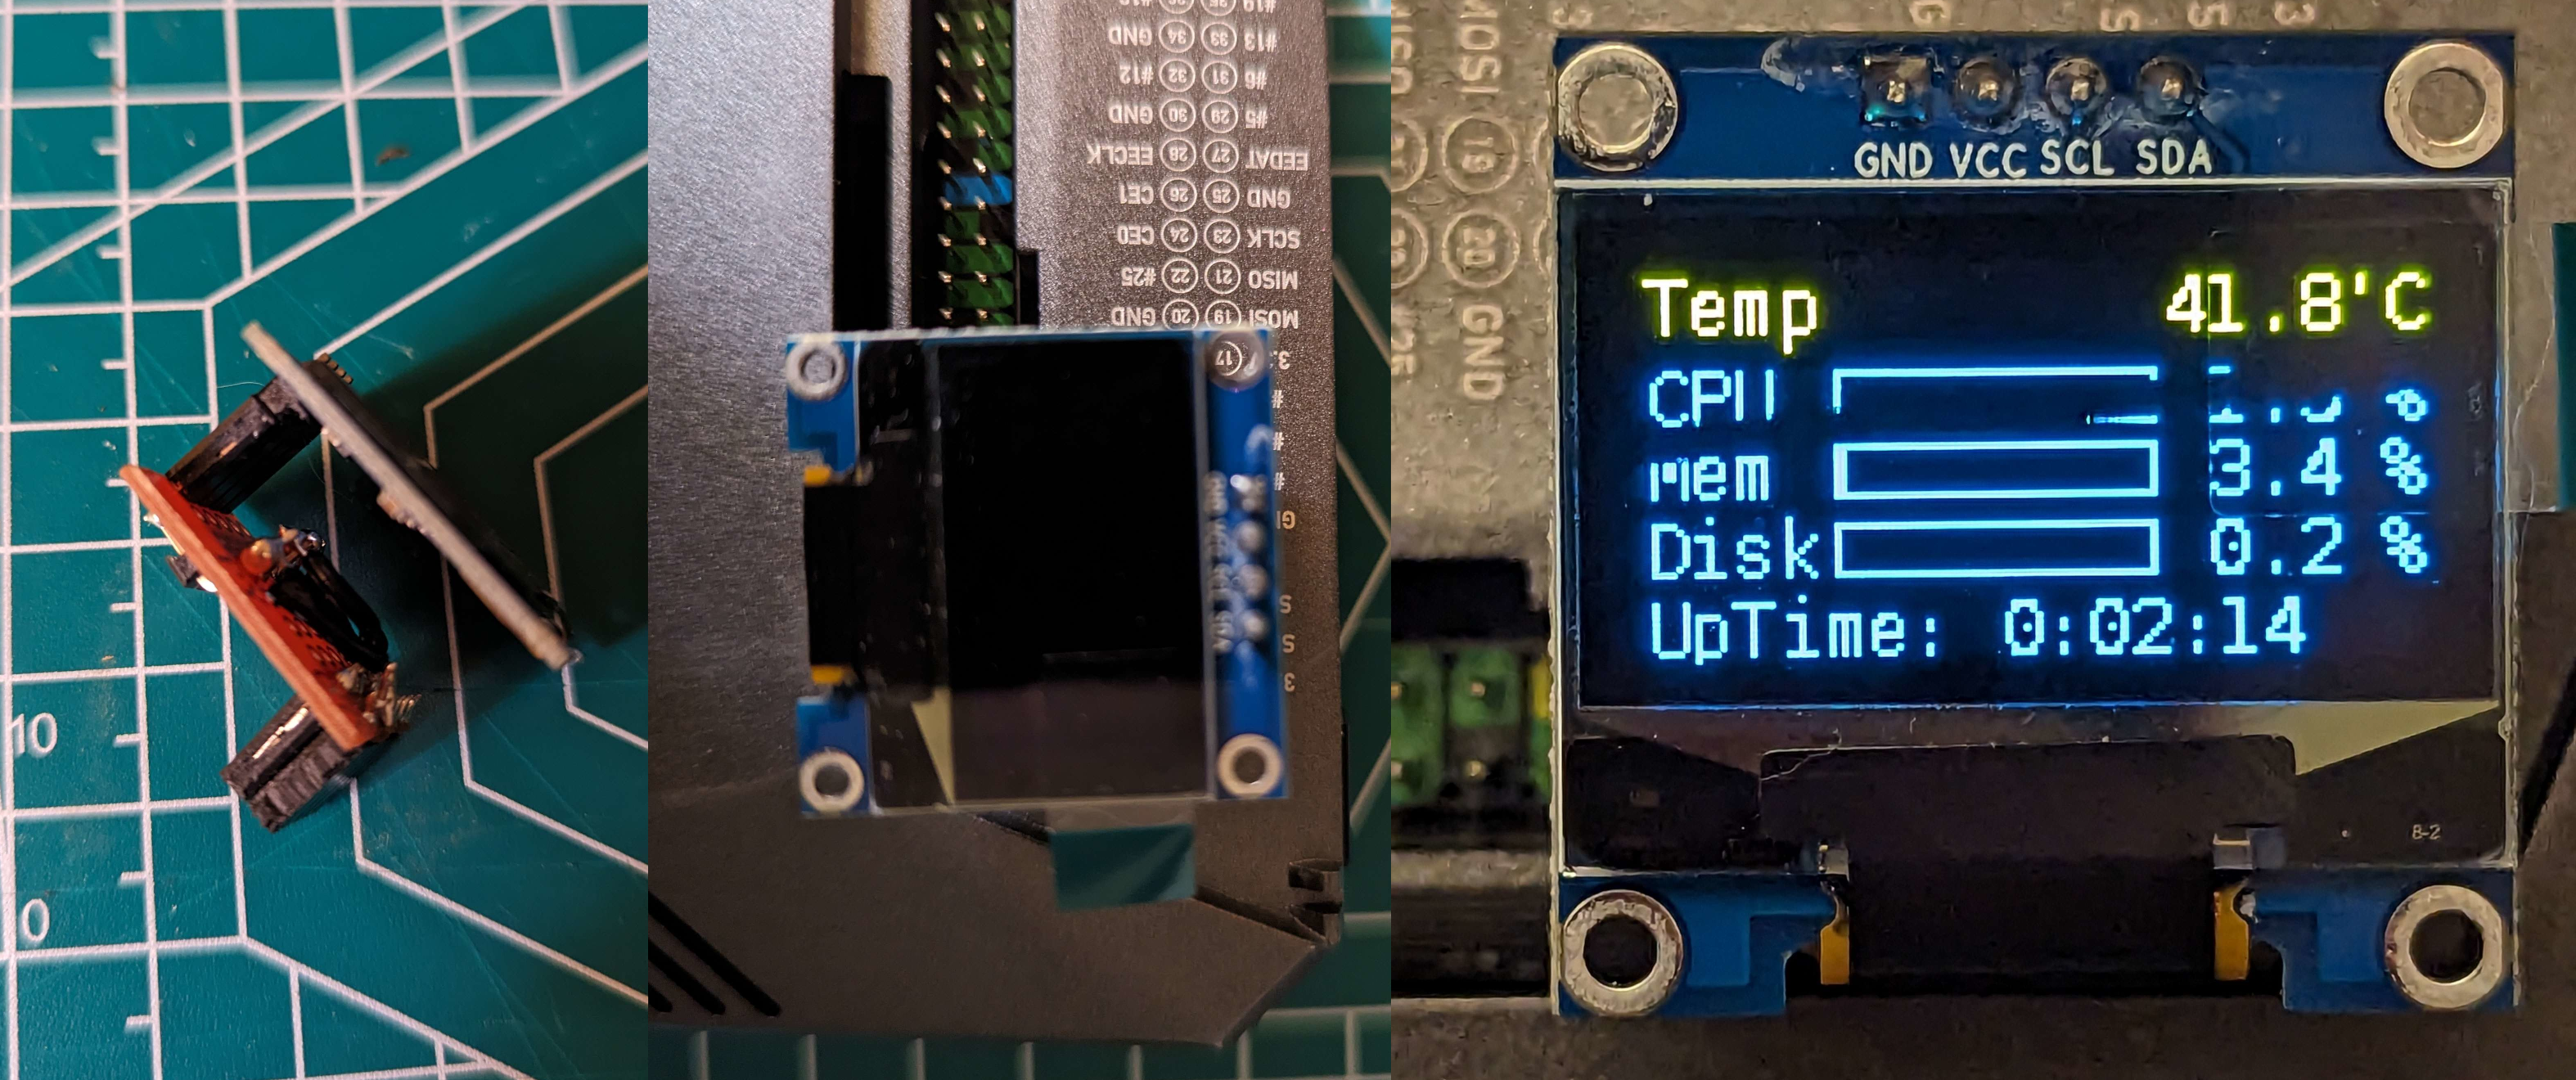
Another thing I did differently this time around was add an OLED status monitor.
I followed this set of instructions as a baseline: https://www.raspberrypi-spy.co.uk/2018/04/i2c-oled-display-module-with-raspberry-pi/
Some of the package versions were out of date / not in the debian packages dietpi has instead of raspbian ... but it was easily cleared up with apt-cache search. The only real gotcha here that wasn't clear from the raspian instructions is you'll need to add the dietpi user to the i2c and video groups to have permission to use the OLED.
I soldered together a little piece of perfboard to rearrange the I2C pins and tested the screen out. After a few pip installations the OLED was happy.

DietPi has another handy built-in for running a script at boot, dietpi-autostart. There are many other ways to kick something off when you start your raspberry pi, but I picked this one just because I had already set things up in a bash file to start the venv and kick off a demo file, so all I had to do was open dietpi-autostart and point to that shell file.
With all this done, I can start rebuilding my docker containers and putting the homelab to use.
Subscribe to my newsletter
Read articles from John Pruitt directly inside your inbox. Subscribe to the newsletter, and don't miss out.
Written by
