Streamlining Infrastructure: A Guide to Creating a Windows Virtual Machine on Azure with Terraform
 Mahira Technology Private Limited

Introduction :-
In the realm of cloud computing, Azure stands out as a powerhouse, offering robust services for seamless infrastructure deployment. Terraform, with its infrastructure-as-code approach, adds a layer of simplicity and efficiency to the process. This blog will guide you through the steps of creating a Windows Virtual Machine (VM) on Azure using Terraform, combining the best of both worlds.
Requirements :-
Azure Setup: Azure provides a versatile environment for hosting your virtual machines. Ensure your Azure CLI is installed and authenticated, setting the stage for our Terraform journey.
Terraform Installation: Begin by installing Terraform on your local machine or click here to install.
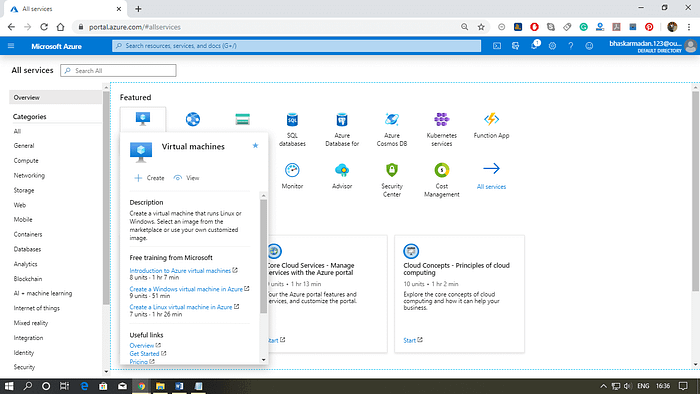
Before Starting we should login to the azure portal and obtain the client-id & secret, subscription-id and tenant-id from your portal.
Procedure :-
Terraform Configuration:- Craft a Terraform script to define your Windows VM configuration. Specify details such as resource group, VM size, OS disk type, and networking configurations by creating a folder with name windows_vm on your Desktop. Within the folder create terraform configuration files such as main.tf, variable.tf and provider.tf.
- Copy the below terraform script into your main.tf file.
#main.tf
resource "azurerm_resource_group" "corp_network"{
  name     = var.resource_group_name
  location = var.location
}

resource "azurerm_network_interface" "corp_jumpbox" {
  name                = var.network_interface_name
  location            = azurerm_resource_group.corp_network.location
  resource_group_name = azurerm_resource_group.corp_network.name
  ip_configuration {
    name                          = var.ip_configuration_name
    subnet_id                     = var.subnet_id
    private_ip_address_allocation = var.private_ip_address_allocation
    public_ip_address_id          = azurerm_public_ip.jumpbox_win_ip.id
  }
    depends_on = [
    var.virtual_network,
    azurerm_public_ip.jumpbox_win_ip
  ]
  }

resource "azurerm_windows_virtual_machine" "jumpbox_win_vm" {
  name                = var.virtual_machine_name
  resource_group_name = azurerm_resource_group.corp_network.name
  location            = azurerm_resource_group.corp_network.location
  size                = var.size
  admin_username      = var.admin_username
  admin_password      = var.admin_password
  network_interface_ids = [
    azurerm_network_interface.corp_jumpbox.id,
  ]
  os_disk {
    caching              = var.caching
    storage_account_type = var.storage_account_type
  }
  source_image_reference {
    publisher = var.publisher
    offer     = var.offer
    sku       = var.sku
    version   = var.version
  }
   depends_on = [
    azurerm_network_interface.corp_jumpbox
  ]
}

resource "azurerm_public_ip" "jumpbox_win_ip" {
  name                = var.public_ip_name
  resource_group_name = azurerm_resource_group.corp_network.name
  location            = azurerm_resource_group.corp_network.location
  allocation_method   = var.allocation_method
}
- Paste the below code into your variable.tf file.
variable "resource_group_name" {
  description = "The name of the resource group in which the resources will be created."
  type        = string
  default     = "corp-network"
}

variable "location" {
  description = "(Optional) The location in which the resources will be created."
  type        = string
  default     = "East US 2"
}

variable "network_interface_name" {
  type = string
  default = "corp-jumpbox"
}

variable "ip_configuration_name" {
  type = string
  default = "testconfiguration2"
}

variable "subnet_id" {
  type = string
  default = "Your Default Subnet id"
  description = "The Name of the subnet ex: jumbbox-subnet"
}

variable "private_ip_address_allocation" {
  type = string
  default = "Dynamic"
}

variable "virtual_machine_name" {
  type = string
  default = "jumpbox-win-vm"
}

variable "size" {
  type = string
  default = "Standard_F2s_v2"
}

variable "admin_username" {
  type = string
  default = "adminuser"
}

variable "admin_password" {
  type  = string
  default = "P@$$w0rd1234!"
}

variable "caching" {
  type = string
  default = "ReadWrite"
}
variable "storage_account_type" {
  type = string
  default = "Standard_LRS"
}
variable "publisher" {
  type = string
  default = "MicrosoftWindowsServer"
}
variable "offer" {
  type = string
  default = "WindowsServer"
}
variable "sku" {
  type = string
  default = "2016-datacenter-gensecond"
}

variable "version" {
  type = string
  default = "latest"
}

variable "public_ip_name" {
  type = string
  default = "k8s-corp-jumpbox-win-ip"
}

variable "allocation_method" {
  type = string
  default = "Static"
}

variable "virtual_network" {
  type  = string
  default = "Your Virtual Network Id"
}
Azure Provider Configuration: Integrate Azure as your provider in your provider.tf file with the Terraform script. Specify the Azure region, authentication details, and any additional settings required for seamless communication between Terraform and Azure as shown below.
#provider.tf
terraform {
  required_providers {
    azurerm = {
      source = "hashicorp/azurerm"
      version = "3.42.0"
    }
  }
}
provider "azurerm" {
  subscription_id = "YOUR SUBSCRIPTION-ID"
  client_id       = "YOUR CLIENT-ID"
  client_secret   = "YOUR CLIENT-SECRET"
  tenant_id       = "YOUR TENANT-ID"
  features {}
}
Initializing Terraform:- Navigate to your project directory in which your terraform files exists and then configure your azure-cli setup then Run ‘terraform init’ to initialize the working directory. This sets up the necessary Terraform plugins and prepares the environment for configuration.
Provisioning Resources:- Now Run ‘terraform apply’ to execute the Terraform script and provision the defined resources on Azure. Terraform will intelligently manage the entire lifecycle, ensuring a consistent and reliable deployment.

Conclusion:-
Creating a Windows Virtual Machine on Azure using Terraform is a testament to the power of automation and infrastructure as code. Embrace this streamlined approach to enhance your cloud deployment efficiency. As you embark on your Terraform journey, may your infrastructure be scalable, reliable, and effortlessly managed. Happy deploying!
#AzureInfrastructure #TerraformDeployment #WindowsVM #CloudComputing #InfrastructureAsCode #AzureCloud #TerraformTutorial #DevOps #TechInnovation #AzureDeployment
Subscribe to my newsletter
Read articles from Mahira Technology Private Limited directly inside your inbox. Subscribe to the newsletter, and don't miss out.
Written by

Mahira Technology Private Limited
Mahira Technology Private Limited
A leading tech consulting firm specializing in innovative solutions. Experts in cloud, DevOps, automation, data analytics & more. Trusted technology partner.