Getting Started with Raspberry Pi Pico: Setting Up with VSCode on Ubuntu
 Atharva Shirdhankar
For the past few months, I'm tinkering around with Raspberry Pi Pico W, and I'm simply fasininated by the possibilities it offers.
In my academic years, I had the opportunity to explore the Raspberry Pi 3B, while both of these are System on Chip boards from the Raspberry Pi Foundation. The Pico is a microcontroller board, similar to Arduino, whereas the Raspberry Pi 3/4/5 functions more like a microcomputer, equipped with the Broadcom BCM2712 quad-core 64-bit Arm Cortex-A76 Processor (for version 5 boards).
Raspberry Pi Specification Details - https://www.raspberrypi.com/products/raspberry-pi-5/
Towards the end of this blog, I'll compare some basic features of the Raspberry Pi and Pi Pico to help you decide which one fits your needs best. But first, let's start with setting up the Pi Pico on Ubuntu.
Actually, I've been trying to make a micro web server using the Pico W and Micropython, and I thought it would be great to share my journey in a blog post.
Agenda :
Installing Micropython Firmware
Connecting and Accessing Pico W on Ubuntu
VSCode Micropython Extension
Pico Blink LED
Step 1: Installing and Loading Micropython Firmware
We can find the Micropython firmware file in uf2 extension here
https://micropython.org/download/RPI_PICO_W/
Please note that here we are downloading firmware for Pico W(wifi) for non W Pico uf2 firmware file is different.
Download the uf2 firmware file, I've download one version down instead of downloading latest.
Now we can connect the RPi Pico to computer using usb to micro-usb cable. While connecting the Pico to computer hold the
BOOTSELbutton on Pico. This will take Pico in special mode and let us flash new firmware onto it.When we connect the pico for the first time it will be showing as a USB storage drive(RPI-RP2) with 2 files already present.
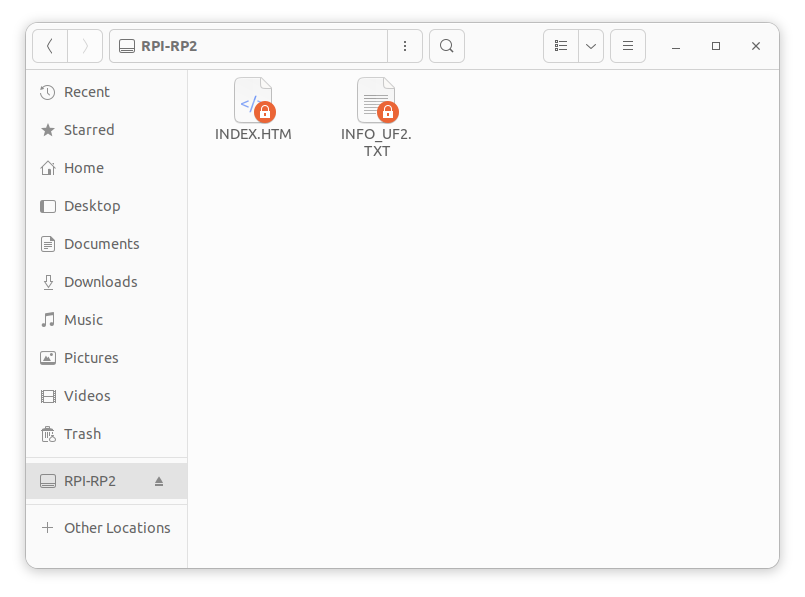
We can now drag and drop uf2 micropython firmware file here. After doing this RPi Pico will disappear, which was showing as available storage device earlier.
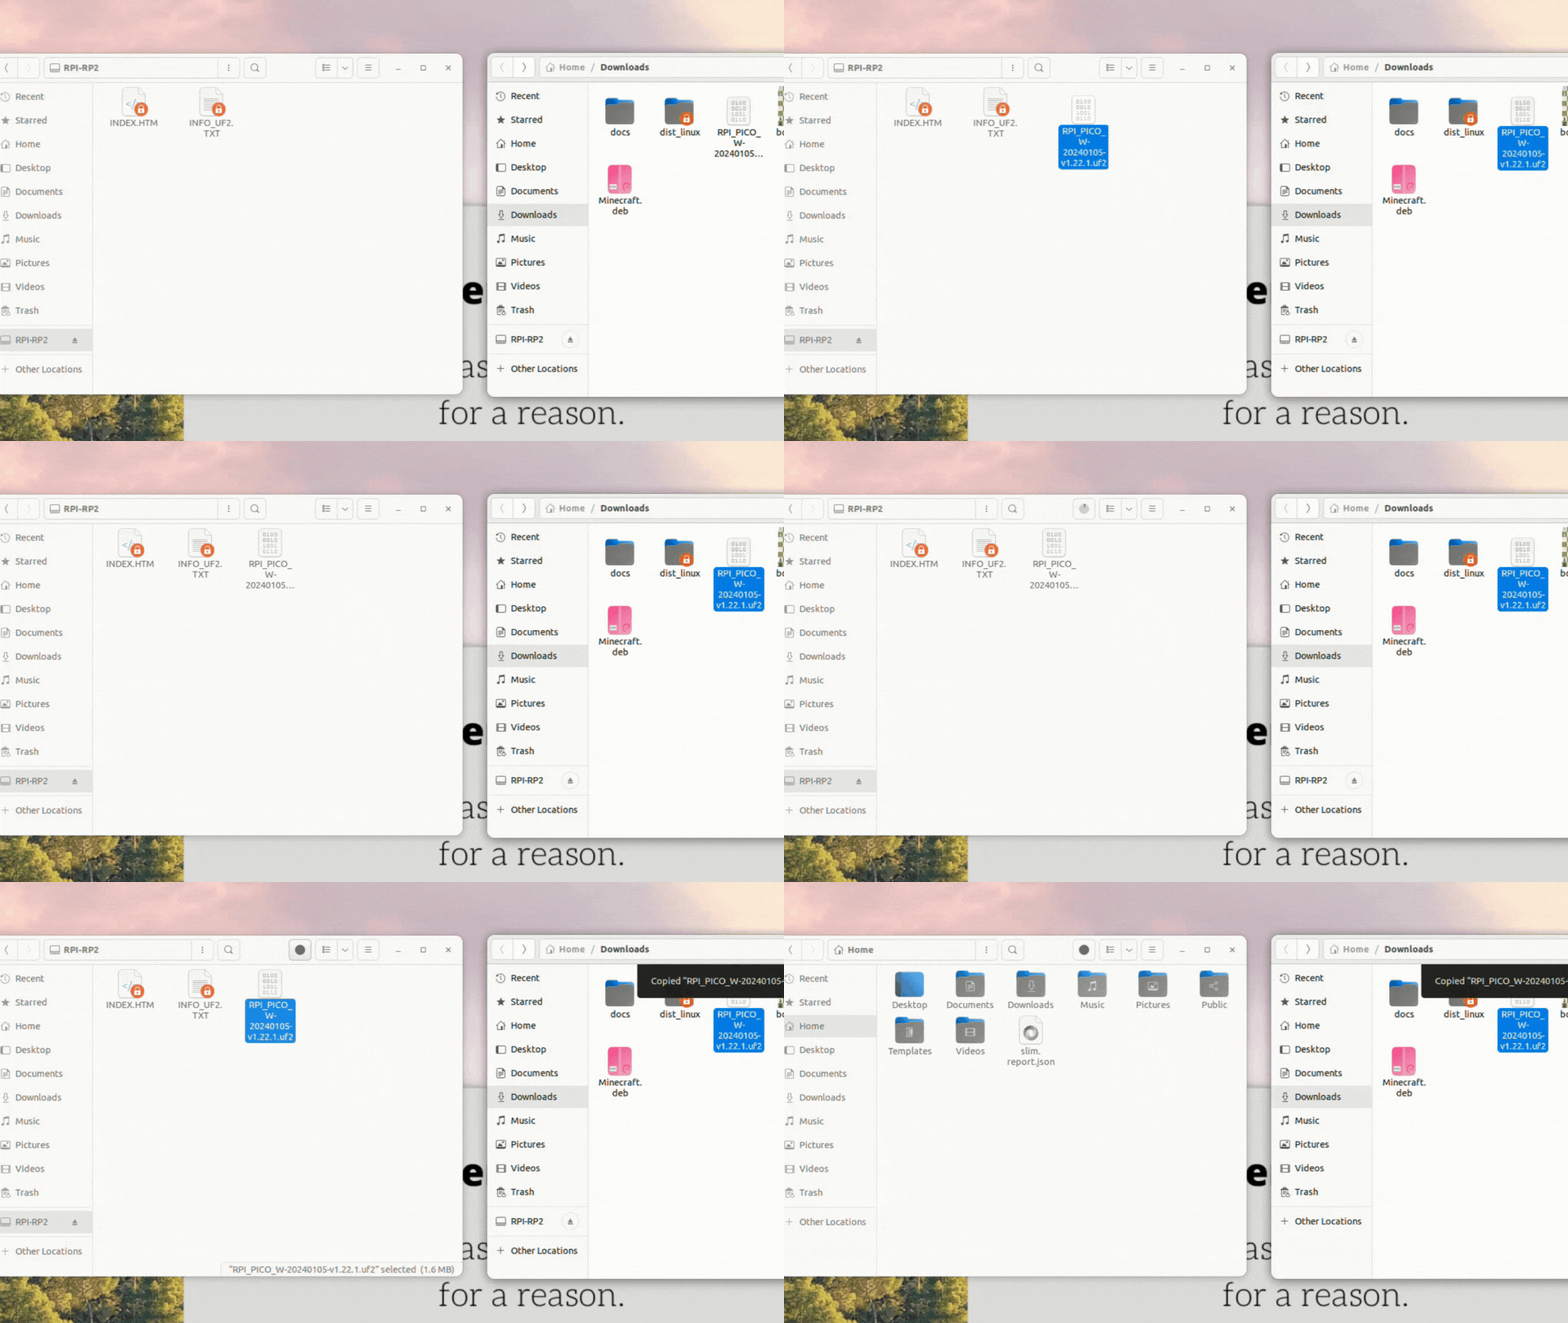
Now we have loaded firmware onto Pico W successfully.
Step 2: Connecting and Accessing Pico W on Ubuntu system
On Ubuntu to access hardware like Raspberry and Arduino we need to add the ubuntu user to
dialout group. If we don't add user to dialout group, we will not able to connect pico to our ubuntu system and do the coding part or run the code on pico.
Dialoutgroup is one of special system groups present in Linux System which grants permission to access serial ports on the system. These groups are pre-defined by the linux system itself and specific task and permission granting task is alotted to them.For info regarding the System Groups : https://wiki.debian.org/SystemGroups
To add the user to dialout group we can use usermod command. After this you may need to restart computer. To reflect user added to dialout group.
sudo usermod -a -G dialout user_nameusermod : command is used to modify user account properties in linux systems
-a : This flag append the user to the specified group, rather than replacing their existing group memberships
-G dialout : This flag specifies group to user needs to be added. Here we are specify dialout group.
user_name : your linux system username.
We can find the groups to which specific user is added or exist.
groups user_name
Here we can see I've been added to dialout group and even other groups.
Step 3: VSCode Micropython Extension
- We can use Thonny IDE for Raspberry Pi Pico development but I'm going with VSCode Micropython Extension. You can find Thonny IDE on apt package manager and install it using apt command.
sudo apt install thonny
- And we can find the Micropython VSCode extension here
https://marketplace.visualstudio.com/items?itemName=paulober.pico-w-go

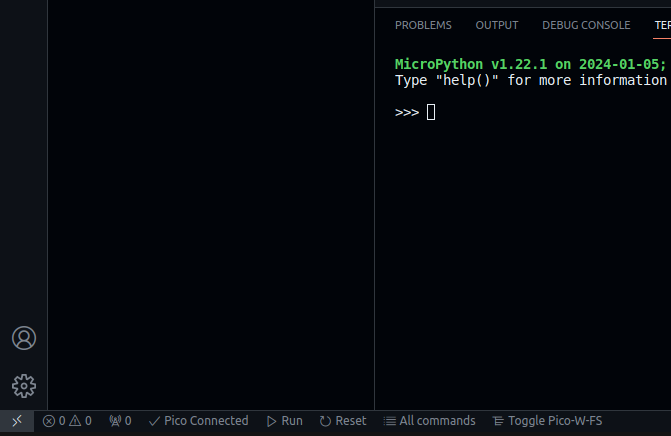
When we install extension and reopen VSCode we can find Pico automatically connected if not we click connect/disconnect toggle button on bottom of the VSCode.
Step 4: Pico Blink LED
Alright! We have done setup, let's write basic code to blink LED present on pico itself.
- First we will import libraries
from machine import Pin
from utime import sleep
- Initialize Pin to control LED. The string
LEDspecifies we want to use LED present on Pico(onboard). AndPin.OUTargument specifies we want to use this as output pin. In simple terms, the electrical signals to Turn on and off LED light.
pin = Pin("LED", Pin.OUT)
- Toggle the PIN state using pin.toggle() function. When we run the code for the first time the electrical signal is send which is 1(on) and holds for 2 second and after that it is switched to 0(off) for 2 second. It goes on until we don't interrupt program using Ctrl + C.
print("LED starts flashing...")
while True:
    try:
        pin.toggle()
        sleep(2)
    except KeyboardInterrupt:
        break
- Using pin.off() function we can change state to 0(off).
pin.off()
print("Finished.")
Complete Code :
from machine import Pin
from utime import sleep

pin = Pin("LED", Pin.OUT)

print("LED starts flashing...")
while True:
    try:
        pin.toggle()
        sleep(0.5)
    except KeyboardInterrupt:
        break
pin.off()
print("Finished.")
Output:
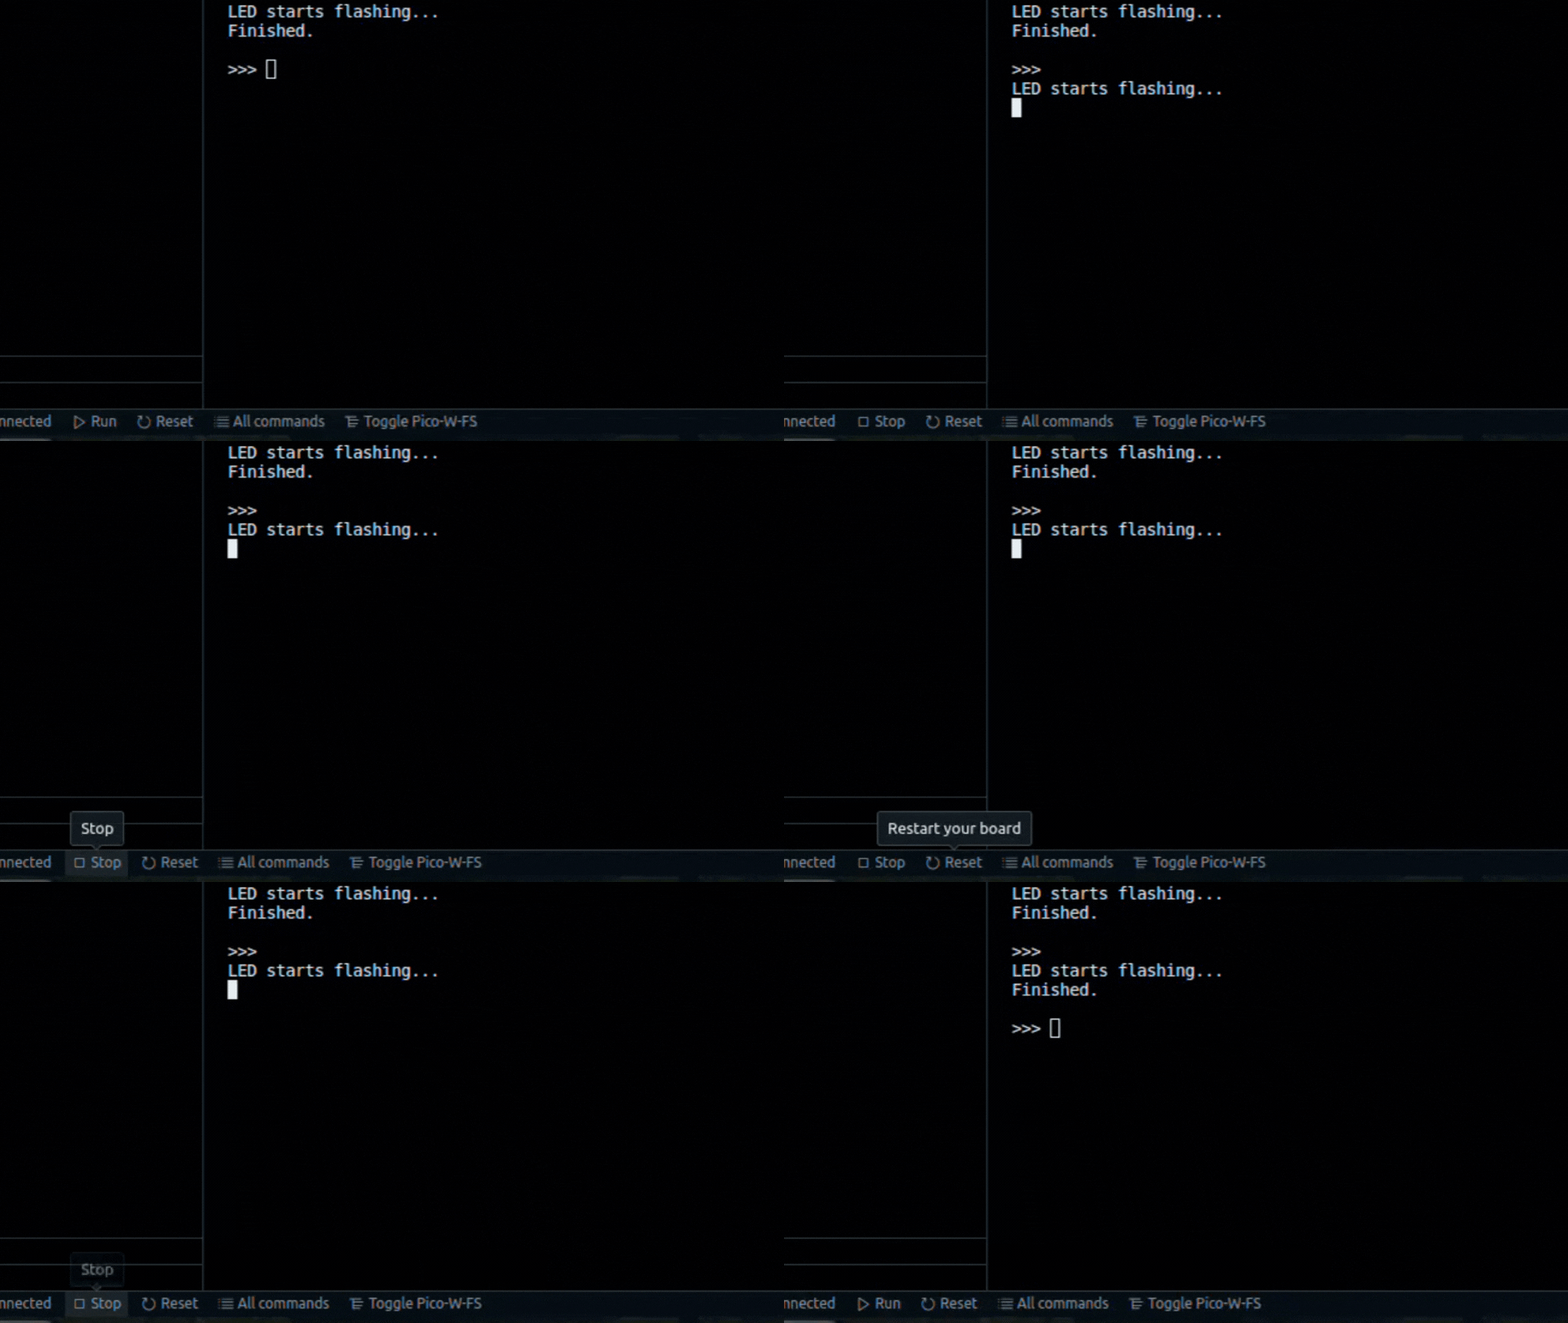
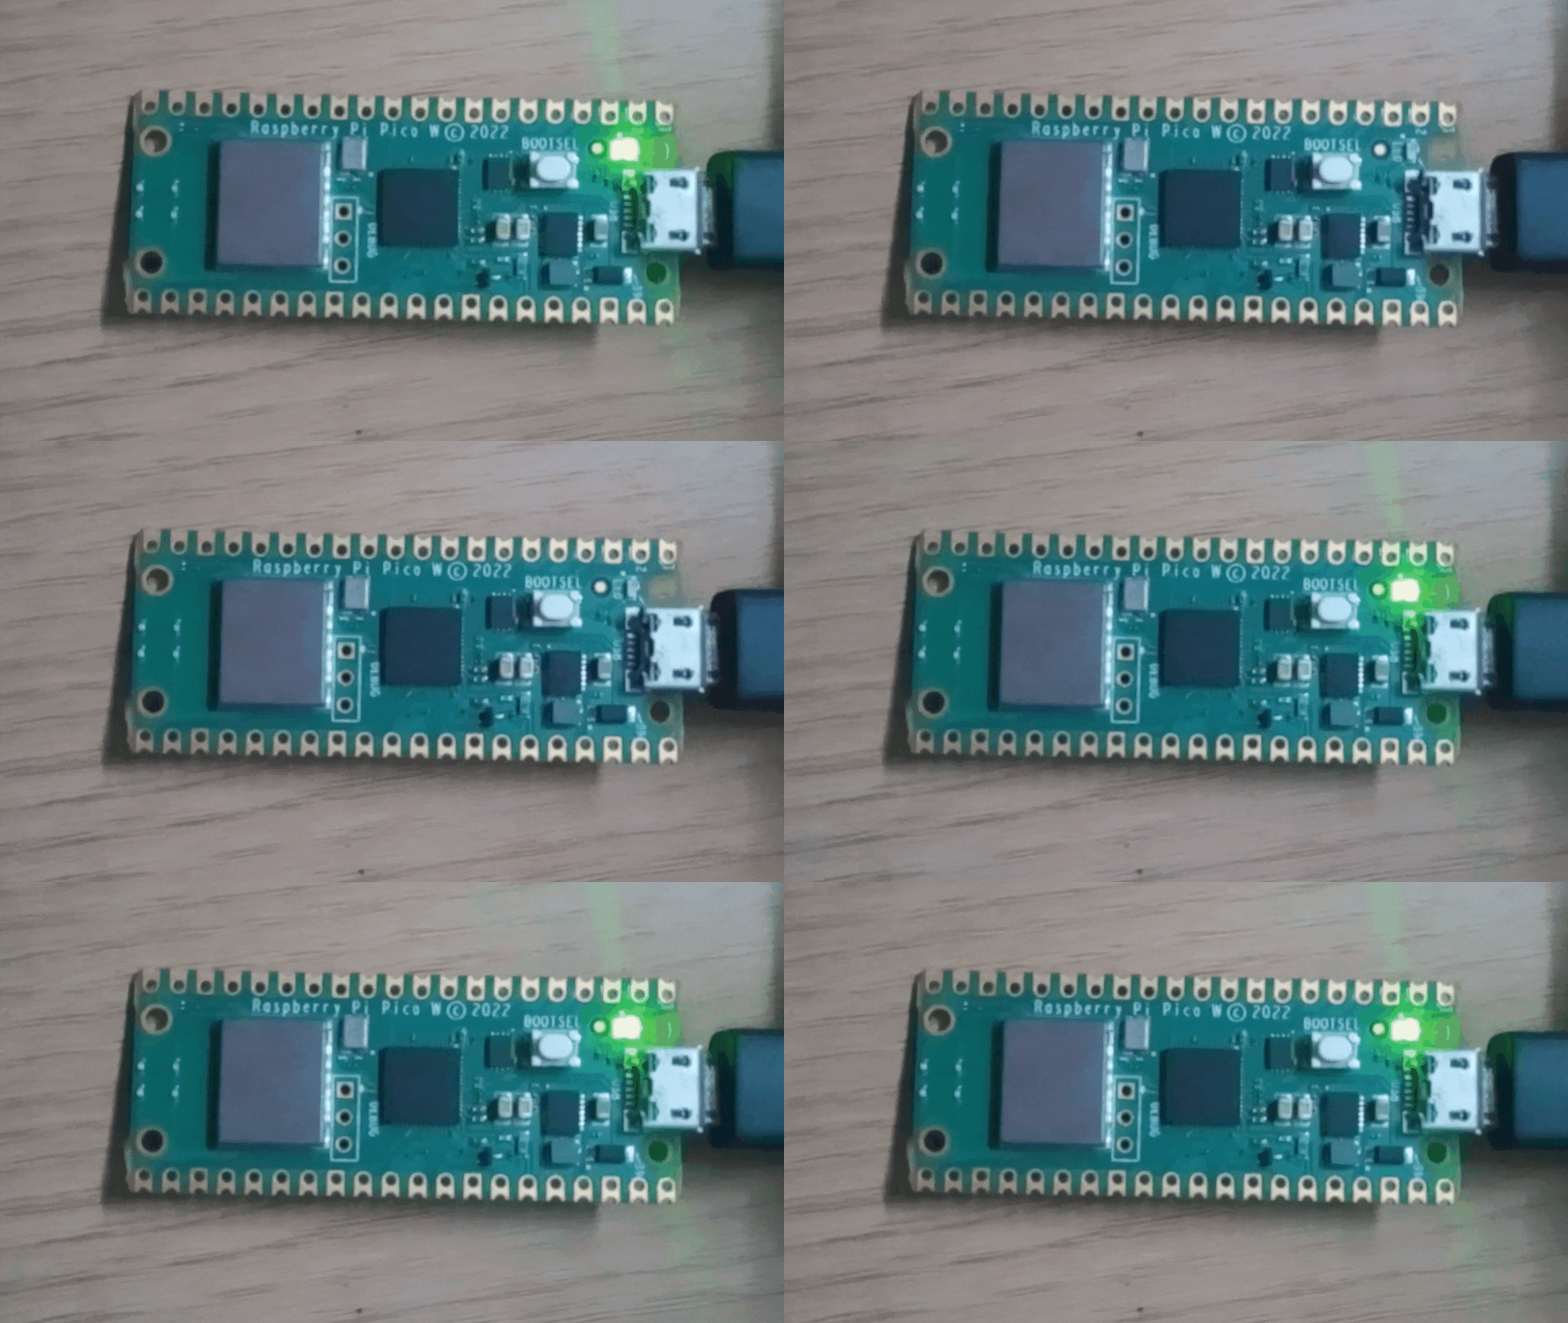
Now let's come back to question, which device should I get? Should I get Pico or Raspberry Pi 4/5.
Let's say you want to build project that has micro controller level usage like Drone, DIY robo car or Micro Web Server. I would suggest go with Pico and also specifically Pico W one, its totally worth it device. And if you want to build something related to Machine Learning or want to build your own NAS system go with Raspberry Pi 5 if available, currently it's overpriced due to shortage or else you can get Raspberry Pi 4.
Thanks for reading till here!
Stay tune for next part of this series :)
Connect with me :
Subscribe to my newsletter
Read articles from Atharva Shirdhankar directly inside your inbox. Subscribe to the newsletter, and don't miss out.
Written by
