WebP Conversion Made Easy
 Subhro Kr
WebP is a modern image format developed by Google that offers superior compression and quality characteristics compared to traditional formats like JPEG and PNG.
WebP seamlessly combines lossless and lossy compression techniques, intelligently optimizing image data for significantly smaller file sizes without sacrificing crucial details or introducing visual artifacts.
Its efficient compression translates into tangible benefits like faster load times, reduced bandwidth consumption, and enhanced browsing experiences, particularly on mobile devices and slower connections.
As major web browsers and platforms embrace this innovative format, adopting WebP future-proofs your digital assets and paves the way for a more efficient and visually captivating online
A Glimpse into the Windows 11 Context Menu WebP Conversion Trick
Windows 11, Microsoft’s latest operating system, comes packed with features, but one that stands out for graphic designers, photographers, and everyday users alike is the ability to quickly convert images to the WebP format.
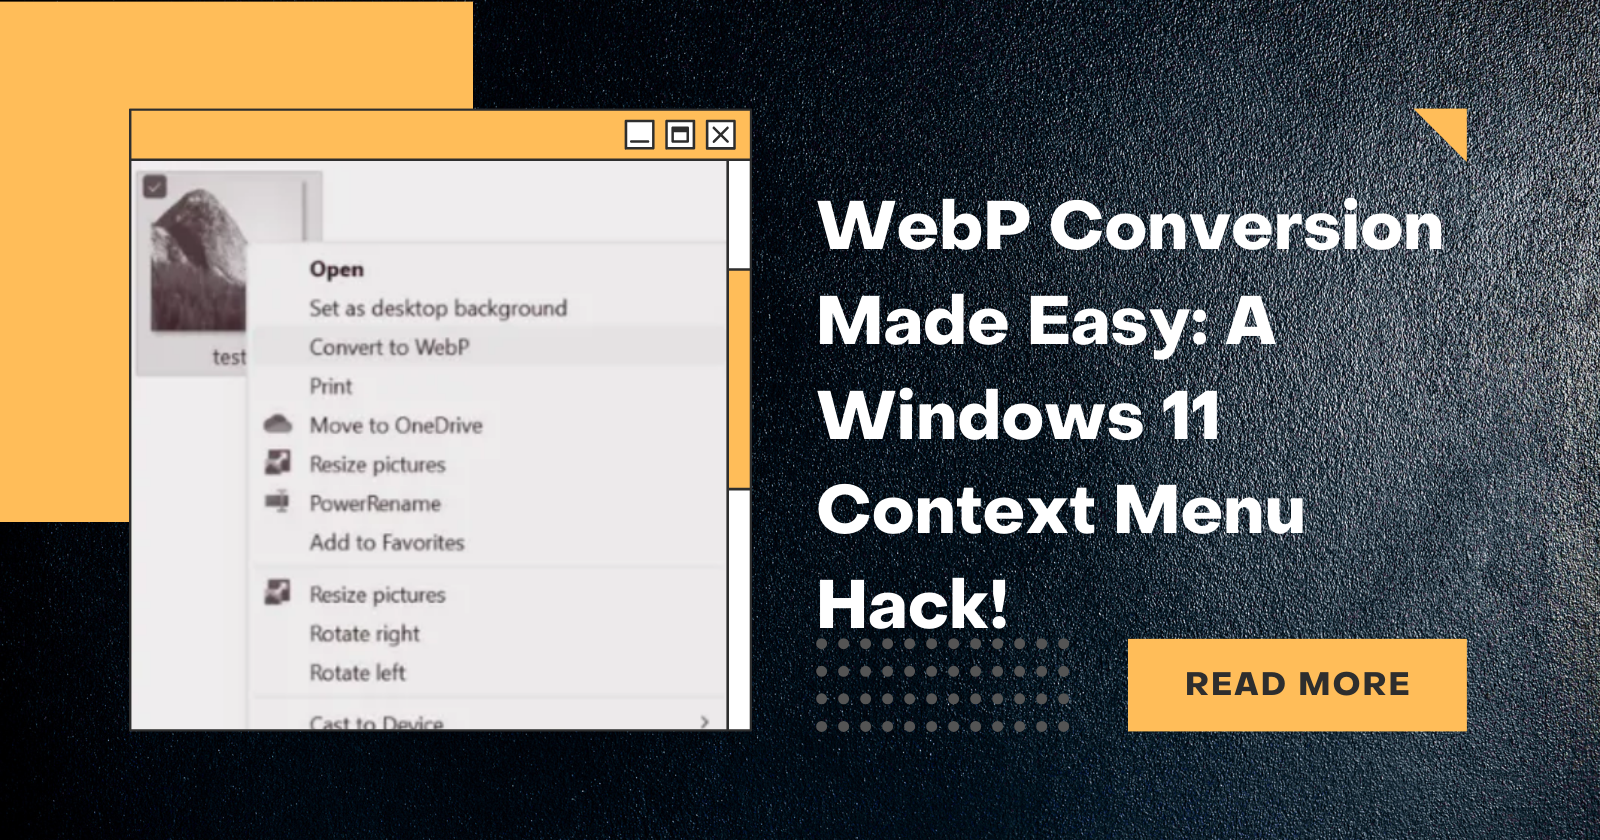
With just a simple tweak, you can add a “Convert to WebP” option right in your context menu. Imagine the convenience of right-clicking any image on your system and instantly converting it to WebP!
Step-by-Step Guide: Converting Images to WebP in Windows 11
To add an option in the right-click context menu in Windows 11 to convert JPG/PNG images to WebP format, you can follow these steps:
Step 1: Install WebP Converter:
- First, you need to have the WebP converter tool installed on your computer. You can download it from the official Google Developers’ site.
- After downloading, extract the files to a folder, e.g.,
C:\WebP
Step 2: Create a Batch Script:
- Open Notepad and Paste the following code:
@echo off
SET ext=%~x1
SET logfile=C:\scripts\conversion.log

echo [INFO] Starting conversion for "%1" >> "%logfile%"

IF /I "%ext%"==".png" GOTO convert
IF /I "%ext%"==".jpg" GOTO convert
GOTO end

:convert
pushd %~dp1
C:\webp\bin\cwebp.exe -q 80 "%~nx1" -o "%~dpn1.webp" >> "%logfile%" 2>&1
IF ERRORLEVEL 1 (
   echo [ERROR] Conversion failed for "%1" >> "%logfile%"
   popd
   GOTO end
) ELSE (
   echo [INFO] Conversion successful for "%1" >> "%logfile%"
)
popd
GOTO end

:end
echo [INFO] Ending conversion for "%1" >> "%logfile%"
- Save the file as ‘ConvertToWebP.bat‘ in a directory of your choice, for example,
C:\scripts\ConvertToWebP.bat
Step 3: Edit the Windows Registry:
Press Windows + R, type
regedit, and press Enter to open the Windows Registry Editor.Navigate to
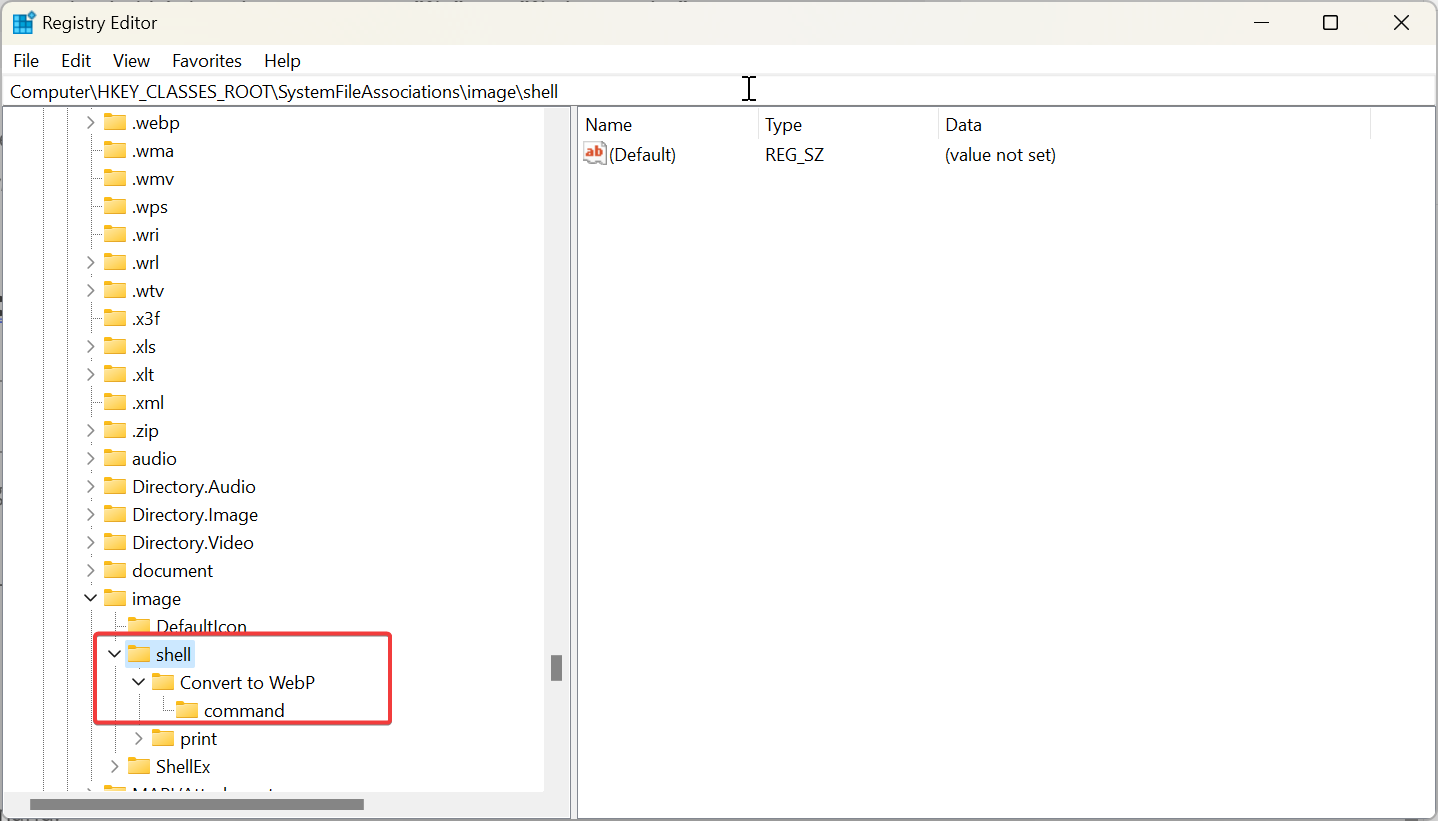
HKEY_CLASSES_ROOT\SystemFileAssociations\image\shell.Right-click on the shell, select New > Key, and name it
Convert to WebPNow, right-click on the Convert to WebP key you just created, select New > Key, and name it
command
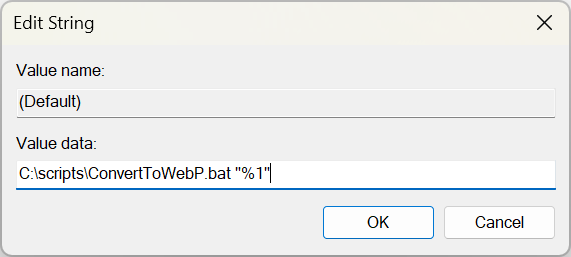
Double-click on the (Default) value in the right pane of the command key.
In the Value data box, enter the path to the batch script you created:
C:\scripts\ConvertToWebP.bat "%1"

- Click Ok.
Step 3: Test the Context Menu Option:
Right-click on any JPG or PNG image on your computer and select "Convert to WebP".

Conclusion
In the ever-evolving digital landscape, optimizing images for web performance is no longer just an option—it’s a necessity. With the introduction of the WebP format, we have a powerful tool at our disposal to achieve this optimization.
As we’ve explored in this article, integrating WebP conversion directly into the Windows context menu streamlines the process, making it both efficient and user-friendly. While there might be a slight learning curve, the benefits in terms of website speed and user experience are undeniable.
So, whether you’re a seasoned developer or just someone looking to enhance their website’s performance, this Windows 11 context menu hack is a game-changer. Embrace the future of web imaging with WebP and watch your website soar to new heights!
Subscribe to my newsletter
Read articles from Subhro Kr directly inside your inbox. Subscribe to the newsletter, and don't miss out.
Written by

Subhro Kr
Subhro Kr
I am a developer from India